
Grout lines can make or break the look of your shower. Once they get dingy, even the cleanest tiles feel dirty. The good news?
You don't need harsh chemicals or expensive services to restore them. This list covers 20 practical tips, from pantry staples to specialized tools, that target everything from mild soap scum to stubborn mildew. Each idea is designed to be easy to try and genuinely effective.
Ready to make those lines look fresh again? Let's get started.
1. Start with a Baking Soda Paste
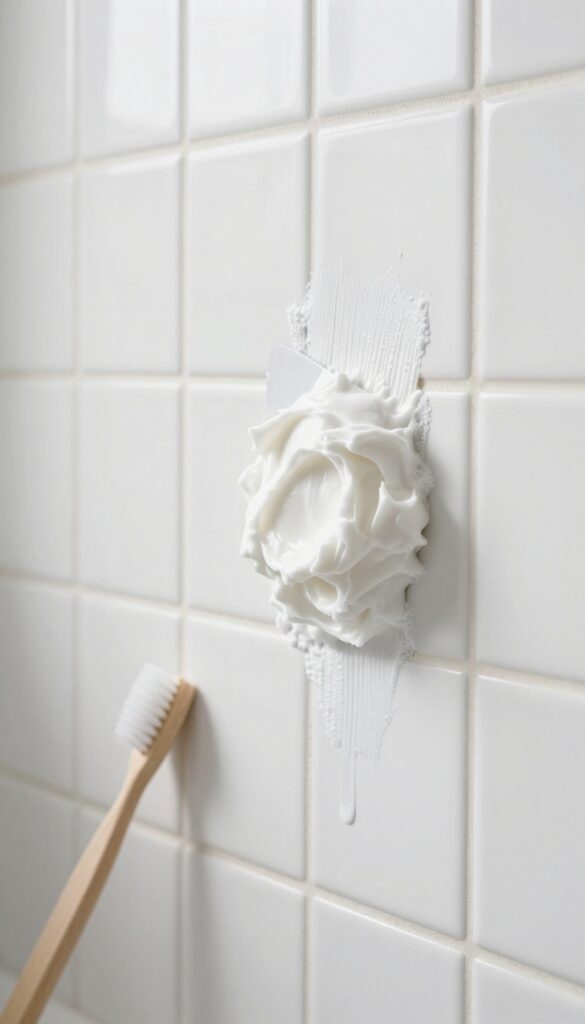
Baking soda is a gentle abrasive that lifts grime without scratching tiles or damaging grout. Mixed with a little water, it forms a thick paste that clings to vertical surfaces and gets into the porous grout lines. This simple method works wonders on everyday soap scum and light discoloration.
To make the paste, combine three parts baking soda with one part water in a small bowl. Stir until it reaches a spreadable consistency—think peanut butter. Apply it generously along the grout lines using an old toothbrush or a small spatula.
Let it sit for 10 minutes so the baking soda can start breaking down the dirt. Then scrub firmly with a stiff-bristled brush, working the paste into the grout. Rinse with warm water and wipe away any residue.
For extra cleaning power, add a splash of white vinegar after scrubbing to create a fizzing action that lifts stubborn stains.
Why Baking Soda Works
Baking soda is mildly alkaline, which helps dissolve acidic soils like soap scum. Its fine crystalline structure acts as a gentle scrubber that won't wear down grout over time. Unlike bleach or harsh chemicals, it's safe for colored grout and won't cause fading.
Best Tools For Application
A stiff nylon brush is ideal for scrubbing grout without scratching tiles. For tight corners or narrow lines, an old toothbrush gives you better control. A grout brush with angled bristles can also help reach deep into the grooves.
Avoid wire brushes—they can damage the grout surface.
When To Use This Method
This paste is perfect for light to moderate grime buildup. If your grout has heavy mold or mildew, you may need a stronger cleaner first. Use it weekly as a maintenance step to keep grout looking fresh between deep cleans.
2. Add Vinegar for Stubborn Stains
Sometimes a baking soda paste alone isn't enough to lift deep-set grime. That's where white vinegar comes in. When you spray vinegar over the baking soda, it creates a fizzy reaction that helps break apart dirt lodged in the grout pores.
Let it bubble for a few minutes, then scrub and rinse. This one-two punch works wonders on stains that have been hanging around for a while.
The combination of baking soda and vinegar is a classic cleaning duo for good reason. The alkaline baking soda and acidic vinegar react to release carbon dioxide gas, which helps dislodge dirt from the grout. This method is especially effective for removing soap scum and hard water deposits that have built up over time.
Just be careful not to let the mixture sit too long, as vinegar can eventually damage grout if left on for extended periods.
Why The Fizz Works
The bubbling action physically agitates the grout, loosening particles that scrubbing alone might miss. This is a gentle but effective way to clean without harsh chemicals. The reaction is short-lived, so work quickly while it's still active.
Best Practices For Application
After applying the baking soda paste, spray vinegar directly onto it until it's saturated. Let it fizz for 3-5 minutes, then scrub with a stiff brush. Rinse thoroughly with warm water to remove all residue.
For vertical surfaces, use a spray bottle to control the application and prevent drips.
When To Avoid This Method
Avoid using vinegar if you have natural stone tiles like marble or travertine, as the acid can etch the surface. Also, don't use it on unsealed grout too often, as repeated exposure can weaken the grout over time. Stick to once a month or as needed for stubborn stains.
3. Use Hydrogen Peroxide for Mildew
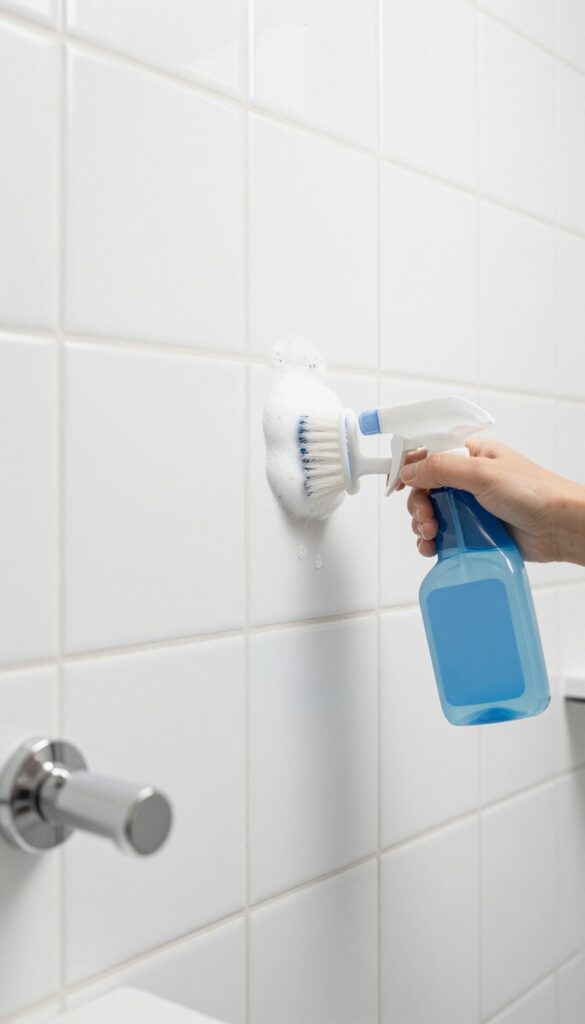
Mildew loves damp grout lines, and it can be tough to remove without harsh bleach. Hydrogen peroxide is a natural alternative that kills mold and mildew effectively. It's gentle enough for colored grout but strong enough to brighten white lines.
Just apply it directly, let it sit, and scrub away the stains.
Hydrogen peroxide works as a mild bleach, breaking down mold spores without the strong fumes of chlorine bleach. It's safe for most grout types, but always test on a small hidden area first. For best results, use a 3% solution from the drugstore.
Apply it with a spray bottle or a dropper for precision. Let it bubble for 15 minutes, then scrub with a soft brush. Rinse thoroughly.
Repeat if needed for stubborn spots.
Why Hydrogen Peroxide Works
Hydrogen peroxide releases oxygen when it contacts organic matter, which destroys mold and mildew at the cellular level. It's a natural disinfectant that leaves no toxic residue. Unlike chlorine bleach, it won't yellow white grout over time or fade colored grout if used properly.
Application Tips
For best coverage, spray or drip hydrogen peroxide directly onto the grout lines. Let it foam and sit for at least 15 minutes—don't let it dry out. If it evaporates too quickly, reapply.
Use an old toothbrush or a grout brush to scrub gently. Rinse with warm water and wipe dry. For deep mildew, make a paste with baking soda and hydrogen peroxide, apply, let sit, then scrub.
Safety And Testing
Always test on an inconspicuous grout area first, especially if your grout is colored or sealed. Hydrogen peroxide can lighten some dyes. Wear gloves to protect your skin, and avoid mixing with other cleaners, especially ammonia or vinegar, as it can create harmful fumes.
Keep the bathroom ventilated during use.
4. Try a Steam Cleaner for Deep Grime
If scrubbing by hand isn't cutting it, a steam cleaner can blast away years of grime in minutes. The high-temperature steam penetrates porous grout, loosening dirt and killing mildew without chemicals. It's especially handy for textured tiles where brushes can't reach every groove.
Steam cleaners are a game-changer for deep cleaning grout. They use pressurized steam to liquefy dirt and kill bacteria, making them ideal for tough jobs. Most handheld models come with a brush attachment that lets you direct the steam precisely.
Just fill the tank, wait for it to heat up, and glide the nozzle along the grout lines. The steam will lift grime that's been embedded for years, often without any scrubbing. It's also a great option for people who want to avoid harsh chemicals.
Just be sure to follow the manufacturer's instructions to avoid damaging the tile or grout.
Why Steam Works So Well
Steam reaches temperatures above 200°F, which is hot enough to break down soap scum, grease, and mildew. The moisture penetrates the porous grout and expands, pushing dirt out from deep within. Unlike bleach or vinegar, steam doesn't leave behind any residue or strong odors.
It's also safe for most tile types, including ceramic, porcelain, and natural stone (though you should test an inconspicuous area first).
Best Practices For Using A Steam Cleaner
Start by vacuuming the shower to remove loose debris. Then fill the steam cleaner's reservoir with water (distilled is best to avoid mineral buildup). Let it heat up fully before starting.
Work in small sections, holding the nozzle about an inch from the grout. Move slowly to let the steam do its work. For extra-stubborn spots, you can pause for a few seconds.
After steaming, wipe away the loosened grime with a microfiber cloth. Finally, let the grout dry completely to prevent new mildew growth.
What To Look For In A Steam Cleaner
For shower grout, a handheld steam cleaner with a brush attachment is ideal. Look for one that heats up quickly (under 5 minutes) and has a continuous steam feature. A long extension hose can help reach awkward corners.
Some models come with multiple brush heads—a nylon brush is gentle on grout, while a brass brush is better for tough stains. Prices range from $40 to $150, so you can find one that fits your budget. If you're not ready to buy, many hardware stores rent steam cleaners by the day.
5. Make a Lemon Juice and Cream of Tartar Paste
When you want a natural cleaner that actually works, lemon juice and cream of tartar make a surprisingly effective team. The acid in lemon juice cuts through soap scum and hard water deposits, while cream of tartar acts as a gentle polishing agent. Together, they create a paste that can brighten grout without harsh fumes.
This paste is especially good for light-colored grout that has yellowed over time. The lemon juice helps lift stains, and the cream of tartar buffs away dullness. It's a simple, non-toxic option that uses ingredients you probably already have in your kitchen.
How To Mix The Paste
Start with two tablespoons of cream of tartar in a small bowl. Add lemon juice one teaspoon at a time, stirring until you get a thick, spreadable paste. You want it to be like toothpaste—not too runny, not too stiff.
If it's too thin, add more cream of tartar; if too thick, add a drop more lemon juice.
Application Tips
Use an old toothbrush or a small grout brush to apply the paste directly onto the grout lines. Work it in with gentle circular motions, making sure the paste fills the grooves. Let it sit for 10 to 15 minutes—don't let it dry completely, or it will be harder to rinse off.
If you notice it starting to dry, spritz a little water over it.
Rinsing And Results
After the paste has done its work, rinse the area thoroughly with warm water. Use a damp cloth or a spray bottle to remove all residue. You might need to rinse a couple of times to get rid of any powdery film.
Once dry, you'll see brighter, cleaner grout lines with a subtle sheen.
6. Use a Grout Brush with Extendable Handle
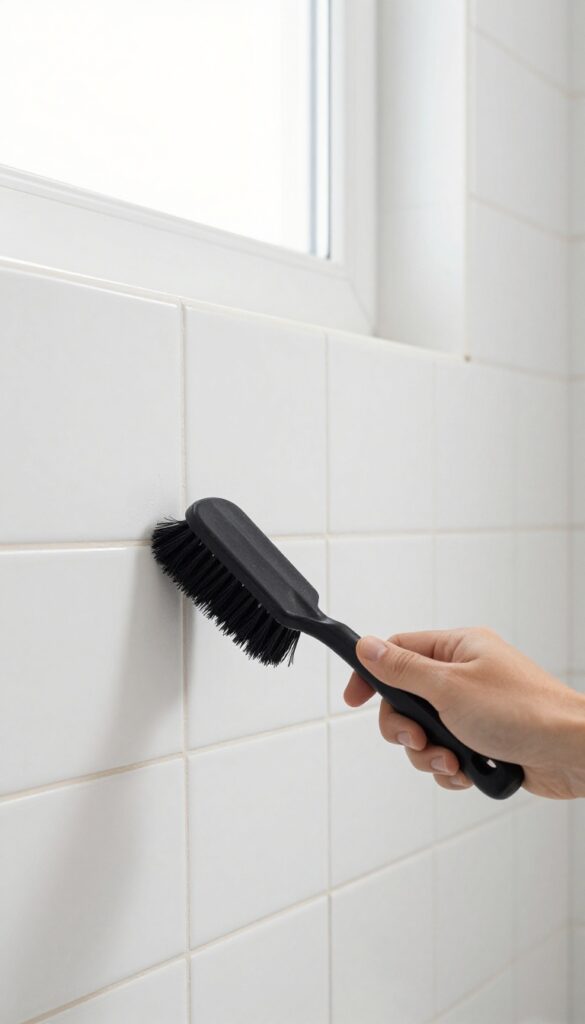
Your knees and back don't have to suffer for clean grout. A grout brush with an extendable handle lets you scrub while standing upright, which makes a huge difference when you're tackling a whole shower. The stiff bristles are designed to dig into the porous surface of grout, and the angled head helps you reach corners and edges without straining.
This simple tool turns a painful chore into a manageable task. You can apply more pressure and scrub longer when you're not hunched over. Plus, the long handle keeps your hands away from the dirty water and cleaning solution, which is a nice bonus.
Why A Dedicated Grout Brush Works Better
A regular sponge or rag just can't get into the tiny grooves of grout lines. The stiff bristles of a grout brush are stiff enough to dislodge soap scum and mildew but not so hard that they damage the grout. The angled head lets you work along edges and in corners where grout meets tile or caulk.
How To Use It Effectively
Apply your chosen cleaner to the grout lines first, let it sit for a few minutes, then scrub with the brush using short, firm strokes. Rinse the brush frequently to remove loosened grime. For extra stubborn spots, dip the brush in a baking soda paste or a bleach solution.
Picking The Right Brush
Look for a brush with a comfortable, non-slip handle and bristles that are stiff but not metal. Nylon bristles are a good choice. Some brushes come with interchangeable heads, so you can replace them when they wear out.
A brush with a squeeze bottle in the handle is a handy option for applying cleaner as you go.
7. Apply Oxygen Bleach for Whitening
If your grout has turned a dingy gray or yellow, oxygen bleach is a game-changer. Unlike chlorine bleach, it won't fill your bathroom with harsh fumes or damage colored grout. The active ingredient releases oxygen bubbles that lift stains right out of the porous surface.
Mix oxygen bleach powder (like OxiClean) with warm water according to package directions—usually a few scoops per gallon. Apply the solution to the grout lines using a spray bottle or sponge, making sure it's fully saturated. Let it sit for at least 30 minutes; you'll see bubbles working to loosen the dirt.
Scrub with a stiff brush, then rinse thoroughly with warm water. For extra stubborn stains, make a thicker paste and apply it directly, letting it sit longer before scrubbing.
Why Oxygen Bleach Works
Oxygen bleach is a non-toxic alternative that breaks down into water, oxygen, and soda ash. The bubbles penetrate deep into the grout's porous structure, oxidizing stain molecules without damaging the material. It's safe for most grout types and won't yellow over time like chlorine bleach can.
Step-by-step Application
First, sweep or vacuum loose debris from the grout. Mix the oxygen bleach with warm water until fully dissolved. Apply generously to the grout lines—a spray bottle works well for even coverage.
Let it sit for 30 minutes; for heavy stains, up to an hour. Scrub with a grout brush or old toothbrush, then rinse with clean water. Repeat if needed.
Tips For Best Results
Use warm water to activate the oxygen bleach more effectively. Work in small sections so the solution doesn't dry out before you scrub. If the mixture dries, reapply and let it sit again.
Always test on an inconspicuous area first, especially with colored grout. Wear gloves to protect your hands.
8. Use a Magic Eraser on Light Stains
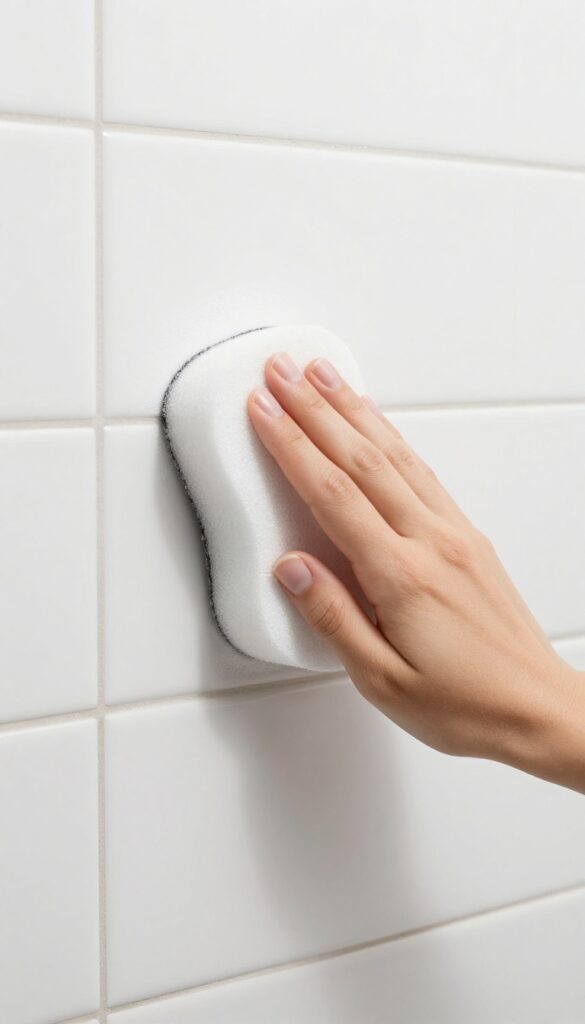
When you notice light surface stains on your grout, a Magic Eraser can be your quickest fix. These melamine foam blocks work like a gentle abrasive, lifting dirt without harsh chemicals. Just dampen the eraser, run it along the grout lines, and see the grime disappear in seconds.
This method is ideal for regular maintenance or tackling fresh stains before they set. It's fast and doesn't require any mixing or waiting. However, keep in mind that the eraser may wear down quickly on rough grout, so use light pressure and replace it as needed.
How It Works
Melamine foam acts like ultra-fine sandpaper. When wet, it creates a micro-abrasive action that lifts dirt from the porous grout surface. No soap or cleaner needed—just water.
Best Uses
Use it on light soap scum, daily grime, or minor mildew stains. It's not effective on deep-set discoloration or mold that has penetrated the grout. For those, you'll need a stronger cleaner.
Tips For Best Results
Cut the eraser into smaller pieces to save money. Test on an inconspicuous area first to ensure it doesn't dull tile finish. Rinse the grout after scrubbing to remove any residue.
9. Try a Commercial Grout Cleaner
Sometimes DIY solutions just don't cut it, especially if your grout has years of embedded grime or mildew stains that won't budge. That's when it's time to bring in the heavy hitters: commercial grout cleaners. These products are chemically formulated to break down tough stains that vinegar and baking soda can't touch.
Commercial cleaners like Zep Grout Cleaner or Grout-Eez contain powerful detergents and bleaching agents that penetrate porous grout and lift deep stains. They work quickly and can save you hours of scrubbing. Just be sure to follow the instructions carefully.
How They Work
Most commercial grout cleaners use a combination of alkaline cleaners and oxidizing agents. Alkaline compounds dissolve grease and soap scum, while oxidizers like hydrogen peroxide bleach out organic stains. The result is a deep clean that restores grout to its original color.
Application Tips
Always ventilate the bathroom by opening a window or turning on the exhaust fan. Wear rubber gloves to protect your skin. Apply the cleaner directly to the grout lines, let it sit for the recommended time (usually 5–15 minutes), then scrub with a stiff brush.
Rinse thoroughly with water to remove any residue.
Safety First
These products are strong, so avoid mixing them with other cleaners, especially bleach or ammonia, which can create toxic fumes. Keep them away from children and pets. If you have sensitive skin, consider wearing safety goggles as well.
10. Seal Grout After Cleaning
You've put in the work to get your grout lines looking fresh. Now keep them that way. Sealing after cleaning is like adding a raincoat to your grout—it repels moisture, soap scum, and dirt before they can settle in.
A good sealer makes future cleanings faster and extends the life of your grout.
A penetrating sealer soaks into the porous grout and creates an invisible barrier. Unlike surface sealers that can peel, penetrating sealers protect from within. Apply it when the grout is completely dry and clean.
Use a small brush or applicator bottle to work it into the lines, then wipe off any excess from the tile surface. Let it cure for 24 hours before exposing it to water. Most sealers need reapplication every year, but high-traffic showers may need it sooner.
Test by sprinkling a few drops of water on the grout—if they bead up, the seal is still good; if they soak in, it's time to reseal.
Choosing The Right Sealer
Look for a penetrating sealer specifically made for grout. Avoid cheap all-in-one products that can leave a hazy film. For light-colored grout, a clear sealer works fine.
For darker grout, you might opt for a color-enhancing sealer that deepens the shade. Read the label to ensure it's suitable for your tile type—some sealers can darken natural stone.
How To Apply Like A Pro
Work in small sections, about 2×2 feet at a time. Use a foam brush or a dedicated grout sealer applicator to paint the sealer onto the grout lines. Let it sit for the time specified on the bottle (usually 5-10 minutes), then wipe off any excess with a clean cloth.
If the sealer dries on the tile surface, it can be tough to remove. A second coat is often recommended for porous grout.
When To Reseal
Plan to reseal once a year. If your shower gets heavy daily use, check every six months. A simple water test tells you everything: sprinkle water on the grout.
If it absorbs quickly, it's time to reseal. If it beads up, you're good. Sealing is a small effort that saves you from deep scrubbing later.
11. Use a Toothbrush for Tight Spots
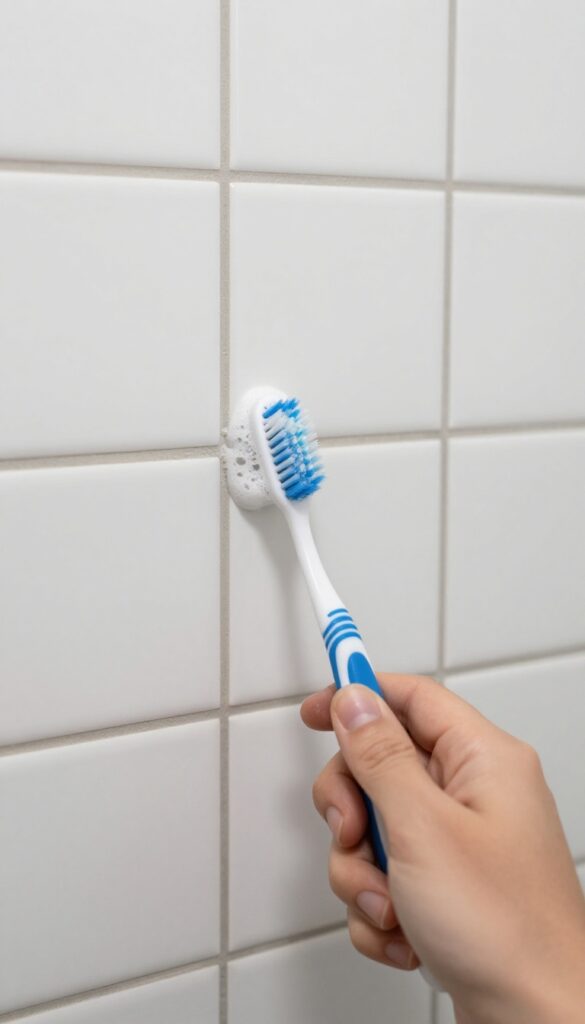
An old toothbrush is perfect for scrubbing narrow grout lines and corners. Dip it in your cleaning solution and work it back and forth. It's precise and doesn't splash.
When you need to get into those tight corners and narrow grout lines, a toothbrush is your best friend. Its small head and firm bristles let you apply targeted pressure exactly where it's needed. Plus, you probably have one lying around ready to be repurposed.
Choose The Right Brush
Not all toothbrushes are created equal for grout cleaning. Look for one with firm bristles and a compact head. An angled handle can help you reach awkward spots without straining your wrist.
Avoid soft bristles—they won't have enough scrubbing power.
Dip And Scrub Technique
Dip the bristles into your cleaning solution—whether it's a DIY mix of baking soda and vinegar or a commercial grout cleaner. Shake off excess to avoid dripping. Then, scrub back and forth along the grout line using short, firm strokes.
The toothbrush's size lets you focus on one small section at a time.
Rinse And Repeat
After scrubbing, rinse the area with water to remove loosened dirt and cleaner. You can use a spray bottle or a damp cloth. Check your progress; if stains remain, repeat the process.
For stubborn spots, let the cleaning solution sit for a few minutes before scrubbing again.
Keep It Separate
Once you've used a toothbrush for grout cleaning, don't put it back in the bathroom cup. Mark it or store it with your cleaning supplies. You can sanitize it by soaking in bleach or hydrogen peroxide between uses, but it's best to dedicate it solely to this task.
12. Make a Paste with Denture Tablets
Denture cleaning tablets aren't just for false teeth—they're surprisingly effective at lifting grout stains. The effervescent action creates tiny bubbles that help dislodge dirt and mildew from porous grout lines. Plus, the ingredients are gentle enough that you won't damage your tile or grout.
Crush a couple of denture cleaning tablets and mix with water to form a paste. Apply to grout, let it fizz and sit for 10 minutes, then scrub. The effervescent action helps lift stains.
Why It Works
Denture tablets contain sodium bicarbonate, citric acid, and oxidizing agents that work together to break down organic stains. The fizzing action physically pushes dirt out of the grout pores, while the chemicals bleach away discoloration. It's a mild yet effective combination that won't harm your tiles.
How To Apply
Start by crushing 2 to 3 denture tablets into a fine powder. Add just enough water to create a thick paste—think toothpaste consistency. Use an old toothbrush or a small grout brush to work the paste into the grout lines.
Let it sit for 10 minutes; you'll see it bubble and fizz as it works. Then scrub gently with the brush and rinse with warm water.
Best Results
This method works best on light to moderate stains like soap scum, hard water deposits, and surface mildew. For deep-set stains, you may need to repeat the process. It's also a great option if you prefer a gentler cleaner than bleach-based products.
Always test on an inconspicuous area first to ensure your grout is colorfast.
13. Use a Pressure Washer (Carefully)
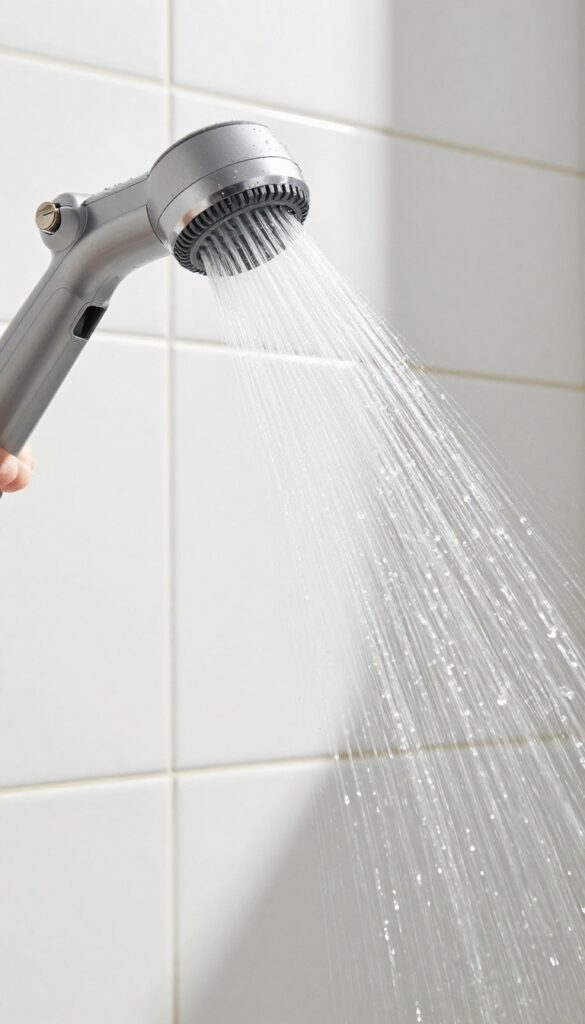
For outdoor showers or really stubborn grime, a pressure washer can be a game changer. It blasts away dirt that scrubbing alone can't touch. But you need to handle it with care—grout isn't indestructible.
A pressure washer with a low-pressure tip (like a 25- or 40-degree nozzle) can clean grout lines quickly. Keep the nozzle moving to avoid concentrating pressure on one spot. Hold it at least 12 inches away and test on an inconspicuous area first.
This method works best for outdoor showers or well-sealed grout. Avoid using high-pressure settings directly on the grout, as it can erode the material or force water behind the tile.
Choose The Right Tip And Pressure
Use a wide-angle tip (25° or 40°) and keep the pressure under 1, 500 PSI. A rotating tip is too aggressive. Start at a lower pressure and increase only if needed.
Technique Matters
Hold the wand at a 45-degree angle and sweep in steady passes. Don't linger on one spot. Work from top to bottom so dirty water runs off without re-soiling cleaned areas.
When To Avoid This Method
Skip the pressure washer if your grout is old, cracked, or unsealed. It can worsen damage or cause leaks. For indoor showers, stick to gentler methods—pressure washers can splash water everywhere and damage fixtures.
14. Try a Bleach Pen for Spot Treatment
When you have a few stubborn stains but the rest of the grout looks fine, a bleach pen is your best friend. These gel pens let you apply bleach exactly where you need it, without risking drips or overspray on your tile. The gel clings to vertical surfaces, so it works great on shower walls.
Just squeeze a thin line over the discolored grout, let it sit for about 10 minutes, then rinse thoroughly. It's a quick, targeted fix for brightening those problem spots.
Bleach pens are ideal for maintenance between deep cleans. They're especially effective on mildew stains that appear in corners or along the bottom edge of the shower. Because the gel is thick, it stays put and doesn't run down the wall.
Always test on an inconspicuous area first, especially if you have colored grout, as bleach can lighten it. For best results, use in a well-ventilated bathroom and wear gloves.
Why A Bleach Pen Works Better Than A Spray
Spray bleach can drift onto tile, causing uneven whitening or even damage to certain finishes. A bleach pen gives you pinpoint control. The gel formula also has a longer dwell time, meaning it stays wet and active on the grout longer than a spray would.
This makes it more effective at breaking down deep-set stains.
How To Apply For Maximum Whitening
Start with clean, dry grout. Squeeze a thin, even line of gel directly onto the stained area. Don't smear it—let the gel sit undisturbed.
After 10 minutes, use a damp cloth or sponge to wipe away the residue. For extra stubborn stains, you can gently scrub with a soft brush before rinsing. Repeat if necessary, but avoid leaving the gel on for more than 15 minutes.
15. Use Rubbing Alcohol for Grease and Grime
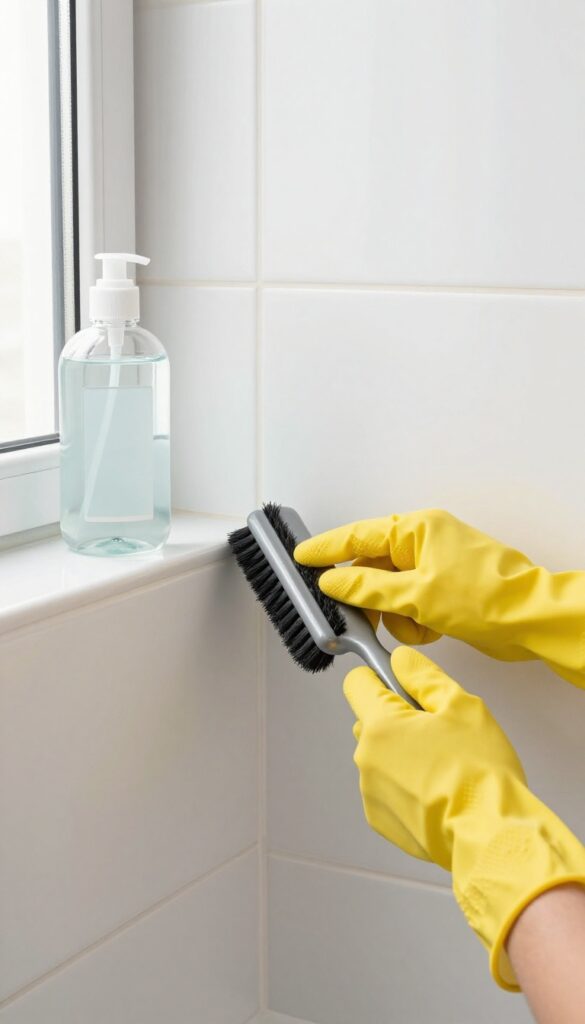
Soap scum and body lotions leave a greasy film on grout that regular cleaners struggle to remove. Rubbing alcohol cuts through that oily residue fast, making it a go-to for restoring grout lines. It evaporates quickly, so there's no sticky mess left behind.
Isopropyl alcohol is a powerful degreaser that breaks down the oils from soaps, lotions, and hair products. It's safe on most tile and grout types, but always test in a hidden spot first. Apply it with a cloth or a stiff brush, scrub gently, and wipe away the dissolved grime.
The alcohol dries quickly, leaving clean, fresh grout lines without residue.
How To Apply
Pour a small amount of rubbing alcohol onto a clean cloth or directly onto the grout. Use a grout brush or an old toothbrush to work it into the lines. Scrub in a circular motion for about 30 seconds, then wipe with a damp cloth.
No rinsing needed—the alcohol will evaporate on its own.
Best For Tough Spots
This method works especially well on grout near soap dishes and shampoo shelves where product buildup is heaviest. It also helps remove yellowing from older grout. For extra stubborn stains, let the alcohol sit for a minute before scrubbing.
Safety Tips
Rubbing alcohol is flammable, so keep it away from open flames and heat sources. Ventilate the bathroom by opening a window or turning on the fan. Wear gloves if you have sensitive skin, as alcohol can be drying.
16. Apply a DIY Vinegar and Dish Soap Spray
When you need a cleaner that actually sticks to vertical surfaces, this simple DIY spray is a game changer. White vinegar cuts through soap scum and hard water deposits, while a squirt of dish soap adds cling and helps break down greasy residue. It's cheap, non-toxic, and uses ingredients you probably already have under your sink.
This homemade spray is ideal for regular maintenance or tackling light to moderate grout discoloration. The vinegar's acidity dissolves mineral buildup, and the dish soap lifts oils and dirt. Because it's a spray, you can target specific areas without soaking the whole shower.
Why It Works
White vinegar is a mild acid that breaks down alkaline deposits like soap scum and limescale. Dish soap acts as a surfactant, reducing surface tension so the solution spreads evenly and clings to grout lines instead of running off. Together, they create a powerful but gentle cleaner.
How To Make And Use It
Mix equal parts white vinegar and water in a spray bottle, then add a generous squirt of dish soap. Shake gently to combine. Spray the solution directly onto grout lines, making sure they're fully coated.
Let it sit for 5 minutes to break down grime, then scrub with a brush and rinse with warm water.
Tips For Best Results
Use a stiff-bristled brush or an old toothbrush for deep scrubbing. For tough spots, let the solution sit longer—up to 15 minutes. Avoid using this on natural stone tiles, as vinegar can etch them.
Always test on a small hidden area first.
17. Use a Pumice Stone on Hard Water Deposits
Hard water deposits leave behind stubborn white rings that ordinary cleaners can't touch. A pumice stone is a simple, chemical-free solution that works like a gentle sanding block. It's abrasive enough to remove calcium buildup but soft enough not to scratch your tile or grout.
Using a pumice stone is straightforward. Wet the stone thoroughly, then rub it lightly over the hard water stains. The stone wears down as you use it, exposing fresh abrasive surface.
Always keep the stone and the grout wet to prevent scratching. Rinse the area after scrubbing to see your progress.
Why Pumice Works So Well
Pumice is a volcanic rock with a porous, abrasive texture. When wet, it becomes a fine abrasive that grinds away mineral deposits without harming the underlying tile. Unlike harsh chemicals, it's non-toxic and safe for use around drains and plumbing.
Step-by-step Application
Start by wetting both the pumice stone and the affected grout. Gently rub the stone back and forth over the white deposits, applying light pressure. Rinse frequently to check your progress and keep the surface lubricated.
Once the deposits are gone, wipe the area clean with a damp cloth.
Tips For Best Results
Use a fine-grit pumice stone designed for cleaning, not the coarse ones meant for calluses. Test on an inconspicuous area first, especially if you have glossy or polished tile. Avoid using pumice on natural stone like marble or granite, as it can scratch them.
Replace the stone when it becomes too smooth to be effective.
18. Try a Baking Soda and Hydrogen Peroxide Paste
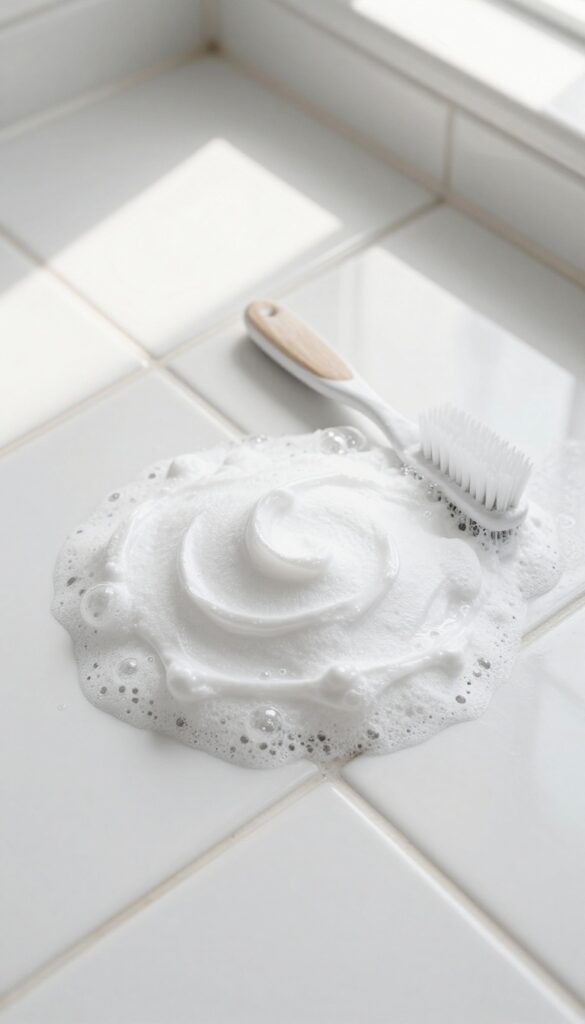
This two-ingredient paste is a powerhouse for whitening and disinfecting grout without the harsh fumes of bleach. Baking soda gently abrades dirt, while hydrogen peroxide lifts stains and kills mildew. Together, they create a fizzing action that penetrates porous grout lines.
Mix three parts baking soda with one part hydrogen peroxide until it forms a thick, spreadable paste. Apply it generously to the grout lines using an old toothbrush or a small spatula. Let it sit for about 15 minutes — you'll see it start to bubble and lift grime.
Then scrub with a stiff brush and rinse with warm water. For extra stubborn stains, add a few drops of dish soap to the paste.
Why This Combo Works So Well
Baking soda is a mild alkali that breaks down grease and dirt, while hydrogen peroxide is an oxidizing agent that whitens and kills bacteria. Together, they create a chemical reaction that releases oxygen bubbles, helping to lift stains from deep within the grout pores. It's safe for most tile types, but avoid it on natural stone unless you test first.
How To Apply For Best Results
Start with dry grout so the paste sticks. Use a small brush to work it into the lines, then let it sit undisturbed. After 15 minutes, scrub in a circular motion.
Rinse thoroughly with water, then wipe away any residue with a damp cloth. For vertical surfaces, the paste may drip — apply a thicker consistency or add a bit more baking soda.
When To Use This Method
This paste is ideal for moderate discoloration from soap scum, mildew, or everyday grime. It's not strong enough for deep-set stains or years of neglect, but it's a great regular maintenance cleaner. Use it weekly or bi-weekly to keep grout looking fresh without damaging the tile.
19. Use a Grout Pen for a Quick Refresh
Sometimes scrubbing just won't cut it. If your grout is still stained or discolored after a deep clean, a grout pen can be a lifesaver. It's like a marker for your grout lines, recoloring them in minutes.
Grout pens are a simple cosmetic fix. They don't remove dirt, they cover it. But when the grout is clean yet still looks old or uneven, a pen restores a uniform, fresh appearance.
Choose a color that matches your existing grout—white, gray, or beige are common. Apply with steady pressure along the lines, then let it dry completely before using the shower. It's not a permanent solution, but it can buy you months of clean-looking lines.
Choosing The Right Color
Match your grout color as closely as possible. If you're unsure, go a shade lighter—it blends better than a darker tone. Many pens come in standard colors like bright white, almond, or charcoal.
Test on a hidden area first.
Application Tips
Shake the pen well before use. Hold it at a 45-degree angle and draw along the grout line, pressing the tip into the groove. Wipe off any excess immediately with a damp cloth.
Work in small sections and avoid overlapping until dry.
When To Use A Grout Pen
Best for light to moderate discoloration after cleaning. Not ideal for deep stains or mold that hasn't been removed—clean first. Also works well for touch-ups on small areas rather than entire walls.
20. Schedule Regular Maintenance
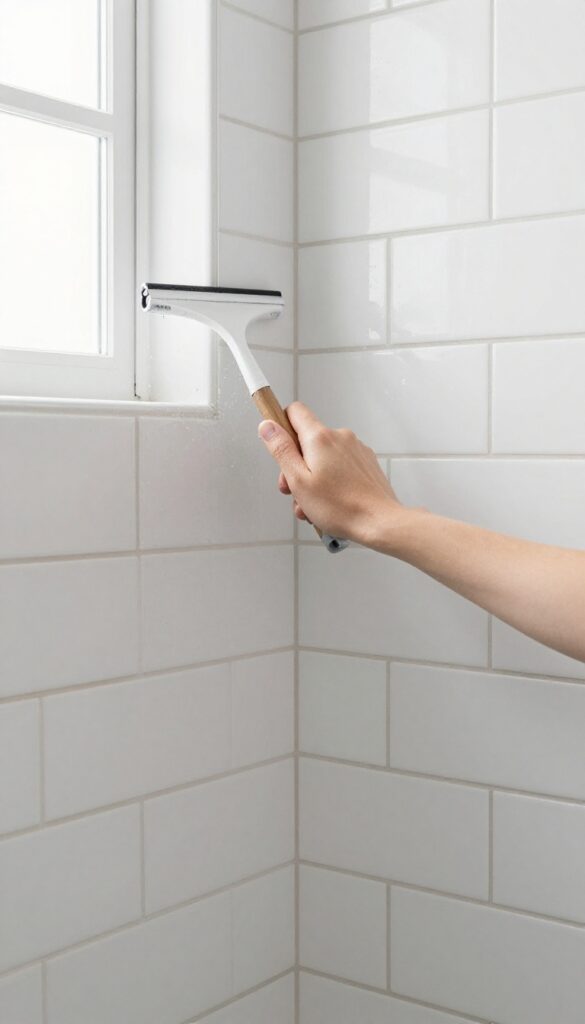
The best way to keep grout looking fresh is to never let it get bad in the first place. A few minutes each week can save you hours of deep scrubbing later. Regular maintenance is the simplest and most effective tip on this list.
Set A Weekly Routine
Pick one day a week to give your shower grout a quick once-over. A mild all-purpose cleaner or a vinegar-water spray works fine. Spray it on, let it sit for a minute, then scrub with a soft brush or sponge.
Rinse well with warm water. This routine prevents soap scum and mildew from building up.
Use A Daily Shower Spray
After every shower, spritz the tiles and grout with a daily cleaner. You can make one by mixing equal parts water and vinegar, or use a commercial spray. This cuts down on residue and keeps grout from absorbing moisture and stains.
It takes 10 seconds and makes a big difference.
Dry The Walls After Showering
Mildew loves moisture. Use a squeegee or a microfiber cloth to wipe down the shower walls after each use. Pay extra attention to grout lines.
Keeping the surface dry reduces the chance of mold growth and keeps grout looking lighter longer.
FAQ
Can I use bleach on colored grout?
Bleach can discolor colored grout, so test on an inconspicuous area first. For colored grout, use oxygen bleach or a mild cleaner instead.
How often should I clean shower grout?
Light cleaning weekly with a spray and brush is ideal. A deep clean using one of the methods above every 1-3 months keeps grout in top shape.
What's the best homemade grout cleaner?
A paste of baking soda and water, followed by a spray of vinegar, is highly effective for most grime. For mildew, add hydrogen peroxide.
Will steam cleaning damage my tile?
Steam cleaning is safe for most ceramic and porcelain tiles. Avoid using it on natural stone tiles like marble, as the heat and moisture can cause damage.
Do I need to seal grout after cleaning?
Yes, sealing helps prevent future stains and makes cleaning easier. Wait until grout is completely dry, then apply a penetrating sealer.
Conclusion
Cleaning shower grout doesn't have to be a dreaded chore. With the right technique and a little patience, you can restore those lines to a crisp, clean state. Start with the gentlest method and work your way up if needed.
Remember, regular maintenance is the secret to keeping grout looking fresh. Pick a few of these tips that fit your routine and make them a habit. Your shower will thank you.


