
Tile floors look great when they're clean, but that grout and grime buildup can make even the newest tile look old and dingy. You don't need expensive specialty products to get them sparkling again—most of the solutions are already in your pantry.
From baking soda paste to steam cleaners, these 20 ideas tackle both the tile surface and the grout lines. We'll walk you through the best methods for removing dirt, brightening grout, and keeping that just-cleaned shine for longer.
Whether you're dealing with a small bathroom or a whole kitchen, there's a tip here that fits your time and budget.
1. Sweep or Vacuum First – Always
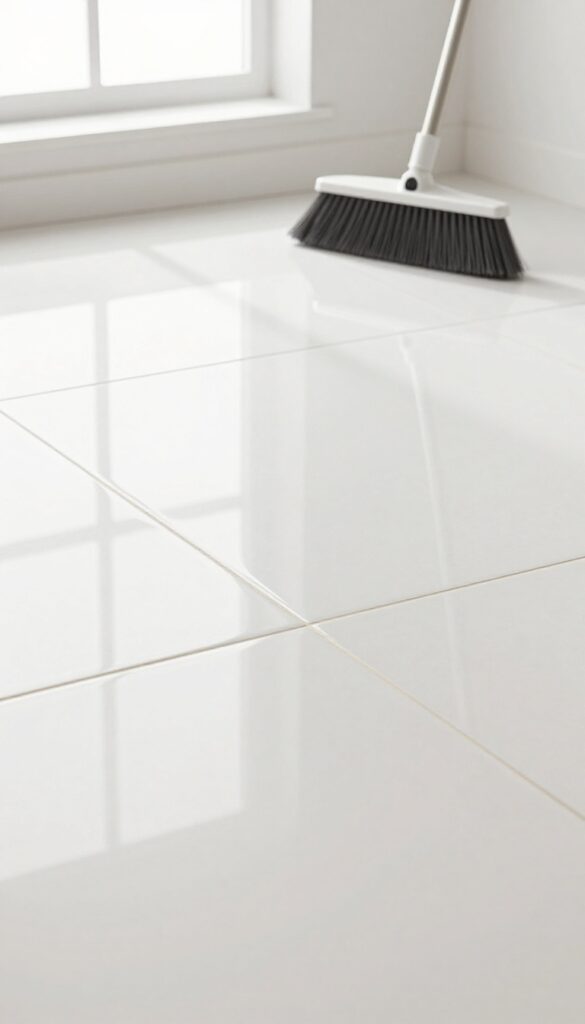
It might feel like an extra step, but sweeping or vacuuming before any wet cleaning is the single easiest way to protect your tile. Loose dirt, dust, and grit act like sandpaper when you mop, scratching the tile surface and turning grout into a muddy mess.
Skipping this step means you're just pushing dirt around. A quick dry sweep or vacuum picks up the debris so your cleaner can actually work on the grime, not the dust.
Why Dry Cleaning Matters
Wet mopping over loose dirt creates a thin layer of mud that settles into grout pores. Once it dries, that mud hardens and becomes even harder to remove. Dry cleaning first prevents this cycle.
Best Tools For The Job
A soft-bristle broom works well for textured tile. For smooth tile, a microfiber dust mop or a vacuum with a hard-floor setting is ideal. Avoid vacuums with beater bars—they can scatter debris.
How Often To Sweep
High-traffic areas like kitchen or entryway tile benefit from a daily dry sweep. Bathrooms can go every other day. The key is consistency—less dirt buildup means easier deep cleans.
2. Use a Baking Soda Paste on Grout
Grout lines are notorious for trapping dirt and discoloring faster than the tile itself. A simple baking soda paste can lift that grime without harsh chemicals. It's gentle enough for regular use but tough on buildup.
Why Baking Soda Works So Well
Baking soda is a mild abrasive that scrubs away dirt without scratching the tile. It also deodorizes and reacts with acids to break down stains. When mixed into a paste, it clings to vertical grout lines and gives you time to work.
How To Make And Apply The Paste
Mix three parts baking soda with one part water until it forms a thick, spreadable paste. Apply it along the grout lines with a small spatula or your finger. Let it sit for 10–15 minutes so it can soften the dirt.
Scrubbing Technique That Gets Results
Use an old toothbrush or a grout brush to scrub the paste into the lines. Work in small circular motions, focusing on the darkest spots. Rinse with water and wipe away residue with a damp cloth.
Repeat if needed.
When To Add A Little Vinegar
For stubborn stains, add a splash of white vinegar to the paste. The fizzing action helps lift deep grime. Just be careful not to use vinegar on natural stone tiles, as it can etch the surface.
3. Try a Vinegar and Water Solution
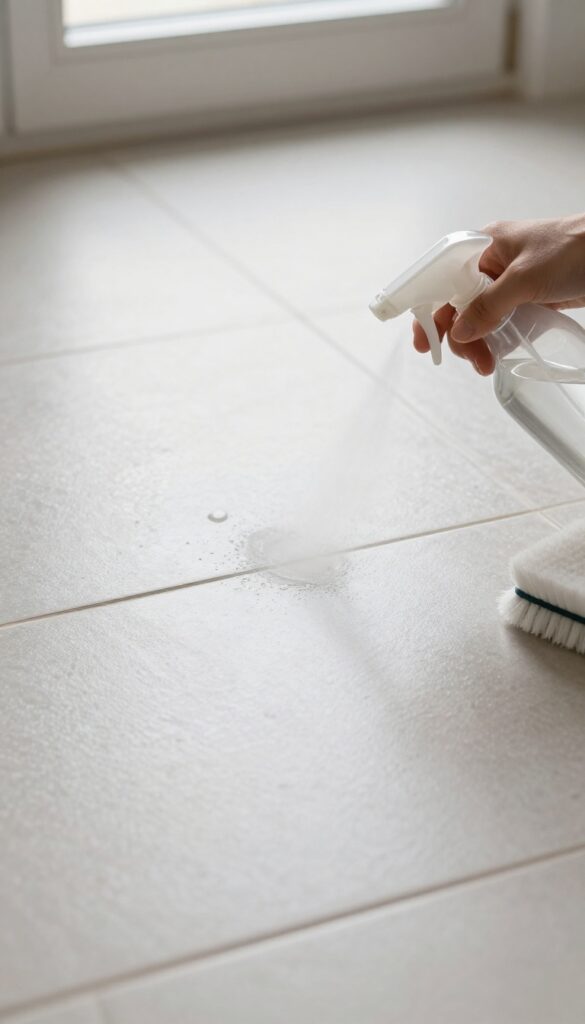
A simple mix of white vinegar and water can tackle everyday grime on ceramic, porcelain, or glazed tiles. The mild acidity cuts through grease and soap scum without leaving harsh chemical residue. Just remember: this solution is not safe for natural stone like marble, travertine, or slate – the acid can etch and dull the surface.
Stick to stone-specific cleaners for those materials.
Mix equal parts white vinegar and warm water in a spray bottle. Mist the tile floor lightly – you don't want puddles. Let it sit for a minute or two to loosen dirt, then mop with a clean, damp mop.
No rinsing needed if you use a well-wrung mop. For stubborn spots, spray directly and scrub with a soft brush before mopping. The vinegar smell fades quickly once the floor dries.
Why It Works On Grout, Too
Grout is porous and traps dirt, but vinegar's acidity helps dissolve mineral deposits and soap scum. Spray the grout lines directly, let them sit for 5–10 minutes, then scrub with a stiff brush. Follow with a damp cloth to remove residue.
This method brightens grout without bleach or harsh chemicals.
The One Big Exception
Natural stone tiles – marble, limestone, slate, travertine – react badly to acid. Vinegar can eat away at the sealant and etch the stone, leaving permanent dull spots. If you're unsure what your tile is made of, test in an inconspicuous corner first.
For stone, use a pH-neutral cleaner instead.
4. Steam Clean for Deep Grout Dirt
Sometimes scrubbing just doesn't cut it, especially when grout has been neglected for months. A handheld steam cleaner is a game-changer for this job—it uses high-temperature steam to loosen and blast away embedded dirt without any chemicals. Plus, the heat kills bacteria and mold spores, leaving your grout sanitized and looking much brighter.
How Steam Cleaning Works On Grout
Steam cleaners heat water to around 200–300°F, producing pressurized steam that penetrates porous grout. The combination of heat and pressure dislodges dirt that scrubbing alone can't reach. Most handheld models come with a small brush attachment that focuses the steam directly onto grout lines, making the process quick and targeted.
Best Practices For Best Results
Start by sweeping or vacuuming the floor to remove loose debris. Then, move the steam cleaner slowly along grout lines—rushing will reduce effectiveness. For heavily soiled areas, let the steam sit for a few seconds before wiping.
Always follow the manufacturer's instructions to avoid damaging unsealed grout or delicate tile surfaces.
When To Avoid Steam Cleaning
Steam cleaning isn't ideal for every tile type. Natural stone like marble or limestone can be damaged by high heat and moisture, so check your tile material first. Also, if your grout is already cracked or crumbling, steam may worsen the damage.
In those cases, repair the grout before steaming.
5. Hydrogen Peroxide for Stubborn Stains
Some grout stains just won't budge with mild cleaners. That's where hydrogen peroxide comes in. It's a gentle bleach that lifts deep-set dirt without the harsh fumes of chlorine bleach.
You probably already have a bottle in your medicine cabinet, making it a convenient weapon against those dark, stubborn spots.
Hydrogen peroxide works by releasing oxygen bubbles that help lift stains from porous grout. It's especially effective on organic stains like coffee, wine, or food spills. Unlike chlorine bleach, it won't yellow or damage colored grout over time.
For best results, use a 3% solution straight from the bottle.
How To Apply For Maximum Stain Removal
Pour hydrogen peroxide directly onto the stained grout lines. Let it sit for 5-10 minutes—you'll see it fizz as it works. Then scrub with a stiff brush.
Rinse with water and dry. For extra tough stains, make a paste with baking soda and hydrogen peroxide. Apply, let it dry, then scrub off.
Safety Tips And Precautions
Always test on a small hidden area first, especially on colored grout. Hydrogen peroxide can lighten some materials. Wear gloves to protect your hands, and ensure good ventilation.
Keep it away from eyes and open cuts. Don't mix with vinegar or other cleaners—it can create harmful fumes.
6. Use a Grout Brush or Stiff Bristle Brush
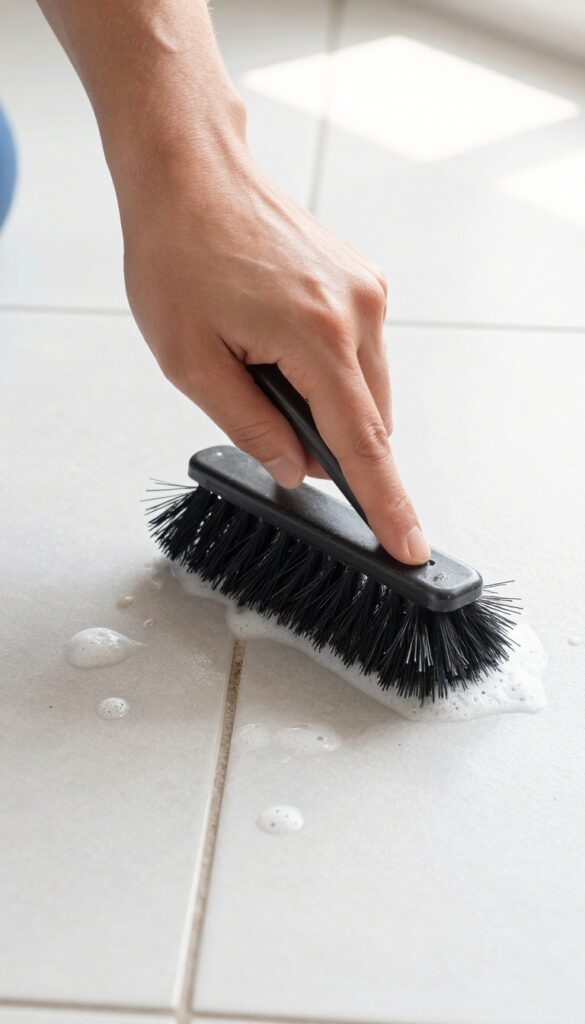
A sponge just won't cut it when grout lines are packed with dirt. The bristles of a dedicated grout brush are stiff enough to dig into those narrow grooves and loosen grime that's been sitting for weeks. It's a simple tool, but it makes a huge difference in how much dirt you actually remove.
Grout brushes come in various sizes, but the key is stiff, durable bristles that can reach deep without scratching tile. Look for one with an angled head to make scrubbing easier on your wrist. For larger areas, a brush with a long handle saves you from kneeling.
Use it with your favorite cleaner—whether it's baking soda paste or a commercial grout spray—and work in small sections. Rinse the brush frequently to avoid redepositing dirt. After scrubbing, wipe the area with a damp cloth to see the grout brighten noticeably.
Why A Grout Brush Works Better Than A Sponge
Sponges are too soft to penetrate grout lines. They tend to push dirt around rather than lift it out. A stiff brush's bristles get into the pores of the grout, dislodging embedded particles.
Plus, the scrubbing action helps agitate cleaning solutions, making them more effective. You'll see a visible difference after just a few passes.
Tips For Efficient Scrubbing
Wet the grout lines first with warm water or cleaner to soften the dirt. Apply your cleaning paste or spray and let it sit for a few minutes. Then scrub in a circular motion, focusing on one small section at a time.
Rinse the brush under running water every few strokes to keep it clean. For stubborn spots, apply more pressure or let the cleaner dwell longer.
Choosing The Right Brush
Not all brushes are equal. Look for one labeled specifically for grout, with bristles made of nylon or polypropylene. Avoid metal bristles—they can scratch tile.
A brush with a comfortable handle and a slight angle reduces hand fatigue. Some come with a scraper on the back for extra stubborn gunk. If you're cleaning a large floor, consider a brush that attaches to a drill for power scrubbing.
7. Try a Magic Eraser on Scuff Marks
Scuff marks from shoes, furniture, or dropped objects can make tile floors look messier than they actually are. A melamine foam sponge—often sold as a Magic Eraser—is a quick fix that lifts those dark streaks without any harsh chemicals. Just dampen the sponge, wring it out, and gently wipe the mark away.
It works on ceramic, porcelain, and even some natural stone tiles (though test a small area first).
Melamine foam is essentially a super-fine abrasive that acts like a very gentle sandpaper. When wet, it creates a mild scrubbing action that breaks down scuff marks and other surface stains without damaging the tile's finish. Unlike liquid cleaners, there's no dripping or residue left behind.
This makes it ideal for quick touch-ups on high-traffic areas like entryways or kitchen floors. Keep a few sponges on hand for spot cleaning between deeper scrubs.
How To Use A Magic Eraser On Tile
Start by sweeping or vacuuming the area to remove loose dirt. Wet the sponge until it's damp but not dripping—squeeze out excess water. Gently rub the scuff mark in a circular motion.
You'll see the mark transfer to the sponge. Rinse the sponge and repeat if needed. No additional cleaner is required.
Once the mark is gone, wipe the area with a dry cloth to remove any moisture.
When Not To Use A Magic Eraser
Avoid using melamine sponges on unsealed natural stone like marble, travertine, or slate. The abrasive action can etch the surface or strip the sealant. Also, test on a hidden corner of glazed tile first—some very glossy finishes may show micro-scratches.
If you're unsure, stick to a mild cleaner and a soft cloth for those surfaces.
Extending The Life Of Your Magic Eraser
After each use, rinse the sponge thoroughly and squeeze out excess water. Let it air dry completely before storing. A dry sponge lasts longer and won't develop mold.
You can also cut larger sponges into smaller pieces to get more uses out of each one. Once the sponge starts crumbling or feels rough, it's time to replace it.
8. Use a Microfiber Mop for Daily Shine
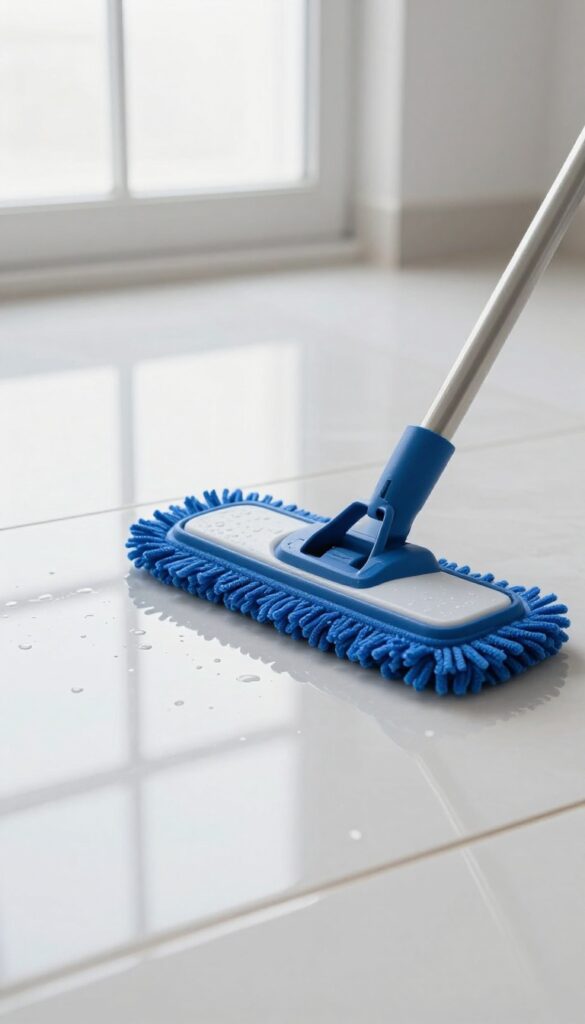
A microfiber mop is a game-changer for keeping tile floors looking polished every day. Unlike traditional string mops that can leave behind dirty water and streaks, microfiber traps dust and fine particles without scratching the surface. It's the easiest way to maintain that just-cleaned shine between deep scrubs.
Microfiber mops use electrostatic attraction to grab dirt rather than pushing it around. This means you're actually removing grime instead of just redistributing it. Plus, the ultra-fine fibers are gentle on all tile types, from ceramic to natural stone, so you won't accidentally dull the finish.
Why Microfiber Beats Cotton
Cotton mops tend to hold onto grime and require frequent rinsing. Microfiber, on the other hand, lifts and holds dirt until you wash it out. You'll use less water and fewer cleaning products, which is better for your floors and your wallet.
Best Technique For Streak-free Results
Use a dry microfiber pad for dusting first, then switch to a damp one for light cleaning. Work in figure-eight motions to capture debris effectively. Avoid soaking the pad—too much water can leave residue on grout lines.
When To Wash And Replace Pads
Wash microfiber pads after every use with mild detergent—no fabric softener, as it clogs the fibers. Replace pads once they stop picking up dust effectively, typically every 3 to 6 months depending on usage.
9. Apply a Grout Sealer After Cleaning
You've scrubbed and scrubbed, and now your grout looks brand new. Don't let all that hard work go to waste. Sealing grout after a deep clean locks in that fresh look and makes future cleaning sessions much easier.
Grout is porous, which means it soaks up spills, dirt, and moisture like a sponge. A good sealer fills those tiny pores, creating a protective barrier that repels stains and slows down grime buildup. It's a simple step that extends the life of your clean floors.
Sealing grout is a straightforward process that pays off big time. You can find grout sealers at any hardware store or online. Choose a penetrating sealer that soaks into the grout rather than sitting on top.
Apply it with a small brush or applicator bottle, carefully coating each grout line. Let it sit for the recommended time, then wipe off any excess from the tile surface. The whole job takes about an hour for an average bathroom floor.
One important note: make sure your grout is completely dry before sealing. After a deep clean, wait at least 24 to 48 hours. Moisture trapped underneath the sealer can lead to mold or peeling.
Once sealed, your grout will repel water and stains, so next time you mop, dirt won't settle in as easily.
Choose The Right Sealer
Not all sealers are the same. For most tile floors, a water-based penetrating sealer is a safe bet. It's low-odor, easy to apply, and works well on both sanded and unsanded grout.
If your grout is in a high-moisture area like a shower floor, consider a solvent-based sealer for extra durability. Always test a small hidden area first to make sure the sealer doesn't darken or discolor your grout.
How Often To Reapply
Sealer doesn't last forever. Depending on foot traffic and cleaning frequency, you'll need to reseal every 6 to 12 months. A simple water test can tell you when it's time: sprinkle a few drops of water on the grout.
If it beads up, the sealer is still working. If the water soaks in and darkens the grout, it's time to reapply.
Avoid Common Mistakes
Don't apply sealer over dirty or damp grout—it will seal in the dirt and moisture, causing discoloration or mold. Also, avoid getting sealer on the tile surface; if it dries, it can leave a hazy film that's hard to remove. Work in small sections and wipe up any excess immediately.
And always ventilate the room, especially with solvent-based sealers.
10. Use a Commercial Grout Cleaner for Tough Spots
Sometimes the DIY route just doesn't cut it. When you've tried baking soda, vinegar, and even a little bleach with no luck, it's time to bring out the big guns. Commercial grout cleaners are specially designed to tackle the mineral deposits, mold, and deep-seated grime that make grout lines look permanently dirty.
They often contain stronger active ingredients like bleach or oxygen bleach that break down stains on contact.
Choose The Right Formula
Not all grout cleaners are the same. Some are thick gels that cling to vertical surfaces, while others are spray-on foams for quick jobs. For set-in stains on floor grout, a gel or cream formula works best because it stays put and penetrates.
Look for products labeled "oxygen bleach" if you want a gentler option that still lifts stains, or a chlorine bleach formula for whitening. Always test a small, hidden area first to make sure the cleaner doesn't discolor your grout or tile.
Apply And Let It Sit
The secret to commercial cleaners is dwell time. Spray or squeeze the product directly onto the grout lines, making sure to cover them completely. Let it sit for the time recommended on the label—usually 5 to 15 minutes.
Don't let it dry out; if it starts to dry, lightly mist with water. The active ingredients need time to break down the dirt, so patience pays off.
Scrub And Rinse Thoroughly
After the dwell time, grab a stiff-bristled brush (a grout brush or an old toothbrush works) and scrub the lines in a circular motion. You'll see the dirt lift away. Then rinse the area thoroughly with clean water—multiple times if needed—to remove any chemical residue.
Leftover cleaner can attract more dirt, so don't skip this step. Wipe the tile surface dry with a microfiber cloth to prevent water spots.
Ventilate And Protect Yourself
Commercial cleaners can be strong, so open windows or turn on a fan to keep the area ventilated. Wear rubber gloves to protect your hands, and if the product has a strong odor, consider a mask. Safety first means you can clean without irritation and get back to enjoying your fresh floors.
11. Try the Dish Soap and Warm Water Method
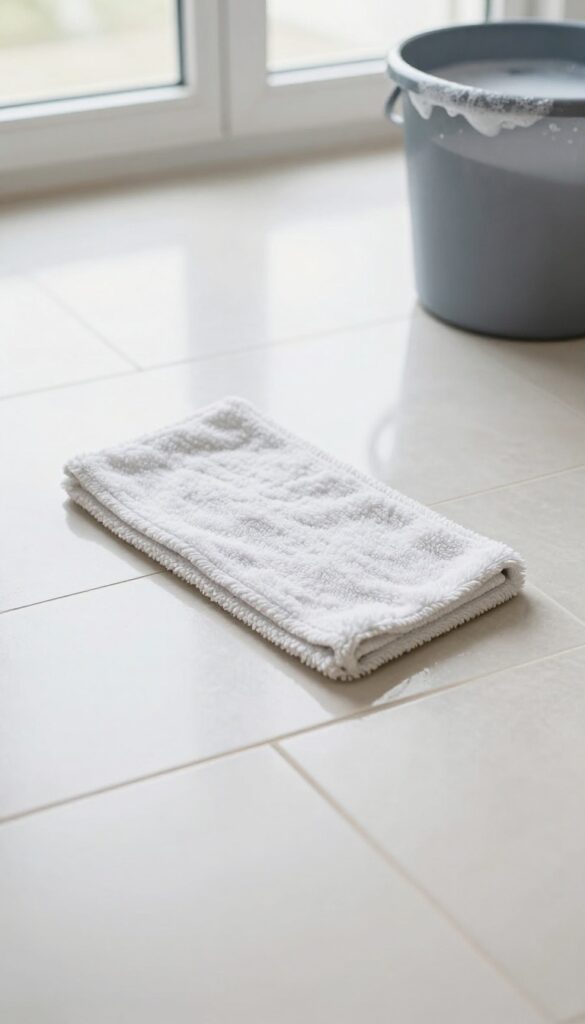
Sometimes the simplest solution is the best one. A few drops of dish soap in warm water is gentle enough for regular mopping and cuts through everyday grime without leaving residue. It's a go-to method for maintenance cleaning between deeper scrubs.
This method works best on sealed tile and grout. Use a microfiber mop or a soft cloth to avoid scratching the surface. For extra dirty areas, let the soapy water sit for a minute before mopping up.
Why Dish Soap Works So Well
Dish soap is designed to break down grease and oils, which are common components of floor grime. It's pH-neutral, so it won't damage tile or grout like harsher cleaners can. Plus, it's safe for households with kids and pets.
How To Mix And Apply
Fill a bucket with warm water and add a few drops of liquid dish soap. Swirl to mix. Mop the floor as usual, but avoid over-wetting grout lines.
Rinse the mop frequently in clean water to prevent spreading dirty water.
When To Use This Method
This is perfect for weekly or bi-weekly cleaning. For heavily soiled grout or set-in stains, you'll need a stronger solution. But for regular upkeep, dish soap and water keeps your tiles looking fresh without stripping sealant.
12. Use a Floor Scrubber Machine for Large Areas
When you're facing a big tile floor—like in a kitchen, hallway, or basement—hand scrubbing can take forever. A floor scrubber machine does the heavy lifting for you, covering ground fast while delivering a deep, even clean. You can rent one from a hardware store or buy a consumer-grade model if you have frequent large-area cleaning needs.
Floor scrubbers use rotating brushes and a cleaning solution to scrub the tile, then a squeegee and vacuum to pick up the dirty water. This leaves the floor clean and nearly dry, so you don't have to worry about slippery surfaces or long drying times. The brush action is especially effective at loosening grime from grout lines and textured tiles.
Renting Vs. Buying
For a one-time deep clean, renting is the most cost-effective option. Many home improvement stores offer daily or half-day rentals. If you have large tile areas you clean regularly—like a commercial space or a big home—buying a compact scrubber can save money in the long run.
Look for models with adjustable brush pressure and a solution tank.
Choosing The Right Brush
Tile floors typically need a medium-stiff brush that won't scratch the surface but can still dislodge dirt. Some machines come with interchangeable brushes for different floor types. For grout lines, a brush with stiffer bristles or a specialized grout brush attachment can make a big difference.
Technique Tips
Work in overlapping passes to avoid streaks. Pre-sweep or vacuum the floor to remove loose debris. Use a neutral pH tile cleaner to avoid damaging the grout or finish.
Empty the dirty water tank frequently to prevent clogs and keep the machine running efficiently.
13. Make a DIY Grout Cleaner with Lemon and Borax
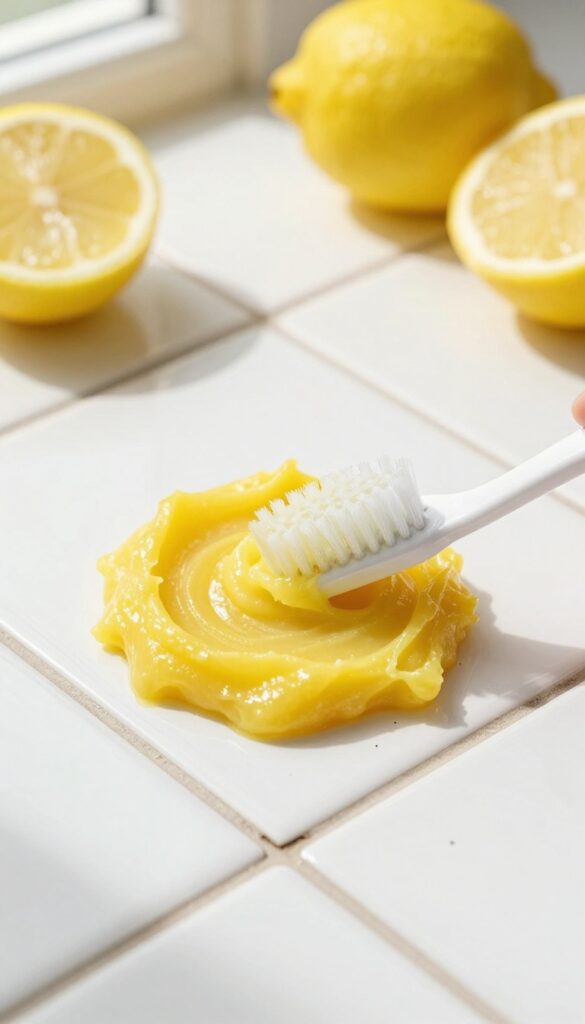
If you prefer natural cleaning solutions, this lemon and borax paste is a winner. The acidity of lemon cuts through grease and soap scum, while borax acts as a gentle abrasive and deodorizer. Together, they create a fresh-smelling cleaner that's tough on grout stains but safe for your tiles and the environment.
This simple two-ingredient paste works wonders on dingy grout. The lemon juice brightens and disinfects, and the borax scrubs away embedded dirt without scratching. It's especially effective on kitchen grout where cooking grease tends to accumulate.
Plus, the citrus scent leaves your kitchen smelling clean and fresh.
How To Make The Paste
Mix 1/4 cup of borax with enough fresh lemon juice to form a thick paste. Stir until smooth—you want it spreadable but not runny. Let it sit for a minute so the borax dissolves slightly.
If the paste is too thin, add more borax; if too thick, add a few more drops of lemon juice.
Application Tips For Best Results
Apply the paste directly onto grout lines using an old toothbrush or a grout brush. Work it into the grooves, then let it sit for 10–15 minutes. For stubborn stains, let it sit up to 30 minutes.
Scrub gently, then rinse with warm water and wipe dry. Avoid letting the paste dry completely, as it can leave a residue.
When To Use This Method
This paste is ideal for light to moderate grout stains, especially in kitchens or bathrooms with greasy buildup. It's not recommended for unsealed grout, as the acid can weaken it over time. Always test on a small, hidden area first.
For heavily stained or old grout, you may need a stronger commercial cleaner or a steam cleaner.
14. Use Rubbing Alcohol for a Streak-Free Finish
After you've scrubbed and mopped, the final step can make or break that just-cleaned look. Water spots and streaks often appear as tiles dry, dulling the shine. Rubbing alcohol is a simple fix that helps tiles dry crystal clear without residue.
Mix one cup of rubbing alcohol with a gallon of water in a bucket. Use a clean mop or microfiber cloth to apply the solution to the floor. No need to rinse—just let it air dry.
The alcohol evaporates quickly, pulling water away and preventing streaks. It also cuts any remaining grease or soap scum, leaving a brilliant finish.
Why It Works
Rubbing alcohol has a lower surface tension than water, so it spreads evenly and dries faster. This prevents the minerals in hard water from settling on the tile and causing streaks. Plus, it's a mild disinfectant, giving your floors an extra layer of cleanliness.
Best Tiles For This Method
This works beautifully on ceramic, porcelain, and glazed tiles. Avoid using it on unsealed natural stone like marble or slate, as alcohol can damage the surface. Test in an inconspicuous area first if you're unsure.
Pro Tips For Best Results
Use a microfiber mop or cloth—cotton can leave lint. Don't oversaturate the floor; a light, even coat is enough. For extra shine, add a few drops of essential oil (like lemon) to the mix for a fresh scent.
15. Try a Pressure Washer on Outdoor Tile
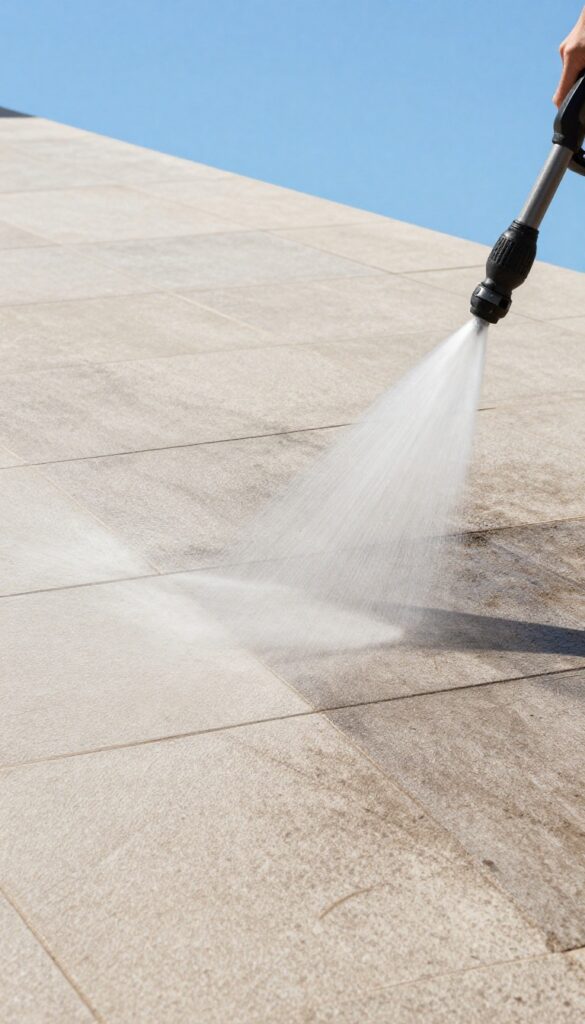
Outdoor tile takes a beating from weather, mud, and foot traffic. Grout lines can turn dark with embedded dirt that a mop just won't touch. A pressure washer changes the game—it blasts away years of grime in minutes without you having to scrub on your hands and knees.
For patios, pool decks, and entryways, a pressure washer with a wide nozzle delivers a powerful stream that cleans both tile and grout. The key is using the right pressure and technique to avoid damaging the tile or forcing water under the surface.
Choose The Right Nozzle And Pressure
Start with a 25- or 40-degree nozzle (green or white) to spread the spray and reduce intensity. Hold the wand at a 45-degree angle about 12 inches from the surface. Test a small hidden area first—porous tile like travertine can chip if the pressure is too high.
Keep the PSI between 1, 200 and 1, 800 for most outdoor tile.
Pre-treat Stubborn Grout
If grout lines are heavily stained, spray them with a 50/50 vinegar-water solution or a commercial outdoor cleaner and let it sit for 10 minutes. Then pressure wash as usual. The pre-treatment loosens deep grime so the water stream can flush it away more easily.
Work In Sections And Rinse Thoroughly
Divide the area into manageable sections (about 4×4 feet) and clean one at a time. Overlap your passes to avoid streaks. After finishing, rinse the entire area with clean water to remove any residue.
Let the tile dry completely before walking on it to prevent slipping.
16. Use a Toothbrush for Tight Corners
An old toothbrush reaches grout lines near baseboards and corners where larger brushes can't fit. This simple tool lets you scrub precisely without splashing cleaner all over the walls. It's perfect for spots that collect the most dirt but get the least attention.
Grab a toothbrush with firm bristles and dip it into your favorite grout cleaner. Work the brush back and forth along the grout lines, focusing on corners and edges. The small head gives you control to apply pressure exactly where it's needed.
Rinse with a damp cloth or sponge to remove loosened grime.
Why A Toothbrush Works Best
The bristles are stiff enough to dislodge embedded dirt but soft enough not to scratch the tile. The angled handle helps you reach under baseboards and into tight corners without straining your wrist.
Best Cleaners To Use
Baking soda paste, hydrogen peroxide, or a diluted bleach solution all work well with a toothbrush. Avoid harsh acids that could damage grout or tile. Apply the cleaner first, let it sit for a few minutes, then scrub.
Tips For Maximum Effect
Use a separate toothbrush for light and dark grout to avoid staining. Rinse the brush frequently during cleaning. For extra stubborn spots, wrap a cloth around the brush handle to apply more leverage.
17. Apply a Tile and Grout Cleaner with Bleach
Bleach is a heavy hitter for white grout that's lost its luster. A dedicated tile and grout cleaner with bleach can restore that bright, just-installed look without requiring elbow grease. But bleach isn't forgiving—it can discolor colored grout or damage certain tiles, so a patch test is non-negotiable.
Before you go all in, spot-test in an inconspicuous area. Apply a small amount of the bleach cleaner, wait the recommended time, and rinse. If the grout lightens evenly and the tile stays unchanged, you're good to go.
For white grout, the results are often dramatic: yellowed or grayed lines turn crisp and bright again.
Choosing The Right Bleach Cleaner
Not all bleach cleaners are created equal. Look for a product specifically labeled for tile and grout—these are usually thicker, so they cling to vertical surfaces and don't drip off. Avoid splashy liquid bleaches meant for laundry; they're too runny and can damage tile sealants.
Application Tips For Best Results
Apply the cleaner directly onto the grout lines using a squeeze bottle or a small brush. Let it sit for 5–10 minutes—don't let it dry completely. Scrub gently with a stiff nylon brush, then rinse thoroughly with water.
Work in small sections so you don't miss any spots.
Safety First: Ventilation And Protection
Bleach fumes are strong, so open windows and doors while you work. Wear rubber gloves to protect your skin and old clothes you don't mind bleaching. If you have pets or kids, keep them out of the room until the floor is completely dry and aired out.
18. Use a Wet/Dry Vacuum to Remove Dirty Water
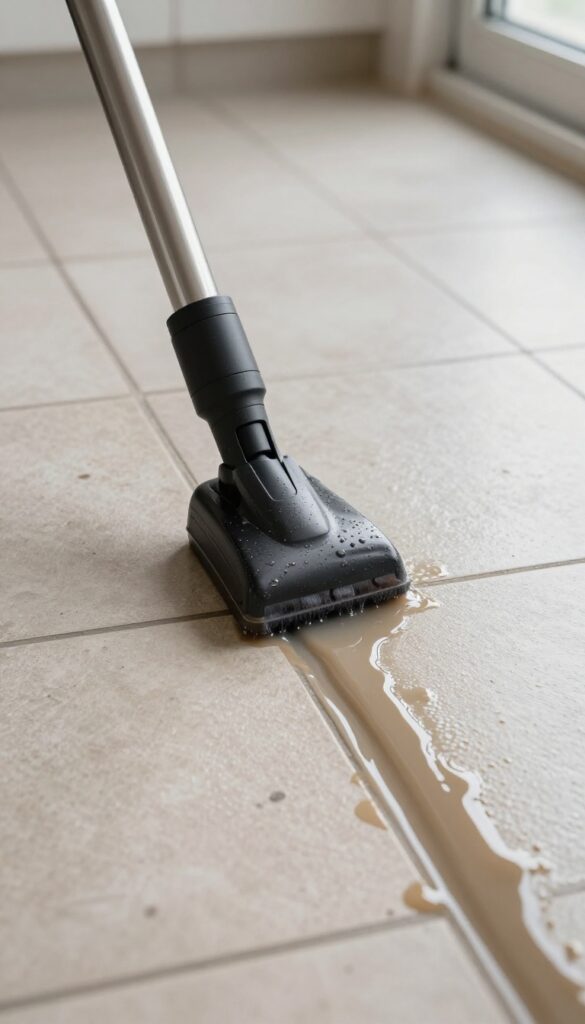
You've scrubbed the grout lines, but that murky water left behind can redeposit dirt as it dries. A wet/dry vacuum solves this problem neatly. It sucks up the dirty water from deep within the grout, leaving the surface clean and residue-free.
This step is especially helpful for textured tile or wide grout lines where mopping just pushes the dirt around.
After scrubbing, switch your wet/dry vac to wet mode and fit the narrow crevice tool. Run it along each grout line, moving slowly to pull out the dirty water. You'll see the water level in the tank rise—and your grout will look noticeably brighter.
This method also speeds up drying time, so you can enjoy your clean floor sooner.
Why Residue Is A Problem
When dirty water dries on tile, it leaves a film that attracts more dirt. Grout lines, with their porous surface, hold onto that residue especially well. Using a wet/dry vac removes the water before it can settle, giving you a deeper clean that lasts longer.
Best Practices For The Vacuum
Empty the tank before you start so you have full suction. Work in small sections, and don't let the vacuum sit in one spot too long—it can pull moisture from the grout itself. If your vac has a squeegee attachment, use it to pull water off smooth tile surfaces too.
When To Skip This Step
If your grout is sealed and the tile is smooth, a microfiber mop may be enough. But for unsealed grout or heavily soiled floors, the wet/dry vac makes a real difference. It's also a great trick for outdoor tile where you can't let water pool.
19. Try a Natural Stone Cleaner for Sensitive Tiles
Natural stone tiles like marble, travertine, and slate add elegance to any home, but they come with a catch: they're surprisingly delicate. Harsh chemicals and acidic cleaners can etch the surface, leaving permanent dull spots or discoloration. That's why switching to a pH-neutral cleaner specifically designed for natural stone is a game-changer.
These cleaners gently lift dirt and grime without damaging the stone's seal or finish. They're also safe for the grout lines, so you don't have to worry about weakening them over time. Many are available as ready-to-use sprays or concentrates that you dilute with water, making them just as convenient as all-purpose cleaners.
Using a dedicated natural stone cleaner is the safest way to maintain the beauty of your tile floors. These products are formulated to clean without stripping sealants or leaving residues that attract more dirt. They often contain mild surfactants that break down grease and soil, while maintaining the stone's natural pH balance.
For daily or weekly cleaning, simply spray the cleaner onto the floor and mop with a soft microfiber mop. Avoid using excessive water, as standing water can seep into the stone and cause damage over time. Always follow the manufacturer's instructions for dilution ratios and drying times.
If you prefer a DIY approach, a mixture of warm water and a few drops of mild dish soap can work in a pinch, but it's not ideal for routine use. Soap can leave a film that dulls the stone. Stick with a pH-neutral cleaner for the best long-term results.
Why Ph-neutral Matters
Natural stone is chemically reactive. Acidic cleaners (like vinegar or lemon juice) can etch the surface, creating microscopic pits that trap dirt and make the floor look hazy. Alkaline cleaners can be too harsh and strip the sealant.
A pH-neutral cleaner sits right in the middle, typically around pH 7, so it cleans effectively without chemical aggression. This preserves the stone's polish and extends the life of your floor.
How To Use It Correctly
Start by sweeping or vacuuming to remove loose dirt and grit. Then dilute the cleaner according to the label—usually about 1/4 cup per gallon of warm water. Mop using a damp (not soaking wet) mop, and rinse the mop head frequently.
Let the floor air dry or buff with a soft cloth for extra shine. Avoid using waxes or polishes unless they're specifically made for natural stone, as they can yellow or create a slippery surface.
What To Look For In A Product
Choose a cleaner labeled "pH-neutral" and "safe for natural stone. " Avoid products with acids, bleach, ammonia, or abrasives. Some popular options include brands like StoneTech, Miracle Sealants, and Method Stone Cleaner.
If you have sealed stone, make sure the cleaner is also sealant-safe. For extra protection, consider using a stone-specific sealer every year or two to keep stains at bay.
20. Maintain with a Weekly Quick Mop Routine
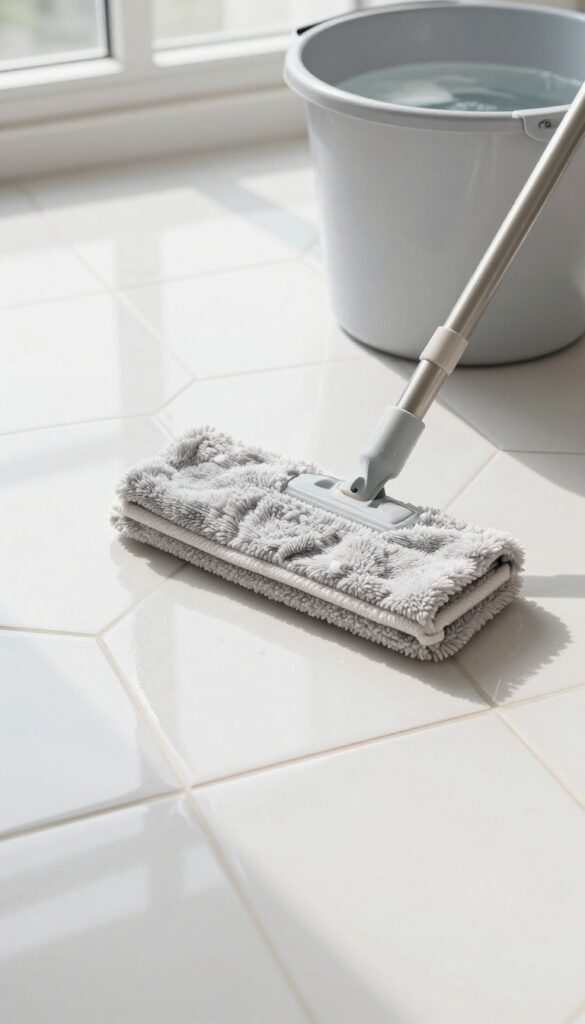
The best way to keep tile floors looking great is to stop dirt from building up in the first place. A quick weekly mop with a gentle cleaner is all it takes to prevent grime from settling into grout lines and dulling the shine. This routine is fast, uses simple supplies, and dramatically reduces the need for deep scrubbing.
It's the easiest habit to adopt for long-lasting clean floors.
A weekly quick mop routine is your first line of defense against grout dirt and tile dullness. By removing surface dust and spills before they have a chance to settle, you keep your floors looking fresh with minimal effort. The key is using the right cleaner—something gentle enough for daily use but effective enough to lift everyday grime.
A simple mix of warm water and a few drops of dish soap or a pH-neutral floor cleaner works perfectly. Avoid harsh chemicals or vinegar, which can damage grout sealant over time. A microfiber mop is ideal because it traps dirt without leaving excess water behind.
Just a few minutes each week can save you hours of scrubbing later.
Choose The Right Mop And Cleaner
A flat microfiber mop is your best bet—it picks up dirt without pushing it into grout lines. For the cleaner, stick with a pH-neutral option or a few drops of mild dish soap in warm water. Avoid vinegar, bleach, or ammonia, as these can strip grout sealant and damage tile over time.
Sweep Or Vacuum First
Always remove loose dirt and debris before mopping. If you mop over dust and grit, you're essentially spreading it around and scratching the tile surface. A quick sweep or vacuum with a hard floor attachment takes just a minute and makes a huge difference.
Don't Overwet The Floor
Too much water can seep into grout lines and cause mold or mildew. Wring your mop until it's just damp, not dripping. This is especially important if your grout isn't sealed.
A damp mop cleans effectively without leaving puddles.
Let It Air Dry
After mopping, let the floor air dry completely before walking on it. Opening a window or turning on a fan speeds up the process. This prevents dirt from sticking to the damp surface and keeps your floors streak-free.
FAQ
What is the best homemade cleaner for tile grout?
A paste of baking soda and water is highly effective for most grout stains. For tougher spots, add a little hydrogen peroxide or white vinegar (but not on natural stone).
How often should I deep clean tile floors?
Deep clean tile floors every 1 to 3 months, depending on foot traffic. High-traffic areas may need monthly attention, while less-used rooms can go longer.
Can I use bleach on all tile floors?
Bleach is safe for ceramic and porcelain tiles but can damage natural stone like marble or travertine. Always test in an inconspicuous area first.
Why does my tile floor look dull after mopping?
Dullness often comes from soap residue or hard water deposits. Use a microfiber mop and a vinegar rinse (if safe for your tile) to restore shine.
How do I prevent grout from getting dirty so fast?
Seal grout after cleaning to create a protective barrier. Regular sweeping and prompt spot cleaning also prevent dirt from settling into pores.
Conclusion
Tile floors don't have to be a constant source of frustration. With the right techniques and a little regular effort, you can keep grout looking clean and tiles shining. Start with the methods that match your floor type and dirt level, and build a routine that works for you.
A few minutes of maintenance each week can save you hours of deep scrubbing later. Your floors will thank you, and so will your back.


