
You step into the shower expecting a fresh start, but the glass door is covered in cloudy spots and soap scum. That dull film makes the whole bathroom feel grimy, no matter how clean the tiles are. The good news?
You don't need harsh chemicals or expensive products to get a clear shine. Most shower door grime is just hard water minerals and soap residue building up over time. With the right techniques and a few household staples, you can restore that crystal-clear look.
These 25 tips cover everything from daily maintenance to deep cleaning tricks. Whether you're dealing with stubborn white stains or just want to prevent future buildup, there's a solution here for you.
1. Squeegee After Every Shower
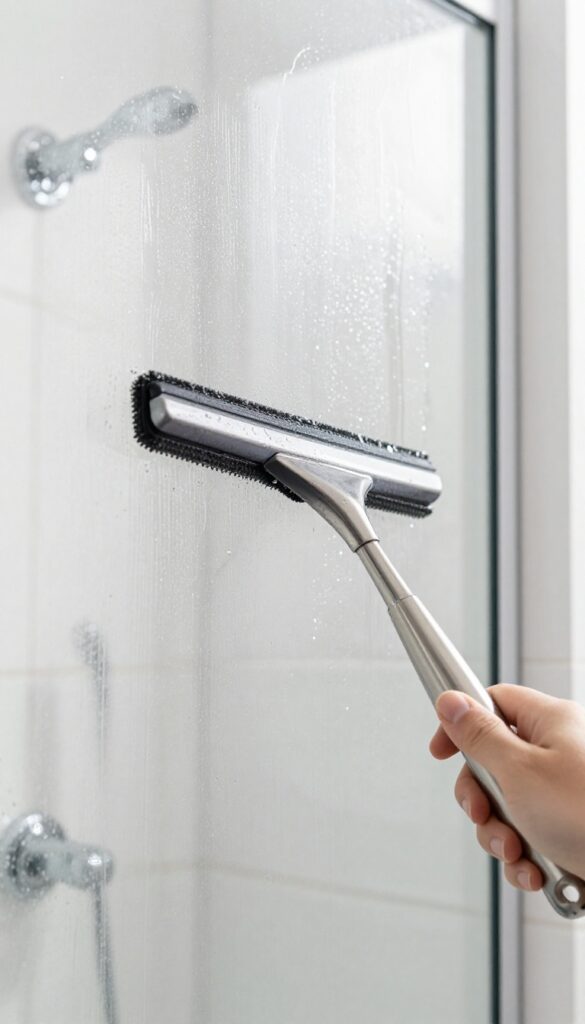
The simplest habit for spotless glass doors takes just 30 seconds. A quick squeegee after each shower removes water before it dries, preventing those cloudy mineral deposits and soap scum from forming. Make it part of your post-shower routine, and you'll notice a huge difference in how long your doors stay clear.
Water spots and soap scum are the two biggest enemies of clear shower glass. Both form when water dries on the surface, leaving behind minerals and residue. A squeegee wipes away almost all the water, so there's nothing left to dry and cause stains.
It's the most effective preventive measure you can take.
Choose The Right Squeegee
Not all squeegees are created equal. Look for one with a rubber blade that's at least 6 inches wide, with a comfortable handle. Avoid cheap plastic blades that leave streaks.
A stainless steel or heavy-duty plastic model with a replaceable blade will last longer and work better.
Proper Squeegee Technique
Start at the top corner and pull the squeegee across in a straight line, overlapping each stroke slightly. Wipe the blade with a microfiber cloth after each pass to keep it dry and streak-free. Finish with a vertical stroke down the sides to catch any drips.
Store It Within Reach
Keep your squeegee hanging inside the shower or on a hook right outside the door. If it's hidden in a cabinet, you won't use it consistently. A small suction cup hook on the glass or tile makes it easy to grab while you're still in the shower.
2. Use a Vinegar and Dish Soap Spray
Vinegar is a powerhouse for cutting through hard water stains, and dish soap breaks down grease and soap scum. Together, they make a simple, effective cleaner that leaves glass sparkling. This homemade spray costs pennies and works just as well as store-bought glass cleaners.
Mix equal parts white vinegar and water in a spray bottle, then add a few drops of liquid dish soap. Shake gently to combine. Spray the solution generously onto the glass door, covering all cloudy areas.
Let it sit for 10 minutes to dissolve mineral deposits and grime. Then rinse thoroughly with warm water and wipe dry with a microfiber cloth for a streak-free shine.
Why This Combo Works So Well
The acetic acid in vinegar dissolves calcium and lime deposits from hard water, while dish soap lifts oily soap scum. Together, they tackle both types of buildup without harsh fumes. The soap also helps the solution cling to vertical glass, giving it time to work.
Tips For Best Results
Use a spray bottle with a fine mist setting to avoid wasting product. If your door has heavy buildup, let the solution sit for up to 15 minutes. For extra stubborn spots, scrub gently with a non-abrasive sponge before rinsing.
Always rinse thoroughly—any leftover vinegar can leave a faint smell until it dries.
3. Try a Lemon Juice Rinse
If your shower glass has stubborn white spots that vinegar won't touch, lemon juice might be your answer. The citric acid in lemons breaks down hard water minerals and soap scum without leaving a strong chemical smell. Plus, it leaves behind a fresh, clean scent that makes the bathroom feel instantly brighter.
Lemon juice works best on light to moderate buildup. For heavy stains, you may need to let it sit longer or combine it with other methods.
How To Use Lemon Juice
Cut a lemon in half and rub it directly over the glass, squeezing gently as you go. Let the juice sit for 5–10 minutes, then scrub with a soft sponge or cloth. Rinse thoroughly with warm water and dry with a microfiber towel to prevent new spots.
The 50/50 Spray Solution
Mix equal parts fresh lemon juice and water in a spray bottle. Spritz the glass door, let it sit for a few minutes, then scrub and rinse. This is a great option if you want to cover a larger area evenly without wasting lemons.
When To Skip This Method
Avoid lemon juice on natural stone or unsealed grout, as the acid can etch or discolor them. Also, don't use it if your glass has a protective coating, as the acidity may wear it down over time.
4. Baking Soda Paste for Tough Spots
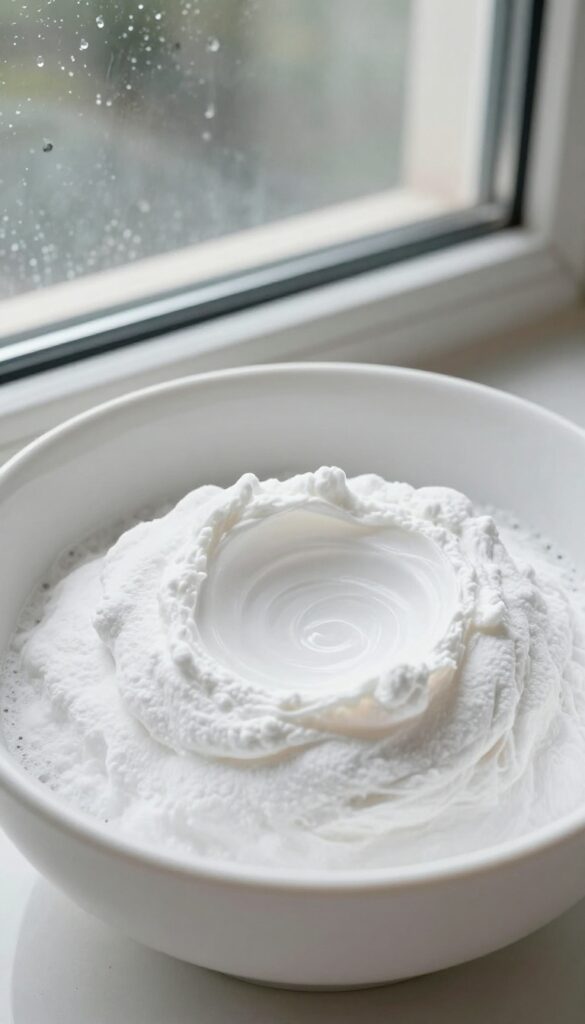
When vinegar or lemon juice just isn't cutting it, baking soda steps in as the gentle abrasive your shower glass needs. It's perfect for those crusty white deposits that have been sitting for weeks. Mixed into a paste, it clings to vertical surfaces and breaks down grime without scratching the glass.
Making The Paste
Mix three parts baking soda with one part water in a small bowl. Stir until it forms a thick, spreadable paste—think toothpaste consistency. If it's too runny, add more baking soda; if too dry, add a few drops of water.
Use a clean sponge or your fingers (with gloves) to apply a generous layer directly onto the stubborn spots.
Let It Sit
Patience is key here. Let the paste sit on the glass for 15 minutes. This gives the baking soda time to soften the mineral deposits and soap scum.
For extra tough spots, let it sit up to 30 minutes. You'll see the paste start to dry slightly, which is fine—it's still working.
Scrubbing And Rinsing
After the wait, use a soft sponge or a non-abrasive scrub pad to gently scrub the area in circular motions. You don't need to press hard—the baking soda does the work. Rinse thoroughly with warm water, making sure all paste residue is gone.
Wipe dry with a microfiber cloth to prevent new water spots.
5. Use a Magic Eraser on Soap Scum
A magic eraser is one of those cleaning tools that feels almost too good to be true. You just dampen it, wipe the glass, and soap scum disappears like it never existed. The melamine foam works as a super-fine abrasive that gently buffs away buildup without scratching the glass.
It's perfect for light to moderate scum that hasn't had years to harden.
Magic erasers are especially handy for spot-cleaning between deep cleans. Keep one in the bathroom and give the glass a quick once-over every few days. You'll prevent scum from building up into those stubborn white layers that require elbow grease later.
How To Use It Right
Wet the eraser until it's damp, not dripping. Gently wipe the glass in circular motions. You don't need to press hard—the foam does the work.
Rinse the glass with water afterward to remove any residue. Avoid using it on tinted or coated glass, as it can dull the finish over time.
When It Works Best
Magic erasers shine on recent soap scum and water spots. If you've been cleaning regularly but still see a film, this is your quick fix. For thick, crusty buildup, pair it with a vinegar soak first to loosen the grime.
Pro Tip For Longevity
Cut the eraser into smaller pieces before use. A full-size block is overkill for a shower door, and smaller pieces last longer. Store them dry between uses to prevent bacteria growth.
6. Apply a Rain Repellent Coating
Here's a trick borrowed from your car: rain repellent coatings designed for windshields work wonders on shower glass. These hydrophobic formulas cause water to bead up and roll right off, which means fewer water spots and less soap scum buildup. It's a simple way to cut down on cleaning frequency and keep your doors looking clear longer.
Applying a rain repellent coating is a proactive step that pays off in the long run. The coating creates a slick, water-repellent surface that prevents minerals and soap from bonding to the glass. You can find these products online or at auto parts stores, and they typically last several weeks to a few months before needing reapplication.
Just make sure to clean the glass thoroughly before applying for the best results.
Choosing The Right Product
Not all rain repellents are the same. Look for a product specifically safe for glass and non-toxic for indoor use. Some popular options include Rain-X and Aquapel, but there are also eco-friendly alternatives.
Avoid any that contain harsh chemicals that might damage the glass or harm your skin.
Application Tips
Start by cleaning the glass with a vinegar solution to remove all residue. Dry it completely, then apply the repellent in a thin, even layer using a soft cloth. Let it haze over, then buff it off with a clean microfiber cloth.
Work in small sections to avoid streaks. For best results, apply two coats and let each cure for the recommended time.
Maintenance And Longevity
After application, you'll notice water beading up and sliding off. To extend the coating's life, avoid abrasive cleaners and scrubbers. A simple squeegee after each shower helps keep the coating intact.
Reapply every 4-6 weeks or when you notice water no longer beads as well.
7. Clean with a Dryer Sheet
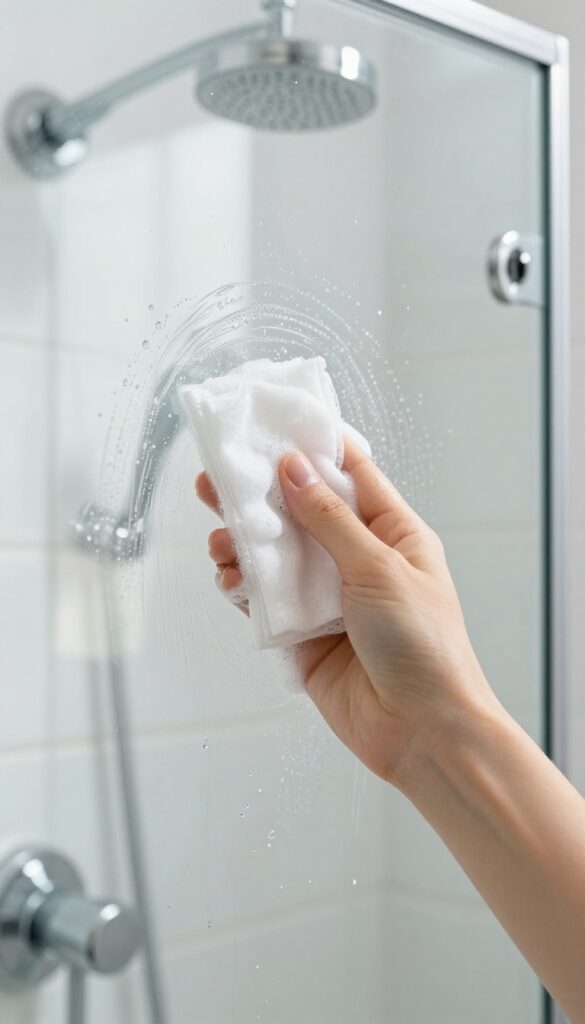
You might toss used dryer sheets in the trash, but they can actually give your shower glass a surprising boost. The anti-static properties help repel dust and the softening agents dissolve soap scum. It's a quick, low-effort trick that leaves a protective layer behind.
Grab a used dryer sheet (the ones from your laundry work fine) and gently rub it over the dry glass surface. Focus on areas with visible soap scum or water spots. The sheet will start to break down the residue.
After a quick rub, rinse the glass with warm water and wipe dry with a microfiber cloth. You'll notice less streaking and a subtle shine. This method is especially handy for light maintenance between deeper cleans.
Why It Works
Dryer sheets contain fabric softeners and surfactants that cut through soap scum and mineral deposits. The mild abrasiveness of the sheet itself helps scrub without scratching. Plus, the anti-static coating leaves a thin film that repels future dust and water spots, so your glass stays clean longer.
Best Practices
Use only used or new dryer sheets—avoid fabric softener liquids. Work in small sections and rinse thoroughly to avoid any residue. For best results, follow up with a squeegee or microfiber cloth.
This trick works great on tempered glass but skip it on etched or frosted glass, as the coating might cause streaks.
8. Use a Commercial Glass Cleaner with Ammonia
Sometimes the simplest solution is the most effective. Commercial glass cleaners with ammonia are formulated to cut through grease, grime, and soap scum without leaving streaks. They're a go-to for many professional cleaners because they work fast and require minimal elbow grease.
Ammonia-based cleaners are powerful degreasers that dissolve the oily residue from soaps and body washes. They also evaporate quickly, which helps prevent streaks. For best results, spray the cleaner directly onto the glass, let it sit for 30 seconds, then wipe with a clean, dry microfiber cloth.
Avoid using paper towels, as they can leave lint behind.
Why Ammonia Works So Well
Ammonia is alkaline, which means it neutralizes acidic soils like soap scum. It also breaks down the bonds between grime and glass, making it easy to wipe away. Unlike some natural cleaners, ammonia doesn't leave a residue that can attract more dirt.
How To Apply For A Streak-free Finish
Spray the cleaner evenly across the glass. Use a microfiber cloth in a circular motion to lift the grime, then follow with a dry section of the cloth in straight lines from top to bottom. This technique prevents streaks and ensures a crystal-clear shine.
Safety Tips When Using Ammonia
Always use ammonia-based cleaners in a well-ventilated area. Wear gloves to protect your hands, and avoid mixing with bleach or other cleaners, as this can produce toxic fumes. Keep the product away from children and pets.
9. Try a Pumice Stone for Hard Water Rings
Hard water rings at the bottom of shower doors can be stubborn. They build up over time and resist regular cleaners. A pumice stone offers a simple, effective solution without harsh chemicals.
Wet the pumice stone thoroughly before use. Gently rub the hard water rings with light pressure. Keep the stone wet to prevent scratching the glass.
Rinse and wipe clean afterward.
Why Pumice Works
Pumice is a soft, porous volcanic rock that acts as a mild abrasive. It gently scrubs away mineral deposits without damaging glass, as long as it stays wet.
Step-by-step Application
Soak the pumice stone in water for a few minutes. Rub it over the hard water rings using circular motions. Rinse the area frequently to check progress.
Wipe dry with a microfiber cloth.
Safety Tips
Always keep the stone and glass wet. Never use dry pumice on glass, as it can cause scratches. Test on a small, inconspicuous area first.
10. Install a Water Softener
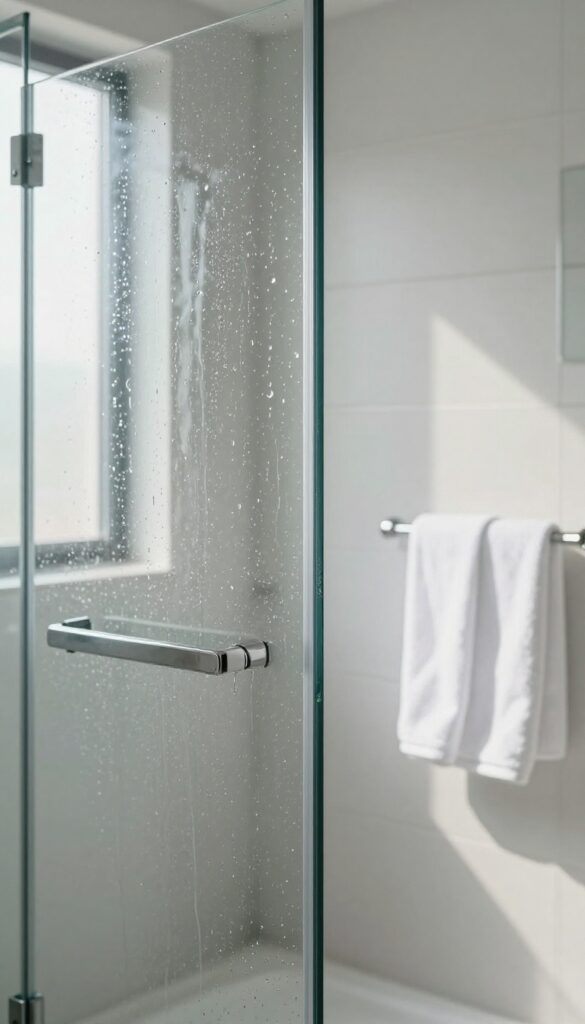
Hard water is the silent enemy of clean shower doors. Those white, crusty deposits that seem impossible to remove? That's calcium and magnesium from your water supply.
A whole-house water softener tackles the problem at its source, swapping those minerals for sodium ions. The result is water that lathers better, leaves fewer spots, and makes every cleaning session noticeably easier.
How Hard Water Damages Glass
Hard water doesn't just leave spots—it etches glass over time. Minerals bond to the surface, creating a rough layer that traps soap scum and grime. Once etching occurs, no amount of scrubbing will fully restore the original shine.
A water softener prevents this damage before it starts, keeping your glass smooth and easy to clean.
Spot Reduction You'll Notice Immediately
After installing a softener, you'll see fewer water spots after every shower. The water sheets off the glass instead of beading up and drying into mineral deposits. This means less wiping, less scrubbing, and a consistently clearer door.
Many homeowners report cutting their cleaning time in half.
Installation Options And Cost
Whole-house softeners range from basic models under $500 to high-capacity units over $2, 000. Installation can be a DIY weekend project if you're handy with plumbing, or hire a pro for around $200–$500. Salt-based systems are most effective, but salt-free conditioners are an alternative if you're concerned about sodium intake.
11. Use a Microfiber Cloth for Drying
You've already done the hard work of cleaning and squeegeeing, but those tiny leftover droplets can still dry into spots. That's where a microfiber cloth comes in. It's the final polish that makes your glass doors truly gleam.
Microfiber is designed to trap water and dust, not just push them around. Unlike a regular towel that might leave lint or streaks, microfiber absorbs moisture completely. It also won't scratch the glass, even if there's a bit of grit left behind.
Keep a dedicated microfiber cloth near your shower and give the glass a quick once-over after each use. You'll notice fewer spots and a brighter shine over time.
Why Microfiber Works Best
Microfiber has ultra-fine fibers that create a large surface area for trapping water. It can hold up to seven times its weight in liquid, so it wicks away moisture instead of smearing it. Plus, it's lint-free, so you won't have to deal with fuzzy residue on your glass.
How To Use It Effectively
After squeegeeing, take a dry microfiber cloth and wipe from top to bottom in a single direction. This catches any water that the squeegee missed. For best results, use a fresh cloth each time or one that's been washed without fabric softener.
Fabric softener clogs the fibers and reduces absorbency.
Caring For Your Microfiber Cloths
Wash microfiber separately from cotton towels to avoid lint transfer. Use a mild detergent and skip the bleach or fabric softener. Air dry or tumble dry on low heat.
Proper care keeps the fibers effective for dozens of uses.
12. Deep Clean with a Steam Cleaner
A handheld steam cleaner is a game-changer for shower glass doors. It uses high-temperature steam to blast away stubborn grime without any chemicals. The heat loosens soap scum, dissolves hard water deposits, and kills mold lurking in corners.
It's especially effective for doors with textured glass or intricate frames where scrubbing can't reach.
Steam cleaning is fast and satisfying. You simply fill the reservoir, let it heat up, and direct the steam at the glass. The grime wipes away easily with a microfiber cloth.
It's also safe for all glass types and doesn't leave chemical residue. For best results, use a steam cleaner with a squeegee attachment to remove the loosened dirt in one pass.
Why Steam Works So Well
Steam penetrates microscopic pores in the glass and softens mineral deposits that regular cleaners miss. The heat also kills bacteria and mold spores without bleach. It's a deep clean that leaves the glass streak-free and sanitized.
How To Use A Steam Cleaner On Shower Doors
Start at the top and work your way down. Hold the steamer nozzle a few inches from the glass and move slowly. Focus on stubborn spots and corners.
After steaming, wipe the glass with a dry microfiber cloth to prevent streaks. For heavy buildup, you may need to repeat.
Best Steam Cleaners For Shower Glass
Look for a handheld model with a squeegee tool and a small brush attachment. Brands like McCulloch, Bissell, and Dupray offer reliable options. Avoid large floor steamers—they're harder to maneuver on vertical glass.
13. Make a Hydrogen Peroxide Spray
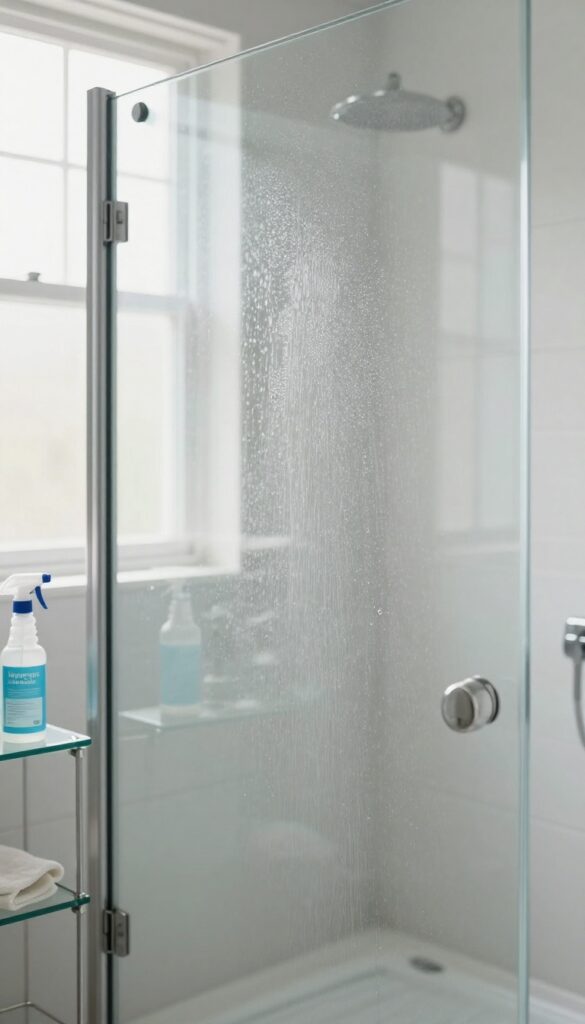
Hydrogen peroxide isn't just for first aid kits—it's a surprisingly effective cleaner for shower glass. Its mild bleaching action breaks down soap scum and hard water deposits without the harsh fumes of bleach. Plus, it disinfects as it cleans, giving your shower a deeper clean.
Mix equal parts hydrogen peroxide (3% solution) and water in a spray bottle. Shake gently to combine. Spray the solution generously onto the glass, covering all cloudy areas.
Let it sit for about five minutes to allow the peroxide to work on the grime. Then wipe clean with a microfiber cloth or a squeegee. For tough spots, scrub lightly with a soft sponge before wiping.
Rinse with water if you prefer, but it's not necessary—the peroxide breaks down into water and oxygen.
Why Hydrogen Peroxide Works
Hydrogen peroxide is an oxidizing agent, meaning it releases oxygen when it contacts organic matter. This reaction lifts soap scum and kills bacteria and mold spores. Unlike vinegar, it doesn't leave a strong smell, and it's safe for most glass surfaces.
Best Practices For Best Results
Use fresh hydrogen peroxide—old bottles lose potency. Store the spray in a dark bottle or keep it away from light to maintain effectiveness. Test on a small, hidden area first if your glass has any coatings.
Avoid mixing with vinegar or bleach, as that can create harmful fumes.
When To Use This Method
This spray is ideal for weekly cleaning or when you notice a film starting to form. It's also great for disinfecting after someone in the household has been sick. For heavy buildup, let it sit longer or scrub with a soft brush.
14. Use a Razor Blade for Stubborn Deposits
Sometimes, even the best cleaners can't budge those thick, crusty mineral deposits. That's when a razor blade becomes your best friend. It's a simple tool that can scrape away buildup without damaging the glass, as long as you use it correctly.
Before you start, make sure the glass is wet—either from a recent shower or by spraying it with water or a cleaning solution. Hold a new, sharp razor blade at a 45-degree angle and gently scrape the deposit. Work in one direction, keeping the blade flat against the glass to avoid gouging.
Rinse and wipe clean afterward.
Safety First: Use A New Blade
Always use a fresh, sharp blade. A dull or nicked blade can scratch the glass. Dispose of used blades safely—wrap them in tape or place them in a designated container.
Keep It Wet
Dry glass increases friction and the risk of scratches. Keep the glass wet throughout the process by spraying it periodically. This also helps lift the deposits slightly.
Angle And Pressure Matter
Hold the blade at a 45-degree angle and use light, even pressure. Too steep an angle can dig into the glass; too much pressure can cause scratches. Let the blade do the work.
15. Try a Commercial Hard Water Remover
Sometimes, natural solutions just don’t cut it. When you’ve tried vinegar, baking soda, and all the DIY tricks but that stubborn white film still clings to your glass, it’s time to bring in the heavy artillery. Commercial hard water removers are specifically formulated to dissolve calcium, lime, and rust deposits that regular cleaners leave behind.
They’re fast, effective, and can save you from scrubbing yourself sore.
Products like CLR (Calcium, Lime, and Rust) or Lime-A-Way are designed to break down mineral bonds on contact. You simply spray or apply the solution, let it sit for a few minutes (follow the label instructions), and then rinse thoroughly. The results are often dramatic—crystal-clear glass with minimal effort.
Just be sure to wear gloves and work in a well-ventilated area, as these are strong chemicals. Also, avoid letting the solution dry on the glass, and rinse very well to prevent any residue that could etch the surface over time.
How To Use A Commercial Hard Water Remover
Start by reading the product label—each brand has specific dwell times and safety precautions. Generally, you spray the cleaner onto dry glass, let it sit for 30 seconds to a few minutes (never let it dry), then scrub gently with a non-abrasive sponge or cloth. Rinse thoroughly with warm water and dry with a microfiber towel to prevent new spots.
For heavy buildup, you may need a second application.
Safety Tips For Strong Cleaners
Always wear rubber gloves and eye protection. Open a window or turn on the exhaust fan. Keep these products away from kids and pets.
Never mix them with bleach, ammonia, or other cleaners—dangerous fumes can result. After use, rinse the area well and wipe down nearby metal fixtures to avoid corrosion.
When To Choose A Commercial Remover Over Diy
If your shower glass has thick, crusty white deposits that won’t budge with vinegar or baking soda, a commercial remover is your best bet. Also, if you have hard water stains on multiple surfaces (glass, chrome, tile), these products can tackle them all at once. For light, everyday film, stick with milder methods to avoid over-exposure to chemicals.
16. Apply a Coat of Car Wax
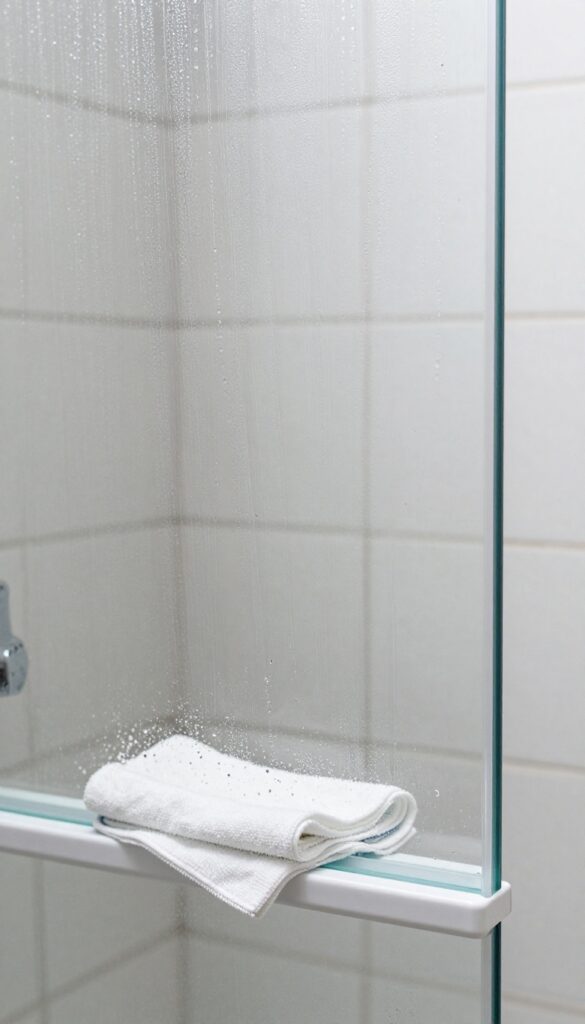
Car wax isn't just for your vehicle's paint job—it works wonders on shower glass. A thin layer creates a hydrophobic barrier that makes water bead up and roll off, preventing mineral deposits and soap scum from sticking. The result?
A streak-free shine that lasts for weeks with minimal effort.
Start with a perfectly clean, dry glass surface. Any leftover grime will get sealed in, so make sure the door is spotless. Apply a small amount of car wax (paste or spray) to a soft microfiber cloth.
Rub it onto the glass in a circular motion, covering the entire surface. Let it haze for a minute, then buff it off with a clean, dry microfiber cloth until the glass is clear and shiny.
Why Car Wax Works
Car wax contains polymers and natural waxes that fill microscopic pores in the glass. This creates a smooth, non-stick surface. Water droplets can't grab hold—they just slide right down.
That means fewer water spots and less frequent cleaning.
How To Apply It Right
Use a high-quality carnauba or synthetic wax. Apply in a thin, even layer—too much will leave a cloudy residue. Work in small sections to avoid the wax drying too fast.
Buff thoroughly until no haze remains. For best results, repeat every 4 to 6 weeks.
What To Avoid
Don't use wax with harsh abrasives or cleaners—those can scratch the glass. Avoid waxes with tint or color additives. Stick to clear, automotive-grade wax.
Also, never apply wax to hot glass; it will dry too quickly and be hard to buff off.
17. Use a Dishwasher Rinse Aid
You might not think of dishwasher rinse aid as a glass cleaner, but it's a secret weapon for shower doors. The same ingredients that help dishes dry spot-free work wonders on glass. After a thorough cleaning, a quick spritz can keep water spots from forming.
Fill a spray bottle with a mixture of one part rinse aid (like Jet-Dry) and three parts water. After you've cleaned the glass and it's still damp, spray the solution evenly across the surface. Let it sit for a minute, then wipe with a microfiber cloth.
The rinse aid reduces surface tension, so water sheets off instead of beading up and leaving mineral deposits behind. For best results, reapply after every cleaning or once a week.
Why It Works
Rinse aids contain surfactants that break water's surface tension. This causes water to flow off the glass in sheets rather than forming droplets that dry into spots. It's the same reason your dishes come out of the dishwasher spot-free.
How To Apply
Mix one part rinse aid with three parts water in a spray bottle. After cleaning the glass, spray the solution on the damp surface and wipe with a microfiber cloth. No need to rinse.
Do this after every cleaning to maintain a spot-free shine.
Safety Tips
Rinse aids are generally safe for glass, but avoid getting the solution on metal or painted surfaces. Test a small area first if you're concerned. Keep the spray bottle away from children and pets.
18. Clean the Tracks and Seals
You might scrub the glass until it sparkles, but if the tracks and seals are dirty, that grime will find its way back onto the door. Soap scum, mold, and hard water deposits love to hide in those narrow crevices. Ignoring them means your cleaning efforts won't last as long.
Fortunately, cleaning the tracks and seals is simple with a few tools you already have at home.
Regularly cleaning the tracks and seals prevents buildup from spreading to the glass and keeps the door sliding smoothly. It also stops mold and mildew from taking hold in damp, dark areas. A quick weekly wipe can save you from a deep scrub later.
The Toothbrush And Vinegar Method
An old toothbrush is perfect for scrubbing the narrow grooves. Dip it in undiluted white vinegar and scrub along the tracks and seals. The vinegar dissolves soap scum and kills mold.
For stubborn spots, let the vinegar sit for 5 minutes before scrubbing. Rinse with warm water and wipe dry with a microfiber cloth.
Preventing Future Buildup
After cleaning, spray the tracks and seals with a mixture of equal parts water and vinegar once a week. This keeps mineral deposits from hardening. Also, make sure the seals are dry after each shower—a quick wipe with a towel prevents mold growth.
If you notice any cracks or gaps, replace the seals promptly to avoid water damage.
19. Try a DIY Citrus Vinegar Spray
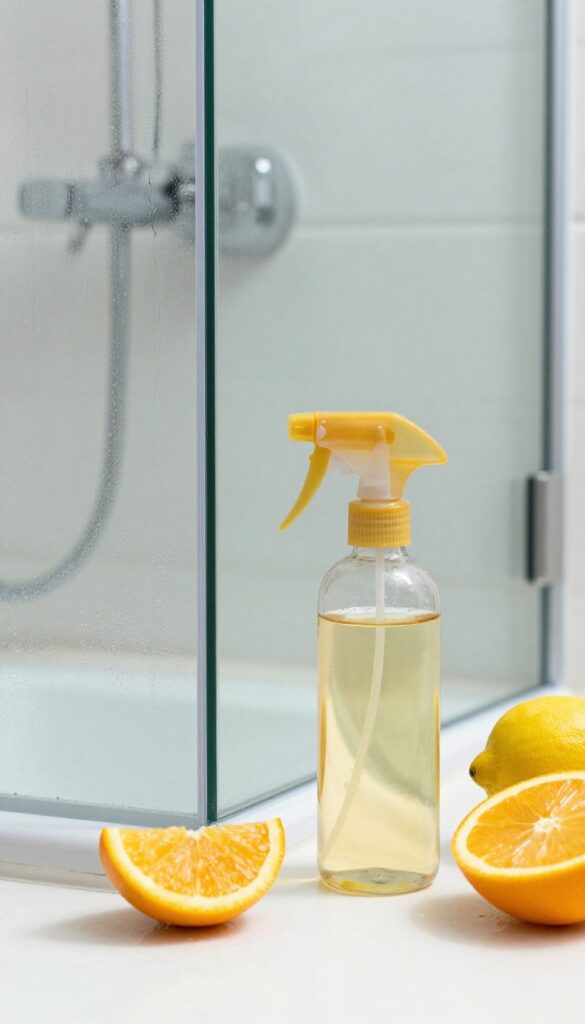
Store-bought cleaners often contain harsh chemicals that can leave streaks or damage the glass over time. A homemade citrus vinegar spray offers a natural alternative that cuts through grime without the toxic fumes. The combination of acidic vinegar and citrus oils creates a powerful degreaser that leaves your shower doors sparkling and smelling fresh.
To make this cleaner, save your orange, lemon, or grapefruit peels and pack them into a glass jar. Cover the peels with white vinegar, seal the jar, and let it sit in a cool, dark place for two weeks. The vinegar will extract the citrus oils, creating a fragrant, potent cleaning solution.
After two weeks, strain out the peels and transfer the liquid to a spray bottle. Use it just like any glass cleaner: spray onto the shower door, let it sit for a minute, then wipe with a microfiber cloth. The vinegar dissolves soap scum and hard water deposits, while the citrus oil helps break down grease and leaves a pleasant scent.
Why Citrus And Vinegar Work So Well
White vinegar is acidic enough to dissolve mineral deposits and soap residue, but it's gentle on glass. Citrus peels contain d-limonene, a natural solvent that cuts through grease and adds antibacterial properties. Together, they create a cleaner that's both effective and safe for daily use.
How To Make And Use The Spray
Start by collecting peels from oranges, lemons, or grapefruits. Place them in a clean jar and cover with white vinegar. Seal and store for two weeks, shaking occasionally.
Strain the liquid into a spray bottle. To use, spray onto the glass, let sit for 1-2 minutes, then wipe with a microfiber cloth. For tough spots, scrub gently with a soft sponge before wiping.
Tips For Best Results
Use a fresh microfiber cloth to avoid streaks. If the vinegar smell is too strong, dilute the spray with equal parts water. Store the spray in a cool, dark place to preserve potency.
This cleaner is also great for mirrors and windows, so make extra to use around the house.
20. Use a Soft Bristle Brush for Textured Glass
Textured glass doors add privacy and style, but they also trap grime in every nook and cranny. Standard sponges and cloths can't reach into those grooves, leaving behind a cloudy film. A soft bristle brush is the perfect tool for this job—it gently lifts dirt without scratching the surface.
Pairing a soft brush with a baking soda paste creates a powerful yet safe cleaner. The paste's mild abrasiveness works into the texture, while the bristles dislodge stubborn buildup. This combination is especially effective on soap scum and hard water stains that hide in the crevices.
Why Soft Bristles Matter
Hard bristles or scrub pads can scratch textured glass, making it look permanently dull. Soft bristles are gentle enough to protect the glass while still providing enough friction to clean effectively. Look for brushes labeled as non-scratch or safe for glass.
How To Make The Baking Soda Paste
Mix three parts baking soda with one part water until it forms a spreadable paste. Add a drop of dish soap for extra grease-cutting power. Apply the paste to the glass with the brush, focusing on textured areas.
Let it sit for five minutes before scrubbing gently in circular motions.
Rinsing And Drying Tips
After scrubbing, rinse thoroughly with warm water to remove all paste residue. Any leftover baking soda can leave a white film once dry. Use a microfiber cloth or squeegee to dry the glass completely, preventing new water spots from forming.
21. Prevent Mold with Tea Tree Oil
Mold and mildew love the damp environment around shower doors, especially on seals and corners. Instead of reaching for bleach, try a natural alternative that smells great and works just as well. Tea tree oil is a powerful antifungal that keeps mold from taking hold without harsh fumes.
Tea tree oil is a natural essential oil with strong antimicrobial properties. When diluted with water, it creates a spray that can be used daily to prevent mold and mildew from forming on glass and rubber seals. Unlike bleach, it won't damage the seals over time and leaves a fresh, clean scent.
Why Tea Tree Oil Works
Tea tree oil contains terpinen-4-ol, a compound that kills mold spores and bacteria. It penetrates porous surfaces like silicone seals, stopping growth before it becomes visible. Plus, it's safe for most glass and metal surfaces when diluted properly.
How To Make The Spray
Mix 10 drops of 100% pure tea tree oil with 1 cup of water in a spray bottle. Shake well before each use. For extra mold-fighting power, add 10 drops of lavender oil.
Spray directly onto the glass and seals after each shower, or use it weekly as a preventive treatment.
Application Tips
Spray the solution generously on the glass and along the bottom seals. Let it sit for 5 minutes, then wipe with a microfiber cloth. No rinsing needed—the oil continues working as it dries.
For existing mold spots, spray and scrub with a soft brush before wiping.
22. Use a Lint-Free Cloth for Final Polish
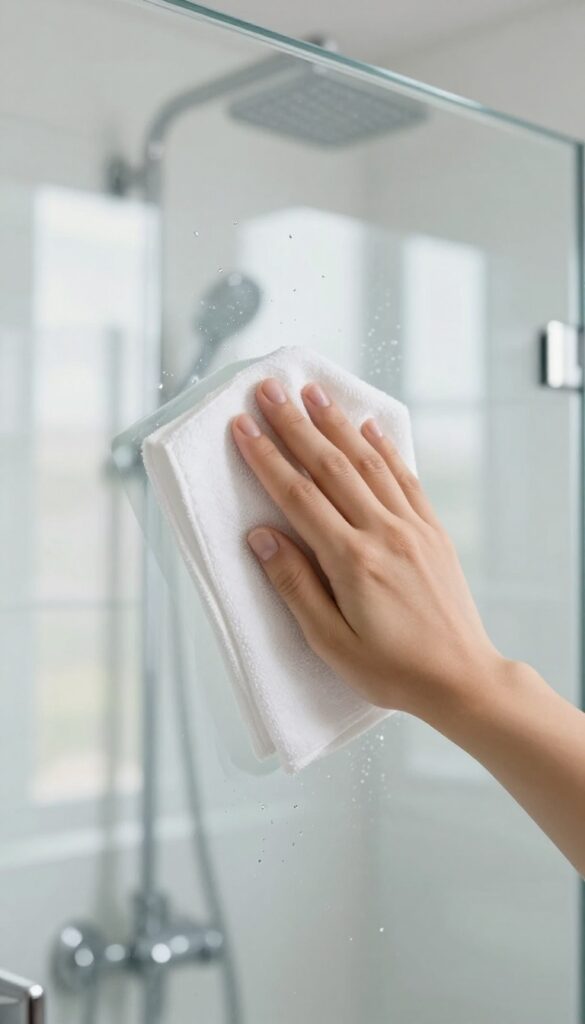
You've scrubbed, rinsed, and squeegeed, but a few stubborn streaks still linger. The culprit is often the cloth you're using. Many towels leave behind tiny fibers or lint that cling to the damp glass, creating a hazy finish.
Switching to a lint-free cloth for the final polish makes all the difference.
A lint-free cloth, like an old cotton t-shirt or a microfiber towel, absorbs moisture without shedding. It glides smoothly over the glass, picking up any remaining residue and buffing it to a streak-free shine. This simple swap elevates your cleaning routine from good to glass-like perfection.
Why Lint-free Matters
Regular bath towels are designed to be fluffy, which means they leave behind tiny fibers. These fibers catch the light and create a dull, streaky appearance. Lint-free cloths have a tight weave that doesn't shed, so you get a clean, clear finish every time.
Best Cloths To Use
Old 100% cotton t-shirts are a great zero-cost option. Microfiber towels are another excellent choice—they're highly absorbent and trap dirt without scratching. Avoid paper towels, as they can leave lint and are less effective for polishing.
Technique For A Perfect Shine
Start at the top of the door and work your way down in a zigzag or overlapping pattern. Use gentle pressure, and flip the cloth to a dry section as it becomes damp. For extra sparkle, finish with a dry microfiber cloth to remove any last moisture.
23. Try a Commercial Glass Protector
If you're tired of scrubbing shower glass every week, a commercial glass protector can be a game-changer. Products like Rain-X for showers create an invisible coating that makes water bead up and roll off, taking soap scum and minerals with it. This means less buildup and easier cleaning for months.
Applying a glass protector is straightforward. First, clean the glass thoroughly with a vinegar solution or a dedicated glass cleaner to remove all residue. Then, spray the protector onto the dry glass and buff it in with a microfiber cloth until it's clear.
The coating bonds to the glass, creating a hydrophobic surface that repels water. Reapply every few months to maintain the effect. This tip is especially useful if you have hard water, as it prevents mineral deposits from sticking.
How It Works
Glass protectors contain silicone polymers or similar compounds that fill microscopic pores in the glass. When water hits the treated surface, it forms tight beads that slide down, carrying dirt and soap with them. This reduces the contact time between water and glass, cutting down on etching and staining.
Best Products To Try
Rain-X for showers is the most popular option, but there are also dedicated shower glass sealants from brands like Invisible Shield and Glass Gleam. Look for products labeled as hydrophobic or water-repelling. Avoid automotive glass protectors with harsh solvents that could damage shower seals.
Application Tips For Best Results
Apply the protector in a well-ventilated area. Work in small sections, spraying lightly and buffing immediately. Use a clean microfiber cloth for each section to avoid streaks.
Let the coating cure for 24 hours before exposing it to water. For extra durability, apply two thin coats instead of one thick layer.
24. Clean with a Mixture of Rubbing Alcohol and Water
Sometimes the simplest solutions work best. Rubbing alcohol is a powerful degreaser and evaporates quickly, leaving no streaks behind. When combined with water and a splash of vinegar, you get a spray that cuts through soap scum and hard water spots in seconds.
Mix 1 cup rubbing alcohol, 1 cup water, and 1 tablespoon vinegar in a spray bottle. Shake gently to combine. Spray the solution generously onto the glass door, let it sit for about 30 seconds, then wipe with a microfiber cloth.
The alcohol helps the liquid dry fast, so you won't see any residue.
Why It Works So Well
Rubbing alcohol breaks down the oils in soap scum, while vinegar dissolves mineral deposits. The fast evaporation means fewer streaks and no need to rinse. This combo is especially effective on doors that get daily use.
Best Practices For Application
Use a clean, lint-free microfiber cloth to avoid scratches. Work in small sections, spraying and wiping immediately. For best results, clean on a cool, overcast day so the solution doesn't dry before you wipe.
When To Avoid This Method
Avoid using rubbing alcohol on tinted or frosted glass, as it may damage the coating. Also, keep it away from nearby painted surfaces, as alcohol can strip paint. Test on a small hidden area first.
25. Schedule a Weekly Quick Clean
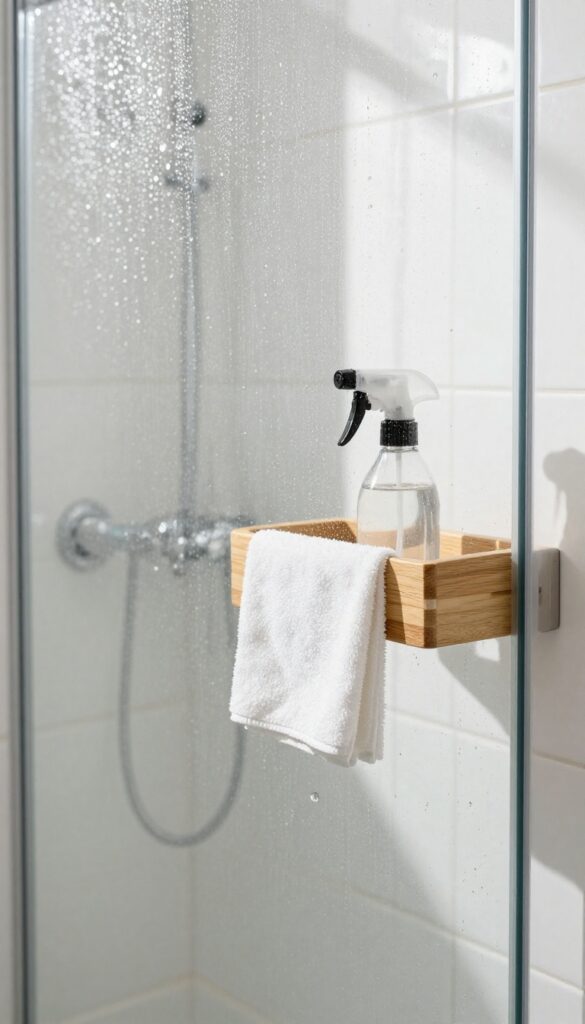
Consistency is the secret weapon against shower door grime. A quick weekly wipe-down takes almost no time but keeps soap scum and hard water spots from ever getting a foothold. Think of it as a five-minute habit that saves you from hour-long scrubbing sessions later.
A weekly quick clean is all about prevention. By spending just a few minutes after your last shower of the week, you stop buildup before it starts. This routine is especially effective if you have hard water, because minerals won't have time to dry and etch into the glass.
What You'll Need
Keep a spray bottle filled with a 50/50 mix of white vinegar and water, plus a microfiber cloth or squeegee, in your shower caddy. That's it. No special products required.
The 5-minute Routine
After your final shower of the week, spray the glass doors with the vinegar solution. Let it sit for 30 seconds, then wipe down with a microfiber cloth or use a squeegee to remove the liquid. For extra shine, buff with a dry cloth.
Why It Works
Vinegar cuts through soap scum and mineral deposits while they're still fresh. Regular wiping prevents the residue from baking onto the glass, keeping your doors clear with minimal effort.
FAQ
How often should I clean my shower glass doors?
For best results, squeegee after every shower and do a quick spray-and-wipe weekly. A deep clean with vinegar or a commercial cleaner every month keeps buildup away.
Can I use Windex on shower glass doors?
Yes, Windex works well for light cleaning, but it may not remove heavy soap scum or hard water stains. For those, use a vinegar solution or a dedicated cleaner.
What causes white stains on shower glass doors?
White stains are usually hard water mineral deposits (calcium and lime) left behind when water evaporates. They can be removed with acidic cleaners like vinegar or lemon juice.
Is it safe to use a razor blade on shower glass?
Yes, if done carefully. Use a new blade, keep the glass wet, and hold the blade at a 45-degree angle. Avoid scraping textured or frosted glass.
How do I prevent soap scum from building up?
Switch to liquid soap or a soap-free body wash, squeegee after each use, and apply a protective coating like rain repellent or car wax to make cleaning easier.
Conclusion
Keeping shower glass doors clear doesn't have to be a chore. With a few simple habits like squeegeeing and weekly sprays, you can prevent buildup before it starts. When stains do appear, household items like vinegar and baking soda work wonders.
Try a couple of these tips and see which ones fit your routine. Your shower doors will thank you with a brilliant, streak-free shine that makes your whole bathroom feel cleaner. Happy cleaning!


