
A messy room can feel like a mountain you're not ready to climb, but a clutter-free makeover doesn't have to take all day. These 15 cleaning tips are designed to help you work faster and smarter, breaking down the process into quick, actionable steps.
You'll see visible progress in minutes, not hours, and build momentum that keeps you going. From a 10-minute declutter blitz to making your bed first thing, each tip targets a specific pain point to eliminate chaos fast.
No complicated systems—just practical moves that turn your room from cluttered to calm with minimal effort.
1. Start with a 10-Minute Declutter Blitz
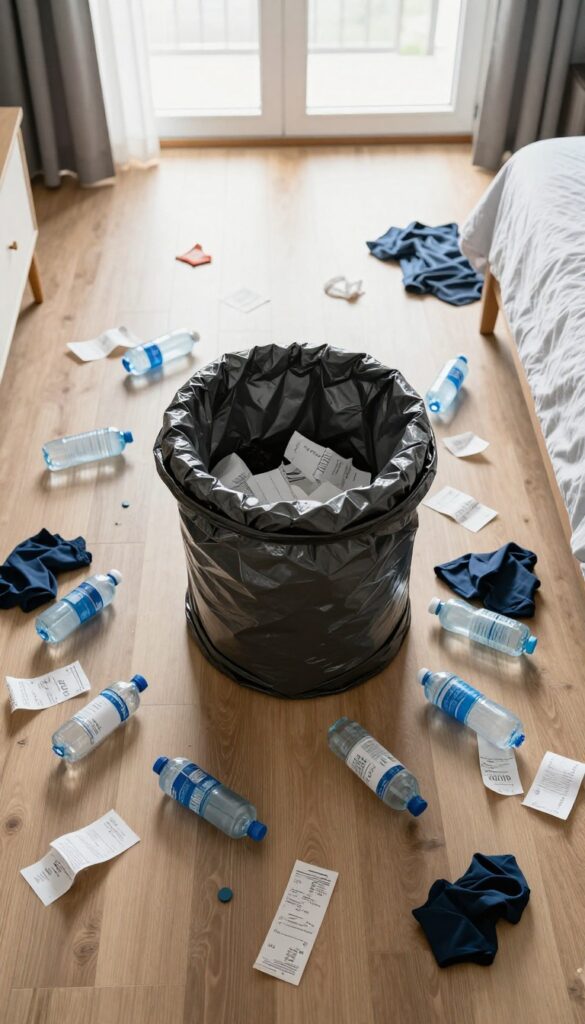
Before you even think about scrubbing or dusting, you need to clear the decks. Clutter is what makes a room look messy even after you've cleaned. A quick 10-minute blitz removes the visual noise so you can actually see what needs to be cleaned.
Set a timer for 10 minutes. Grab a laundry basket for things that belong elsewhere and a trash bag for obvious junk. Move fast—don't stop to organize or decide.
Just grab and go. This initial sweep clears visual clutter and makes the actual cleaning much faster.
Why 10 Minutes Works
A short timer creates urgency. You're less likely to get sidetracked or start deep-cleaning one spot. The goal is to remove, not arrange.
You'll be surprised how much you can clear in 10 focused minutes.
What To Grab First
Start with the obvious: empty water bottles, old receipts, clothes on the floor, and random items that have no home. Don't overthink it. If it's trash, bag it.
If it belongs in another room, basket it. Leave the rest for later.
Keep The Momentum Going
Once the timer dings, you've already made a visible dent. That momentum is gold. Immediately put the basket items away (another 5 minutes) and toss the trash.
Now your room is ready for a real clean without stuff in the way.
2. Gather All Cleaning Supplies in a Caddy
Nothing kills momentum like having to search for a spray bottle or a fresh cloth every few minutes. A cleaning caddy keeps everything you need in one portable spot, so you stay in the zone. This simple setup can cut your cleaning time by up to 30% because you're not wasting steps.
A well-stocked caddy is your command center. It holds all the essentials, so you can move from surface to surface without interruption. Plus, it makes putting supplies away just as fast.
What To Put In Your Caddy
Start with a multipurpose cleaner that works on most surfaces. Add a glass cleaner for mirrors and windows, microfiber cloths (at least three), a duster with an extendable handle, and a scrub brush for tough spots. Toss in a few trash bags too, so you can grab one as you go.
Choose The Right Caddy
A sturdy plastic caddy with a handle is ideal. Look for one with compartments to keep bottles upright and separate cloths from liquids. A tool bucket with a pocket organizer works great if you have more gear.
Avoid flimsy baskets that tip over.
Keep It Ready Between Uses
After each cleaning session, restock your caddy immediately. Check that cloths are clean and bottles are filled. That way, next time you're ready to go in seconds—no prep needed.
3. Work from Top to Bottom
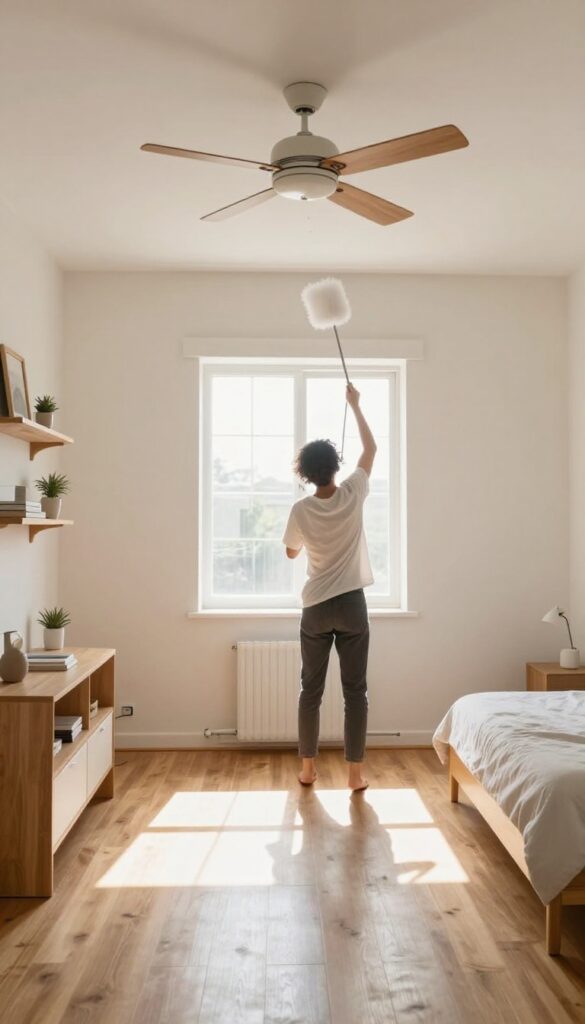
Ever cleaned a room only to notice dust bunnies on the floor you just vacuumed? That happens when you work out of order. The top-to-bottom method is a simple rule that saves you from redoing tasks.
Start with ceiling fans and high shelves, then move down to furniture, and finish with floors. Gravity does the hard part—dust and debris fall downward, so you catch everything in one pass.
Start With Ceiling Fans And Light Fixtures
Ceiling fans are dust magnets. Use an extendable duster or a microfiber cloth on a pole to wipe both sides of each blade. Don't forget light fixtures and the tops of tall furniture like armoires.
If you skip these, dust will drift down onto your freshly cleaned surfaces later.
Tackle Shelves And Window Treatments
Next, dust all shelves, blinds, and curtain rods. Remove items from shelves one section at a time, wipe them down, and place them back. For blinds, close them flat and run a damp cloth or a blind duster across each slat.
This step prevents dust from falling onto your furniture after you've already cleaned it.
Clean Furniture And Surfaces
Now move to tables, desks, nightstands, and other furniture. Wipe surfaces with an appropriate cleaner—wood polish for wood, glass cleaner for mirrors. Don't forget legs and sides.
If you have upholstered furniture, vacuum cushions and crevices before moving to the floor.
Finish With Floors Last
Vacuum or sweep the floor after everything else is done. Start in the farthest corner and work your way toward the door. Use attachments to reach under furniture and along baseboards.
This final pass picks up all the dust and debris that fell during the earlier steps, leaving your room truly clean.
4. Use the 'One-Touch' Rule for Clutter
Clutter piles up because we keep putting things down with good intentions. You pick up a jacket, plan to hang it later, and drop it on a chair. Later never comes.
The one-touch rule stops that cycle cold. Every time you touch an item, you make a decision on the spot. Put it away, toss it, or donate it.
No setting it aside for later. This simple habit keeps surfaces clear and prevents those dreaded clutter piles from forming in the first place.
The one-touch rule is about building a split-second decision habit. When you walk into your room with a coffee mug, you don't set it on the nightstand—you take it to the kitchen. When you see a stray sock, you pick it up and drop it in the hamper.
No detours. No temporary spots. This rule works because it removes the mental load of "I'll do it later.
" Later is where clutter lives. By acting immediately, you keep your space clean without extra cleaning sessions. It's a tiny shift that pays off big.
Create Decision Triggers
Make the rule automatic by pairing it with visual cues. Place a donation bin in your closet so you can toss items directly. Keep a small trash can near your desk for immediate disposal.
When you see the bin, you remember the rule. Over time, your brain learns to act without thinking.
Start With High-traffic Zones
Focus on surfaces you use daily: your desk, nightstand, dresser top, and entryway table. These spots collect clutter fast. Practice the one-touch rule here first.
Every time you set something down, pause and ask: does this belong here? If not, move it now. You'll notice the difference in days.
Handle Mail And Papers Immediately
Mail is a major clutter culprit. When you bring it in, sort it right away. Junk mail goes straight to recycling.
Bills go to a designated tray. Important documents get filed. Don't let it sit on the counter.
One touch, one decision, one clear surface.
5. Make Your Bed First Thing

There's a reason why military training and many productivity gurus swear by this one simple habit. Making your bed first thing in the morning instantly transforms the look of your room, making it feel 50% tidier in under two minutes. It's the quickest visual win you can get, and it sets a productive tone for the rest of your cleaning session.
Starting your cleaning routine by making the bed gives you a clean focal point and a sense of order. It's a small task that's easy to complete, which builds momentum for tackling bigger chores. Plus, a made bed prevents pillows and blankets from becoming clutter magnets throughout the day.
The Two-minute Rule
Don't overthink it. Smooth out the fitted sheet, pull up the flat sheet and blanket, fluff the pillows, and arrange them. That's it.
You don't need hospital corners or decorative throw pillows—just a neat, flat surface that signals 'done. '
Psychological Boost
A made bed creates a psychological anchor. It's a visual reminder that you've already accomplished something today, which makes you more likely to keep going. It also makes the rest of the room look less chaotic by comparison, reducing the overwhelm factor.
Prevents Clutter Creep
When your bed is made, you're less likely to toss clothes, books, or random items onto it. That flat, clean surface acts as a 'no dumping zone, ' keeping your room neater for longer. If you need to lay out outfits, do it on a chair or dresser instead.
6. Clear Surfaces Completely
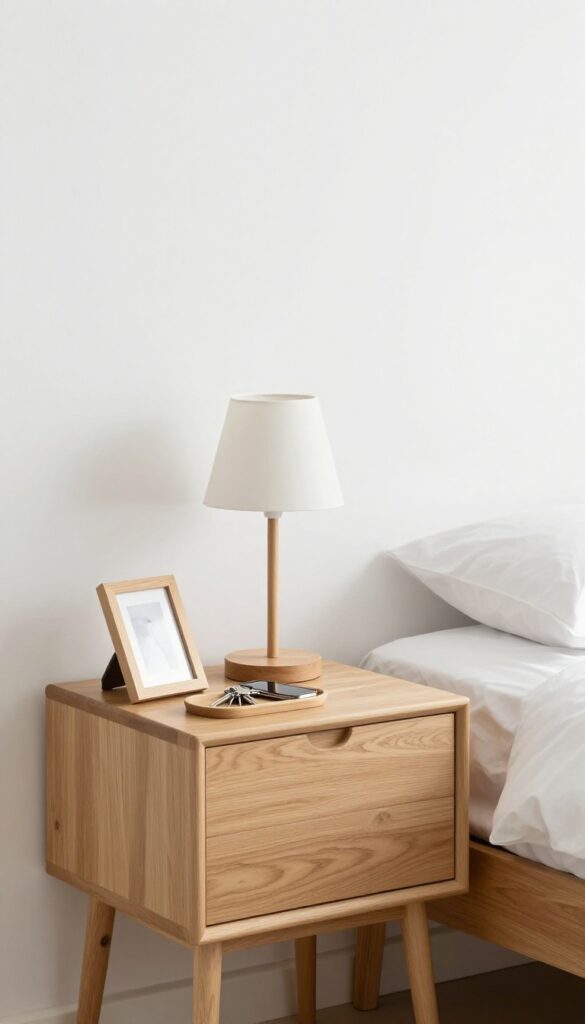
Flat surfaces are magnets for clutter. Nightstands collect phone chargers, books, and water glasses. Dressers become dumping grounds for receipts, loose change, and random trinkets.
Desks turn into catch-all zones for mail, sticky notes, and half-finished projects. When every surface is piled high, your brain registers chaos even if the floor is clean. Clearing everything off forces you to reset.
You wipe away dust and grime that's been hiding under piles, then make intentional choices about what truly belongs there. The result? A room that feels instantly bigger and calmer.
Visual noise drops dramatically, and you can actually see the surface you own.
Start by removing everything from every flat surface—nightstands, dressers, desks, shelves, window sills, even the top of your dresser. Don't sort yet. Just pile it all in a laundry basket or on your bed.
Then grab a microfiber cloth and all-purpose cleaner. Wipe down each surface thoroughly, including corners and edges where dust bunnies hide. Once surfaces are clean and dry, it's time to curate.
Only put back items that serve a daily purpose or bring genuine joy. A lamp, a phone charger, a small tray for keys and wallet, maybe a single framed photo. Everything else finds a home elsewhere or gets donated.
This isn't about minimalism for its own sake. It's about giving your eyes a rest and making your room functional. When you walk in, you see clear space first, not stuff.
That visual breathing room makes the whole room feel cleaner and more spacious instantly.
The Basket Method
Grab a laundry basket or cardboard box. Walk around the room and sweep everything off every surface into it. Don't stop to decide—just gather.
This takes two minutes. Then wipe down each surface. When you're done, you have a single container of items to sort through, which is way less overwhelming than scattered piles.
The 30-second Rule For Returns
As you put items back, ask yourself: Do I use this daily? If not, it doesn't go on the surface. For things you use weekly, find a drawer or shelf.
For everything else, trash or donate. This rule keeps surfaces clear long-term. You'll be amazed how few things actually need to sit out.
Tray It Up
Use a small tray or dish to corral the few items you keep out—like your phone, watch, and wallet. A tray groups them together so they look intentional, not scattered. It also makes dusting easier because you lift one thing instead of ten.
7. Vacuum or Sweep in Straight Lines
Most people vacuum or sweep in random, back-and-forth motions, but that actually leaves patches of dirt behind. Switching to straight, overlapping lines from one end of the room to the other changes everything. It’s a simple shift that makes your floors noticeably cleaner in less time.
Instead of pushing your vacuum or broom in every direction, pick a starting point along one wall and work your way across the room in parallel passes. Overlap each pass by a few inches to catch debris that might have been missed. This method is especially effective on carpets, where the nap can hide dirt if you go against the grain.
On hard floors, it prevents you from scattering dust into already-cleaned areas. The result is a thorough clean without having to go over the same spot twice.
Why Straight Lines Work Better
Vacuuming or sweeping in straight lines creates a systematic pattern that covers every inch of the floor. Random motions often miss spots or push dirt into corners. Straight lines also help you maintain a steady pace, so you don’t waste energy going back and forth aimlessly.
How To Overlap Correctly
Overlap each pass by about 2 to 3 inches. This ensures that the edges of the vacuum head or broom bristles pick up debris that might have been pushed aside. On carpets, overlapping also helps lift dirt from deeper fibers.
On hard floors, it prevents streaks and leaves a uniform finish.
Work From The Far End To The Door
Always start at the farthest corner of the room and work your way toward the exit. That way, you’re not walking over freshly cleaned floors. It also keeps you from trapping yourself in a corner.
This simple directional rule makes the whole process smoother and faster.
8. Use Microfiber Cloths for Dusting
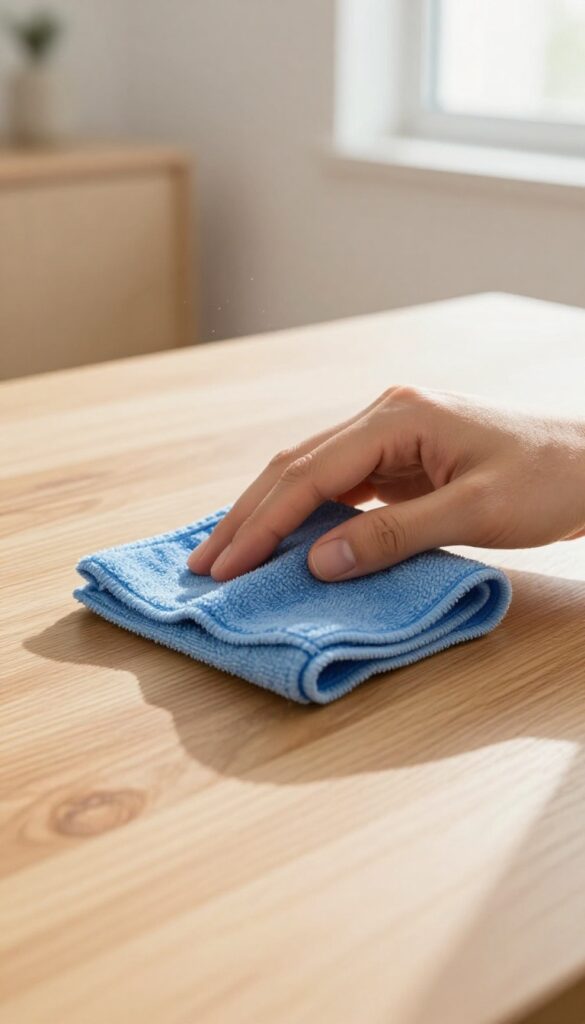
Dusting can feel like a losing battle if you're using the wrong tools. Feather dusters and dry rags often just push particles into the air, only to have them settle again minutes later. Microfiber cloths change the game by trapping dust deep in their fibers instead of relocating it.
Microfiber is made of split synthetic fibers that create a static charge, attracting dust like a magnet. When you dampen the cloth slightly, it picks up even more grime, including sticky residues and fine particles. Best of all, these cloths are reusable—just wash and reuse dozens of times, saving money and reducing waste.
Why Microfiber Beats Cotton
Cotton rags and old t-shirts might seem harmless, but they often smear dust around rather than capturing it. Microfiber's ultra-fine fibers are about 1/100th the thickness of a human hair, allowing them to grab particles that cotton simply pushes. Plus, microfiber holds up to eight times its weight in dust and liquid, so you cover more surface area before needing to rinse.
The Right Way To Dampen
For best results, lightly mist your microfiber cloth with water or an all-purpose cleaner—don't soak it. A slightly damp cloth creates a tacky surface that lifts dust without leaving streaks. This technique works wonders on wood furniture, blinds, and even electronics screens, as long as you wring out excess moisture first.
Care Tips For Longevity
To keep your microfiber cloths effective, wash them separately from cotton items to prevent lint transfer. Use a mild detergent and avoid fabric softener, which clogs the fibers and kills the static charge. Air dry or tumble dry on low heat—high heat can melt the synthetic fibers.
Proper care means your cloths can last for hundreds of uses.
9. Tackle One Zone at a Time
Looking at a whole messy room can stop you before you even start. The trick is to break it down into small, manageable zones. Instead of bouncing around, focus on one area at a time and finish it completely before moving on.
Dividing your room into zones—like the closet, desk, bed, and floor—makes the task feel less overwhelming. You get a clear win each time you complete a zone, which keeps you motivated. Plus, you avoid the common trap of spreading clutter around as you clean.
Define Your Zones First
Before you start, take 30 seconds to mentally map out your room. Common zones include: the bed area, the desk or vanity, the closet or dresser, and the floor or entry path. If your room has a reading nook or a pet corner, make that a zone too.
Having clear boundaries prevents you from zigzagging and losing focus.
Finish One Zone Before Starting Another
Once you pick a zone—say, the desk—commit to it. Clear everything off, sort items into keep, trash, or relocate piles, and put away what stays. Wipe down the surface.
Don't move to the next zone until this one is done. This rule is key: no half-finished zones. Each completed area gives you a visible win.
Use A Timer Per Zone
Set a timer for 10–15 minutes per zone. This creates a sense of urgency and stops you from getting sidetracked. If a zone needs more time, you can always come back, but usually the time limit forces quick decisions.
You'll be surprised how much you can accomplish in a focused burst.
10. Keep a Laundry Basket for Quick Pickups
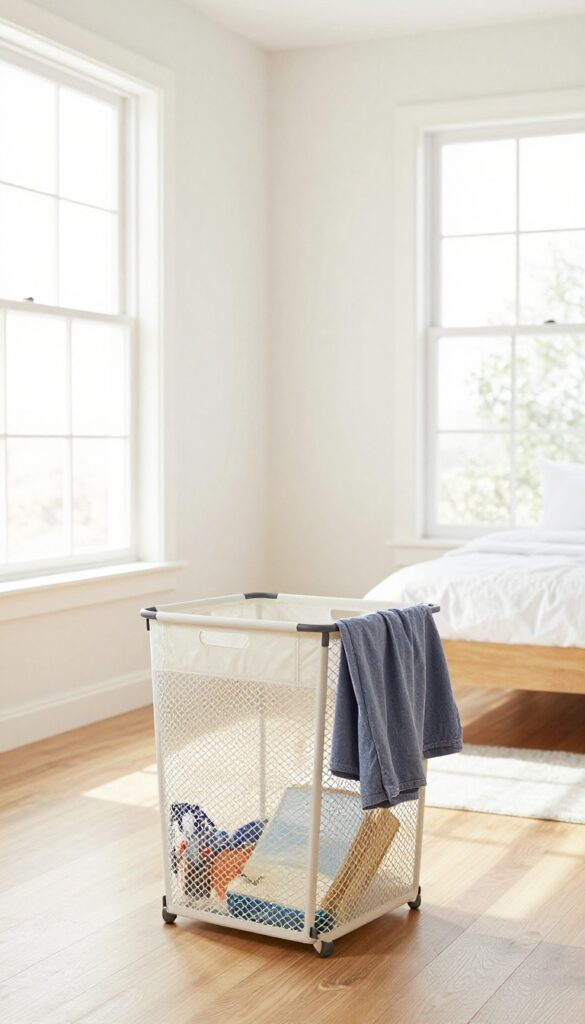
Stray items scattered across the floor can make a room feel chaotic even after you've cleaned. A simple laundry basket becomes your best friend for instant tidying. Grab it, walk through the room, and toss in anything that doesn't belong—clothes, books, toys, mail.
In under two minutes, the floor is clear and the space looks significantly neater.
The basket method works because it postpones decision-making. Instead of stopping to put each item away, you collect everything first. Once the room is visually clean, you can sort the basket contents back to their proper places.
This two-step process is faster than zigzagging around the room trying to return items one by one.
Why It Works So Well
Your brain registers a clear floor as a clean room, even if the basket is full. That visual win gives you a psychological boost to keep cleaning. Plus, you avoid the trap of getting sidetracked while putting away a single book—only to end up reorganizing a whole shelf.
Choosing The Right Basket
Pick a basket that's lightweight and easy to carry. A collapsible laundry hamper or a handled tote works great. Keep it in a closet or under the bed so it's handy but out of sight.
Avoid a basket that's too large—you want it to fill up quickly so you're motivated to empty it soon.
Make It A Daily Habit
Do a five-minute basket sweep every evening before bed. Toss in anything that's out of place, then take five minutes the next morning to put items away. This routine prevents clutter from piling up and keeps your room consistently tidy with minimal effort.
11. Wipe Down Mirrors and Glass Last
Mirrors and windows are the finishing touches that make a room feel truly clean. But if you wipe them down too early, dust from other surfaces will settle right back and leave streaks. Save glass and mirrors for the very end of your cleaning routine, after you've dusted, vacuumed, and wiped down every other surface.
That way, you get a streak-free shine that brightens the whole room without having to redo any work.
Why Timing Matters
Dust and debris are constantly floating in the air, especially when you're actively cleaning. If you clean mirrors first, that dust will land on the wet glass and dry into streaks. By waiting until after you've dusted and vacuumed, you give the air time to settle, so your mirror stays clean longer.
The Right Tools For A Streak-free Finish
Skip paper towels and old rags that leave lint behind. A high-quality microfiber cloth is your best friend here—it picks up grime without scratching. Pair it with a streak-free glass cleaner, or make your own with equal parts water and white vinegar.
Spray the cleaner onto the cloth, not directly onto the mirror, to avoid drips that can damage frames or surfaces.
Technique For A Perfect Shine
Work in a zigzag or S-pattern from top to bottom. This prevents you from wiping over the same spot twice and spreading dirt. Use a dry section of the cloth for the final buff to remove any remaining moisture.
If you notice streaks, a quick wipe with a dry microfiber cloth usually fixes them.
12. Use a Lint Roller for Lampshades and Upholstery
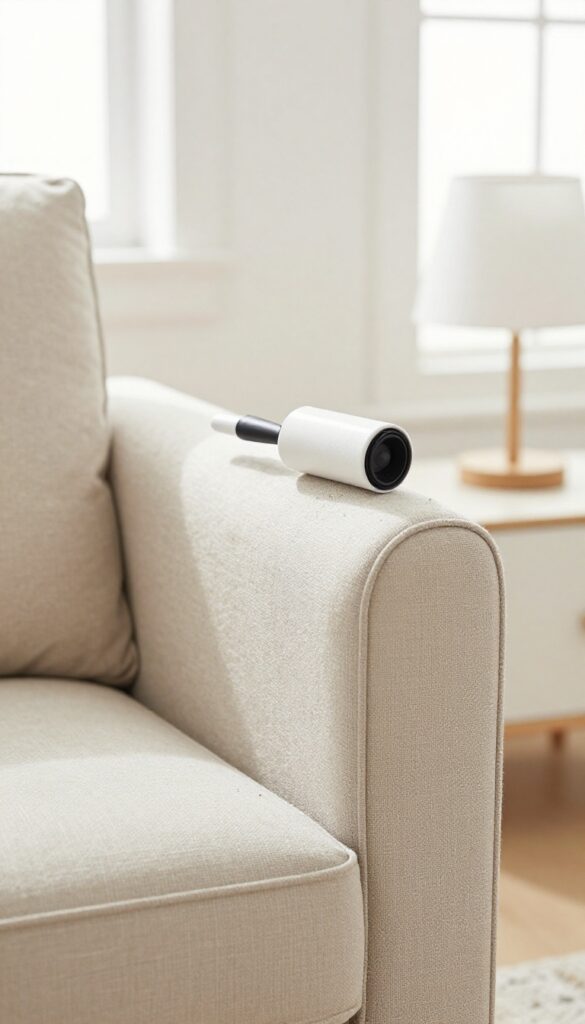
Lint rollers aren't just for clothes. They're a secret weapon for quick dust and pet hair removal on fabric surfaces around your room. Instead of dragging out the vacuum for a single chair or lampshade, grab a lint roller and watch the grime disappear in seconds.
A lint roller picks up dust, pet hair, and crumbs from fabric surfaces faster than a vacuum attachment. It's perfect for quick touch-ups on chairs, sofas, and lampshades. Keep one in your cleaning caddy for instant refresh.
Why It Works So Well
The adhesive sheets grab fine particles that dusters often miss. On textured fabrics like velvet or linen, the roller lifts debris from deep grooves without pushing it around. Plus, there's no noise or cords to deal with.
Where to Use It
Target lampshades, throw pillows, armrests, and headboards. Also great for cleaning fabric lamp cords and the edges of curtains. Avoid delicate materials like silk or beaded surfaces.
Quick Routine For Best Results
Roll in one direction to avoid spreading dust. Peel off the used sheet and continue until the surface looks clean. For heavy pet hair, use a rubber brush first, then finish with the lint roller.
13. Create a 'Donate' Box That Lives in the Closet
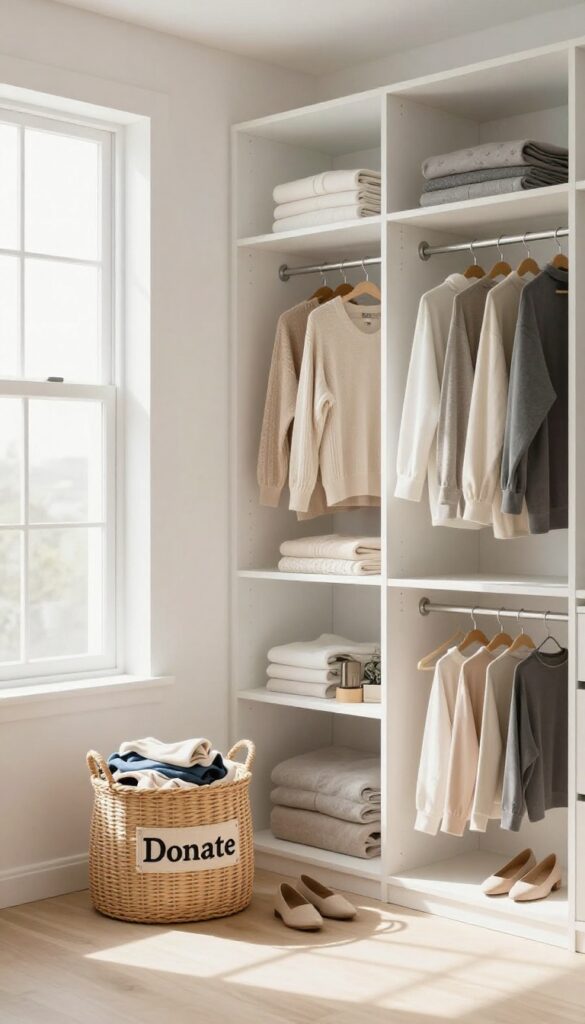
Clutter has a sneaky way of creeping back in after a deep clean. One of the easiest ways to stay ahead is to keep a dedicated donate box right in your closet. This simple habit turns decluttering into an ongoing process instead of a dreaded marathon.
Every time you try on something that doesn't fit or realize you haven't used an item in months, toss it in the box. When the box is full, drop it off at a donation center. No sorting, no second-guessing, just a steady stream of stuff leaving your home.
The beauty of this method is that it removes decision fatigue. You don't have to set aside a whole afternoon to declutter—you just make small, painless choices throughout your day. Over time, these micro-decisions add up to a noticeably lighter closet and a calmer room.
Plus, having a designated spot for donations means you're less likely to hold onto things out of guilt or uncertainty. The box acts as a neutral holding zone until you're ready to let go.
Where To Put The Box
Place the box somewhere you'll see it every day, like on a closet shelf or the floor of your walk-in. Visibility is key—if it's hidden under the bed, you'll forget to use it. A simple cardboard box or a small laundry basket works perfectly.
No need for anything fancy.
What Goes In, What Stays Out
Clothes that no longer fit, shoes that hurt, accessories you never reach for, and even old linens or towels can go in. Keep items that are truly worn out for the trash, but anything gently used is donation-worthy. If you're on the fence about something, give yourself a 30-day rule: if you haven't worn it in a month, it goes in the box.
Make It A Routine
Set a recurring reminder on your phone to check the box every two weeks. When it's full, schedule a quick drop-off on your way to work or errands. Pairing the task with an existing habit—like donating on the first Saturday of each month—makes it stick.
14. Use the 5-Minute Rule for Daily Maintenance
A clean room doesn't stay that way by accident. The secret to maintaining a clutter-free space is a tiny daily habit that takes almost no time. The 5-minute rule is simple: each evening, spend just five minutes putting things back in place.
It stops mess from building up and keeps your room looking fresh with minimal effort.
The 5-minute rule works because it targets the small messes that accumulate daily—like pillows that need fluffing, stray items left on surfaces, and bathroom sink splatters. By doing a quick reset every evening, you prevent these minor issues from becoming a weekend cleaning project. Consistency is key: after a week, it becomes automatic, and your room stays tidy without you thinking about it.
What To Tackle In 5 Minutes
Focus on high-impact areas: fluff and arrange couch pillows, fold and put away throws, clear nightstands of books and glasses, and wipe down the bathroom sink with a cloth or disinfecting wipe. These tasks take seconds each but make the room look instantly neater.
How To Make It Stick
Set a timer on your phone for five minutes and do a quick sweep right before you settle in for the evening. Pair it with an existing habit, like brushing your teeth or waiting for your coffee to brew, so it becomes part of your routine. After a few days, you won't even need the timer.
Why It Reduces Deep Cleaning
When you wipe down the sink daily, soap scum and toothpaste residue don't harden. When you put things away each night, clutter doesn't pile up. This daily maintenance cuts down the time you need for weekly or monthly deep cleans by half, freeing up your weekends.
15. Reward Yourself After You Finish
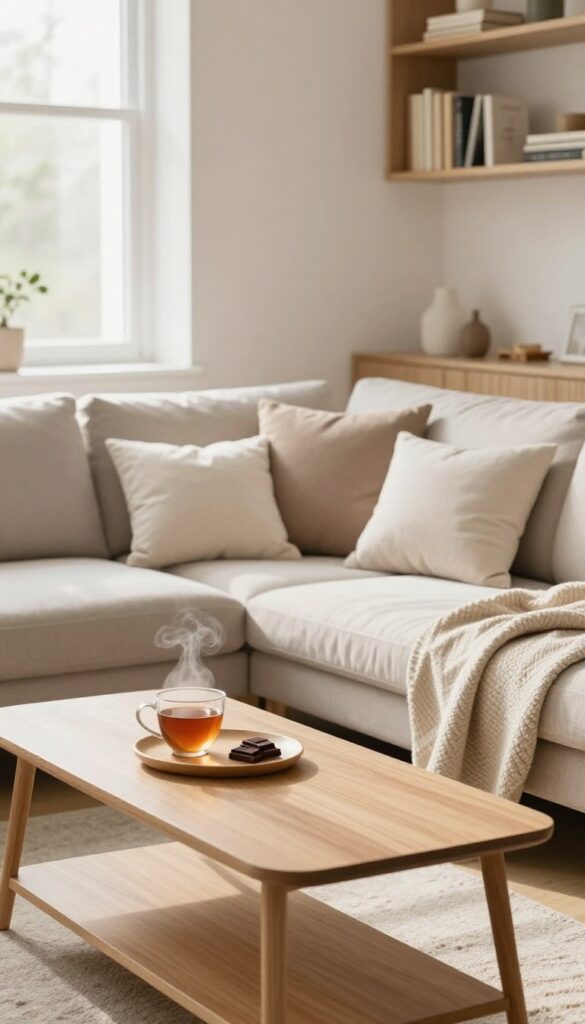
Cleaning can feel like a chore, but adding a reward at the finish line turns it into a game. You're more likely to stick with the habit when you know a little treat is waiting. It's not about bribery—it's about positive reinforcement that makes the process feel worthwhile.
After you've put in the effort to declutter and organize, take a moment to enjoy the results. Then give yourself a small, guilt-free reward. This simple act trains your brain to associate cleaning with pleasure, making it easier to start next time.
Choose A Reward That Fits
Your reward doesn't have to be big or expensive. A cup of your favorite tea, 15 minutes of scrolling social media, or watching one episode of a show you love works perfectly. The key is to make it something you genuinely look forward to but normally limit.
Make It Immediate
The reward works best when it comes right after you finish cleaning. Don't wait until later—your brain needs the instant connection between the effort and the payoff. Even a short break to enjoy a piece of dark chocolate can do the trick.
Use It To Build Momentum
Over time, this reward system can help you tackle bigger cleaning projects. Start with small rewards for daily tidying, then level up to something like a fancy coffee or a new candle for a full room makeover. You'll find yourself looking forward to cleaning instead of dreading it.
FAQ
How often should I deep clean my room?
Aim for a deep clean every 1-2 weeks, depending on usage. Daily 5-minute tidying and weekly surface cleaning can keep it fresh between deep cleans.
What's the fastest way to declutter a room?
Use the 10-minute blitz: set a timer, grab a bag for trash and a basket for items to relocate, and quickly remove everything that doesn't belong. Focus on high-visibility areas first.
How do I keep my room clean with minimal effort?
Adopt daily habits like making your bed, using the one-touch rule, and doing a 5-minute evening tidy. Also, reduce the number of items on surfaces to make dusting easier.
What cleaning supplies do I really need?
A multipurpose cleaner, microfiber cloths, glass cleaner, a duster, and a vacuum or broom. A caddy keeps them portable. You don't need specialized products for most rooms.
How can I make cleaning more enjoyable?
Listen to music, a podcast, or an audiobook. Set a timer and challenge yourself to beat the clock. Reward yourself after finishing to create positive associations.
Conclusion
A clutter-free room isn't about perfection—it's about smart habits that save time and reduce stress. By focusing on high-impact actions and working efficiently, you can transform your space faster than you thought possible. Start with just one or two tips from this list and build from there.
Before you know it, a clean, organized room will become your new normal. Enjoy your fresh space and the peace of mind that comes with it.


