
Walking into a clean, organized bedroom feels like a reset button for your entire day. That fresh-sheet smell and clutter-free floor transform your space from chaotic to calm in under an hour. This 25-step room reset breaks the process into manageable chunks, so you never feel overwhelmed.
Start with clearing surfaces and stripping the bed—instant visual progress that motivates you to keep going. Then work through dusting, wiping, and vacuuming in a logical top-to-bottom flow.
Each step builds on the last, ensuring you don't miss a spot or backtrack. By the time you fluff the pillows and spritz some linen spray, your room will feel brand new.
1. Clear the Clutter First
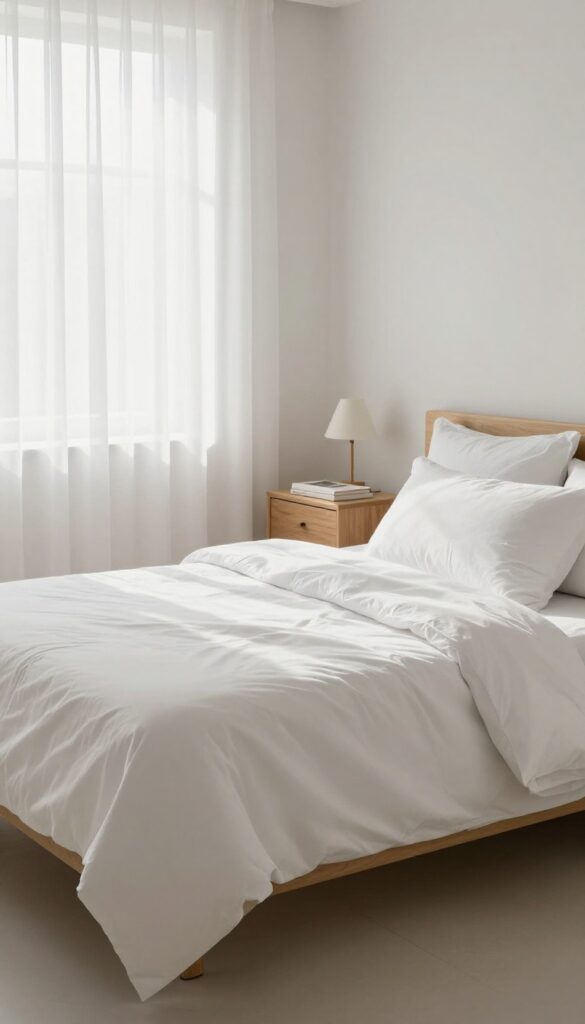
Before you can deep clean, you need to clear the decks. Clutter is the enemy of a clean room—it hides dust, slows you down, and makes the space feel messy no matter how much you scrub. This first step is all about removing everything that doesn't belong, so you're working with a blank slate.
Grab Your Bags
Arm yourself with a trash bag and a donate box. Walk around the room and pick up anything that's out of place—empty water bottles, old receipts, clothes on the floor, random knick-knacks. Be ruthless.
If you haven't used it in a month, it goes in the donate box. Trash goes straight into the bag.
Work Fast, Don't Overthink
This isn't the time to decide if you might need that souvenir from 2015. Set a timer for 10 minutes and move quickly. The goal is to clear surfaces—dresser tops, nightstands, desk, floor—so you can actually see what you're cleaning.
Speed beats perfection here.
Start With The Bed
Strip the bed completely and toss the sheets in the laundry. This instantly makes the room look less cluttered and gives you a clean surface to work around. Plus, making the bed later will feel like the final reward.
2. Strip the Bed and Gather Linens
There's something deeply satisfying about pulling off all the bedding in one swoop. It signals a fresh start and instantly opens up the room. While you're at it, collect every towel, rug, and fabric item that needs washing—doing it all at once saves trips to the laundry room.
Start by removing all pillows, sheets, blankets, and duvets. Toss them directly into a laundry basket or pile them by the door. Don't forget decorative cushions and throws—they collect dust and oils too.
Next, grab any bath towels, hand towels, or rugs from the floor. Check under the bed for stray socks or forgotten laundry. The goal is to have every washable fabric in one spot.
If you have delicate items, separate them now. This single step cuts down on laundry loads and ensures nothing gets left behind.
Work In Layers
Strip the bed in order: pillowcases first, then fitted sheet, flat sheet, and finally blanket or duvet cover. This keeps the process tidy and prevents tangling. Shake each item outside if possible to release dust and debris before tossing it in the hamper.
Don't Forget Hidden Fabrics
Check the closet for used towels, gym bags with sweaty clothes, or that throw blanket draped over the chair. Also grab any decorative pillows that need a refresh. If you have a mattress protector, consider washing it too—every few months is plenty.
Sort As You Go
Separate items by color and fabric type to avoid laundry mishaps. Whites and lights go in one pile, darks in another. Delicates like silk or lace should be set aside for gentle cycles.
This small habit saves time later and keeps your linens looking great.
3. Dust from Top to Bottom
Dust settles everywhere, but the trick is to catch it before it resettles on your freshly cleaned surfaces. Starting high and working your way down prevents you from having to re-dust anything. This method also saves time and effort, making your cleaning flow much smoother.
Ceiling Fans And Light Fixtures
Grab a microfiber cloth or a duster with an extendable handle. For ceiling fans, wipe each blade from the center out to avoid flinging dust into the air. Light fixtures and lampshades collect dust too, so give them a gentle wipe.
If you have recessed lights, a quick pass with a dry cloth does the trick.
High Shelves And Window Tops
Move to any high shelves, window sills, and the tops of tall furniture like wardrobes or bookcases. Use a microfiber cloth to trap dust rather than spreading it around. Don't forget the top of door frames and picture frames—these often get overlooked but collect a surprising amount of dust.
Furniture Surfaces And Baseboards
Work your way down to dressers, nightstands, and other furniture. Wipe each surface with a clean microfiber cloth, then move to baseboards and floor vents. For baseboards, a dry cloth or a vacuum with a brush attachment works well.
This step ensures all the dust that falls from above gets captured before you vacuum the floor.
4. Wipe Down All Surfaces
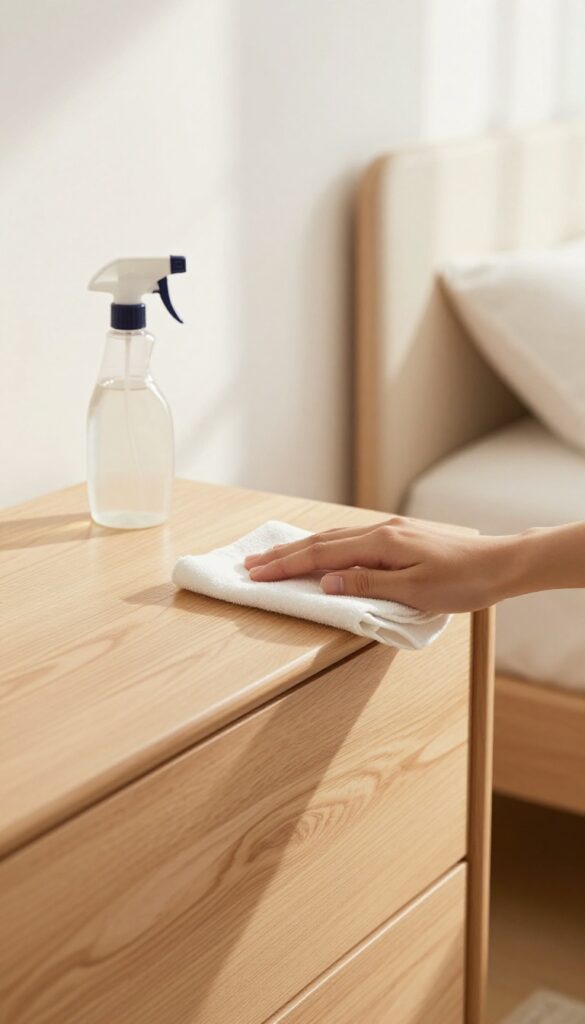
Surfaces collect dust, fingerprints, and mystery stains faster than anything else in the room. A quick wipe-down makes everything look instantly cleaner and fresher. Grab an all-purpose cleaner and a microfiber cloth, and work your way around the room systematically.
Start with the largest surfaces—desks, dressers, nightstands, and countertops. Spray the cleaner onto the cloth, not directly onto the surface, to avoid overspray and streaks. Wipe in straight lines or a gentle S-pattern to pick up dust without smearing it around.
Pay extra attention to edges and corners where grime likes to hide. Next, tackle the small but high-touch items: remote controls, light switches, lamp bases, and drawer pulls. These spots get touched dozens of times a day but are easy to overlook.
A quick spritz and wipe can reduce germs and restore that just-cleaned feel. For electronics like a TV screen or monitor, use a dry microfiber cloth or a screen-safe cleaner to avoid damage. Finally, give a once-over to any decorative items like picture frames, alarm clocks, or charging stations.
Dust collects on these just as much as on furniture. By the time you're done, every surface in the room should look polished and smudge-free.
Work Top To Bottom
Always start with higher surfaces like the top of a dresser or shelf, then move to lower ones like nightstands and finally the floor. This prevents dust and debris from falling onto areas you've already cleaned. It's a simple order that saves time and keeps you from redoing work.
Don't Forget Hidden Spots
Remote controls, light switch plates, door handles, and the top edges of baseboards are magnets for grime. Give them a quick wipe while you're already in cleaning mode. These small touches make the room feel thoroughly clean, not just surface-level tidy.
5. Clean Windows and Mirrors
Nothing makes a room feel bigger and brighter than streak-free windows and mirrors. After dusting and wiping surfaces, it's time to tackle the glass. This step is all about technique—using the right spray and cloth to avoid smudges and lint.
Start with windows, then move to mirrors. Spray the glass cleaner directly onto the cloth rather than the surface to prevent drips on sills or frames. Wipe in a zigzag or S-pattern to avoid leaving streaks.
For mirrors, use a microfiber cloth for a crystal-clear finish. A final buff with a dry section of the cloth removes any remaining haze.
Choose The Right Cleaner
A simple vinegar-and-water solution works wonders, but a commercial glass cleaner with ammonia cuts through grime faster. Avoid using paper towels—they leave lint. Stick with lint-free microfiber cloths or old newspapers for a polished look.
Tackle Tough Spots
For stuck-on residue like hairspray or toothpaste, dab a little rubbing alcohol on a cloth and rub gently. Then clean as usual. For windows, pay extra attention to corners where dirt accumulates.
Finish With A Final Check
Step back and look at the glass from different angles in natural light. If you see streaks, buff them with a clean, dry microfiber cloth. This last step ensures a flawless shine that makes the entire room feel refreshed.
6. Vacuum or Sweep the Floor
The floor is the final frontier in your room reset. After dusting and wiping everything above, it's time to tackle the ground. Starting in the farthest corner and working your way out prevents you from stepping on clean areas and spreading dirt back around.
Start In The Farthest Corner
Begin at the corner farthest from the door. This way you move backward toward the exit, so you never walk over a spot you've already cleaned. Use slow, overlapping passes to pick up all dust and debris.
Use Attachments For Edges And Under Furniture
Swap to the crevice tool for baseboards and corners. Use the brush attachment for delicate areas like lamp shades or window sills. Slide the wand under beds and dressers to grab hidden dust bunnies.
Empty The Vacuum After
Once you finish, immediately empty the canister or bag. This keeps your vacuum performing at its best and prevents odors. It also means you're ready for the next room without a messy delay.
7. Mop Hard Floors
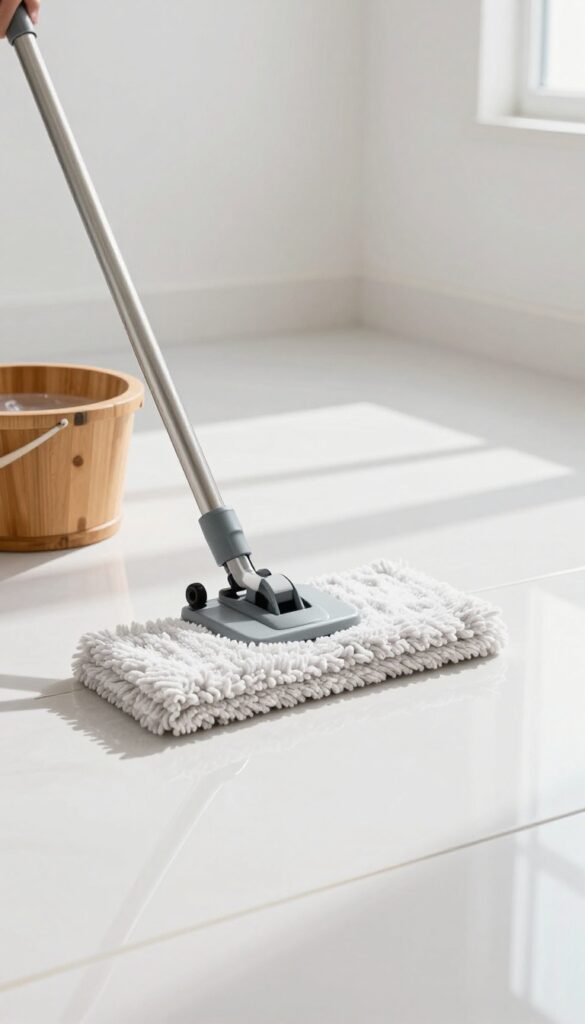
Hard floors take a beating, especially after you've moved furniture around and stirred up dust. Mopping is the final step that makes everything gleam. Choose a cleaner suited to your floor type—pH-neutral for tile, wood-safe for hardwood, and gentle for laminate—to avoid damage or dullness.
Let the floor air dry completely before sliding furniture back into place; damp floors trap dust and can warp certain materials.
Pick The Right Cleaner
Not all floor cleaners are created equal. For tile and grout, a mild detergent or vinegar solution works well, but avoid vinegar on natural stone. Hardwood floors need a cleaner specifically labeled for wood, often oil-based or pH-balanced.
Laminate is the most sensitive—use a damp mop with a laminate-safe spray, never soaking the surface. Check your floor manufacturer's recommendations if you're unsure.
Mop In Sections
Work from the farthest corner of the room toward the door so you don't walk over wet areas. Dip your mop, wring it out thoroughly—excess water is the enemy—and mop in overlapping strokes. Rinse the mop head frequently to avoid spreading dirty water.
For stubborn spots, let the cleaner sit for a minute before scrubbing gently.
Dry Time Matters
After mopping, open windows or turn on a fan to speed up drying. Hard floors can take 20–30 minutes to air dry completely. Walking on them too soon leaves footprints and can push dirt into the still-damp finish.
Wait until the floor feels dry to the touch before moving furniture or rugs back. This prevents moisture damage and keeps your hard work looking fresh.
8. Tackle the Closet
The closet is often the most dreaded part of a room reset, but it doesn't have to be. A few focused actions can turn it from a black hole of chaos into a streamlined storage space. Start with a clear goal: you're not redesigning your wardrobe, just resetting it for daily ease.
Begin by pulling everything out that doesn't belong on hangers—shoes, bags, accessories. Group them by type and decide what stays. Then tackle hanging items: remove anything you haven't worn in a year, and donate or store it.
Use matching hangers to create a uniform, tidy look instantly. Finally, arrange by category and color for a visual system that makes getting dressed faster.
Shoe Sort And Organize
Pull all shoes out and pair them up. Wipe down soles and interiors with a damp cloth. Decide which pairs to keep, donate, or toss.
Store off-season shoes in bins on the top shelf, and keep everyday pairs on a rack or shelf at eye level.
Hang With Intention
Swap mismatched hangers for a set of slim velvet or wooden ones—they save space and look polished. Hang shirts, dresses, and jackets by category, then within each category by color. This makes outfits easy to find and keeps the closet looking curated.
One-year Rule
Be honest: if you haven't worn it in 12 months, you probably never will. Bag those items for donation or consignment right away. This frees up space and simplifies your morning routine.
9. Organize Drawers and Cabinets
Drawers and cabinets are prime real estate for clutter to hide. When you tackle them one at a time, you not only reclaim space but also make your morning routine smoother. This step is about intentionality—keeping only what serves you and giving everything a designated spot.
Empty one drawer or cabinet completely. Wipe down the inside with a damp cloth or all-purpose cleaner. Let it dry while you sort through the pile.
Be ruthless: toss expired items, donate duplicates, and relocate things that belong elsewhere. Only put back what you actually use and love. Use dividers, small bins, or drawer organizers to keep categories separate.
This prevents the dreaded drawer jumble from returning within a week.
Sort And Purge
Dump everything onto a clean surface. Group similar items together—chargers with chargers, socks with socks. Toss anything broken, expired, or unused for over a year.
Donate items in good condition that you no longer need. This step alone cuts your drawer contents by half.
Deep Clean The Interior
Vacuum or wipe out every corner, especially if crumbs or dust have accumulated. For fabric-lined drawers, use a lint roller or upholstery brush. Let the drawer air out for a few minutes before adding anything back.
A clean base makes everything feel fresher.
Use Dividers And Containers
Invest in adjustable drawer dividers or small bins that fit your space. They keep items upright and separated, so you can grab what you need without digging. For deep cabinets, use stackable bins or lazy Susans to maximize vertical space.
Label bins if you share the space with others.
Maintain The System
Once organized, commit to a one-in-one-out rule. When you buy something new, remove an old item. Do a quick five-minute tidy of your drawers every week to catch stray items before they pile up.
This keeps your hard work from unraveling.
10. Refresh Upholstery and Carpets

Fabric surfaces trap odors, dust, and allergens over time, making your room feel less fresh even after a deep clean. This simple baking soda treatment works wonders on sofas, chairs, and carpets, neutralizing smells without harsh chemicals. It's a quick, budget-friendly step that leaves your space smelling clean and feeling softer.
Sprinkle a generous layer of baking soda over your upholstered furniture and carpeted areas. Let it sit for at least 15 minutes—longer if odors are strong—to allow the baking soda to absorb trapped smells. Then vacuum thoroughly using an upholstery attachment for furniture and a regular head for carpets.
This method is safe for most fabrics and won't damage fibers.
Why Baking Soda Works
Baking soda is a natural deodorizer that neutralizes both acidic and alkaline odor molecules. Unlike sprays that mask smells, it actually lifts and traps odor particles, which are then removed by vacuuming. It's gentle on fabrics and safe for pets and kids.
How To Apply Effectively
Start by vacuuming loose dirt and debris. Then sprinkle baking soda evenly—use a sieve or shaker for even distribution. Focus on high-traffic areas and spots where pets or spills have occurred.
Let it sit for at least 15 minutes, but an hour is even better for stubborn odors.
Vacuuming Tips For Best Results
Use a vacuum with strong suction and a brush attachment to lift the baking soda from fabric fibers. Go slowly in overlapping passes to ensure you remove all residue. Empty the canister or bag afterward to prevent clogging.
For carpets, consider using a carpet rake before vacuuming to loosen the powder.
11. Wipe Down Electronics
Electronics are magnets for dust, fingerprints, and grime. Screens get smudged, keyboards collect crumbs, and remotes end up sticky. Giving them a quick wipe not only makes them look better but also helps them run cooler and last longer.
Start by turning off and unplugging any devices you plan to clean. This prevents accidental presses and lets you see smudges clearly. Use a dry microfiber cloth on screens—no paper towels or rough fabrics that can scratch.
For keyboards and remotes, lightly dampen the cloth with water or a 50/50 mix of water and isopropyl alcohol. Wring it out well so no liquid drips into crevices. Gently wipe keys, buttons, and surfaces, then let everything air-dry before powering back on.
Screen Safety
Never spray liquid directly onto a screen. Moisture can seep into edges and damage internal components. Instead, spray the cloth lightly, then wipe in gentle circles.
For stubborn spots, use a specialized electronics cleaning wipe.
Keyboard And Remote Care
Turn keyboards upside down and shake out loose debris before wiping. For stuck-on gunk, use a soft-bristled brush or a can of compressed air. For remotes, pay extra attention to the battery compartment—dust there can cause poor connections.
Cable Management Bonus
While you're at it, tidy up cables behind your desk or nightstand. Use twist ties or velcro straps to bundle them. This reduces dust buildup and makes future cleaning easier.
12. Clean Light Switches and Door Handles
Light switches and door handles are some of the most touched surfaces in any room, yet they often get overlooked during a deep clean. Over time, they collect fingerprints, dust, and grime that can make even a freshly cleaned room feel dingy. A quick wipe-down takes just a minute and makes a noticeable difference.
Start by gathering a disinfectant wipe or a microfiber cloth with a mild soap solution. Work your way around the room, wiping every switch plate and handle, including closet doors and cabinet pulls. Don't forget less obvious spots like the edges of switch plates where dust accumulates.
Dry with a clean cloth to prevent streaks.
Why High-touch Areas Matter
These surfaces are germ hotspots because everyone touches them multiple times a day. Cleaning them not only improves appearance but also reduces the spread of germs. It's a small step that boosts the overall hygiene of your room.
The Right Tools For The Job
Disinfectant wipes are convenient for a quick clean, but a microfiber cloth with a dab of dish soap works just as well. Avoid harsh chemicals that can damage paint or finishes. For stubborn grime, a soft toothbrush can scrub around switch plate edges.
A Quick Routine That Sticks
Make this a regular part of your room reset. Add it to your weekly cleaning checklist so it becomes a habit. Once you see how much cleaner everything looks, you'll never skip it again.
13. Polish Wood Furniture
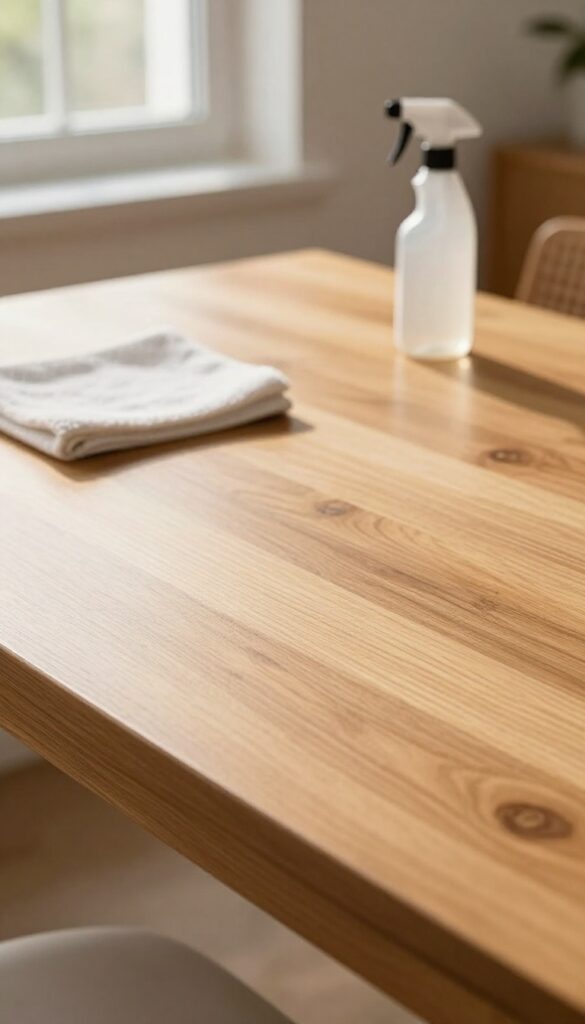
Wood furniture adds warmth and character to any room, but it can look dull and lifeless without regular care. A quick polish not only restores its natural beauty but also creates a protective barrier against dust and moisture. This step takes just a few minutes and makes a noticeable difference in how polished (pun intended) your room feels.
Polishing wood furniture is one of those tasks that feels satisfying because you see the results instantly. The key is to use the right technique to avoid streaks or buildup. Start by dusting the surface with a microfiber cloth to remove any loose particles.
Then apply a small amount of furniture polish to a clean, soft cloth—never spray directly onto the wood. Buff in the direction of the grain using gentle, circular motions. Work in small sections to ensure even coverage.
Finally, go over the surface with a dry part of the cloth to remove any excess polish and bring out a warm, natural shine. This simple routine not only makes your furniture look great but also extends its life.
Choosing The Right Polish
Not all furniture polishes are created equal. For most finished wood, a spray polish with a light wax works well. Avoid silicone-based products as they can build up and damage the finish over time.
If you prefer natural options, a mix of olive oil and lemon juice (in a 2: 1 ratio) can be a gentle, effective alternative. Always test a small, hidden area first to ensure compatibility.
The Right Cloth Matters
Microfiber cloths are ideal because they are lint-free and gentle on wood. Old cotton t-shirts or flannel also work well. Steer clear of paper towels—they can leave scratches and fibers behind.
A soft, clean cloth ensures a smooth application and a streak-free shine.
Buffing Technique
Buffing is what gives wood that warm glow. Use light to medium pressure and move in the direction of the wood grain. Avoid vigorous scrubbing, which can create friction marks.
For carved or detailed areas, use a soft-bristled brush or a cotton swab to apply and buff polish carefully.
14. Deep Clean the Baseboards
Baseboards are one of those surfaces you walk past every day but rarely notice—until they're dirty. Over time, dust, scuffs, and grime build up along the bottom edge of your walls, making even a freshly cleaned room feel a little dingy. Giving them a proper wipe-down takes just a few minutes but makes a surprisingly big difference in how polished your space looks.
Gather Your Tools
You don't need anything fancy. A microfiber cloth, a bucket of warm water with a drop of dish soap, and an old toothbrush for corners will do the trick. For stubborn scuffs, a magic eraser works wonders.
Keep a dry cloth handy to buff away any moisture streaks.
Work In Sections
Start at one corner of the room and work your way around systematically. Wipe the top edge of the baseboard first, then the face, and finally the bottom where it meets the floor. This top-down approach prevents drips from running onto already-cleaned areas.
Don't Forget The Corners
Dust and dirt love to hide in corners and where baseboards meet door frames. Use your toothbrush or a small detailing brush to loosen debris, then wipe it away. Pay extra attention to areas behind furniture that rarely see the light of day.
Finish With A Quick Buff
Once all the baseboards are clean, go back with a dry microfiber cloth to remove any leftover moisture or soap residue. This step gives them a subtle shine and helps repel dust a little longer. Step back and admire how crisp your room looks.
15. Wash Throw Pillow Covers and Blankets
Throw pillows and blankets get a lot of love, which means they also collect a lot of dust, oils, and pet dander. Washing them regularly keeps your bed and seating areas fresh and allergy-friendly. Plus, clean, fluffy textiles instantly make the whole room feel more inviting.
Start by checking the care labels on each pillow cover and blanket. Most are machine-washable in cold water on a gentle cycle, but some delicate fabrics may require hand washing or dry cleaning. Use a mild detergent and skip the fabric softener, which can break down fibers over time.
For blankets, wash similar colors together to avoid dye transfer. After washing, tumble dry pillow covers on low heat until they're just barely damp, then let them air dry the rest of the way to prevent shrinkage. For throw pillows with inserts, remove the covers before washing and spot-clean the inserts if needed.
Fluff the inserts in the dryer on a no-heat or low-heat setting with a couple of clean tennis balls to restore their shape. For blankets, follow the same low-heat drying approach, checking frequently to avoid overheating. If the blanket is large or bulky, you may need to pause the cycle and reposition it a few times for even drying.
Once everything is dry, give each item a good shake and fluff by hand before putting them back in place.
Check Care Labels First
Before tossing anything in the wash, read the care tag. Some decorative pillows have dry-clean-only covers, while others are fine on a gentle cycle. Sorting by fabric type—cotton, polyester, wool, or blends—helps you choose the right water temperature and cycle.
When in doubt, wash in cold water and air dry.
Wash And Dry Like A Pro
Use a gentle detergent and avoid bleach or harsh stain removers. For extra fluffiness, toss a couple of wool dryer balls into the dryer with the covers. Remove covers while slightly damp to reduce wrinkles, then lay flat or hang to finish drying.
For blankets, shake them out before drying to prevent clumping.
Fluff Pillow Inserts For Shape
Pillow inserts can lose their loft over time. Revive them by placing in the dryer on low heat with two clean tennis balls or dryer balls. The balls bounce around, breaking up clumps of filling.
Run for 10–15 minutes, then check. Repeat if needed. Let them cool completely before reinserting covers.
16. Declutter Nightstands and Desks
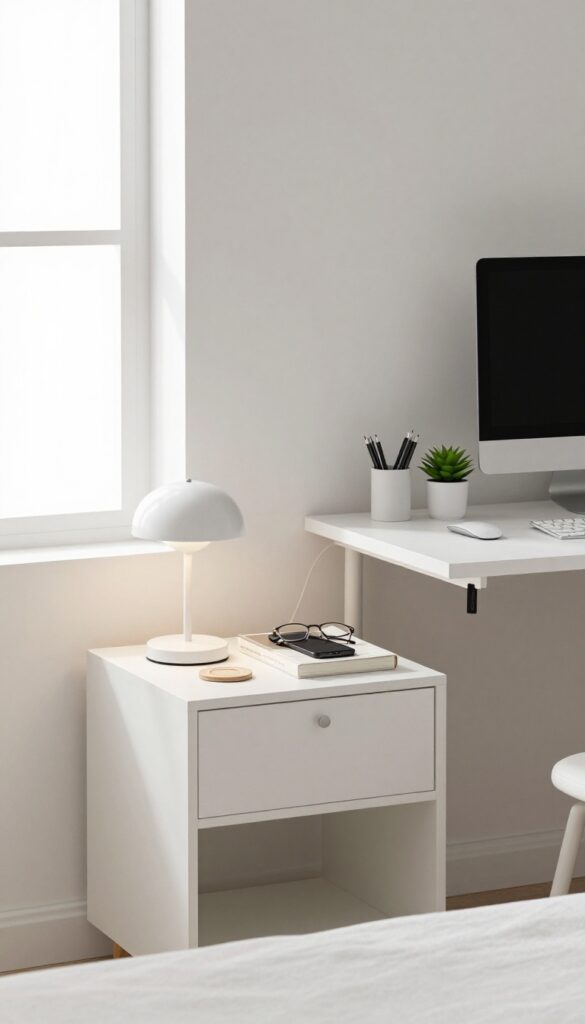
Nightstands and desks are prime real estate for clutter. They collect books, glasses, chargers, random receipts, and that one pen you swear you'll need tomorrow. Clearing them instantly lifts the visual weight of the room and gives you a clean surface to actually use.
Start by removing everything from both surfaces. Wipe them down with a damp cloth, then sort the pile into three groups: keep, relocate, and trash. Only put back items you use daily or truly love.
For the keepers, use trays, small bowls, or a desk organizer to contain loose items like pens, earbuds, and charging cables. A lamp, a small plant, and one or two personal objects are plenty. If you have a desk, consider a simple file holder for papers and a small caddy for office supplies.
The goal is a surface that looks intentional, not like a catch-all.
The Nightstand Edit
Your nightstand should support sleep, not stress. Keep only a lamp, a book or e-reader, and maybe a coaster for water. A small tray catches your phone, watch, and glasses.
If you need a charging station, use a compact multi-port charger and hide the cord with a cable clip. Anything else—old magazines, extra lotions, loose change—needs a new home.
Desk Surface Reset
A cluttered desk kills focus. Start with a clean slate: remove everything, wipe down the surface, and only return your monitor, keyboard, mouse, and a small desk lamp. Use a pen cup or drawer divider for supplies.
A vertical file holder keeps active papers visible but tidy. For cords, use adhesive cable clips or a cable sleeve to route them neatly. Add one personal touch—a photo or plant—but resist the urge to overcrowd.
Drawer And Shelf Taming
Don't stop at the surface. Open your nightstand and desk drawers. Remove everything, toss expired meds and old receipts, and group like items.
Use small dividers or boxes to separate chargers, pens, notepads, and personal items. For the nightstand, keep only what you need before bed: a book, glasses case, lip balm. For the desk, store supplies you use weekly but not daily.
17. Organize Cables and Wires
Cables have a way of multiplying when you're not looking. Phone chargers, laptop cords, lamp wires—they all tangle into a mess that ruins the clean look you just worked for. This step tackles that chaos head-on.
A few minutes of cable management makes your room look instantly tidier and prevents that frustrating hunt for the right cord.
Bundle And Secure
Start by unplugging everything and grouping cords by device. Use Velcro cable ties or twist ties to bundle each group neatly. Keep bundles short—just long enough to reach the outlet without extra slack.
For cords that stay put, like those behind a desk, use adhesive cable clips to route them along the edge of furniture or baseboards. This keeps them off the floor and out of sight.
Label For Sanity
If you have multiple similar cords (like several black USB cables), grab a label maker or some masking tape and a marker. Write what each cord powers—phone, tablet, lamp—and stick the label near the plug end. This simple step saves time later when you need to unplug something quickly without tracing wires.
It also helps if you ever move furniture or rearrange.
Hide And Contain
For the cords you can't hide behind furniture, use a cable management box or a decorative basket with a lid. Feed all the cords through the opening, then plug them into a power strip inside the box. The box conceals the mess while still allowing easy access.
If you have a media console, tuck excess cord length into a cable sleeve that runs along the back. The goal is to make cables disappear from view.
18. Clean Under the Bed
That dark space under your bed is a magnet for dust bunnies, lost socks, and forgotten storage bins. It's easy to ignore, but cleaning it makes a huge difference in air quality and how fresh the room feels. Let's tackle it properly so you can sleep better knowing nothing gross is lurking below.
Slide Out And Sort
Start by pulling out every bin, box, or stray item from under the bed. If you have a bed skirt, remove it and toss it in the laundry. This is your chance to assess what's really down there.
Sort through the bins: keep what you actually use, donate or toss the rest. You'll be surprised how much space you free up.
Vacuum Thoroughly
With everything out, vacuum the entire floor area under the bed. Use the crevice tool to get into corners and along the baseboard. If you have a hard floor, a quick dry mop or Swiffer works great too.
Don't forget to vacuum the bed frame and any dust on the box spring. A clean floor makes the whole room feel lighter.
Wipe Down Bins And Return
Before sliding the bins back, wipe them down with a damp cloth or disinfecting wipe. This removes dust and any musty smells. Only put back the items you decided to keep—ideally in clear, labeled bins so you can see what's inside.
Slide them back neatly, leaving a little space for airflow. Your bed will feel cleaner and more organized.
19. Freshen the Air
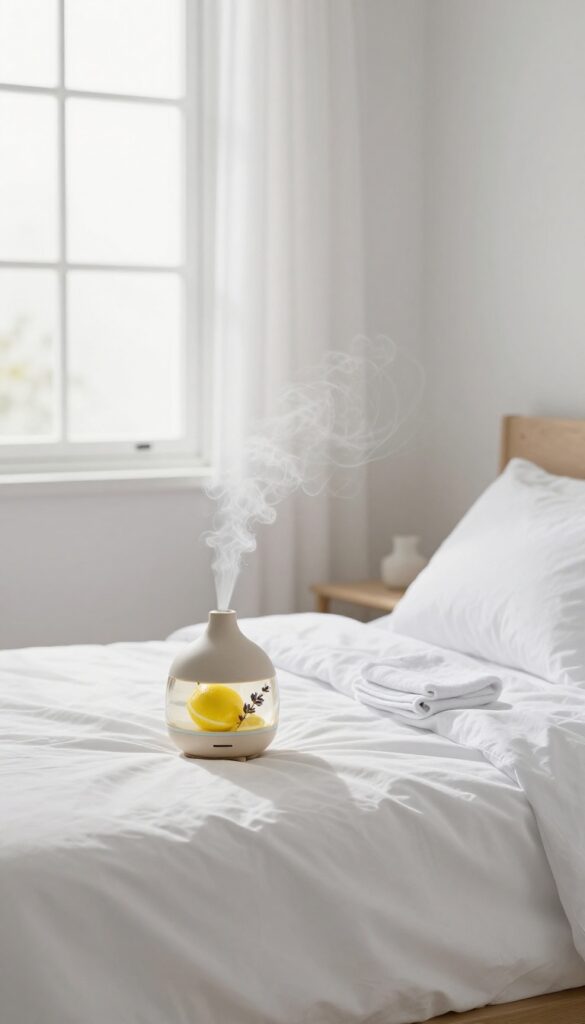
After scrubbing every surface and folding the last towel, the final touch is making the room smell as clean as it looks. Stale air can undo all that effort, leaving the space feeling heavy. A few simple steps will fill the room with a light, natural scent that signals "reset complete.
"
Open windows for a few minutes to let stale air out. Use a natural room spray or an essential oil diffuser for a subtle scent.
Crack The Windows
Even if it's chilly, opening windows for five to ten minutes creates cross-ventilation that flushes out dust, odors, and any lingering cleaning product fumes. Fresh air instantly lightens the room and reduces stuffiness.
Choose A Natural Room Spray
Skip synthetic air fresheners that just mask odors. A simple spray of water with a few drops of lemon, lavender, or eucalyptus essential oil adds a clean, gentle fragrance. Mist lightly over fabrics and let it dry.
Try An Essential Oil Diffuser
For a longer-lasting effect, set up a diffuser with your favorite oil blend. It continuously releases a fine, cool mist that keeps the air fresh without being overpowering. Perfect for maintaining that just-cleaned feeling.
20. Make the Bed
There's a reason hotel rooms feel instantly relaxing—it's the crisp, made bed. When you pull up the sheets, smooth out the wrinkles, and fluff the pillows, the entire room shifts from messy to put-together in just a few minutes. This single action sets a tidy tone for the whole space and gives you a psychological win right at the start.
Making the bed is the cornerstone of a clean room. It’s the first thing you see when you walk in, and it signals that the room is cared for. Plus, a neat bed keeps dust and pet hair from settling on your sleeping surface.
Start by stripping off any old linens and tossing them in the laundry. Then put on fresh, clean sheets—fitted first, then flat, and tuck them in snugly. Pull the duvet or comforter up evenly and fold the top edge down a few inches for a hotel-style finish.
Finally, arrange your pillows: sleeping pillows in back, decorative ones in front. Fluff each one to restore its shape. The whole process takes less than five minutes but makes a huge visual impact.
Start With Fresh Linens
Clean sheets are non-negotiable. If you’re doing a full room reset, now is the perfect time to swap out your bedding. Wash your sheets on a warm cycle with a gentle detergent, and dry them with a dryer sheet or wool balls for softness.
While the bed is bare, take a moment to vacuum the mattress to remove dust mites and allergens. Then put on the fresh linens—the scent alone will make the room feel instantly cleaner.
Smooth And Tuck For A Crisp Look
Wrinkles and loose fabric make even clean sheets look messy. After putting on the fitted sheet, smooth it flat with your hands. For the flat sheet, pull it taut and tuck the excess under the mattress at the foot and sides.
A hospital corner tuck (fold the sheet edge under at a 45-degree angle) keeps everything secure. Then layer on the duvet or comforter, shaking it to distribute the fill evenly. Fold the top edge down about six inches to show off the flat sheet and create a neat line.
Fluff And Arrange Pillows
Pillows lose their loft over time, so give each one a good fluff by punching and shaking it. If your pillows are synthetic, you can even toss them in the dryer on low heat with a couple of tennis balls to restore volume. Arrange them in order: sleeping pillows against the headboard, then any decorative pillows in front.
For a simple look, use two sleeping pillows and one lumbar pillow. This layering adds depth and makes the bed look inviting.
21. Arrange Decorative Items
Now that the hard work is done, it's time for the fun part—styling your space. Decorative items add personality and warmth, but the key is restraint. A few carefully chosen pieces will make your room feel curated, not cluttered.
Pick A Focal Point
Choose one area, like your nightstand or dresser top, to be the main display. Place your most meaningful item there—a framed photo, a small sculpture, or a vase with fresh flowers. This anchors the room and draws the eye.
Group In Odd Numbers
Odd-numbered groupings (three or five items) naturally look more balanced and interesting. Combine different heights and textures: a tall plant next to a stack of books and a small candle. Play around until it feels just right.
Leave Breathing Room
Resist the urge to fill every surface. Empty space lets each piece stand out and keeps the room feeling calm. A clear corner or a bare spot on your dresser actually enhances the overall look.
22. Add a Touch of Greenery
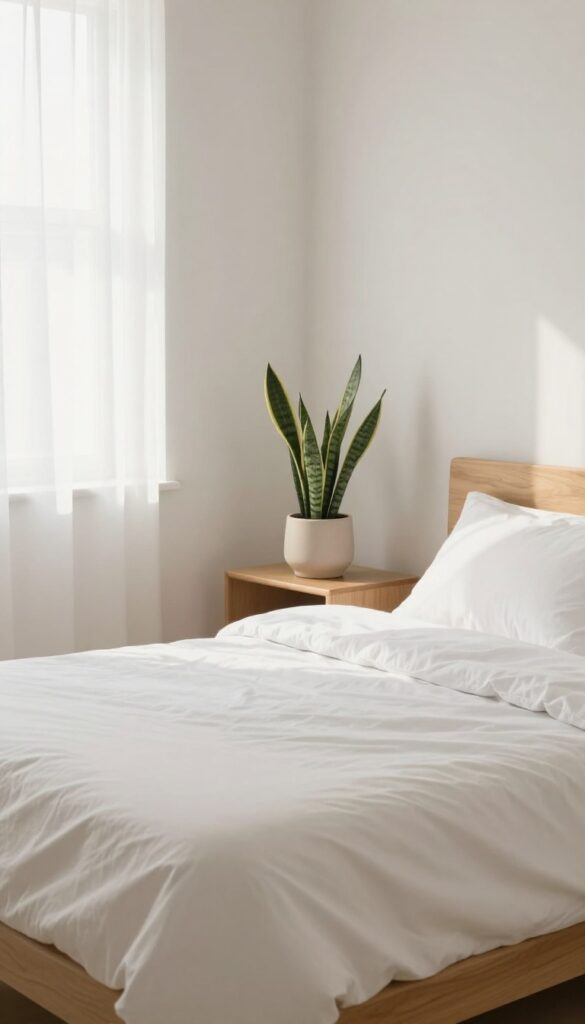
A small potted plant or fresh flowers brings life to the room. Choose low-maintenance options like snake plants or pothos. This simple addition softens the space and improves air quality.
Plants do more than just look pretty—they boost your mood and clean the air. After all that scrubbing, a bit of green makes the room feel fresh and alive. Plus, caring for a plant is a gentle daily reminder to keep the space tidy.
Best Low-maintenance Options
Snake plants, pothos, and ZZ plants thrive on neglect. They tolerate low light and irregular watering, perfect for a bedroom. If you prefer flowers, a small vase of eucalyptus or dried lavender adds color without the upkeep.
Where To Place Them
A nightstand, dresser top, or windowsill works well. Avoid blocking natural light or creating clutter. One or two small plants are enough—too many can feel messy.
Styling Tips
Use a simple ceramic pot that matches your room's palette. Group a tall plant with a shorter one for visual interest. Keep leaves dust-free so they stay vibrant.
23. Do a Final Walk-Through
You've scrubbed, dusted, and organized every corner, but the job isn't done until you do one last sweep. A final walk-through catches those easy-to-miss spots that can make a clean room feel unfinished. It's the difference between a good reset and a great one.
Grab a trash bag and a microfiber cloth, then slowly scan the room from the doorway. Look for cobwebs in corners, smudges on light switches, and stray items that escaped earlier rounds. This step takes less than five minutes but ensures nothing slips through the cracks.
Check High And Low
Start at the ceiling and work down. Cobwebs love corners and light fixtures. Then check baseboards and under furniture for dust bunnies you might have missed.
A quick swipe with a dry cloth or vacuum attachment handles both.
Spot Smudges And Streaks
Fingerprints on door frames, smudges on mirrors, and streaks on windows are common culprits. Keep a damp cloth handy for a quick wipe. Pay special attention to areas you touch often, like light switches and drawer pulls.
Collect Stray Items
A single sock under the bed or a forgotten water bottle on the nightstand can ruin the clean vibe. Use your trash bag to collect anything that doesn't belong. Either put it away or toss it—no second chances.
24. Set Up a Daily Tidy Routine
A clean room doesn't stay that way by accident. The secret to maintaining that just-cleaned feeling is a simple daily habit that takes only five minutes. Think of it as a quick reset that prevents clutter from piling up and keeps your space looking fresh between deep cleans.
A daily tidy routine is your best defense against mess. By spending just a few minutes each day putting things back where they belong, you avoid the overwhelming buildup that makes cleaning feel like a chore. This small investment pays off in a room that always looks good and feels calming.
Pick A Consistent Time
Choose a specific time each day for your tidy session—right after you wake up, before bed, or when you get home from work. Consistency turns it into a habit. Set a timer if you need to, and stick to it until it becomes automatic.
Focus On High-impact Areas
Not every corner needs daily attention. Prioritize spots that get messy fastest: the bed (make it), surfaces (clear them), and floors (pick up stray items). These three actions alone make the room look 80% cleaner in minutes.
Use A Simple System
Keep a small basket or tray for items that belong elsewhere. During your tidy routine, toss in anything that's out of place—then take the basket to its destination once you're done. This streamlines the process and keeps you from getting sidetracked.
25. Celebrate Your Clean Room
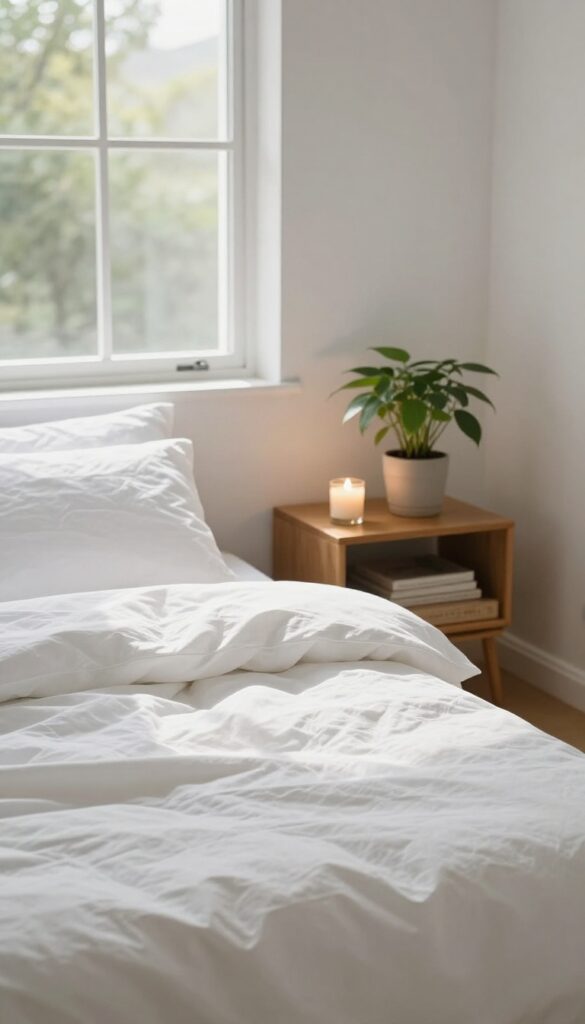
You've put in the work, and now your room looks and smells amazing. Before you rush off to the next task, take a real moment to soak it all in. This isn't just about admiring your effort—it's about reinforcing the habit and making the experience feel rewarding.
Light A Candle Or Diffuse Oils
A signature scent can instantly elevate the mood. Choose something calming like lavender, eucalyptus, or vanilla. The gentle aroma signals to your brain that the space is clean and peaceful, making it easier to relax.
Play Your Favorite Tune
Music has a way of locking in positive feelings. Put on a song that makes you happy or a playlist that matches the vibe you want. Let yourself enjoy the clean space with good sounds—it turns a chore into a moment.
Take A Mindful Breath
Sometimes the best celebration is stillness. Sit on your freshly made bed or in a cozy chair. Close your eyes and take three deep breaths.
Notice the quiet, the order, and the calm you created. You earned this peace.
FAQ
How long does it take to clean a room using these steps?
Depending on the room size and clutter level, expect 1 to 3 hours. The first time might take longer, but subsequent cleans will be faster.
Do I need special cleaning products?
No. Basic supplies like all-purpose cleaner, microfiber cloths, a vacuum, and a mop are enough. You can make natural cleaners with vinegar and baking soda.
Should I clean the entire house or one room at a time?
One room at a time is more manageable. Finishing a single room gives you a sense of accomplishment and motivation to continue.
How often should I do a full room reset?
A deep clean every 1-2 months is ideal. In between, maintain with a 10-minute daily tidy and weekly surface cleaning.
What's the best way to stay motivated during cleaning?
Play upbeat music, set a timer for each step, and reward yourself after finishing. Focus on the result: a fresh, calming space.
Conclusion
After you finish the last step, step back and take in the result. A clean room isn't just about tidiness—it's about creating a space that feels calm and ready for whatever comes next.
Keep these steps handy, and you'll turn a chaotic reset into a simple, repeatable routine.


