
Your closet shouldn't be a source of stress. Yet for many of us, it's the one spot where chaos quietly builds up. The good news?
You don't need a massive renovation or a big budget to turn things around. These 15 cleaning wardrobe ideas are designed to be realistic and effort-aware. They focus on small, manageable steps that add up to a big difference.
Whether you're tackling a walk-in or a tiny reach-in, these tips will help you create a closet that feels fresh, organized, and easy to maintain. Let's dive into practical solutions that actually work for real life.
1. Empty Everything and Sort into Piles
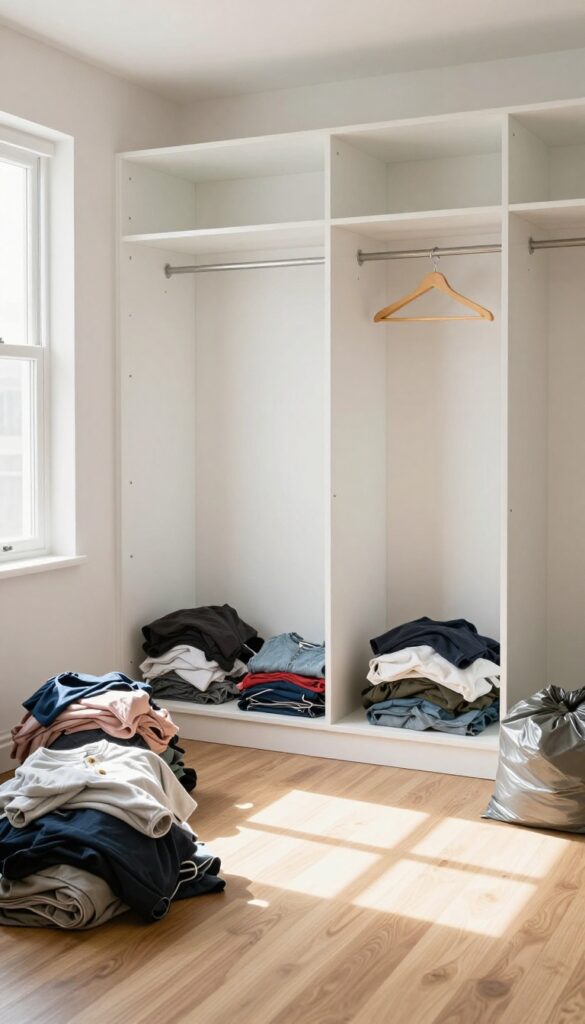
It might sound drastic, but pulling everything out of your closet is the fastest way to reset the space. You can't organize what you can't see. Once it's all out, you can finally assess what you own and make clear decisions.
Grab some bins or designate areas on your bed or floor. Create four piles: keep, donate, repair, and trash. Be honest with yourself.
If you haven't worn it in a year, it's probably time to let it go. This step alone can cut your wardrobe by half, making the rest of the process much easier.
Why This Works
Starting from zero eliminates the mental clutter of 'I might wear this someday. ' You see every item with fresh eyes. Plus, an empty closet is easier to clean and reorganize from scratch.
How To Sort Without Overwhelm
Work in sections: tops, bottoms, dresses, outerwear, shoes, and accessories. Set a timer for 15 minutes per pile if you tend to get stuck. Keep a trash bag and a donation box nearby so decisions become immediate.
What To Do With Each Pile
Keep goes back in after cleaning. Donate items that are in good condition. Repair anything with minor damage (missing buttons, loose hems).
Trash is for stained, torn, or unwearable items. Handle each pile right away so it doesn't pile up again.
2. Wipe Down Every Surface
Before you put a single item back, take a moment to clean the empty space. Dust, grime, and even tiny debris collect on shelves, rods, and corners over time. A quick wipe-down not only makes everything look better but also helps your clothes stay fresher.
Grab a microfiber cloth and a gentle all-purpose cleaner or a mix of water and vinegar. Start from the top shelf and work your way down, so dust falls onto areas you haven't cleaned yet. Don't forget the rod—it collects dust too.
Wipe corners where cobwebs hide, and if you have a carpeted floor, give it a quick vacuum. A clean canvas makes the organizing process feel more rewarding and sets the stage for a truly fresh closet.
Choose The Right Cleaner
Stick with mild, non-abrasive cleaners to avoid damaging paint or finishes. A simple solution of warm water and a few drops of dish soap works wonders. For wooden shelves, use a wood-safe cleaner.
Avoid bleach or harsh chemicals that could leave residues or strong odors.
Don't Skip The Details
Pay attention to light fixtures, switch plates, and the top of the door frame. These spots collect dust that can fall onto your clothes later. Use a microfiber duster or a damp cloth to catch particles instead of just moving them around.
Let It Breathe
After wiping, leave the closet door open for a bit to let the surfaces air dry. This helps prevent any musty smells from trapped moisture. If you have a small fan, point it toward the closet for a few minutes to speed up the process.
3. Use the Hanger Trick to Curb Clutter
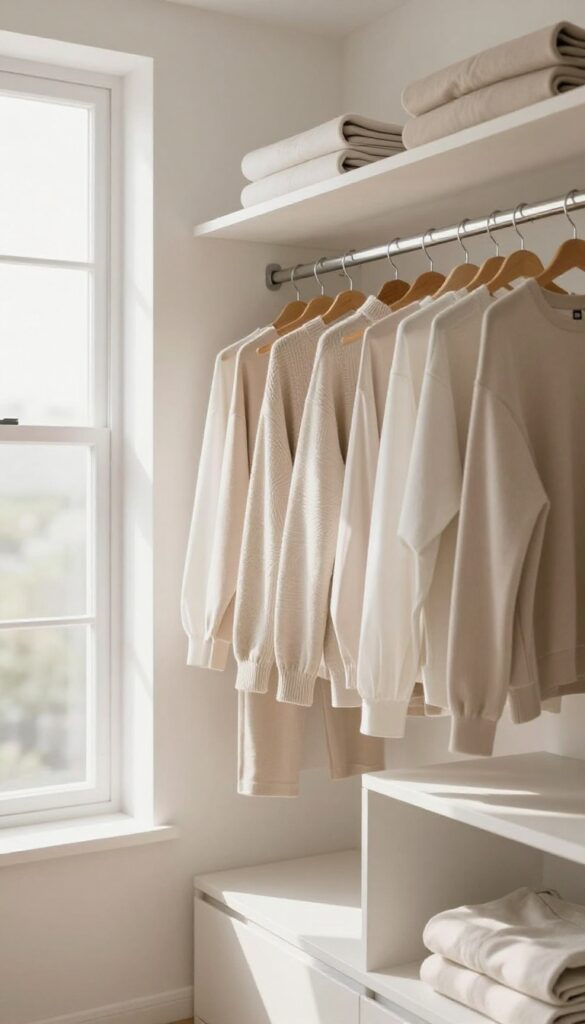
Sometimes the simplest ideas are the most effective. The hanger trick is a low-effort way to identify what you actually wear and what's just taking up space. It requires no sorting, no decision fatigue, and no guilt.
This visual cue works because it removes the guesswork. You don't have to decide on the spot whether to keep or donate each item. Instead, you let your habits reveal the truth.
Over a few months, the backward hangers become a clear signal: these items haven't been chosen. It's an honest, almost passive way to declutter.
How To Set It Up
Start by turning every hanger so the hook faces away from you. As you wear an item and put it back, hang it the normal way. That's it.
No extra steps, no tracking. Just a simple flip.
When To Review
Set a reminder for three to six months. By then, you'll have a clear picture. Anything still on a backward hanger hasn't been worn.
Those pieces are prime candidates for donation or sale.
Why It Works Long-term
This trick builds a habit without feeling like work. It's gentle and objective. You're not forcing yourself to part with things; you're letting your own behavior guide you.
Over time, your closet naturally evolves to reflect what you actually love and use.
4. Invest in Uniform Hangers
Mismatched hangers might seem like a small detail, but they create a surprising amount of visual clutter. When you open your closet and see a jumble of wire, plastic, and wood, it instantly feels messy—even if everything is folded neatly. Swapping to one consistent hanger type is one of the easiest upgrades you can make.
It costs little and pays off every time you reach for a shirt.
Uniform hangers do more than just look good. They save space because slim designs take up less room, letting you fit more items without cramming. Non-slip versions keep delicate fabrics from sliding off, so you spend less time picking things up off the floor.
And when every hanger matches, your clothes become the focus—not the hangers themselves. It’s a simple change that makes your whole closet feel intentional and calm.
Choose The Right Material
Slim velvet hangers are a popular choice because they grip clothes well and don’t take up much space. Wooden hangers add a classic, sturdy feel, especially for suits and coats. Plastic tube hangers are lightweight and budget-friendly.
Avoid wire hangers—they can stretch out shoulders and leave rust marks over time.
Stick To One Color
Black, white, or beige—pick one neutral shade and commit. A single color eliminates visual noise and makes your closet look curated. If you have a mix of colors, even matching styles won’t look as clean.
A uniform color also helps your eye focus on what’s actually hanging there.
How Many To Buy
Count your current hanging items and add a few extras for future purchases. For most people, 30 to 50 hangers is a good start. Buy them all at once so you don’t end up with different batches.
If you have a lot of heavy coats or delicate tops, get a few specialty hangers for those items.
5. Fold KonMari Style for Drawers
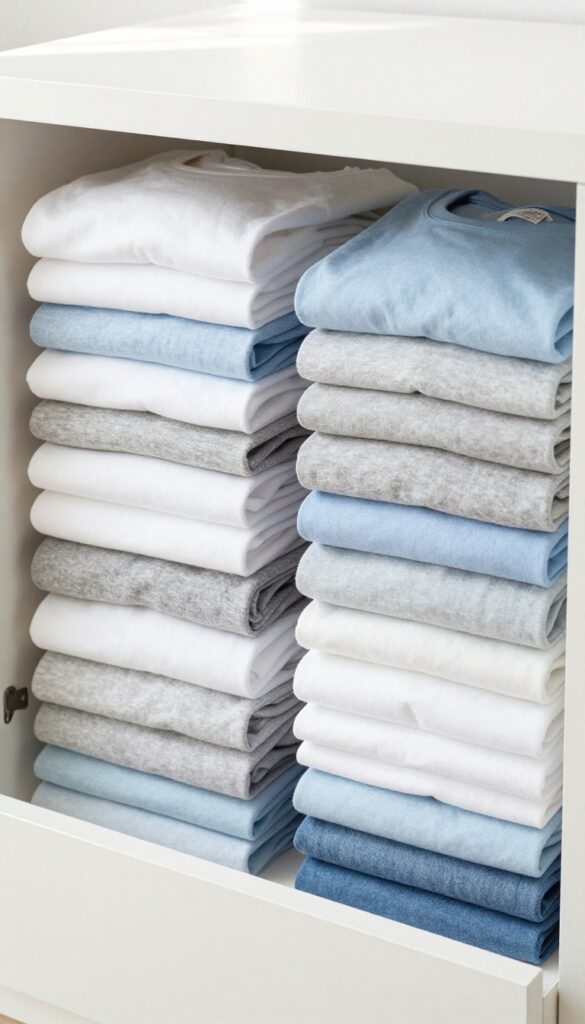
Drawers can become black holes where socks disappear and shirts turn into crumpled messes. The KonMari folding method changes that by turning each item into a neat, self-standing rectangle. When you store them vertically, you can see every piece at a glance—no more digging through piles to find what you need.
This approach works best for t-shirts, sweaters, jeans, and even underwear. The key is to fold each item into a compact rectangle that can stand on its own. Once everything is upright, you can arrange drawers by category or color, making getting dressed faster and less frustrating.
The Basic Fold For T-shirts
Lay the shirt face down, fold one side in, then the sleeve, repeat on the other side, and fold the bottom up to create a rectangle. The goal is a shape that fits your drawer depth and stands without flopping over.
Adapting For Bulky Items
Sweaters and hoodies need a slightly looser fold to avoid thick creases. Fold sleeves inward, then fold the body into thirds lengthwise, and finally fold the bottom up. Store them in a single layer if drawers are shallow.
Maintaining The System
Once arranged, resist the urge to shove items back in. When you remove a piece, the others stay upright. If a drawer starts looking messy, spend two minutes refolding—it's quick and keeps the system working.
6. Add Shelf Dividers for Stacked Items
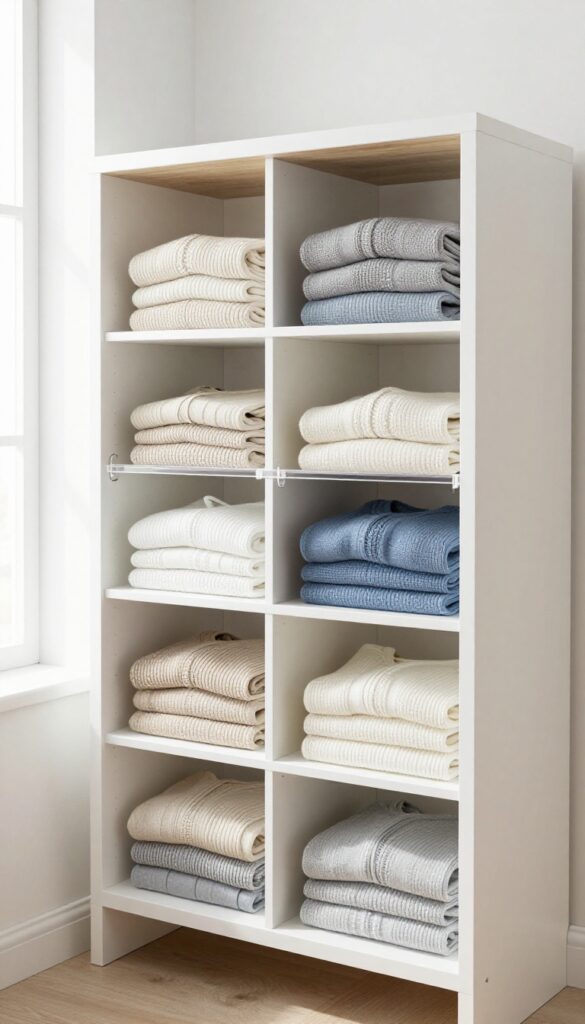
If you've ever pulled a sweater from a pile only to watch the whole stack tumble into a heap, shelf dividers are your new best friend. These simple plastic or metal inserts keep stacks of folded items standing at attention, so your hard-earned order stays intact. They cost just a few dollars each and install in seconds, making them one of the most effective low-effort upgrades you can make.
Shelf dividers are especially useful for deep shelves where stacks tend to lean and fall. They create visual boundaries that help you maintain categories—like keeping all your crewnecks together and your V-necks separate. Plus, they make it easy to grab one item without disturbing the rest, which means less re-folding over time.
Choose The Right Style
Most dividers are adjustable, so measure your shelf depth before buying. Spring-loaded tension dividers work well for standard shelves, while adhesive-backed options are great for wire or uneven surfaces. Clear acrylic dividers blend in and keep the focus on your clothes, while colored ones can add a subtle pop of personality.
Group By Type Or Color
Use dividers to separate different categories—jeans in one section, sweaters in another—or to organize by color for a rainbow effect. This makes getting dressed faster and helps you see what you own at a glance. For extra precision, label the shelf edge with a small tag.
Maintain The System
Once dividers are in place, stick to the one-in-one-out rule when adding new items. If a stack gets too tall, it will defeat the purpose, so keep piles to four or five items max. A quick weekly fluff keeps everything looking tidy.
7. Use Clear Bins for Accessories
Scarves, belts, and bags have a way of tangling into a messy knot at the bottom of your closet. Clear bins solve that by giving each accessory a visible home. You can grab what you need without digging through piles or untangling straps.
Stackable designs make the most of vertical space, and labeling adds an extra layer of organization if you want it.
Clear bins are a game-changer for accessories because they combine visibility with containment. Unlike opaque boxes where you forget what's inside, clear bins let you see everything at a glance. This saves time in the morning and keeps your closet looking tidy.
Choose bins that are sturdy enough to stack without collapsing, and consider sizes that fit your specific items—small bins for scarves, medium for belts, larger ones for handbags.
Sort By Type And Frequency
Group similar accessories together so you always know where to look. Keep everyday items like your go-to belt or favorite scarf in an easy-to-reach bin. Seasonal or rarely used pieces can go on higher shelves.
This system prevents overflow and makes rotation simple when the weather changes.
Label For Extra Clarity
Even though the bins are clear, labels add a final touch of organization. Use a label maker or simple adhesive labels with categories like 'Wool Scarves' or 'Leather Belts. ' If you share a closet, labels help everyone put things back in the right spot. Plus, they give the setup a clean, intentional look.
Stack Smartly For Vertical Storage
Maximize your closet's vertical space by stacking bins on shelves or in cubbies. Place heavier bins at the bottom and lighter ones on top to prevent tipping. If your closet has adjustable shelves, arrange them to fit your bin heights exactly.
This approach turns unused vertical air into prime storage real estate.
8. Install a Second Rod for Double Hanging
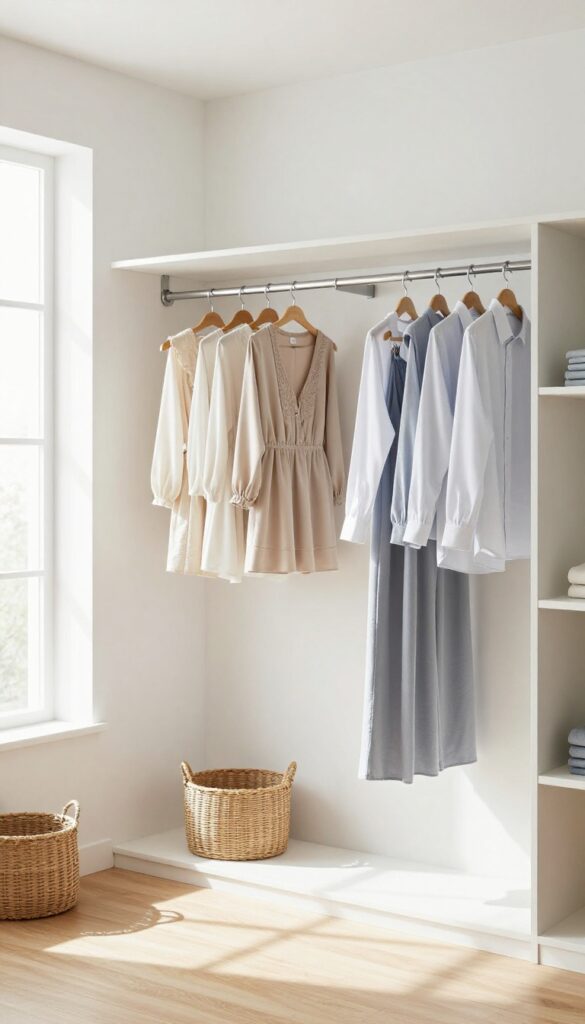
Vertical space is often the most underutilized area in a closet. Adding a second rod is a straightforward way to double your hanging capacity without sacrificing floor space. This trick works especially well for shorter items like shirts, folded pants, and skirts, turning one tall section into two functional zones.
A second rod is a game-changer for maximizing vertical real estate. By installing a lower rod about 30 to 36 inches below the existing one, you create two tiers of hanging space. This is ideal for items that don't need full-length hanging, freeing up the upper rod for longer garments like dresses and coats.
Measure First
Before buying any hardware, measure the height of your closet. You need at least 30 inches between the lower rod and the floor for shirts and pants, and about 36 inches for longer items. Also, ensure the upper rod is high enough to accommodate your longest garment plus the new rod below.
Choose The Right Hardware
A sturdy tension rod works for lightweight clothing, but a permanent rod with brackets is more reliable for everyday use. Look for adjustable rods that fit your closet width, and make sure the brackets are anchored into wall studs or use heavy-duty drywall anchors.
Organize By Type
Use the lower rod for frequently worn items like work shirts, blouses, or jeans. The upper rod can hold jackets, sweaters, or off-season pieces. Group similar items together to make dressing easier and keep the visual clutter low.
9. Rotate Seasonal Items
Your closet doesn't have to be a year-round display of everything you own. By rotating seasonal items, you can cut visual noise by half and make getting dressed feel simpler. Store off-season clothes in under-bed bins or high shelves, and keep only what's current in your main closet.
This small shift reduces clutter and streamlines your daily choices.
Rotating your wardrobe seasonally is one of the most effective ways to maintain an organized closet. It prevents overcrowding and keeps only relevant pieces front and center. Plus, it gives you a chance to reassess what you actually wear each season.
How To Decide What To Store
Start by pulling out everything that doesn't match the current season. Heavy coats, wool sweaters, and boots go into storage when spring arrives. Light dresses and sandals get tucked away come fall.
A good rule: if you haven't worn it in the past three months of the current season, it's a candidate for storage.
Best Storage Solutions
Under-bed bins are perfect for bulky sweaters and jeans. Clear, labeled bins make it easy to find what you need later. Vacuum-seal bags work wonders for puffy jackets and bedding.
For high shelves, use sturdy bins that stack well. Avoid overstuffing—leave some air space to prevent wrinkles.
Making The Swap Simple
Set a calendar reminder for the first day of each season. Spend 30 minutes swapping out bins. While you're at it, do a quick purge of anything stained or unworn.
Keep a donation bag handy. This routine keeps your closet fresh without a big time commitment.
10. Create a 'Maybe' Box
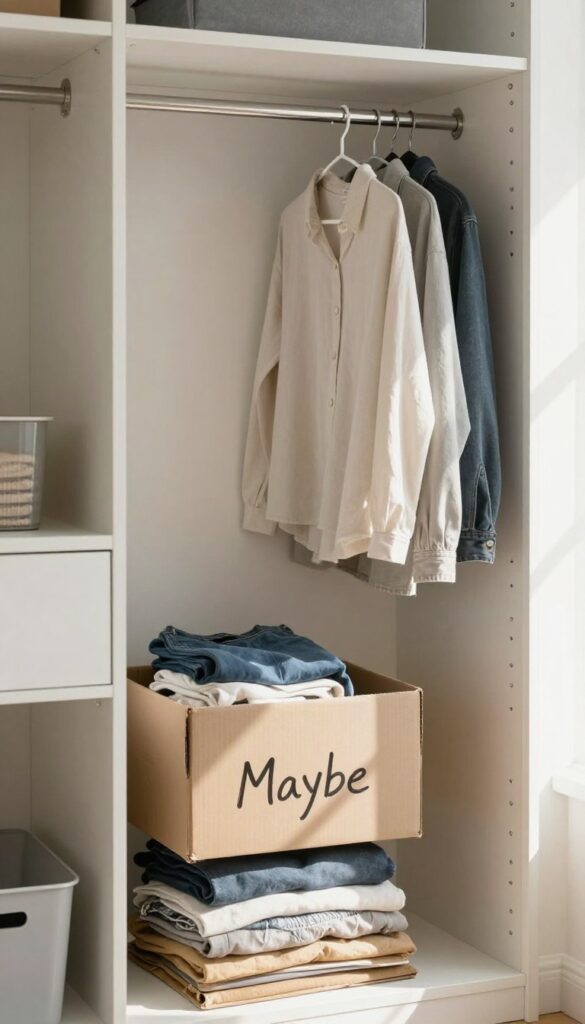
Decision fatigue is real, especially when you're staring at a pile of clothes you haven't worn in months. Instead of forcing yourself to make an immediate keep-or-toss call, give yourself permission to pause. A 'maybe' box takes the pressure off and lets time be the judge.
How It Works
Grab any sturdy box or bin. As you go through your closet, instead of agonizing over items you're on the fence about, place them in this box. Seal it, label it with today's date plus six months, and stash it out of sight—under the bed, in the garage, or on a high shelf.
The Six-month Rule
Set a calendar reminder for six months from now. When that date rolls around, open the box. For each item, ask yourself: Have I missed it?
Did I even remember owning it? If the answer is no, it's time to let it go. You'll be surprised how many things you never think about.
Why This Eases The Stress
This method works because it removes the emotional weight of a permanent decision. You're not saying goodbye forever—you're just giving yourself a trial separation. Most people find that after six months, the attachment fades, making donation easy.
11. Use Over-the-Door Organizers
That blank space on the back of your closet door is prime real estate. Over-the-door organizers turn wasted vertical space into a functional hub for shoes, bags, and accessories. They keep daily essentials visible and easy to grab without cluttering shelves or the floor.
Over-the-door hooks or pockets are great for shoes, bags, or small accessories. They use otherwise wasted space and keep frequently used items within reach.
Pick The Right Style
Clear plastic pockets let you see everything at a glance, while fabric organizers add a softer look. For heavy items like shoes, choose sturdy metal hooks or reinforced pockets. Measure your door clearance first to ensure the organizer hangs flush without blocking the door from closing.
Organize By Frequency Of Use
Reserve the top pockets for items you grab daily, like sunglasses or a go‑to belt. Middle pockets work well for shoes you rotate often, and lower pockets can store less‑used accessories or seasonal gear. This setup saves time and keeps your morning routine smooth.
Don’t Overload It
It’s tempting to fill every pocket, but overstuffing makes the organizer bulge and puts stress on the door hinges. Stick to one item per pocket for shoes or bulky bags. For smaller accessories, group similar items together in a single pocket to keep it tidy.
12. Keep a Laundry Basket Inside
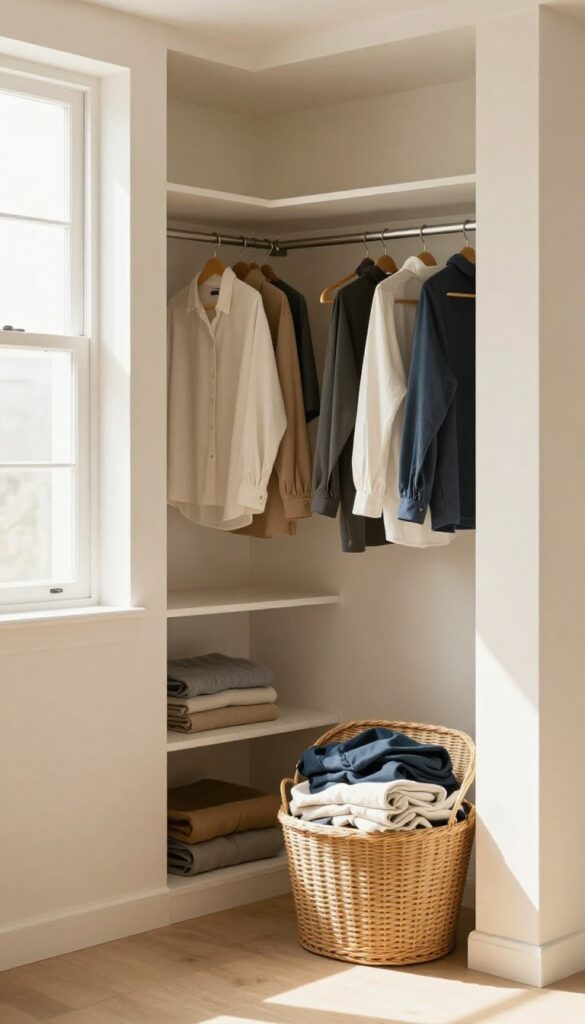
A small hamper tucked inside your closet can be a game-changer for daily tidiness. Instead of draping worn clothes over a chair or letting them pile up on the floor, you have a designated spot for items that aren't quite ready for the wash yet. It's a simple habit that keeps your room looking neat and your closet feeling organized.
Place a compact, lidded hamper in a corner of your closet or on a low shelf. Use it for clothes you've worn once but plan to rewear, or for items that need a quick refresh before their next use. Empty it regularly to prevent odors and keep the system working smoothly.
This small addition can dramatically cut down on visual clutter and make your morning routine faster.
Choose The Right Size
A hamper that's too big will encourage hoarding, while one too small will overflow quickly. Look for a medium-sized basket or a collapsible fabric bin that fits your closet's available floor space or shelf. If your closet is tight, consider a hanging hamper that hooks over a rod.
Set A Routine
Make it a habit to transfer clothes from the hamper to the laundry basket on wash day. If you use the hamper for rewears, set a reminder to return those items to their proper place after a day or two. Consistency is key to preventing the hamper from becoming a dumping ground.
Keep It Fresh
Line your hamper with a washable bag or use a breathable material like mesh to allow air circulation. Toss in a cedar block or a sachet of lavender to keep musty smells at bay. A quick weekly wipe-down of the hamper will also help maintain a fresh closet environment.
13. Label Everything
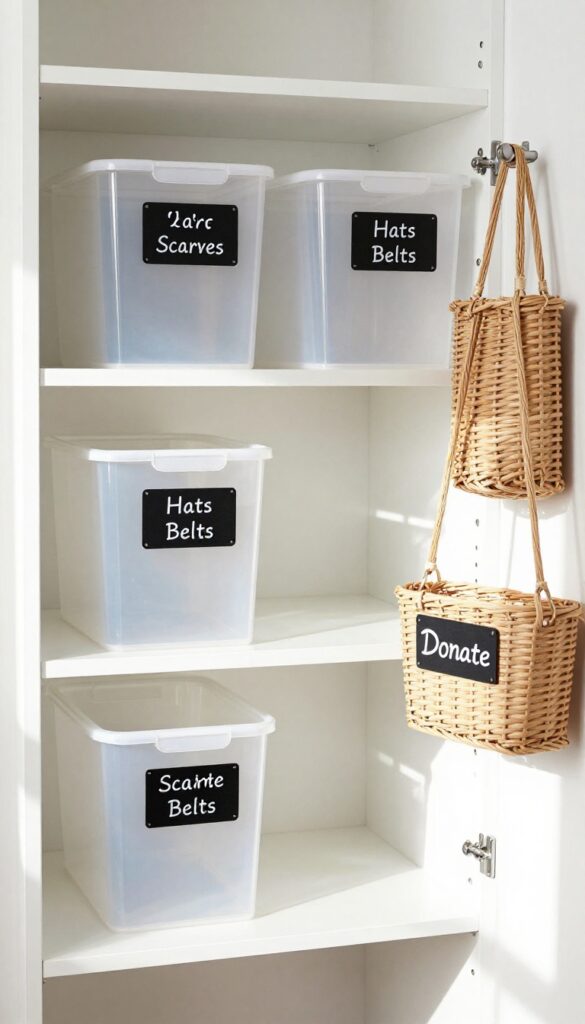
Labels might seem like a small detail, but they're the secret weapon of a truly organized closet. When every bin, shelf, and drawer is clearly marked, everyone in the household can put things back exactly where they belong. No more guessing or shoving items into the first open spot.
A label maker or simple chalk tags can transform your closet into a system that maintains itself.
Why Labels Work
Labels remove ambiguity. When you're in a rush, it's easy to toss a scarf into any bin. But if that bin says "Winter Scarves, " you'll pause and place it correctly.
Over time, this habit becomes second nature. Labels also help family members and guests know where things go, reducing clutter and frustration.
Best Labeling Tools
A label maker creates crisp, durable labels that stick well to most surfaces. If you prefer a rustic look, chalk tags or adhesive chalkboard labels let you write and rewrite as your needs change. For a quick fix, use masking tape and a permanent marker.
The key is consistency—use the same style throughout your closet.
What To Label
Start with the big categories: bins for accessories, shelves for folded items, and drawers for undergarments. Then get specific: "Belts, " "Hats, " "Workout Tops. " Don't forget less obvious spots like the top shelf for off-season storage or a basket for items to donate.
The more precise you are, the easier it is to maintain order.
Maintaining The System
Labels only work if you update them when your storage changes. If you swap out seasonal items, rewrite the labels. Encourage everyone in your home to follow the system.
After a few weeks, labeling becomes a habit that keeps your closet organized without extra effort.
14. Schedule a Monthly 15-Minute Reset
A little consistency goes a long way in keeping your closet organized. Instead of letting clutter pile up until it becomes overwhelming, a short monthly reset can keep things in check. Think of it as a quick tune-up for your wardrobe, not a deep clean.
Set a recurring reminder on your phone for the same day each month. Spend just 15 minutes doing three things: straighten hangers so they all face the same direction, refold a few items that have gotten messy, and remove anything that doesn't belong—like empty hangers, stray socks, or random receipts. This simple habit prevents small messes from turning into big ones.
Over time, you'll notice your closet stays organized with minimal effort.
Why 15 Minutes Works
Fifteen minutes is short enough to fit into any schedule, but long enough to make a visible difference. It's a low-commitment way to maintain order without feeling like a chore. Consistency is the secret—doing a little each month beats a major overhaul once a year.
What To Focus On
Start with the most visible areas: the shelf where you toss things, the rod where clothes get pushed together, and the floor near the door. Straighten, refold, and remove. Don't get sidetracked by deep organizing—just reset the surface order.
Make It A Habit
Pair the reset with something you already do monthly, like paying bills or changing your air filter. The reminder should be non-negotiable. After a few months, it will feel automatic, and your closet will thank you.
15. Add a Small Scent Booster
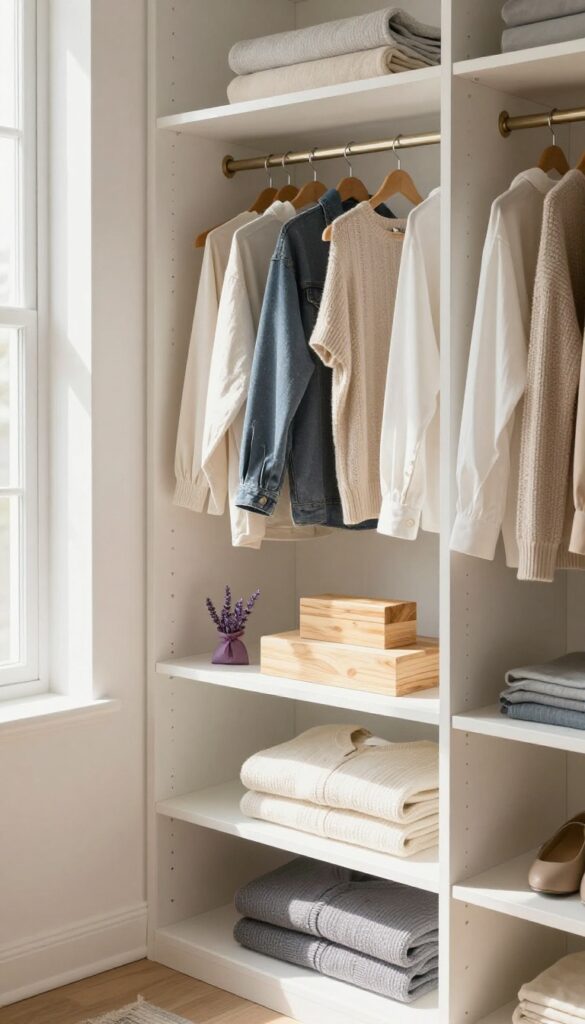
A fresh-smelling closet instantly feels more inviting. But instead of relying on artificial sprays that fade quickly, try a natural scent booster. A simple sachet or cedar block can keep your clothes smelling clean and help deter pests without harsh chemicals.
Why Natural Scents Work Best
Synthetic fragrances can be overpowering and may irritate sensitive noses. Natural options like lavender, cedar, or eucalyptus provide a subtle, long-lasting freshness. They also have natural properties that repel moths and other fabric-loving insects, so you're protecting your clothes while making the space smell great.
Where To Place Your Scent Boosters
Tuck a sachet into a drawer or hang it on a hanger among your clothes. For larger closets, place a cedar block on a shelf or in a corner. Avoid putting them directly against delicate fabrics to prevent any potential staining.
Rotate or refresh the scents every few months to keep them effective.
Diy Sachet Ideas
Make your own sachets using dried lavender, rosemary, or cedar chips inside a small cloth bag. Add a few drops of essential oil to boost the scent. You can also repurpose old socks or fabric scraps for a zero-waste option.
It's an easy, personal touch that makes your closet uniquely yours.
FAQ
How often should I clean out my wardrobe?
Aim for a deep clean twice a year, ideally when seasons change. A quick monthly tidy-up helps maintain order between major purges.
What's the best way to store shoes in a small closet?
Use over-the-door shoe pockets, stackable shoe boxes, or a hanging shoe organizer. Keep only current-season shoes accessible and store the rest elsewhere.
How can I make my closet smell fresh without chemicals?
Try natural options like cedar blocks, lavender sachets, or baking soda boxes. Ensure good airflow and keep the closet dry to prevent mustiness.
Should I fold or hang my clothes?
Hang items that wrinkle easily, like dress shirts and blazers. Fold knits, jeans, and casual wear. Using both methods efficiently maximizes space and keeps clothes in good shape.
What's the most cost-effective closet upgrade?
Switching to uniform hangers and adding shelf dividers are very affordable and make a big visual difference. A second hanging rod is also low-cost if you're handy.
Conclusion
A fresh, organized closet doesn't require a complete overhaul or a professional organizer. Small, consistent steps—like using uniform hangers, rotating seasonal items, and doing monthly resets—can transform your space over time. The key is to start with one idea that feels doable today.
Once you see how good it feels to open a tidy closet, you'll be motivated to keep going. Your wardrobe will thank you, and so will your morning routine.


