
You don't need to set aside an entire Saturday to make your bedroom feel brand new. With the right approach, a quick refresh can happen in under an hour. These 17 cleaning hacks are designed to cut through the chaos and get you back to relaxing fast.
Forget the marathon cleaning sessions that leave you exhausted. Each hack here targets a specific pain point—dusty surfaces, tangled cords, or a cluttered nightstand—with a simple, repeatable method. The goal isn't perfection; it's a noticeably cleaner room without the burnout.
Ready to turn your bedroom into a low-effort sanctuary? Let's dive into the shortcuts that actually work.
1. The 10-Minute Declutter Blitz
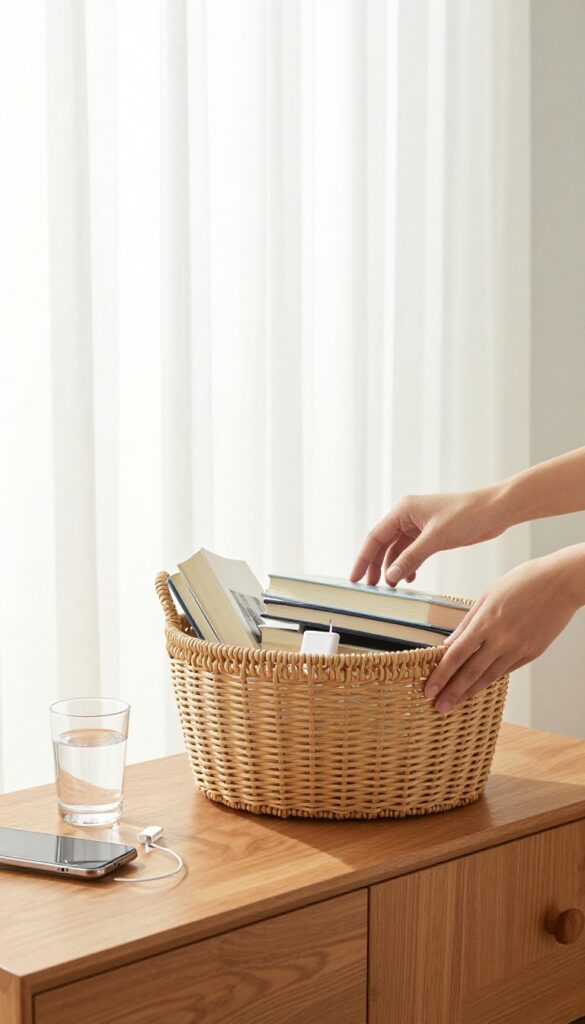
Clutter is the enemy of a clean-looking room. But the thought of sorting through piles can stop you before you start. That's where the 10-Minute Declutter Blitz comes in—it's a sprint, not a marathon.
Set a timer for ten minutes and race to clear surfaces of anything that doesn't belong. No overthinking—just grab and go. Toss items into a laundry basket or a box to sort later.
The goal is to make your dresser, nightstand, and floor look tidy fast.
Why Ten Minutes Works
Short bursts of focused effort are surprisingly effective. Ten minutes is long enough to make a visible difference but short enough to avoid burnout. You'll be amazed at how much you can clear when you're racing the clock.
What To Grab First
Start with the most visible surfaces: your nightstand, dresser top, and any chair or bench. Grab empty water glasses, books, chargers, and random mail. Don't stop to decide where each thing goes—just collect it all.
The One-box Rule
Use a single box or laundry basket as your catch-all. Once the timer ends, put the box aside. Later, you can sort items into their proper homes.
This prevents the blitz from turning into a sorting session that eats up more time.
2. Make Your Bed First, Everything Follows
Starting with your bed might feel like the easiest cop-out, but it’s actually a psychological trigger. A made bed instantly makes the room look 50% cleaner, and it sets a visual anchor that makes the rest of the room feel easier to tackle. You’re not just tidying fabric—you’re resetting the room’s focal point.
The 60-second Rule
Don’t overthink it. Pull up the sheets, straighten the comforter, and fluff the pillows. That’s it.
If you have a duvet, give it a good shake before laying it flat. The whole process shouldn’t take more than a minute. Once it’s done, the bed anchors the room and everything else feels like a smaller task.
Why It Works
A made bed creates a sense of order that your brain registers immediately. It signals that the room is “in progress” or “under control, ” which reduces the mental resistance to cleaning the rest. Plus, it’s a visual win you can see from the doorway, giving you a quick dopamine hit to keep going.
Pro Tip: Keep It Simple
You don’t need hospital corners or decorative pillows. A flat sheet, a top sheet, and a couple of pillows arranged neatly is enough. If you have a bedspread or quilt, just smooth it out.
The goal is to remove the rumpled look, not to stage a photo shoot.
3. Use a Lint Roller on Lampshades and Baseboards
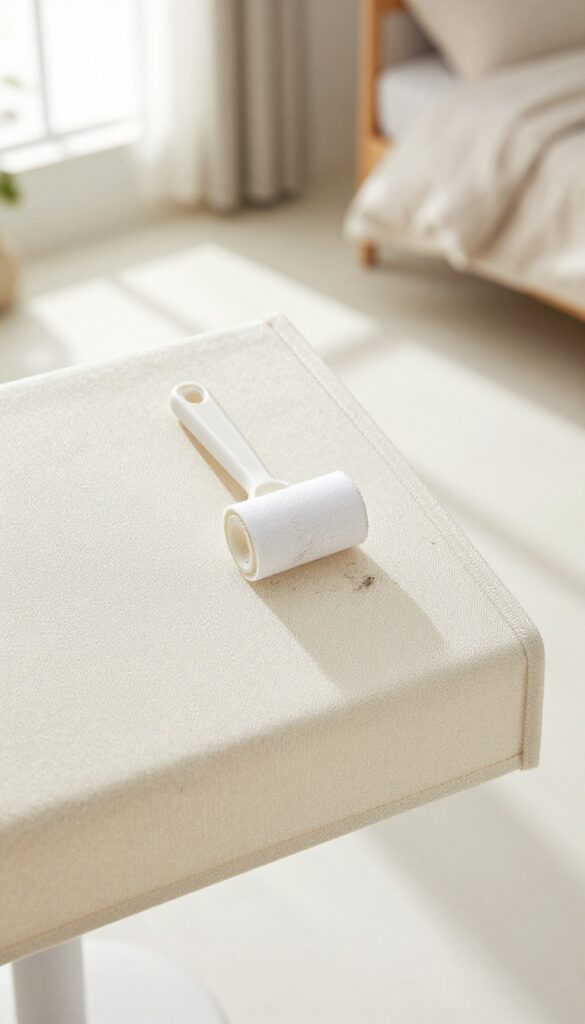
Lampshades and baseboards are two of the most neglected spots during a quick clean. Dust builds up on fabric shades and along trim, but wiping them down often just pushes the dust around or creates a mess. A lint roller solves this in seconds without any extra effort.
A lint roller is not just for clothes. Its sticky surface grabs dust from fabric lampshades, pleated shades, and even baseboards without stirring particles into the air. This makes it a perfect tool for a fast refresh when you don't want to haul out a vacuum or dusting cloth.
Start With Fabric Lampshades
Fabric shades collect dust like crazy, but a dry cloth can leave lint behind. Roll the lint roller gently over the entire surface, working from top to bottom. It lifts dust and pet hair instantly, leaving the shade looking clean and fresh.
For pleated or textured shades, press the roller firmly into the grooves.
Hit The Baseboards Next
Baseboards catch dust from foot traffic and airflow, but wiping them with a rag often smears dirt. A lint roller picks up dust and hair from baseboards without any moisture or chemicals. Run it along the top edge and the face of the trim.
It works especially well on painted wood or vinyl baseboards.
Bonus Uses Around The Room
Don't stop at lampshades and baseboards. Use the same lint roller on window blinds, air vent covers, and even the top of picture frames. It's a quick way to grab surface dust from hard-to-reach spots without dragging out a step stool or dusting wand.
4. Vacuum in Reverse (Corners First, Then Center)
Most people vacuum by starting in the middle of the room and working outward. That’s a mistake. You end up kicking dust and debris into areas you’ve already cleaned, forcing you to go back over them.
Flipping the order saves time and leaves floors noticeably cleaner.
The logic is simple: dirt gets pushed toward walls and under furniture as you walk. If you start along the edges, you capture that hidden grime first. Then when you move to the open floor, you’re not redistributing anything.
It’s a small shift in habit that makes a big difference in speed and results.
Hit The Baseboards And Corners
Use the crevice tool to run along baseboards, corners, and under the bed frame. Dust collects in these spots because airflow is low. Getting it out first means it won’t settle back onto the floor later.
Don’t rush this step—a thorough edge pass takes about two minutes.
Under Furniture Without Moving It
Attach the flat floor nozzle and slide it under dressers, nightstands, and the bed as far as it will go. You don’t need to shift heavy furniture. Just angle the wand and reach.
This catches the dust bunnies that would otherwise float into the room when you walk by.
Finish With The Open Floor
Now that the perimeter is clean, vacuum the center in overlapping passes. Work from one side of the room to the other, moving backward so you don’t step on freshly cleaned areas. This final pass is quick because you’re only picking up surface dust, not deep debris.
5. Wipe Down Light Switches and Door Handles
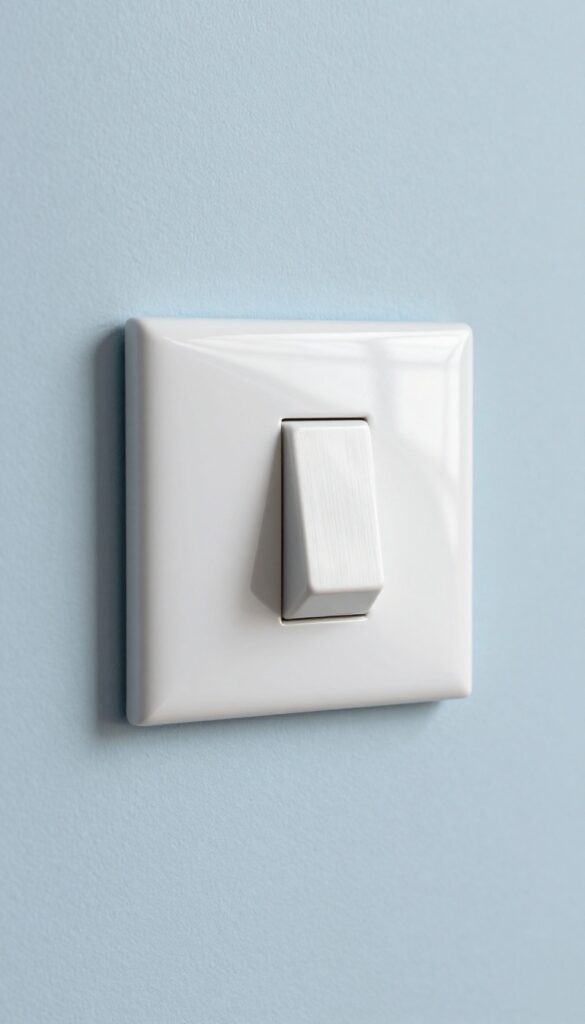
Light switches and door handles are magnets for grime, yet they're easy to overlook during a quick clean. A few seconds of attention here can make the whole room feel fresher. You'll be surprised how much difference a clean switch plate makes.
Why They Get So Grimy
Think about how often you touch these spots throughout the day. Oils from your hands, dust, and even tiny food particles build up over time. They're also rarely included in a regular dusting routine, so the grime layer just grows.
The Quick Wipe Method
Grab a microfiber cloth—dampen it slightly with water or a gentle all-purpose cleaner. Give each switch plate and door handle a firm wipe. For stubborn spots, a cotton swab dipped in rubbing alcohol works wonders on crevices.
Don't Forget The Plates
If your light switch plates are really dirty, consider unscrewing them and giving them a proper wash with soap and water. Let them dry completely before reattaching. This extra step takes just a few minutes but leaves everything looking brand new.
6. The Pillowcase Fan Trick for Ceiling Fans
Ceiling fans collect dust like nobody's business, and tackling them usually means hauling out a ladder and making a mess. But there's a clever shortcut that uses something you already have: an old pillowcase. It turns a dreaded chore into a quick, no-drama task.
Slide a clean, old pillowcase over each fan blade, one at a time. Gently pull it toward you, trapping the dust inside the case. No dust falls on your bed or floor.
It's that simple. This method works best on standard flat or slightly curved blades. For intricate or uneven blades, you might need a microfiber cloth instead, but for most fans, the pillowcase trick is a game-changer.
Why It Works So Well
The pillowcase acts like a dust trap. Instead of brushing dust into the air where it resettles, you encapsulate it. The fabric's texture grabs onto dust particles, and the closed end prevents them from escaping.
It's efficient and nearly mess-free.
Pro Tips For Best Results
Use a case that's slightly larger than the blade for easy sliding. If your fan has a light fixture, remove it first or work carefully around it. For stubborn grime, lightly dampen the pillowcase with water or a dusting spray.
And always turn off the fan before you start—safety first.
7. Use a Dryer Sheet on Baseboards to Repel Dust
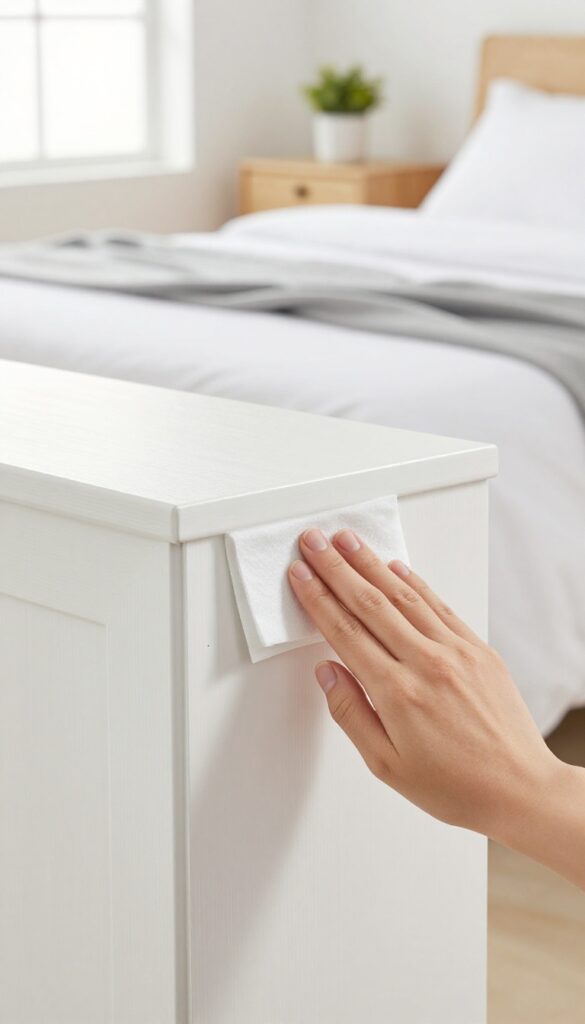
Baseboards are dust magnets, and wiping them down can feel like a never-ending chore. But what if you could make them repel dust for weeks? Grab a used dryer sheet—the one you were about to toss—and run it along your baseboards after cleaning them.
The anti-static agents in the sheet reduce static cling, so dust particles don't settle as quickly. It's a five-second trick that keeps your baseboards looking fresher longer.
This hack works because dryer sheets contain fabric softeners and anti-static compounds that neutralize the static charge on surfaces. When you rub a sheet along a baseboard, it leaves a thin, invisible layer that repels dust instead of attracting it. The effect lasts for several weeks, depending on airflow and humidity.
Best of all, you're repurposing something you'd normally throw away, so it's essentially free. Just make sure the baseboard is clean and dry before applying the sheet for maximum adhesion.
Why It Works
Dryer sheets are designed to reduce static in the dryer, and that same chemistry works on hard surfaces. The anti-static coating makes the baseboard less likely to attract airborne dust particles. Plus, the sheet leaves a faint scent that can freshen up the room.
How To Do It Right
Start with a clean baseboard—wipe off any existing dust with a microfiber cloth. Then take a used or new dryer sheet and rub it firmly along the entire length of the baseboard. Focus on the top edge where dust tends to pile up.
No need to rinse or wipe afterward. Repeat every few weeks or after dusting.
Pro Tips For Best Results
Use unscented sheets if you're sensitive to fragrances. For stubborn baseboards in high-traffic areas, you can also lightly spray the sheet with water before rubbing—it helps the anti-static agents transfer better. Avoid using this on freshly painted or delicate surfaces; test in an inconspicuous spot first.
8. Store Off-Season Clothes Under the Bed
Your closet is probably overflowing with clothes you won't wear for months. That bulky winter sweater or your summer sundresses are taking up prime real estate. By moving them under the bed, you instantly free up closet space and make getting dressed faster.
Vacuum-sealing is the key. Those space-saving bags shrink bulky items down to a fraction of their size. Slide the flattened bags under your bed in low-profile bins or directly on a bed riser setup.
You'll be amazed at how much room you gain.
Pick The Right Bags
Not all vacuum bags are created equal. Go for the heavy-duty, double-seal ones to prevent air from sneaking back in. Roll them tightly before sealing to remove every last bit of air.
Label each bag with a permanent marker so you know what's inside without unsealing.
Use Bed Risers For Extra Height
If your bed frame sits low to the ground, invest in a set of bed risers. They lift the bed a few inches, giving you enough clearance to slide in storage bins. This simple hack turns wasted space into a hidden closet.
Rotate Seasonally
Twice a year, swap the bags under your bed. When spring hits, move winter coats out and bring summer clothes in. Keep a checklist on your phone so you don't forget which bag holds what.
This keeps your closet lean and your mornings easy.
9. The Two-Minute Nightstand Reset
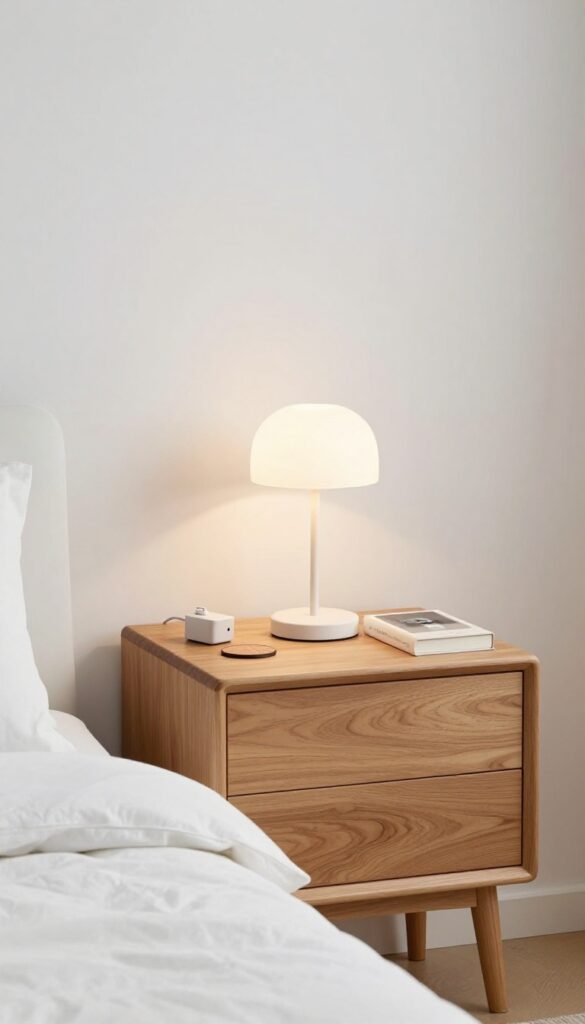
Your nightstand is the last thing you see before sleep and the first thing you see when you wake up. When it's cluttered, it sets a chaotic tone for your entire bedroom. The Two-Minute Nightstand Reset is a tiny habit that keeps that surface clear without any extra effort during the day.
Each night, before you turn off the light, spend exactly two minutes putting everything on your nightstand back in its place. That means tossing trash, returning books to a shelf, plugging in your phone, and wiping down any dust or spills. It's a micro-cleaning session that takes almost no time but makes a huge difference in how your room feels every morning.
Why Two Minutes Works
Two minutes is short enough that you'll actually do it, even when you're exhausted. It's not a chore—it's a wind-down ritual. The consistency matters more than the duration.
Over a week, that's just 14 minutes of effort for a nightstand that stays tidy automatically.
What To Keep On Your Nightstand
Be ruthless about what belongs there. Ideally, just a lamp, a coaster, a phone charger, and maybe one book. If you find yourself constantly moving items off, they don't belong.
Store extra stuff in a drawer or a small tray to keep the surface clean.
Make It A Habit
Pair the reset with an existing bedtime cue, like brushing your teeth or setting your alarm. After a week, it'll feel weird to skip. You'll wake up to a clear space that instantly makes your bedroom feel more peaceful.
10. Use a Squeegee on Carpet for Pet Hair
Pet hair on carpet can feel like a losing battle, but a simple rubber squeegee changes everything. Dragging it across the carpet lifts hair into easy-to-collect clumps. No more wrestling with a sticky lint roller or clogging your vacuum every five minutes.
This hack works because rubber creates static that attracts hair. It's especially effective on low-pile carpets and rugs. You can use a standard window squeegee or a dedicated pet hair squeegee.
The motion is simple: pull the squeegee toward you in long, even strokes. The hair will gather in a line, ready to be picked up by hand or vacuumed.
Why A Squeegee Works Better Than A Vacuum Alone
Vacuums often miss hair that's embedded deep in carpet fibers. The rubber edge of a squeegee reaches down and loosens the hair, bringing it to the surface. This means your vacuum can then suck it up more effectively.
It's a one-two punch that cuts cleaning time in half.
Best Technique For Different Carpet Types
For low-pile carpets, use firm, straight strokes. On medium-pile, apply a bit more pressure and work in sections. Avoid using a squeegee on high-pile or shag carpets, as it can snag the fibers.
Stick to a rubber brush or a pet hair rake for those instead.
How To Clean The Squeegee After Use
After each pass, wipe the rubber edge with a dry cloth or run it under water to remove collected hair. A quick rinse keeps the rubber grippy. Store the squeegee in a closet or under the bed so it's ready for your next five-minute refresh.
11. Freshen Mattress with Baking Soda and Essential Oils
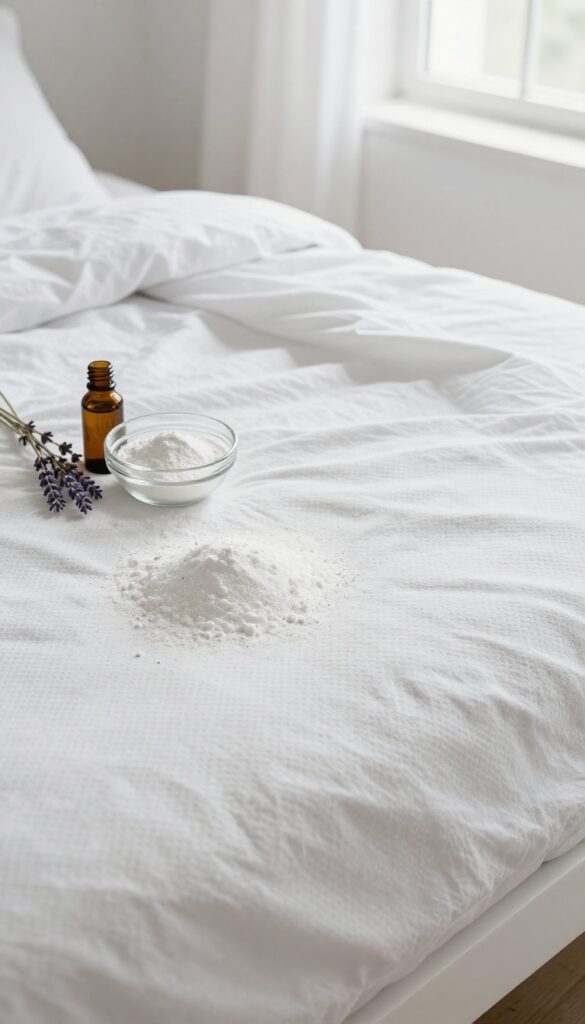
Your mattress absorbs sweat, dead skin, and odors over time, but a deep clean doesn't require harsh chemicals. A simple mixture of baking soda and essential oils can deodorize and refresh your bed in minutes. This hack is especially useful if you notice a musty smell or want to extend time between professional cleanings.
Why Baking Soda Works
Baking soda naturally neutralizes odors by trapping acidic and alkaline particles. It's gentle on fabrics and safe for most mattress types. When combined with essential oils, it adds a light, lasting fragrance without artificial perfumes.
Step-by-step Application
Mix 1 cup of baking soda with 5–10 drops of lavender or tea tree oil in a bowl. Sprinkle the mixture evenly over your mattress, focusing on areas that get the most use. Let it sit for at least 15 minutes—longer if you have time.
Then vacuum thoroughly using the upholstery attachment to remove all residue.
Pro Tips For Best Results
For stubborn odors, let the baking soda sit for an hour or even overnight. Vacuum in slow, overlapping passes to lift the powder completely. Repeat every few months to keep your mattress fresh.
Avoid using too much oil, as it can leave spots.
12. Create a 'Drop Zone' for Daily Clutter
Keys, phone, wallet, sunglasses—these little items land everywhere and create instant mess. A dedicated drop zone stops them from scattering across your dresser or nightstand. It’s a five-second habit that keeps surfaces clear and saves you from frantic morning searches.
Pick The Right Spot
Choose a location near the door you use most—like a small corner of your dresser or a wall shelf. It should be convenient enough that you’ll actually use it every time you walk in. Avoid spots that collect other clutter, like inside a junk drawer.
Choose Your Container
A shallow tray, a small basket, or even a pretty bowl works. The key is size: big enough for your daily items but not so large that it invites extra stuff. A catch-all with compartments helps separate keys from mail or sunglasses.
Make It A Habit
The drop zone only works if you use it consistently. Train yourself to empty your pockets the moment you enter the bedroom. Pair it with a quick surface wipe—two minutes total—and your room stays tidy without extra effort.
13. Use a Microfiber Mop on Walls and Ceilings
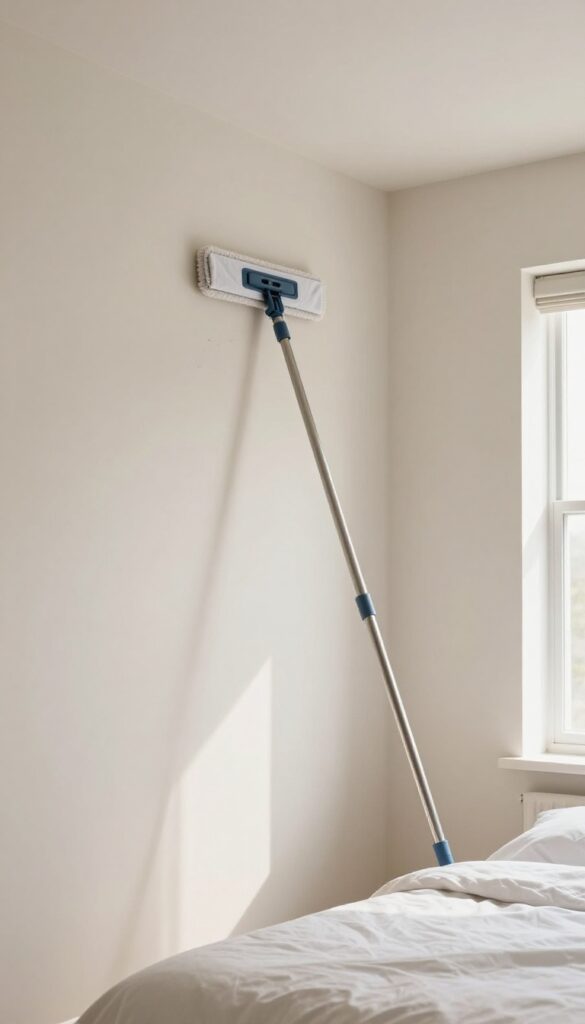
Walls and ceilings collect dust and cobwebs just like every other surface, but they're easy to ignore because they're out of sight. Reaching up with a duster or cloth can strain your arms and neck, especially if you're short or have limited mobility. A flat microfiber mop changes the game by letting you clean high surfaces without stretching or using a ladder.
Attach a clean, dry microfiber pad to a flat mop, then extend the handle to reach corners and ceiling edges. Glide the mop gently across walls from top to bottom, and use the edge of the pad to get into tight corners. The microfiber traps dust instead of pushing it around, so you won't need to vacuum afterward.
This method works on painted walls, wallpaper, and even textured ceilings. For stubborn spots, slightly dampen the pad with water or a gentle cleaner, but test a small area first. You'll be amazed how much dust comes off—and how much fresher the room feels.
Why A Mop Works Better Than A Duster
Traditional dusters often just fling dust into the air, which then settles back onto surfaces. A microfiber mop pad has millions of tiny fibers that grab and hold dust particles. Plus, the flat head covers more area per swipe, so you finish faster.
The long handle also keeps your feet planted on the floor, reducing the risk of wobbling on furniture or tiptoes.
Best Way To Clean Corners And Edges
Corners are dust magnets because airflow pushes debris there. To clean them effectively, angle the mop head so the pad's edge slides right into the corner seam. Work from the top down so falling dust doesn't land on already cleaned areas.
For crown molding or ceiling edges, run the mop along the seam where wall meets ceiling. If your mop head swivels, even better—it'll follow the contour without leaving streaks.
How Often To Do This
A monthly wall-and-ceiling dusting keeps buildup manageable. If you have pets, live near a busy road, or notice cobwebs frequently, bump it up to every two weeks. The whole process takes about 10 minutes for a standard bedroom.
Mark it on your calendar or pair it with your regular floor mopping routine so you don't forget.
14. The Sock Hack for Blinds
Blinds are dust magnets, and wiping each slat individually feels like a punishment. But there's a faster way that uses something you already have in your drawer. An old sock turns your hand into a double-sided cleaning tool that tackles both sides of the slat at once.
Slide a clean, dry sock over your hand, then dip it into a mixture of equal parts white vinegar and water. Wring it out slightly so it's damp, not dripping. Run your sock-covered hand along each slat, gripping it gently so the sock contacts both the top and bottom surfaces.
The vinegar cuts through grease and dust, while the sock's fabric traps particles instead of pushing them around. Work from top to bottom, and rinse or flip the sock as needed. When you're done, toss the sock in the laundry—no special tools to clean.
Why This Works
A sock conforms to the shape of your fingers, letting you apply even pressure across the slat. Unlike a cloth that bunches up, the sock stays put and covers more surface area. The vinegar-water solution evaporates quickly, so you don't have to worry about streaks or moisture damage.
Pro Tips For Best Results
Use a cotton sock for better absorbency. If your blinds are very dusty, vacuum them first with the brush attachment to remove loose debris. For stubborn grime, add a drop of dish soap to the vinegar mixture.
Work in sections and change the sock when it gets dirty to avoid redepositing dust.
15. Keep a Small Trash Can by Your Bed
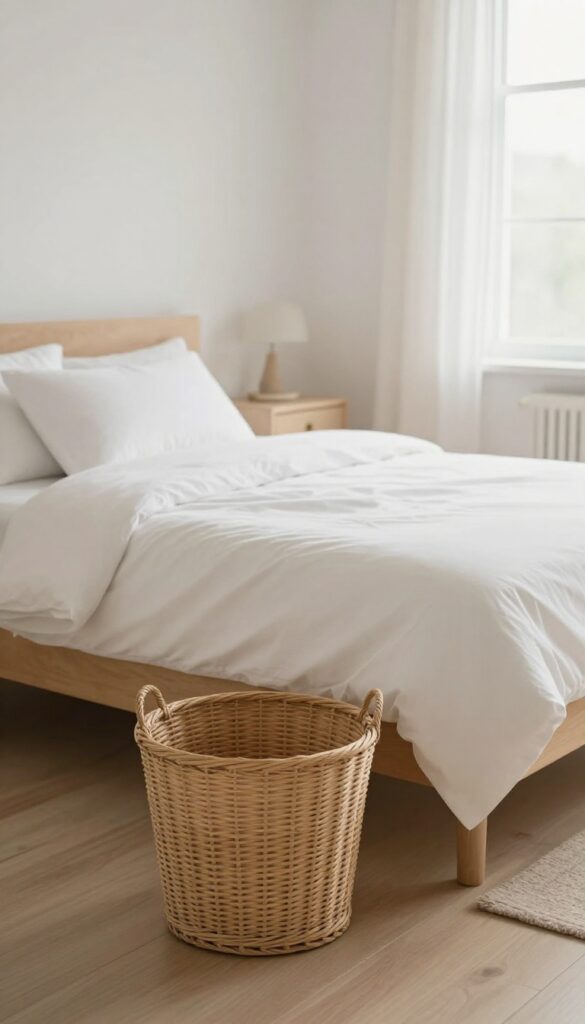
Bedside clutter often comes from items you intend to throw away but don't have a convenient spot for. Tissues, wrappers, receipts, and empty water bottles end up on the nightstand because the main trash can feels too far away. A tiny bin right next to your bed solves that instantly.
You don't need a full-sized can—a small, discreet container under 10 inches tall works perfectly. It catches the daily odds and ends before they multiply into a mess. Plus, emptying it takes seconds, and your nightstand stays clear.
A bedside trash can is one of those small additions that quietly prevents big clutter. It's not about major waste—it's about the little things that accumulate overnight or during a lazy morning. When you have a bin within arm's reach, you're far more likely to toss that tissue or wrapper immediately instead of setting it down "for now.
"
Choose The Right Size And Style
Look for a bin that's small enough to fit beside your bed without sticking out, but large enough to hold a few days' worth of bedside trash. A 5- to 8-inch tall metal or plastic can with a lid works well if you want to hide the contents. If you prefer open access, a simple woven basket or fabric bin blends into the room decor.
Position It For Easy Reach
Place the trash can on the side of the bed where you typically sit or sleep. It should be close enough that you can toss something in without leaning over. If you share the bed, consider a small bin on each side.
That way, neither person has to cross over the other to dispose of a tissue or wrapper.
Empty It Regularly To Prevent Odors
Because the bin is small, it fills up fast—especially if you eat snacks in bed or use tissues at night. Make it a habit to empty it every two or three days, or whenever you notice it's half full. This prevents any musty smells and keeps the area feeling fresh.
16. Use a Pillow to Dust Ceiling Corners
Ceiling corners are notorious for collecting cobwebs and dust, but getting up there usually means dragging out a ladder or stretching dangerously. A simple pillow hack makes this task effortless and safe. Grab a spare pillow, wrap it in a microfiber cloth, and you've got a soft, extendable duster that reaches every corner without strain.
This method works because the pillow conforms to the angle of the ceiling and walls, trapping dust instead of just pushing it around. The microfiber cloth grabs particles, and the pillow's cushion protects your ceiling from scuffs. It's a fast, ladder-free solution for those hard-to-reach spots.
Why A Pillow Works Best
Unlike a broom or a long-handled duster, a pillow is soft and flexible. It molds to the corner's shape, ensuring full contact. The microfiber cloth creates static electricity that attracts dust, so you're actually removing it, not just relocating it.
Plus, you can toss the cloth in the wash afterward.
How To Do It Right
Choose a firm pillow for better control. Wrap it completely with a clean microfiber cloth, securing the edges with a rubber band or tucking them under. Gently sweep along the ceiling-wall joint in one direction.
Work from the center of the room outward to avoid dropping dust on already cleaned areas.
Bonus: Freshen Your Pillowcase
After dusting, remove the microfiber cloth and give the pillowcase a quick spritz with fabric refresher. The pillow itself stays clean, and you can use it again for future dusting sessions. It's a two-in-one trick that saves time and keeps your cleaning tools ready.
17. End with a Room Spray or Essential Oil Diffuser
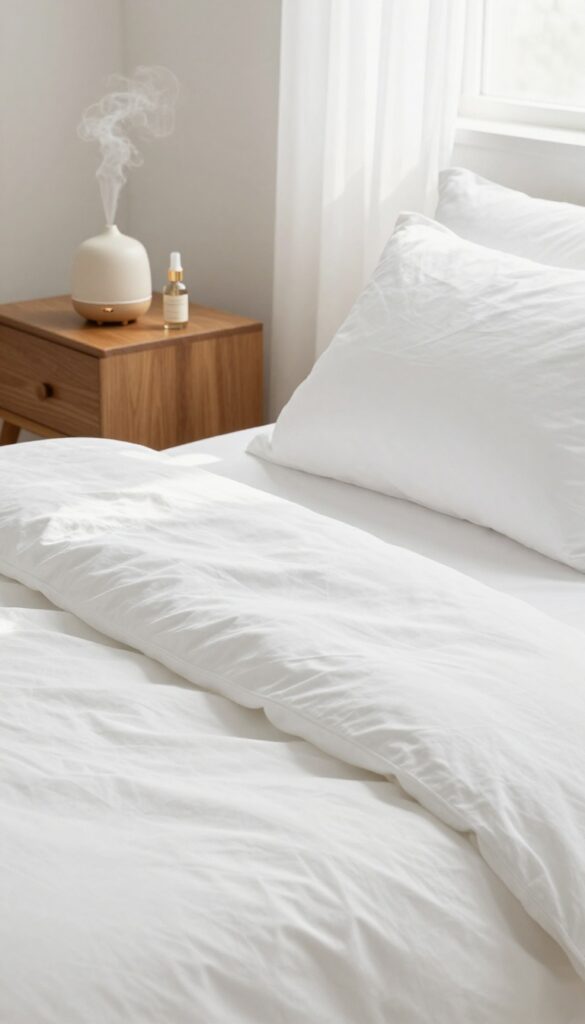
A clean room should smell clean too. A quick spritz of linen spray or turning on a diffuser signals that cleaning is done and relaxation begins. It takes seconds but makes the whole effort feel complete.
Finishing your cleaning session with a pleasant scent is a simple way to lock in that fresh feeling. It also helps you transition from chore mode to unwind mode.
Why Scent Matters
Your sense of smell is directly linked to the part of your brain that handles emotions and memory. A familiar, calming scent can instantly make a room feel more inviting. After you've put in the work, a nice aroma reinforces that the space is clean and ready for rest.
Quick Options For Any Budget
You don't need a fancy setup. A store-bought linen spray works in seconds. A few drops of essential oil in a diffuser can run for hours.
Even a simmer pot on the stove with citrus and herbs can do the trick. Choose something light and natural—nothing too heavy or artificial.
Make It Part Of Your Routine
Keep your spray or diffuser in an easy-to-reach spot. After you've put away the last item or made the bed, give the room a quick spritz or turn on the diffuser. This small ritual marks the end of cleaning and the start of relaxation.
Over time, it becomes a habit that makes the whole process feel more satisfying.
FAQ
How often should I deep clean my bedroom?
Aim for a deep clean every two to four weeks, but quick daily maintenance (like making the bed and a 5-minute tidy) keeps things manageable.
What's the fastest way to clean a bedroom?
Focus on high-impact areas: make the bed, clear surfaces, vacuum the floor, and wipe down mirrors. That alone can transform the room in under 15 minutes.
How do I keep my bedroom dust-free longer?
Use microfiber cloths (they trap dust instead of spreading it), run an air purifier, and keep windows closed on windy days. Also, declutter surfaces to reduce dust-collecting spots.
Can I clean my bedroom without harsh chemicals?
Absolutely. White vinegar, baking soda, and lemon juice work for most surfaces. Microfiber cloths and water handle dust and smudges effectively.
What's the best order to clean a bedroom?
Start high (ceiling fans, shelves), then work down to surfaces, then floors. This way, dust falls onto areas you haven't cleaned yet, and you vacuum it all up last.
Conclusion
A cleaner bedroom doesn't require hours of scrubbing or a complete overhaul. These 17 hacks are designed to fit into your routine without feeling like a chore. Pick a few that resonate with your biggest pain points and start there.
Remember, consistency beats intensity. A five-minute daily reset paired with one or two weekly hacks will keep your room feeling fresh and inviting. Your bedroom should be a place to unwind, not a source of stress.


