
You open a drawer and it jams. You search for your keys and they're buried under mail. These small frustrations add up, making your home feel chaotic instead of calm.
The good news is that most messes follow predictable patterns, and a few targeted habits can stop them before they start. This list covers 23 cleaning and organizing tips that address the real pain points—the spots where clutter tends to pile up and the routines that slip. Each tip is designed to be practical, not perfect.
You don't need a total overhaul, just a handful of changes that actually stick. Think of these as small adjustments that save you time and reduce stress.
1. The One-Minute Rule for Small Messes
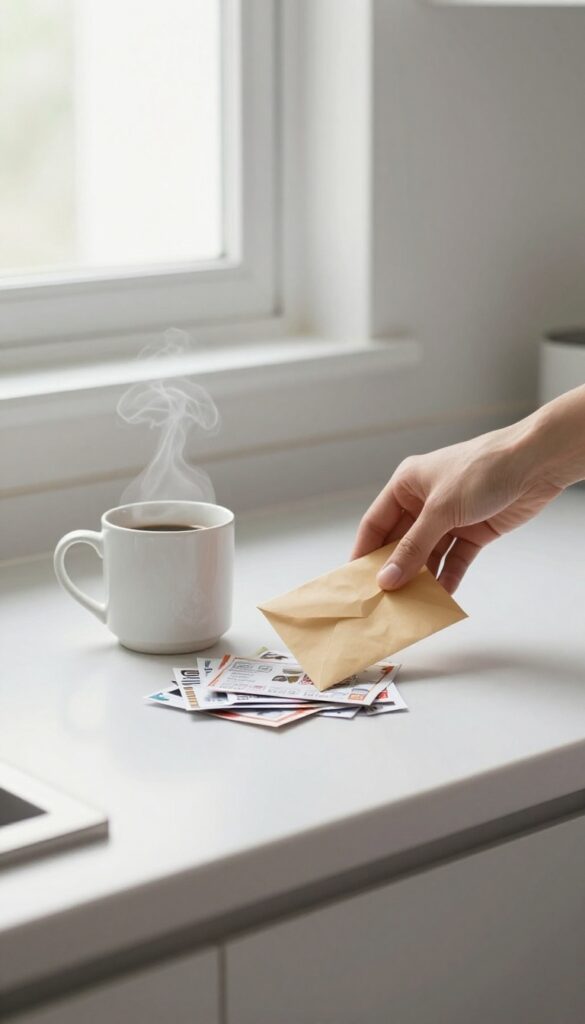
Messy homes don't happen all at once. They build up through tiny decisions—leaving a coffee mug on the counter, dropping a jacket on the chair, tossing junk mail on the table. Each item seems harmless, but together they create chaos.
The one-minute rule flips that pattern by making you act on small tasks immediately.
The one-minute rule is simple: if a task takes less than 60 seconds, do it right away. Hanging up a coat, wiping a counter, putting a dish in the dishwasher—these actions take almost no time but prevent clutter from piling up. The rule works because it removes the mental friction of deciding to do it later.
Later becomes never, but now is easy.
Why It Works
Small tasks feel unimportant, so we postpone them. But postponing turns one task into ten. The one-minute rule shifts your mindset from "I'll do it later" to "I'll do it now.
" Over a day, those instant actions save you from a full cleaning session. It's a habit that builds momentum.
Where To Apply It
Start with high-traffic zones: the entryway, kitchen counter, bathroom sink. When you walk in, hang your keys and bag immediately. After brushing your teeth, wipe the mirror.
After opening mail, toss the envelope. These spots are clutter magnets, so a minute of attention keeps them clear.
Making It Stick
Don't try to follow the rule everywhere at once. Pick one area—like the kitchen—and commit to one-minute actions there for a week. Once it feels automatic, add another zone.
The goal isn't perfection; it's reducing the overall mess without feeling overwhelmed.
2. Create a Landing Zone for Daily Items
The front door is a natural gathering spot for everything you carry in and out. Without a designated place, keys vanish, mail piles up, and bags become tripping hazards. A simple landing zone solves this by giving each item a home right where you need it.
Choose The Right Spot
Look for a flat surface near the entrance—a console table, a shelf, or even a small wall-mounted ledge. If space is tight, use a wall hook rack for bags and a shallow dish for keys. The goal is to make it so convenient that you use it without thinking.
Set Up Zones For Different Items
Divide the landing zone into sections: one for keys and wallet, another for mail, and hooks for coats and bags. Use trays, small bins, or a letter sorter to keep everything separated. This prevents the pile from becoming a messy jumble.
Make It A Daily Habit
The landing zone only works if you commit to using it every time you walk in. Spend 30 seconds putting things in their designated spots. Over time, it becomes automatic, and you'll never waste minutes searching for your keys again.
3. Use Baskets to Corral Loose Items
Loose items have a way of spreading across every surface. Remote controls, chargers, mail, and toys can turn a tidy room into a cluttered mess in minutes. Baskets offer a simple fix: a designated spot where random things can land without looking messy.
They work because they make tidying up almost effortless—just toss items in as you pass by.
Choose The Right Basket For Each Room
Not all baskets are created equal. In the living room, a large open basket by the sofa can hold blankets and remotes. For the entryway, a narrow basket on a shelf catches keys and mail.
In the bathroom, a small woven basket on the counter keeps toiletries from spreading. Match the size and style to the space so the basket feels intentional, not like an afterthought.
Make Baskets Easy To Access
A basket only works if it's easy to use. Place it where you naturally drop items—next to the couch, near the door, or on the kitchen counter. Avoid tucking baskets away in cabinets or high shelves.
The goal is to make putting things away as easy as leaving them out. When a basket is within arm's reach, you'll use it without thinking.
Label Baskets For Extra Clarity
Labels turn a generic basket into a specific home for items. Use a label maker, chalkboard tags, or simple sticky notes. For example, a basket labeled "Chargers" in the living room prevents cords from migrating to other rooms.
In a playroom, a "Toy Cars" basket helps kids know where things go. Labels also remind everyone in the household to follow the system.
4. Adopt the "One In, One Out" Rule

Clutter often sneaks in one item at a time. A new shirt, a kitchen gadget, a book—each seems harmless, but they add up fast. The "one in, one out" rule stops that creep by making you trade instead of just add.
Every time something new comes home, something similar has to leave. It's a simple boundary that keeps your space from overflowing.
Make It A Habit At The Door
The easiest place to enforce the rule is right when you walk in. Unpack shopping bags by the entryway and immediately pick one item to donate or toss. That way, the decision happens before the new thing settles into your space.
Over time, this becomes automatic—you won't even think twice about letting go.
Apply It To Every Category
The rule works for clothes, books, kitchen tools, decor, and even digital files. For clothes, donate one piece for every new purchase. For books, pass along a read copy when you buy a new one.
For kitchen gadgets, if you haven't used that garlic press in a year, it's time to go. The key is to keep categories separate—don't trade a shirt for a spatula.
Handle Gifts With Grace
Gifts can be tricky because you don't want to seem ungrateful. But the rule still applies. If someone gives you a new vase, thank them warmly and later choose a different vase to donate.
The giver never needs to know. This keeps your home curated without hurting feelings.
5. Store Items Where You Use Them
One of the biggest reasons we don't put things away is that the storage spot is too far from where we actually use them. You're not lazy—you're just fighting bad logic. When the trash bags are in the basement and the kitchen can is in the pantry, you end up leaving the bag on the counter.
The fix is simple: keep items exactly where you need them.
Under-sink Stations
Every sink in your home should have its own set of cleaning supplies. That means a small caddy under the kitchen sink with dish soap, a scrub brush, and all-purpose cleaner. Under the bathroom sink, stash toilet cleaner, a spray bottle with daily shower spray, and a microfiber cloth.
When you can grab a cleaner without walking across the house, you'll actually wipe down the counter after brushing your teeth.
Zone Your Drawers
Think about where you open mail, wrap gifts, or pay bills. Keep stamps, pens, and a small pair of scissors in that drawer—not in the office across the house. In the kitchen, store batteries and light bulbs in a drawer near the pantry, not in the garage.
When you need something, it should be within arm's reach of where the task happens.
Bathroom Basics
Keep a small caddy under each bathroom sink with the cleaners you use in that room. If you have a separate guest bathroom, it gets its own set of supplies too. No more carrying a bucket from the master bath down the hall.
And store extra toilet paper in each bathroom—not in a linen closet on the other side of the house.
Laundry Logic
Keep stain remover, laundry detergent, and dryer sheets near the washer and dryer. If your laundry room is small, use a wall-mounted rack or a slim caddy that sits on top of the machines. When you spot a stain, you can treat it immediately instead of walking to the pantry to grab the spray.
6. Use Vertical Space for Storage
Floors and countertops are prime real estate, but walls often sit empty. Vertical storage is one of the easiest ways to reclaim space without losing square footage. By moving things up, you keep surfaces clear and make your rooms feel bigger.
Shelves, hooks, and pegboards turn blank walls into functional storage. They keep everyday items within reach while freeing up precious floor and counter space. The key is to install them where you actually need access—like above a desk, next to the stove, or by the entryway.
Kitchen: Pots, Pans, And Utensils
A wall-mounted pot rack or a pegboard with hooks can hold cookware and utensils. This clears cabinet space and makes grabbing a pan as easy as reaching up. Just make sure the rack is sturdy and installed into studs.
Bathroom: Towels And Toiletries
Over-the-door hooks, wall-mounted baskets, and tiered shelves keep towels and toiletries off the counter. Use a narrow shelf above the toilet for extra storage without taking up floor space.
Entryway: Bags, Keys, And Outerwear
A wall-mounted coat rack with hooks for bags and a small shelf for keys and mail can transform a cluttered entry. Add a basket for shoes or umbrellas below. This setup catches items as soon as you walk in.
Garage Or Laundry: Tools And Supplies
Pegboards or slat walls with hooks and bins keep tools, cleaning supplies, and sports gear organized. Label each hook or bin so everything has a home. This prevents piles from forming on workbenches or floors.
7. Set a 10-Minute Daily Tidy Timer
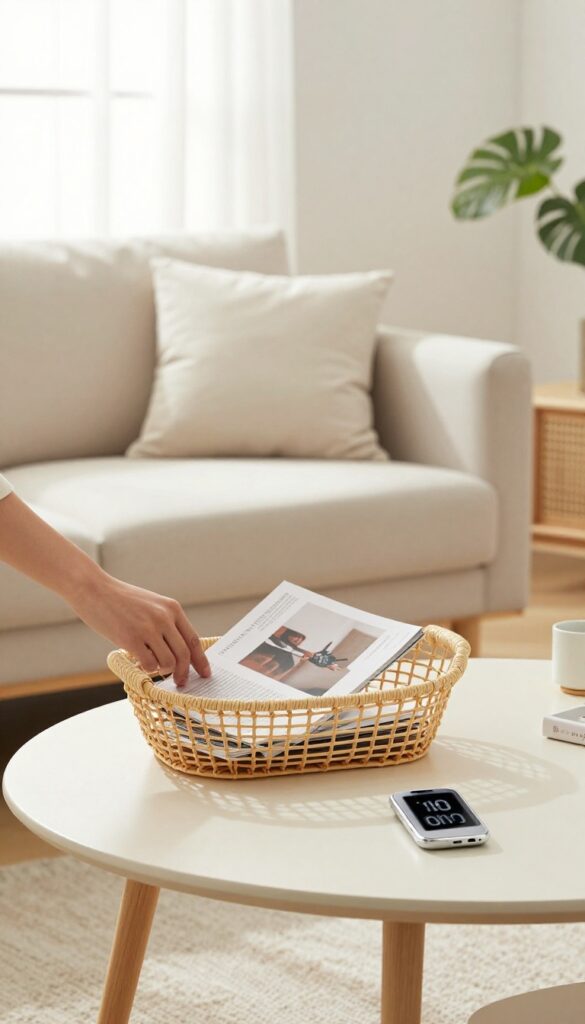
Cleaning doesn't have to mean spending your whole Saturday scrubbing. In fact, the most effective routines are surprisingly short. A daily ten-minute tidy can prevent messes from snowballing, and the timer keeps you honest—once it rings, you're done.
No guilt, no overdoing it.
The key is consistency, not intensity. Ten minutes a day adds up to over an hour a week, which is enough to keep surfaces clear and floors picked up. The timer also creates a sense of urgency, so you move faster and don't get sidetracked.
Start with the most visible areas first: living room, kitchen counters, and entryway. Over time, this becomes a habit that feels automatic.
Pick A Consistent Time
Choose a time that naturally fits your daily rhythm. Right before dinner, after you get home from work, or just before bed all work well. The goal is to make it a non-negotiable part of your day, like brushing your teeth.
Focus On Hot Spots
Don't try to clean the whole house. Instead, target the areas where clutter accumulates fastest: coffee tables, kitchen islands, entryway benches, and bathroom counters. These are the spots that make a space feel messy even if the rest is tidy.
Work In A Single Direction
Start at one end of the room and move systematically to the other. This prevents backtracking and ensures you don't miss anything. For example, in the kitchen, start at the sink area and move clockwise around the counters.
8. Declutter Before You Organize
It's tempting to jump straight into buying bins and rearranging shelves, but organizing around items you don't actually need just stores the problem. The first step is always to sort through what you own and decide what stays. This saves time, money, and mental energy in the long run.
Before you start organizing any space—whether it's a closet, kitchen cabinet, or desk drawer—take everything out and sort it into three piles: keep, donate, and toss. Be honest about what you use and love. If you haven't touched something in a year, it's likely safe to let go.
This process makes organizing faster because you're only working with the items that truly belong. It also frees up physical and mental space, making your home feel lighter and more intentional.
The Three-pile Method
Grab three boxes or bags labeled keep, donate, and trash. Go through each item one by one. For keeps, ask yourself: Do I use this regularly?
Does it serve a purpose? If the answer is no, it goes in donate or trash. Don't overthink it—if you hesitate, it's usually a sign to let it go.
One Room At A Time
Decluttering can feel overwhelming if you try to do the whole house at once. Focus on one room, or even one corner, per session. Set a timer for 15 minutes and see how much you can sort.
Small wins build momentum and prevent burnout.
What To Do With Donations
Once you have a donate pile, put it in your car or by the front door immediately. Schedule a drop-off within the week. The longer it sits, the more likely you'll second-guess your decisions.
Many charities offer pickup services, so check online to make it even easier.
The Toss Pile: Be Ruthless
Broken items, expired products, and things you've been meaning to fix for months belong in the trash. Don't hold onto something out of guilt or 'just in case. ' If it's not working for you now, it's clutter. Dispose of it properly—recycle what you can.
9. Use Clear Containers for Visibility
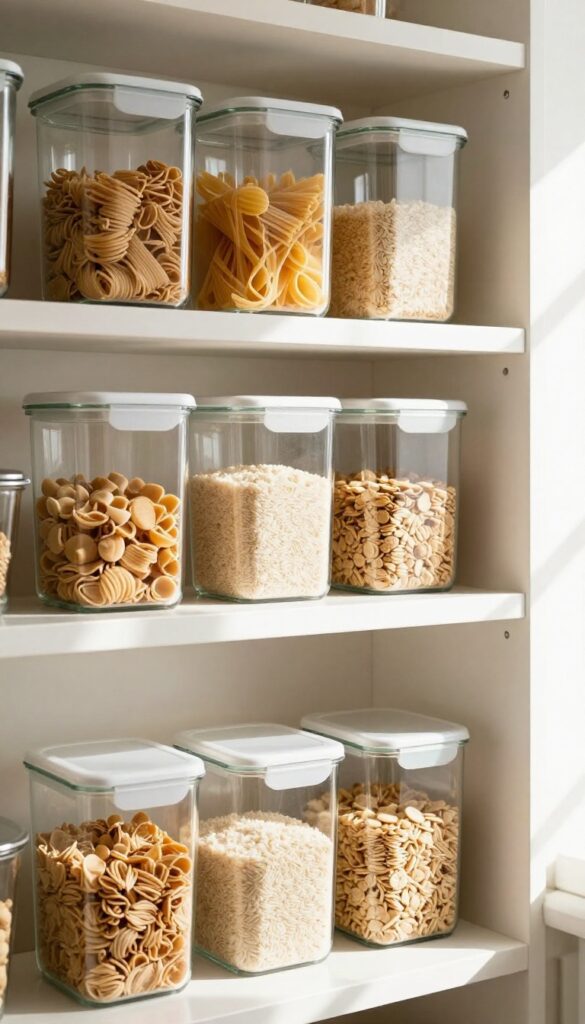
You've probably bought a second bottle of hot sauce or a third pack of batteries because you couldn't see what you already had. Clear containers solve that problem instantly. When you can see your supplies at a glance, you stop overbuying and start using what you own.
Pantry Power
Transfer dry goods like pasta, rice, and cereal into clear bins or jars. Stack them on shelves or in drawers so you can spot the empty ones quickly. No more digging to the back of a dark cabinet.
Craft And Office Clarity
Use clear shoeboxes or modular bins for markers, yarn, or cables. Label the front if needed, but the transparency alone helps you grab the right item without rummaging. You'll also notice when supplies are running low.
Bathroom Basics
Store cotton balls, bandages, and travel toiletries in clear acrylic containers. Keep them on open shelves or inside medicine cabinets. You'll see when you're almost out of something and avoid buying duplicates.
10. Label Everything
Labels might seem like a small detail, but they're a game-changer for keeping your home organized. When every bin, shelf, and drawer is clearly marked, everyone in the household knows exactly where things go. No more guessing, no more dumping items in random spots.
Labels turn chaos into a system that's easy to maintain.
Choose Your Label Style
A label maker gives a crisp, uniform look and is great for long-term use. If you prefer a softer aesthetic, chalk labels or erasable markers work well on bins and jars. The key is to pick a method you'll actually stick with—consistency matters more than perfection.
Label By Category, Not By Item
Instead of labeling a bin "screwdrivers, " try "tools" so it can hold a variety of related items. This flexibility prevents labels from becoming outdated when you reorganize. Group similar things together, and the label will guide you even as the contents shift.
Make Labels Visible And Durable
Place labels at eye level or on the front of containers so they're easy to read. Use waterproof or laminated labels for areas like the kitchen or bathroom where spills happen. A quick wipe keeps them clean, and they'll last for years.
11. Keep Counters Clear by Using Trays
Countertops are prime real estate, but they quickly become dumping grounds for everything from coffee mugs to mail. The solution isn't more storage—it's containment. Trays create boundaries that make a collection look intentional rather than cluttered.
Grouping items on a tray transforms scattered objects into a cohesive display. It also makes cleaning faster because you can lift the whole tray and wipe underneath in one motion. Choose a tray that fits your style—wood for warmth, metal for modern, or acrylic for minimal visibility.
Choose The Right Tray Size
A tray should be large enough to hold your daily items but not so big that it becomes a clutter magnet itself. Measure the counter space you want to organize and pick a tray that leaves a few inches of breathing room around it.
Group By Function
Keep coffee supplies (machine, pods, stirrers, mugs) on one tray near the coffee maker. Oils, salts, and pepper on another near the stove. This way, everything you need for a task is in one spot, and you can easily move the tray out of the way when cooking.
Trays For Non-kitchen Areas
Trays work wonders beyond the kitchen. Use one on your entryway table for keys, sunglasses, and mail. In the bathroom, corral toiletries on a tray to keep the sink clear.
In the living room, a tray on the coffee table holds remotes and coasters.
12. Make Your Bed Every Morning
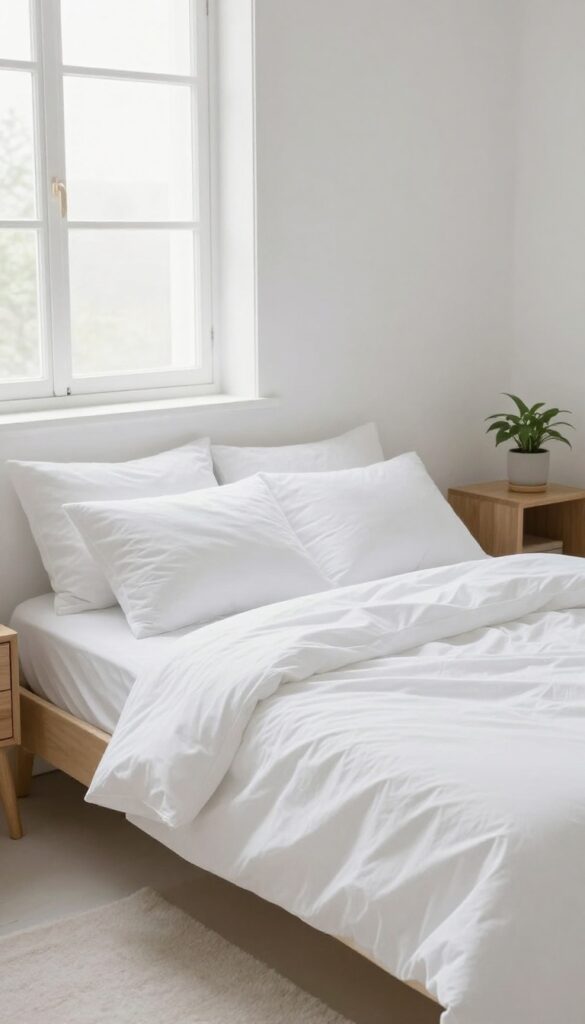
It's a small task that takes about two minutes, yet it has an outsized impact on how your bedroom looks and feels. Making your bed immediately transforms a rumpled, chaotic space into one that feels tidy and intentional. Beyond the visual payoff, this simple habit sets a productive tone for the rest of your day—a small win that builds momentum.
The Instant Visual Payoff
An unmade bed is often the largest visual clutter in a bedroom. Smoothing the sheets, fluffing the pillows, and pulling up the comforter instantly makes the whole room look neater. It creates a focal point of order that makes the rest of the space feel more put together, even if other surfaces aren't perfectly clear.
A Psychological Jumpstart
Completing a simple task first thing in the morning gives you a sense of accomplishment. It triggers a domino effect—you're more likely to follow through with other habits like tidying up or staying on schedule. Many productivity experts recommend bed-making as a keystone habit because it reinforces a mindset of discipline and order.
Make It Effortless
To make the habit stick, simplify your bedding. Use a duvet or a quilt that can be pulled up in one motion instead of a complicated set of sheets and blankets. Keep only a couple of pillows on the bed so you don't spend time arranging a pile.
The goal is speed and consistency, not perfection.
13. Use Drawer Dividers to Stop Shifting
Drawers are notorious for turning into black holes. You open one, and everything has migrated into a tangled mess. The culprit is usually empty space—items slide around every time you open and close the drawer.
Drawer dividers solve this by creating fixed compartments that keep each item in its place.
Dividers aren't just for kitchen utensils. They work in every room of the house. The key is measuring your drawer dimensions first and choosing dividers that fit snugly.
Adjustable bamboo or plastic dividers are versatile, but custom-cut wood gives a more permanent solution. Once installed, you'll notice a huge difference in how easy it is to find what you need and put things back.
Kitchen Utensils And Gadgets
The kitchen junk drawer is a common pain point. Use dividers to separate spatulas from measuring spoons and peelers. You can even designate a small compartment for twist ties and bag clips.
This way, you never have to dig through a pile to find the garlic press.
Socks And Undergarments
In the bedroom, dividers keep sock pairs together and underwear neatly folded. No more hunting for a matching sock in the morning. You can also use dividers to separate different types of clothing, like workout gear from everyday wear.
Office And Craft Supplies
Desk drawers can become a jumble of pens, sticky notes, and cables. Dividers create zones for writing tools, small electronics, and paper clips. In a craft room, they keep scissors, glue sticks, and markers organized and easy to grab.
14. Create a Cleaning Caddy for Each Floor
Running up and down stairs for a spray bottle or a rag wastes time and breaks your momentum. A cleaning caddy per floor solves that. It keeps everything you need within arm's reach so you can clean a whole room without interruptions.
What To Put Inside
Stock your caddy with the basics: an all-purpose cleaner, glass cleaner, microfiber cloths (at least three), a scrub brush, and disposable gloves. Add a small trash bag folded at the bottom for quick pickups. For hardwood floors, include a dusting spray and a soft mop head.
Where To Store It
Keep the caddy in a closet or under a sink on that floor. If you have a linen closet in the hallway, that's ideal. The goal is to grab it and go without hunting for supplies.
A caddy with a handle makes it easy to carry from room to room.
How To Maintain It
Refill the caddy as soon as you notice a bottle is low. Wipe down the caddy itself every few weeks to keep it clean. Rotate seasonal supplies—swap in a glass cleaner with vinegar in spring, and add a dusting mitt for winter.
15. Implement the "No Empty Hands" Rule

You've probably noticed how quickly clutter migrates from room to room. A mug left in the living room, a book abandoned on the kitchen counter, a pair of shoes by the front door. It's not laziness—it's just that we often move through our homes without thinking about what we're carrying.
The "No Empty Hands" rule is a simple mental shift: whenever you leave a room, grab something that belongs elsewhere. Over time, this tiny habit redistributes clutter to its proper place without feeling like a chore.
This rule works because it piggybacks on movements you're already making. You're going to the kitchen anyway—why not take the coffee mug from your desk? You're heading upstairs—grab that stack of laundry.
It turns a passive walk into a productive one. The key is to start small. Don't try to clear an entire room in one trip.
Just pick up one item each time you leave. That's it. One item per exit.
After a week, you'll notice a difference. After a month, it becomes automatic. This isn't about deep cleaning or marathon organizing sessions.
It's about using the natural flow of your day to keep things tidy. The rule works best when you pair it with designated homes for each item—if everything has a place, you always know where to take it.
Why It Works Without Extra Effort
The beauty of this rule is that it doesn't add time to your day. You're already walking from room to room. You're already going to the kitchen, the bathroom, or the bedroom.
By adding one small action to that movement, you eliminate the need for a separate "cleaning up" session. It also builds momentum. Once you start, you'll naturally look for things to carry.
You'll spot the water bottle on the nightstand and think, "That goes downstairs. " It becomes a game rather than a task.
How To Make It A Lasting Habit
Start with high-traffic areas like the living room and kitchen. Place a small basket or tray in each room to collect items that don't belong. Then, when you leave, grab from the basket.
This makes it even easier to spot what needs to go. Another trick: keep a small bin near the stairs for items that need to go up or down. Every time you pass, grab one.
No more piles at the bottom of the stairs. Within two weeks, the habit will feel natural.
Common Pitfalls To Avoid
Don't overdo it. The rule is one item per exit, not an armful. If you try to carry too much, you'll drop something or feel overwhelmed.
Keep it simple. Also, avoid using the rule as an excuse to create clutter elsewhere. If you always take things to the kitchen, the kitchen counter will become a dumping ground.
Instead, make sure each item goes directly to its home, not just to another room.
16. Use Over-the-Door Organizers for Hidden Storage
Doors are one of the most underutilized surfaces in any home. That blank slab is prime real estate for storage that doesn't eat into your floor space or clutter your counters. Over-the-door organizers come in all shapes and sizes, and they're incredibly easy to install—no drilling required.
Whether you're dealing with a cramped closet or a chaotic entryway, this trick turns wasted vertical space into a functional storage zone.
Over-the-door organizers are a game-changer for small spaces. They hang right over the top of a standard door, using the back side that's usually just collecting dust. You can find them with clear pockets, fabric slots, or even wire baskets.
The best part? They're removable and adjustable, so you can move them around as your needs change. Start by picking the right organizer for the door you want to use.
A clear-pocket shoe organizer works great for a bedroom door, while a heavy-duty metal rack might be better for a pantry or utility closet. Make sure the hooks fit snugly over the top of the door without damaging the paint. Once it's up, fill the pockets with items you need to grab quickly.
Over time, you'll find that this hidden storage keeps your floors clear and your essentials within easy reach.
Where To Put Them
The back of a bedroom door is perfect for shoes, belts, and scarves. In the bathroom, hang one for toiletries, hair tools, or cleaning supplies. A pantry door can hold spices, snacks, or small kitchen gadgets.
Even the back of a closet door works for accessories or out-of-season items. The key is to choose a door that's used frequently but doesn't need to close completely flush—some organizers are thicker than others.
What To Store
Think about items you use daily or weekly that tend to clutter surfaces. Shoes are an obvious choice, but don't stop there. Store cleaning supplies like sprays and microfiber cloths in a bathroom organizer.
In the entryway, use one for keys, sunglasses, and mail. For a home office, store cables, notebooks, and pens. The pockets make it easy to see everything at a glance, so you won't forget what you have.
Tips For Success
Don't overload the organizer—it can sag or damage the door if it's too heavy. Stick to lightweight items. Use clear or mesh pockets so you can see what's inside.
If the door is thin or hollow, consider using adhesive hooks instead of over-the-door hooks to avoid warping. Rotate items seasonally to keep the organizer relevant. And if you're renting, check that the hooks won't leave marks—some come with foam padding to protect the door.
17. Schedule a Weekly Reset
Life gets busy, and even the best daily habits can't catch every stray sock or stray piece of mail. That's where a weekly reset comes in. By setting aside a consistent time to tackle the small messes that accumulate, you stop clutter from snowballing into a weekend-long project.
A weekly reset doesn't have to be a deep clean. Think of it as a quick sweep through your home to put things back where they belong, wipe down surfaces, and give floors a once-over. The key is consistency—pick a day and time that works for you, and stick to it.
Choose Your Reset Day
Pick a day when you have a little extra time and energy. For many, Sunday evening works well—it sets you up for a fresh start Monday morning. Others prefer Saturday morning.
The day doesn't matter as much as making it a habit.
Create A Simple Checklist
Keep it short and actionable. For example: return stray items to their homes, clear kitchen counters, wipe bathroom mirrors, and vacuum high-traffic areas. A checklist prevents you from getting sidetracked and ensures nothing gets overlooked.
Set A Timer
Limit your reset to 30 minutes or less. When you know you only have half an hour, you'll move efficiently and avoid perfectionism. If you finish early, great.
If not, stop anyway—the goal is maintenance, not transformation.
18. Digitize Paper Clutter
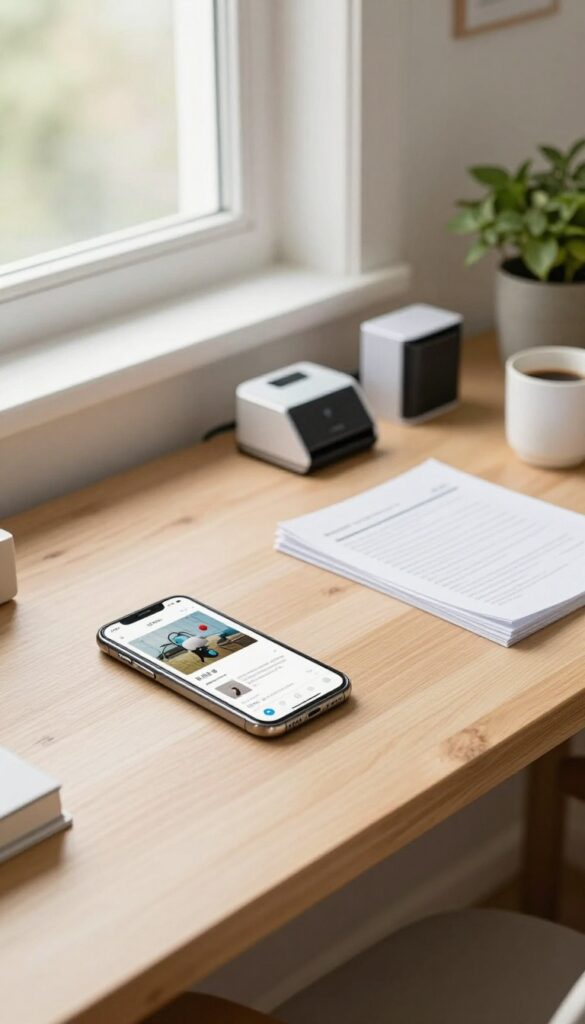
Paper piles have a way of multiplying when you aren't looking. Bills, receipts, school flyers, and old documents stack up on counters and desks, creating visual noise and real stress. The fix isn't a better filing cabinet—it's going digital.
Scan And Shred
Invest in a scanner or use a scanning app on your phone. For most documents—bank statements, utility bills, tax records older than seven years—a digital copy is perfectly fine. Save them as PDFs with clear file names like "2024-03-15 Electric Bill" and store them in a cloud service like Google Drive or Dropbox.
Once scanned, shred the originals. This instantly frees up physical space and makes retrieval a search away.
Create A Simple Folder System
Don't overthink your digital filing. Use broad categories like "Taxes, " "Insurance, " "Medical, " and "Home. " Inside each, create year-based subfolders.
Stick to this structure consistently. Avoid nested folders more than three levels deep—you want to find files quickly, not play hide-and-seek.
The Keep-these-only Rule
A few papers still need to live in physical form: passports, birth certificates, marriage licenses, property deeds, and wills. Keep these in a fireproof safe or a safety deposit box. Everything else can go digital.
If you're unsure about a document, ask yourself: "If I lost this, could I get a replacement online? " If yes, scan and shred.
19. Use the "Five-Minute Room" Method
Sometimes the hardest part of cleaning is just getting started. The "five-minute room" method removes that mental block by making the task feel temporary and low-stakes. Set a timer for five minutes and clean one room as fast as you can.
You'll be amazed at how much you can accomplish in that short burst, and often you'll feel motivated to keep going once the timer goes off.
Why Five Minutes Works
A five-minute window is short enough to feel manageable but long enough to make a visible dent. It tricks your brain into bypassing procrastination because you're not committing to a full clean. You focus on speed and impact, grabbing clutter, wiping surfaces, or sweeping the floor—whatever makes the biggest difference in the least time.
How To Execute The Method
Pick a room that needs attention. Set a timer on your phone or use a kitchen timer. Work as fast as you can without overthinking.
Prioritize tasks that create the most visual change: clear flat surfaces, fluff pillows, toss trash, and put away stray items. Stop when the timer rings. If you want to continue, great; if not, you've still made progress.
Turning It Into A Habit
Use this method daily for different rooms. You can even do multiple five-minute sessions throughout the day. Over time, it prevents clutter from building up and keeps your home consistently tidy without exhausting you.
It's especially useful for high-traffic areas like the kitchen or living room.
20. Store Seasonal Items Out of Sight
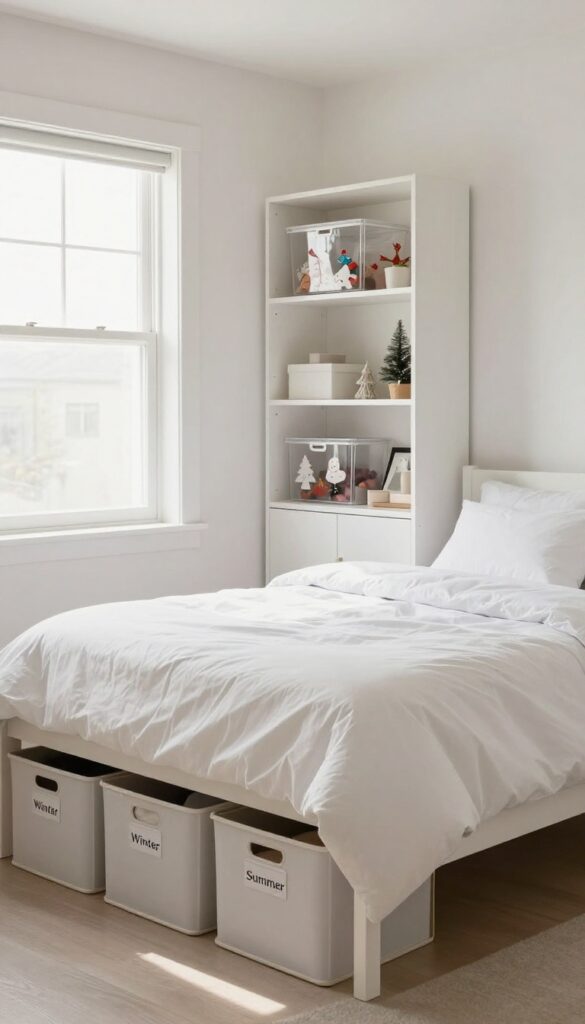
Seasonal items like winter coats, holiday decorations, and summer gear take up valuable real estate in your everyday storage spaces. When they're not in use, they just sit there, making it harder to access the things you actually need right now. The fix is simple: rotate them out of sight and onto high shelves or under-bed bins.
This frees up prime storage for current items and keeps your closets and cabinets feeling spacious.
Pick The Right Storage Spots
Not all storage is created equal. Use high shelves in closets or the garage for bulky, lightweight items like holiday decorations. Under-bed bins are perfect for off-season clothes and bedding.
Avoid storing seasonal items in hard-to-reach places like the attic if you need them more than once a year. The goal is to keep them accessible but out of the way.
Label Everything Clearly
When you rotate items, label bins with the season and contents. Use a label maker or just a permanent marker on masking tape. This saves you from digging through five bins to find the Christmas lights.
Clear bins are even better because you can see what's inside at a glance.
Create A Rotation Schedule
Set a reminder to swap seasonal items twice a year, like when you change your clocks. This keeps the process from becoming overwhelming. As you rotate, take a moment to declutter—donate anything you didn't use last season.
This prevents your storage areas from becoming dumping grounds.
21. Clean as You Cook
The kitchen is often the busiest room in the house, and it's also the one that gets messy the fastest. But what if you could cut your post-meal cleanup time in half without any extra effort? The secret is to clean as you cook—tackling small tasks during the natural pauses in meal prep.
This habit turns a chaotic cooking session into a smooth, organized process. By washing dishes, wiping counters, and putting away ingredients while your food simmers or bakes, you keep the kitchen tidy from start to finish. The result?
A clean kitchen and a relaxed mind when you sit down to eat.
Wash As You Go
While your onions are sautéing or your pasta water is boiling, take 30 seconds to rinse the cutting board, knife, and measuring cups. If you have a dishwasher, load them right away. This prevents a mountain of dirty dishes from piling up by the stove.
Wipe Spills Immediately
A splash of sauce or a sprinkle of flour on the counter is easier to clean when it's fresh. Keep a damp cloth or sponge nearby and quickly wipe surfaces between steps. It takes seconds now but saves scrubbing later.
Put Away Ingredients
Once you've measured out your spices or used half an onion, return the rest to the pantry or fridge. This clears counter space and ensures you don't accidentally leave perishables out. It also makes it easier to find what you need for the next step.
22. Use a Laundry Hamper with Separate Compartments
Laundry day can feel like a chore within a chore when you have to sort everything first. But what if you could skip that step entirely? A divided hamper lets you separate lights and darks as you toss clothes in, so when wash day comes, you're ready to go.
Sorting laundry isn't difficult, but it's an extra step that eats up time. By keeping clothes separated from the start, you remove that bottleneck. Plus, it's one less decision to make when you're already in laundry mode.
Choose The Right Hamper
Look for a hamper with at least two compartments—one for lights, one for darks. Some even have a third for delicates. Make sure it fits your space and has easy-to-carry handles or bags.
Label Or Color-code
If the compartments aren't clearly different, add a small label or use different colored bags. This helps everyone in the household follow the system without guessing.
Empty Each Compartment Directly Into The Machine
When it's time to wash, grab the light bag and dump it in, then the dark bag. No sorting needed. This simple flow saves about 10 minutes per load.
23. Give Everything a Home
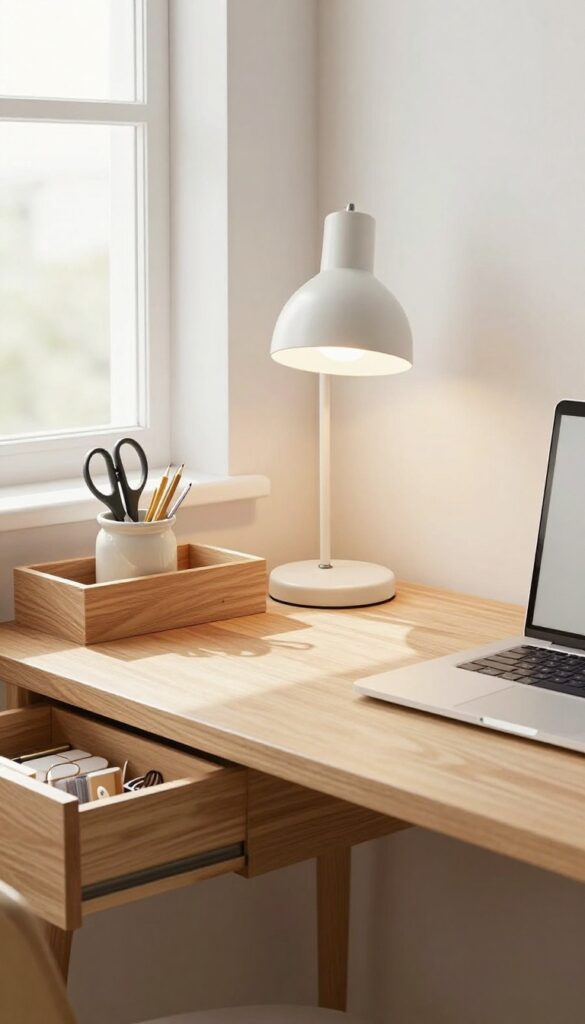
Clutter often isn't about having too much stuff—it's about stuff not having a place to go. When every item has a designated spot, tidying up becomes automatic instead of a decision. You stop asking "Where should this go?
" and just put it back where it belongs. This one shift can cut your cleaning time in half.
The key is to assign homes based on where you actually use the item, not where you think it should live. A pair of scissors gets used near the desk, so keep them in a desk drawer, not the kitchen junk drawer. Tape belongs with gift wrap, not in the toolbox.
When you store things close to their point of use, you're far more likely to put them away. Start with the items that cause the most friction—the ones you're always hunting for—and give each one a logical home. Labeling shelves or bins can help family members remember the system, but even without labels, consistency is what makes it stick.
Start With The Hot Spots
Focus on the surfaces where clutter collects daily: the kitchen counter, entryway table, nightstand. For each hot spot, identify the top five items that end up there and assign them a specific drawer, tray, or hook. Once those have homes, the rest will follow more easily.
Use The One-minute Rule
If putting something away takes less than a minute, do it immediately. That jacket on the chair? Hang it now.
The mail on the counter? Sort it right away. This habit prevents small piles from becoming big messes and reinforces the "everything has a home" mindset.
Group Similar Items Together
Store like with like: all batteries in one container, all chargers in another, all cleaning supplies under the sink. When similar items share a home, you can find what you need quickly and you'll know when you're running low. It also makes restocking and decluttering much simpler.
FAQ
How do I start organizing if I feel overwhelmed?
Start small. Pick one drawer or a single countertop. Set a timer for 10 minutes and focus only on that area.
Small wins build momentum.
What's the best way to keep a house clean with kids?
Use baskets for toy storage, implement a daily 10-minute tidy, and involve kids with simple tasks like making beds or putting away shoes.
How often should I deep clean my home?
Aim for a deep clean once a month. Focus on tasks like washing windows, cleaning behind appliances, and scrubbing grout. Weekly maintenance keeps it manageable.
What are the most important areas to organize first?
Start with high-traffic zones: entryway, kitchen counters, and bedroom surfaces. These areas impact your daily routine the most.
How do I maintain organization once it's done?
Adopt daily habits like the one-minute rule and a nightly reset. Regularly declutter and avoid impulse purchases to prevent buildup.
Conclusion
A tidy home isn't about perfection—it's about creating systems that make daily life easier. Pick just one tip from this list and try it today. That single change can build momentum over time.
You don't need to tackle everything at once. Small, consistent steps lead to a space that feels calm and under control. Start where you are, and let each small win make your home work better for you.


