
You walk into your living room after a long day, and instead of relaxing, you feel overwhelmed by the mess. Clutter has a way of creeping into every corner, making your home feel smaller and more chaotic than it should.
But you don't need a total overhaul or a professional organizer to turn things around. Small, consistent changes can make a huge difference.
The key is to focus on one area at a time and use smart systems that actually fit your lifestyle. Whether you're dealing with a overflowing closet or a junk drawer that won't close, these 20 ideas will help you reclaim your space.
1. The Five-Minute Room Rescue
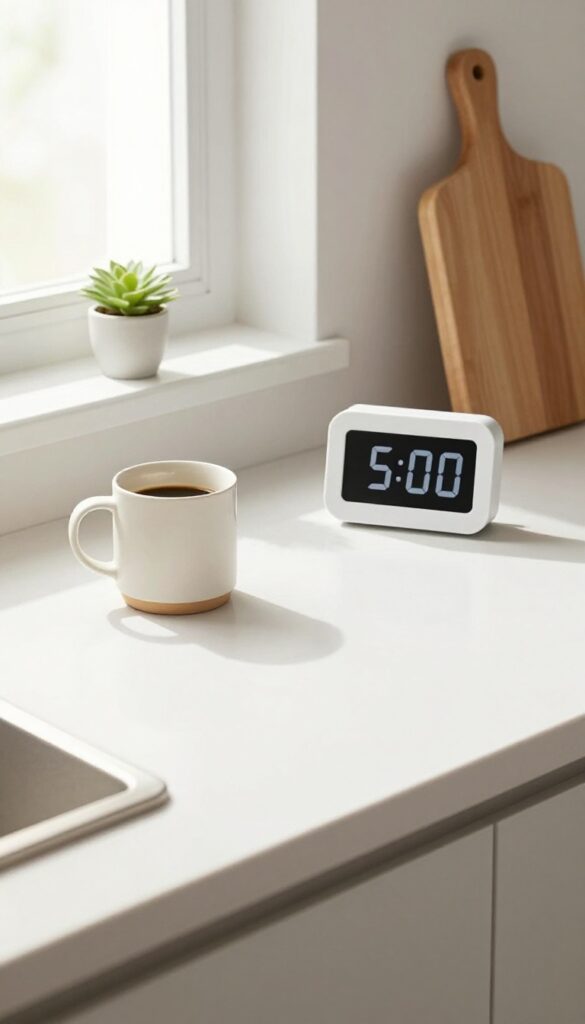
Sometimes the hardest part of cleaning is just getting started. The five-minute room rescue is a low-pressure way to break through that mental block. You pick a small, visible area—like a coffee table, a kitchen counter, or a bathroom sink—and set a timer for exactly five minutes.
When the timer goes off, you stop, no matter what. It's amazing how much you can accomplish in such a short burst, and often you'll feel motivated to keep going.
This technique works because it removes the overwhelm of a whole room. Instead of thinking "I need to clean the entire kitchen, " you focus on just one counter. Five minutes is short enough that you can do it anytime—while waiting for coffee to brew, during a commercial break, or before bed.
Over time, these mini-rescues add up to a consistently tidier home.
Why Five Minutes Works
A five-minute timer creates urgency without stress. You race against the clock, which makes the task feel like a game. Plus, the short duration prevents burnout.
You're less likely to procrastinate when you know it's only five minutes.
Where To Start
Focus on high-traffic areas that collect clutter fast: entryway tables, kitchen islands, nightstands, or the top of a dresser. These spots have a big visual impact. Clearing them instantly makes the room feel more organized.
Turn It Into A Habit
Try doing one five-minute rescue at the same time each day—right after dinner, for example. Pair it with a trigger like brushing your teeth or waiting for your morning tea. Soon it'll become automatic, and you'll wonder how you ever lived without it.
2. One-In, One-Out Rule for Belongings
Clutter often piles up because we bring things in faster than we let them go. The one-in, one-out rule is a simple way to keep your possessions balanced. Every time you buy or receive something new, you commit to removing a similar item.
This habit stops accumulation before it starts.
This rule works because it forces you to make conscious decisions about what you own. You'll think twice before buying that extra pair of shoes or another kitchen gadget. Over time, it becomes second nature and your home stays manageable.
Why It Works So Well
The rule creates a natural cap on your belongings. You can't add without subtracting, so your collection stays at a comfortable size. It also helps you appreciate what you already have.
When you know you'll have to part with something, you're more likely to choose quality over quantity.
How To Apply It In Every Room
Start with one category, like clothing. When you buy a new shirt, donate or sell an old one. Move on to books, kitchen tools, or decorative items.
The same logic works for toys, electronics, and even linens. Be honest about what you actually use and love.
Dealing With Gifts And Sentimental Items
Gifts can be tricky. If you receive something you don't need, thank the giver and let it go without guilt. For sentimental items, take a photo before donating.
The memory stays, but the clutter doesn't. The rule isn't about deprivation—it's about making room for what matters.
3. Vertical Storage for Small Items
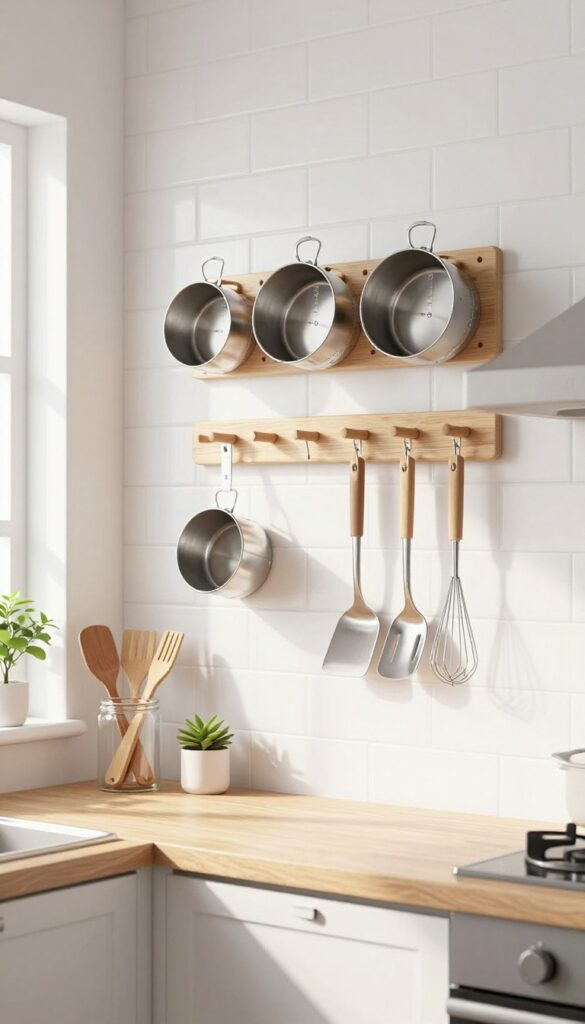
Countertops and drawers are prime real estate in any home. When they're cluttered with small items, everything feels cramped. Vertical storage changes that by using wall space you never knew you had.
Mount shelves, pegboards, or magnetic strips to keep spices, tools, or jewelry visible and accessible. This simple shift frees up surface area and makes your daily routine smoother.
Vertical storage is a game-changer for small items that tend to scatter. By moving things off horizontal surfaces and onto walls, you instantly create more room to work and live. Plus, having items in plain sight means you'll actually use them instead of digging through drawers.
Here are three smart ways to go vertical in different rooms.
Pegboard Power In The Kitchen Or Workshop
A pegboard isn't just for garages. Install one above your kitchen counter to hang measuring cups, spatulas, and small pots. In a workshop, it holds hammers, screwdrivers, and pliers.
Customize the hooks and bins to fit your gear. The best part? You can rearrange the layout anytime without drilling new holes.
Magnetic Strips For Metal Essentials
Magnetic strips are perfect for metal items that usually clutter drawers. Mount one inside a cabinet door for knives, or on the bathroom wall for tweezers, scissors, and nail clippers. In the craft room, they keep needles, pins, and small scissors within reach.
Just make sure the strip is strong enough for your heaviest items.
Wall-mounted Shelves For Daily Use Items
Floating shelves are great for things you grab often. In the entryway, hold keys, sunglasses, and a small dish for change. In the bathroom, store cotton balls, lotions, and extra toothbrushes.
In the home office, keep sticky notes, pens, and a small plant. Keep the shelves shallow so items don't get lost behind each other.
4. The Laundry Basket Sorting System
Sorting laundry before washing feels like a chore you could skip, but it actually saves time in the long run. The problem is that traditional sorting—picking through a giant pile—takes energy you don't have at 8 PM. A simple system with separate baskets for lights, darks, and delicates changes everything.
You toss each item into the right basket as you undress, and when laundry day arrives, you grab a basket and go. No sorting, no decisions, just clean clothes faster.
Pick Your Baskets
You don't need fancy laundry hampers. Three lightweight, stackable bins or even mesh bags work great. Label each one clearly: Lights, Darks, Delicates.
Place them side by side in your closet, bathroom, or laundry room—wherever you undress most often. If space is tight, use collapsible bins that fold flat when not in use.
Train Your Household
Get everyone on board by explaining the system simply. Kids can toss their own clothes into the right basket after school. A quick visual guide—like a small sign or color-coded labels—helps everyone remember.
Within a week, it becomes a habit, and you'll wonder why you ever sorted from a pile.
Wash Day Flow
On laundry day, grab the Lights basket and start a load. While it runs, sort the Darks or Delicates. No need to stand over a machine sorting through a mountain of clothes.
You can even pre-treat stains as you toss items in, saving time later. The system also reduces the chance of mixing a red sock with whites.
5. Clear Containers for Pantry Visibility
Pantry chaos often hides behind closed doors. When boxes and bags pile up, you forget what you have, buy duplicates, and end up tossing expired food. Clear containers flip that dynamic entirely.
By transferring dry goods into see-through, airtight jars or bins, you instantly know your inventory at a glance. No more digging through crumpled bags or wondering if you have enough rice. It's a simple swap that pays off every time you cook.
Clear containers do more than just look neat. They create a visual inventory that helps you plan meals, avoid overbuying, and reduce food waste. Plus, airtight seals keep contents fresher longer.
Start with your most-used items: flour, sugar, pasta, cereal, and snacks. Choose containers that stack well and fit your shelf depth. Square or rectangular shapes maximize space compared to round ones.
Label each container with the contents and expiration date if you want to be extra organized. You'll wonder why you didn't do it sooner.
Choose The Right Containers
Not all clear containers are created equal. Look for BPA-free plastic or glass with airtight silicone seals. Glass is heavier but doesn't stain or absorb odors.
Plastic is lighter and less breakable. Measure your shelf height and depth before buying. Uniform containers create a cohesive look and stack more efficiently.
Avoid novelty shapes that waste space.
Labeling That Works
Labels prevent confusion when multiple items look similar. Use a label maker or simple chalk labels for a clean look. Include the item name and, if helpful, the expiration date.
Place labels on the front or lid so they're easy to read. If you rotate stock, use reusable labels or a dry-erase marker directly on the container.
Maintain The System
Once your containers are set, keep the system going. When you finish a bag of flour, refill the container from a new bag immediately. Wipe containers clean before refilling to avoid old residue.
Every few months, empty everything, wash the containers, and check for expired items. A little maintenance keeps your pantry looking and working great.
6. Daily Declutter Before Bed
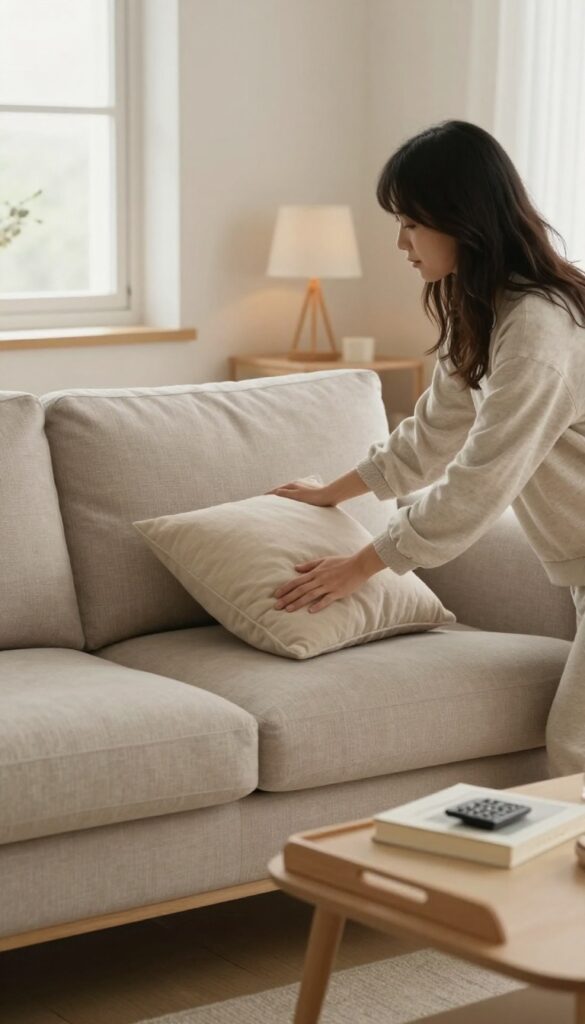
Evenings are chaotic enough without adding a full cleaning session to the mix. But a quick 10-minute tidy-up before you hit the pillow can work wonders. It clears the visual noise from your day and lets you wake up to a fresh start.
Why It Works
A cluttered space triggers stress hormones, even if you don't notice it. By resetting your main living areas each night, you signal to your brain that it's time to rest. Plus, morning you will thank you for not stepping on a stray shoe or searching for keys.
What To Tackle
Focus on high-traffic zones: living room couch, kitchen counters, dining table, and entryway. Put pillows back, toss mail in a designated tray, wipe crumbs, and return remote controls to their spot. Don't worry about deep cleaning—just surface-level order.
Make It A Habit
Set a timer for 10 minutes and play a fast song. Do it right after brushing your teeth or while waiting for your nighttime tea to steep. Consistency beats intensity.
After a week, it'll feel weird to skip it.
7. The Hanger Trick for Closet Overload
Closets have a sneaky way of filling up with clothes you never wear. The hanger trick is a simple, no-drama way to figure out what actually deserves space in your wardrobe. It takes two seconds to set up and six months to reveal the truth.
Start by turning every single hanger backward so the hook faces you. As you wear an item and put it back, hang it the normal way. After six months, anything still facing backward is a piece you haven't touched.
Donate it without guilt.
Why It Works
This trick removes the guesswork. You're not deciding in the moment whether to keep something—you're letting your habits decide. It's honest, visual, and takes emotional pressure off decluttering.
Getting Started
Pick one closet at a time. Pull everything out, flip each hanger, and put items back. Set a reminder on your phone for six months later.
No peeking or cheating—let the system run.
What To Do After
When the six months are up, gather all backward-facing hangers. Try on anything you're unsure about, but be honest. Bag the rest for donation immediately so you don't second-guess.
Enjoy the extra space.
8. Drawer Dividers from Cardboard
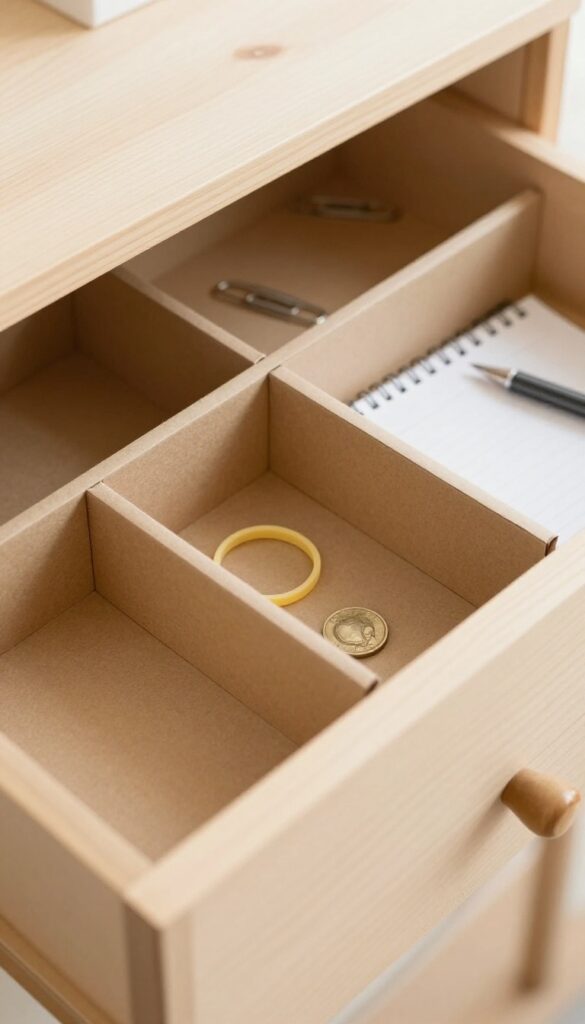
Junk drawers and utensil drawers have a way of becoming black holes for random items. You open them expecting to find a pen, and instead you're digging through a pile of twist ties, old batteries, and mystery keys. The fix is simpler than you think: custom dividers made from cardboard.
It costs nothing, takes minutes, and instantly turns chaos into order.
Before you toss another cardboard box into recycling, stop and look at it differently. That corrugated material is perfect for creating custom drawer dividers that fit your exact needs. Unlike store-bought plastic organizers, cardboard is free, completely customizable, and eco-friendly.
Plus, you can adjust the size and shape as your drawer contents change over time.
Measure And Cut
Start by measuring the width and length of your drawer. Cut strips of cardboard to those dimensions, then decide how many compartments you want. For a junk drawer, aim for sections that can hold small items like paper clips, rubber bands, and loose change.
For a utensil drawer, measure the length of your longest spatula or knife to ensure the dividers are tall enough.
Assemble The Grid
Once you have your strips, cut slits halfway through each piece at regular intervals. Slide the strips together to form a grid that fits snugly inside the drawer. If the grid feels loose, add a small piece of tape at the intersections or wedge a thin strip of cardboard along the edges.
The goal is a stable structure that doesn't shift when you open and close the drawer.
Label And Maintain
To keep your system working long-term, label each compartment with a marker or a small piece of tape. This helps everyone in the household know where things belong. If a divider gets crushed or worn out, simply cut a new one.
Cardboard dividers are not permanent, but they are endlessly replaceable and cost you nothing but a few minutes of time.
9. Cleaning Caddies for Each Room
Imagine never having to hunt for a spray bottle or a microfiber cloth again. A cleaning caddy for each room makes that possible. By keeping supplies where you actually use them, you cut down on prep time and make it easier to tackle messes as they happen.
It's a simple system that removes friction from your cleaning routine.
Assemble a small caddy with room-specific cleaning supplies. Keep it under the sink or in a closet so you can grab and go. This way, you're not lugging a giant bucket from room to room or wasting time searching for the right product.
What To Put In Your Caddies
Each caddy should have the essentials for that room. For the kitchen: all-purpose cleaner, dish soap, a scrub brush, and a sponge. For the bathroom: glass cleaner, toilet cleaner, a toilet brush, and a microfiber cloth.
For the living room: a dusting spray, a duster, and a small vacuum attachment. Tailor it to your actual needs—if you never use a certain product, leave it out.
Where To Store Them
The best spot is close to where you'll use it. Under the kitchen sink, in the bathroom vanity, or in a hall closet near the living room. If you have multiple bathrooms, consider a caddy for each.
Use a small, sturdy caddy with a handle so it's easy to carry from the storage spot to the area you're cleaning.
How To Maintain The System
Once a month, check your caddies. Toss empty bottles, replace worn-out sponges, and refill anything running low. This keeps your caddies ready to go at a moment's notice.
It also prevents you from buying duplicates because you forgot what you already have.
10. The 30-Day Minimalism Challenge
Decluttering an entire home can feel like a monumental task. But what if you only had to remove one item today? The 30-Day Minimalism Challenge breaks down the process into daily, manageable steps.
By the end of the month, you'll have removed 465 items without ever feeling overwhelmed.
The idea is simple: on day one, get rid of one item. Day two, two items. Day three, three items, and so on.
You can donate, sell, recycle, or toss—whatever works. The key is to keep going, even if it's just a single item each day. By day 30, you'll have removed 465 items from your home, creating noticeable space and clarity.
How To Get Started
Pick a starting date and commit to the daily count. Use a calendar to track your progress. Don't overthink what to remove—start with obvious clutter like expired pantry items, old magazines, or clothes you haven't worn in a year.
The challenge works best when you move room by room, but you can also tackle categories like books or kitchen gadgets.
Staying Motivated
The early days are easy, but around day 10, you might hit a wall. To stay motivated, focus on the growing pile of items you've removed. Take before-and-after photos of a drawer or shelf.
Share your progress with a friend or on social media. Remember, each item you let go of is a step toward a calmer home.
Making It A Habit
After day 30, you'll have built a decluttering habit. Keep the momentum by continuing to remove a few items each week. Use the challenge as a reset for your home, and repeat it annually.
The real win isn't just the 465 items—it's the mindset shift toward owning less and valuing space more.
11. Label Everything (Even If It's Obvious)
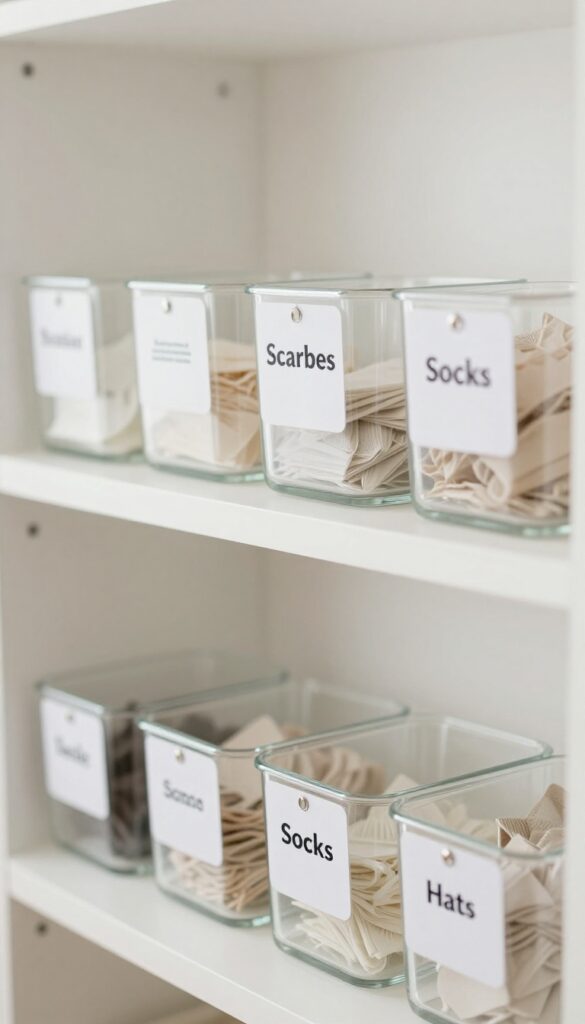
Labels might seem overkill for a bin that clearly holds socks, but trust me—they work. When every shelf, basket, and container has a label, there’s no guessing where things go. That means less dumping and more putting away.
It’s a simple trick that keeps your system running even on chaotic days.
Labels are the unsung heroes of organization. They turn a good system into a foolproof one. When everything is labeled, everyone in the household—kids, partners, guests—knows exactly where to find things and where to return them.
No more "I didn't know where this goes" excuses. Plus, labels add a clean, intentional look to your shelves and bins. You can use a label maker for a polished finish, or handwritten chalk labels for a cozy vibe.
Either way, the result is the same: a home that stays organized longer.
Why Labels Work
Labels remove decision fatigue. When you see a bin labeled "Scarves, " you don't have to think—you just toss the scarf in. That tiny mental shortcut adds up over time.
Labels also create accountability. If everyone knows the "Remote Control" bin exists, there's no excuse for leaving the remote on the coffee table.
Where To Start Labeling
Focus on high-traffic zones first: pantry shelves, linen closets, toy bins, and office supplies. In the pantry, label canisters for flour, sugar, and snacks. In the closet, label bins for out-of-season clothes.
Even bathroom drawers benefit from labels like "Hair Tools" or "First Aid. " The more specific, the better.
Labeling Tips That Stick
Use a consistent font and color scheme for a cohesive look. Stick-on labels work best on smooth surfaces; for baskets or fabric bins, use tag holders or clip-on labels. If you’re renting, go with removable labels or chalk markers on glass jars.
And don’t forget to update labels when your needs change—a label that says "Baby Toys" is useless once the kids are teens.
12. Under-Bed Storage with Vacuum Bags
That space under your bed is prime real estate, not a dust bunny farm. Vacuum-sealed bags let you store bulky items like winter coats, extra blankets, or outgrown baby clothes in a fraction of the space. They also keep everything protected from dust, moisture, and pests.
Start by pulling everything out from under your bed. Sort items into keep, donate, and trash piles. For the keep pile, group similar items together—off-season clothing, bedding, or linens.
Then choose the right vacuum bags: jumbo ones for comforters, standard for clothes, and rolling suitcases for travel sets. Label each bag clearly before sealing, so you don't have to guess what's inside come winter.
Choose The Right Bags
Not all vacuum bags are created equal. For heavy comforters or multiple blankets, go with jumbo or extra-large bags. For sweaters and jeans, standard size works fine.
Look for bags with a double-zip seal and a one-way valve to prevent air from seeping back in. Some brands offer reusable bags that last for years.
Maximize Vertical Space
Once sealed, these bags are flat and stackable. Place them side by side under the bed, or use low-profile storage bins to keep them organized. If your bed frame is high enough, you can even stack two layers.
Just make sure the bags are fully sealed before stacking to avoid shifting.
Seasonal Rotation Made Easy
Keep a simple system: store winter gear in spring and summer items in fall. When the season changes, swap the bags. Label each bag with the season and contents, so you can grab exactly what you need without rummaging.
This keeps your closet from overflowing and your under-bed space working year-round.
13. The Two-Minute Rule for Small Tasks
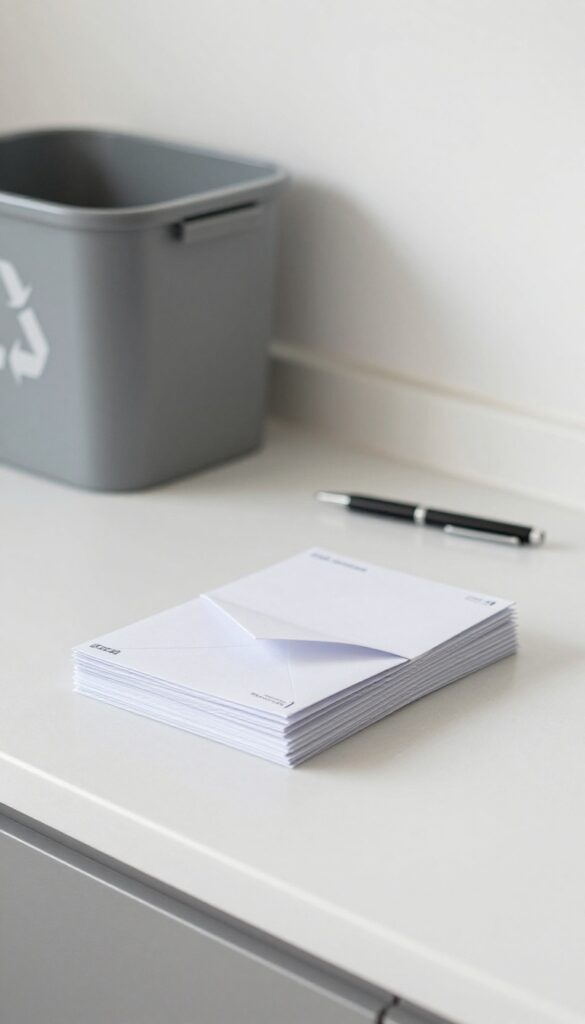
That pile of mail on the counter? The jacket draped over the chair? They feel small, but they add up.
The two-minute rule is a simple way to stop clutter before it starts. If a task takes less than two minutes, do it immediately. No postponing, no mental notes.
The beauty of this rule is that it removes decision fatigue. You don't have to decide if something is worth doing now—you just do it. Over a day, those tiny actions keep surfaces clear and prevent messes from snowballing.
It's not about being perfect; it's about building a habit that makes tidying effortless.
Where To Start
Focus on high-traffic zones like the entryway, kitchen counter, and bathroom vanity. Hang up coats, sort mail into recycling or action pile, wipe spills, and put away toiletries. These areas accumulate clutter fastest, so tackling them immediately keeps your home instantly neater.
Make It A Family Rule
Get everyone on board. Explain that if they see a jacket on the floor or a dish by the sink, they handle it right away. Kids can hang backpacks, put shoes away, and toss trash.
It turns into a shared habit that keeps the whole house tidier without nagging.
Pair It With A Timer
If you're unsure whether something qualifies as two minutes, set a timer. You'll be surprised how much you can do in 120 seconds—folding a throw blanket, wiping a counter, or sorting a small stack of papers. The timer also makes it feel like a game, not a chore.
14. Zone Cleaning for Large Spaces
Trying to clean an entire house in one go is a recipe for exhaustion and frustration. Zone cleaning breaks your home into manageable chunks—like the kitchen, living room, or bedrooms—and assigns one zone per day. This approach keeps you from burning out and ensures every area gets regular attention without overwhelming your schedule.
Zone cleaning works because it turns an overwhelming task into a series of small, achievable wins. Instead of spending your whole Saturday scrubbing, you spend 20–30 minutes daily on one zone. Over a week, every part of your home gets a turn.
The key is to define clear zones that make sense for your layout and lifestyle. For example, you might group the kitchen and dining area together, or separate the main living space from a home office. Once you set your zones, stick to a rotation—Monday: kitchen, Tuesday: living room, Wednesday: bathrooms, Thursday: bedrooms, Friday: entryway and mudroom.
This rhythm builds consistency without the dread of a marathon cleaning session.
How To Define Your Zones
Start by walking through your home and mentally dividing it into sections that feel natural. Common zones include kitchen, living room, dining room, bathrooms, bedrooms, hallways, and entryways. If you have a large open-concept space, you can split it into functional areas like the cooking zone, eating zone, and lounging zone.
The goal is to make each zone small enough to clean in 20–30 minutes but large enough to feel productive.
Create A Weekly Rotation
Once you have your zones, assign each one to a day of the week. Write it down on a calendar or use a simple checklist. For example, Monday: kitchen, Tuesday: living room, Wednesday: bathrooms, Thursday: bedrooms, Friday: entryway and mudroom.
Weekends can be for catch-up or deeper cleaning tasks. The rotation ensures every area gets attention regularly, so nothing gets neglected for weeks on end.
Stick To A Timer
Set a timer for 20–30 minutes per zone. When the timer goes off, stop—even if you're not finished. This prevents burnout and keeps the task from feeling endless.
Over time, you'll get faster and more efficient, and you can adjust the time as needed. The timer also helps you stay focused and avoid getting sidetracked by other areas.
15. Repurpose Shoe Boxes for Drawer Organization
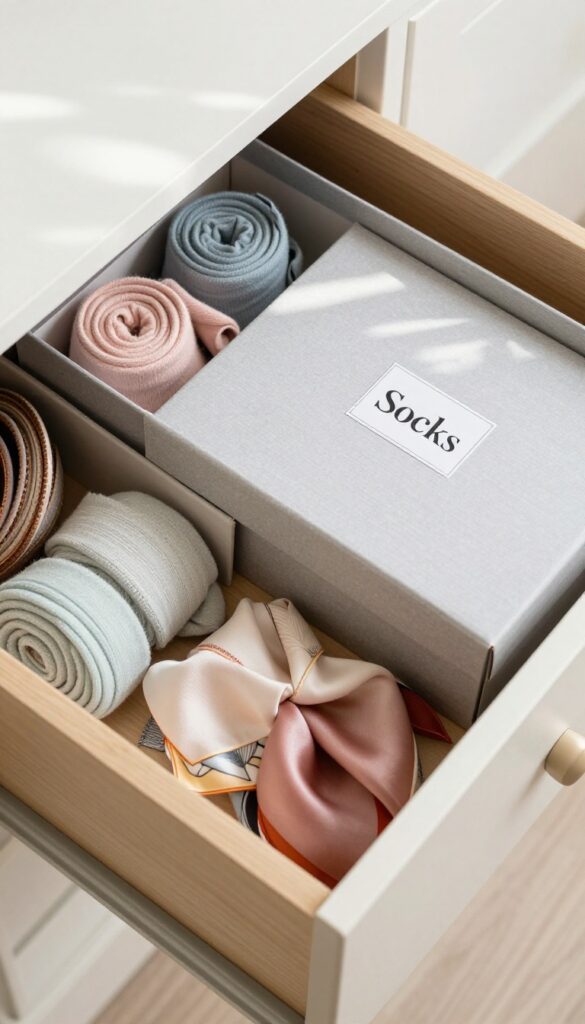
You don't need fancy store-bought organizers to tame messy drawers. Empty shoe boxes are surprisingly sturdy and the perfect size for keeping small items in order. With a little creativity, you can turn them into custom drawer dividers that look polished and cost nothing.
Start by collecting shoe boxes of similar dimensions. If you have a mix of sizes, group them by width so they fit neatly side by side. Remove the lids unless you plan to stack boxes vertically.
For a cohesive look, cover each box with wrapping paper, contact paper, or even leftover wallpaper. Measure the box sides, cut the paper with a few extra inches, and secure it with double-sided tape or glue. You can also leave them plain for a more rustic vibe.
Place the boxes in your drawer according to category: one for socks, one for belts, one for scarves. They keep items separated and make it easy to grab what you need without disturbing the rest.
Customize With Labels
Labels take this idea from functional to foolproof. Use a label maker or simple adhesive tags to mark each box. For a cleaner look, cut a small rectangle from the box front and insert a paper label.
This way you can swap labels easily if you reorganize.
Stacking For Deep Drawers
Deep drawers can become black holes for clutter. Stack two shoe boxes vertically to double your storage. Secure the bottom box with a dab of hot glue to the drawer base so it doesn't slide.
Use the top box for lighter items like scarves or underwear.
Office Supply Hack
Shoe boxes work wonders in desk drawers. Use one for pens and pencils, another for sticky notes and paper clips, and a third for charging cables. Cut small notches in the box edge to feed cables through, keeping them tangle-free.
16. Digital Declutter for Physical Space
It's easy to forget that clutter isn't just physical—digital overload has a real impact on your home. Every marketing email you receive encourages you to buy something new, and every unused app on your phone is a tiny distraction that keeps you from focusing on what matters. The result?
More paper mail, more packages, and more stuff you don't need. By cleaning up your digital life, you reduce the constant stream of temptations and junk mail. This isn't just about tidying your phone—it's about stopping clutter before it enters your home.
A few simple digital habits can make a big difference in how much physical stuff accumulates.
Unsubscribe From Marketing Emails
Retailers love sending daily deals, but each email is a subtle nudge to buy. Spend 15 minutes unsubscribing from the biggest offenders using a service like Unroll. Me or doing it manually.
You'll notice fewer packages arriving at your door, and your inbox will feel lighter.
Delete Unused Apps
Go through your phone and remove any app you haven't opened in the last month. Apps take up mental space even when you're not using them. Fewer apps mean fewer notifications, less digital clutter, and less temptation to buy in-app purchases or order from delivery services.
Digitize Paper Documents
Scan important papers like receipts, manuals, and warranties, then recycle the originals. Use a cloud storage system with folders for easy retrieval. This clears physical file cabinets and countertops, making your home feel more open.
Set Up A Digital Filing System
Create a simple folder structure on your computer for documents, photos, and projects. Name files clearly so you can find them quickly. A tidy digital workspace reduces stress and helps you stay organized without paper piles.
17. The Power of a Donation Box
Clutter often sticks around because we don't have a clear plan for things we no longer need. A donation box solves that by giving you a designated spot to toss items the moment you realize they're not serving you anymore. It's a simple, low-effort system that prevents decision fatigue and keeps your home from filling up with stuff you'll never use.
Place a sturdy box or bin in a high-traffic area like your closet, garage, or mudroom. Every time you come across something you haven't used in months—a shirt that doesn't fit, a gadget you replaced, or a book you already read—drop it in. No second-guessing, no setting it aside to "deal with later.
" When the box is full, seal it up and drive it straight to a donation center. This habit turns decluttering into a continuous, effortless process rather than a dreaded weekend chore.
Where To Put Your Donation Box
The key is visibility. Place your box somewhere you pass by daily—inside your closet, on a shelf in the garage, or even under your bed with a label. If it's out of sight, it's out of mind.
A clear bin works well because you can see how full it's getting, which motivates you to make that donation run.
What To Toss In (without Overthinking)
Set a simple rule: if you haven't used it in the last 6 to 12 months, it goes in. Exceptions are seasonal items and sentimental keepsakes, but be honest with yourself. Clothes with tags still on, kitchen gadgets collecting dust, and duplicate tools are prime candidates.
The faster you drop it in, the less mental energy you waste.
Make The Donation Run Easy
Schedule a recurring reminder on your phone to check the box every two weeks. Keep a list of nearby donation centers or charity drop-off spots, and maybe even a tote bag in your car for easy transport. When the box is full, don't let it sit—commit to taking it within 48 hours.
That final step closes the loop and keeps your home clutter-free.
18. Bathroom Counter Clear-Out
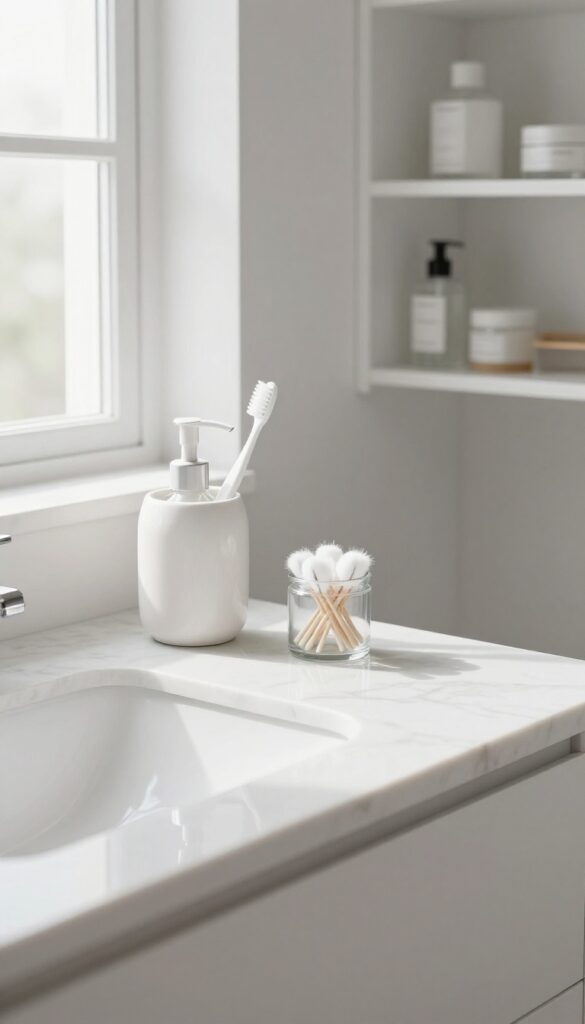
Bathroom counters tend to collect everything from toothbrushes to random bottles, creating a cluttered look that's hard to clean around. The fix is simple: limit what stays on the counter to only what you use daily. Everything else belongs in cabinets or drawers.
Once you clear the surface, wiping down the counter takes seconds, and the bathroom instantly feels more spa-like.
Start by removing everything from the counter. Group items into daily essentials (toothbrush, hand soap, maybe a small jar of cotton swabs) and everything else. Store the extras in a medicine cabinet, under-sink organizer, or drawer dividers.
For items you use a few times a week, like a hair dryer or straightener, consider a wall-mounted caddy or a small basket inside a cabinet. The goal is a clean, easy-to-wipe surface that makes morning and evening routines smoother.
What Counts As Daily Essentials?
Be honest about what you actually reach for every single day. For most people, that's a toothbrush, toothpaste, hand soap, and maybe a face wash or moisturizer. If you wear makeup daily, a small container for a few brushes or products is fine.
Everything else—extra lotions, backup razors, nail polish—should be stored out of sight. If you're unsure, try living with only the basics for a week and see what you miss.
Smart Storage For The Rest
Use drawer dividers or small bins to keep like items together inside cabinets. For under the sink, stackable shelves or a tension rod for hanging spray bottles can double your space. If you have a medicine cabinet, use magnetic strips inside the door for tweezers and nail clippers.
The key is to give everything a designated spot so you can find it quickly without cluttering the counter.
The 5-minute Daily Reset
Once your counter is clear, make it a habit to do a quick reset each night. Put away any items that migrated to the counter during the day, and give the surface a quick wipe. This takes less than five minutes but keeps your bathroom looking tidy and ready for the next morning.
Over time, you'll notice how much easier it is to keep clean when there's less stuff in the way.
19. Meal Prep to Reduce Kitchen Clutter
The kitchen is often the heart of the home, but it can also be the epicenter of clutter. Between takeout containers, half-used ingredients, and packaging waste, counter space disappears fast. Meal prepping isn't just about eating healthy—it's a powerful strategy to keep your kitchen organized and stress-free.
By dedicating a couple of hours each week to planning and prepping meals, you can dramatically cut down on the stuff that accumulates in your kitchen. Less food waste, fewer takeout containers, and a clearer path to cooking.
Plan Your Menu And Shopping List
Start by deciding what you'll eat for the week. Look at your schedule and choose meals that share ingredients to reduce what you buy. Write a detailed shopping list and stick to it.
This prevents impulse buys that end up cluttering your pantry and fridge.
Batch Cook And Portion Smartly
Cook grains, proteins, and roasted veggies in bulk. Portion them into reusable glass containers—they stack neatly and you can see what's inside. Label everything with dates so nothing gets lost in the back of the fridge.
This system eliminates the need for random Tupperware and half-eaten leftovers.
Designate A Prep Station
Keep your most-used tools—cutting board, knife, measuring cups—in one spot. After prepping, clean and put everything away immediately. This habit prevents a pileup of dirty dishes and keeps your counters clear for actual cooking.
20. The 10-Minute Tidy-Up Game
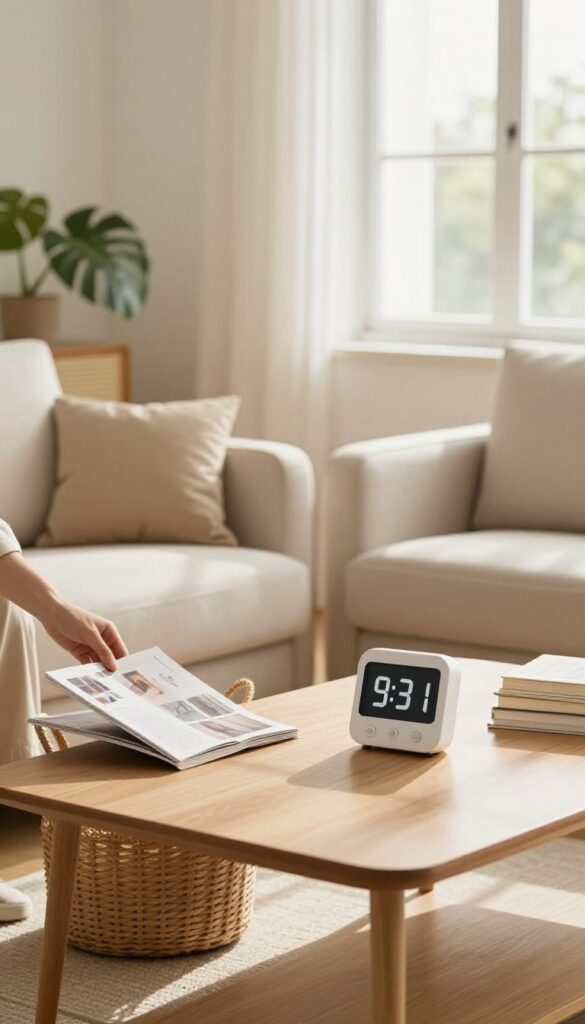
Sometimes the hardest part of cleaning is just getting started. That's where the 10-minute tidy-up game comes in. Set a timer, pick a room, and race to see how much you can put away before the buzzer goes off.
It turns a chore into a challenge and makes decluttering feel like play.
The 10-minute tidy-up game is perfect for busy days when motivation is low. You don't need to commit to a deep clean—just focus on quick wins. Grab a laundry basket for items that don't belong, and speed-walk around the room returning things to their homes.
The timer keeps you focused and prevents perfectionism from slowing you down. For families, make it a competition: whoever puts away the most items wins a small prize. Solo?
Challenge yourself to beat your own record next time.
How To Play
Pick one room or zone (like the kitchen counter or coffee table). Set a timer for 10 minutes. Start putting away out-of-place items as fast as you can.
Don't worry about deep cleaning—just focus on returning things to their designated spots. If you finish early, wipe down surfaces or fluff pillows for bonus points.
Why It Works
The time limit creates urgency and reduces decision fatigue. You're less likely to get sidetracked because every second counts. The game element releases dopamine, making the task feel rewarding.
Plus, seeing visible progress in just 10 minutes builds momentum for tackling bigger tasks later.
Tips For Maximum Impact
Keep a small basket or bin handy for items that need to go to another room—deal with them after the timer ends. Play upbeat music to boost energy. Involve kids by giving them their own zone to tidy.
And remember: the goal is progress, not perfection. Even a half-tidied room is better than none.
FAQ
How often should I declutter my home?
Aim for a quick 10-minute daily tidy-up and a deeper declutter every season. Consistent small efforts prevent buildup.
What's the best way to organize a junk drawer?
Empty it completely, sort items into categories, and use dividers (like cardboard or small containers) to keep everything separated. Only keep what you actually use.
How do I motivate myself to clean when I feel lazy?
Start with a tiny task, like making your bed or wiping a counter. The momentum often carries you forward. You can also put on music or a podcast to make it more enjoyable.
Should I buy expensive storage solutions?
Not necessarily. Many effective organizers are free or low-cost, like repurposed boxes, jars, or DIY dividers. Focus on function over aesthetics.
How do I maintain a clutter-free home long-term?
Adopt the one-in-one-out rule, do a nightly reset, and involve your whole family. Consistent habits are more important than a one-time purge.
Conclusion
A clutter-free home isn't about perfection—it's about creating a space that feels calm and works for you. Start with just one or two ideas from this list and build from there. Even small changes can make a big difference in how your home looks and feels.
Remember, the goal is progress, not perfection. Keep what you love, let go of what you don't, and enjoy the peace that comes with a well-organized home. You've got this.


