
Getting the living room ready for guests doesn't have to mean hours of scrubbing or a perfectly staged space. A few smart, effort-aware strategies can make your home feel fresh and welcoming without burning you out.
These 25 tips focus on real-world results, not perfection. They're designed to help you prioritize, work efficiently, and avoid the common trap of over-cleaning before company arrives.
Whether you have ten minutes or an afternoon, these ideas will help you create a space that feels genuinely inviting—not just clean, but comfortable and ready for conversation.
1. Start with a 10-Minute Declutter Blitz
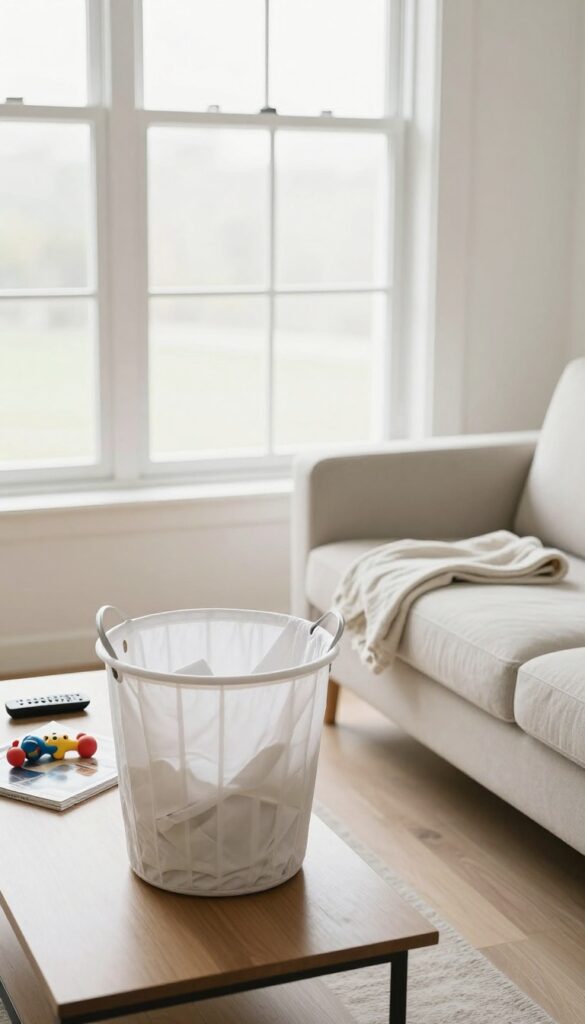
Before you even think about dusting or vacuuming, clear the clutter. A quick 10-minute blitz removes visual noise and instantly makes the room feel cleaner. Grab a laundry basket or a box and set a timer—you'll be surprised how much you can accomplish in that short window.
Walk through the living room with your basket and pick up anything that doesn't belong: mail, toys, remote controls, empty cups, throw blankets that have lost their fold. Don't stop to organize—just gather. Once the timer dings, either put items back in their proper homes or stash the basket in a closet to sort later.
This single step transforms the space in minutes.
What Goes In The Basket
Focus on surfaces first: coffee tables, side tables, shelves, and the floor. Items that belong in other rooms—books, dishes, electronics—go straight into the basket. Avoid the temptation to start sorting mid-blitz.
The goal is speed, not perfection.
Clear Surfaces, Clear Mind
Once the basket is full, take a moment to wipe down those cleared surfaces with a microfiber cloth. A quick dust or polish makes the room look intentionally clean, not just less messy. Your guests will notice the difference immediately.
2. Fluff and Arrange Throw Pillows
Throw pillows are one of the easiest ways to make a sofa look inviting, but only if they're plump and placed with intention. Flat, saggy pillows signal neglect, while a thoughtful arrangement says, "Sit down and stay a while. " A quick fluff and repositioning can transform your seating area in under two minutes.
The trick is to mix sizes, shapes, and textures so the arrangement feels curated but not stiff. Think of it as styling, not just stacking.
Start by removing all pillows from the sofa. Give each one a good fluff—grab opposite corners and pull, then punch the center to redistribute filling. For feather pillows, a few minutes in the dryer on low heat with a damp towel can restore loft.
For synthetic fills, knead them like dough to break up clumps. Once fluffed, arrange them with a simple rule: odd numbers look more natural. Try a 3- or 5-pillow layout.
Place larger, firmer pillows at the back or ends, and softer, smaller ones in front. Vary shapes—square, lumbar, round—and textures like velvet, linen, or knit. The goal is balance, not symmetry.
A slightly off-center cluster feels relaxed yet intentional. Don't forget the floor. A couple of floor pillows or a pouf near the sofa adds casual seating and visual interest.
Just make sure they're clean and fluffed too.
The Fluff Method
Proper fluffing extends pillow life and restores shape. For down or feather pillows, use the "karate chop"—grip the pillow at the center and shake vigorously to redistribute filling. For synthetic, knead and squeeze to break up compressed fibers.
If a pillow is permanently flat, consider replacing the insert.
Arrangement That Works
Aim for a layered look: place the largest pillows at the ends, then layer smaller ones inward. Use contrasting colors or patterns for depth. For a cohesive look, pull a color from your rug or curtains.
Avoid matching sets—mixing solids with patterns feels more curated.
Texture Adds Warmth
Combine smooth fabrics like cotton or silk with nubby textures like chunky knit or faux fur. This tactile variety makes the sofa feel cozy and luxurious. Even one textured pillow can elevate the whole arrangement.
3. Fold and Drape Blankets Neatly
A casually tossed blanket can make a room feel lived-in, but a neatly folded one signals care. This small habit takes seconds and instantly upgrades the look of your living room. Guests notice these details—they make the space feel intentional and welcoming.
The Basket Method
Keep a stylish basket or bin near the sofa for storing extra blankets. Fold each throw into a neat rectangle and stack them vertically so you can grab one without messing up the pile. This keeps blankets accessible but out of the way, and the basket itself becomes a decor piece.
Drape Over The Arm
For a more decorative look, fold a throw lengthwise into a long strip and drape it over the arm of the sofa or an accent chair. Let the ends hang evenly for a balanced appearance. This works best with one or two blankets—too many can look cluttered.
Layered On The Back
If you have a sofa with a low back, try folding a blanket into a wide band and laying it across the top, letting the ends fall behind the cushions. This adds a pop of color and texture without taking up seating space. It also keeps the blanket handy for chilly evenings.
4. Wipe Down All Hard Surfaces
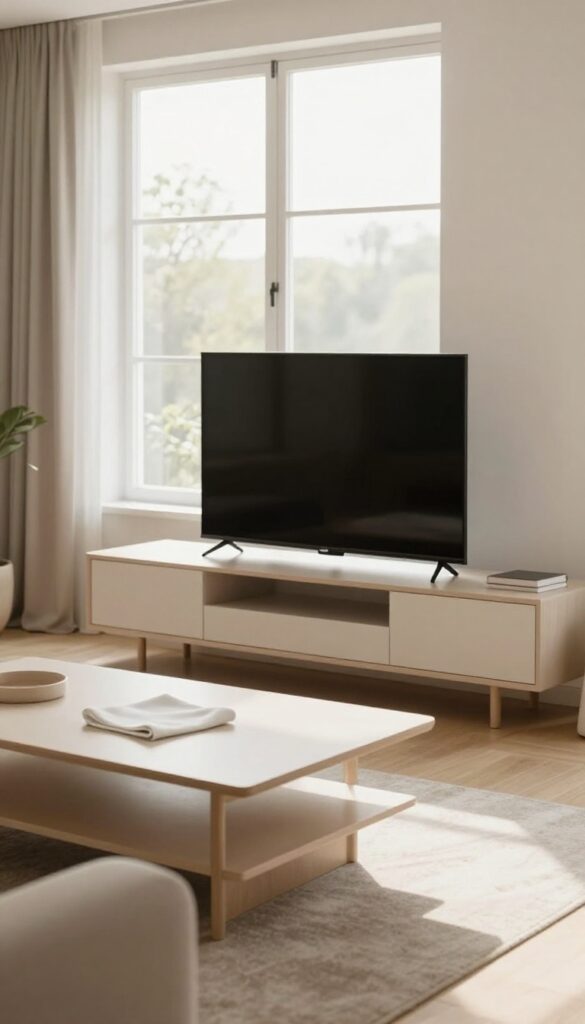
Hard surfaces are the first thing guests notice when they walk in. Dusty coffee tables or smudged TV stands can make a room feel dirty even if the floors are spotless. A quick wipe-down of every hard surface—from side tables to remote controls—instantly refreshes the space and signals that you care about the details.
Grab a microfiber cloth—dry for dusting, slightly damp for sticky spots—and work your way around the room. Start with the largest surfaces like coffee tables and media consoles, then move to smaller ones like side tables and shelves. Don't skip the often-forgotten spots: remote controls, light switches, and door handles.
These high-touch areas collect oils and grime fast, and a quick wipe makes them look and feel clean.
Work Top To Bottom
Start high and finish low. Dust shelves and TV stands first, then move to coffee and side tables. This way, any dust that falls lands on surfaces you haven't cleaned yet, and you won't have to redo anything.
Don't Forget The Details
Remote controls, light switches, and outlet covers are magnets for fingerprints and dust. A quick once-over with a damp microfiber cloth makes them look brand new. For crevices, use a cotton swab or a soft brush.
Choose The Right Cloth
Microfiber is ideal because it traps dust without scratching. Use a dry cloth for dusting and a slightly damp one for sticky residue. Avoid paper towels—they can leave lint and aren't as effective.
5. Vacuum Under Cushions and Crevices
Couch cushions are magnets for crumbs, coins, and dust bunnies. Lifting them up and giving the space below a thorough vacuuming can instantly freshen up your seating area. It's one of those tasks that feels oddly satisfying because you can actually see the difference.
Start by removing all cushions—both seat and back if possible. Use your vacuum's crevice tool to get into every nook: along the seams, between the armrests, and deep into the corners. Don't forget to flip the cushions and vacuum their undersides too, especially if they have fabric linings that trap debris.
Why This Matters For Guests
Guests often sit on couches, and if they happen to drop something or shift a cushion, they'll see whatever's lurking underneath. A clean under-cushion area signals that you pay attention to details, making the whole room feel more cared for.
The Right Tools For The Job
A crevice tool is essential for reaching tight spots. If you have a pet, consider using a rubber brush attachment to lift embedded hair. For stubborn crumbs, a handheld vacuum or even a lint roller can work wonders on fabric surfaces.
How Often To Do This
Aim to vacuum under cushions at least once a month, or more often if you eat snacks on the couch or have pets. Before guests arrive, it's a quick win that takes just a few minutes and makes a big visual impact.
6. Spot Clean Upholstery Stains
Even a spotless room can feel neglected if the sofa has a mystery stain. Guests notice those little marks, even if they don't say anything. Tackling visible spots on upholstery is a quick win that instantly upgrades the look of your living room.
Before guests arrive, scan your sofas and chairs for any obvious stains or spills. Treating them right away keeps them from setting in and becoming permanent. You don't need fancy products—a gentle upholstery cleaner or a simple mix of dish soap and water works wonders.
Just dab (don't rub) the stain with a clean cloth, then blot dry. For tougher spots, a microfiber cloth and a bit of white vinegar can help without damaging the fabric.
Check For Common Stains
Start by looking for the usual suspects: coffee rings, food smudges, or pet marks. Use a bright light or natural daylight to spot them. If you see something, treat it immediately—old stains are much harder to remove.
Use The Right Cleaner
Always test any cleaner on a hidden area first. For water-safe fabrics, mix a few drops of mild dish soap with warm water. For oil-based stains, a bit of rubbing alcohol on a cotton ball can break down the grease.
Avoid bleach or harsh chemicals that could discolor the fabric.
Blot, Don't Rub
Rubbing pushes the stain deeper into the fibers. Instead, blot gently from the outside in. Use a dry cloth to absorb moisture afterward.
If the stain persists, repeat the process until it lifts.
7. Shake Out or Vacuum Area Rugs
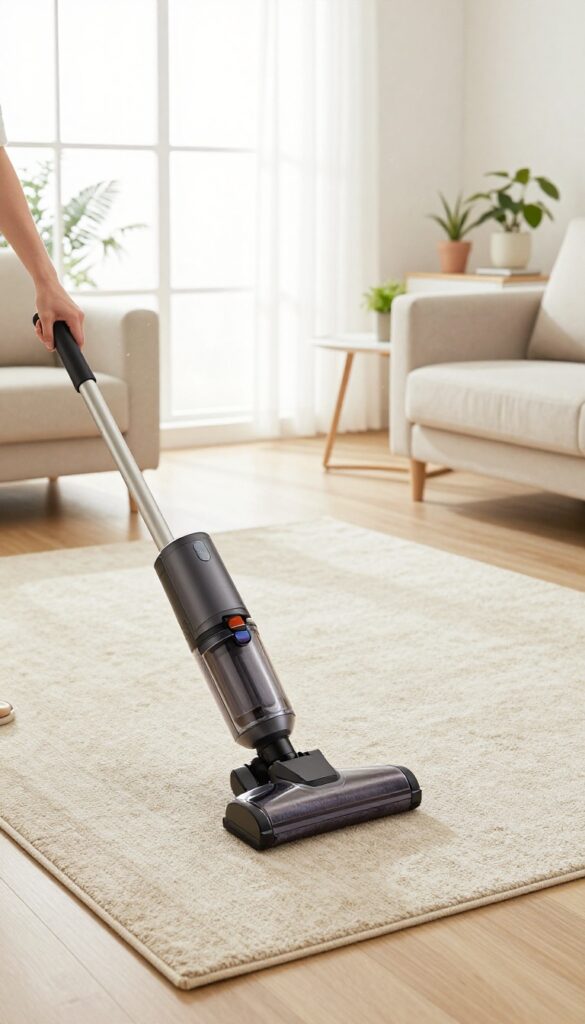
Area rugs are like sponges for dust, crumbs, and pet hair. Even if the floor looks clean, a rug can hold onto a surprising amount of dirt that dulls the whole room. Giving them attention before guests arrive makes a big difference in freshness.
Take Small Rugs Outside
If you have a rug that's manageable, carry it outside and give it a good shake. A few firm shakes will dislodge loose dirt and debris that a vacuum might miss. Hang it over a railing or clothesline and beat it with a broom for deeper cleaning.
This also helps freshen the fibers without any chemicals.
Vacuum Large Rugs Thoroughly
For larger rugs that can't be moved, use a vacuum with a beater bar. Go over the rug slowly in two directions—first with the nap, then against it—to lift embedded dirt. Pay extra attention to high-traffic areas and edges where dust collects.
If you have a canister vacuum, use the upholstery tool for a deeper clean on low-pile rugs.
Spot Clean Before Guests Arrive
Take a quick look for any visible stains or spots. A mild dish soap and water solution on a cloth can lift fresh marks. For older stains, a little white vinegar and water works wonders.
Blot, don't rub, to avoid spreading the stain. Let the area dry completely before guests step on it.
8. Clean Windows and Mirrors
Windows and mirrors are like the eyes of your living room—when they're smudged, the whole space feels off. A quick clean can transform the light and make everything look sharper. You don't need fancy tools, just the right technique to avoid streaks.
Start by dusting the frames and sills with a microfiber cloth or vacuum attachment. Then spray a quality glass cleaner onto a lint-free cloth (not directly onto the glass) to prevent drips. Wipe in an S-pattern from top to bottom—this minimizes streaks.
For mirrors, use the same method but pay extra attention to edges where dust collects. Finish by buffing with a dry section of the cloth for a crystal-clear shine.
Choose The Right Tools
Skip paper towels—they leave lint. A microfiber cloth or a squeegee works best. For a DIY cleaner, mix equal parts water and white vinegar with a drop of dish soap.
It's cheap and streak-free.
Tackle Tough Spots
For sticky residue or water spots, rub gently with a cloth dipped in rubbing alcohol. For windows with hard water stains, use a paste of baking soda and water, then rinse thoroughly.
Maintain The Shine
Clean windows and mirrors weekly to prevent buildup. In between, use a microfiber duster to remove dust. This keeps them looking great with minimal effort.
9. Dust Light Fixtures and Ceiling Fans
Light fixtures and ceiling fans are often the most neglected spots in a living room. They collect dust quietly, and over time, that layer of grime dims your lighting and makes the room feel dull. Giving them a quick clean is one of the fastest ways to brighten up the space without buying a single new bulb.
Dusting overhead fixtures doesn't have to be a hassle. With the right tools and a little technique, you can make them look like new in minutes. This simple step not only improves light quality but also reduces allergens floating around the room.
Use The Right Tool
An extendable duster with a microfiber or lambswool head is perfect for reaching high fixtures without climbing. For ceiling fans, a pillowcase works wonders—slip it over each blade and slide it off, trapping the dust inside. No mess, no fuss.
Damp Cloth For Glass And Metal
For glass lampshades or metal chandeliers, a slightly damp microfiber cloth picks up dust better than a dry one. Just make sure the fixture is turned off and cool to avoid streaks or damage. Wipe gently, and you'll see an instant difference in brightness.
Don't Forget The Bulbs
Dusty bulbs can cut light output by up to 30 percent. While you're up there, give each bulb a quick wipe with a dry cloth. This is especially important for exposed bulbs in modern fixtures.
Brighter light makes the whole room feel cleaner and more inviting.
10. Wipe Baseboards and Door Frames
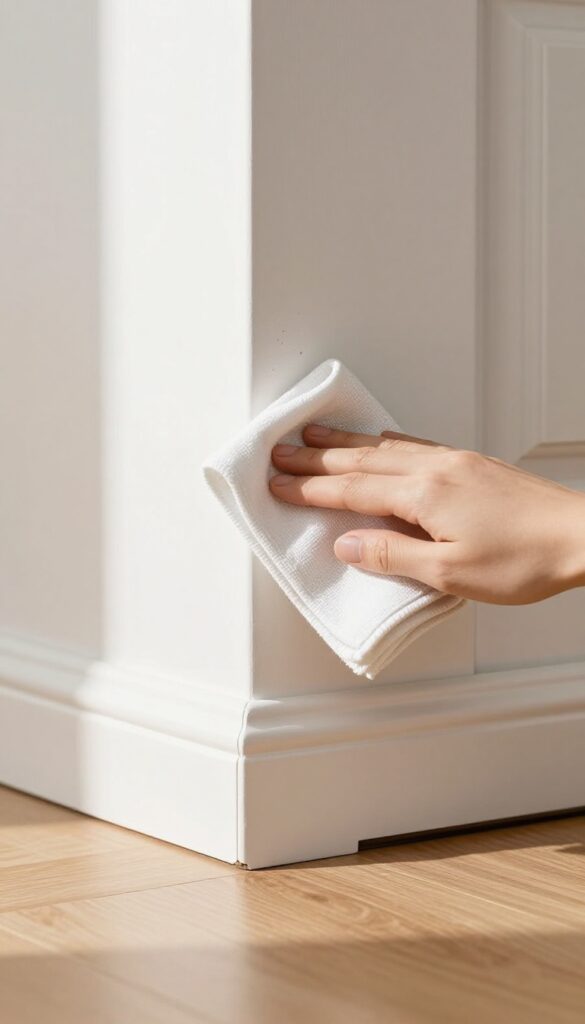
Baseboards and door frames are like the unsung heroes of a clean room. They collect dust, scuffs, and fingerprints over time, but they're easy to overlook. A quick wipe-down can make the entire living room feel fresher and more polished.
Grab a damp microfiber cloth and run it along the top edge of baseboards and around door frames. For stubborn scuffs, a magic eraser works wonders. Don't forget the corners where dust bunnies love to hide.
This small task takes just a few minutes but leaves a big impression on guests.
Why It Matters
Baseboards and door frames frame the room visually. When they're dirty, even a spotless sofa and vacuumed rug can look off. Guests may not consciously notice, but they'll sense the room feels more thoroughly cleaned.
Quick Technique
Use a dry microfiber cloth first to pick up loose dust, then a slightly damp one for smudges. Work from top to bottom so dust falls onto areas you haven't cleaned yet. For painted wood, avoid soaking the cloth to prevent water damage.
When To Do It
Make this a monthly habit, or do it right before guests arrive. It's especially helpful if you have kids or pets who leave marks near the floor. Pair it with dusting the lower walls for a complete refresh.
11. Tidy Up Cords and Electronics
Nothing kills a cozy vibe faster than a tangled mess of cords snaking across the floor or dangling behind the TV. Even if your surfaces are spotless, visible cables make the room feel chaotic and unfinished. Taking a few minutes to wrangle those wires instantly elevates the space from cluttered to polished.
Bundle And Label
Start by unplugging everything and grouping cords that run to the same area. Use twist ties, Velcro straps, or even bread ties to bundle them neatly every few inches. For a next-level touch, add small labels near each plug so you never have to guess which cord belongs to what.
This makes future unplugging or troubleshooting a breeze.
Hide Power Strips
Power strips are often the ugliest part of any electronics setup. Tuck them behind furniture, inside a media console, or attach them to the back of a table leg with adhesive hooks. If your setup is visible, consider a cord cover—a plastic channel that sticks to the wall and hides cables in a clean raceway.
Paint it to match your wall for an almost invisible finish.
Use Cable Management Boxes
For a truly seamless look, invest in a cable management box. These simple containers sit on the floor and conceal power strips and excess cord length. They come in various sizes and finishes, so you can find one that blends with your decor.
Just drop the mess inside, close the lid, and enjoy a clean line of sight across the room.
12. Refresh the Air with Natural Scents
The smell of a room is often the first thing guests notice, even if they don't say it. Instead of masking odors with synthetic sprays, try simple natural methods that leave the air genuinely fresh. A few minutes of effort can transform the atmosphere without any chemical residue.
Open windows for a few minutes to let stale air out and fresh air in. If the weather cooperates, a quick cross-breeze works wonders. For a cozy scent, simmer cinnamon sticks and orange peels on the stove in a small pot of water—it fills the room with a warm, inviting aroma.
Avoid harsh artificial air fresheners that can trigger allergies or smell overpowering.
Quick Window Flush
Even in colder months, opening windows for five minutes can drastically improve air quality. This simple step removes cooking smells, dust, and any mustiness. Do it right before guests arrive for an instant refresh.
Stovetop Simmer
Fill a small saucepan with water, add cinnamon sticks, orange peels, and a few cloves. Let it simmer on low heat for 15–20 minutes. The scent is natural, subtle, and welcoming.
Just keep an eye on the water level so it doesn't boil dry.
Natural Alternatives
Essential oil diffusers with lavender, eucalyptus, or lemon are another great option. Place a few drops on wool dryer balls or cotton balls and tuck them behind couch cushions. These methods are gentle and non-irritating.
13. Clean the Remote Controls
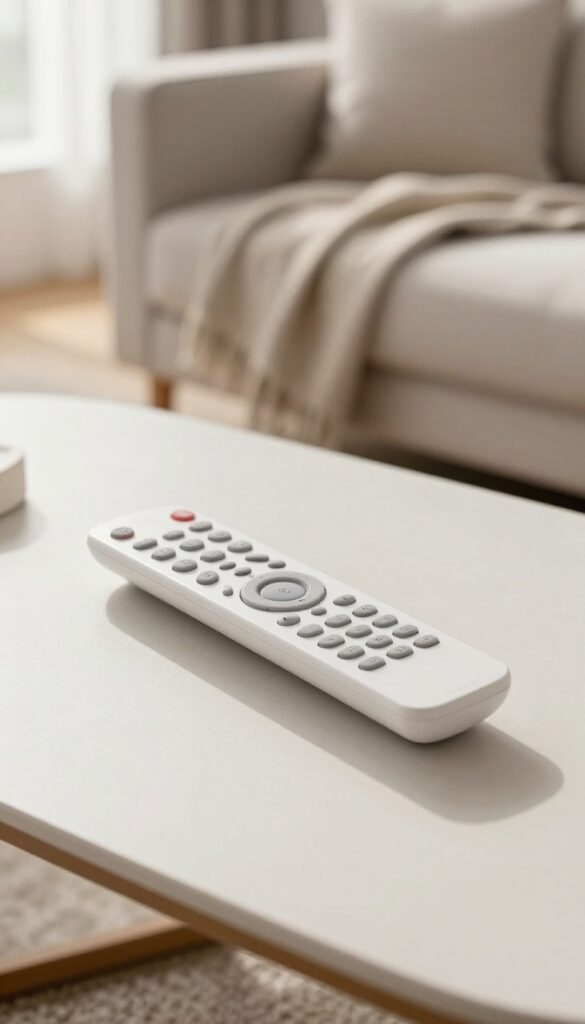
Remote controls are among the most frequently touched items in any living room, yet they're often forgotten during a quick tidy-up. A grimy remote can undo the freshness of an otherwise clean space, especially when guests pick it up. Giving them a quick wipe-down takes just a minute and makes a noticeable difference.
Why Remotes Get So Grimy
Think about how often you grab the remote after eating, handling mail, or coming in from outside. Oils, crumbs, and dust build up in the crevices around buttons, creating a sticky film that attracts even more dirt. Over time, this grime can actually make buttons harder to press.
The Fastest Way To Clean Them
Grab a disinfectant wipe or a microfiber cloth lightly dampened with rubbing alcohol. Wipe down the entire surface, paying special attention to the spaces between buttons. Use a dry cotton swab or a toothpick to dislodge any stubborn debris from crevices.
Let the remote air dry for a minute before using it again.
Make It A Regular Habit
Add remote cleaning to your weekly surface-wipe routine. Keeping a small pack of disinfectant wipes in the living room makes it easy to do a quick pass whenever you notice smudges. Your guests won't see the dirt, but they'll appreciate the clean feel.
14. Straighten Books and Magazines
Bookshelves and coffee tables often become catch-all zones for random clutter. A few minutes of straightening can make them look intentional and curated instead of chaotic.
Start by pulling everything off the shelves and tables. Dust the surfaces, then only put back items that are in good condition and fit your current style. Stack magazines in neat piles by size or topic, and arrange books with spines aligned or in small, balanced stacks.
Purge The Outdated
Old magazines, broken paperbacks, and dusty knickknacks add visual noise. Be ruthless: recycle anything you haven't touched in a year. A leaner collection instantly feels more organized.
Create Visual Rhythm
Mix vertical and horizontal book stacks, and leave a few inches of empty space between items. This breathing room makes shelves look styled, not stuffed. Add one or two small decorative objects for personality.
Tame The Coffee Table
Limit coffee table items to a single stack of current magazines and maybe a coaster set. Use a tray to corral remotes and coasters. A clean tabletop signals that the room is ready for guests.
15. Polish Wood Furniture
Wood furniture adds warmth and character to a living room, but it can quickly look dull or dusty. A quick polish brings back its natural glow and makes the whole space feel more cared for. The best part?
It takes just a few minutes and uses simple ingredients you probably already have.
Polishing wood furniture is one of the fastest ways to elevate the look of your living room. It removes smudges, dust, and minor water rings while adding a protective layer. You don't need expensive products—a DIY mix works just as well.
Choose The Right Polish
Store-bought furniture polish works fine, but a homemade mixture of equal parts olive oil and white vinegar is a natural alternative. The oil conditions the wood, while the vinegar cuts through grime. Test on an inconspicuous spot first to ensure it doesn't affect the finish.
Apply Sparingly
A little goes a long way. Spray or dab a small amount onto a soft, lint-free cloth—never directly onto the furniture. Rub gently in the direction of the wood grain to avoid streaks.
Let it sit for a minute, then buff with a dry section of the cloth.
Buff To A Subtle Shine
Buffing is key for that polished look. Use a clean, dry microfiber cloth and work in small circular motions. The goal is a soft sheen, not a greasy residue.
If the surface feels sticky, you've used too much polish—wipe off the excess with a damp cloth and dry immediately.
16. Clean Under Furniture
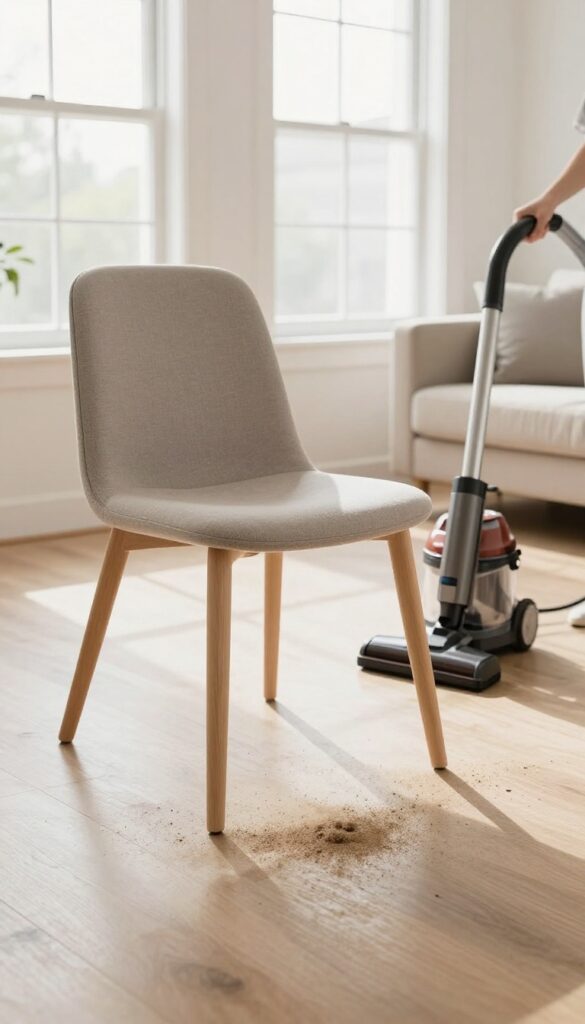
You might vacuum the center of the rug and wipe down the coffee table, but when's the last time you looked under the sofa? That dark, forgotten zone collects dust bunnies, pet hair, and the occasional lost remote. Moving lightweight furniture to clean underneath is one of the highest-impact tasks you can do—it instantly makes the whole room feel fresher.
Giving this often-neglected area some attention doesn't require heavy lifting. For smaller pieces like accent chairs, side tables, and ottomans, simply slide them aside and go to town with your vacuum or broom. The payoff is twofold: your floors get a deeper clean, and the room looks noticeably tidier because dust isn't creeping out from under furniture.
Start With The Easy Stuff
Begin with furniture you can move by yourself—end tables, floor lamps, and lightweight chairs. Slide them to the center of the room or into the next space, then vacuum or sweep the exposed area. Don't forget to hit the baseboards and corners while you're there.
Tackle The Heavy Pieces
For sofas, sectionals, or heavy cabinets, use furniture sliders or ask someone to help you tilt and lift one end at a time. A crevice tool on your vacuum is perfect for reaching deep under low-clearance pieces. If you can't move it at all, a long-handled duster or a microfiber mop can still grab a lot of the debris.
Make It A Routine
Set a reminder to clean under furniture every two to four weeks, depending on how much traffic and pet activity your living room sees. Once you see how much dust collects, you'll be motivated to keep up with it. It's one of those small habits that makes a big difference in how fresh your space feels.
17. Wipe Down Plant Leaves
Houseplants do more than just sit there—they actively improve air quality and bring life into a room. But when dust settles on their leaves, they lose that fresh, vibrant look. A quick wipe-down not only makes them shine but also helps them breathe better.
Grab a soft, damp cloth and gently wipe each leaf from base to tip. For larger plants, support the leaf from underneath to avoid tearing. This simple act removes dust, discourages pests, and gives your greenery an instant makeover.
Clean leaves reflect more light, making the whole room feel brighter and more inviting.
Why It Matters For Guests
Guests may not consciously notice dusty leaves, but they'll register the overall freshness of the room. Clean foliage signals that you care about details and creates a healthier environment—especially important if anyone has allergies.
How Often To Do It
Aim for a quick wipe every two to four weeks. If your plants are near a window or in a high-traffic area, they might need it more often. Pair this task with your regular dusting routine so it becomes a habit.
Pro Tips For Best Results
Use lukewarm water—cold water can shock tropical plants. For stubborn grime, add a drop of mild soap. Avoid leaf shine products; they can clog pores.
Instead, a microfiber cloth works wonders without any chemicals.
18. Organize the Media Console
The media console is often the first thing guests see when they walk into the living room, but it's also a magnet for clutter. Remote controls, gaming controllers, charging cables, and random knick-knacks can pile up fast, making the whole room feel messy. A quick reset can turn this focal point into a clean, inviting surface.
Start by removing everything from the console. Dust the entire surface, including the back edges and any shelves. Wipe down electronics with a microfiber cloth to avoid scratches.
Then, be ruthless about what goes back. Only keep items you use daily—like the main TV remote, a streaming device remote, and maybe one decorative piece. Everything else should find a home elsewhere.
Use Baskets Or Trays For Remotes
Instead of letting remotes scatter across the console, corral them in a small basket or a shallow tray. This keeps them contained and easy to grab. Choose a tray that matches your decor—wood, ceramic, or woven—so it looks intentional.
If you have multiple remotes, label them with a tiny sticker or a colored dot so guests can find the right one without fumbling.
Hide Cables And Chargers
Visible cables are an eyesore. Use cable clips or a cord management box to keep wires tucked away. If you have a charging station, place it inside a drawer or behind the console where it's out of sight.
For guests, offer a small bowl with a multi-port charger so they can plug in without creating a tangled mess.
Edit Decorative Items
A media console isn't a display shelf for every framed photo or souvenir. Pick one or two meaningful items—like a small plant, a stack of books, or a single art piece—and leave the rest. This creates visual breathing room and makes the console feel curated rather than cluttered.
Rotate items seasonally to keep the look fresh.
19. Freshen Up the Sofa with Baking Soda
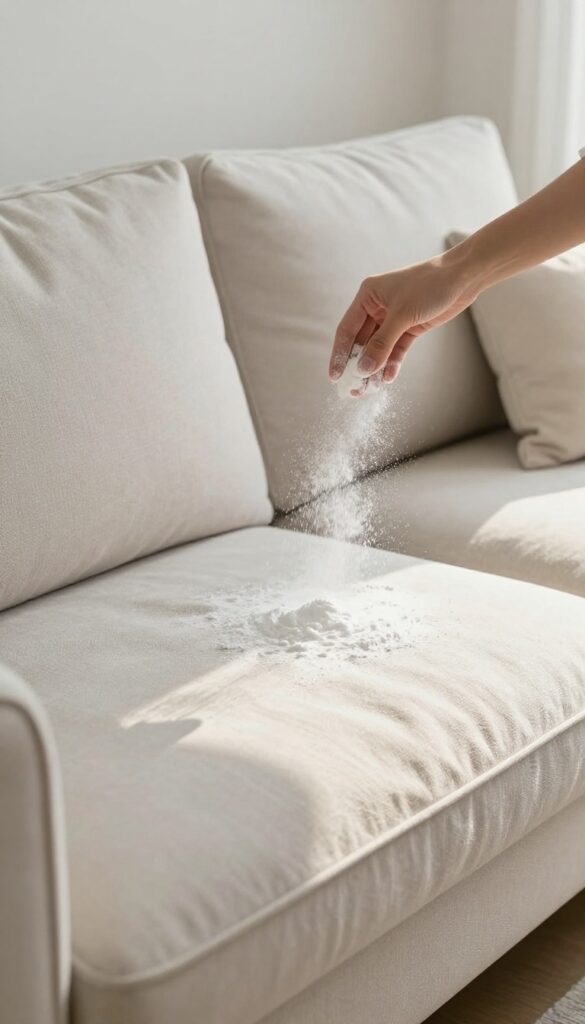
Your sofa sees a lot of action—snacks, pets, maybe the occasional nap. Over time, odors can settle into the fabric, even if the couch looks clean. Before guests arrive, give it a quick refresh with a pantry staple: baking soda.
Baking soda is a natural deodorizer that absorbs smells without adding any chemical fragrance. It's gentle enough for most fabrics and takes almost no effort. Just sprinkle a generous layer over the entire sofa, including the cushions and crevices.
Let it sit for at least 15 minutes—longer if the sofa has stubborn odors. Then vacuum thoroughly using the upholstery attachment. The result is a noticeably fresher couch that smells clean, not perfumed.
Why Baking Soda Works
Baking soda (sodium bicarbonate) is alkaline, which helps neutralize acidic odor molecules. Instead of masking smells, it chemically changes them. It's also non-toxic, so it's safe around kids and pets.
Plus, it's cheap and you probably already have a box in your pantry.
How To Apply For Best Results
Start by removing all cushions and pillows. Sprinkle baking soda evenly using a flour sifter or your hand. Focus on areas that get the most use—armrests, headrests, and the center seat.
Let it sit for 15–30 minutes. For extra freshness, add a few drops of essential oil to the baking soda and mix before sprinkling. Vacuum slowly in overlapping passes to lift all the powder.
When To Skip This Method
Avoid baking soda on velvet, silk, or other delicate fabrics that might get scratched or discolored. Test on a hidden area first. If your sofa has stubborn stains, spot-clean them before deodorizing.
Also, make sure the sofa is completely dry—baking soda can clump on damp fabric and be hard to remove.
20. Clean the Fireplace or Hearth
If your living room has a fireplace, it's likely the first thing guests notice—even when it's not in use. A hearth caked with old ash or a surround dulled by dust can make the whole room feel neglected. Giving it a quick clean transforms it from an afterthought into a cozy focal point.
Start by removing any leftover ash and debris. Use a small shovel and a metal bucket—ash can smolder for hours, so make sure it's fully cool first. Vacuum the firebox floor and any crevices where soot collects.
Then wipe down the hearth and surround with a damp microfiber cloth. For brick or stone, a mild soap solution works well; for tile, a glass cleaner can restore shine. Finish by sweeping or vacuuming the area in front of the fireplace to catch any stray dust.
A clean fireplace instantly makes the room feel more intentional and inviting.
Safety First: Cool Ash Only
Never attempt to clean a fireplace when ash is still warm. Embers can stay hot for 24 hours or more. Wait at least 12 hours after the last fire, or better yet, clean in the morning when the fireplace has been cold overnight.
Use a metal ash bucket with a tight lid to store ash until disposal.
Tools That Make It Easier
A dedicated fireplace shovel and brush set is worth the investment. A vacuum with a HEPA filter and a crevice tool helps reach tight corners. For the glass doors, a spray bottle with white vinegar and water cuts through creosote haze without harsh chemicals.
Don't Forget The Mantel
The mantel often collects dust and grime too. Wipe it down with a damp cloth, and consider rotating decorative items to create a fresh look. A clean mantel paired with a spotless hearth makes the fireplace a true centerpiece.
21. Wipe Down Light Switches and Outlet Covers
Light switches and outlet covers are some of the most frequently touched surfaces in any room, yet they rarely get the attention they deserve during a quick tidy-up. A quick wipe with a disinfectant wipe not only removes visible smudges and fingerprints but also cuts down on germs that can linger on these high-contact spots. When guests arrive, clean light switches and outlet covers subtly signal that you've paid attention to the details—making the whole room feel fresher without extra effort.
Why These Small Surfaces Matter
Think about how many times someone flips a switch or plugs in a phone charger. Over time, these surfaces collect oils, dust, and grime that can make them look dingy even if the rest of the room is spotless. Because they're small and often overlooked, they can become a subtle giveaway that cleaning was rushed.
A quick wipe takes less than a minute per switch or cover, and the payoff is a noticeably cleaner feel.
Best Cleaning Tools And Methods
Disinfectant wipes are the easiest option—just grab one, wipe the switch plate and the surrounding wall area, then let it air dry. For outlet covers, be careful not to let moisture seep into the electrical slots; a slightly damp microfiber cloth works well too. If you have white or light-colored plates, a magic eraser can lift stubborn marks without damaging the finish.
For dark plates, stick to a gentle cleaner to avoid streaks.
How Often To Do This
Make it a habit to wipe down light switches and outlet covers every time you do a deeper clean of the living room, or at least once a month. Before guests arrive, give them a quick once-over as part of your final walk-through. It's a small task that takes just a couple of minutes but makes a big difference in how polished the room looks.
22. Arrange a Simple Centerpiece
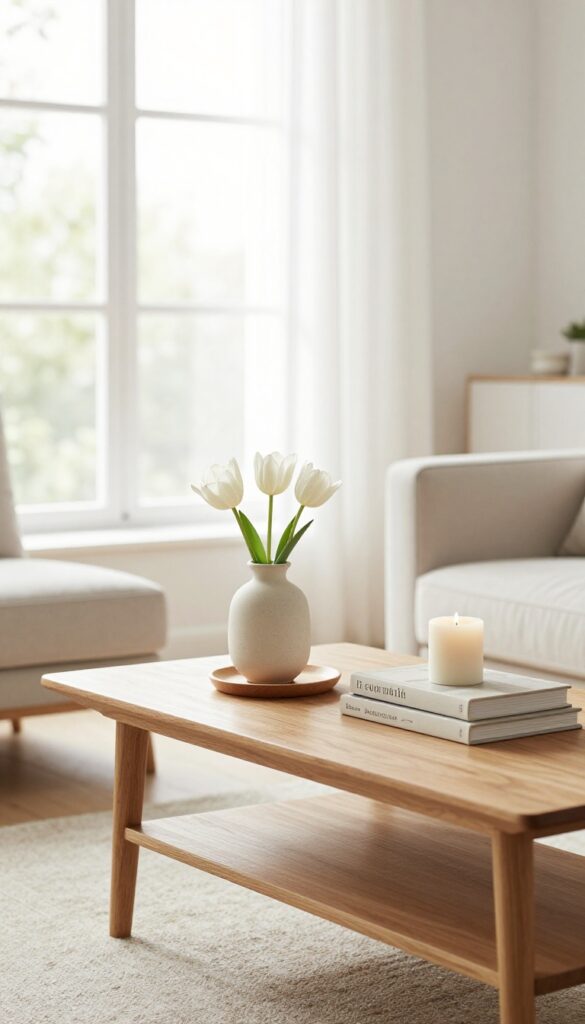
A coffee table or ottoman can easily become a dumping ground for remotes, magazines, and random odds and ends. But a thoughtfully placed centerpiece instantly signals that the space is curated and guest-ready. You don't need a florist-level arrangement—just one or two intentional objects can transform the whole feel of the room.
The key is to keep it minimal. A small vase with a few fresh flowers, a single pillar candle on a simple tray, or a stack of two or three coffee table books creates a focal point without overwhelming the table. Stick to a neutral or monochromatic palette to maintain a calm, cohesive look.
Avoid anything too tall or bulky that would block sightlines or make the table feel crowded.
Choose A Focal Object
Pick one item that draws the eye—a ceramic vase, a sculptural candle holder, or a small plant. Let that be the star, then add one or two supporting pieces like a coaster or a small dish. Too many competing elements will look cluttered, which defeats the purpose.
Keep It Functional
A centerpiece shouldn't get in the way of actual use. If guests set down drinks or snacks, there should still be room. A low arrangement or a stack of books with a small tray on top works well because it leaves space for everyday items while still looking intentional.
Refresh Seasonally
Swap out elements as the seasons change. In spring, use fresh tulips; in fall, a small pumpkin or dried branches. This keeps the look from feeling stale and gives you an easy reason to reset the table whenever you're expecting company.
23. Vacuum or Sweep the Floor Last
It's tempting to start with the floor because it's the largest surface, but that order actually creates more work. When you dust shelves, wipe down tables, or fluff cushions, debris falls to the ground. If you vacuum first, you'll have to do it again.
Saving the floor for last is a simple sequencing trick that saves time and effort. By the time you're ready to vacuum or sweep, all the dust and crumbs from other tasks have already settled on the floor. One final pass picks everything up at once, leaving the room truly clean.
Why Order Matters
Think of cleaning like layers: start high, end low. Dust and dirt naturally fall downward. If you clean the floor first, you'll just redistribute dust onto it again when you tackle higher surfaces.
Finishing with the floor ensures you capture everything in one go.
The Right Tools For The Job
A vacuum with a HEPA filter is ideal for trapping fine dust and allergens. If you have hard floors, a microfiber mop or a dust mop works well. For carpets, use slow, overlapping passes to lift embedded dirt.
Don't forget to empty the vacuum or dustpan immediately so you don't reintroduce dust.
Quick Tips For A Thorough Finish
Move furniture slightly to get underneath edges. Use attachments for baseboards and corners. If you're sweeping, dampen the broom slightly to capture fine dust.
And if you have pets, a rubber squeegee can pull hair from carpets before vacuuming.
24. Do a Final Visual Scan
Before you declare the living room done, take a moment to see it through your guests' eyes. Stand at the doorway and let your gaze sweep the space. That one crooked pillow or slightly askew rug might not bother you, but it can subtly affect the overall impression.
A quick visual check catches those small details that make the room feel intentionally put together.
The Doorway Perspective
Position yourself at the main entrance to the room. This is the first view your guests will have. Scan from left to right, top to bottom.
Notice anything that looks cluttered, out of place, or just slightly off. Often, a single item—like a stray shoe or an empty water glass—can distract from an otherwise tidy room.
Adjust And Fluff
Once you spot an issue, fix it immediately. Straighten a tilted picture frame, center the coffee table books, and rearrange throw pillows so they look inviting. Fluffing pillows isn't just about aesthetics—it signals that the space is cared for.
A few seconds of adjustment can make the whole room feel more polished.
Lighting Check
Don't forget to consider the lighting during your scan. Turn on a lamp if a corner feels too dark, or dim the overhead lights for a cozier vibe. The right lighting can hide minor imperfections and create a warm, welcoming atmosphere.
If you have time, adjust curtains or blinds to let in natural light.
25. Light a Candle or Dim the Lights
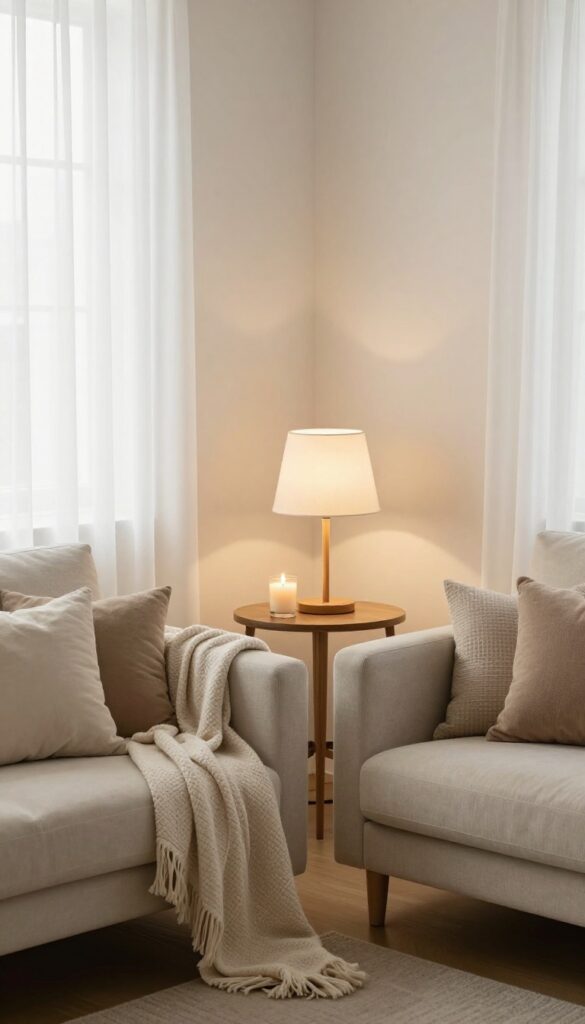
The final touch is all about atmosphere. Bright overhead lights can feel harsh and clinical, while soft, warm lighting instantly makes a room feel cozy and inviting. A flickering candle adds a sensory layer that signals relaxation and hospitality.
Before guests arrive, take a moment to adjust the lighting. Turn off overhead fixtures and switch on floor or table lamps placed around the room. This creates pools of light that draw people in and make conversation areas feel intimate.
Choose The Right Candle
Go for a subtle scent like vanilla, lavender, or fresh linen. Avoid anything too strong or artificial. Place the candle on a stable surface away from drafts and out of reach of children or pets.
Layer Your Lighting
Combine ambient, task, and accent lighting. Use dimmers if you have them to fine-tune the brightness. A mix of light sources at different heights adds depth and warmth.
Safety First
Never leave a burning candle unattended. Consider LED flameless candles for a worry-free glow that still sets the mood.
FAQ
How often should I deep clean my living room?
Aim for a deep clean every 1-2 months, but do quick tidying sessions weekly. High-traffic areas may need more frequent attention.
What's the fastest way to make my living room look clean?
Declutter surfaces, fluff pillows, and vacuum the floor. These three steps create an instant visual improvement in under 15 minutes.
How do I remove pet hair from my sofa?
Use a lint roller, a damp rubber glove, or a squeegee to gather pet hair. Vacuuming with a rubber brush attachment also works well.
Can I use vinegar to clean my wood furniture?
Yes, a mixture of equal parts olive oil and white vinegar works as a natural polish. Test on an inconspicuous area first.
What should I do if I have limited time before guests arrive?
Focus on high-visibility areas: declutter, dust surfaces, vacuum the main traffic path, and freshen the air. Skip deep cleaning tasks.
Conclusion
A guest-ready living room doesn't require a magazine-worthy makeover—just a few smart habits that keep the space consistently tidy. Focus on the high-traffic areas and the spots guests actually see, and you'll save time without overthinking. Start with one or two tips that feel easiest to maintain, then build from there.
Small, repeatable actions like a nightly pickup or a designated basket for stray items make the biggest difference. Your living room will stay welcoming with minimal effort.


