
Cleaning room by room sounds simple, but without a plan, you'll bounce from task to task and waste time. These 20 step-by-step ideas break each space into manageable actions, so you always know what to do next. No more standing in the middle of a messy room wondering where to start.
Each section focuses on a single room with a logical order that prevents backtracking. You'll clear countertops before wiping them down, and tackle the toilet before the mirror. This approach cuts your cleaning time in half and leaves every room genuinely fresh.
The best part? Most steps use supplies you already have—no expensive gadgets or harsh chemicals required.
1. Kitchen: Clear Countertops First
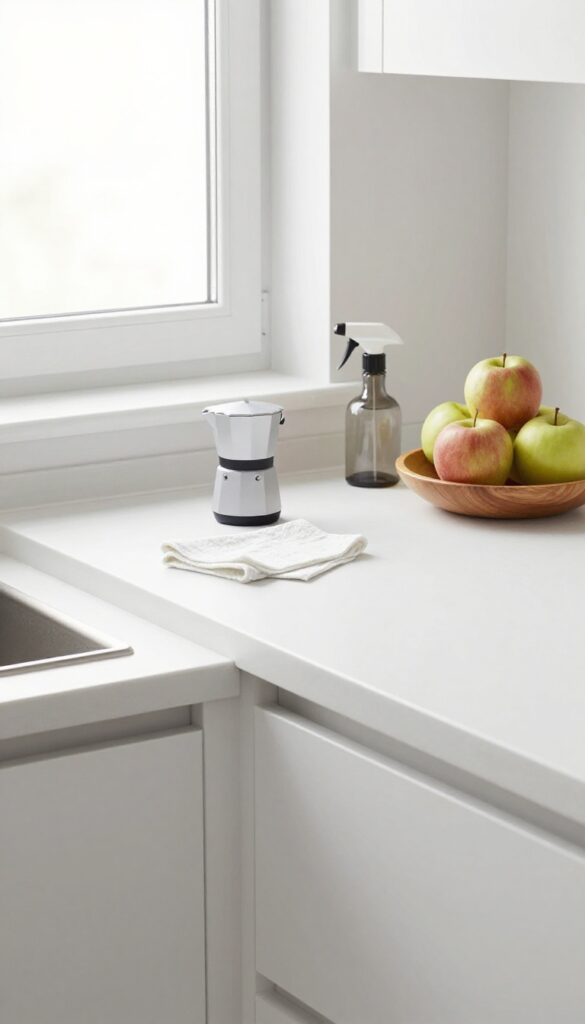
The kitchen collects clutter faster than any other room. Mail, small appliances, and random items pile up on counters until you have no workspace left. Starting with a clear sweep sets the stage for everything else.
Once the counters are bare, you can wipe them down properly and decide what truly belongs there. This step alone transforms how the kitchen looks and functions.
Sort Everything Into Three Piles
Grab a box or basket and remove every single item from the counters. Sort them into three piles: keep on the counter, store elsewhere, and trash or donate. Be honest about what you actually use daily.
The toaster might stay, but that bread machine from 2018 can go.
Wipe Down All Surfaces
With the counters empty, spray them with an all-purpose cleaner and let it sit for a minute. Then wipe with a microfiber cloth, getting into corners and along the backsplash. Don't forget the stovetop and sink area while you're at it.
Return Only Daily-use Items
Put back only the items you reach for every day: coffee maker, knife block, maybe a fruit bowl. Everything else finds a home in cabinets or drawers. Keep the counter as sparse as possible to maintain that clean feel longer.
2. Kitchen: Tackle the Sink and Stovetop
The kitchen sees the most action, so it's smart to start with the two hardest-working surfaces: the sink and stovetop. Once these are clean, everything else feels easier. You'll work from the dirtiest spots outward, saving time and effort.
Begin by clearing everything off the countertops and loading dishes into the dishwasher or sink. Then focus on the sink itself—sprinkle baking soda all over the basin, add a splash of vinegar, and scrub with a sponge. Rinse thoroughly and dry with a microfiber cloth.
For the stovetop, remove grates and burner caps, wipe down the surface with a degreaser, and soak grates in hot soapy water before scrubbing. A sparkling sink and stovetop instantly make the whole kitchen feel cleaner.
Why Start Here
The sink and stovetop are the most used and dirtiest spots in the kitchen. Cleaning them first removes the biggest visual clutter and sets a clean baseline. You won't have to worry about splashing dirty water onto already-clean counters.
Step-by-step Sink Scrub
Remove any dishes or debris. Wet the sink, sprinkle baking soda generously, then pour a small amount of vinegar over it. Let the fizz sit for a minute, then scrub with a non-abrasive sponge.
Rinse well and dry with a clean cloth. For stubborn stains, make a paste of baking soda and hydrogen peroxide.
Stovetop Deep Clean
For gas stoves, lift off grates and burner caps. Soak them in hot, soapy water while you wipe down the stovetop with a degreaser or all-purpose cleaner. Use a soft brush to get into crevices.
Scrub grates with a sponge, rinse, and dry completely before replacing. For glass cooktops, use a specialized cleaner and a razor blade for burnt-on residue.
3. Kitchen: Organize the Pantry by Zone
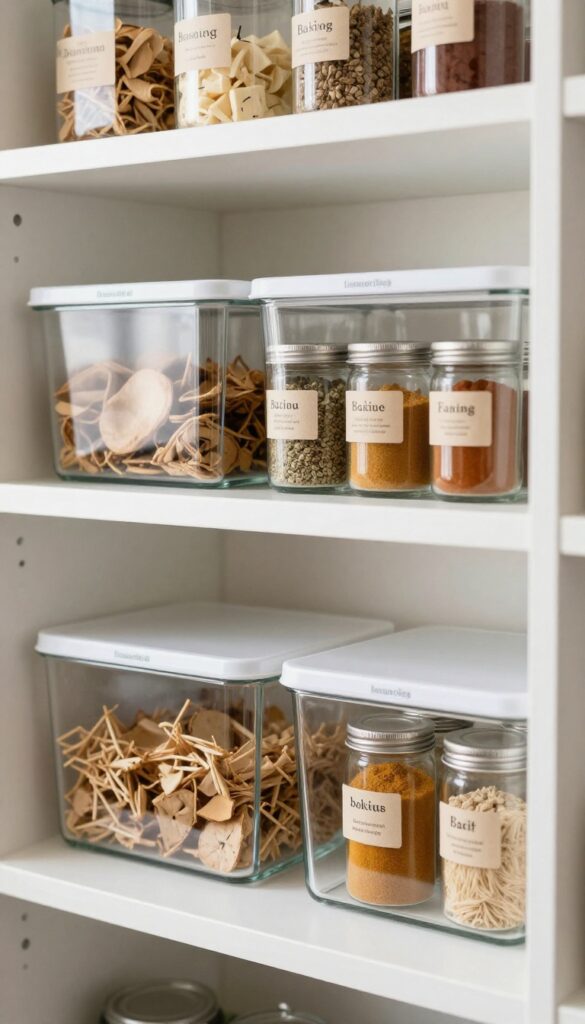
The pantry is often a black hole of half-used bags and forgotten cans. Grouping items by zone—canned goods, spices, snacks, baking supplies—makes everything visible and easy to grab. This method also helps you spot duplicates and expired products before they take over your shelves.
Start by emptying the entire pantry onto the counter. Wipe down shelves while they're bare, then sort everything into categories. Check expiration dates as you go and toss anything past its prime.
Use clear bins or baskets to keep each zone contained—labels help everyone in the house put things back in the right spot. Stack cans on tiered shelves so you can see every label at a glance. For spices, a lazy Susan or small drawer organizer prevents the dreaded buried-bottle syndrome.
Once everything is back, you'll find meal prep faster and waste less food.
Empty And Sort
Pull everything out and group like items together. This is the perfect time to toss expired goods and donate unopened items you won't use. Wipe down shelves with a damp cloth before restocking.
Zone And Contain
Designate zones for breakfast items, snacks, baking, canned goods, and spices. Use clear bins or baskets to keep each zone separate. Label each bin so everyone knows where things live—and where to return them.
Maximize Visibility
Store taller items in back, shorter in front. Use tiered shelves for cans and small risers for spice jars. A lazy Susan for oils and condiments makes grabbing what you need a one-spin job.
4. Bathroom: Start with the Toilet
The toilet is the germiest spot in the bathroom, so hitting it first makes sense. Apply cleaner inside the bowl and let it sit while you tackle the exterior. This way, you avoid spreading bacteria to other surfaces.
Begin by squirting a toilet bowl cleaner around the rim and letting it soak. While it works, wipe down the lid, seat, and base with a disinfectant spray or wipe. Once the exterior is clean, scrub the inside of the bowl with a toilet brush, then flush.
This order ensures you're not transferring grime from the outside to the inside or vice versa.
Why Start With The Toilet?
The toilet harbors the most bacteria in the bathroom. By cleaning it first, you prevent cross-contamination. Any splashes or drips that land on other surfaces can be wiped away later, but starting with the toilet means you're not bringing germs from the sink or shower to the toilet area.
Step-by-step Toilet Cleaning
First, lift the seat and apply cleaner under the rim. Let it sit for at least five minutes. Meanwhile, spray the exterior surfaces—lid, seat, and base—with a disinfectant.
Wipe them down with a cloth or paper towel. Then, scrub the inside of the bowl with a toilet brush, paying attention to under the rim. Finally, flush to rinse the brush and bowl.
Pro Tips For A Sparkling Toilet
Use a dedicated toilet brush and store it in a holder that allows it to dry. Replace the brush every few months. For tough stains, use a pumice stone gently on wet porcelain.
Never mix bleach with other cleaners, as it can create toxic fumes.
5. Bathroom: Clean Mirrors and Glass
Mirrors and glass surfaces in the bathroom are magnets for smudges, toothpaste splatter, and water spots. A clean mirror instantly makes the whole room feel brighter and more spacious. The trick is using the right tools and technique to avoid streaks and lint.
Choose The Right Cleaner
Skip the ammonia-based sprays if you have vinyl or laminate surfaces nearby—they can cause damage. Instead, use a dedicated streak-free glass cleaner or make your own with equal parts white vinegar and distilled water. Distilled water prevents mineral deposits that cause streaks.
The Microfiber Advantage
Microfiber cloths are the unsung heroes of glass cleaning. They trap dust and absorb liquid without leaving lint behind. Use a clean, dry microfiber cloth for buffing after spraying.
Avoid paper towels—they may seem convenient, but they often leave fibers and streaks.
Wipe In A Zigzag Pattern
Instead of circular motions that spread dirt around, wipe in a zigzag pattern from top to bottom. This ensures you cover the entire surface without missing spots. For large mirrors, work in sections so the cleaner doesn't dry before you buff it off.
Tackle Stubborn Spots
For dried toothpaste or hairspray residue, spray the area and let it sit for 30 seconds before wiping. A razor blade scraper (used carefully) can remove paint splatters or sticker residue without scratching the glass.
6. Bathroom: Scrub the Shower and Tub
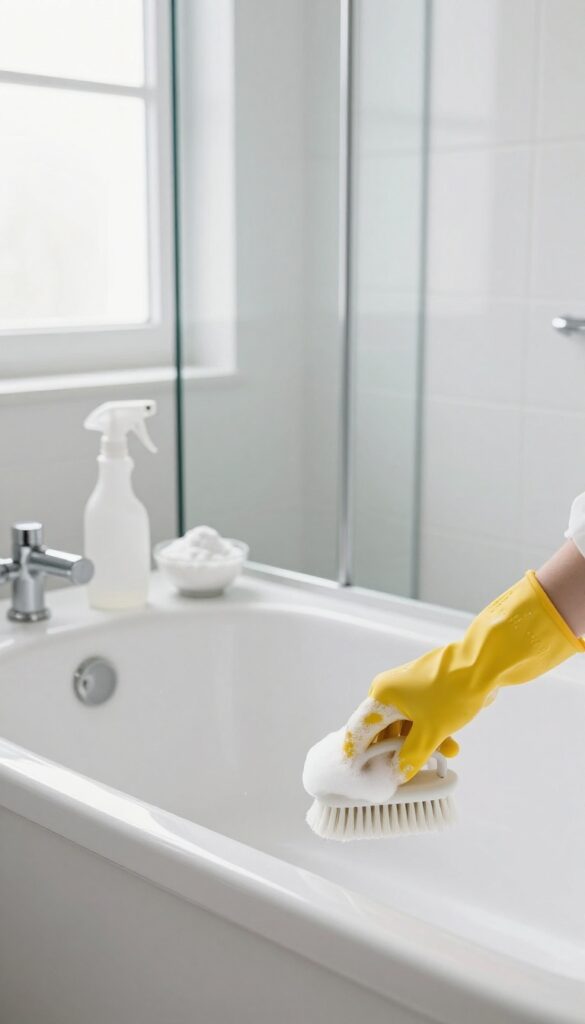
After tackling the toilet and mirror, turn your attention to the shower and tub. This is where soap scum, hard water stains, and mildew like to hide. A good scrub now will make the whole bathroom feel cleaner.
Start by spraying the surfaces with a daily shower cleaner or a simple vinegar solution (equal parts white vinegar and water). Let it sit for a few minutes to break down grime. Then, use a scrub brush or sponge to work in circles, paying extra attention to corners and around fixtures.
Rinse thoroughly with warm water to prevent residue. For stubborn spots, a paste of baking soda and water can be applied before scrubbing.
Choose The Right Cleaner
Daily shower sprays are great for light maintenance, but for deep cleaning, a vinegar solution works wonders on soap scum. Avoid mixing vinegar with bleach or other cleaners—it can create toxic fumes. If you have a glass shower door, use a squeegee after each shower to reduce water spots.
Scrub In Sections
Work from top to bottom so dirty water drips onto areas you haven't cleaned yet. Start with the walls, then the tub or shower floor, and finish with the fixtures. Use a small brush for grout lines and corners.
Rinse each section as you go to avoid dried-on cleaner.
Don't Forget The Curtain Or Door
Shower curtains and liners can harbor mildew. Wash fabric curtains in the washing machine with bleach (if safe) or run plastic liners through a rinse cycle with vinegar. For glass doors, wipe down with a microfiber cloth after rinsing to prevent streaks.
7. Living Room: Dust from Top to Bottom
Dust settles everywhere, but the living room is a magnet for it because of upholstery, electronics, and high-traffic flow. The trick is to start high and work your way down, so you don't knock dust onto already-cleaned surfaces. A microfiber duster or a slightly damp cloth will trap dust rather than just moving it around.
Begin with ceiling fans and light fixtures, then move to high shelves and picture frames. Wipe down electronics gently with a dry microfiber cloth. Next, tackle furniture tops, armrests, and legs.
Finish by vacuuming or sweeping the floor, including under cushions and behind furniture.
Tackle The High Points First
Ceiling fans collect a surprising amount of dust. Use a long-handled duster or an old pillowcase to wipe each blade. Don't forget light fixtures and the tops of tall bookcases.
This prevents dust from falling onto lower surfaces later.
Wipe Down Furniture And Electronics
Use a dry microfiber cloth for TV screens and monitors to avoid scratches. For wood furniture, a slightly damp cloth works well. Pay attention to remote controls, lamp bases, and any knick-knacks that gather dust.
Vacuum Upholstery And Floors
Remove couch cushions and vacuum underneath. Use the crevice tool along seams and edges. Then vacuum or sweep the entire floor, moving furniture slightly to get those hidden spots.
Finish with a quick dust mop for a polished look.
8. Living Room: Vacuum Under Furniture
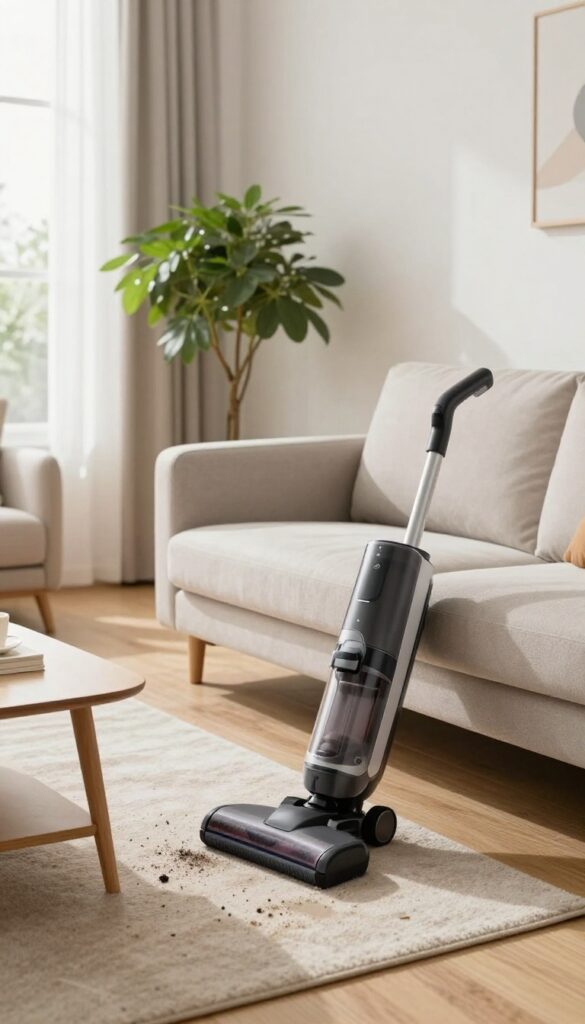
Couches and chairs collect more dust and crumbs than you'd think. Moving them out of the way lets you get to the hidden grime that builds up over time. This step makes a huge difference in how fresh the room feels.
Start by shifting larger pieces like sofas and armchairs away from the walls. If they're too heavy, tilt them forward and vacuum underneath as far as you can reach. Use the crevice tool to get into tight corners and along baseboards.
For cushions, remove them and vacuum the crevices where crumbs and pet hair hide. Then run the vacuum in overlapping passes to ensure you pick up everything in one go.
Move The Heavy Stuff
Slide couches and chairs away from walls to access the floor underneath. If you can't move them fully, tilt them and vacuum the exposed area. This prevents dust bunnies from accumulating.
Use The Right Attachments
The crevice tool is your best friend for edges and under furniture. The upholstery brush works well for cushions and fabric sides. Switch between attachments to cover all surfaces efficiently.
Overlap Your Passes
Vacuum in straight, overlapping lines to avoid missing spots. Go slow enough for the suction to pull up embedded dirt. One thorough pass beats three rushed ones.
9. Living Room: Tidy Up Cords and Electronics
The living room is where we relax, watch TV, and charge all our devices. But that convenience often comes with a tangled mess of cords and a layer of dust on electronics. Tackling this area not only makes the room look cleaner but also helps your gadgets last longer.
Start by unplugging everything and grouping cords by device. Use twist ties or Velcro straps to bundle each cord neatly. Wipe down electronics with a dry microfiber cloth to remove dust without scratching surfaces.
Finally, create a designated spot for remotes—like a small tray or caddy—so they're always easy to find.
Cord Management Made Simple
Cords are the biggest eyesore in any living room. Begin by unplugging all devices and labeling each cord with a small tag or piece of tape. Then, use twist ties or Velcro straps to bundle each cord into a neat coil.
For cords that run along the wall, use cord clips or adhesive cable organizers to keep them in place. This simple step instantly makes your entertainment center look more organized.
Dusting Electronics The Right Way
Electronics attract dust due to static electricity, but using the wrong cleaner can damage them. Always use a dry microfiber cloth—never spray liquid directly on devices. For vents and crevices, a soft brush or compressed air works wonders.
Don't forget to dust behind and under the TV stand, where dust bunnies love to hide.
Create A Remote Control Station
Nothing kills the clean look faster than remotes scattered across the coffee table. Pick a small tray, basket, or even a dedicated drawer to store all remotes. Label each remote with a sticker or color code so you can grab the right one instantly.
This small habit keeps your living room tidy and saves you from the dreaded remote hunt.
10. Bedroom: Strip and Refresh Bedding
Your bed is the centerpiece of the bedroom, and it collects sweat, dust mites, and dead skin cells faster than any other surface. Stripping the bedding and giving the mattress some air resets the entire sleep space. This step is quick but makes the biggest difference in how the room feels and smells.
Strip Everything Off
Pull off all sheets, pillowcases, mattress protectors, and duvet covers. Shake them out over a trash can or outside to loosen any debris. Sort them by color and fabric type if you're washing multiple loads.
Don't forget to remove any decorative pillows or throws that can be laundered.
Wash In Hot Water
Set your washing machine to the hottest water setting that's safe for the fabric. Hot water kills dust mites and removes body oils better than warm or cold. Add a scoop of oxygen bleach or a cup of white vinegar to boost cleaning power without harsh chemicals.
Dry everything on high heat until completely dry.
Air Out The Mattress
While the bedding is washing, pull back any mattress pad or protector and open the windows if possible. Let the mattress breathe for at least 30 minutes. Sprinkle baking soda over the surface, let it sit for 15 minutes, then vacuum it off to absorb odors.
If your mattress is flippable, now is the perfect time to rotate or flip it for even wear.
11. Bedroom: Declutter Nightstands and Dressers
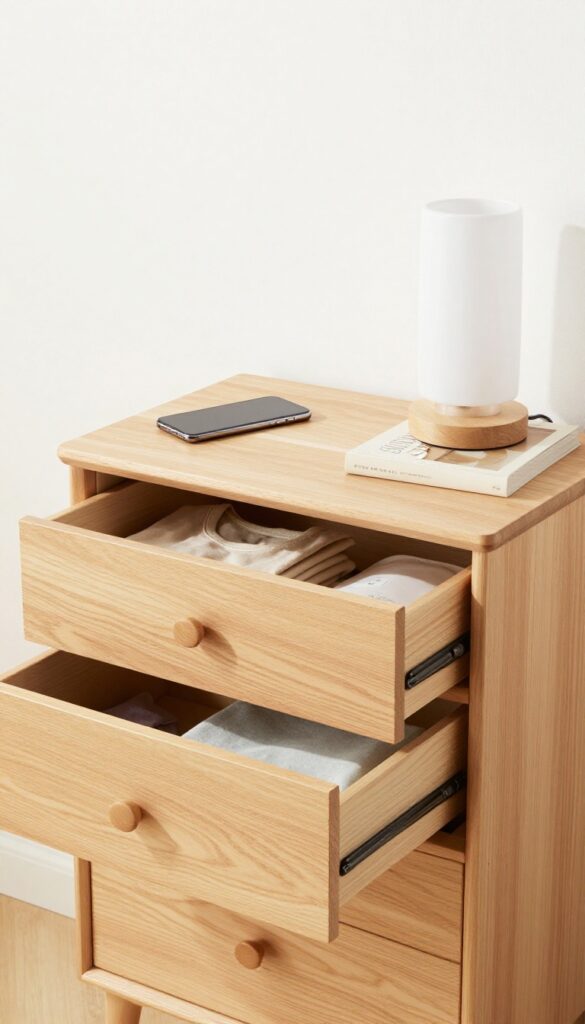
Nightstands and dressers are the first surfaces to collect clutter—loose change, old receipts, half-empty water glasses. Clearing them out instantly makes your bedroom feel more peaceful. This step is about resetting those surfaces so they actually serve you, not just hold random stuff.
Start by removing everything from the top of your nightstand and dresser. Wipe down the surface with a microfiber cloth and a gentle cleaner. Inside drawers, take out all items and sort into keep, relocate, donate, or toss.
Wipe the inside of each drawer with a damp cloth and let dry completely before returning items. Only put back what you use regularly—phone charger, lamp, a book you're actually reading. Everything else finds a new home or leaves the room.
Sort By Frequency Of Use
Group items into daily use, weekly use, and rarely used. Daily items like your phone, glasses, and lip balm stay on the surface or in an easy-access drawer. Weekly items like a hand cream or a small notebook go in a lower drawer.
Rarely used items—old chargers, souvenirs, expired medications—should be donated or tossed. This system prevents the clutter from coming back.
Wipe And Organize Drawers
Use drawer dividers or small containers to keep things in place. For dressers, fold clothes using the KonMari method or file folding so you can see everything at a glance. For nightstands, a small tray catches loose items like coins and earrings.
Labeling isn't necessary, but grouping similar items together makes it easy to maintain.
Maintain The Clear Surface Rule
Commit to keeping the top of your nightstand and dresser at least 80% clear. Only allow a lamp, a small plant, and one personal item like a photo or a book. When you put something down, ask yourself if it belongs there.
If not, put it away immediately. This habit keeps the decluttering effort from going to waste.
12. Bedroom: Vacuum Under the Bed
The space under your bed is a dust bunny paradise. It's easy to ignore because you can't see it, but that dark, undisturbed area collects allergens and debris. Tackling it regularly makes a real difference in your bedroom's air quality.
Start by moving any storage bins or boxes out from under the bed. If they're too heavy, slide them out one at a time. Use a vacuum with a crevice tool to reach into the corners and along the baseboards.
Pay special attention to the area where the bed frame meets the floor—dust loves to hide there. After vacuuming, wipe the floor with a damp cloth to pick up any remaining fine particles. If you have a carpet, consider using a carpet cleaner attachment for a deeper clean.
Finally, wipe down the bins before sliding them back to avoid reintroducing dust.
Prep The Area
Clear the floor around the bed so you have room to work. Remove any shoes, boxes, or clutter. If you have a low-profile bed frame, you might need to lift the mattress slightly to access the space.
Having good lighting helps—use a flashlight or your phone's light to see what you're doing.
Vacuuming Technique
Attach the crevice tool to your vacuum and start from the farthest corner, working your way out. Move the tool slowly to let the suction pull up embedded dust. Don't forget the area where the bed frame legs meet the floor—dust often accumulates there.
If you have a hardwood floor, switch to a soft brush attachment to avoid scratches.
Wipe Down Storage Bins
Before sliding your bins back, give them a quick wipe with a damp microfiber cloth. This removes dust that settled on top. Check inside for any stray dust or debris.
If the bins are fabric, use a lint roller or vacuum upholstery tool. This step prevents you from pushing clean bins onto a dirty floor.
Final Touches
After vacuuming, spray a gentle disinfectant on the floor if you have allergies. Let it dry completely before replacing the bins. Consider using a mattress protector to reduce dust mites falling onto the floor.
Doing this once a month keeps the under-bed area fresh and minimizes allergens.
13. Home Office: Organize Papers and Files
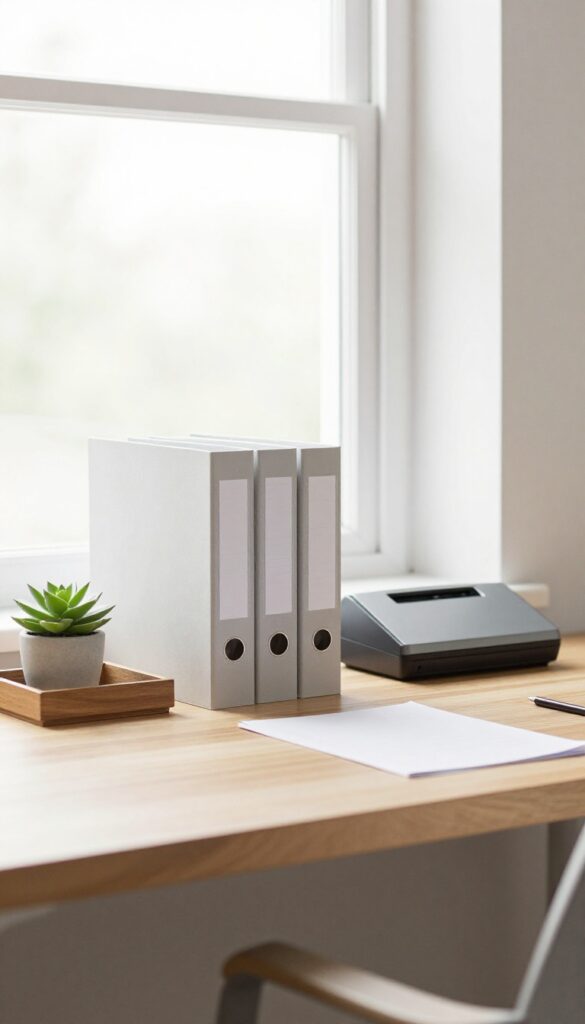
Paper clutter is the number one enemy of a productive home office. When stacks of documents pile up, it's hard to find what you need and easy to feel overwhelmed. This step-by-step approach will help you sort, store, and digitize your papers so your workspace stays clear and functional.
Start by gathering all loose papers from your desk, drawers, and any flat surfaces. Create three piles: keep, shred, and recycle. Be honest with yourself—if you haven't looked at a document in over a year and it's not a tax record or legal paper, it probably doesn't need to stay.
Once you've sorted, move on to filing and digitizing.
Create A Simple Filing System
Use a few hanging file folders labeled with broad categories like "Bills, " "Taxes, " "Insurance, " and "Warranties. " Avoid overcomplicating it—too many subcategories make filing a chore. Keep the most frequently accessed files within arm's reach and archive older documents in a storage box or a separate drawer.
Digitize Important Documents
Scan any document you want to keep but don't need in physical form. Use a scanner app on your phone or a desktop scanner. Save files with clear names like "2024_Tax_Return. pdf" and organize them in folders on your computer or cloud storage.
This not only saves space but makes searching for a document a matter of seconds.
Set Up A Daily Paper Workflow
Designate a small tray or inbox on your desk for incoming mail and notes. Set aside five minutes each day to process it: open envelopes, decide what to keep, and either file or recycle immediately. This habit prevents paper from accumulating and keeps your desk clean without much effort.
14. Home Office: Clean Keyboard and Screen
Your keyboard and screen are two of the most touched surfaces in your home office, yet they often get ignored during routine cleaning. Crumbs, dust, and smudges build up fast, affecting both hygiene and visibility. Here’s how to clean them safely without damaging your equipment.
Start by turning off and unplugging all devices. This prevents accidental keystrokes or short circuits. For the keyboard, hold it upside down and gently tap to dislodge loose debris.
Then use compressed air to blow out crumbs from between the keys. For stubborn grime, lightly dampen a microfiber cloth with isopropyl alcohol (70% or less) and wipe the keycaps. Avoid spraying anything directly onto the keyboard.
For the screen, use a dry microfiber cloth first to remove dust. If needed, dampen the cloth with distilled water—never use alcohol, ammonia, or paper towels, as they can strip the anti-reflective coating. Wipe in gentle circular motions, and let everything air dry before plugging back in.
Prep Your Workspace
Before you start, clear your desk of papers, mugs, and other items. This gives you room to work and prevents accidental spills. Have your supplies ready: compressed air, microfiber cloths, isopropyl alcohol (optional), and distilled water.
Clean The Keyboard
Turn the keyboard upside down and shake out crumbs. Use compressed air in short bursts to blow out debris from between keys. For sticky keys, dip a cotton swab in alcohol and gently clean around each key.
Wipe the entire surface with a slightly damp microfiber cloth.
Clean The Screen
Start with a dry microfiber cloth to remove dust. If there are smudges, lightly dampen a clean cloth with distilled water (or a 50/50 mix of water and white vinegar). Wipe gently in circles, avoiding pressure on the screen.
Never spray liquid directly on the screen.
Final Touches
Let both the keyboard and screen air dry completely before reconnecting power. This usually takes 5–10 minutes. While waiting, wipe down your mouse and desk surface to complete the refresh.
15. Entryway: Wipe Down Doors and Handles
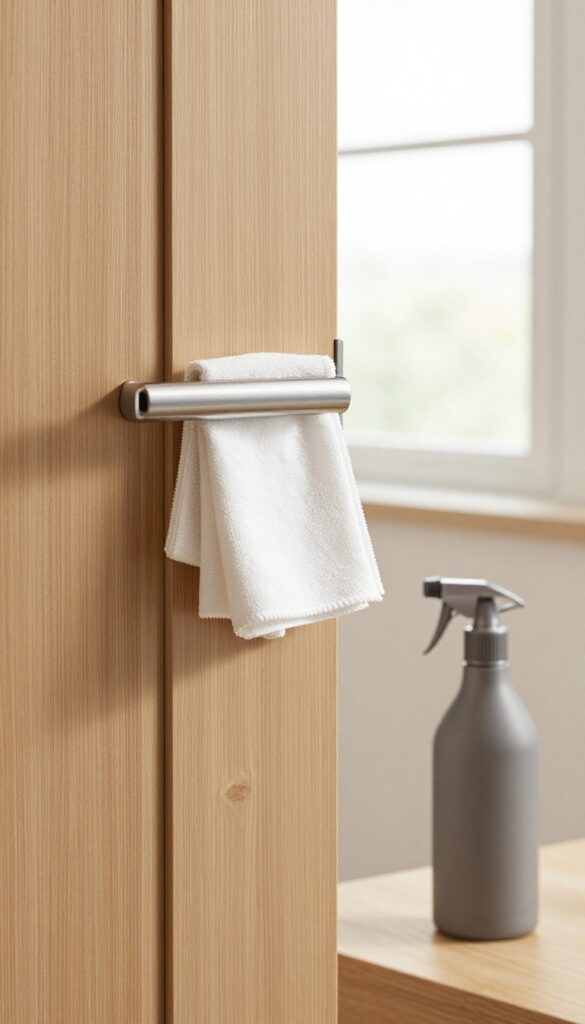
The entryway is the first thing guests see and the last thing you touch before leaving. It's also a magnet for germs from the outside world. Giving door handles, light switches, and railings a quick disinfectant wipe cuts down on illness-spreading bacteria.
Don't forget the front door itself—both sides—since it collects dust, fingerprints, and splashes from rain or snow.
Focus on high-touch surfaces first. Use disinfectant wipes or a microfiber cloth with an all-purpose cleaner. Work from top to bottom: start with the door frame, then the door panel, and finish with the handle and lock.
For glass doors, use a streak-free glass cleaner. Wipe down light switches and any railings near the entrance. This routine takes only five minutes but makes a big difference in hygiene.
Start With The Door Handle
The door handle is the most touched item in the entryway. Spray it with disinfectant or use a wipe, and let it sit for the recommended contact time (usually 30 seconds to a minute) before wiping dry. Don't forget the deadbolt and any keypads or smart lock surfaces.
Clean The Front Door Inside And Out
Dust and dirt accumulate on the door surface, especially near the bottom. Use a damp cloth with mild soap for painted doors, or a wood cleaner for stained doors. For the exterior side, rinse off any mud or salt residue.
Wipe down the door frame and threshold as well.
Don't Skip Light Switches And Railings
Light switches near the entryway get touched daily with dirty hands. Use a disinfectant wipe on each switch plate. If you have a stair railing or a handrail by the door, run a cloth along the entire length.
These are often overlooked but harbor just as many germs.
16. Entryway: Organize Shoes and Outerwear
The entryway sets the tone for your whole home, but it's also where chaos collects first. Shoes pile up, jackets drape over chairs, and bags end up on the floor. This section walks you through a simple system to keep the entryway tidy without constant effort.
Start by pulling everything out of the entryway—shoes, coats, bags, umbrellas, and anything else that's accumulated. Sort items into three piles: keep, store elsewhere, and donate or trash. Be honest about what you actually use daily.
Off-season boots, rarely worn heels, and jackets you haven't touched in months should go to a closet or storage bin. This single step cuts the clutter by half instantly.
Create A Shoe Landing Zone
Designate a specific spot for shoes that are worn regularly. A low shoe rack, a basket, or a simple tray works well. Limit the space so it can only hold two or three pairs per person.
When the rack is full, that's your cue to rotate or purge. For families, assign each person a cubby or a labeled bin to keep pairs together.
Hook System For Outerwear And Bags
Install enough hooks for every household member plus a few extras for guests. Place them at different heights so kids can reach theirs. Hang only current-season coats and frequently used bags.
Backpacks, purses, and reusable shopping bags each get a dedicated hook. Avoid using the same hook for multiple items—it leads to piles. A shelf above the hooks can hold hats, gloves, and scarves.
Daily Reset Routine
Spend two minutes each evening returning everything to its designated spot. Shoes go on the rack, coats on hooks, bags hung up. This prevents the pile-up from happening again.
Keep a small trash bin nearby for mail and receipts that tend to land on the entryway table. A quick nightly reset keeps the space guest-ready at all times.
17. Laundry Room: Clean the Washer and Dryer
Your washer and dryer work hard every week, but they need a little TLC to keep performing at their best. A clean machine means fresher clothes and fewer breakdowns. Plus, tackling the lint trap and vent is a serious safety move.
Start with the washer. Run an empty hot cycle with two cups of white vinegar or a commercial washer cleaner. This removes soap scum, mold, and odors.
While it runs, wipe down the door seal and detergent drawer. For the dryer, pull out the lint trap and scrub it with a brush and warm soapy water. Then disconnect the vent hose and vacuum out any lint buildup.
Reattach everything and run the dryer on air-fluff for 10 minutes to clear remaining dust. Do this monthly for best results.
Why It Matters
A dirty washer can leave clothes smelling musty, and a clogged dryer vent is a leading cause of house fires. Regular cleaning also helps your machines last longer and run more efficiently, saving you money on energy bills.
What You'll Need
White vinegar or washer cleaner, a microfiber cloth, a small brush (an old toothbrush works), a vacuum with a crevice tool, and a screwdriver if your vent hose is clamped. That's it—no special gear required.
Step-by-step
First, clear the area around both machines. Then run the washer cleaning cycle. While it's going, scrub the lint trap and vacuum the vent.
After the washer finishes, wipe the drum and door seal. Finally, run the dryer on air-fluff to push out any loose lint. Done.
18. Laundry Room: Sort and Fold Immediately
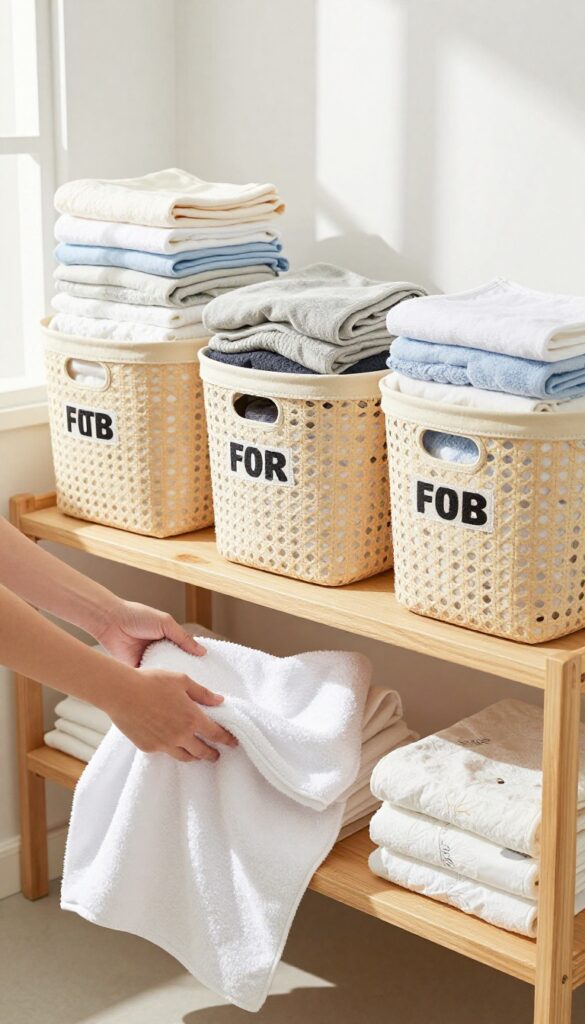
The laundry room can quickly become a dumping ground for dirty clothes and forgotten piles. The trick is to build a rhythm that keeps things moving from start to finish. Sorting as you go and folding right out of the dryer saves you from mountains of wrinkled laundry later.
Start by setting up a simple sorting system. Use separate bins or baskets for whites, darks, and delicates so you never have to dig through a heap to find what you need. As you undress, toss items into the right bin immediately.
This small habit eliminates the dreaded pre-wash sorting session. Once the dryer buzzes, don't let clothes sit. Fold or hang them while they're still warm to prevent wrinkles and reduce ironing time.
Aim to put everything away within an hour of drying. That final step keeps your laundry room clear and your drawers organized.
Sort As You Go
Keep three labeled bins in your laundry room or closet: whites, darks, and delicates. Train everyone in the house to sort their own laundry as they remove it. This cuts out the most tedious part of laundry day and speeds up the entire process.
Fold Warm, Not Cold
The moment the dryer stops, pull out clothes and fold them on a clean, flat surface. Warm fabric resists creases, so you'll get crisp results without ironing. If you can't fold everything at once, at least shake out each item and lay it flat to minimize wrinkles.
Put Away Within An Hour
Set a timer for 60 minutes after folding. Carry piles to each room and put them away immediately. This prevents clean laundry from becoming a permanent fixture on the couch or bed.
A quick put-away routine keeps your whole house looking tidy.
19. Hallways and Stairs: Sweep and Mop
Hallways and stairs see constant foot traffic, so they collect dust, dirt, and grime fast. A quick sweep or vacuum followed by a mop keeps them looking fresh. Don't forget the corners and baseboards—those spots trap more dust than you'd think.
Start With Dry Cleaning
Sweep or vacuum the entire hallway and each stair tread. Use a crevice tool for edges and corners. If you have carpeted stairs, vacuum each step thoroughly, including the risers.
This removes loose dirt before any wet cleaning.
Mop With Care
For hard floors, use a damp mop with a gentle cleaner—avoid soaking the floor, especially on wood or laminate. Work from the top of the stairs downward so you don't step on wet areas. For stairs, wipe each tread and riser with a microfiber cloth.
Tackle Baseboards And Corners
Dust and grime love baseboards. Wipe them with a damp cloth or a dusting wand. Pay extra attention to corners where cobwebs and dust bunnies hide.
A quick once-over makes the whole hallway look cleaner.
20. Hallways and Stairs: Wipe Down Walls and Railings
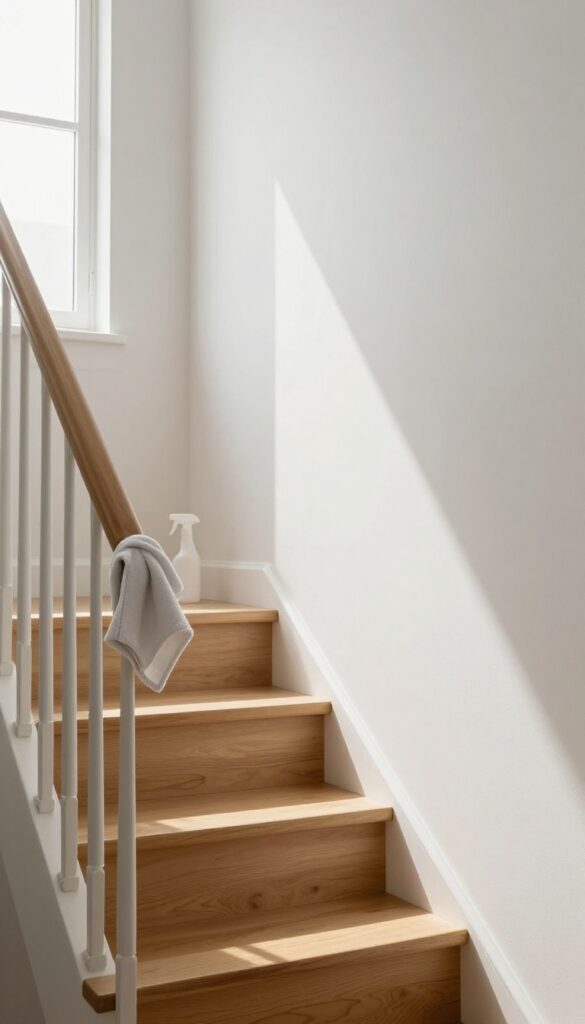
Hallways and stairs are high-traffic zones that show grime fast. A quick wipe-down of walls and railings makes the whole house feel fresher without deep cleaning. Focus on spots around light switches, handrails, and baseboards where fingerprints and dust collect.
Start With The Walls
Use a dry microfiber duster or a vacuum with a brush attachment to remove loose dust from walls and corners. Then dampen a sponge or cloth with warm water and a drop of dish soap. Wipe down areas near light switches, door frames, and along the base of the wall where scuffs show.
For stubborn marks, a magic eraser works wonders—test on an inconspicuous spot first.
Don't Forget The Railings
Stair railings get touched constantly, so they need disinfecting. Use a disinfectant wipe or a cloth with a gentle all-purpose cleaner. Wipe the top and sides of the railing from top to bottom.
If you have wooden railings, use a cleaner safe for wood to avoid damage. This simple step cuts down on germ spread, especially during cold season.
Tackle The Stairs Themselves
If you have carpeted stairs, vacuum each step thoroughly, including the risers. For hardwood or tile stairs, sweep or vacuum first, then mop with a damp cloth or use a Swiffer. Pay extra attention to the edges where dirt builds up.
Let everything dry completely before letting kids or pets run up and down.
FAQ
How often should I deep clean each room?
Aim for a deep clean of each room once a month. High-traffic areas like the kitchen and bathroom may need it every two weeks. Adjust based on your household size and lifestyle.
What's the best order to clean a house?
Start from the top floor and work down. Within each room, clean from top to bottom (ceiling to floor). Do dry tasks like dusting before wet tasks like mopping.
How can I make cleaning less overwhelming?
Break it into small tasks and focus on one room at a time. Use a timer for 15-minute bursts. Play music or a podcast to make it enjoyable.
What are the most essential cleaning supplies?
All-purpose cleaner, microfiber cloths, a vacuum with attachments, a mop, scrub brushes, baking soda, vinegar, and a good disinfectant. Keep it simple.
How do I maintain a clean home between deep cleans?
Do a 10-minute tidy each evening: wipe counters, put things away, sweep high-traffic areas. Make your bed daily. Clean as you go in the kitchen.
Conclusion
Tackling your home one room at a time makes deep cleaning feel manageable, not miserable. Start with whichever space bothers you most or gets the most traffic—even two or three of these ideas will make a visible difference.
The secret is matching the method to the mess, not the other way around. Work through these steps at your own pace, and soon you'll have a system that keeps every corner fresh without burning you out.


