
You scrub the tiles, but those grout lines still look gray and grimy. Grout is porous, so it traps dirt, spills, and soap scum faster than the tile itself. That's why a clean floor can still feel dirty.
The good news? You don't need expensive steamers or harsh chemicals to get results. With the right approach, you can bring back those crisp, clean lines without spending hours on your knees.
These 20 tips cover everything from everyday maintenance to deep cleaning tricks. Pick the ones that fit your situation, and your grout will thank you.
1. Start with a Dry Vacuum
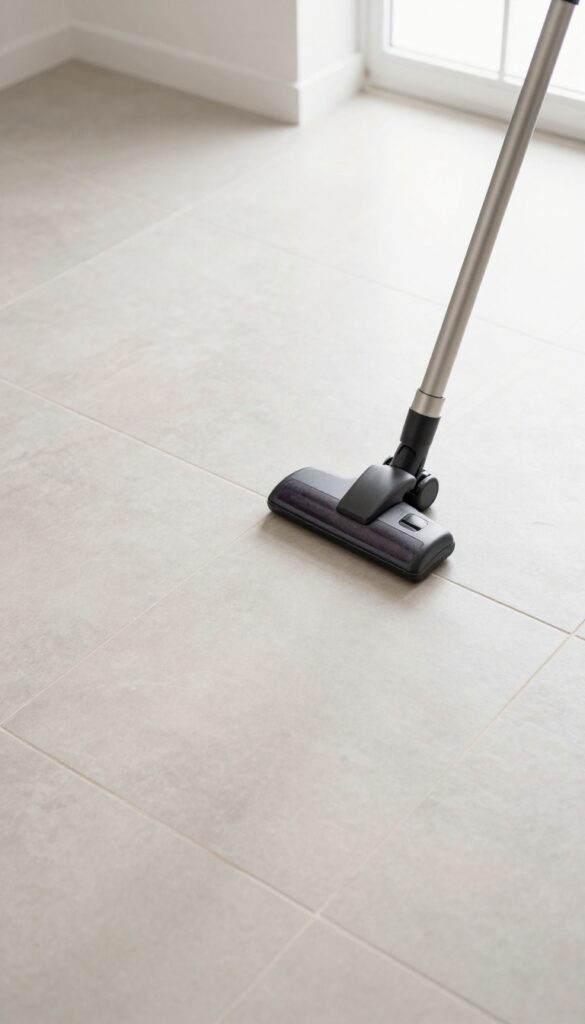
You might be tempted to grab a spray bottle and scrub brush right away, but that can actually make things worse. Dry debris sitting on the floor turns into a gritty paste when mixed with liquid cleaner. That paste then gets pushed deep into the grout pores, making stains harder to remove.
A quick vacuum pass eliminates that problem before it starts.
Vacuuming first is the single easiest way to improve your grout cleaning results. It removes loose dirt, hair, and crumbs that would otherwise interfere with your cleaner. Use a brush attachment to agitate the grout lines gently as you go, which helps lift surface dust.
This step takes less than two minutes but saves you from scrubbing mud back into the pores.
Why Dry Cleaning Matters
Grout is essentially porous concrete. When you wet it without removing loose particles first, those particles get carried into the pores by the liquid. Once inside, they bond with the grout and become much harder to extract.
A dry vacuum breaks that cycle by removing the loose stuff upfront.
Best Vacuum Attachments For Grout
A crevice tool works great for narrow grout lines, while a soft brush attachment is better for wider joints. If your vacuum has a hard floor setting, use it to avoid scattering debris. For really stubborn dust in deep grout, a stiff bristle brush attachment can loosen it before suction.
When To Skip The Vacuum
If the grout is already wet from a spill or previous cleaning, vacuuming can damage the vacuum or spread moisture. In that case, blot up excess liquid with a microfiber cloth first, then let it dry before vacuuming. Also skip vacuuming if the grout is crumbling or loose, as suction can pull out more material.
2. Use a Stiff Bristle Brush
Not all cleaning tools are created equal when it comes to grout. A sponge might seem like a good idea, but it tends to push dirt deeper into the porous surface instead of lifting it out. That's where a stiff bristle brush comes in.
A nylon or stiff-bristle brush is your best friend for scrubbing grout lines. The bristles are firm enough to dig into the porous texture without scratching the surrounding tiles. This makes them far more effective than a sponge or soft cloth for dislodging embedded grime.
Choose a brush with a handle long enough to keep your hand away from the dirty water. A grout brush with a angled head can help you reach tight corners and edges. For larger areas, a deck brush with stiff bristles can save time, but be careful not to scrub too hard on glossy tiles.
Why Bristles Work Better
Grout is rough and porous, so dirt settles into tiny crevices. A sponge just glides over the surface, smearing grime around. Bristles penetrate those pores, physically scraping out the dirt.
Nylon bristles are ideal because they're stiff enough to scrub but won't scratch ceramic or porcelain tiles.
Choosing The Right Brush
Look for a brush labeled "grout brush" or "stiff scrub brush. " Avoid wire brushes, which can scratch tiles and damage grout. A brush with a handle that keeps your hand dry is a plus.
For extra reach, attach an extension pole to a deck brush for floor work.
How To Use It Effectively
Apply your cleaning solution to the grout lines first, then scrub in a back-and-forth motion along the line. Rinse the brush frequently in clean water to avoid redepositing dirt. For stubborn spots, let the cleaner sit for a few minutes before scrubbing.
3. Try Baking Soda and Vinegar
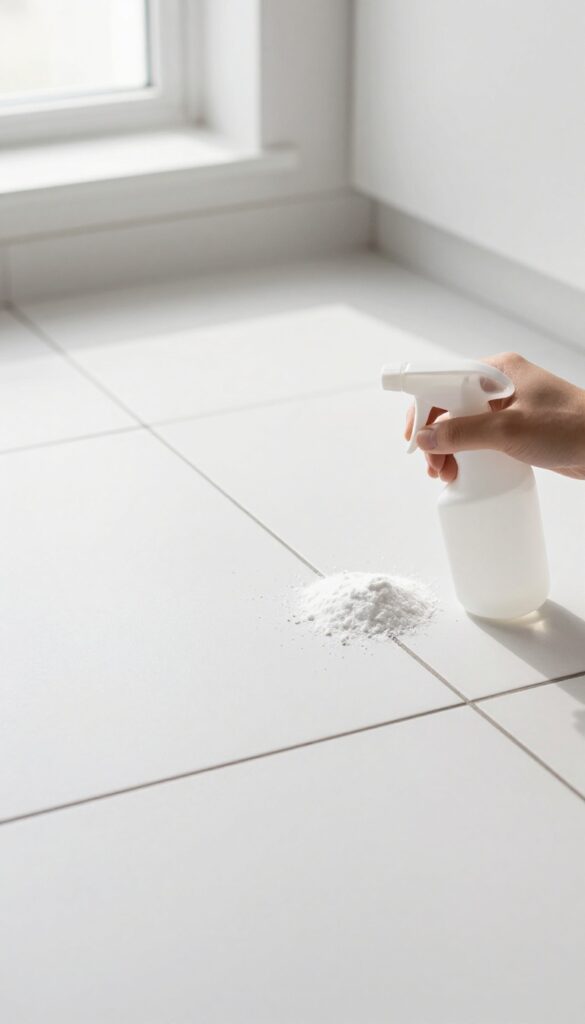
If you want a chemical-free way to lift grime from grout, this classic combo is hard to beat. Baking soda acts as a gentle abrasive, while vinegar's acidity breaks down soap scum and mineral deposits. The fizzing action helps loosen dirt from deep within the porous grout lines.
It's cheap, eco-friendly, and you probably already have both ingredients in your kitchen.
Making The Paste
Mix about 3 parts baking soda with 1 part water until you get a thick, spreadable paste. You want it to stay put on vertical grout lines without dripping. Let it sit on the grout for 5 to 10 minutes so it can start breaking down the grime.
The Fizzing Action
Fill a spray bottle with white vinegar and spritz it over the baking soda paste. The reaction will create bubbles that help lift dirt. Let it fizz for 2 to 3 minutes.
You'll see the grime start to dissolve and bubble up.
Scrubbing And Rinsing
Use a stiff-bristled brush (like an old toothbrush or a grout brush) to scrub the grout lines. Work in small sections and apply a bit of elbow grease. Rinse thoroughly with water afterward, or wipe with a damp cloth to remove any residue.
Repeat if needed for stubborn spots.
4. Hydrogen Peroxide for Stubborn Stains
Some grout stains just won't budge with baking soda or vinegar. For those dark, set-in marks, hydrogen peroxide is a powerful ally. It works as a mild bleach, lifting stains without the harsh fumes of chlorine bleach.
This method is especially effective on lighter grout where discoloration stands out.
Hydrogen peroxide is a gentle yet effective stain remover for grout. It breaks down organic matter and kills mold spores, making it ideal for kitchen and bathroom floors. Unlike bleach, it won't yellow over time and is safer for colored grout.
For best results, use a 3% solution straight from the bottle.
How To Apply
Pour hydrogen peroxide directly onto the stained grout lines. Let it sit for 10 minutes to penetrate the porous surface. During this time, you may see it fizz as it works.
Then, scrub with a stiff brush and rinse with water. For extra stubborn spots, make a paste with baking soda and hydrogen peroxide, apply, and let sit before scrubbing.
Safety Tips
Always test hydrogen peroxide on an inconspicuous area first, especially if you have colored grout. It can lighten some pigments. Wear gloves to protect your skin, and avoid mixing it with vinegar or ammonia, as that can create harmful fumes.
Keep the area ventilated while working.
When To Use This Method
Hydrogen peroxide is best for localized stains like coffee spills, pet accidents, or mold spots. It's not ideal for overall grout cleaning because it can be slow and requires direct contact. Use it as a spot treatment between deeper cleans to keep grout lines bright.
5. Use a Steam Cleaner for Deep Grime
When scrubbing by hand stops cutting it, steam can finish the job. A steam cleaner blasts hot vapor into the porous grout, loosening dirt and killing bacteria without any chemicals. This method works especially well in kitchens and high-traffic areas where grime builds up fast.
How Steam Cleaning Works
Steam cleaners heat water to over 200°F, producing pressurized vapor that penetrates grout lines. The heat softens dirt and grease, while the pressure pushes it out. No scrubbing needed—just glide the nozzle along the grout and wipe away the residue with a microfiber cloth.
Best Practices For Tile Floors
Always test steam on a hidden area first, especially if your tiles are natural stone. Use the smallest nozzle attachment for precision. Work in small sections, and avoid letting steam sit too long on one spot to prevent moisture damage.
After steaming, dry the floor thoroughly.
When To Skip The Steam
Steam isn't ideal for unsealed grout or damaged tiles. If your grout is crumbling or missing, steam can worsen the problem. Also, avoid steam on laminate or vinyl flooring—it's only safe for ceramic, porcelain, or stone tiles.
6. Bleach Pen for Spot Treatment
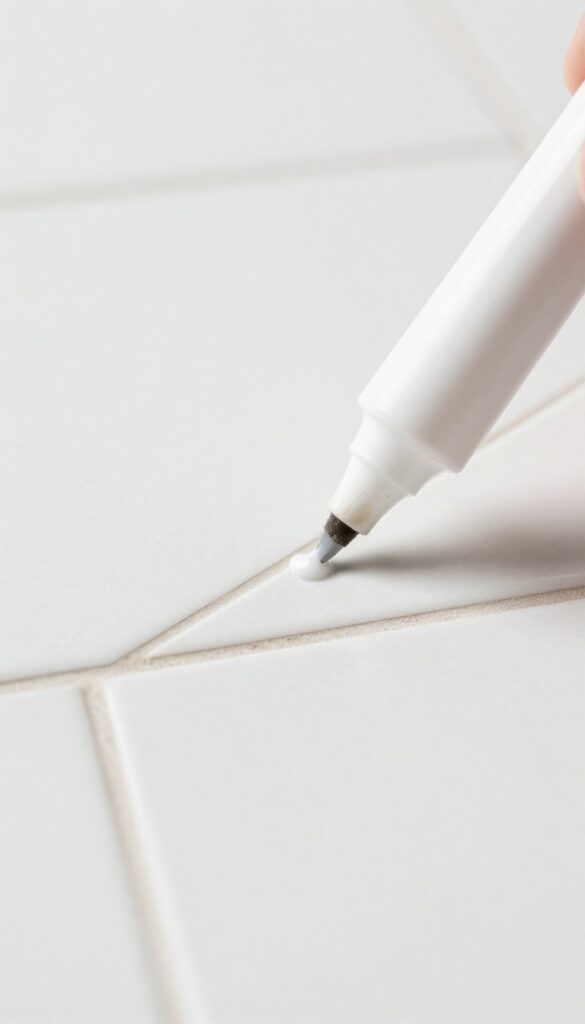
Sometimes you just need to zap a single stubborn stain without turning the whole floor into a science experiment. A bleach pen is perfect for that. It lets you apply a small amount of concentrated bleach exactly where you need it, without splashing or overspray.
Just be careful not to overdo it, and always rinse well afterward.
Why A Bleach Pen Works
Bleach pens have a gel-like consistency that clings to grout lines. This means the bleach stays put instead of running onto the tile surface. The gel also gives you more control, so you can trace along a single grout line without smearing.
It's ideal for small, isolated stains like a coffee drip or a splash of red wine.
How To Use It Safely
First, test the bleach pen on an inconspicuous area to make sure it doesn't discolor your tile. Apply the gel directly to the stained grout, let it sit for 5–10 minutes, then scrub gently with a soft brush. Rinse thoroughly with water.
Don't leave the bleach on for too long, and avoid using it on colored grout unless you're prepared for it to lighten.
When To Skip The Bleach Pen
If your grout is already light or white, a bleach pen is a great option. But if you have darker or colored grout, bleach can cause uneven fading. Also, avoid using it on unsealed grout, as the bleach can soak in and weaken the material.
For large areas, stick to a gentler cleaner instead.
7. Seal Grout After Cleaning
You've scrubbed, rinsed, and dried. The grout looks brand new. But if you stop there, it won't stay that way for long.
Grout is porous, so without protection, dirt and moisture will seep right back in. That's where sealing comes in. A good sealer buys you months of easy maintenance.
Why Sealing Matters
Think of unsealed grout like a sponge. Every time you mop or splash water, it soaks up moisture along with any dirt or soap residue. Over time, that leads to discoloration and even mold.
A penetrating sealer fills the pores, creating a barrier that repels liquids and stains. It doesn't change the look or texture, just makes cleaning much easier.
Choosing The Right Sealer
Not all sealers are the same. For most tile floors, a penetrating, water-based sealer works well. It soaks into the grout and bonds from within.
Avoid film-forming sealers that sit on top—they can peel or yellow. If your grout is in a wet area like a bathroom, look for a sealer with antimicrobial properties. Always test a small hidden spot first to check for color changes.
How To Apply Sealer Properly
Start with completely dry grout—wait at least 24 hours after cleaning. Apply the sealer with a small brush or applicator bottle, working it into the grout lines. Let it sit for the time specified on the label (usually 5–15 minutes), then wipe off any excess from the tile surface with a clean cloth.
Don't let it dry on the tile or you'll get a hazy film. One coat is usually enough, but two thin coats are better than one thick one.
When To Reapply
Sealer isn't permanent. Over time, it wears away from foot traffic and cleaning. Plan to reseal every 6 to 12 months.
A simple test: sprinkle a few drops of water on the grout. If they bead up, the sealer is still working. If they soak in quickly, it's time to reseal.
Mark your calendar so you don't forget.
8. Avoid Acidic Cleaners on Natural Stone
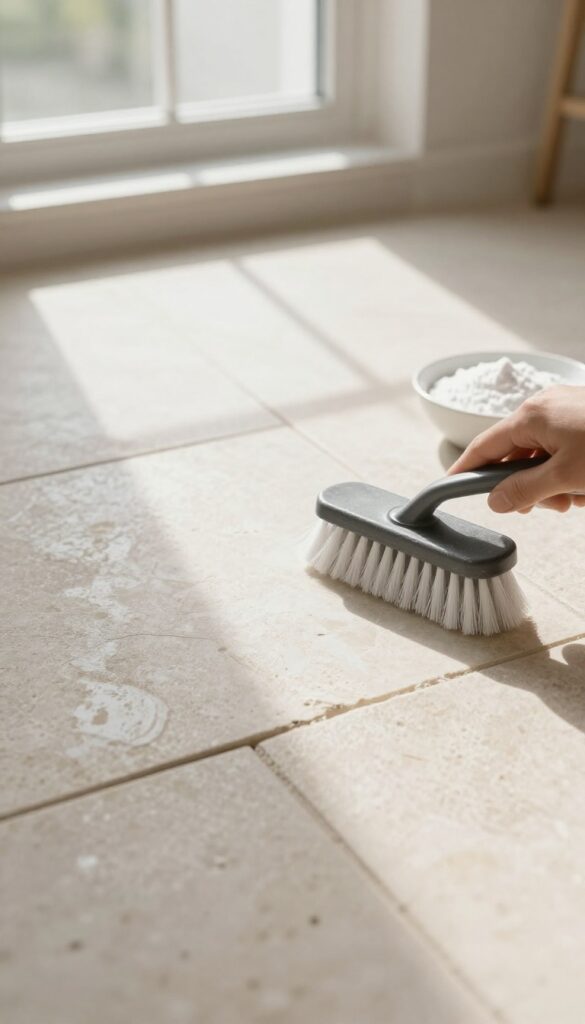
Natural stone tiles like marble, travertine, and limestone bring elegance to any space, but they come with a catch: they're chemically sensitive. Many common household cleaners, especially acidic ones like vinegar or lemon juice, can permanently damage the surface. That shiny polish?
Gone. Instead, you get dull, etched spots that are nearly impossible to reverse.
The key is to know what you're working with before you start scrubbing. If your tile is natural stone, reach for a pH-neutral cleaner specifically designed for stone. These cleaners lift dirt without attacking the calcium carbonate that makes up many natural stones.
Your grout will still get clean, and your tile will keep its original finish.
Why Acid Is The Enemy
Acidic substances react with the minerals in natural stone, causing a chemical etch. This isn't just a surface stain—it's a physical change in the stone's texture. Even mild acids like vinegar (pH around 2.
- can dull the finish after just a few uses. Lemon juice, orange cleaners, and even some all-purpose sprays fall into the same dangerous category.
What To Use Instead
Look for cleaners labeled "pH-neutral" or "stone-safe. " Brands like Method, Seventh Generation, and StoneTech offer reliable options. You can also make a gentle solution with warm water and a few drops of mild dish soap—just rinse thoroughly.
For grout lines, a soft brush and a baking soda paste (baking soda is alkaline, not acidic) work well without harming the tile.
Quick Test Before You Clean
Not sure if your tile is natural stone? Drop a small amount of vinegar on an inconspicuous spot. If it fizzes or bubbles, you have a calcareous stone that's vulnerable to acid.
No fizz means it's likely ceramic, porcelain, or a non-reactive stone like granite. When in doubt, always start with the gentlest cleaner.
9. Use a Grout Cleaning Pen for Precision
Grout lines can be narrow and tricky, especially in tight corners or around fixtures. A grout cleaning pen is a simple tool that puts cleaner exactly where you need it, with no overspray or wasted product. It's perfect for touch-ups and spot treatments.
How A Grout Pen Works
These pens have a fine, felt-like tip that you dip into a cleaning solution or fill with your own mixture. The tip releases liquid only when you press it against the grout line, so you can trace along the groove without getting cleaner on the tile. It's like a marker for dirt.
Best Uses For A Grout Pen
Use it for quick touch-ups between deep cleans, like after a spill or in high-traffic areas. It's also great for detailing around shower niches, toilet bases, or where the grout meets the wall. The precision helps you avoid scrubbing the whole floor when only a few lines need attention.
Diy Vs. Store-bought Options
You can buy a refillable grout pen online or at hardware stores, or make your own with a small squeeze bottle and a narrow nozzle. For the DIY version, mix a thick paste of baking soda and hydrogen peroxide, then apply it with a fine-tipped applicator. Either way, the key is a controlled, steady hand.
10. Try Oxygen Bleach for a Gentle Lift
Oxygen bleach is a game-changer for grout that's stained but not caked with gunk. Unlike chlorine bleach, it won't fade colored grout or fill your kitchen with harsh fumes. It works by releasing oxygen bubbles that lift organic stains right out of the porous surface.
All you need is warm water and a little patience.
Oxygen bleach, such as OxiClean, is a safe and effective way to brighten grout without damaging tile or grout lines. Mix the powder with warm water according to package directions, apply it to the grout, and let it sit for 15-20 minutes. The oxygen bubbles do the work, so you only need a light scrub afterward.
Rinse thoroughly to remove any residue.
Why Oxygen Bleach Works
Oxygen bleach breaks down into water, oxygen, and soda ash, making it eco-friendly and safe for most surfaces. It targets organic stains like food, coffee, and mildew without the harsh smell of chlorine. The fizzing action helps dislodge dirt from deep within the grout pores.
How To Apply It
Start by sweeping or vacuuming the floor to remove loose dirt. Mix the oxygen bleach with warm water until fully dissolved. Pour or spray the solution onto the grout lines, making sure they're saturated.
Let it sit for 15-20 minutes, then scrub gently with a soft brush. Rinse with clean water and dry with a towel.
When To Use It
This method is ideal for routine deep cleaning or when you notice grout looking dull but not heavily soiled. It's also great for colored grout, since oxygen bleach won't strip pigment. Use it every few months to keep grout looking fresh without harsh chemicals.
11. Scrub with an Old Toothbrush
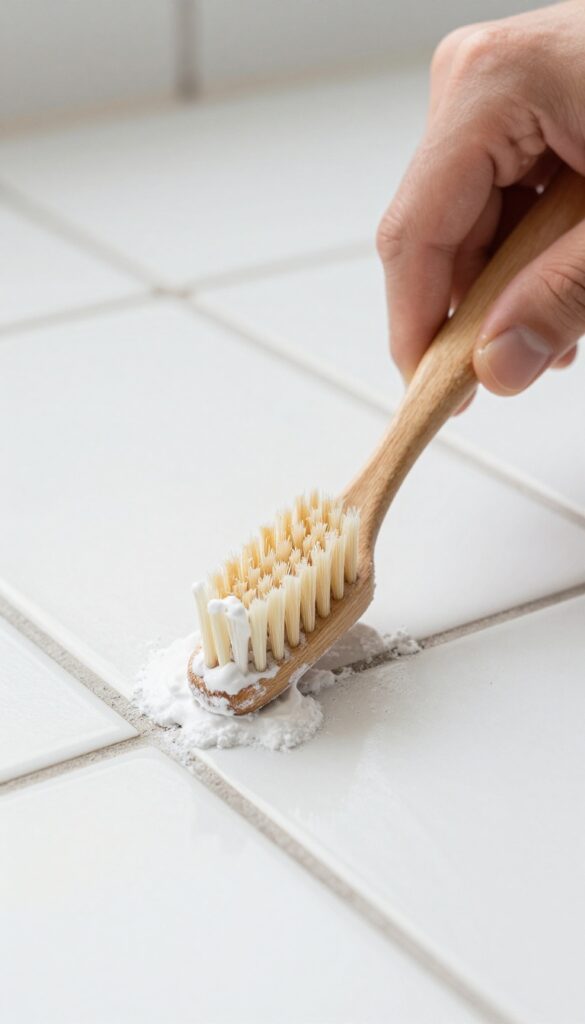
Small spaces need small tools. A toothbrush is perfect for scrubbing grout lines around baseboards, corners, and tight spots where sponges can't reach. It's also great for targeting stains without spreading dirt to clean areas.
Grab an old toothbrush with stiff bristles. Dip it into your cleaning solution (baking soda paste, vinegar, or a commercial grout cleaner). Scrub in small circles along the grout lines.
Rinse the brush often and keep dipping. For tough stains, let the cleaner sit for a few minutes before scrubbing. A toothbrush is also handy for cleaning around toilet bases, sink edges, and shower corners.
Choose The Right Brush
Not all toothbrushes are equal. Look for one with firm bristles—soft ones won't scrub effectively. An angled head helps reach awkward spots.
If you have a power toothbrush with a replaceable head, that works even better. Just use a head you don't plan to use on your teeth again.
Pair With A Paste For Extra Grit
Mix baking soda with a little water or hydrogen peroxide to form a thick paste. Apply it to the grout with your finger or a small spatula. Then scrub with the toothbrush.
The paste adds abrasion without scratching tile. Rinse thoroughly afterward.
Don't Forget The Rinse
After scrubbing, wipe the area with a damp cloth or sponge to remove loosened dirt and cleaner. If you leave residue, it can attract more grime. A final rinse with clean water ensures your grout looks bright and stays clean longer.
12. Use a Magic Eraser for Light Marks
Not every grout stain needs a heavy-duty scrub. For surface scuffs, dirt smudges, or light discoloration, a damp melamine sponge—often sold as a magic eraser—can work wonders. It's a quick, low-effort fix that doesn't require mixing any cleaning solutions.
Melamine foam acts like a fine sandpaper, lifting marks from the grout's surface without harsh chemicals. It's especially effective on light-colored grout where dark scuffs stand out. Just wet the sponge, wring it out, and gently rub the stained area.
You'll see the grout lighten almost immediately. But there's a catch: melamine is abrasive. On glossy or polished tiles, it can leave a dull haze if you accidentally rub the tile surface.
Always test on a small, hidden spot first. Also, avoid using it on natural stone or unsealed grout, as it may wear down the finish. Stick to ceramic, porcelain, or sealed grout for best results.
How To Use It Right
Cut the sponge into smaller pieces so you can get into tight grout lines. Dampen it with water—don't soak it—and wring out excess. Rub gently along the grout line, not across it, to avoid spreading dirt.
Rinse the area with clean water afterward to remove any foam residue.
When To Skip This Method
If your grout is heavily stained or has deep-set mold, a magic eraser won't cut it. It only tackles surface marks. For deeper cleaning, stick to oxygen bleach or a dedicated grout cleaner.
Also, avoid using it on unsealed grout—the abrasion can make it more porous and prone to future stains.
13. Apply a Grout Colorant for a Fresh Look
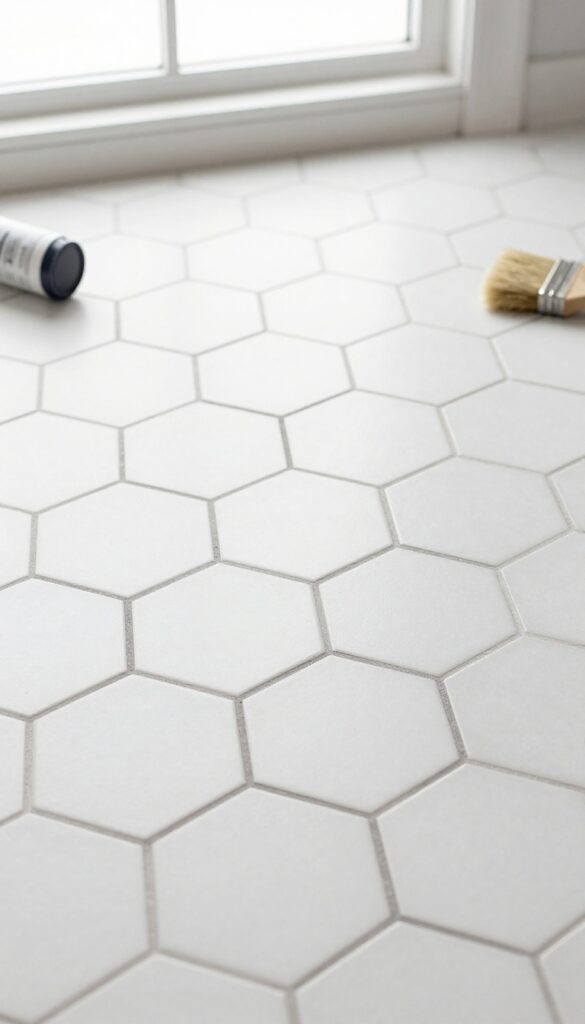
Sometimes no amount of scrubbing can restore grout to its original color. If your grout lines are permanently stained or just look dated, a grout colorant is a smart alternative to regrouting. This product paints over the old grout, sealing and recoloring in one step, and it can last for years with proper application.
Grout colorant comes in two main forms: a paint-on liquid with a brush applicator and a roll-on pen. Both work well, but the liquid version tends to be more durable for large areas. Before applying, make sure the grout is clean and dry.
Any moisture or dirt trapped underneath will cause the colorant to peel. Apply a thin, even coat, working it into the lines with a small brush or applicator. Wipe away excess from the tile surface immediately.
Let it cure for at least 24 hours before exposing it to water. The result is a uniform, sealed grout line that resists future stains and looks brand new.
Choosing The Right Color
Pick a color that matches your existing grout or go a shade darker for a contrast that hides dirt better. Lighter colors can brighten a room but show wear sooner. Test a small, hidden area first to see how it looks when dry.
Application Tips For Best Results
Use a grout colorant applicator bottle with a narrow tip for precision. Work in small sections, about 2-3 square feet at a time. Have a damp sponge ready to clean up any mistakes immediately.
For porous tiles, apply a tile sealer before coloring to prevent staining.
Maintenance After Coloring
Once cured, colored grout is sealed and easier to clean. Use mild cleaners and avoid abrasive scrubbing. Reapply colorant every few years if needed, but most quality products last 3-5 years with normal wear.
14. Clean Spills Immediately
Grout is like a sponge—it soaks up whatever lands on it. That splash of red wine or drip of olive oil might seem harmless on the tile, but once it seeps into the porous grout, it leaves a stubborn stain that's tough to remove. The trick is to act fast before the liquid has a chance to penetrate.
Why Speed Matters
Grout is unsealed or poorly sealed in many homes, making it highly absorbent. Liquids can stain in minutes, especially acidic ones like coffee or tomato sauce. Once the stain sets, it bonds with the grout's surface, requiring extra scrubbing or chemical treatments.
A quick response saves you time and effort.
How To Blot, Not Rub
When a spill happens, grab a clean cloth or paper towel and blot—don't rub. Rubbing spreads the liquid deeper into the grout lines. Gently press down to absorb as much as possible, then switch to a dry section of the cloth.
For sticky spills like syrup, use a damp cloth first to dilute, then blot dry.
The Right Cleaner For Fresh Spills
For most fresh spills, plain water or a mild dish soap solution works fine. Avoid harsh chemicals that can damage grout or strip sealant. If the spill is oily, add a drop of degreasing dish soap to warm water.
Apply with a soft sponge, then rinse and blot dry. For wine or coffee, a paste of baking soda and water can lift the color if caught quickly.
15. Use a Microfiber Mop for Daily Maintenance
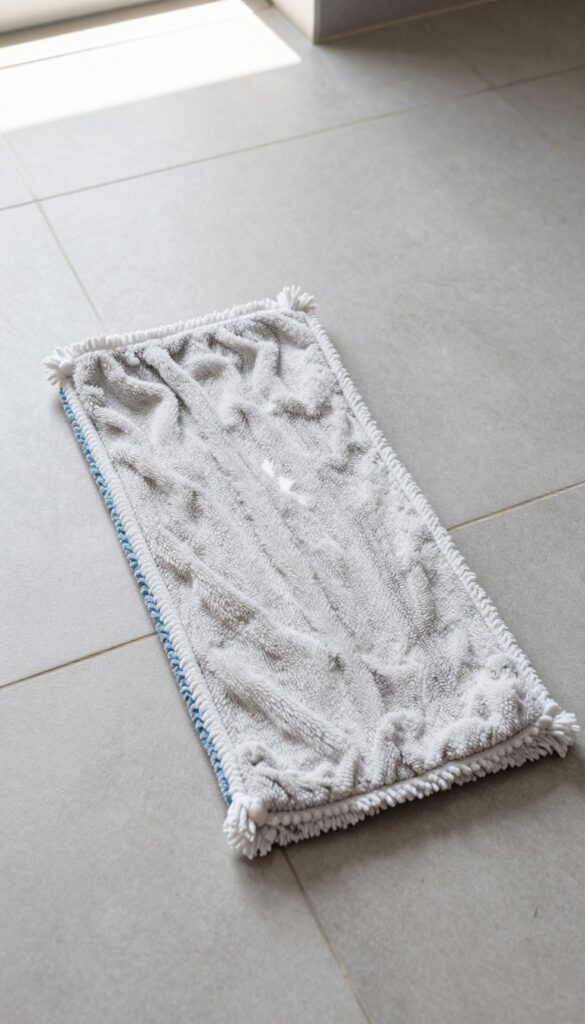
Keeping grout clean starts before it gets dirty. A quick daily mop with the right tool can prevent grime from settling into those porous lines. The key is using a microfiber mop and just a light mist of water or cleaner.
A damp microfiber mop picks up dirt without leaving excess water that seeps into grout. Avoid soaking the floor. Microfiber traps particles instead of pushing them around, and it dries fast so grout doesn't stay wet long enough to attract new dirt.
Why Microfiber Works
Microfiber has split fibers that create static electricity, grabbing dust and grime like a magnet. Unlike cotton mops, it doesn't leave behind a film of dirty water. This means less residue settling into grout lines.
How To Mop Correctly
Use a spray mop or a bucket with a wringer—never dunk the mop head. Lightly mist the floor in sections, then wipe with the dry side of the mop. Change the pad when it looks dirty.
One pass is usually enough.
What To Avoid
Skip vinegar or acidic cleaners on a daily basis—they can etch grout over time. Stick to pH-neutral floor cleaners or plain water. Also, avoid soaking the mop; excess moisture is the enemy of clean grout.
16. Try a Commercial Grout Cleaner for Tough Jobs
Sometimes a homemade paste or a simple scrub just won't cut it. For deeply embedded stains or years of built-up grime, a commercial grout cleaner can be a game-changer. These products are formulated with stronger active ingredients to break down what regular cleaners leave behind.
Just be sure to follow the safety guidelines.
When To Bring Out The Big Guns
If you've tried baking soda, vinegar, and a stiff brush without success, it's time for a commercial cleaner. Look for stains that have set in for months or even years, especially in high-traffic areas like entryways or kitchen floors. These products are designed for heavy-duty cleaning and can save you hours of elbow grease.
Choosing The Right Product
Not all grout cleaners are the same. Zep Grout Cleaner and Brightener is a popular choice for general use, while Grout-Eez is great for tough, set-in stains. For colored grout, make sure the product is safe for your specific color.
Always read the label and spot-test in an inconspicuous area first.
Safety First: Ventilation And Protection
Commercial cleaners often contain strong chemicals like bleach or acids. Work in a well-ventilated area by opening windows and doors. Wear rubber gloves to protect your skin, and consider safety goggles to avoid splashes.
Follow the instructions for dwell time and rinsing carefully to avoid damaging your grout.
17. Use a Pressure Washer on Outdoor Tile
Outdoor tile floors take a beating from weather, mud, and algae. A pressure washer can make quick work of that buildup, but you have to be careful. Too much pressure can blast the grout right out of the joints.
Choose The Right Nozzle
A wide fan nozzle (25 or 40 degrees) is your best bet. It spreads the water over a larger area, reducing the risk of damage. Avoid zero-degree or turbo nozzles—they’re too aggressive for grout.
Keep The Pressure Low
Start with the lowest pressure setting and test an inconspicuous spot. You want to clean the grout, not erode it. If the dirt doesn’t budge, increase pressure gradually, but never exceed 1, 500 PSI on grout.
Work In Sections
Tackle one small area at a time. Hold the nozzle at a 45-degree angle and keep it moving. Lingering in one spot can strip the grout.
Let the area dry completely before you assess if you need another pass.
18. Make a DIY Grout Cleaner with Dish Soap
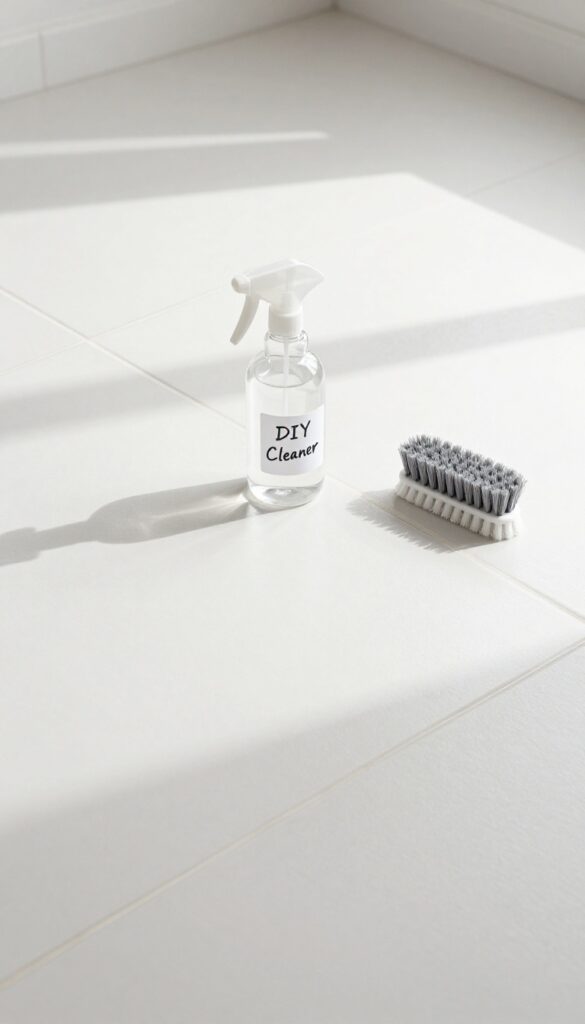
Not every grout cleaning job calls for heavy-duty chemicals. For routine maintenance, a simple DIY solution made from dish soap and vinegar works wonders. It's gentle on your grout but tough on everyday grime, and you probably already have the ingredients in your kitchen.
Mix one part white vinegar with four parts warm water in a spray bottle. Add a few drops of mild dish soap—avoid anything with bleach or harsh degreasers. Shake gently to combine.
Spray the solution directly onto the grout lines, let it sit for five minutes, then scrub with a soft-bristled brush. Rinse with clean water and dry with a microfiber cloth.
Why This Mix Works
Vinegar is mildly acidic, which helps dissolve soap scum and mineral deposits without damaging grout. Dish soap breaks down grease and lifts dirt. Together, they create a balanced cleaner that's safe for most tile types, including ceramic and porcelain.
When To Use It
This DIY cleaner is perfect for weekly or biweekly cleaning. It's not strong enough for deep-set stains or mold, but it will keep your grout looking fresh between more intensive treatments. Avoid using it on unsealed grout, as the vinegar can weaken it over time.
Tips For Best Results
Always test on a small, hidden area first. Use a toothbrush or grout brush to work the solution into the lines. Rinse thoroughly to prevent any soapy residue that could attract more dirt.
19. Dry the Floor After Cleaning
Once you've scrubbed and rinsed, don't just walk away. Leaving the floor wet might seem harmless, but it actually invites new dirt to settle into your grout. Moisture acts like a magnet for dust and grime, undoing all your hard work.
Drying the floor thoroughly after cleaning is a simple step that makes a big difference. Wet grout is more porous and sticky, so particles in the air or on your feet cling to it easily. By removing excess water, you help the grout stay cleaner for longer and reduce the chance of mold or mildew forming in the damp lines.
Use A Clean Towel Or Mop
Grab a fresh, lint-free towel or a microfiber mop and go over the floor after rinsing. Absorb as much water as possible, especially along the grout lines. This prevents standing water from seeping deeper into the grout and keeps the surface dry faster.
Try A Squeegee For Large Areas
If you're dealing with a big tile floor, a squeegee can speed things up. Pull it across the tiles in long strokes to push water toward a drain or a towel. It's efficient and leaves less moisture behind than letting the floor air dry.
Open Windows Or Use A Fan
After towel-drying, improve air circulation to speed up the remaining drying process. Open windows, turn on a fan, or use a dehumidifier. The sooner the grout is completely dry, the less chance dirt has to stick to it.
20. Schedule Regular Deep Cleans
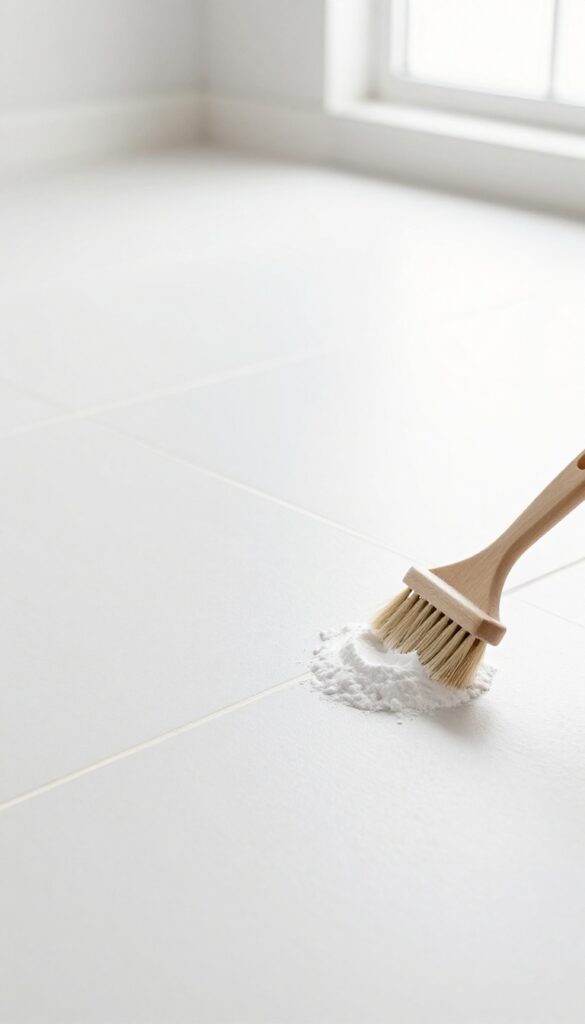
Grout doesn't stay clean on its own. Even with daily sweeping and mopping, dirt and soap residue slowly build up in those porous lines. That's why setting a recurring deep clean schedule makes a real difference.
Plan to give your grout a thorough scrub every three to six months. Mark it on your calendar or set a phone reminder so it doesn't slip your mind. Consistent deep cleaning prevents stains from setting in and keeps your tile floors looking sharp year-round.
Regular deep cleans break down the grime that routine mopping misses. Over time, oils, dirt, and mildew accumulate deep in the grout pores. A quarterly or biannual scrub removes that buildup before it becomes stubborn.
This saves you from having to use harsh chemicals or spend hours scrubbing later. Plus, fresh grout lines make the entire floor look cleaner and brighter.
Pick A Frequency That Works For You
How often you deep clean depends on foot traffic and household habits. For busy kitchens and entryways, every three months is ideal. Bathrooms and low-traffic areas can go six months.
Adjust based on what you see—if grout starts looking dingy before your scheduled date, move it up.
Use A Gentle But Effective Cleaner
For regular deep cleans, stick with a mild cleaner like a baking soda and vinegar paste or a pH-neutral grout cleaner. Harsh acids can erode grout over time. Apply the cleaner, let it sit for 5–10 minutes, then scrub with a stiff brush.
Rinse thoroughly with water.
Make It A Two‑step Process
Start by sweeping and mopping the floor to remove surface dirt. Then apply your deep cleaner and scrub. This two‑step approach ensures you're not just pushing dirt around.
After rinsing, dry the grout with a towel to prevent water spots and mildew growth.
FAQ
How often should I clean grout on tile floors?
For maintenance, mop weekly with a mild cleaner. Deep clean grout every 3-6 months, or sooner if you notice discoloration.
Can I use bleach on colored grout?
Bleach can lighten or discolor colored grout. Test in an inconspicuous area first, or use a color-safe cleaner.
What's the best homemade grout cleaner?
A paste of baking soda and water, followed by a spray of vinegar, works well for most grout. For tough stains, add hydrogen peroxide.
Does sealing grout prevent stains?
Yes, sealing creates a barrier that repels liquids and dirt. It doesn't make grout stain-proof, but it makes cleaning easier.
How do I clean grout without scrubbing?
Use a steam cleaner or a grout cleaning pen with a soak-in formula. For light stains, a magic eraser can work with minimal effort.
Conclusion
Grout lines don't have to be a constant eyesore. By mixing a few of these tips into your regular cleaning routine, you'll keep them looking fresh without spending hours scrubbing. Start with the methods that match your tile type and grout color, then build from there.
Consistency is what really makes the difference. A quick weekly wipe-down or a monthly deep clean with the right homemade paste will save you from tackling stubborn stains later. Pick two or three tips that feel doable, and your grout will stay cleaner with a lot less effort.


