
You walk into your kitchen or bathroom and notice the tiles look dull. The grout lines have darkened over time, stealing the shine from the entire floor. It's a common frustration that makes even new tiles look old.
But here's the good news: restoring that bright, clean look is easier than you think. With the right approach, you can lift years of grime without spending hours scrubbing.
These 23 ideas range from simple household hacks to targeted commercial solutions. Whether your grout is sealed, unsealed, colored, or epoxy, there's a method here that will work for you.
1. Baking Soda and Vinegar Paste
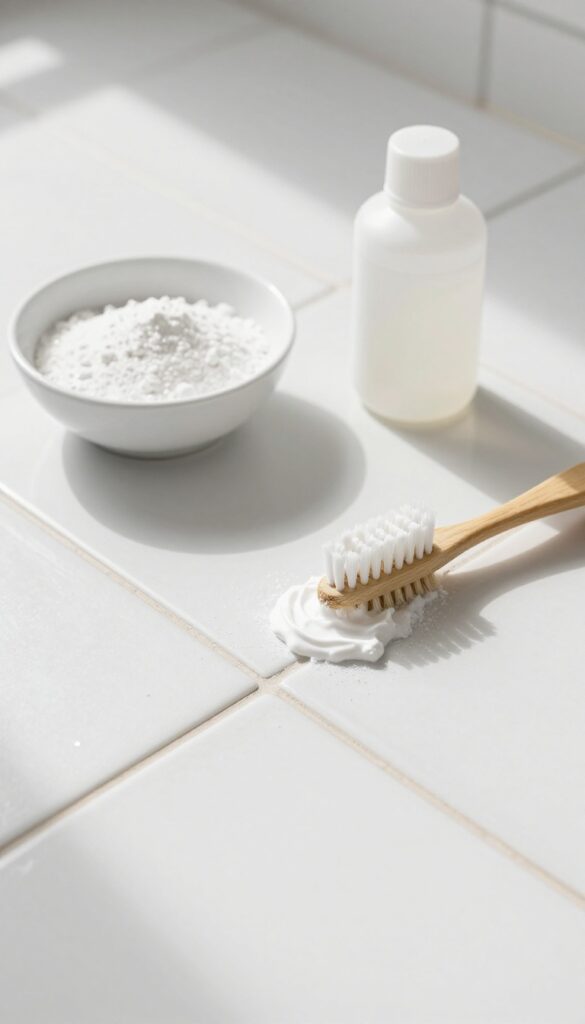
If your grout is looking dingy but you want to avoid harsh chemicals, this classic combo is your best bet. Baking soda and vinegar react to lift dirt and loosen grime without damaging the grout. It's cheap, non-toxic, and you probably already have both ingredients in your pantry.
Mix three parts baking soda with one part white vinegar to create a spreadable paste. The mixture will fizz as the acid reacts with the base—that's normal. Apply the paste directly onto the grout lines using an old toothbrush or a small spatula.
Let it sit for about 10 minutes so the bubbles can work their magic. Then scrub firmly with a stiff-bristled brush, working the paste into every groove. Rinse with warm water and wipe away residue with a damp cloth.
For extra stubborn stains, let the paste sit longer or add a few drops of dish soap.
Why It Works So Well
The chemical reaction between baking soda (a mild alkali) and vinegar (a weak acid) produces carbon dioxide gas. Those tiny bubbles help dislodge dirt and grime from porous grout surfaces. Baking soda also acts as a gentle abrasive, scrubbing away stains without scratching the tile.
Best For Light To Moderate Grime
This method shines on grout that's dirty but not deeply stained. It's perfect for routine maintenance or freshening up grout between deep cleans. For set-in stains or mold, you might need a stronger solution, but this paste is a great first step.
Pro Tips For Better Results
Use a brush with stiff nylon bristles—don't use metal brushes as they can scratch tile. Work in small sections so the paste doesn't dry out. If the paste dries before you scrub, just spritz a little vinegar on it to reactivate.
Always rinse thoroughly to prevent any residue that could attract more dirt.
2. Hydrogen Peroxide and Baking Soda
When your grout needs a serious brightness boost, hydrogen peroxide and baking soda make a powerful team. The peroxide acts as a mild bleach, while baking soda provides gentle abrasion to lift embedded dirt. This paste is especially effective on white grout that has yellowed or grayed over time.
Mix equal parts hydrogen peroxide (3% solution) and baking soda to form a thick paste. Apply it directly to the grout lines, let it sit for 15 minutes, then scrub with a stiff brush. Rinse thoroughly with water.
For extra stubborn stains, you can add a few drops of dish soap to the mixture. This method is safe for most tile types, but test on an inconspicuous area first, especially if your grout is colored or sealed.
Why This Combo Works So Well
Hydrogen peroxide is an oxidizing agent that breaks down organic stains and kills mold spores. Baking soda is mildly alkaline and works as a gentle scrubber without scratching tile. Together, they create a fizzing action that helps lift dirt from porous grout surfaces.
Best Practices For Application
Apply the paste with an old toothbrush or a grout brush, working it into the lines. Let it sit for the full 15 minutes – don't rush this step. If the paste dries out, spritz a little water to keep it active.
After scrubbing, rinse with clean water and wipe away any residue with a damp cloth.
When To Avoid This Method
Avoid this paste on dark or colored grout, as the peroxide may lighten it unevenly. Also, skip it if your grout is unsealed and you notice efflorescence (white powdery deposits), as the moisture could worsen the issue. In those cases, opt for a pH-neutral cleaner instead.
3. Lemon Juice and Cream of Tartar
Lemon juice and cream of tartar might sound like baking ingredients, but together they make a powerful natural grout cleaner. The acidity in lemon juice cuts through grease and soap scum, while cream of tartar acts as a gentle abrasive. This combo is especially good for light-colored grout that has yellowed over time.
To use this method, mix lemon juice and cream of tartar into a paste. Apply it to the grout lines, let it sit until dry, then rinse with water. The paste will lift stains without harsh fumes.
It's a safe option for homes with kids or pets.
How To Make The Paste
Combine 2 tablespoons of cream of tartar with enough lemon juice to form a thick paste. Stir until smooth. If the paste is too runny, add more cream of tartar.
Too thick, add a few more drops of lemon juice.
Application Tips
Use an old toothbrush or a small grout brush to work the paste into the grout lines. Let it dry completely—usually 30 minutes to an hour. Rinse thoroughly with warm water and wipe away residue with a damp cloth.
Best Results
This method works best on unsealed grout. If your grout is sealed, the paste may not penetrate as well. For heavily stained grout, you might need to repeat the process.
Always test on a small hidden area first to check for any discoloration.
4. Steam Cleaning for Deep Grime
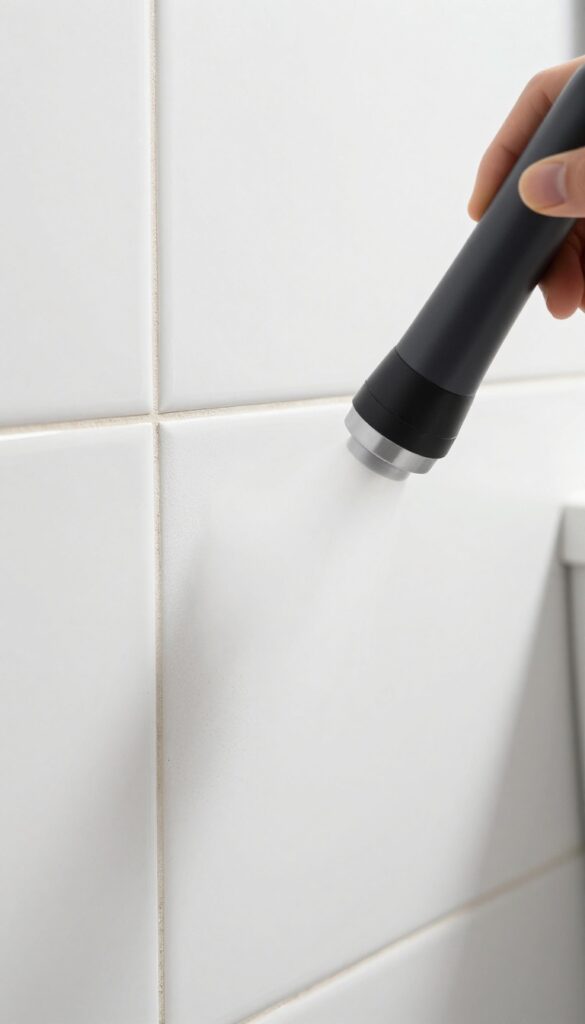
If you've been scrubbing grout lines by hand and still see stubborn discoloration, steam cleaning might be the upgrade you need. A handheld steam cleaner with a grout attachment uses high heat to loosen embedded dirt without any chemicals. This method works especially well on sealed grout, where the steam can penetrate the surface without damaging the sealant.
Why Steam Works So Well
Steam cleaning relies on heat and pressure rather than abrasives or chemicals. The steam softens dirt and grime, making it easy to wipe away. It also kills mold and mildew spores, which are common in damp grout lines.
For sealed grout, steam is safe because it doesn't strip the sealant like some harsh cleaners can.
Best Practices For Steam Cleaning Grout
Start by vacuuming the floor to remove loose debris. Fill your steam cleaner according to the manufacturer's instructions and attach the grout brush. Work in small sections, holding the steamer on each grout line for a few seconds.
Wipe away the loosened dirt with a microfiber cloth or mop. Avoid using steam on unsealed or cracked grout, as moisture can seep in and cause damage.
When To Choose Steam Over Other Methods
Steam cleaning is ideal for deep cleaning sessions, especially if you want to avoid chemical residues. It's also great for high-traffic areas where grout gets heavily soiled. However, if your grout is unsealed or has visible cracks, stick to gentler methods like baking soda paste.
For maintenance between deep cleans, a quick steam treatment can keep grout looking fresh.
5. Oxygen Bleach Soak
Oxygen bleach is a game-changer for grout that's seen better days. Unlike chlorine bleach, it's color-safe and won't damage your tiles or harm the environment. This method works especially well on porous grout that has absorbed years of dirt and mildew.
To get started, mix oxygen bleach powder with warm water according to the package directions—usually about a quarter cup per gallon. Apply the solution generously to the grout lines, making sure they're fully saturated. Let it sit for at least 30 minutes; the longer you leave it, the more it lifts embedded stains.
After the soak, scrub the grout with a stiff brush, then rinse thoroughly with clean water. You'll be amazed at how much brightness returns.
Why Oxygen Bleach Works
Oxygen bleach releases hydrogen peroxide when mixed with water, creating oxygen bubbles that penetrate deep into the grout's pores. This reaction breaks down organic stains like dirt, food spills, and mold without the harsh fumes or whitening effects of chlorine bleach. It's also safe for colored grout, so you won't end up with uneven tones.
Best Practices For Best Results
For heavily soiled grout, consider applying the paste form instead of a liquid. Mix the powder with just enough water to form a thick paste, spread it over the grout lines, and let it sit for up to an hour. Cover the area with plastic wrap to keep it from drying out.
After scrubbing, use a wet vacuum or sponge to remove all residue. Always test on a small, hidden area first to ensure compatibility.
When To Use This Method
Oxygen bleach is perfect for routine deep cleaning every few months or for tackling stains that milder cleaners can't handle. It's especially effective on light-colored grout that has yellowed or grayed over time. Avoid using it on unsealed natural stone tiles, as the moisture can seep in and cause damage.
6. Commercial Grout Cleaner Spray
Sometimes you just want a product that works out of the bottle. Commercial grout cleaner sprays are formulated to tackle tough stains without the guesswork. They're especially handy when you need quick results on high-traffic areas or deeply embedded dirt.
Commercial grout sprays come in a range of formulas, from gentle daily cleaners to heavy-duty options with bleach. The key is matching the product to your grout type and stain level. Always test in an inconspicuous spot first, especially on colored or unsealed grout.
How To Use A Commercial Grout Spray
Start by sweeping or vacuuming the floor to remove loose debris. Spray the cleaner directly onto the grout lines, making sure to saturate them. Let it sit for the recommended dwell time—usually 5 to 15 minutes—so the chemicals can break down the grime.
Then scrub with a stiff-bristled brush or a grout brush. Rinse thoroughly with water and wipe dry.
Choosing The Right Formula
For whitening, look for sprays containing bleach or oxygen bleach. These are great for light-colored grout but can discolor darker grout, so proceed with caution. If your grout is colored or epoxy, choose a non-bleach, pH-neutral cleaner to avoid damage.
Some sprays also include sealants to help protect against future stains.
Safety And Ventilation Tips
Many commercial cleaners contain strong chemicals. Always work in a well-ventilated area—open windows or use a fan. Wear gloves to protect your hands, and avoid mixing products, especially bleach with ammonia.
Keep children and pets away until the area is dry.
7. Grout Pen for Touch-Ups
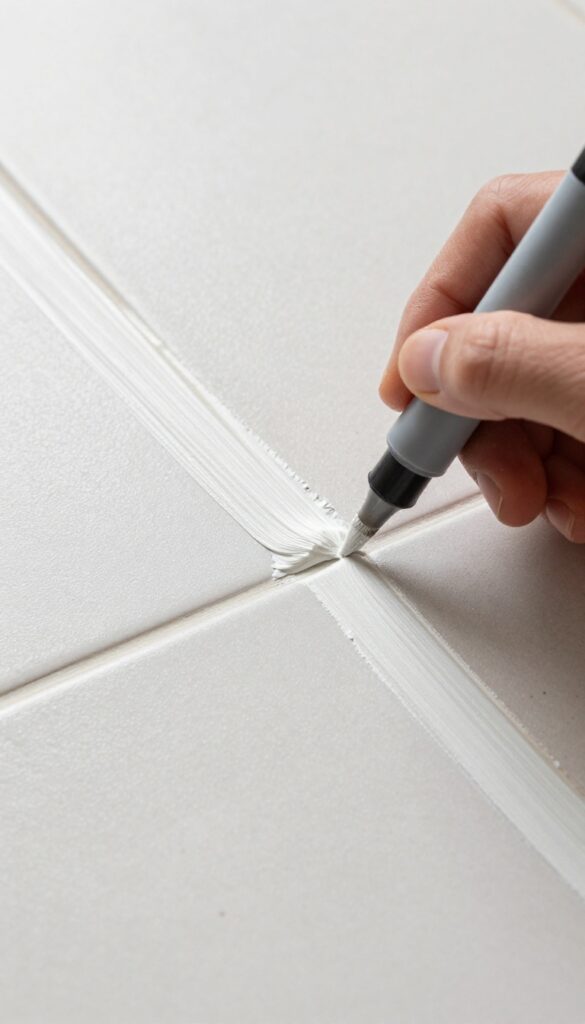
Even after a deep clean, some grout lines might still look patchy or stained. A grout pen is the quickest way to hide those imperfections and give your tile floor a uniform, refreshed appearance. It works like a marker, letting you recolor the grout without the mess of traditional dyes or paints.
Grout pens are especially effective on ceramic and porcelain tiles where the grout is porous and absorbs color well. They come in various shades to match your existing grout or to create a contrasting look. The ink dries quickly and forms a protective layer that resists dirt and moisture, keeping your grout lines bright for months.
How To Apply A Grout Pen
Start with clean, dry grout lines. Shake the pen well, then press the tip into the grout line and squeeze gently to release the ink. Draw along the line, covering any stains or discoloration.
Wipe away any excess ink from the tile surface immediately with a damp cloth.
Choosing The Right Color
Match the pen color to your existing grout for a seamless look, or go slightly lighter to brighten the floor. Many pens offer a white or off-white shade that works well for most light-colored grout. Test the pen on an inconspicuous area first to ensure the color blends naturally.
Longevity And Maintenance
Grout pen coverage typically lasts 6 to 12 months depending on foot traffic and cleaning habits. Reapply as needed. Avoid abrasive cleaners on the treated grout to prevent premature wear.
Regular sweeping and damp mopping will extend the life of the color.
8. Toothbrush and Dish Soap
Sometimes the simplest tools are the most effective. An old toothbrush paired with a drop of dish soap can work wonders on small grout areas. This method is gentle enough for daily spot cleaning but surprisingly powerful at lifting fresh stains.
It's a go-to for quick touch-ups without pulling out heavy equipment.
For small areas, use an old toothbrush with a drop of dish soap. Scrub in circular motions. Rinse with a damp cloth.
Quick and gentle.
Why It Works
Dish soap cuts through grease and grime, while the toothbrush bristles reach deep into grout pores. The circular motion agitates dirt without damaging the grout. This combo is safe for all grout types, including colored or sealed surfaces.
Best Use Cases
Ideal for spot cleaning near sinks, stovetops, or entryways. Great for refreshing grout between routine deep cleans. Also works well on vertical grout lines in showers.
Pro Tips
Use a firm toothbrush for better scrubbing power. Dip the brush in warm water first to activate the soap. Rinse thoroughly to avoid soap residue, which can attract more dirt.
9. Magic Eraser Sponge
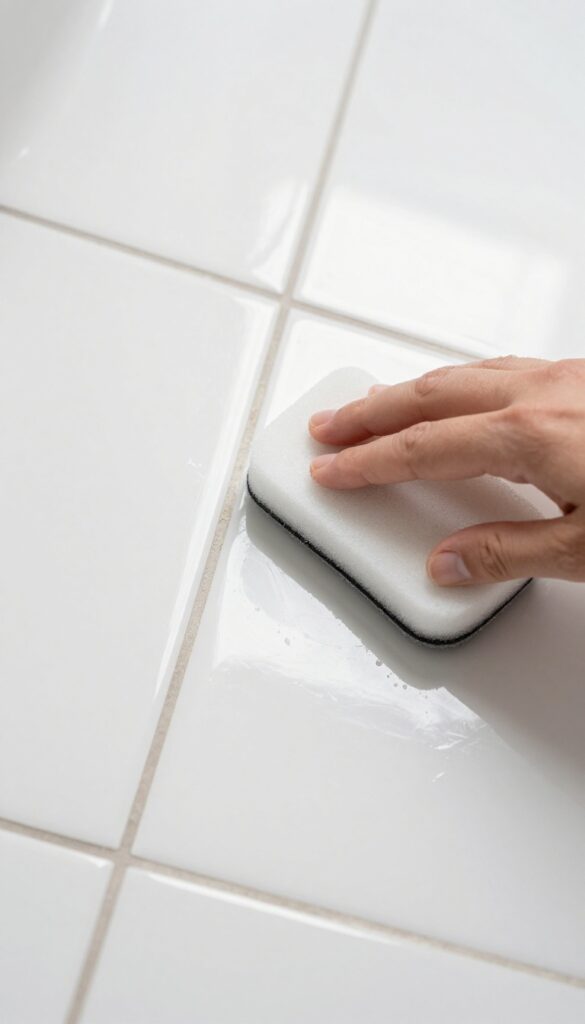
A magic eraser sponge is one of those cleaning tools that feels almost too good to be true. Dampen it, give it a gentle squeeze, and run it along your grout lines. The melamine foam acts like a super-fine sandpaper, lifting surface stains and dirt without any harsh chemicals.
It's perfect for a quick refresh between deeper cleans, especially on light-colored grout that shows every mark.
This method works best on sealed grout that's just looking a little dingy. The sponge's micro-abrasive action scrubs away the top layer of grime, revealing the cleaner grout underneath. You'll see results almost instantly, which makes it incredibly satisfying.
Just be aware that the sponge will wear down as you use it, so you might go through one or two per session.
When To Use It
Reach for a magic eraser when your grout has light to moderate surface staining but isn't deeply embedded with mold or mildew. It's great for high-traffic areas like kitchen floors or bathroom entries where dirt builds up quickly. Use it as a maintenance tool between your monthly deep cleans to keep grout looking fresh.
How To Use It Right
Cut the sponge into smaller pieces so you can get a good grip and work precisely along each grout line. Dampen it with water—don't soak it—and wring out the excess. Gently rub back and forth along the grout, applying light pressure.
The sponge will start to crumble as it cleans, so rotate to a fresh side when it gets dirty. Rinse the area with water afterward to remove any residue.
What To Avoid
Don't use a magic eraser on unsealed or porous grout, because the abrasiveness can damage the surface and make it more prone to future staining. Also avoid it on colored or epoxy grout, as it may strip the color or create a dull patch. Stick to sealed, standard cement-based grout for best results.
10. Bleach Gel Application
When you need serious whitening power, bleach gel is your heavy hitter. Unlike liquid bleach that runs everywhere, a thick gel clings to vertical grout lines and stays put. This method works fast on dingy, off-white grout but should never be used on colored grout.
Bleach gel is a targeted solution for brightening grout that has yellowed or grayed over time. Its thick consistency allows it to sit on the grout without dripping onto tiles, giving you controlled whitening. Always wear gloves and ensure good ventilation when working with bleach.
How To Apply Bleach Gel
Squeeze the gel directly along each grout line, covering the stain completely. Use a fine-tip bottle for precision. Let it sit for 10 minutes—longer on stubborn stains, but never exceed 15 minutes to avoid tile damage.
Scrub with a stiff brush, then rinse thoroughly with water.
Safety And Precautions
Bleach fumes are strong, so open windows and wear a mask if needed. Protect your hands with rubber gloves. Never mix bleach with ammonia or other cleaners.
Test on an inconspicuous area first to ensure your tiles and grout can handle it.
When To Skip This Method
If your grout is colored or painted, bleach will strip the color and leave uneven patches. It’s also not suitable for epoxy grout, as it can cause discoloration. For natural stone tiles, avoid bleach entirely—use a mild cleaner instead.
11. Vinegar and Water Spray
A simple vinegar and water spray is a go-to for daily grout maintenance. It's gentle enough for regular use but effective at cutting through light grime and soap scum. This mix won't damage sealed grout or harm most tile surfaces, making it a safe choice for quick touch-ups between deeper cleans.
Why It Works
White vinegar is mildly acidic, which helps dissolve alkaline-based dirt and mineral deposits common in bathrooms and kitchens. When diluted with water, it's strong enough to lift surface stains but weak enough to avoid etching tile or deteriorating grout sealer. A 50: 50 ratio strikes the right balance.
How To Use It Right
Fill a spray bottle with equal parts white vinegar and warm water. Shake gently to mix. Spray the grout lines until damp but not soaking.
Let it sit for five minutes to break down grime. Scrub with a stiff-bristled brush, then wipe away residue with a damp cloth. No rinsing needed if you use a microfiber mop afterward.
Best Practices And Limits
This spray works best on sealed grout and ceramic or porcelain tiles. Avoid using it on natural stone like marble or travertine, as the acid can etch the surface. For unsealed grout, test in a hidden spot first.
Use weekly to maintain brightness, but don't rely on it for heavy stains or mold.
12. Pumice Stone for Stubborn Stains
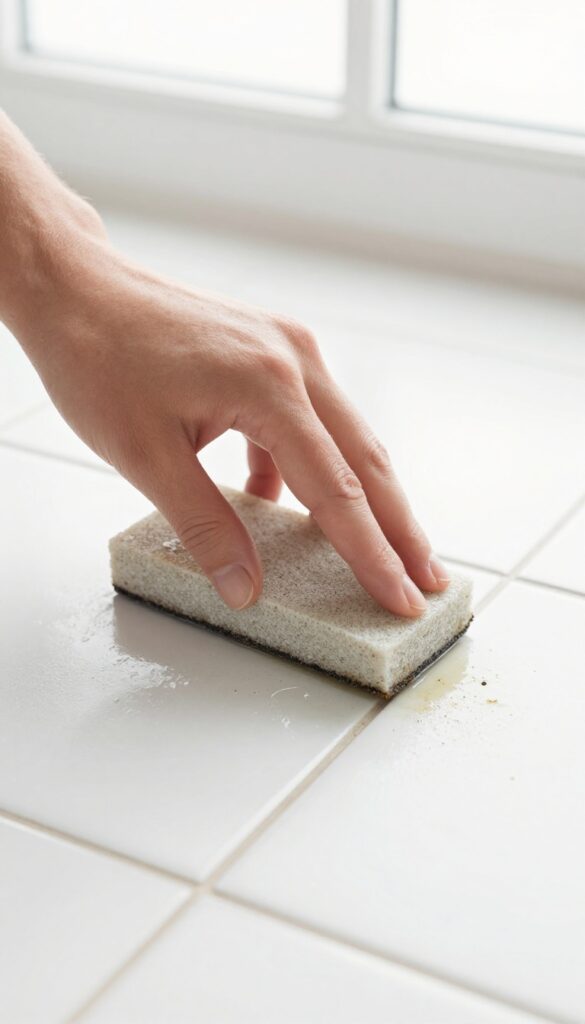
Some grout stains are so stubborn they laugh at sprays and scrubbing brushes. For those, a pumice stone is a surprisingly effective tool. It's basically a soft, porous rock that acts like a gentle sanding block, grinding away the stain without harming the tile underneath.
How It Works
Pumice is abrasive but softer than ceramic or porcelain tile. When you wet it and rub it over a stain, it wears down the discolored layer of grout or the stain itself. The key is to keep both the stone and the tile wet to lubricate the action and prevent scratching.
Which Tiles Are Safe?
This method works best on glazed ceramic or porcelain tiles. The glaze is hard enough to resist the pumice. Avoid using it on unglazed, natural stone, or matte finish tiles, as it can leave visible scratches.
If you're unsure, test in an inconspicuous spot first.
Step-by-step Tips
Soak the pumice stone in water for a few minutes. Wet the stained grout line as well. Gently rub the stone back and forth over the stain, applying light pressure.
Rinse frequently to check progress and remove debris. Once the stain is gone, wipe the area clean and dry it thoroughly.
13. Grout Cleaning Machine
If you're tackling a large tiled area, a manual scrub brush can feel like a punishment. That's where a grout cleaning machine steps in. These devices use rotating brushes and suction to blast and remove dirt fast.
Renting one for a weekend project is budget-friendly, but if you clean grout often, buying your own can be a smart investment.
Grout cleaning machines are designed to do the heavy lifting for you. They typically feature a rotating brush head that scrubs the grout lines while a built-in sprayer applies cleaning solution and a vacuum sucks up the dirty water. This three-in-one action cuts cleaning time drastically compared to hand scrubbing.
For best results, use a machine-compatible cleaning solution—some brands recommend their own formulas, but many work with standard grout cleaners. Always test on a small hidden area first to ensure the solution doesn't discolor your grout or tiles.
Rent Vs. Buy
Renting a grout cleaning machine is ideal for one-time deep cleans or annual maintenance. Home improvement stores often rent them by the day or weekend. If you have multiple tiled areas or plan to clean grout regularly, buying a machine pays off over time.
Entry-level models are affordable and store easily, while professional-grade units offer more power and durability.
Using The Machine Effectively
Start by sweeping or vacuuming the floor to remove loose debris. Fill the machine's tank with the recommended cleaning solution diluted per instructions. Work in small sections, moving the machine slowly along the grout lines.
Overlap passes slightly to avoid streaks. After the entire area is cleaned, go over it with plain water in the tank to rinse away any residue. Let the floor dry completely before walking on it.
Safety And Maintenance Tips
Always wear gloves and eye protection when handling cleaning chemicals. Ensure the room is well-ventilated. After each use, empty the dirty water tank and rinse the brushes to prevent buildup.
Check the manufacturer's guide for filter cleaning or replacement schedules. Store the machine in a dry place to avoid mold or damage.
14. Hydrogen Peroxide Direct Application
Hydrogen peroxide isn't just for first aid kits—it's a surprisingly effective grout cleaner. The 3% solution you can buy at any drugstore works by releasing oxygen bubbles that lift dirt and kill mold spores. This method is especially good for light-colored grout that has yellowed or developed mildew spots.
Pour 3% hydrogen peroxide directly onto grout lines. Let it bubble for 10 minutes, then scrub. It whitens and disinfects naturally.
Why It Works
Hydrogen peroxide is a mild bleaching agent that breaks down into water and oxygen. The bubbling action helps dislodge grime from porous grout surfaces, while the oxygen kills bacteria and mold without harsh fumes.
Best Practices
Test on an inconspicuous area first, especially if your grout is colored or sealed. Apply with a spray bottle or pour directly from the bottle. Let it sit for 10 minutes—don't let it dry out.
Scrub with a stiff brush, then rinse with water. For extra stubborn stains, mix with baking soda into a paste.
Safety Tips
Avoid mixing hydrogen peroxide with vinegar or bleach, as this can create toxic gases. Wear gloves to protect your skin, and ensure the room is well-ventilated. Keep it away from dark or colored grout, as it may lighten the color.
15. Dishwasher Tablet Trick
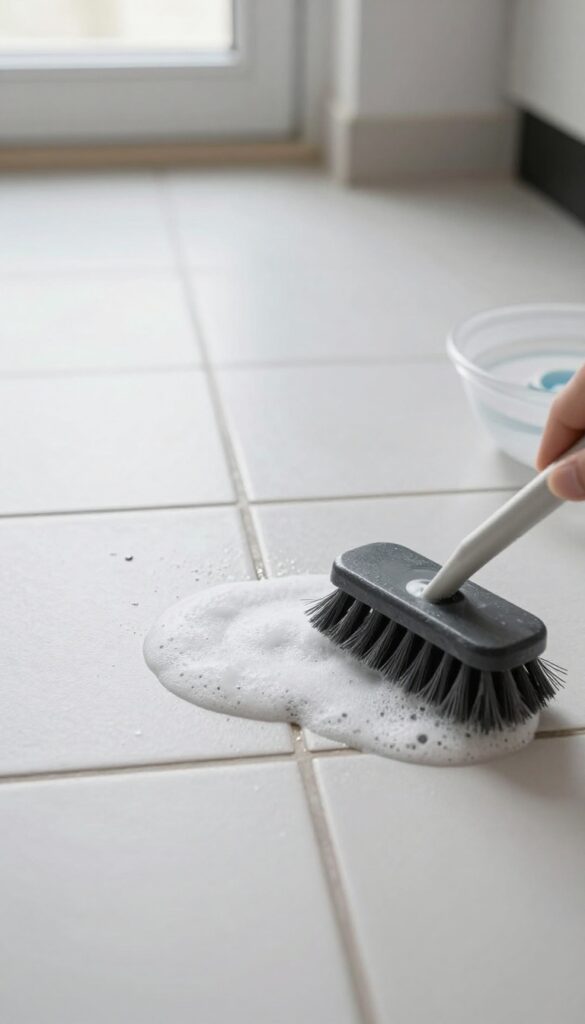
If you've got a box of dishwasher tablets under the sink, you're already holding a powerful grout cleaner. Those tablets are packed with enzymes and surfactants designed to break down grease and baked-on food. When dissolved in warm water, they create a solution that works wonders on grime-caked grout lines.
It's one of those tricks that feels almost too easy—until you see the results.
Drop one tablet into a bowl of warm water and let it fizz and dissolve completely. Dip a stiff brush into the solution and scrub it into the grout lines. Let it sit for about 15 minutes so the enzymes can do their job.
Then scrub again and rinse with clean water. The difference is often dramatic, especially in kitchen areas where grease buildup is common.
Why It Works So Well
Dishwasher tablets contain bleach, enzymes, and surfactants. The bleach tackles stains, the enzymes digest organic grime like food residue, and the surfactants lift dirt so it rinses away easily. This combination makes them far more effective than many all-purpose cleaners for grout.
Best Spots To Use This Trick
Kitchen floors and backsplashes benefit the most because they see the most grease and food splatter. Bathroom grout also responds well, especially around sinks and showers where soap scum and body oils accumulate. Avoid using this on unsealed natural stone grout, as the bleach can cause discoloration.
Pro Tips For Maximum Effect
Use a grout brush or an old toothbrush to work the solution deep into the lines. For extra stubborn spots, make a paste by crushing half a tablet with a little water and applying it directly. Let it sit longer—up to 30 minutes—then scrub.
Always rinse thoroughly to remove any residue.
16. Borax and Lemon Juice Paste
Borax has been a household cleaning staple for generations, and for good reason. When combined with lemon juice, it creates a powerful paste that tackles even the most stubborn grout stains. The borax works as a mild abrasive and whitening agent, while the lemon juice cuts through grease and leaves a fresh scent.
This paste is especially effective on white or light-colored grout that has yellowed over time. It's also a great option if you prefer using natural ingredients over harsh chemicals. The key is letting the paste sit long enough to break down the grime before scrubbing.
How To Make And Apply The Paste
Mix equal parts borax and lemon juice in a small bowl until it forms a thick, spreadable paste. You'll need about 2 tablespoons of each for a small area. Apply the paste directly to the grout lines using an old toothbrush or a small applicator brush.
Make sure to work it into the grout rather than just spreading it on top.
Let It Dry For Maximum Effect
Once applied, let the paste dry completely on the grout. This usually takes 30 minutes to an hour, depending on humidity. As it dries, the borax crystals will pull dirt and stains out of the porous grout.
You'll see the paste turn from white to a darker color as it absorbs the grime.
Scrubbing And Rinsing
After the paste is dry, wet a stiff-bristled brush or scrub sponge and scrub the grout lines vigorously. The dried paste will act as a gentle abrasive, helping to lift stains without damaging the grout. Rinse thoroughly with clean water and wipe away any residue with a damp cloth.
Repeat if necessary for heavily stained areas.
17. Essential Oil and Vinegar Spray
If you want a grout cleaner that doubles as an air freshener, this DIY spray is your answer. Tea tree and eucalyptus oils are natural mold fighters, and they leave behind a clean, invigorating scent. Paired with vinegar’s acidity, this mix cuts through grime while keeping your bathroom or kitchen smelling spa-fresh.
Why It Works
Tea tree oil is a powerful antifungal and antibacterial agent, making it ideal for grout lines prone to mildew. Eucalyptus oil adds its own antimicrobial punch and a pleasant aroma that lingers. Vinegar breaks down soap scum and mineral deposits, while the oils help mask its sharp smell.
How To Make It
Mix 1 cup white vinegar with 1 cup water in a spray bottle. Add 10–15 drops of tea tree or eucalyptus oil (or a blend). Shake well.
Spray directly onto grout lines, let sit for 5–10 minutes, then scrub with a stiff brush and wipe clean. No rinsing needed.
Best Uses
Use this spray as a weekly maintenance treatment to prevent mold regrowth. It’s safe for sealed and unsealed grout, but test on a hidden area first. Avoid on natural stone tiles, as vinegar can etch them.
18. Grout Sealer Application
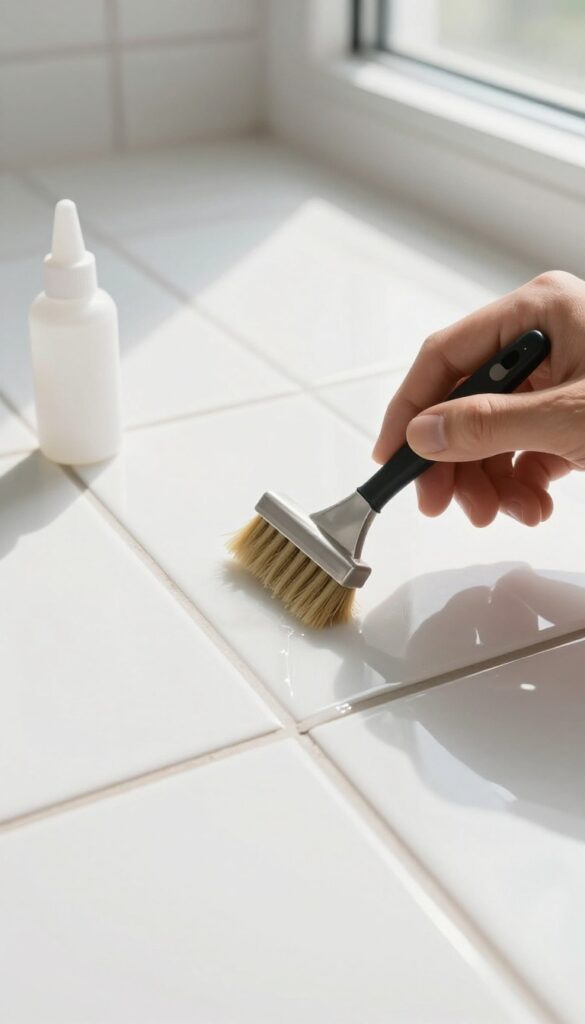
You've scrubbed, bleached, and steamed your grout back to its original color. Now, the last step is to lock in that clean look with a quality sealer. A good sealer acts like a raincoat for your grout, repelling spills, dirt, and moisture so future cleanings are much easier.
Applying grout sealer is a straightforward job that pays off for months. Most sealers are either brush-on or spray-on, and both work well when applied correctly. The key is to clean the grout thoroughly first—any residue will get sealed in.
Once applied, the sealer creates a protective barrier that makes liquids bead up instead of soaking in. Plan to reapply every 6 to 12 months, depending on foot traffic and exposure to moisture.
Choosing The Right Sealer
Not all sealers are the same. Penetrating sealers soak into the grout and protect from within, while membrane-forming sealers sit on top. For most homes, a penetrating sealer is the better choice because it doesn't change the grout's appearance and lasts longer.
If your grout is in a wet area like a shower, look for a sealer that's specifically labeled for high-moisture environments.
Application Tips For Best Results
Start with a clean, dry grout surface. Apply the sealer with a small brush or a spray bottle, making sure to cover the grout lines without flooding the tiles. Wipe away any excess from the tile surface immediately to avoid hazy residue.
Let it dry for the time recommended on the label—usually a few hours. A second coat may be needed for porous grout.
How Often To Reapply
In low-traffic areas like a guest bathroom, a single application can last up to a year. In kitchens or entryways, you might need to reseal every six months. A simple test is to drip a few drops of water onto the grout; if they soak in quickly, it's time to reseal.
Keeping up with this routine prevents stains from setting and keeps your grout looking fresh.
19. Pressure Washer for Outdoor Grout
Outdoor tiles face a whole different level of dirt—mud, algae, and weather stains. Scrubbing by hand on a patio or pool deck is exhausting. A pressure washer can blast away that buildup fast, but you have to use it carefully to avoid damaging the grout.
Pressure washers are ideal for large outdoor tiled areas where dirt is deeply embedded. The key is using a low-pressure tip (at least 25 degrees) and keeping the nozzle moving steadily. Hold it about 12 inches from the surface and work in overlapping passes.
This method is especially effective for patios, walkways, and pool surrounds where grout lines are wider and more durable. Always test on a small hidden spot first. If the grout is already cracked or loose, skip this method—the pressure could make it worse.
Choosing The Right Tip
Use a 25- or 40-degree nozzle for grout cleaning. A zero-degree tip is too concentrated and can gouge the grout. A rotating turbo tip is also too aggressive for most outdoor grout.
Stick with a fan spray pattern for even cleaning.
Technique Matters
Keep the wand moving in smooth, steady strokes. Don't stop in one spot, or you'll erode the grout. Work from the top of the area downward so dirty water runs off clean tiles.
For stubborn stains, pre-treat with a tile cleaner or bleach solution before pressure washing.
20. Enzyme Cleaner for Organic Stains
Organic stains from food spills, pet accidents, or even mildew can be stubborn because they're made of proteins, fats, or sugars. Regular cleaners often just mask the smell or spread the stain. Enzyme cleaners work differently—they literally digest the organic matter, breaking it down into smaller pieces that rinse away easily.
This makes them a smart choice for grout in kitchens, bathrooms, or anywhere pets hang out.
Enzyme cleaners are available as sprays or concentrates. Look for products labeled "enzyme" or "bio-enzymatic" on the bottle. Some are designed specifically for pet stains, but any quality enzyme cleaner will work on food, grease, or organic grime.
Avoid mixing with bleach or harsh chemicals, as that can kill the enzymes. Always test on a small, hidden area first, especially if your grout is unsealed.
How To Apply
Start by sweeping or vacuuming the floor to remove loose dirt. Spray or pour the enzyme cleaner directly onto the stained grout lines, making sure they're fully saturated. Let it sit for the time recommended on the label—usually 10 to 15 minutes.
For tough stains, you can cover the area with a plastic wrap to keep it moist and active longer. After the dwell time, blot up the residue with a clean cloth or sponge, then rinse with water. Repeat if needed.
Best Uses And Limitations
Enzyme cleaners excel on fresh or recent organic stains. They're also great for odors because they eliminate the source rather than just covering it up. However, they won't remove mineral deposits, soap scum, or inorganic stains like rust or dye.
For those, you'll need a different approach. Also, enzyme cleaners work best at room temperature—extreme heat or cold can deactivate the enzymes.
Diy Vs. Store-bought
You can make a simple enzyme cleaner at home by fermenting citrus peels in water with a bit of sugar, but it takes weeks and can be inconsistent. Store-bought options are more reliable and often include stabilizers to keep the enzymes active. Brands like Nature's Miracle, BioKleen, or Simple Green offer enzyme-based formulas that are safe for sealed grout.
If you prefer a DIY route, look for unscented, non-toxic enzyme powders online.
21. Baking Soda and Hydrogen Peroxide Scrub
When grout turns yellow from age or mildew, a simple paste can bring it back to life. Baking soda and hydrogen peroxide create a fizzing action that lifts stains without harsh fumes. This combo is gentle enough for regular use but tough on discoloration.
Why This Combo Works So Well
Baking soda is a mild abrasive that scrubs away surface grime without scratching tiles. Hydrogen peroxide is a natural bleaching agent that penetrates porous grout to break down organic stains. Together, they form a paste that clings to vertical surfaces and stays active for minutes.
How To Mix And Apply
In a small bowl, combine three parts baking soda with one part hydrogen peroxide until it forms a thick, spreadable paste. Use an old toothbrush or a grout brush to work the paste into the grout lines. Let it sit for 15 minutes—longer if the stains are deep.
Scrub in circular motions, then rinse with warm water and wipe dry.
Tips For Best Results
Test on an inconspicuous area first, especially if your grout is colored. For extra whitening power, add a squirt of lemon juice or a few drops of dish soap. Avoid letting the paste dry completely on the surface—cover with plastic wrap if you need more time.
Rinse thoroughly to remove all residue.
22. Professional Grout Cleaning Service
Sometimes DIY just doesn't cut it. If your grout is deeply stained, has years of built-up dirt, or covers a large area, calling in the pros can save you time and frustration. Professional cleaners use industrial-grade equipment and specialized solutions that penetrate deep into the porous grout, lifting grime that household products can't touch.
Professional grout cleaning services typically combine high-pressure steam cleaning, hot water extraction, and powerful cleaning agents. They also often include sealing as part of the package, which protects your grout from future stains. While it's an investment, it's worth it for high-traffic areas or when you want guaranteed results without the elbow grease.
What To Expect From A Pro
A typical service starts with an inspection to assess the grout condition and tile type. Then they apply a pre-treatment to loosen dirt, followed by steam cleaning or agitation with a rotary machine. Finally, they rinse and extract the residue, leaving grout clean and ready for sealing.
When To Hire A Professional
Consider hiring a pro if your grout is heavily stained from years of neglect, if you have a large area like a basement or commercial space, or if you've tried multiple DIY methods without success. Also, if your grout is old and crumbling, a professional can recommend repair or replacement before cleaning.
Sealing After Cleaning
After deep cleaning, grout is more porous than ever, so sealing is crucial. Many professional services include sealing or offer it as an add-on. A good sealer creates a protective barrier that repels moisture and stains, making future cleaning much easier.
23. Daily Grout Wipe Down
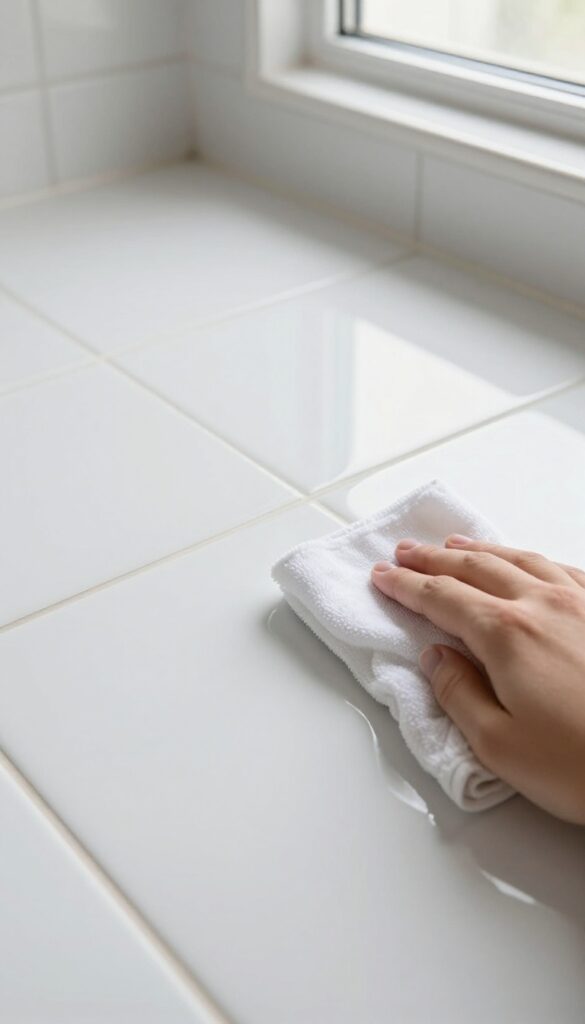
A minute spent now can save you hours later. That's the simple logic behind wiping down your grout lines after every shower or floor cleaning. Moisture is the enemy of clean grout—it seeps into the porous material and invites mildew and stains.
By drying the grout with a clean cloth, you stop that process before it starts.
This habit is especially effective in bathrooms, where steam and water droplets linger on tiles. Keep a microfiber cloth or a squeegee handy near the shower. After your last rinse, quickly run it along the grout lines.
The same applies to kitchen floors after mopping—a quick dry pass prevents water from settling into the grout. Over time, this daily routine keeps grout looking fresh and reduces the need for deep cleaning.
Why It Works
Grout is naturally porous, which means it absorbs water like a sponge. When water sits on the surface, it carries dirt and soap residue into the pores. Over time, this leads to discoloration and mildew growth.
A daily wipe removes that moisture before it penetrates, keeping the grout cleaner for longer.
Best Tools For The Job
A microfiber cloth is ideal because it absorbs water quickly and lifts dirt without scratching tiles. For larger areas, a squeegee with a rubber blade can push water off tiles and grout in one motion. Keep a dedicated cloth or squeegee in the shower or near the sink so it's always ready.
When To Skip This Step
If your grout is already sealed, a daily wipe is still beneficial but less critical. For unsealed grout, this habit is essential. However, avoid wiping if the grout is still damp from a recent deep cleaning—let it air dry completely first to prevent trapping moisture.
FAQ
How often should I clean floor grout?
For maintenance, clean grout every 2-4 weeks with a mild spray. Deep clean every 3-6 months depending on traffic and moisture.
Can I use bleach on colored grout?
Bleach can discolor colored grout. Use oxygen bleach or a pH-neutral cleaner instead to preserve the color.
What is the best homemade grout cleaner?
A paste of baking soda and hydrogen peroxide is highly effective for whitening. For general cleaning, vinegar and water works well.
How do I prevent grout from getting dirty quickly?
Seal grout after cleaning and reapply sealer annually. Wipe up spills immediately and use a daily spray cleaner to reduce buildup.
Is steam cleaning safe for all grout?
Steam cleaning is safe for sealed and unsealed grout, but avoid on cracked or loose grout. Test on a small area first.
Conclusion
Bright, clean grout can transform the entire look of your floors. With these 23 ideas, you have a toolkit for every level of grime and every type of tile. Start with the simplest method and work your way up if needed.
Remember that regular maintenance is the secret to keeping grout looking fresh. A quick wipe or spray after cleaning can save you hours of deep scrubbing later. Your tiles will thank you with years of brighter, cleaner beauty.


