
Bathroom cleaning doesn't have to eat up your whole morning. With the right checklist, you can knock out tasks in minutes instead of hours.
These 17 list ideas break down the work into focused, repeatable routines that target specific areas—from daily wipe-downs to weekly deep cleans. Each one is designed to save you time while keeping your bathroom consistently fresh.
Pick the lists that fit your schedule and watch your chore days get faster.
1. The Daily Wipe-Down List
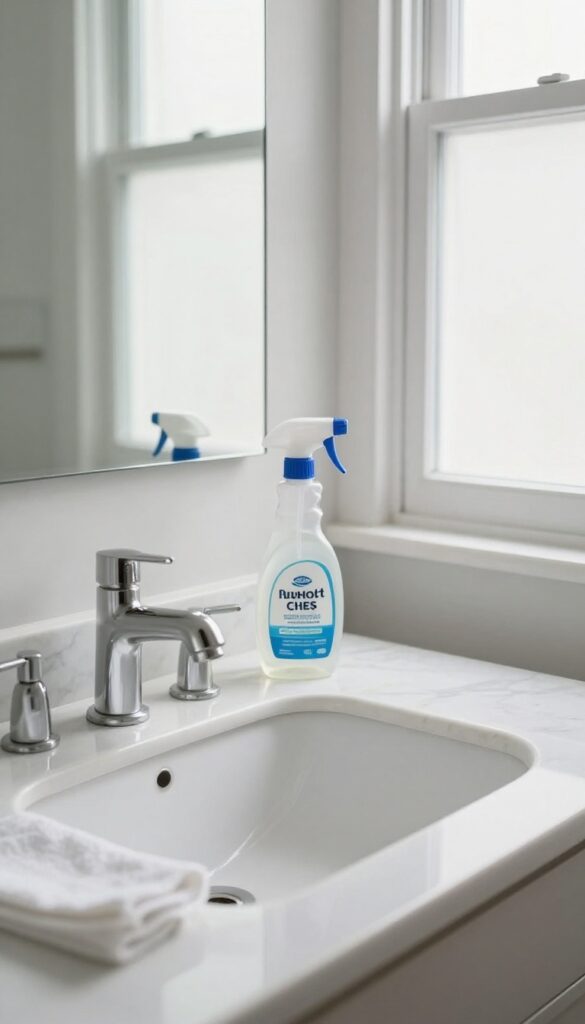
A daily wipe-down is the simplest way to keep your bathroom looking fresh without spending much time. By focusing on the surfaces that get the most use—sink, counter, and mirror—you prevent grime from building up. This quick routine takes just a few minutes and saves you from scrubbing later.
Grab a microfiber cloth and an all-purpose spray or a simple vinegar-water solution. Start with the mirror, then move to the counter and sink. Finally, give the faucet a quick polish.
That's it. Doing this every day keeps things shiny and reduces the need for deep cleaning.
What To Wipe
Focus on the sink basin, countertop, faucet handles, and mirror. These areas collect toothpaste splatters, water spots, and dust. Avoid the toilet and shower unless you see a visible mess—they can wait for their own lists.
Best Tools For Speed
Use a microfiber cloth for streak-free mirrors and a separate one for the sink to avoid cross-contamination. Keep a spray bottle of cleaner under the sink so you can grab it quickly. A squeegee for the mirror can also cut down time.
When To Do It
Right after your morning or evening routine works best. The surfaces are already slightly damp, so wiping them down takes less effort. Make it a habit by linking it to something you already do, like brushing your teeth.
2. The Shower Squeegee Routine
If you have glass shower doors, you already know the struggle: water spots, soap scum, and that cloudy film that seems impossible to remove. But there's a one-minute trick that changes everything. A squeegee after every shower keeps surfaces spotless with almost zero effort.
This small habit cuts down your deep-cleaning time dramatically because you're preventing buildup before it starts.
Why It Works So Well
Hard water and soap residue bond to glass and tile within minutes. By wiping them away while the surface is still wet, you stop those minerals from drying into stubborn spots. The squeegee acts like a barrier, keeping your shower looking fresh day after day.
How To Make It Stick
Hang a squeegee inside your shower on a hook or caddy so it's always within reach. After your final rinse, take ten seconds to pull the squeegee across the glass in overlapping strokes. Then do a quick pass on any tile walls.
That's it—no rinsing, no wiping. Just hang it back up.
Bonus Time-saving Tip
Once a week, spray the glass with a daily shower cleaner or a vinegar-water mix before squeegeeing. This handles any light film that sneaks through and keeps the routine effortless. You'll notice your deep-cleaning sessions go from scrubbing to a quick polish.
3. The Toilet Touch-Up List
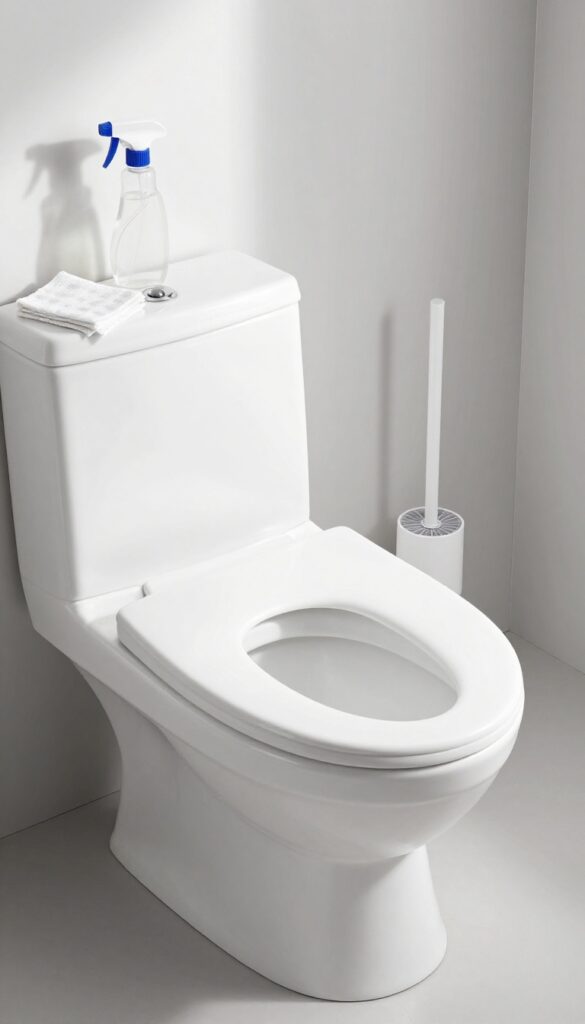
Let's be real—the toilet is the room's main event. A daily touch-up keeps it fresh without needing a full scrub session. This list focuses on quick, targeted actions that prevent stains and odors from building up.
Start with the inside: a quick scrub with a toilet brush and a drop of cleaner takes 30 seconds. Then wipe the seat and lid with a disinfectant wipe. Finish by spraying the exterior with a daily shower spray or diluted bleach solution.
This routine keeps everything sanitary and smelling neutral.
The 30-second Inside Scrub
Swish the brush around the bowl, especially under the rim. Do this every day and you'll never deal with stubborn rings. Keep a bottle of toilet cleaner and a brush holder right next to the toilet so you have no excuse to skip it.
Seat And Lid Wipe
Use a disinfectant wipe or a cloth with spray. Wipe the top of the seat, the underside, and the lid. This takes 15 seconds and removes splashes and dust.
Toss the wipe or cloth in the laundry.
Exterior Spray And Wipe
Mist the outside of the toilet, including the base and tank, with a disinfectant spray. Wipe with a microfiber cloth. This prevents dust buildup and keeps the surface germ-free.
Do this daily and your toilet will always look clean.
4. The Weekly Deep Clean List
A quick daily wipe-down handles surface messes, but it won't cut through built-up grime. That's where a weekly deep clean comes in. Set aside just 30 minutes to reset your bathroom from top to bottom, and you'll keep things looking fresh without marathon scrubbing sessions.
A weekly deep clean targets the areas that daily routines miss. Focus on scrubbing the tub or shower, washing the floor, and wiping down all surfaces—including those forgotten spots like light switches and baseboards. Rotating specific tasks each week prevents burnout and ensures nothing gets neglected.
For example, one week you might tackle grout lines, the next you could descale the showerhead. Consistency is the real secret: a short, focused session every seven days beats an all-day ordeal once a month.
Start With The Tub And Shower
Spray your tub or shower with a cleaner and let it sit while you work on other areas. Then scrub with a brush or sponge, focusing on soap scum and mildew. Rinse thoroughly.
If you have a shower curtain or liner, toss it in the wash or wipe it down. This single step makes the biggest visible difference.
Hit The Floor And Baseboards
Sweep or vacuum the floor first to remove hair and dust. Then mop with a bathroom-safe cleaner. Don't forget baseboards—they collect dust and grime that daily cleaning misses.
A quick wipe with a damp cloth keeps them looking sharp. If you have rugs, shake them out or launder them weekly.
Wipe All Surfaces And Fixtures
Use a microfiber cloth to wipe down countertops, sinks, faucets, and handles. Pay attention to corners and edges where toothpaste and grime hide. Clean mirrors with a glass cleaner for a streak-free shine.
Finally, give the toilet a once-over with a disinfectant wipe or spray, focusing on the handle and seat.
5. The Grout and Tile Refresh
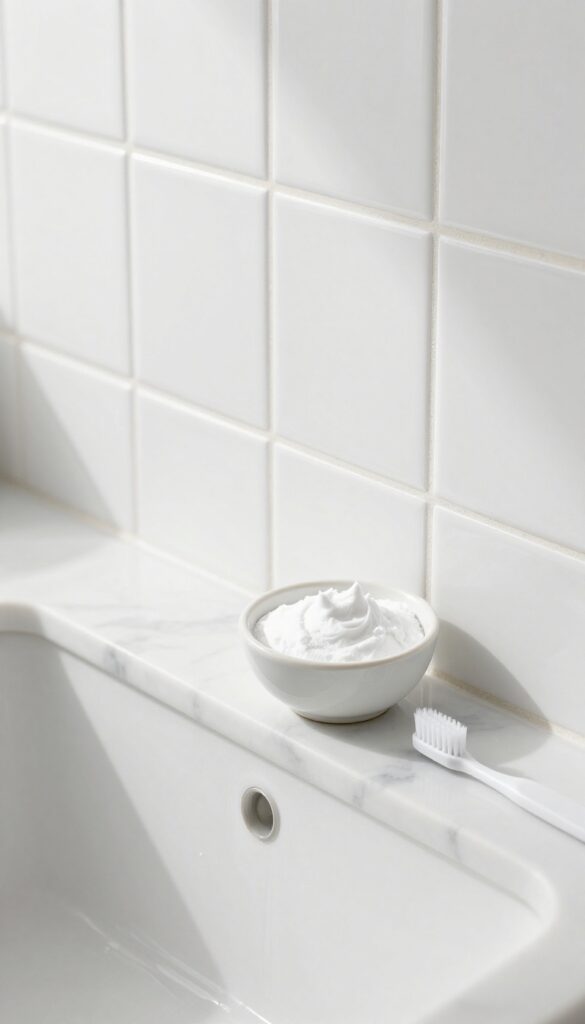
Grout and tile can make or break the look of your bathroom. Even if everything else is spotless, dingy grout lines and dull tiles drag down the whole space. This idea focuses on restoring that fresh, clean appearance without heavy scrubbing or harsh chemicals.
Grout is porous and traps dirt, soap scum, and mildew over time. A simple baking soda paste—just mix baking soda with a little water—applied with an old toothbrush works wonders. Let it sit for a few minutes, scrub gently, then rinse.
For tougher stains, add a splash of hydrogen peroxide. For tiles, avoid abrasive cleaners that can scratch. Use a mild pH-neutral cleaner and a soft microfiber cloth.
Focus on high-traffic areas like the floor around the toilet and the shower wall. This routine keeps your bathroom looking newer longer and prevents buildup that leads to mold.
The Baking Soda Paste Trick
Mix three parts baking soda with one part water to form a thick paste. Apply it to grout lines with an old toothbrush or a grout brush. Let it sit for 5–10 minutes to break down grime.
Scrub in small circles, then wipe away with a damp cloth. This method is gentle yet effective, and it's safe for all grout colors.
Tackling Stubborn Stains
For grout that's still stained after baking soda, try a paste of baking soda and hydrogen peroxide. Apply, let it fizz for a few minutes, then scrub. You can also use a commercial grout cleaner, but test it in an inconspicuous spot first.
Avoid bleach-based products on colored grout—they can cause discoloration.
Tile Care That Lasts
Wipe tiles with a microfiber cloth after each shower to prevent water spots and soap scum. Once a week, use a mild cleaner diluted in water. For ceramic or porcelain tiles, a vinegar-and-water solution (1: 4 ratio) works well, but avoid vinegar on natural stone.
Dry the tiles with a clean cloth to prevent streaks.
Prevention Is Key
Seal grout every six months to repel moisture and stains. Use a squeegee on shower walls after use to cut down on standing water. Ventilate the bathroom to reduce humidity, which encourages mold growth.
These small habits make the monthly refresh much easier.
6. The Mirror and Glass Streak-Free Guide
Mirrors and glass surfaces seem to attract every fingerprint, splash, and dust particle in the bathroom. A quick wipe often leaves behind streaks that make the surface look worse than before. The secret to crystal-clear results is the right tool and technique.
Forget paper towels and ammonia-based sprays. A microfiber cloth paired with a simple vinegar-water solution cuts through grime without leaving residue. The key is to wipe in an S-pattern, which prevents re-depositing dirt and avoids the telltale streaks that come with circular motions.
This method works on mirrors, glass shower doors, and even windows, making it a versatile addition to your cleaning routine.
Mix Your Own Streak-free Solution
Combine equal parts white vinegar and distilled water in a spray bottle. Distilled water prevents mineral deposits that cause spotting. Add a drop of dish soap to break down any oily residue from hair products or skin oils.
The S-pattern Technique
Start at the top corner and wipe horizontally across the mirror, then slightly overlap and wipe back in the opposite direction. Continue this zigzag pattern down the surface. This ensures every inch is covered without leaving streaks from starting and stopping.
Maintain Your Microfiber Cloth
Use a clean, dry microfiber cloth for buffing after the initial wipe. Wash microfiber cloths separately with no fabric softener, as softeners clog the fibers and reduce effectiveness. Replace cloths when they start to leave lint.
7. The Sink and Faucet Shine
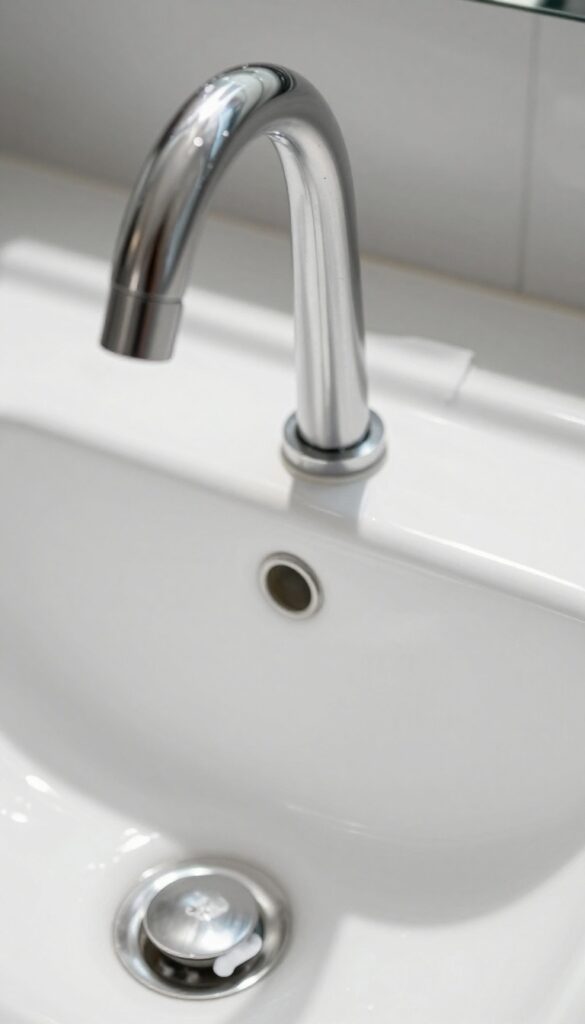
Your sink and faucet are the first things eyes land on when someone walks into the bathroom. A sparkling sink and streak-free faucet instantly signal clean, even if the rest of the room isn't perfect. The trick is knowing the right products and techniques to get that gleam without scrubbing your life away.
The sink and faucet area gets hit with toothpaste splatters, soap residue, and hard water spots daily. But with a focused routine, you can keep them looking like new in under two minutes. The key is matching your cleaner to the material—what works on porcelain might scratch stainless steel.
And always finish with a dry polish to prevent water spots from forming in the first place.
Pick The Right Cleaner For Your Sink Material
Porcelain, ceramic, and enamel sinks can handle gentle abrasive cleaners like baking soda paste or a mild spray. For stainless steel, avoid bleach or harsh acids—they cause pitting. Use a dedicated stainless steel cleaner or a mix of dish soap and vinegar (rinse thoroughly).
Stone sinks (marble, granite) need pH-neutral cleaners only; anything acidic will etch the surface. Know your sink type and keep the appropriate cleaner nearby.
Faucet Care: From Chrome To Brushed Nickel
Faucets look best when they're free of water spots and fingerprints. For chrome and stainless steel, a microfiber cloth with a dab of rubbing alcohol or glass cleaner works wonders. Brushed nickel and matte black need gentler care—just warm water and mild soap, then dry immediately with a soft cloth.
Avoid abrasive sponges or scrub pads; they'll ruin the finish. A quick once-over after each sink use keeps them shiny with minimal effort.
Bust Hard Water Spots Without Scrubbing
Hard water spots are the enemy of a clean sink area. For light buildup, spray equal parts white vinegar and water, let sit 30 seconds, then wipe dry. For stubborn spots, soak a paper towel in vinegar and press it against the faucet for a few minutes before wiping.
For really tough deposits, use a commercial lime remover—just test on an inconspicuous spot first. Always rinse thoroughly and dry to prevent new spots.
The Final Polish: Make It Last
After cleaning, take a dry microfiber cloth and buff the faucet and sink until they shine. This step removes any leftover moisture and prevents new water spots from forming. For extra protection, apply a tiny amount of car wax or a dedicated faucet protectant to chrome or stainless steel—it repels water and keeps the shine longer.
Do this once a week and your sink area will stay cleaner between deep cleans.
8. The Showerhead Descaler
Hard water buildup can turn a once-powerful shower into a weak drizzle. That crusty white stuff isn't just unsightly—it can harbor bacteria and reduce water pressure. A simple overnight soak with vinegar restores your showerhead to like-new condition with almost no effort.
Why Vinegar Works
Vinegar's mild acidity dissolves calcium and lime deposits without harsh scrubbing. It's cheap, non-toxic, and safe for most metal and plastic showerheads. For stubborn buildup, heat the vinegar slightly before soaking.
How To Do It
Fill a plastic bag with white vinegar, secure it around the showerhead with a rubber band, and let it soak overnight. In the morning, remove the bag, rinse the showerhead with water, and run the shower for a few minutes to flush out loosened deposits.
When To Repeat
If you have hard water, descale every 3 months. For moderate water, twice a year is enough. You'll notice better water flow and a cleaner look immediately.
9. The Toilet Brush Replacement Schedule
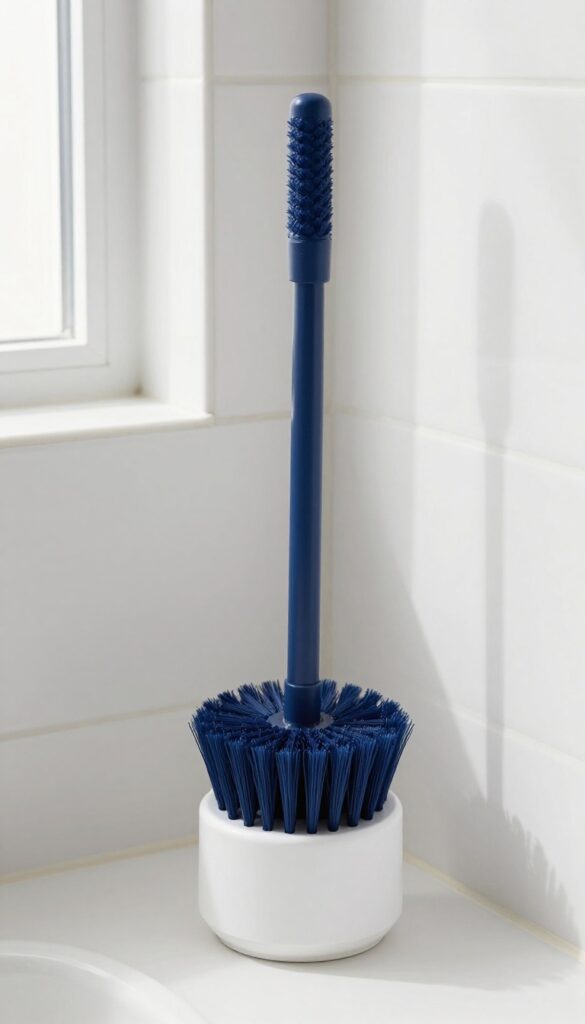
Most people hang onto a toilet brush until it looks disgusting, but by then it's already spreading bacteria. A worn brush with frayed bristles can't reach the rim or under the bowl edge properly. Setting a regular replacement schedule keeps your cleaning effective and your bathroom truly sanitary.
Mark your calendar to swap out your toilet brush every three to four months. This simple habit ensures you're always scrubbing with a tool that actually works. A fresh brush removes stains and buildup more thoroughly, and it reduces the risk of cross-contamination between cleanings.
Plus, a new brush just feels better to use.
Why Every 3–4 Months?
Toilet brushes live in a damp, enclosed space—perfect for bacteria and mold growth. Over time, bristles lose stiffness and can't scrub effectively. By replacing them quarterly, you avoid using a brush that's more gross than the bowl it's cleaning.
How To Remember
Set a recurring reminder on your phone or mark your calendar. You can also tie it to a routine event, like changing your toothbrush or checking your smoke detector batteries. Some people use a sticker on the brush handle with the replacement date.
Choosing A Replacement Brush
Look for brushes with stiff, durable bristles and a comfortable handle. Silicone brushes resist bacteria better than nylon and are easier to clean. A brush with a ventilated holder dries faster, cutting down on odor and germ growth.
10. The Floor Spot-Clean Method
Mopping the entire bathroom floor every single day is overkill. Instead, focus on the spots that actually get dirty. A quick daily spot-clean around the toilet and sink keeps your floor looking fresh without the heavy lifting.
This method saves you time and effort by targeting high-traffic areas. You'll still do a full mop once a week, but daily spot-cleaning prevents grime from building up in the first place. It's a small habit that makes a big difference.
What To Spot-clean Daily
Focus on the floor around the toilet base and the area in front of the sink. These spots collect the most splashes, drips, and dust. A quick pass with a damp microfiber mop or cloth is all you need.
The Right Tool For The Job
A flat microfiber mop with a spray bottle works great. You can also use disposable wet cloths for convenience. Just make sure the tool is clean and damp—not soaking wet—to avoid leaving streaks or puddles.
When To Full Mop
Reserve a full mopping session for once a week. Use a bucket with warm water and a gentle floor cleaner. Spot-cleaning daily means your weekly mop will be quicker and less gross.
11. The Vanity Organizer Clean-Out
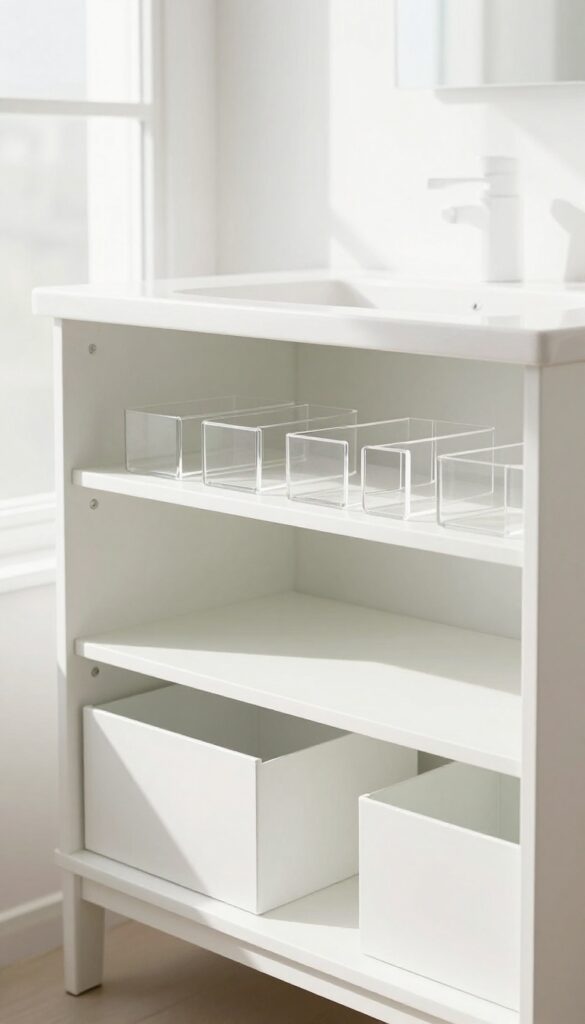
Your vanity is a magnet for half-used products, stray hair ties, and forgotten samples. When everything is crammed in, you can't find what you need and you waste time digging around. A dedicated clean-out turns that chaos into a streamlined space where every item has a home.
Toss The Expired Stuff
Start by pulling everything out of the drawers and shelves. Check expiration dates on makeup, skincare, and medications. Anything past its prime goes straight in the trash.
Old mascara, dried-out nail polish, and crusty lotions only take up space and can harbor bacteria.
Wipe Down Every Surface
With the vanity empty, give all interior surfaces a thorough wipe. Use a gentle all-purpose cleaner or a disinfecting wipe. Pay attention to corners and drawer tracks where dust and product residue collect.
Let everything dry completely before putting items back.
Group And Contain
Sort the keepers into categories: daily use, weekly use, and occasional. Use small bins, trays, or drawer dividers to keep each group separate. Clear acrylic organizers let you see everything at a glance.
Labeling drawers or sections saves even more time later.
Create A Maintenance Habit
Set a reminder to do this clean-out every three months. When you restock or buy new products, immediately remove an old one to prevent overflow. A quick five-minute tidy each week keeps the system working so your next deep clean is even faster.
12. The Towel and Mat Rotation
Towels and bath mats are some of the hardest-working items in your bathroom. They soak up moisture, trap dirt, and if left too long, become a breeding ground for mildew. A simple rotation system keeps them fresh and cuts down on musty smells.
The key is to have at least two sets of towels and bath mats per bathroom. Wash one set while the other is in use. This way, you always have clean linens ready to go, and you never have to wait for laundry to finish before putting out fresh towels.
Weekly Wash Schedule
Set a specific day each week to wash all bathroom towels and mats. Use hot water and a good detergent to kill bacteria. Tumble dry on high heat for extra freshness.
Stick to the schedule so it becomes a habit.
Spare Set Strategy
Keep your spare set folded and stored in a linen closet or under the sink. When you swap, take the dirty set straight to the laundry room. This prevents dirty linens from piling up in the bathroom.
Quick Refresh Between Washes
Hang towels and mats to dry fully after each use. If they start to smell before wash day, toss them in the dryer with a dryer sheet for 10 minutes. This can extend freshness by a day or two.
13. The Exhaust Fan Dusting
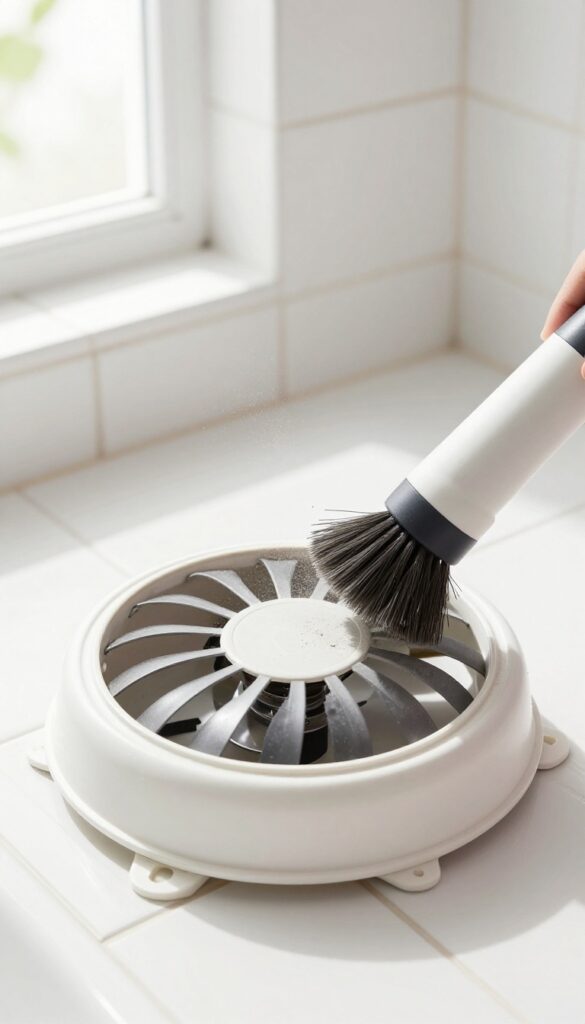
Your bathroom exhaust fan works hard to pull out steam and odors, but when its cover is caked with dust, it can't do its job. A clogged fan also makes more noise and uses extra energy. Dusting it monthly keeps the air moving and prevents moisture from lingering.
Start by turning off the fan and placing a step stool or ladder underneath. Use a vacuum with a brush attachment to gently remove loose dust from the cover. If the cover is really grimy, pop it off—most just clip or slide off—and wash it in warm, soapy water.
Let it dry completely before snapping it back on. While the cover is off, use a can of compressed air or a small brush to clear dust from the fan blades and motor housing. This quick monthly task stops dust from building up into a thick layer that can actually shorten the fan's life.
Why It Matters
A clean exhaust fan moves more air, which means less humidity on your mirror, walls, and grout. Less moisture means less mold and mildew—and fewer deep cleans later. It also keeps the fan running quietly and efficiently.
How Often To Do It
Aim for once a month. If your bathroom gets heavy use or you live in a dusty area, bump it up to every two weeks. Mark it on your calendar or pair it with another monthly task like changing your toothbrush.
What You'll Need
A vacuum with a brush attachment, a small step stool, warm water, mild dish soap, a microfiber cloth, and a can of compressed air (optional). That's it—no special tools required.
14. The Light Fixture and Vent Cleaning
Light fixtures and vents are easy to overlook, but they collect dust that dims the room and recirculates allergens. A quick wipe-down makes the bathroom feel brighter and the air cleaner. This task takes just a few minutes and makes a noticeable difference.
Why It Matters
Dust on light fixtures can reduce brightness by up to 30%, making your bathroom feel dingy. Vents clogged with dust force your exhaust fan to work harder, reducing its ability to remove moisture and odors. Cleaning these spots improves both lighting and air quality.
How To Do It
For light fixtures, use a microfiber cloth slightly dampened with water or a gentle cleaner. Wipe the surface, then dry with a clean cloth to avoid streaks. For vents, remove the cover if possible, wash it with soap and water, and let it dry completely before reinstalling.
If the cover is fixed, use a vacuum with a brush attachment to remove dust.
Pro Tips
Clean fixtures and vents every two weeks to prevent buildup. For hard-to-reach fixtures, use an extendable duster. Avoid spraying cleaner directly onto electrical parts; always spray onto the cloth first.
15. The Trash Can Deodorizer
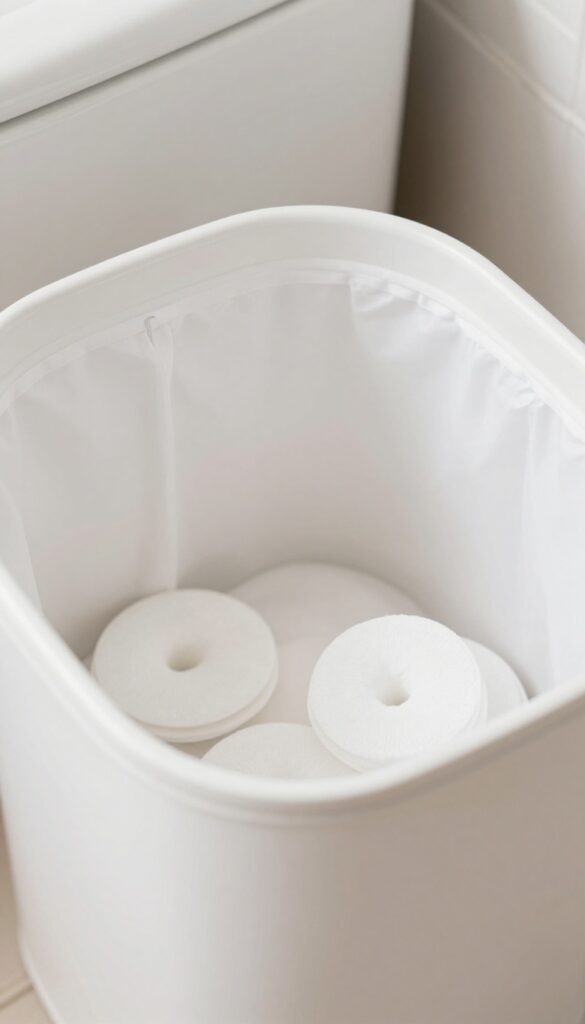
Bathroom trash cans trap odors fast, especially when they hold used cotton rounds, floss, and other damp waste. A simple baking soda layer at the bottom of the liner absorbs smells before they spread. Combined with a weekly emptying routine, this trick keeps your bathroom smelling fresh without extra effort.
For a deodorizer that works, line your can first, then sprinkle a thin layer of baking soda across the bottom. The baking soda neutralizes odors as trash accumulates. Replace the baking soda each time you change the bag.
This method is cheap, non-toxic, and takes only seconds.
Why Baking Soda Works
Baking soda is a natural odor absorber, not just a cover-up. It chemically neutralizes acidic and basic odor molecules, so smells don't build up between changes. A light dusting is enough—no need for thick layers.
Weekly Refresh Routine
Tie off the full bag and toss it. Wipe the inside of the can with a disinfectant wipe or a damp cloth. Let it dry, then add a fresh liner and a new sprinkle of baking soda.
This whole process takes less than a minute.
Bonus Tip: Scent Boost
Add a few drops of lemon or lavender essential oil to the baking soda before sprinkling. The oil infuses the powder with a light fragrance that releases each time you toss something in. Just mix well to avoid clumps.
16. The Shower Curtain and Liner Care
Shower curtains and liners often get ignored until they start looking grimy. But a little regular attention keeps them fresh and prevents that musty smell that can creep into your bathroom. Plus, a clean curtain makes the whole space feel brighter.
Wash fabric curtains every month or two, and replace plastic liners every few months. Spray with a mildew preventer after each shower to keep mold at bay. This simple routine extends the life of your curtain and keeps your bathroom looking crisp.
Wash Fabric Curtains Regularly
Most fabric shower curtains are machine washable. Toss them in with a load of towels using warm water and a mild detergent. Add a half cup of white vinegar to the rinse cycle to kill mildew and remove soap residue.
Hang them back up immediately to prevent wrinkles.
Replace Liners On Schedule
Plastic or vinyl liners are cheap and easy to swap out. Replace them every three to six months, or sooner if you notice mold spots that won't scrub off. A fresh liner instantly makes the shower look cleaner.
Use A Daily Mildew Spray
Keep a spray bottle with equal parts water and white vinegar in the bathroom. After each shower, give the curtain and liner a quick mist. This simple step stops mildew from taking hold and cuts down on deep cleaning.
17. The Monthly Deep Scrub Checklist
Regular wipe-downs keep things tidy, but even the best weekly routine misses hidden grime. That’s where a monthly deep scrub comes in. By dedicating one day each month to a thorough clean, you prevent buildup and keep your bathroom looking fresh.
A monthly deep scrub targets areas that don’t get daily or weekly attention. Think walls, baseboards, and the tricky spots behind the toilet. Using a checklist ensures you don’t skip anything, making the job faster and more effective.
Over time, this routine reduces the need for heavy scrubbing later.
What To Include
Your checklist should cover walls (especially near the shower where soap scum splashes), baseboards (dust and grime collect there), behind the toilet (a magnet for dust and spills), and the toilet base. Also include light switches, door handles, and the inside of cabinets. Don’t forget to wipe down the exhaust fan cover and vacuum any vents.
How To Make It Efficient
Work from top to bottom. Start with ceiling corners and light fixtures, then move to walls, baseboards, and finally the floor. Use a microfiber cloth and an all-purpose cleaner for most surfaces.
For stubborn soap scum on walls, a mixture of vinegar and water works well. Set a timer for 30 minutes to stay focused.
Staying Consistent
Pick a specific day each month, like the first Saturday, and add it to your calendar. Keep your deep scrub supplies in a caddy so you can grab them quickly. After a few months, it becomes a habit, and your bathroom will stay noticeably cleaner with less effort.
FAQ
How often should I deep clean my bathroom?
Aim for a deep clean once a week, with daily touch-ups on high-use areas like the sink and toilet. Monthly deep scrubs of walls and grout are also recommended.
What's the best way to clean shower glass without streaks?
Use a squeegee after every shower to prevent water spots. For a streak-free shine, clean with a vinegar-water solution and dry with a microfiber cloth.
How can I remove hard water stains from faucets?
Soak a cloth in white vinegar and wrap it around the faucet for an hour. Then scrub with a soft brush and rinse. Repeat if necessary.
What should I do about mold in grout?
Apply a baking soda and hydrogen peroxide paste to the grout, let it sit for 10 minutes, then scrub with a toothbrush. Rinse well and seal the grout to prevent regrowth.
How can I make my bathroom smell fresh without harsh chemicals?
Place a bowl of baking soda in the bathroom to absorb odors. Use essential oil diffusers or natural air fresheners. Keep the exhaust fan running and clean regularly.
Conclusion
These 17 bathroom cleaning list ideas are designed to make your chore days faster and less overwhelming. Pick the ones that fit your routine and stick with them. You'll notice the difference in both time saved and the sparkle of your bathroom.
Remember, consistency beats intensity.
A few minutes each day can eliminate the need for marathon cleaning sessions. Start with one or two ideas and build from there. Your bathroom will thank you.


