
Your desk doesn't have to be a graveyard for sticky notes, loose cables, and half-empty coffee mugs. A clear workspace directly boosts focus and cuts down on the mental noise that slows you down.
These 17 cleaning desk ideas are practical, not precious—each one targets a specific clutter source so you can get back to actual work. From quick daily habits to smart storage swaps, you'll find moves that fit your actual routine.
Ready to turn that chaotic desk into a productivity powerhouse? Let's clear the way.
1. Start with a Full Desk Reset
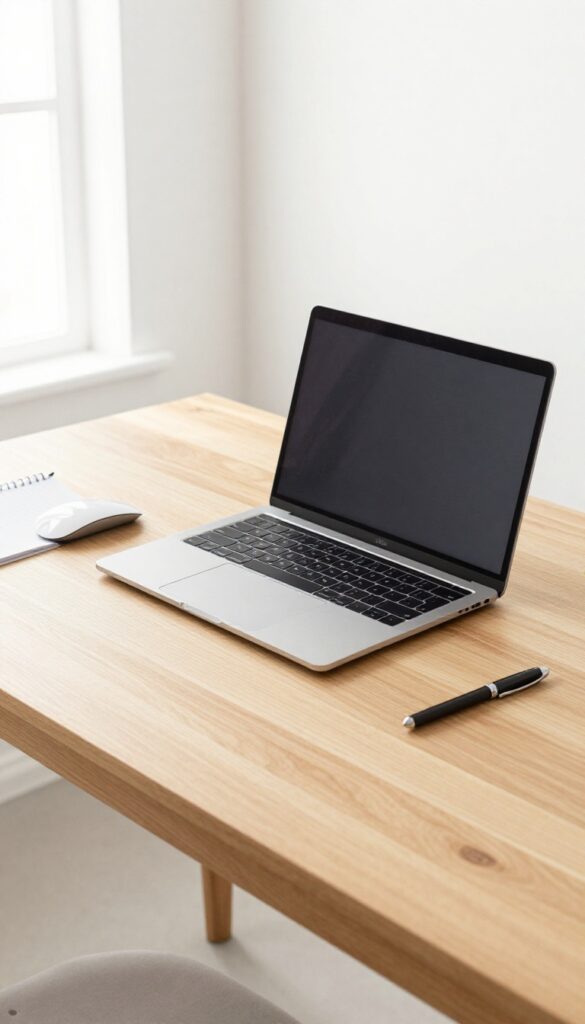
Sometimes the best way forward is to hit the reset button. A full desk reset means clearing every single item off your surface, giving it a good clean, and only bringing back what you actually use daily. It's a fresh start that makes everything else easier.
Why A Clean Slate Works
When your desk is empty, you see it for what it is: a workspace, not a storage unit. This reset breaks the cycle of clutter creeping back. Plus, wiping down the surface removes dust and grime that can affect your health and mood.
How To Do It Right
Start by boxing everything up—yes, everything. Then clean the desk with a gentle cleaner. Let it dry completely.
Now, only unbox items you reach for at least once a week. Everything else stays in the box for now. You'll be surprised how little you actually need.
What To Put Back First
Your computer, mouse, keyboard, and a notepad are obvious. A lamp if you need it. One pen.
Your phone charger if you use it at your desk. That's it. Resist the urge to add decor or knick-knacks—they can wait until you've lived with the minimal setup for a few days.
2. Go Digital with Paper Clutter
Paper is one of the biggest desk space hogs. Bills, notes, printouts, and random receipts pile up fast, turning your clean surface into a landfill. Going digital doesn't mean you have to scan every gum wrapper, but it does mean being intentional about what stays physical.
Scan And Shred
Get a decent scanner or use a scanning app on your phone. For documents you need to keep—tax returns, contracts, warranties—scan them as PDFs and store them in a cloud service like Google Drive or Dropbox. Then shred the originals.
You'll free up an entire drawer or shelf instantly.
Set Up A Digital Filing System
Create folders with clear names: "Tax 2024, " "Insurance, " "Receipts. " Use consistent naming so you can find anything in seconds. Tag important files with dates or keywords.
The goal is to make retrieval faster than rummaging through a paper pile.
Go Paperless For Bills And Statements
Switch all your bills, bank statements, and subscriptions to paperless delivery. Most companies have a simple toggle in your account settings. Not only does this stop paper from arriving, but it also reduces the urge to "save it for later" on your desk.
3. Create a Cable Management System
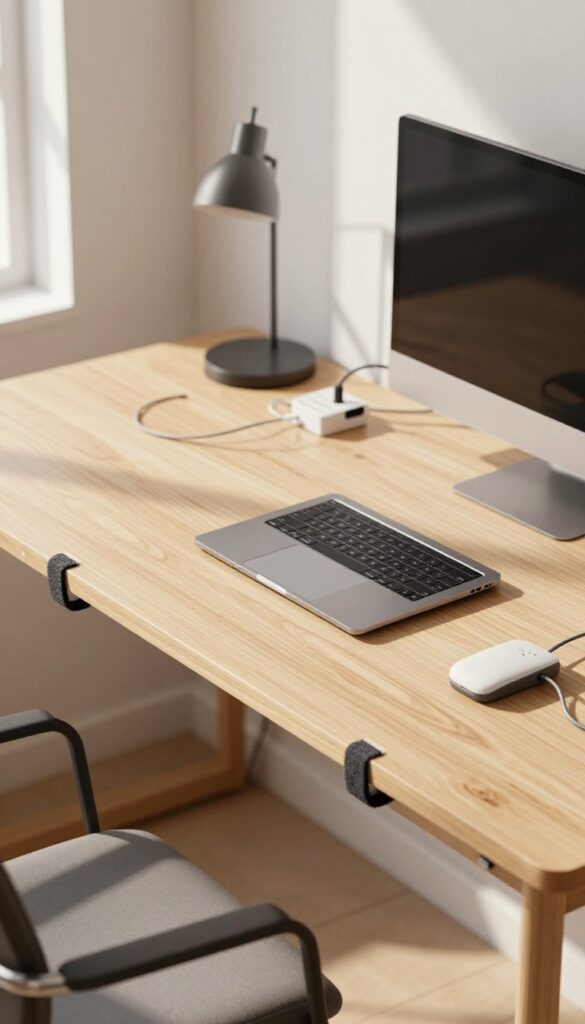
Tangled cords are one of the biggest visual distractions on any desk. They grab your attention, collect dust, and make even the cleanest setup feel messy. A proper cable management system clears that clutter and makes wiping down your desk a breeze.
Start With The Right Tools
You don't need expensive gear to get cables under control. Adhesive cable clips keep charging cables in place along the edge of your desk. Velcro straps let you bundle multiple cords together neatly.
For a cleaner look, try a cable sleeve that wraps all your cords into one tidy line.
Go Under The Desk
An under-desk cable tray is a game-changer. It mounts underneath your desk and holds power strips, adapters, and excess cable length out of sight. Once everything is routed through the tray, your desk surface stays completely clear.
Just make sure to leave enough slack for adjustments.
Label And Maintain
Label both ends of each cable with a simple tag or piece of tape. This saves you from unplugging the wrong cord later. Every few months, check for loose connections or new devices and re-tidy as needed.
A little maintenance keeps your system working long-term.
4. Implement a Daily 5-Minute Tidy
A clean desk isn't a one-time event—it's a daily habit. The five-minute tidy is the simplest way to keep your workspace from spiraling into chaos. By dedicating just a few minutes at the end of each workday, you reset your environment and your mind.
This habit is about consistency, not perfection. You're not deep-cleaning; you're just clearing the surface, putting things back where they belong, and wiping away any grime. It's amazing how much difference a quick reset makes for your morning productivity.
Set A Timer
Pick a specific time—say, five minutes before you log off—and set a timer. This keeps you focused and prevents the tidy from dragging on. When the timer goes off, stop.
Even if you didn't finish, you've made progress.
Tackle The Three Zones
Focus on three areas: the main surface (clear papers, mugs, and gadgets), the keyboard and monitor (a quick wipe), and the floor (pick up any fallen items). That's it. Don't reorganize drawers or sort files—that's for another day.
Make It A Ritual
Pair your tidy with something pleasant, like a podcast or a cup of tea. Over time, it becomes an automatic wind-down routine. Your future self will thank you when you sit down to a clean desk the next morning.
5. Use Drawer Dividers for Small Items
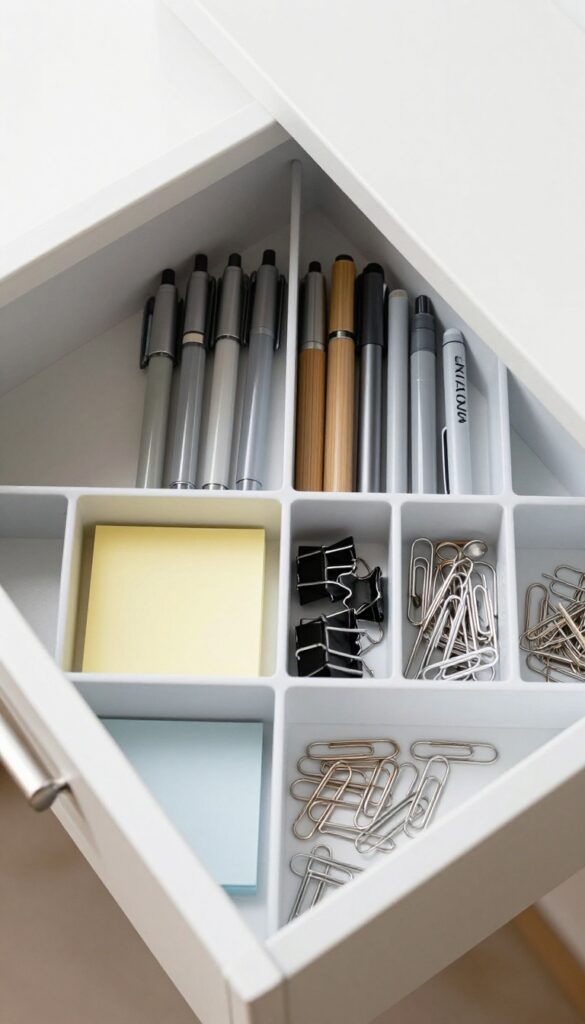
Drawers can quickly become black holes for pens, paper clips, and sticky notes. Without a system, you waste time digging for what you need. Adjustable dividers solve this by giving every small item a home, so your drawer stays tidy and functional.
Drawer dividers are a simple, low-cost upgrade that makes a big difference. They prevent items from shifting around and mixing together. You can find adjustable sets that fit any drawer size, or use small boxes and trays as alternatives.
The key is to assign a specific spot for each category of item—pens in one section, sticky notes in another, and so on. This way, you always know where things go and where to find them.
Categorize Before You Divide
Start by emptying your drawer and grouping items by type. Pens and markers, sticky notes, paper clips, rubber bands, and charging cables each get their own group. This step helps you see how many dividers you need and what sizes work best.
Choose The Right Dividers
Adjustable plastic or bamboo dividers are versatile and easy to install. For deeper drawers, consider stackable trays or small containers. Measure your drawer's width and depth before buying to ensure a snug fit.
You can also repurpose small boxes or use silicone muffin cups for tiny items like pushpins.
Maintain The System
Once your dividers are in place, commit to returning items to their designated spots after each use. A quick 30-second tidy at the end of the day keeps the system working. If you notice a category overflowing, adjust the divider or purge unused items to keep things streamlined.
6. Keep Only One Monitor's Worth of Space
Multiple monitors can boost productivity, but they also eat up desk real estate fast. The rule of thumb: keep the area directly in front of you clear for the monitor you're actively using. That means no stacks of papers, coffee cups, or knickknacks crowding the base of your primary screen.
When you have two or three monitors, it's tempting to fill every inch around them. But a cluttered monitor base creates visual noise and makes it harder to focus. Instead, treat the space under and around your main monitor as a no-go zone for anything non-essential.
Use the secondary monitor's area for items you need occasionally, but keep the primary zone pristine.
Clear The Landing Zone
The area directly in front of your main monitor is prime real estate. Reserve it for the keyboard and mouse only. Move phone chargers, notepads, and coffee mugs to the sides or a separate tray.
This keeps your hands and eyes focused on the task at hand.
Manage Monitor Bases
Monitor stands often have wide, clunky bases that collect dust and cables. Use a monitor arm to free up desk space underneath. If arms aren't an option, at least keep the base area clear of papers and trinkets.
A clean base makes the whole desk feel less crowded.
Set A One-arms-reach Rule
Limit what you keep on the desk to items you can grab without leaning. Everything else goes in a drawer or on a shelf. This naturally reduces clutter around your monitors.
If you haven't used an item in a week, it doesn't belong on your desk.
7. Add a Small Trash or Recycling Bin
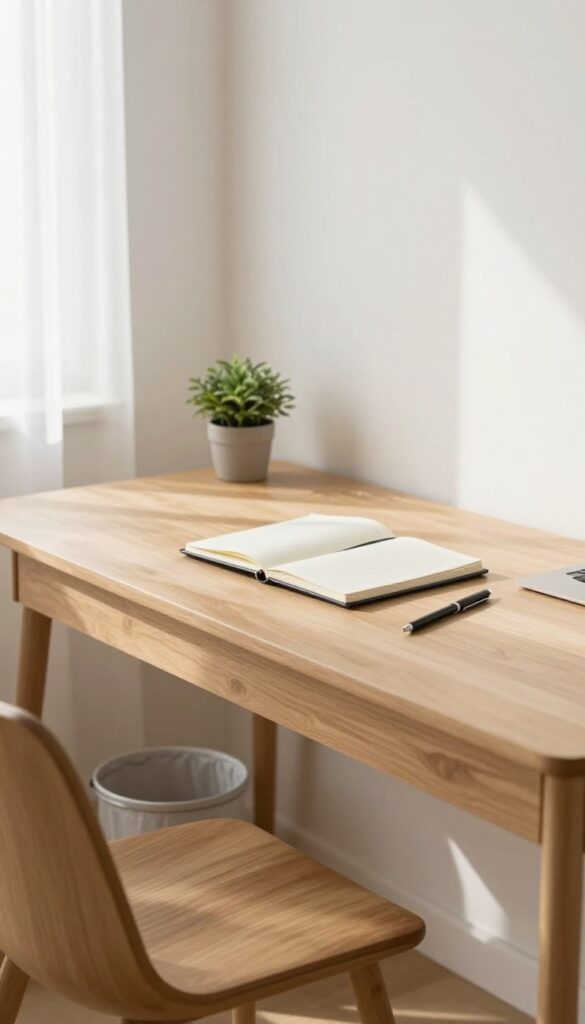
You might not realize how much desk clutter is actually just trash in disguise—old receipts, gum wrappers, sticky notes you've already used, or packaging from snacks. Instead of letting these accumulate in piles, give them a dedicated home right under your desk. A tiny bin within arm's reach makes it effortless to toss things immediately, keeping your surface clear and your mind focused.
Why A Mini Bin Works Better Than A Big One
A full-sized trash can encourages you to let trash pile up because you don't have to empty it often. A small bin—think the size of a shoebox or smaller—forces you to empty it regularly, which means less odor, fewer pests, and a cleaner space overall. Plus, it takes up almost no room under your desk, so your feet still have space to stretch.
Where To Position It For Easy Access
Slide the bin just under the front edge of your desk, aligned with your dominant hand. That way, you can drop something in without looking or leaning. If you share a desk or have limited floor space, consider a clip-on bin that attaches to the side of your desk or the edge of your monitor stand.
What To Toss (and What To Recycle)
Use a separate small container for recyclable paper, like scrap notes or envelopes. Label it clearly so you don't accidentally mix trash with recyclables. For everything else—wrappers, used tape, broken pens—the mini bin is your go-to.
The goal is to make the decision to discard as quick as possible.
8. Wipe Down Surfaces Weekly
Dust and germs love hanging out on your desk, keyboard, and mouse. A quick weekly wipe-down keeps things clean and your workspace feeling fresh. It also helps prevent that sticky buildup that attracts even more dirt.
Make it a habit to grab a gentle cleaner or disinfecting wipe once a week. Focus on high-touch areas like your keyboard, mouse, phone, and the main desk surface. This simple act stops grime from piling up and keeps your setup looking sharp.
Choose The Right Cleaner
Not all cleaners are safe for electronics. Look for wipes that are alcohol-free or specifically designed for screens and keyboards. A microfiber cloth dampened with water works wonders for most surfaces without damaging finishes.
Don't Forget The Nooks
Crumbs and dust love hiding between keys and around mouse buttons. Use a compressed air duster or a soft brush to dislodge debris before wiping. This extra step makes a big difference in how clean your desk actually feels.
Make It A Routine
Pick a consistent day and time each week—like Friday afternoon before you log off. Tying it to another habit, like emptying your trash or organizing your files, helps it stick. Soon it'll feel automatic.
9. Use Vertical Space for Storage
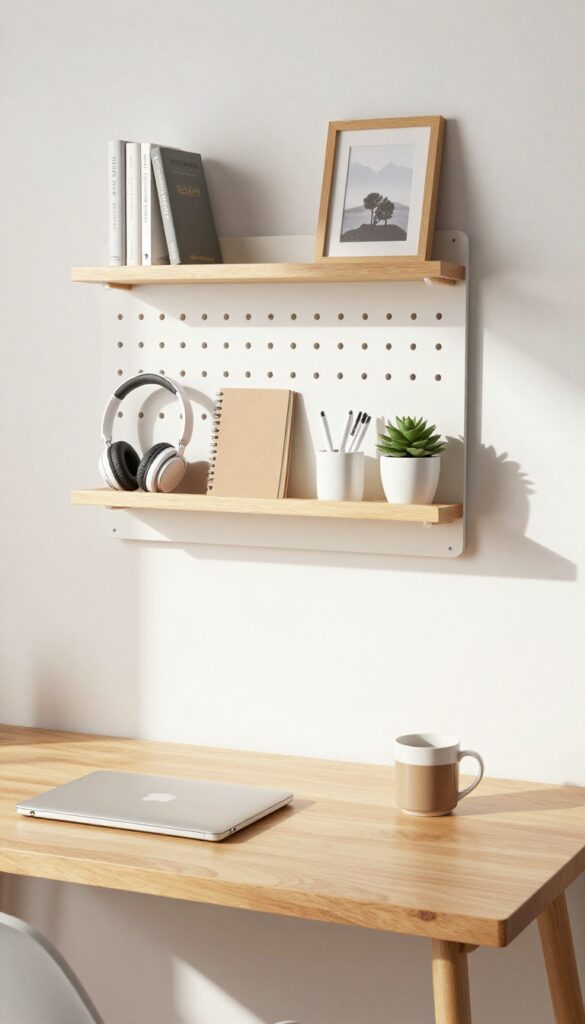
When your desk surface is overflowing, the walls are your best friend. Vertical storage frees up precious real estate while keeping essentials within arm's reach. A small shelf or pegboard above your desk can hold notebooks, headphones, or even a small plant—turning empty wall space into a functional organizer.
Vertical storage is a game-changer for small desks. It keeps items off your work surface but still accessible, reducing visual clutter and making your setup feel more open. Plus, it adds a bit of personality to your workspace.
Pegboard Power
A pegboard is incredibly versatile. You can customize it with hooks, shelves, and bins to hold exactly what you need—pens, scissors, cables, or a small calendar. It's easy to rearrange as your needs change, and it looks clean and intentional.
Floating Shelf Basics
A simple floating shelf above your monitor can hold a few books, a plant, or a framed photo. Keep it sparse—just one or two items—so it doesn't become a dust collector. The key is to store things you use daily, not just decorations.
Magnetic Strips For Metal Items
Attach a magnetic strip to the wall or under a shelf to hold scissors, tweezers, or paper clips. It's a zero-footprint solution that keeps small metal tools visible and easy to grab.
10. Designate a 'One In, One Out' Rule
Clutter has a sneaky way of multiplying. Every new gadget, notebook, or desk toy seems harmless until your workspace feels cramped. The 'one in, one out' rule stops that creep before it starts.
It's simple: whenever you bring something new to your desk, remove something old. This keeps your total items in check and forces you to be intentional about what stays.
Think of your desk as a curated collection, not a storage unit. Each item should earn its place. That cool pen holder might be nice, but if it means ditching the stack of old sticky notes, you'll think twice.
Over time, this habit trains you to only keep what's truly useful or meaningful.
Start With The Easy Wins
Begin with obvious swaps. Got a new monitor riser? Recycle the old one.
Bought a fresh notebook? Toss the one with only a few pages left. These quick trades build momentum and show you how freeing it is to have less.
Apply It To Digital Clutter Too
The rule works beyond physical items. When you download a new app, delete one you haven't used in a month. Same for desktop files: save a new document, archive an old one.
Your digital desk deserves the same discipline.
Make It A Weekly Ritual
Set aside five minutes every Friday to review your desk. Anything new that appeared during the week? Find something to let go.
This regular check-in prevents buildup and keeps the rule from feeling like a chore.
11. Keep a Cleaning Kit in Your Drawer
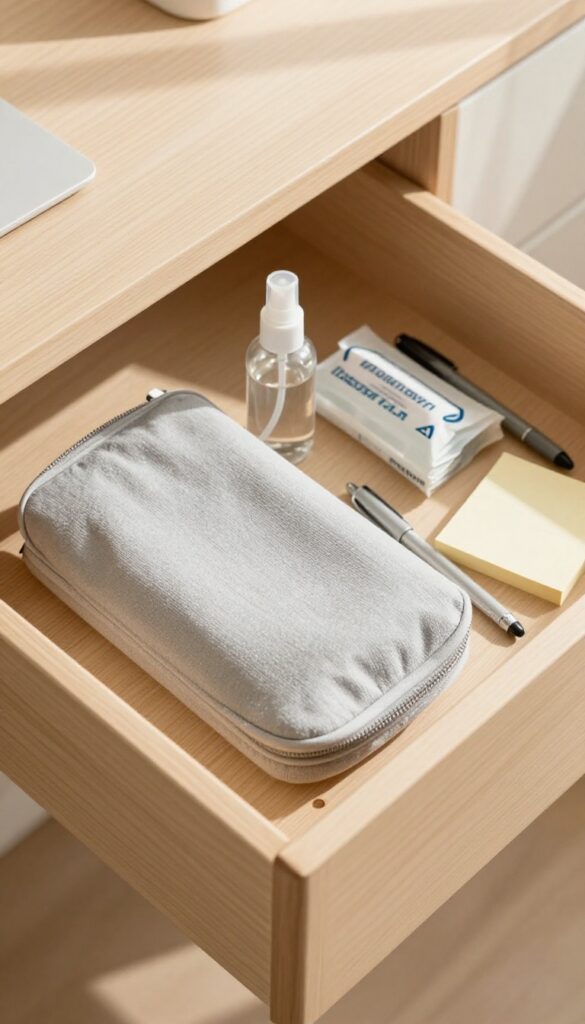
Spills and smudges happen. When they do, the last thing you want is to hunt for supplies. A dedicated cleaning kit stashed in your desk drawer lets you tackle messes instantly, before they dry or spread.
What To Include
Grab a microfiber cloth (lint-free and reusable), a small spray bottle filled with water or a gentle all-purpose cleaner, and a pack of disinfecting wipes. Tuck them in a pencil case or small pouch so they stay organized.
Where To Store It
Choose the drawer you open most often—usually the top one or the one closest to your dominant hand. Out of sight but within arm's reach. If you have a hutch or shelf, a small caddy works too.
When To Use It
Wipe down your keyboard and mouse at the end of each day. Blot coffee rings immediately. Give your monitor a quick once-over when you notice dust.
A 30-second cleanup keeps your desk fresh without breaking focus.
12. Use a Monitor Stand to Free Up Space
Your monitor is probably the biggest thing sitting on your desk, hogging valuable real estate. Lifting it up with a stand does two things at once: it improves your posture by bringing the screen to eye level, and it creates a whole new layer of storage underneath. That empty space becomes prime real estate for items you reach for all day long.
A monitor stand is a simple swap that instantly declutters your surface. You can stash your keyboard, a notebook, pens, or even your phone underneath, keeping them accessible but out of the way. It’s a two-for-one deal: better ergonomics and more usable space without buying a bigger desk.
Pick The Right Height
Not all monitor stands are the same height. Measure from your desk surface to your eye level while sitting comfortably. The top of your screen should be at or just below eye level.
Adjustable stands let you dial in the perfect height, while fixed ones usually come in 4 to 6 inches. Choose one that matches your setup.
Organize The Under-stand Zone
Once your monitor is elevated, decide what lives underneath. A slim keyboard tray or a small caddy works great for a keyboard and mouse. You can also slide a notebook or a tablet there.
Keep it tidy—don’t let it become a catch-all for random clutter. Use small dividers or trays to separate items.
Bonus: Cable Management
Monitor stands often have built-in cable channels or openings to route wires. Use these to keep your monitor cable, keyboard wire, and any other cords hidden and organized. A clean cable path underneath makes the whole desk look neater and prevents tangles when you move things around.
13. Label Everything That Moves
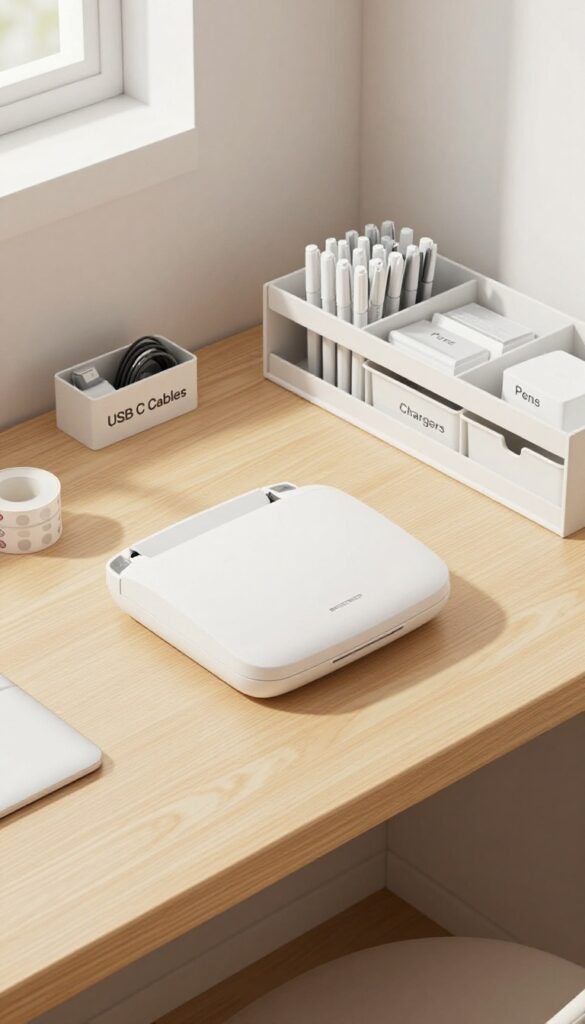
Labels are the unsung heroes of a tidy desk. When every drawer, bin, and cable organizer has a clear label, you never have to guess where something belongs. This small habit turns cleanup from a chore into a quick, almost automatic task.
Labels work because they remove decision fatigue. Instead of pausing to think "Where does this go? " your eyes scan for the label and your hands follow.
Over time, this mental shortcut becomes second nature, keeping your desk consistently organized without extra effort.
Start With The Hotspots
Focus on the areas you touch most often: your main drawer, the top drawer organizer, and any bins you use daily. Use a label maker for a clean look, or write neatly on washi tape for a more casual vibe. The key is consistency—choose one style and stick with it.
Don't Forget Cables And Chargers
Cable organizers are great, but they're only helpful if you know which cord is which. Wrap a small label around each cable near the plug end, or use colored cable ties that match a label on your power strip. This simple trick saves minutes of untangling and guessing every time you need to plug something in.
Make Tidying A No-brainer
When everything has a home with a label, putting things away becomes almost automatic. You'll find yourself dropping items into their labeled spots without thinking, which means your desk stays clean with minimal effort. It's the lazy person's secret to an organized workspace.
14. Schedule a Monthly Deep Clean
Even with daily wipe-downs, grime finds its way into every crevice. A monthly deep clean resets your desk completely, tackling dust, crumbs, and cable tangles that quick cleans miss. Think of it as a spa day for your workspace—it keeps everything running smoothly and looking fresh.
Unplug And Dust Every Component
Start by shutting down your computer and unplugging all devices. Use a microfiber cloth to dust your monitor, keyboard, mouse, and desk surface. For tight spots like keyboard gaps, a can of compressed air works wonders.
Don't forget the back of your monitor and under your desk—those areas collect surprising amounts of dust.
Wipe Down And Disinfect
Dampen a cloth with a gentle cleaner (or a 50/50 water-vinegar mix) and wipe down every surface. Pay extra attention to high-touch areas like your mouse, keyboard, and phone. Let everything air dry before plugging back in.
This step not only sanitizes but also removes sticky residues from spilled drinks or lotion.
Reorganize Drawers And Shelves
Empty each drawer and shelf, toss expired items, and group similar things together. Use small containers or drawer dividers to keep pens, cables, and sticky notes from becoming a jumbled mess. As you put things back, ask yourself: "Do I actually use this within arm's reach?
" If not, store it elsewhere.
Tidy Cables And Accessories
Untangle and reroute cables using clips, sleeves, or a cable box. Wipe down charging bricks and power strips. Check for any frayed wires or dead batteries and replace them.
A clean cable setup not only looks better but also prevents accidental unplugging and overheating.
15. Use a Tray for Incoming and Outgoing Items
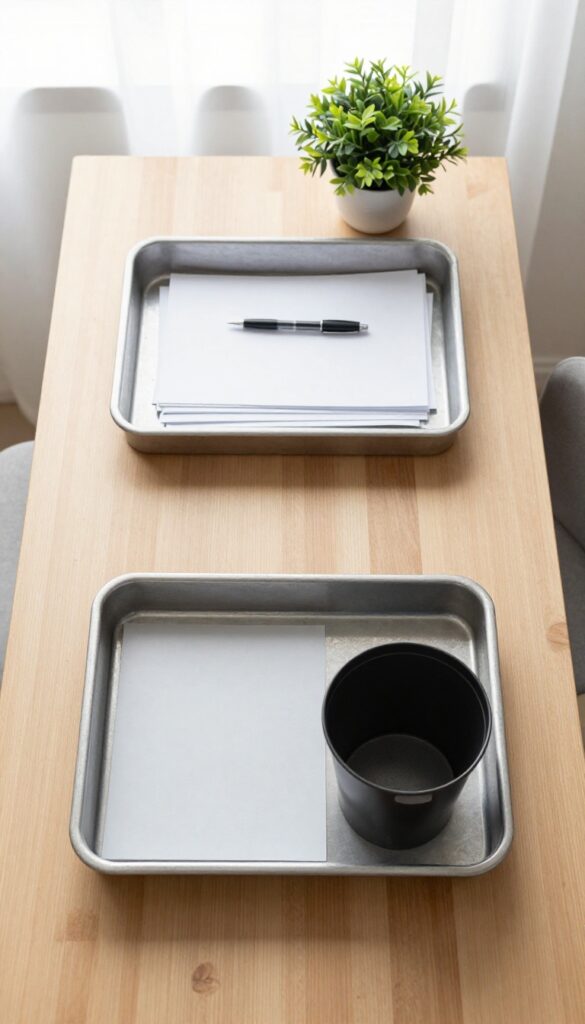
Paper piles up fast when you don't have a clear system for what needs attention and what's done. A simple two-tray setup can stop that mountain from forming. One tray catches everything that needs a decision or action, and the other holds items ready to file or toss.
Why Two Trays Work Better Than One
A single tray quickly becomes a catch-all where nothing gets sorted. With separate trays for incoming and outgoing, you create a natural workflow. The incoming tray holds bills, forms, or notes you still need to handle.
The outgoing tray collects completed items, recyclables, or documents to file. This separation forces you to process each piece of paper instead of letting it linger.
Where To Place Them
Position the trays within easy reach but not in your main work zone. A corner of the desk or a nearby shelf works well. Keep the incoming tray on your dominant side so you can grab items quickly.
The outgoing tray can go on the opposite side or slightly behind to avoid mixing them up.
How To Keep The System Going
Set a daily or weekly habit to clear both trays. For the incoming tray, decide on each item immediately: act, delegate, or trash. For the outgoing tray, schedule a regular time to file documents and recycle the rest.
A few minutes each day prevents buildup and keeps the trays functional.
16. Limit Personal Decor to Three Items
Your desk should reflect your personality, but not at the cost of your productivity. When every surface is covered with knickknacks, photos, and souvenirs, your brain has to work harder to filter out visual noise. The fix is simple: choose just three meaningful items that spark joy or motivation, and put everything else away.
Limiting personal decor forces you to curate intentionally. A single framed photo of your family, a small succulent, and a favorite figurine can bring warmth without overwhelming your workspace. Rotate items seasonally if you get bored, but keep the count at three.
You'll be surprised how much calmer your desk feels when every object has a purpose.
Why Three Works
The number three is easy to remember and enforce. It's enough to add character but not enough to create clutter. With fewer items, each one gets noticed and appreciated rather than lost in the crowd.
How To Choose Your Three
Pick items that genuinely make you smile or help you focus. A plant can improve air quality, a photo can remind you of your why, and a small trophy can represent a past win. Avoid anything that distracts or requires dusting.
What To Do With The Rest
Store extra decor in a drawer or a box under your desk. Rotate them monthly if you like variety, but keep the display limit at three. This keeps your desk fresh without the visual load.
17. End Each Day by Clearing the Surface

The last five minutes of your workday can set the tone for the next morning. Instead of rushing away from your desk, take a moment to reset the space. This simple habit prevents small messes from snowballing into overwhelming clutter.
When you clear your desk at the end of the day, you're not just tidying up—you're giving yourself a fresh start. It takes less than five minutes, but the payoff is huge. You'll walk into a clean, organized workspace that invites focus instead of dread.
The Power Of A Clean Slate
A clear desk signals to your brain that it's time to work. When you start your day with a clutter-free surface, you eliminate the visual noise that can distract you. This small ritual also helps you mentally close out the day, reducing the urge to keep working.
What To Do In Those Five Minutes
First, put away any loose items like pens, notebooks, or gadgets. File or recycle papers that are no longer needed. Wipe down the surface with a microfiber cloth or a gentle cleaner.
Finally, arrange your essentials—keyboard, mouse, monitor—so they're ready for tomorrow.
Make It A Habit That Sticks
Set a recurring reminder on your phone or computer for five minutes before you plan to log off. Pair it with another end-of-day task, like shutting down your computer, so it becomes part of your routine. After a week, it will feel automatic.
FAQ
How often should I clean my desk?
A quick daily tidy takes just five minutes, and a deeper clean once a week keeps dust and clutter at bay. Monthly deep cleans help maintain long-term organization.
What's the best way to organize cables?
Use adhesive cable clips along the edge of your desk or a cable sleeve to bundle cords together. An under-desk tray can hide power strips and excess length.
How can I reduce paper clutter?
Go digital by scanning documents you need to keep and recycling the rest. Use a simple folder system on your computer for easy retrieval.
What should I do with desk items I rarely use?
Store them in a drawer or a nearby cabinet, not on the desk surface. If you haven't used something in a month, consider donating or discarding it.
How do I maintain a clean desk long-term?
Adopt the 'one in, one out' rule, do a five-minute tidy each day, and schedule a monthly deep clean. Consistency is key.
Conclusion
A clean desk isn't just about appearances—it sets the stage for clearer thinking and better focus. You don't need to tackle all 17 ideas at once. Pick one or two that address your biggest pain points, whether it's tangled cables or a cluttered surface.
Small changes quickly build momentum, and soon you'll wonder how you ever worked any other way. Your productivity will thank you.


