
A clean bedroom isn't just about appearances—it directly affects how well you sleep and how you feel when you wake up. But deep cleaning your room can feel overwhelming, especially when you're short on time or money.
The good news is you don't need expensive products or hours of free time to make a real difference. These 25 ideas focus on realistic, low-effort changes that deliver noticeable results.
From quick daily habits to weekend projects, each tip is designed to fit into your life without adding stress. Let's dive into simple ways to turn your bedroom into a fresh, calming retreat.
1. Strip and Wash Bedding Weekly
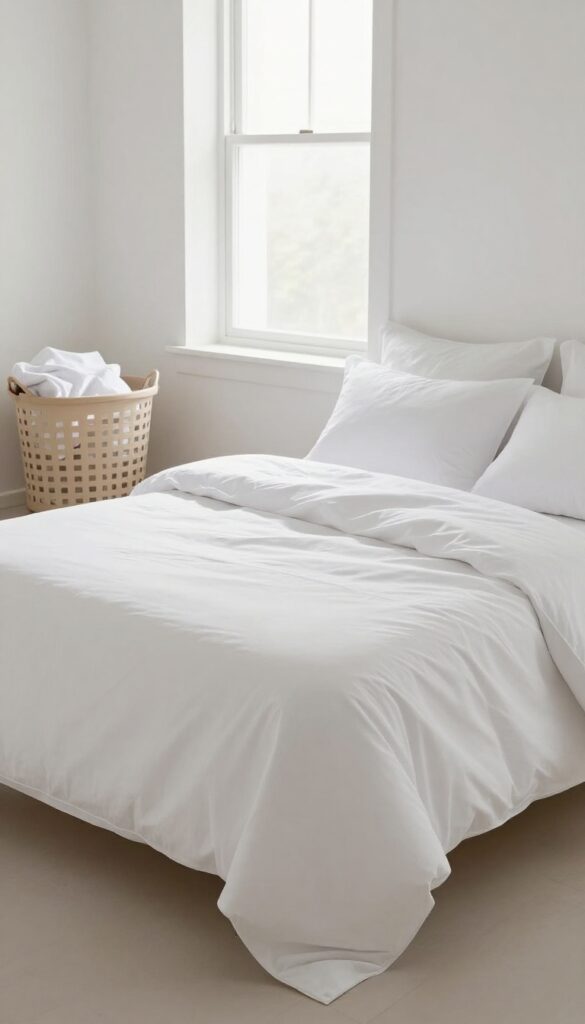
Your sheets and pillowcases collect sweat, dead skin cells, and dust mites every night. Washing them weekly in hot water removes these allergens and keeps your bed feeling fresh. It's one of the simplest ways to improve your sleep environment without spending money.
Make it a habit to strip the bed every Sunday or whichever day works for you. Wash sheets in the hottest water recommended on the care label, and dry them on high heat to kill dust mites. While the bedding is in the wash, let your mattress air out for a few hours.
You'll be amazed at how much better the room smells and feels when you put on clean, crisp sheets.
Choose The Right Water Temperature
Hot water is most effective at killing dust mites and removing body oils. Check the care tags on your sheets—most cotton and microfiber bedding can handle warm or hot water. If your sheets are delicate, use warm water and add a cup of white vinegar to the rinse cycle to kill germs naturally.
Don't Forget Pillowcases And Duvet Covers
Pillowcases and duvet covers collect just as much grime as fitted sheets. Wash them weekly too, and consider using zippered allergen-proof covers for pillows and mattresses. These add a protective barrier and make washing easier since you only need to launder the cover.
Dry Completely To Prevent Mildew
Always dry bedding thoroughly before putting it back on the bed. Damp sheets can develop mildew and a musty smell. If you're using a dryer, run an extra cycle if needed.
For line drying, choose a sunny, breezy day and bring them in as soon as they're fully dry.
2. Declutter Nightstands Completely
Your nightstand is one of the first things you see before falling asleep and the last thing you see in the morning. If it's piled high with books, glasses, chargers, and random odds and ends, it can create mental clutter that makes winding down harder. Clearing it off entirely and only putting back what you truly need can make a surprising difference in how calm your bedroom feels.
The Empty-surface Reset
Start by removing everything from your nightstand—every single item. Wipe down the surface with a gentle cleaner or a damp cloth. Let it dry completely before deciding what goes back.
This reset gives you a blank slate and helps you see how much space you actually have.
The Essentials-only Rule
Now, only place items back that serve a clear purpose for your bedtime routine. A lamp for reading, a glass of water, maybe a book or a sleep journal. If something doesn't get used nightly, it doesn't belong there.
Store extra items in a drawer or elsewhere.
Drawer Organization Hacks
If your nightstand has a drawer, use it for items you want nearby but not on display—like lip balm, hand cream, or a phone charger. Use small trays or dividers to keep things from becoming a jumble. A tidy drawer means you can keep the top surface clean without sacrificing convenience.
3. Vacuum Under the Bed
The space under your bed is a magnet for dust, hair, and random items that roll out of sight. It's also one of the biggest contributors to indoor allergens. Tackling this hidden zone doesn't have to be a hassle, and the payoff is immediate—cleaner air and a tidier room.
Vacuuming under the bed removes dust bunnies, pet hair, and debris that accumulate over time. This simple task can improve your room's air quality and reduce allergy symptoms. Plus, you might find lost socks, books, or that phone charger you thought was gone forever.
Make it a monthly habit to keep the area fresh.
Get The Right Tool
A standard vacuum head might not reach far enough. Use a long-reach crevice tool or an extension wand to slide under the bed without moving furniture. If your vacuum has a brush attachment, even better—it will loosen stuck dust and hair from the floor or carpet.
Move The Bed When Possible
If you can, slide the bed away from the wall or lift the frame to access the entire area. This gives you a chance to vacuum the baseboards and corners too. For heavy beds, do one side at a time or ask a friend for help.
Don't Forget The Bed Frame
Dust also settles on the bed frame, headboard, and any storage boxes underneath. Wipe these surfaces with a microfiber cloth or use the upholstery attachment to clean fabric headboards. This prevents dust from resettling on your freshly vacuumed floor.
4. Wipe Down Baseboards and Trim
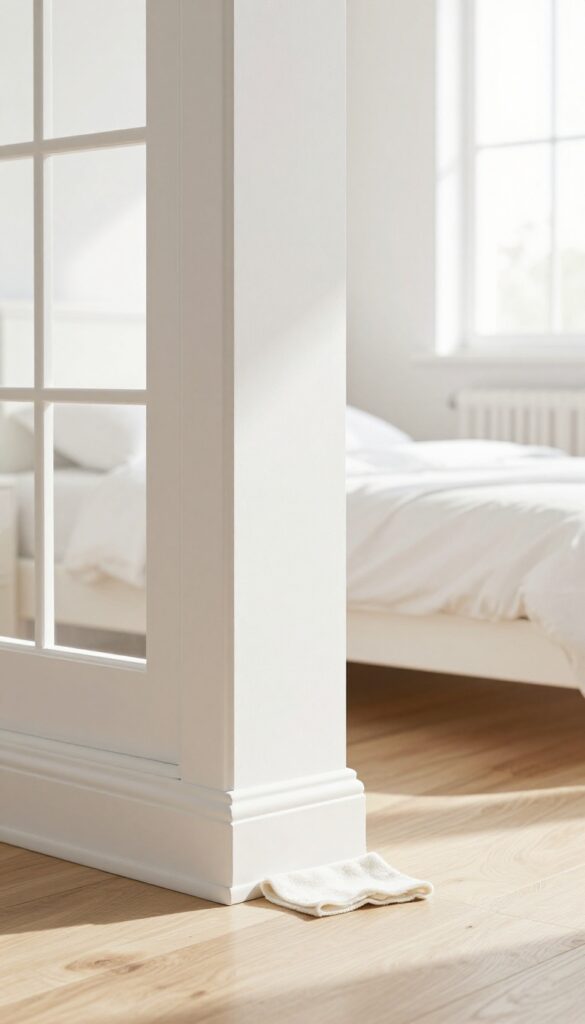
Baseboards, window sills, and door frames are often overlooked during regular cleaning, but they collect a surprising amount of dust and grime. Every time you walk by or open a window, that dust gets stirred up and settles back onto your floors and furniture. Giving these surfaces a quick wipe can make the whole room feel fresher without much effort.
Why It Matters
Dust on baseboards and trim doesn't just look bad—it contributes to indoor allergens and can make your bedroom feel stuffy. Since these surfaces are at floor level, they trap hair, lint, and dirt that you track in from other rooms. Cleaning them regularly helps maintain better air quality and keeps your space looking well-cared-for.
The Right Tools For The Job
A microfiber cloth is your best bet because it traps dust instead of pushing it around. For tight corners and detailed trim, use a duster with an extendable handle or an old toothbrush. Dampen the cloth slightly with water or a gentle cleaner—just enough to pick up grime without leaving streaks.
Quick Routine To Stay On Top Of It
Incorporate baseboard wiping into your weekly or biweekly cleaning schedule. Run a dry microfiber cloth along all baseboards and window sills while you're dusting other surfaces. For a deeper clean, do a damp wipe every month.
This small habit prevents buildup and keeps your bedroom feeling fresh.
5. Freshen Mattress with Baking Soda
Your mattress works hard every night, absorbing sweat, body oils, and dust mites. Over time, these build up and create musty odors that can disrupt your sleep. A simple sprinkle of baking soda can neutralize those smells and refresh the surface without any harsh chemicals.
Baking soda is a natural deodorizer that absorbs moisture and odors. It's safe for most mattresses and costs pennies per use. For best results, remove all bedding first, then sprinkle a generous layer over the entire mattress.
Let it sit for 15-30 minutes—longer if the mattress hasn't been cleaned in a while. Finally, vacuum thoroughly using the upholstery attachment to remove every trace.
Why Baking Soda Works So Well
Baking soda has a porous structure that traps odor molecules and excess moisture. It's alkaline, which helps neutralize acidic smells like sweat and mildew. Unlike chemical sprays, it leaves no residue or artificial fragrance behind.
Step-by-step Application Tips
Start by stripping the bed completely. Use a fine-mesh sieve or a clean spice shaker to dust the baking soda evenly. Focus on areas that get the most sweat, like the center and head area.
After letting it sit, vacuum slowly in overlapping passes to lift all the powder. Repeat every few months for ongoing freshness.
When To Add Essential Oils
If you want a light scent, mix 5-10 drops of lavender or eucalyptus essential oil into the baking soda before sprinkling. Stir well to avoid clumps. Let the mixture sit for an hour so the oil disperses, then apply as usual.
This adds a calming aroma without overpowering your senses.
6. Organize Closet by Season
When your closet is stuffed with clothes you won't wear for months, it's harder to keep tidy and easier for dust to pile up. By rotating your wardrobe seasonally, you free up space and make daily dressing simpler. Plus, off-season items stay fresh in storage instead of collecting dust on hangers.
Start by pulling out everything that doesn't match the current season—heavy sweaters in spring, tank tops in fall. Store them in clear bins or under-bed containers labeled by season. This clears half your closet instantly and reduces the clutter that attracts dust.
You'll also spot items you forgot you owned, which can save you from buying duplicates.
Sort And Declutter First
Before packing away off-season clothes, go through each piece. Donate or toss anything stained, worn out, or unworn in the past year. This prevents you from storing items you'll never use again.
A quick declutter now means less to rotate later.
Choose The Right Storage
Use breathable fabric bins for woolens and delicates to prevent moisture damage. Clear plastic bins work best for items that need protection from dust and pests. Under-bed containers are perfect for bulky sweaters or extra bedding.
Label everything clearly so you can grab what you need next season without digging.
Maintain The System Year-round
Twice a year, swap your seasonal bins. As you unpack, reassess each item again. This habit keeps your closet from overflowing and makes it easy to maintain a clean, organized space.
You'll also notice when something no longer fits or is past its prime.
7. Clean Windows and Mirrors

Windows and mirrors collect dust, smudges, and grime that dull the whole room. When they're spotless, natural light pours in and reflections look crisp, making the space feel larger and more open. This simple task takes just a few minutes but has an outsized impact on the room's freshness.
Start by dusting the frames and sills with a microfiber cloth or vacuum attachment. Then spray your cleaner evenly onto the glass—don't soak it, or you'll get streaks. Wipe in a zigzag or S-pattern with a clean, lint-free cloth or a squeegee for best results.
Work from top to bottom so drips don't ruin already-clean areas. For mirrors, the same technique works; just be careful around edges if they're framed.
Diy Cleaner That Works
Mix equal parts white vinegar and distilled water in a spray bottle. Add a drop of dish soap to cut through grease. This solution is cheap, non-toxic, and leaves glass streak-free when buffed with a microfiber cloth.
Avoid paper towels—they leave lint.
When To Clean For Best Results
Clean windows on a cloudy day or in the evening. Direct sunlight dries the cleaner too fast, causing streaks. For mirrors, clean after a hot shower—the steam loosens grime and makes wiping effortless.
Don't Forget The Details
Wipe window sills and tracks with a damp cloth or old toothbrush. Vacuum any cobwebs or dead bugs from corners. Clean mirror frames if they're dusty.
These small touches make the whole job feel complete.
8. Dust All Surfaces Top to Bottom
Dusting seems simple, but doing it in the wrong order can double your work. If you start with the floor and then wipe a shelf, dust falls right onto the clean surface below. The smart approach is to work from high to low, letting gravity do the heavy lifting.
This method saves time and leaves every surface truly clean.
Start With Ceiling Fixtures
Ceiling fans and light fixtures collect dust that often goes unnoticed until it drops onto your bed or dresser. Use a microfiber duster with an extendable handle to reach fan blades and light shades. For stubborn grime on fan blades, a damp cloth works better than a dry one.
Wipe gently to avoid spreading dust into the air.
Work Down Through Shelves And Furniture
After the ceiling, move to the tops of tall furniture like wardrobes and bookshelves. Then hit mid-level surfaces: nightstands, dresser tops, and window sills. Use a slightly damp microfiber cloth to trap dust instead of pushing it around.
Don't forget picture frames, lampshades, and any decorative items—they hold dust too.
Finish With The Floor Last
Once all elevated surfaces are dusted, any fallen debris is now on the floor. Vacuum or sweep the entire room, paying attention to corners and under furniture. If you have hardwood or tile, follow up with a damp mop to pick up the fine particles that dusting loosened.
This final step ensures you're not kicking dust back onto cleaned surfaces.
9. Wash Throw Pillows and Blankets
Decorative pillows and throw blankets do a lot more than just look cozy. They trap oils from your skin, dust, pet dander, and even food crumbs from late-night snacks. That buildup can make your bed feel less fresh and even trigger allergies over time.
Most people forget about these soft accessories until they start looking dingy or smelling musty. A quick wash every few weeks keeps them looking good and feeling clean. It also extends their life by preventing oils and dirt from breaking down the fibers.
Check Care Labels First
Before tossing anything in the machine, take two seconds to read the tag. Some pillows are dry-clean only, especially those with delicate trims or silk covers. For machine-washable items, use cold water and a gentle cycle to avoid shrinkage or damage.
How Often To Wash
Aim to wash throw pillows and blankets every two to four weeks. If you have pets or allergies, bump that up to every two weeks. In between washes, give them a good shake outside or toss them in the dryer on air-fluff with a dryer sheet to freshen them up.
Drying Tips For Fluffiness
Air-drying is gentlest, but a low-heat dryer works too. Add a couple of clean tennis balls or dryer balls to fluff the fill and prevent clumping. Check periodically to avoid overheating, and fluff by hand when they're still slightly damp for the best texture.
10. Wipe Down Light Switches and Doorknobs
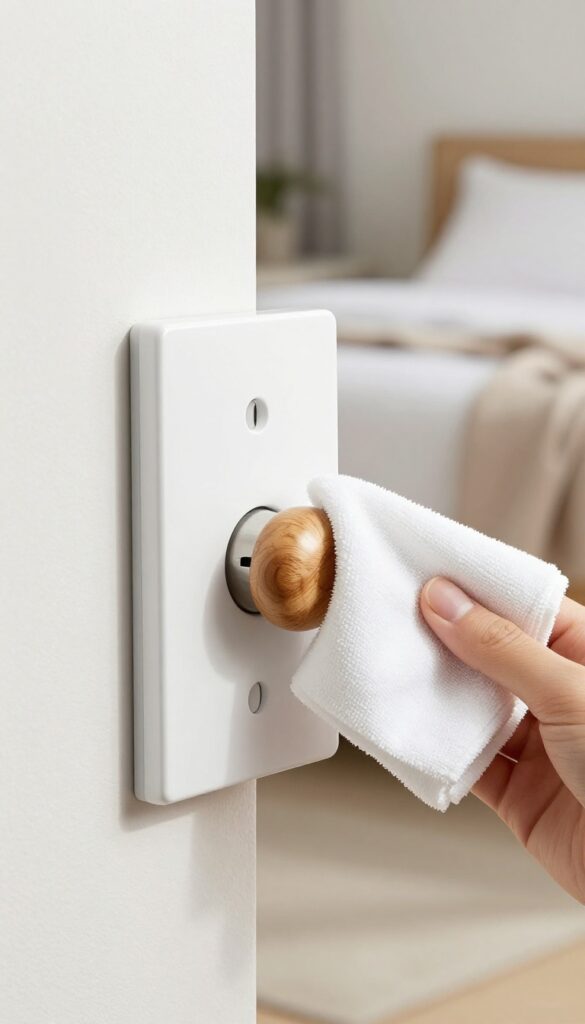
Light switches and doorknobs are some of the most touched surfaces in any room, yet they rarely get cleaned. Every time you flip a switch or turn a knob, you're transferring oils, dirt, and germs. A quick wipe-down takes just seconds but makes your bedroom feel noticeably fresher and more hygienic.
Why These Spots Matter
Think about how often you touch your light switch—first thing in the morning, last thing at night, and multiple times in between. Doorknobs see even more action. Over time, grime builds up, and bacteria can linger.
Cleaning them regularly reduces the spread of germs and keeps your room from feeling grubby.
What You Need
Grab a microfiber cloth or a disinfectant wipe—that's it. For a natural option, mix a few drops of dish soap with water in a spray bottle. Avoid harsh chemicals that might damage finishes.
A quick spritz and wipe are all it takes.
How To Make It A Habit
Add this to your weekly cleaning routine. Keep a pack of wipes under your bathroom sink or in a drawer so it's easy to grab. While you're at it, wipe down the switch plates themselves—they collect dust and fingerprints too.
Consistency is key.
11. Vacuum or Sweep Floors Thoroughly
Floors are the largest surface in your bedroom, and they collect everything from dust mites to pet dander. A thorough vacuum or sweep can dramatically improve air quality and make the room feel instantly fresher. Don't just hit the middle of the room—pay attention to edges and under furniture where debris hides.
Start by clearing the floor of any clutter, rugs, or small furniture. Then, using the right tool for your flooring type, go over every inch systematically. For carpets, a vacuum with a HEPA filter traps allergens and prevents them from being recirculated.
For hard floors, a microfiber mop or a vacuum with a hard floor setting picks up fine dust without scratching.
Don't Forget The Corners And Edges
Use a crevice tool or an attachment to get into baseboards and corners where dust bunnies love to gather. Move furniture like bed frames and nightstands to vacuum underneath—this is where the most hidden dust accumulates.
Carpet Care: Go Slow And Overlap
When vacuuming carpet, push the vacuum slowly and overlap each pass by a few inches. This ensures you pick up deeply embedded dirt. For high-traffic areas, go over them twice.
Empty the canister or replace the bag when it's half full to maintain suction.
Hard Floors: Damp Mop For A Deeper Clean
After sweeping or vacuuming hard floors, use a slightly damp microfiber mop with a gentle cleaner. Avoid soaking the floor—excess moisture can damage wood or laminate. Let it air dry completely before walking on it.
12. Clean Under Furniture Cushions
If you have an armchair or ottoman in the bedroom, it's easy to forget what's hiding under those cushions. Crumbs, hair, and dust collect there over time, and they can start to smell. A quick vacuum under the cushions once a month keeps your furniture fresh and your room cleaner.
Lift each cushion completely and use the crevice tool on your vacuum to reach deep into the corners. Pay special attention to the seams where crumbs and hair tend to get stuck. If the cushions are removable, take them outside and give them a good shake before vacuuming.
For fabric that traps odors, sprinkle a little baking soda, let it sit for 15 minutes, then vacuum it up.
Why It Matters
Under-cushion debris isn't just unsightly—it can attract dust mites and cause musty odors. When you sit down, you disturb the dust, sending particles into the air you breathe while you sleep. A clean cushion area means fewer allergens and a fresher-smelling room.
What You'll Need
A vacuum with a crevice tool is the main tool. For stubborn crumbs, a stiff brush or a lint roller can help. If your cushions are machine-washable, check the care tag and wash them every few months for a deeper clean.
How Often To Do It
Aim to vacuum under cushions once a month. If you eat snacks in your chair or have pets that like to sit with you, bump it up to every two weeks. A quick check every time you change your sheets can help you stay on track.
13. Organize Dresser Drawers
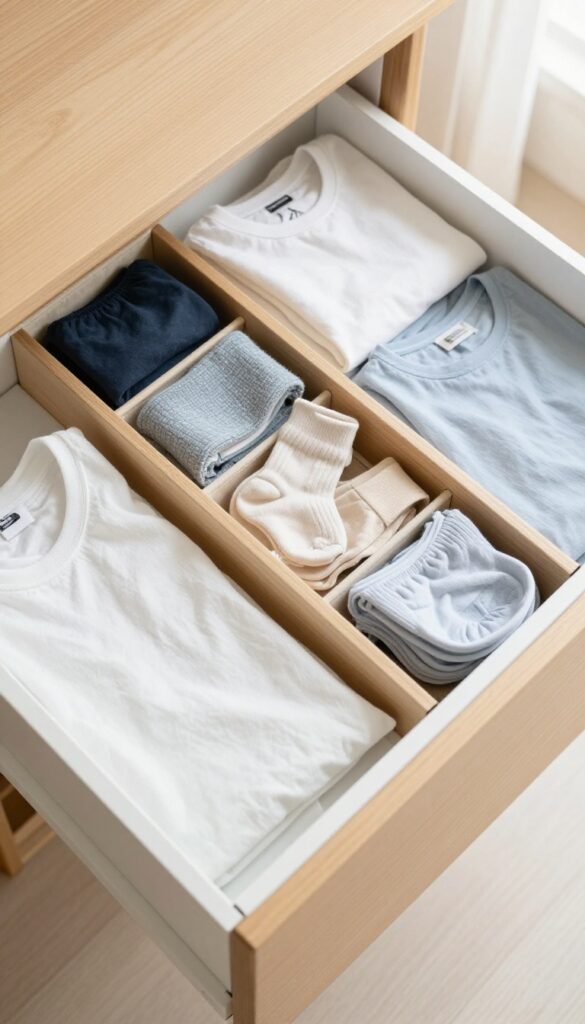
A chaotic drawer can sabotage your morning before it even starts. When you can't find a matching sock or the shirt you want, frustration builds fast. Organizing your dresser drawers is a small project with a big payoff—it saves time, reduces stress, and makes your space feel calmer every single day.
Start by pulling everything out. Wipe down the inside of each drawer with a damp cloth or a gentle cleaner. Then sort your clothes into piles: keep, donate, and relocate (items that belong elsewhere).
This purge alone often cuts drawer clutter in half. Next, fold using the KonMari method—fold each item into a neat rectangle so it stands upright. This lets you see everything at a glance without rummaging.
Arrange by category (tops, bottoms, socks) and color for extra clarity. Finally, use drawer dividers or small boxes to keep categories separated. The result is a drawer that stays tidy and makes getting dressed feel effortless.
Why The Konmari Method Works
Folding clothes to stand vertically is a game-changer. You can see every item in the drawer at once, so you never have to dig for a favorite tee. It also prevents wrinkles and keeps stacks from toppling over.
Once you try it, you'll never go back to flat stacking.
Divide And Conquer With Drawer Organizers
Simple dividers—adjustable wooden inserts, fabric bins, or even repurposed cardboard boxes—keep categories from blending together. Use them for socks, underwear, accessories, or workout gear. They create designated spots that make putting laundry away faster and finding things even faster.
14. Wash Curtains or Blinds
Window treatments are like giant dust sponges hanging right next to your bed. Over time, they trap allergens, pet dander, and general grime that can make the air in your bedroom feel heavy and stale. Giving them a proper clean is one of the most impactful things you can do for a fresher space.
Curtains and blinds often get ignored because they seem like a hassle, but the payoff is huge. Clean window treatments let in more light, improve air quality, and instantly make the room feel lighter and less cluttered. Plus, it's a job you only need to do a few times a year.
Check The Care Label First
Before you toss your curtains in the wash, take two seconds to read the care tag. Many cotton or polyester blends are machine-washable on a gentle cycle, while delicate fabrics like silk or velvet may need dry cleaning. For blinds, check if they're made of wood, faux wood, or aluminum—each material has a different cleaning method.
Washing Curtains The Right Way
If your curtains are machine-safe, remove all hooks or rings and wash them in cold water on a gentle cycle. Use a mild detergent and skip the fabric softener—it can leave a residue that attracts more dust. Hang them back up while they're still slightly damp to avoid wrinkles, or tumble dry on low if the label allows.
Cleaning Blinds Without The Fuss
For blinds, a microfiber cloth or a duster attachment on your vacuum works great for routine dusting. For a deeper clean, wipe each slat with a damp cloth dipped in a mixture of water and a drop of dish soap. Close the blinds flat, wipe one side, then rotate and do the other.
Let them dry fully before opening to avoid streaks.
15. Clean Behind Electronics
Electronics are dust magnets, and the area behind them is often ignored. TVs, alarm clocks, phone chargers, and cable boxes sit in the same spot for months, collecting dust that can clog vents and cause overheating. Plus, that dust gets stirred into the air every time you walk past or use the device, affecting your bedroom's air quality.
A quick clean behind electronics is a small effort that protects your gear and your breathing.
Unplug devices before cleaning to avoid shock or damage. Use a microfiber cloth or a soft brush attachment on your vacuum to gently remove dust from vents, ports, and cables. For tight spaces, a can of compressed air works wonders.
Don't forget to wipe down the cables themselves—they attract dust too. Once everything is clean, consider using cable organizers or clips to keep cords tidy and reduce future dust buildup.
Why It Matters
Dust buildup inside electronics acts like insulation, trapping heat and forcing fans to work harder. Over time, this can shorten the lifespan of your devices and even cause them to fail. Additionally, dust particles can become airborne and contribute to allergies or respiratory irritation, especially if you sleep near a TV or charging station.
Cleaning behind electronics is a simple way to improve both device performance and indoor air quality.
How Often To Do It
Aim to clean behind electronics every two to three months. If you have pets or live in a dusty area, bump that up to once a month. Set a reminder on your phone or pair it with another seasonal task, like changing your air filter.
The more regularly you do it, the less buildup you'll have to deal with.
Quick Tips For Less Dust
Place electronics on a hard surface rather than carpet, which sheds fibers. Use a surge protector with a built-in dust cover, or keep unused ports covered. If your TV or monitor has a stand, slide a small tray underneath to catch dust before it reaches the vents.
And when you vacuum the room, use a brush attachment on the floor near electronics to prevent kicking dust back up.
16. Refresh the Air with Natural Scents
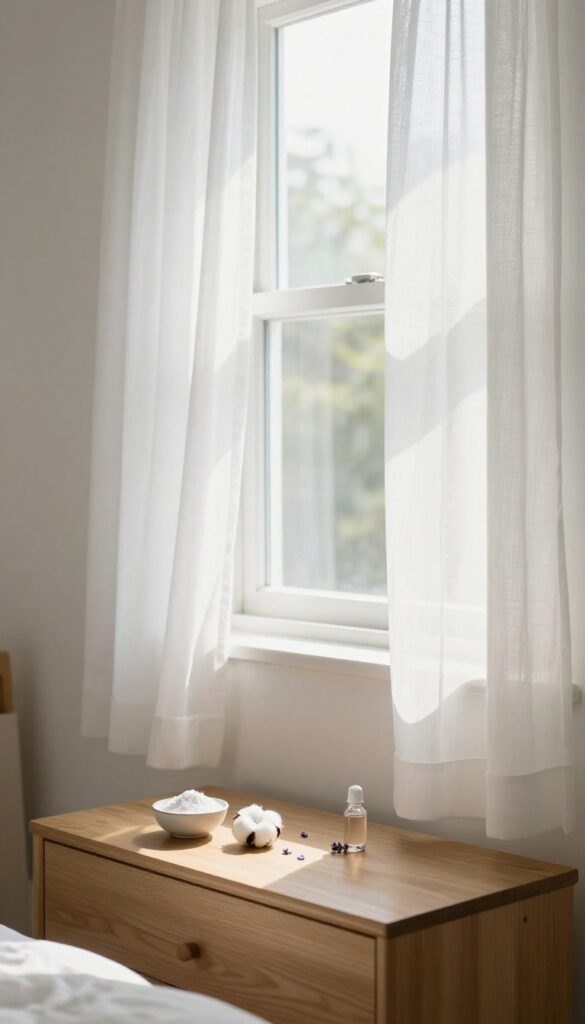
The air in your bedroom can get stale fast, especially if you keep the door closed. Instead of masking odors with synthetic sprays, try natural methods that actually clean the air and leave a gentle, calming scent. A few simple swaps can make your room feel instantly fresher without any harsh chemicals.
Open The Windows Daily
Even five minutes of cross-ventilation can flush out stale air, dust, and volatile organic compounds from furniture or bedding. Make it a habit to crack a window while you make your bed in the morning. Fresh air also helps regulate humidity, which discourages mold and dust mites.
Use Essential Oils The Simple Way
You don't need a fancy diffuser. Just put a drop or two of lavender, eucalyptus, or peppermint oil on a cotton ball and tuck it behind a curtain or under your pillowcase. Replace it every few days.
The scent is subtle and natural, and you control the intensity.
Skip The Synthetic Sprays
Many commercial air fresheners contain phthalates and other chemicals that can irritate your respiratory system. Instead, try a simmer pot with citrus peels and cinnamon sticks on the stove for a few minutes, or place a small bowl of baking soda in a corner to absorb odors without adding any fragrance at all.
17. Sort and Purge Unused Items
Clutter accumulates quietly. Old magazines, broken chargers, empty boxes, clothes you haven't worn in years—they all take up precious space and add visual noise. Purging doesn't have to be a massive project; even 15 minutes can make a difference.
Start with one drawer or one shelf. Pull everything out and sort into three piles: keep, donate, toss. Be honest about what you actually use.
If it's broken, outdated, or just taking up space, let it go. The goal is to free up room for the things that matter.
Start Small, Stay Consistent
You don't need to declutter the whole room in one go. Pick a single area—a nightstand drawer, a closet shelf, or a corner pile. Set a timer for 10 minutes and see how much you can clear.
Small wins build momentum.
The One-year Rule
If you haven't used, worn, or looked at an item in the past year, it's probably safe to let it go. Exceptions exist for seasonal or sentimental items, but for most things, this rule helps cut through indecision.
Donate Or Toss Quickly
Once you've sorted, act fast. Put donations in a bag and place it in your car or by the door. Trash goes straight to the bin.
The longer items sit in a "maybe" pile, the more likely they'll creep back into your space.
18. Clean the Inside of Trash Cans
Trash cans are easy to overlook, but they can be a hidden source of odors and bacteria. Over time, residue from discarded items builds up inside, creating a breeding ground for germs and attracting pests. A quick wash every few weeks keeps your bedroom smelling fresh and hygienic without much effort.
Empty the can completely and take it outside or to a well-ventilated area. Rinse it with water to remove loose debris, then scrub the inside with a sponge and mild dish soap. For stubborn residue, use a mixture of baking soda and vinegar.
Rinse thoroughly and let it air dry before relining it. If you prefer a quicker method, disinfectant wipes work well for light cleaning. Make this a regular habit—tie it to your weekly trash pickup day so you never forget.
Why It Matters
Even if you use liners, small leaks and spills can seep into the can. Over time, this attracts fruit flies, ants, and other pests. It also creates musty smells that can linger in your bedroom, especially if the can is near your bed or closet.
How Often To Clean
Aim for once a month, or more often if you notice odors. If you toss food wrappers or tissues in your bedroom trash, weekly cleaning might be better. Set a reminder on your phone until it becomes a routine.
Pro Tip For Freshness
After cleaning, place a dryer sheet or a few drops of essential oil on a cotton ball at the bottom of the can, under the liner. This keeps the space smelling pleasant between washes.
19. Wipe Down Furniture Surfaces
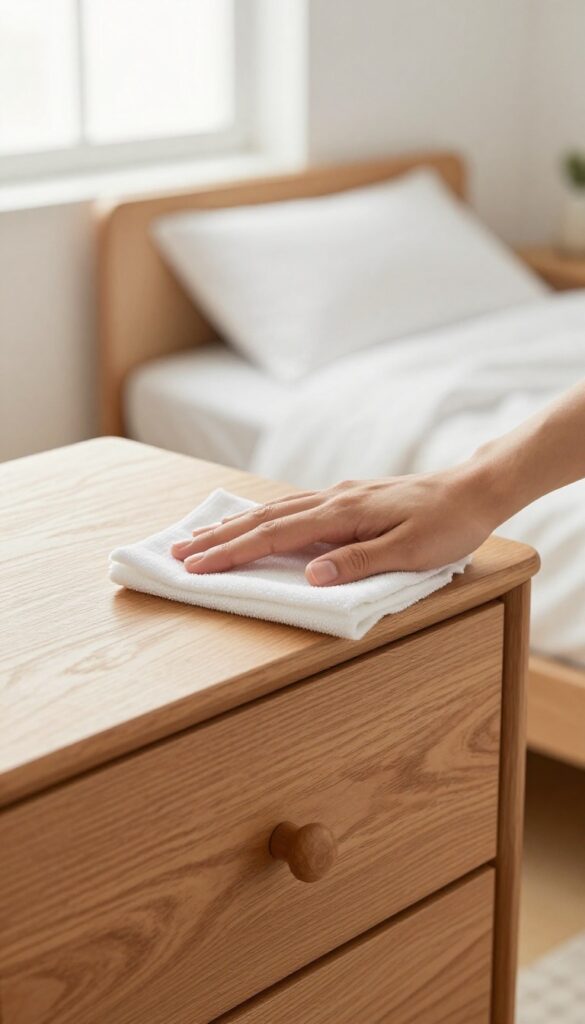
Furniture surfaces collect dust, fingerprints, and grime over time, especially on handles and edges. A quick wipe-down can make your whole bedroom feel fresher without much effort. Use a damp cloth with a mild cleaner to clean dressers, headboards, and nightstands regularly.
Focus on high-touch areas like drawer pulls, knobs, and the tops of furniture where dust settles. For wood surfaces, avoid harsh chemicals that can damage the finish. A microfiber cloth works well to trap dust without scratching.
Choose The Right Cleaner
For most wood furniture, a mixture of water and a few drops of dish soap is gentle enough. You can also use a dedicated wood cleaner or a vinegar-water solution (1: 4 ratio) for a natural option. Test on an inconspicuous area first.
Don't Forget The Details
Pay attention to handles, knobs, and edges where oils from hands build up. Use a cotton swab dipped in cleaner to get into crevices. Also wipe down the sides and back of furniture pieces, as they collect dust too.
Establish A Routine
Incorporate furniture wiping into your weekly cleaning schedule. It only takes a few minutes per piece. Doing it consistently prevents heavy buildup and keeps your bedroom looking fresh.
20. Vacuum Mattress Seams and Edges
Your mattress might look clean on the surface, but the seams and edges are where dust, dead skin cells, and allergens love to hide. These areas are often missed during a quick vacuum pass, yet they can harbor a surprising amount of debris that affects your sleep quality and allergy symptoms. Taking a few extra minutes to target these spots can make a big difference in the freshness of your bed.
Most people vacuum the top of their mattress and call it done. But the seams—where the fabric is stitched together—and the edges act like tiny shelves, catching particles that drift off your body and sheets. Over time, this buildup can lead to musty smells and even attract dust mites.
The good news is that cleaning them is quick and requires no special tools beyond your vacuum's upholstery attachment.
Why Seams And Edges Matter
The seams on your mattress are essentially grooves where dust and skin cells settle. Every time you move in bed, you dislodge a few more particles that end up trapped in these crevices. The edges, especially on pillow-top or euro-top mattresses, have extra layers of fabric that create pockets for debris.
Ignoring these areas means you're only partially cleaning your mattress, leaving a hidden layer of grime that can irritate your respiratory system.
How To Vacuum Effectively
Start by stripping all bedding and giving the mattress a quick once-over with the upholstery attachment to remove surface dust. Then, run the nozzle along every seam, pressing gently to let the suction pull out embedded particles. Pay extra attention to the perimeter of the mattress, especially near the head and foot where sweat and oils accumulate.
For best results, go over each seam twice—once in each direction—to loosen and capture stubborn debris.
When To Do This
Make vacuuming the seams part of your monthly mattress cleaning routine, ideally right after you've sprinkled and vacuumed baking soda (if that's part of your regimen). If you have allergies or pets, consider doing it every two weeks. A good time is when you're changing your sheets, so everything stays fresh and you don't have to remember a separate task.
21. Clean Under the Bed Frame
The space under your bed frame is a dust magnet that often goes untouched for months. If your bed sits on legs, the frame itself collects a surprising amount of grime on its slats and crossbars. Every time you move or sit on the bed, that dust gets dislodged and floats down to the floor, making your room feel dustier than it needs to be.
Cleaning under the bed frame is quick and requires no special tools. Simply grab your vacuum's crevice tool or a microfiber cloth and run it along the top of each slat and the side rails. Pay extra attention to corners where cobwebs like to form.
Doing this once a month can drastically reduce the amount of dust that settles on your floor.
Why It Matters
Dust and allergens accumulate on the underside of your bed frame even if you vacuum the floor regularly. When you toss and turn at night, you disturb that settled dust, sending it into the air you breathe. Cleaning the frame itself breaks this cycle and helps keep your bedroom air fresher.
How To Do It Quickly
You don't need to move the bed. Use a vacuum with a long crevice attachment to reach the slats from the side. If you prefer a cloth, a microfiber duster on an extendable handle works well.
For metal frames, a damp cloth can wipe away stubborn dust. Aim for a quick pass every few weeks.
Bonus Tip: Check For Clutter
While you're under there, glance for any items that may have rolled or been pushed under the bed frame. Socks, dust bunnies, and even small toys can hide on top of the slats. Removing these not only improves cleanliness but also prevents them from falling onto the floor later.
22. Organize Cables and Chargers
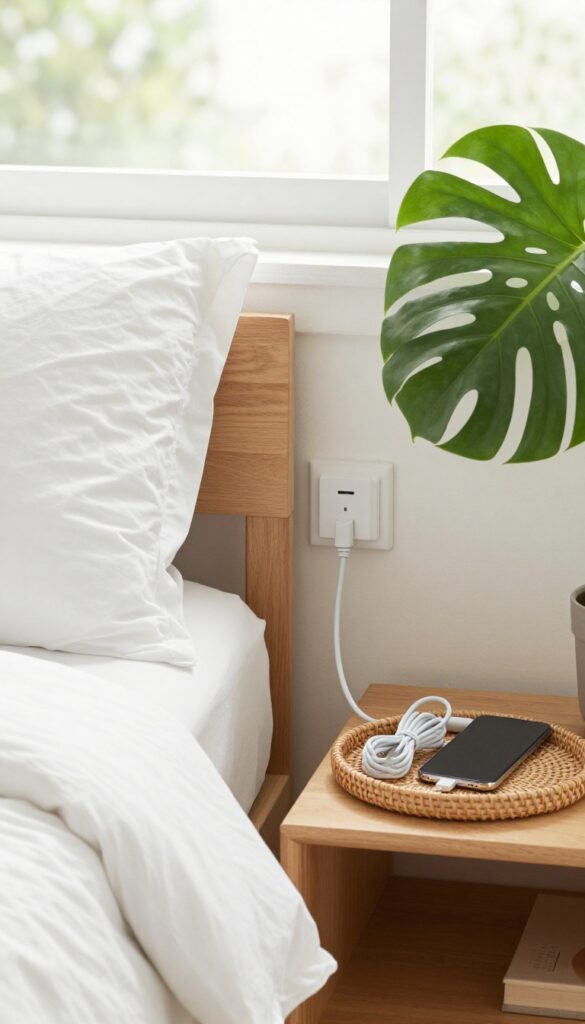
Cables and chargers have a way of multiplying when you're not looking. Before you know it, your nightstand looks like a tech octopus. Tangled wires not only create visual chaos but also collect dust in those hard-to-reach loops.
Taming them is one of the easiest ways to make your bedroom feel instantly cleaner.
Start by unplugging everything and sorting out what you actually use. Old phone chargers, forgotten earbuds, and random cords can go. For the ones you need, use cable ties, velcro straps, or simple twist ties to keep them bundled.
A small box or tray on your nightstand can hide the excess length and keep plugs within reach. Power strips can be mounted under your desk or bed frame to keep them off the floor and out of sight. This small effort makes dusting way easier and gives your space a more polished look.
Sort And Declutter First
Pull every cable out from behind furniture and drawers. Be honest about what you still use—old laptop chargers, duplicate phone cables, and mystery cords can go. This step alone reduces the mess by half.
Use Simple Organizing Tools
Cable ties, adhesive clips, and small fabric boxes are cheap and effective. Attach clips to the edge of your desk or nightstand to route charging cables neatly. A dedicated cable box hides the power strip and extra length while keeping everything accessible.
Keep Daily Chargers Handy
Designate a spot for the cables you use every day, like your phone charger. A small tray or a charging station keeps them from sliding off surfaces. This prevents the nightly hunt for a charger and keeps your nightstand tidy.
23. Wash Reusable Water Bottles and Glasses
Nightstands often collect water bottles and glasses that get refilled day after day without a proper wash. Stale water, saliva, and residue create a breeding ground for bacteria and mold. A quick rinse isn't enough—these items need a thorough cleaning to keep your bedside hygienic.
Make it a habit to bring any reusable bottles or glasses to the kitchen each morning. Wash them with hot, soapy water, paying attention to the mouthpiece and cap. For bottles, use a bottle brush to reach the bottom.
Let them air dry completely before returning them to your nightstand. This simple routine prevents musty odors and keeps your drinking vessels fresh.
Why It Matters
Bacteria thrive in moist environments. A water bottle used for days without washing can harbor more germs than a toilet seat. Since you keep these items close to your bed, you're exposed to those microbes while you sleep, which can affect your respiratory health and overall well-being.
How To Clean Properly
Disassemble any removable parts like straws, lids, and seals. Wash everything in warm, soapy water, using a small brush for hard-to-reach areas. Rinse thoroughly and let all parts dry separately.
For stainless steel or glass bottles, you can also sanitize with a diluted vinegar solution once a week.
Set A Reminder
It's easy to forget when you're tired. Place a sticky note on your nightstand or set a daily phone alarm to remind you to take bottles and glasses to the kitchen. After a few days, it will become an automatic part of your morning routine.
24. Clean Ceiling Fan Blades
Ceiling fans are one of the most overlooked dust traps in a bedroom. Every time you flip the switch, that layer of dust gets launched into the air, landing on your bed, furniture, and even in your lungs. Cleaning the blades is a quick task that makes a huge difference in air quality and overall freshness.
You don't need a ladder and a wet rag to get this done right. A simple pillowcase works like a charm: slip it over each blade, then slide it off, trapping the dust inside. For a deeper clean, use a microfiber cloth with a mild cleaner.
A long-handled duster with an extendable pole is a great alternative if you want to avoid climbing.
Why It Matters
Dust on fan blades isn't just unsightly—it's actively circulating allergens and particles every time the fan runs. This can trigger sneezing, stuffy nose, or even worsen asthma symptoms, especially while you sleep.
Best Tools For The Job
A microfiber cloth or a dedicated ceiling fan duster are your best bets. Avoid feather dusters that just scatter dust. An extendable duster lets you reach blades without a ladder, and a pillowcase is a genius hack for capturing dust without the mess.
How Often To Clean
Aim to clean fan blades every two to four weeks, or at least once a month. If you live in a dusty area or have pets, you might need to do it more often. A quick wipe during your regular dusting routine keeps the buildup manageable.
25. Do a Final Walk-Through
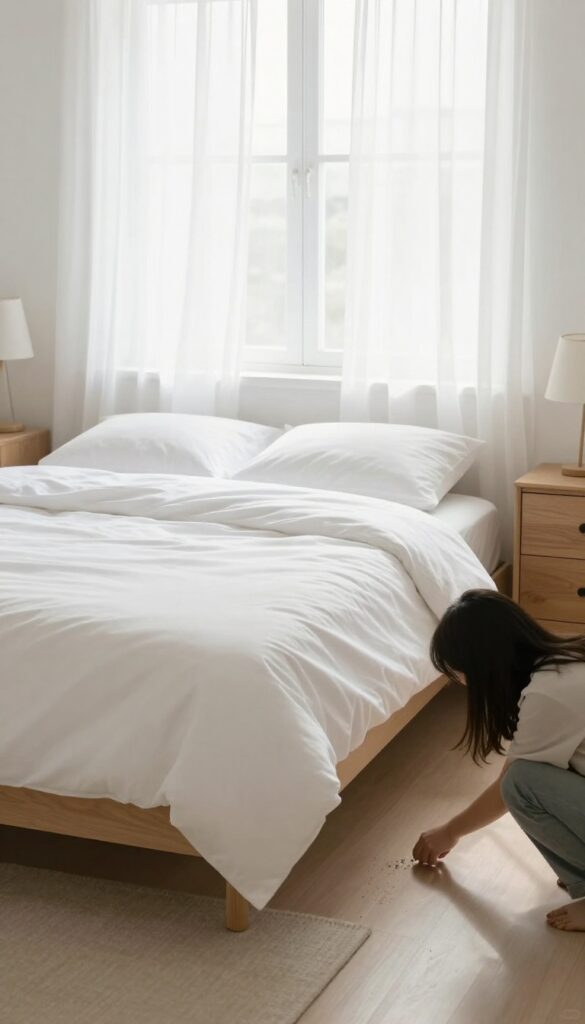
After all the scrubbing, dusting, and organizing, it's easy to miss small details. A final walk-through helps you catch anything you overlooked and gives the room a polished, finished feel. It also lets you appreciate your hard work before stepping away.
Take a slow lap around the room with fresh eyes. Check for stray items on the floor, crooked picture frames, or dust bunnies hiding in corners. Fluff pillows, smooth the duvet, and adjust the curtains so everything looks intentional.
This last touch transforms clean into serene.
Scan The Floor And Corners
Crouch down and look at floor level. You might spot a forgotten sock, a dust clump under the dresser, or a stray hair tie. Use a lint roller or handheld vacuum for quick pickups.
Corners near baseboards often collect fine dust that sweeping misses.
Fix The Visual Details
Step back and check the big picture. Are the lampshades straight? Is the rug lying flat?
Straighten the bed skirt and make sure the pillows are evenly spaced. Small adjustments make the room feel hotel-level tidy.
Refresh The Scent
Spritz a light linen spray or open a window for a minute. A fresh smell signals that the cleaning is complete. Avoid heavy artificial fragrances—just a clean, neutral scent is enough to make the space inviting.
FAQ
How often should I deep clean my bedroom?
Aim for a deep clean every 1-2 months, but maintain daily habits like making the bed and weekly tasks like washing bedding to keep it fresh between deep cleans.
What's the best way to clean a mattress without harsh chemicals?
Sprinkle baking soda over the mattress, let it sit for 15-30 minutes to absorb odors, then vacuum thoroughly. For stains, use a mixture of hydrogen peroxide and dish soap.
How can I reduce dust in my bedroom?
Use a HEPA vacuum, wash bedding weekly, keep windows closed on high-pollen days, and declutter surfaces. Also, consider an air purifier with a HEPA filter.
What natural scents are best for a relaxing bedroom?
Lavender, chamomile, and vanilla are known for their calming properties. Use essential oils in a diffuser or place a few drops on a cotton ball near your bed.
How do I clean under heavy furniture without moving it?
Use a vacuum with a long crevice tool or a flat microfiber duster that can slide under low-clearance furniture. For deeper cleaning, ask for help to move the furniture temporarily.
Conclusion
A clean bedroom doesn't require a full-day overhaul or expensive products. By tackling these 25 ideas one at a time, you can gradually transform your space into a restful sanctuary. Start with the tasks that feel most manageable—like washing your bedding or decluttering a single drawer—and build from there.
Small, consistent efforts add up to a room that supports better sleep and a calmer mind. You deserve a bedroom that feels as good as it looks.


