
A bathroom reset doesn't have to mean a full day of scrubbing. By breaking the job into 15 clear steps, you can tackle every surface without feeling overwhelmed.
This guide walks you through each stage, from clearing counters to polishing fixtures, so your bathroom feels genuinely fresh. No wasted effort, just a practical sequence that works.
Ready to get started? Let's go through the steps that will transform your space.
1. Clear the Clutter First
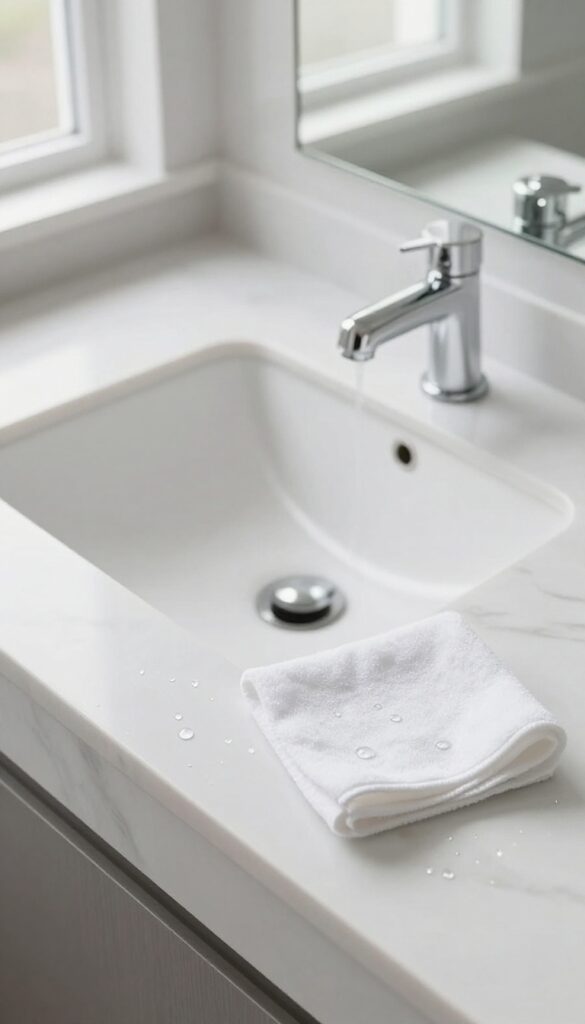
Before any scrubbing or spraying happens, take everything off the counters, shelves, and shower. Bottles, toothbrush holders, soap dispensers, loofahs—everything. This step isn't just about making space; it's about giving yourself full access to every corner and preventing the annoying habit of cleaning around objects.
You'll work faster and get better results when surfaces are bare.
Once everything is out, you can see what you're actually dealing with. Dust, grime, and water spots become obvious, and you won't accidentally miss spots hidden behind a shampoo bottle. Plus, clearing the clutter forces you to quickly assess what needs to be tossed, refilled, or reorganized.
It's a small effort that sets the tone for the entire bathroom reset.
What To Remove
Start with the obvious: countertop items like toothbrushes, makeup bags, and lotions. Then move to the shower caddy, bath ledges, and any shelves. Don't forget small accessories like a tissue box cover or decorative jars.
If it's not permanently attached, it goes.
Where To Put It All
Use a laundry basket or a large tote to hold everything temporarily. Group items by where they belong—counter, shower, medicine cabinet—so putting them back is quick. Keep the basket outside the bathroom to avoid getting items wet or dusty while you clean.
Why This Step Matters
Clearing clutter prevents you from spraying cleaner onto personal items and lets you reach every surface. It also gives you a chance to wipe down the actual objects before returning them, so your bathroom feels truly fresh, not just superficially clean.
2. Spray and Soak the Toilet
The toilet is often the most dreaded part of bathroom cleaning, but a little patience makes it much easier. Instead of scrubbing right away, apply a quality toilet bowl cleaner around the rim and let it work its magic. This soak time loosens mineral deposits and stains, so when you come back, a quick scrub is all it takes.
Start by squeezing a generous amount of toilet bowl cleaner under the rim, making sure it coats the entire bowl. Then, spray or squirt some cleaner onto the exterior surfaces—the lid, seat, and base—and let everything sit while you move on to other tasks. This multitasking step saves effort and ensures a deeper clean.
Choose The Right Cleaner
Gel-based cleaners cling better to the bowl and don't drip off as quickly. Look for one with bleach or citric acid to tackle tough rings. For a natural option, baking soda and vinegar can work, but they need a longer soak.
Don't Forget The Exterior
While the inside soaks, spray a disinfectant on the toilet's outer surfaces. Focus on the flush handle, seat hinges, and the base where dust collects. Let it sit for a few minutes to kill germs.
Set A Timer
Let the cleaner sit for at least 5 to 10 minutes—longer if stains are stubborn. Use this time to wipe mirrors or organize the shower. When you return, the grime will be much easier to remove.
3. Dust from Top to Bottom
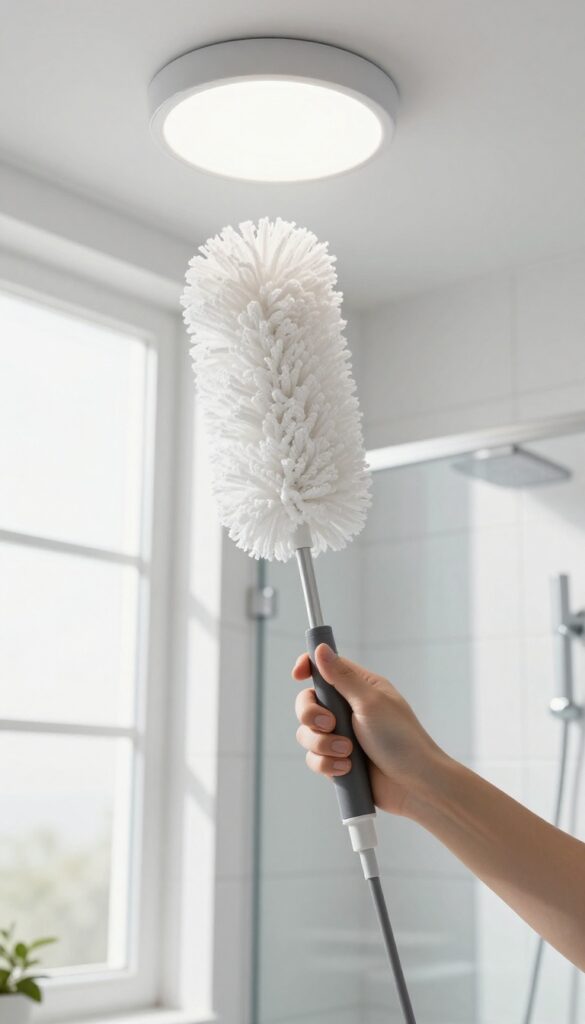
Dusting might seem like a small step, but it's one that makes a big difference. When you start high and work your way down, you prevent dust from settling on already-cleaned surfaces. Light fixtures, vents, and high shelves collect a surprising amount of grime, and tackling them first ensures a truly fresh finish.
Grab a microfiber cloth or a duster with an extendable handle. Work your way around the room, starting with ceiling corners, light fixtures, and exhaust fans. Don't forget the tops of cabinets, picture frames, and any high shelves.
Dust falls as you go, so by starting at the top, you avoid having to re-clean lower surfaces.
Light Fixtures And Vents
Ceiling lights and exhaust fan covers are dust magnets. Use a slightly damp microfiber cloth to wipe them down, or remove vent covers and rinse them in the sink. Let them dry completely before reattaching.
This simple step brightens the room and improves air quality.
High Shelves And Cabinets
Don't ignore the top of your medicine cabinet or any open shelving. Sweep a duster across these surfaces, then follow with a dry cloth to catch any lingering particles. If you have decorative items up high, take them down and dust them individually before placing them back.
Baseboards And Door Frames
Once the upper areas are done, move down to baseboards, door frames, and window sills. These spots often get overlooked but collect a surprising amount of dust and hair. A quick wipe with a microfiber cloth or a vacuum attachment keeps them clean and prevents dust from resettling on your freshly cleaned floor.
4. Tackle Shower and Tub Surfaces
Shower and tub surfaces take the brunt of daily use, so they need a little extra attention. A good soak with the right cleaner loosens soap scum and grime, making your scrub much easier. Focus on tiles, glass doors, and the tub itself.
Spray generously, let the solution sit for a few minutes, then scrub. Rinse well to avoid residue.
Spray a bathroom cleaner or vinegar solution on tiles, glass doors, and the tub. Let it sit for a few minutes before scrubbing. Rinse thoroughly to prevent streaks.
Choose The Right Cleaner
A commercial bathroom spray works great for most surfaces. For a natural option, mix equal parts white vinegar and water in a spray bottle. Avoid vinegar on natural stone like marble or granite, as it can etch the surface.
For glass doors, a squeegee after each shower prevents buildup.
Let The Cleaner Sit
Don't scrub immediately. Give the cleaner a few minutes to break down soap scum and hard water deposits. Set a timer for 5 minutes while you do another quick task, like wiping down the sink.
This short wait makes scrubbing much more effective.
Scrub With The Right Tool
Use a non-abrasive sponge or a soft scrub brush for tiles and tubs. For glass doors, a microfiber cloth or a squeegee works best. Avoid steel wool or harsh scrubbers that can scratch surfaces.
Focus on corners and grout lines where grime hides.
Rinse And Dry
After scrubbing, rinse all surfaces thoroughly with warm water. Any leftover cleaner can leave a sticky film. Use a clean microfiber cloth or a squeegee to dry glass doors and tiles.
This prevents water spots and keeps surfaces looking fresh longer.
5. Scrub Grout Lines
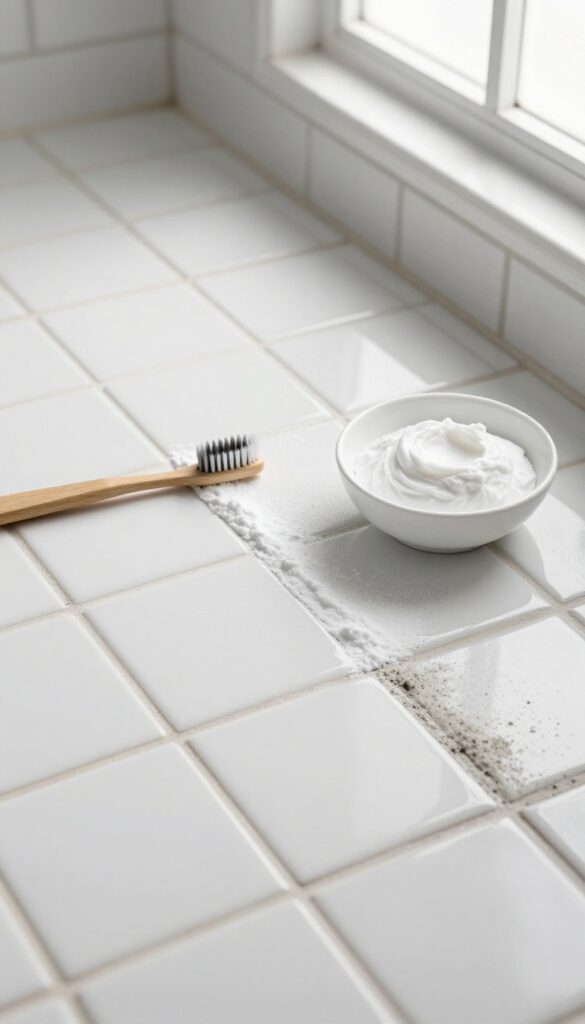
Grout lines are notorious for trapping dirt and mildew, turning that fresh tile look dingy. Brightening them doesn't require harsh chemicals or expensive tools—just a little elbow grease and a simple paste. This step makes a surprisingly big visual impact, especially on shower walls and floors.
Make A Baking Soda Paste
Mix baking soda with a small amount of water until it forms a thick, spreadable paste. Apply it generously along the grout lines using an old toothbrush or a dedicated grout brush. Let it sit for 5–10 minutes so it can start breaking down grime.
Scrub In Small Sections
Work one area at a time, scrubbing in a circular motion. Focus on the lines rather than the tile surface to avoid scratching. For stubborn spots, add a few drops of hydrogen peroxide to the paste—it creates a gentle fizzing action that lifts deep stains.
Rinse And Dry Thoroughly
Wipe away the paste with a damp cloth or sponge, then rinse with clean water. Dry the area with a microfiber towel to prevent new moisture from settling in. Repeat on any lines that still look dull.
6. Clean Shower Glass Doors
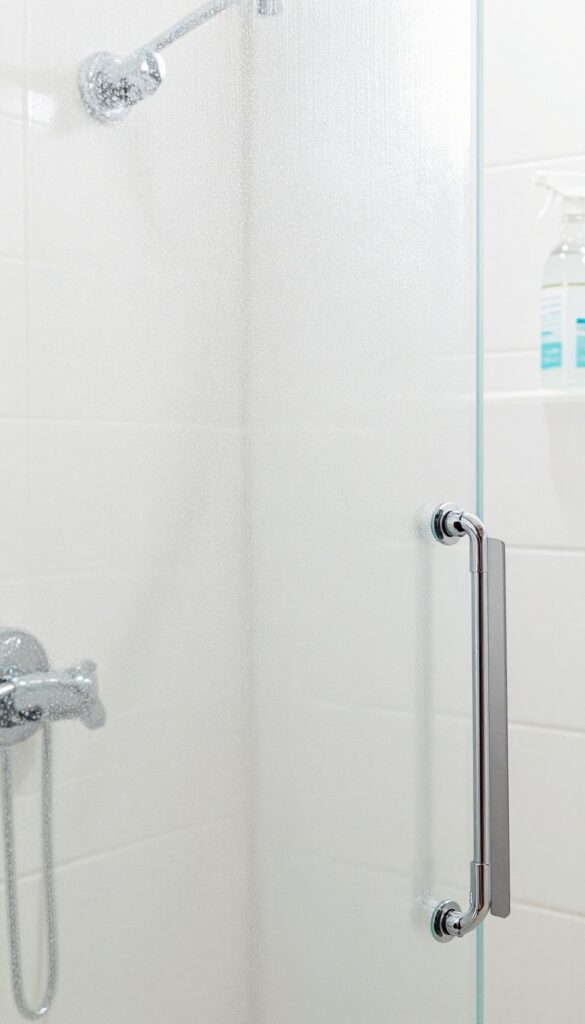
Shower glass doors can quickly lose their sparkle thanks to hard water spots and soap scum. But bringing back that crystal-clear shine doesn't require harsh chemicals or endless scrubbing. A few simple techniques will have your glass looking like new again.
Daily Squeegee Habit
The easiest way to prevent buildup is to use a squeegee after every shower. A quick swipe across the glass removes water droplets before they dry into spots. Keep a squeegee hanging inside the shower so it's always within reach.
Vinegar-water Spray For Stubborn Spots
For existing hard water spots, mix equal parts white vinegar and water in a spray bottle. Spray the solution onto the glass and let it sit for a few minutes. Then scrub gently with a non-abrasive sponge or cloth, and rinse thoroughly.
Microfiber Cloth For Streak-free Finish
After cleaning, dry the glass with a clean microfiber cloth. Microfiber absorbs moisture without leaving lint or streaks. Buff in circular motions until the glass is completely dry and gleaming.
7. Wash the Sink and Countertops
After tackling the toilet and shower, it's time to give the sink and countertops some love. These surfaces see daily use—toothpaste splatters, hairspray residue, and water spots—so a thorough clean makes a big difference. Focus on the details, and they'll look as good as new.
Start by clearing everything off the countertops. Remove toothbrush holders, soap dispensers, and any other items. Give them a quick rinse or wipe before setting them aside.
Then, spray an all-purpose cleaner onto the countertops and let it sit for a minute to break down grime. Wipe with a microfiber cloth, working from the back edges toward the sink. For the sink itself, use a non-abrasive cleaner—baking soda paste works great for stubborn stains.
Scrub the basin, paying special attention to the faucet base where gunk accumulates, and the drain area. Rinse thoroughly and dry with a clean cloth to prevent water spots.
Tackle The Faucet And Fixtures
Don't forget the faucet and handles. Use a mild cleaner or a vinegar-water solution to remove hard water spots. For chrome fixtures, a microfiber cloth buffs them to a shine without scratching.
Wipe around the base and underneath the handles where grime hides.
Don't Skip The Backsplash
If your sink has a backsplash, give it a quick wipe. Splashes of toothpaste and soap can dry into a film. A damp cloth with all-purpose cleaner will handle it.
For tile grout, a small brush can lift any dirt.
Final Polish And Dry
Once everything is clean, dry the surfaces with a fresh microfiber cloth. This prevents water spots and leaves a streak-free finish. Return your items to the counter, and enjoy the fresh look.
8. Polish Mirrors and Fixtures
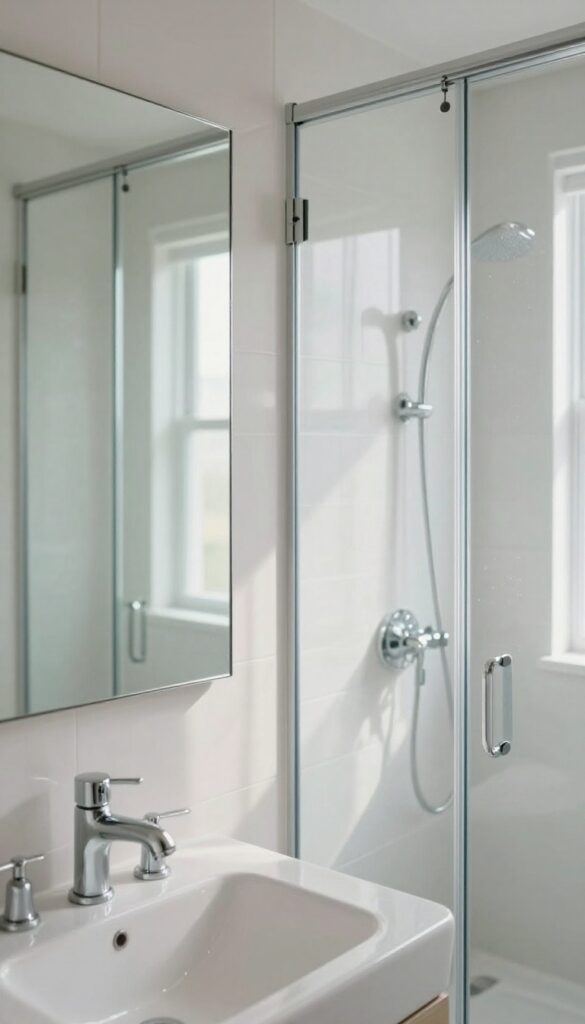
Mirrors and chrome fixtures are the jewelry of your bathroom. When they're smudged or water-spotted, the whole room feels dull. A quick polish is one of the fastest ways to make everything look cleaner and brighter.
You don't need fancy products—just a good glass cleaner and a microfiber cloth. Spend a few minutes on these surfaces, and you'll instantly notice the difference. It's a small step with a big visual payoff.
Mirrors: Streak-free In Seconds
Start with the mirror. Spray your glass cleaner directly onto a microfiber cloth—not the mirror itself—to avoid drips. Wipe in an S-pattern from top to bottom, then flip the cloth and buff dry.
This prevents streaks and leaves a crystal-clear finish. Don't forget the edges and corners where dust collects. A clean mirror reflects light and makes the bathroom feel more spacious.
Chrome Fixtures: Bring Back The Shine
Faucets, showerheads, and towel bars need love too. Wipe them down with a damp microfiber cloth to remove soap scum and water spots. For stubborn spots, a little white vinegar on a cloth works wonders—just rinse with water afterward.
Buff dry with a clean section of the cloth. You'll see that mirror-like gleam return, and the whole vanity area will look fresher.
Glass Shower Doors: Tackle Hard Water Stains
If you have a glass shower door, now's the time to polish it. Use a squeegee after each shower to prevent buildup, but for existing spots, spray a 50/50 vinegar-water solution, let it sit for a minute, then scrub with a non-abrasive pad. Rinse thoroughly and squeegee dry.
The transparency will be restored, making your shower look brand new.
9. Scrub the Toilet Inside and Out
The toilet is often the most dreaded part of bathroom cleaning, but it's also the most important for hygiene. Tackling it properly means addressing both the bowl and the exterior surfaces where germs can hide. With the right approach, you can make this job quick and effective.
Start by applying a toilet bowl cleaner under the rim and around the inside of the bowl. Let it sit for a few minutes to break down stains and kill germs. Meanwhile, spray a disinfectant cleaner on the exterior surfaces, including the lid, seat, hinges, and base.
Wipe these down with a microfiber cloth or paper towel, paying attention to crevices where grime collects. Then, scrub the inside of the bowl with a toilet brush, focusing on the rim and waterline. Flush to rinse.
For a final touch, use a separate cloth to wipe the seat and lid again with a disinfectant wipe.
Don't Forget The Hidden Spots
The area around the toilet base and the floor beneath can trap dust and spills. Move the toilet brush holder aside and wipe the floor. Use a small brush or an old toothbrush to clean around the bolts and the hinge caps.
These overlooked areas make a big difference in overall freshness.
Choose The Right Cleaner
For the bowl, a thick gel cleaner with bleach works well for whitening and disinfecting. For the exterior, a spray disinfectant that's safe for your toilet's finish is ideal. Avoid abrasive cleaners that could scratch the surface.
If you prefer natural options, a vinegar and baking soda paste can work for light cleaning, but it may not disinfect as effectively.
Keep A Routine To Reduce Effort
A quick daily wipe of the seat and lid with a disinfectant wipe prevents buildup and makes the deep scrub less daunting. Weekly cleaning of the bowl and exterior keeps everything fresh without heavy scrubbing. Consistency is key to a sparkling toilet with minimal effort.
10. Wipe Down Cabinet Doors and Handles
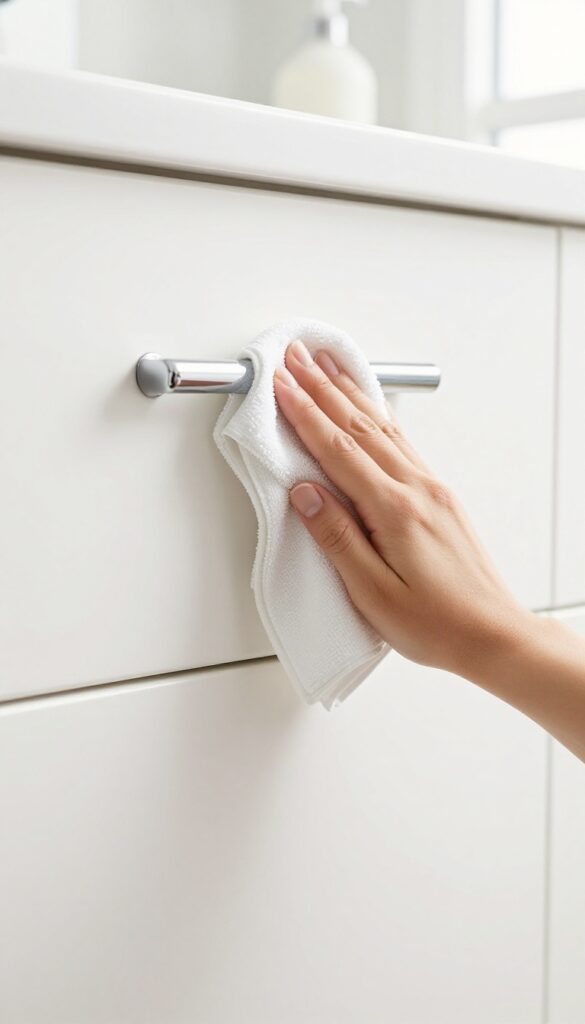
Cabinet doors and handles are some of the most touched surfaces in your bathroom, yet they often get neglected during a deep clean. Fingerprints, dust, and even toothpaste splatters can build up quickly, making your cabinets look dull. Fortunately, this step is quick and makes a big difference in how fresh the whole room feels.
Grab a microfiber cloth and a bucket of warm water with a few drops of mild dish soap. Wipe down each cabinet door from top to bottom, paying extra attention to edges where grime collects. For handles and knobs, use a small brush or an old toothbrush to get into crevices.
Rinse the cloth frequently to avoid spreading dirt around. Once you're done, go over everything with a dry cloth to prevent water spots and streaks. If your cabinets are wood, avoid soaking them—just a damp wipe is plenty.
Don't Forget The Hardware
Handles and knobs are high-touch areas that can harbor germs and grease. Use a disinfectant wipe or a cloth with a bit of rubbing alcohol for a quick sanitizing pass. For metal finishes like chrome or brushed nickel, dry them immediately to keep them shiny and spot-free.
Check The Cabinet Tops
If your cabinets don't reach the ceiling, the tops are a dust magnet. Use a microfiber duster or a damp cloth to wipe away cobwebs and dust bunnies. This small effort prevents dust from falling back down onto your clean surfaces.
11. Clean the Floor Behind the Toilet
This is the spot everyone forgets. Dust bunnies, stray hairs, and who-knows-what-else gather behind the toilet where the mop rarely reaches. Moving the toilet brush holder and any bins gives you access to that hidden zone.
A quick wipe or mop makes a surprising difference in how clean the whole bathroom feels.
Start by pulling out the toilet brush holder, trash bin, or any other items stored near the toilet. Set them aside in the tub or on a towel. Then grab a microfiber mop or a damp cloth and reach into the corners behind the toilet.
You'll likely collect a surprising amount of dust and hair. For stuck-on grime, use a gentle all-purpose cleaner. Don't forget to wipe the base of the toilet itself while you're down there.
Once the floor is dry, return the items to their spots, giving them a quick wipe first if needed.
Why This Spot Gets So Dirty
Behind the toilet is a low-traffic area that rarely gets direct cleaning. Dust settles, hair drifts, and moisture from the toilet can create a sticky film that traps debris. It's also a common hiding place for forgotten items like old bottles or toilet paper rolls.
Tackling this spot regularly prevents buildup and keeps your bathroom truly fresh.
Tools That Make It Easy
A flat microfiber mop or a long-handled duster works best for reaching tight spaces. If you prefer hand-cleaning, use a damp cloth wrapped around a ruler or a narrow squeegee. Avoid pushing dust further under the toilet—instead, sweep or vacuum first, then wipe.
A small handheld vacuum with a crevice tool is ideal for sucking up hair and debris before mopping.
How Often To Clean Behind The Toilet
Aim to clean behind the toilet every two weeks as part of your regular bathroom routine. If you have pets or long hair, weekly might be better. Mark it on your calendar or pair it with another weekly task like changing towels.
Consistency prevents the grime from becoming a bigger job later.
12. Refresh the Shower Curtain or Liner
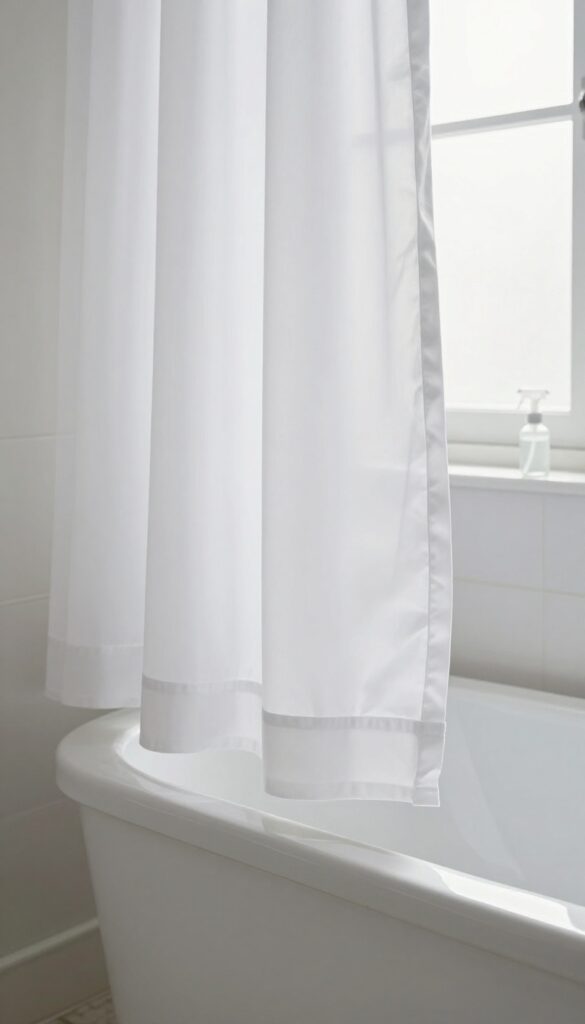
Your shower curtain or liner takes the brunt of moisture, soap scum, and mildew. It's easy to overlook, but refreshing it makes a big difference in how clean your bathroom feels. The fix is simple: wash fabric curtains or wipe down plastic liners with a bleach solution.
This step keeps your shower fresh and prevents that musty smell from creeping in.
Fabric Curtains: Toss In The Wash
Most fabric shower curtains are machine washable. Check the care label, then remove any hooks or rings. Wash on a gentle cycle with warm water and a small amount of detergent.
Add a cup of white vinegar to the rinse cycle to kill mildew and soften the fabric. Tumble dry on low or hang it back up to air dry. Your curtain will come out looking crisp and smelling fresh.
Plastic Liners: Quick Bleach Wipe
For plastic or vinyl liners, you don't need to remove them. Mix a solution of 1 part bleach to 4 parts water in a spray bottle. Spray the liner generously, especially along the bottom where mildew tends to form.
Let it sit for 5–10 minutes, then scrub with a soft brush or sponge. Rinse thoroughly with warm water. The liner will be bright and free of stains.
Prevent Mildew From Coming Back
After cleaning, keep your curtain or liner dry between showers. Pull it closed after each use to let air circulate, or use a squeegee to remove excess water. If you notice mildew returning quickly, consider adding a daily spray of diluted vinegar or a commercial shower cleaner.
A little prevention goes a long way.
13. Organize Bathroom Storage
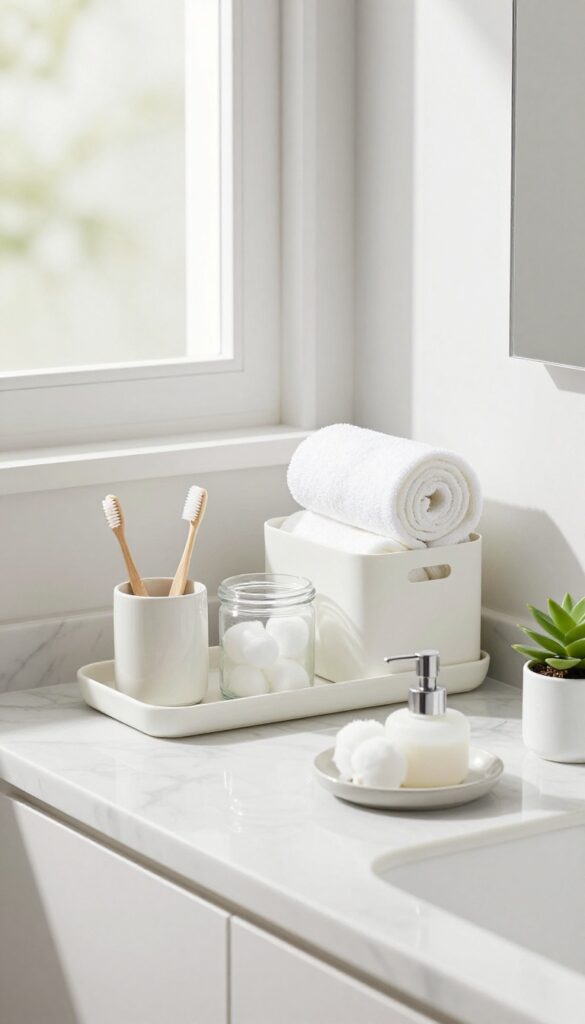
After all that scrubbing and polishing, it's tempting to just shove everything back into the cabinets. But a truly fresh bathroom stays organized. Take a few extra minutes to put things back with intention, and you'll keep that clean feeling much longer.
Toss The Expired And Unused
Go through every bottle, tube, and jar. Check expiration dates and toss anything that's old, dried out, or just not used anymore. Half-empty bottles of forgotten lotions and expired sunscreens only clutter your space.
Be ruthless, you'll thank yourself later.
Group Like Items Together
Keep daily essentials like toothbrushes, toothpaste, and face wash within easy reach. Store backup supplies and less-used items on higher shelves or in deeper cabinets. Use small baskets or trays to corral similar items, so you're not digging through a jumble every morning.
Clear The Counters
Limit countertop items to the absolute essentials, like soap and a toothbrush holder. Everything else belongs in a cabinet or drawer. A clear counter not only looks better but also makes future cleaning much faster.
Use a small tray for the few items you do keep out, it keeps them from spreading.
14. Replace Worn-Out Items
After all that scrubbing and polishing, it's tempting to just shove everything back into the cabinets. But worn-out items can undo the fresh feeling you just created. Swapping out a few key pieces costs little and makes a big difference in both appearance and hygiene.
Old loofahs and sponges harbor bacteria even after rinsing. Worn toothbrushes don't clean effectively and can introduce germs. Frayed towels leave lint and feel rough.
Replacing these items is a simple way to elevate your bathroom reset.
Swap Loofahs And Sponges
Loofahs and bath sponges should be replaced every three to four weeks. They stay damp in the shower, creating a perfect breeding ground for bacteria. A fresh loofah not only feels better but also reduces the risk of skin irritation.
Toss the old one and start with a clean slate.
Refresh Your Toothbrush
Dentists recommend changing your toothbrush every three to four months, or sooner if the bristles are frayed. After a deep bathroom clean, it's the perfect time to swap. A new toothbrush feels more effective and ensures you're not reintroducing germs from the old one.
Upgrade Towels And Washcloths
Towels that are faded, frayed, or have a musty smell should be retired. New towels add a spa-like feel and absorb water better. Washcloths are cheap to replace and make a big difference in daily use.
Fold them neatly and arrange them for a polished look.
Check Bath Mats And Shower Curtains
Bath mats can trap moisture and develop mildew over time. If yours looks worn or smells musty, replace it. Shower curtains and liners also accumulate soap scum and mold.
A fresh liner costs little and instantly brightens the shower area.
15. Add a Finishing Touch
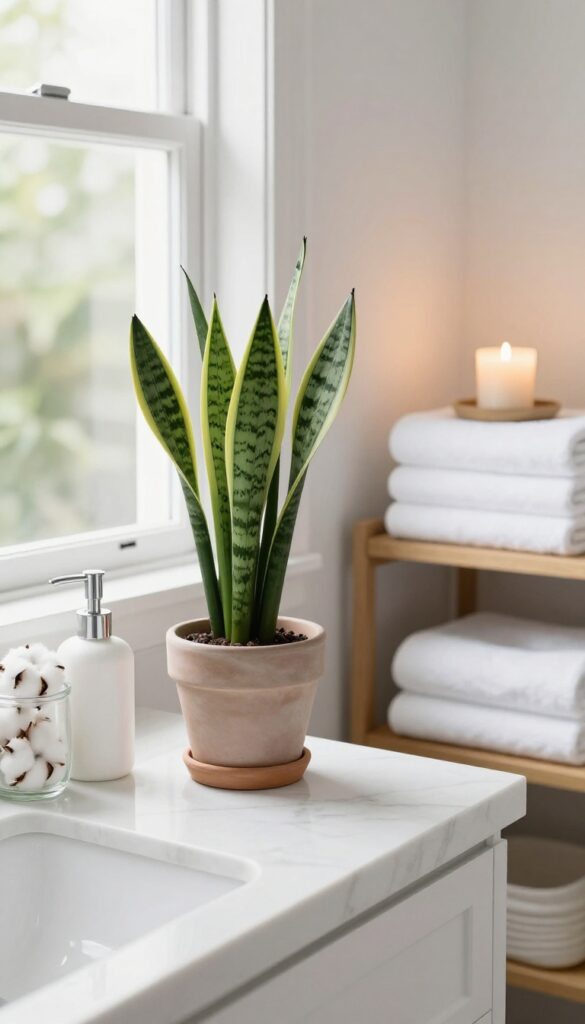
You've scrubbed, polished, and organized. Now it's time for the little extras that turn a clean bathroom into a welcoming one. These finishing touches don't take much effort, but they make a big difference in how the space feels every time you walk in.
Light A Candle Or Use A Diffuser
A subtle scent can instantly make the bathroom feel spa-like. Choose a candle or reed diffuser with a clean, fresh fragrance like eucalyptus, lavender, or citrus. Place it on the counter or near the tub, but keep it away from water splashes.
If you prefer a flame-free option, an essential oil diffuser works just as well.
Add A Small Plant
A low-maintenance plant like a snake plant, pothos, or aloe vera brings life to the bathroom. It softens the hard surfaces and adds a pop of green. Just make sure it gets enough light and isn't sitting in direct water.
A small pot on the vanity or a hanging planter near the window works great.
Fold Towels Neatly
Neatly folded towels or rolled hand towels give the bathroom a hotel-like feel. Use a consistent folding method and stack them on a shelf or in a basket. If you have space, display a couple of fresh towels on a hook or towel bar.
It's a simple visual cue that everything is clean and ready.
Arrange A Few Decorative Items
A small tray, a pretty soap dispenser, or a stylish toothbrush holder can elevate the look. Keep it minimal—one or two items per surface. A glass jar with cotton balls or bath salts adds a practical touch that also looks good.
The goal is to make the space feel intentional, not cluttered.
FAQ
How often should I deep clean my bathroom?
Aim for a deep clean every one to two weeks. Daily wiping of surfaces can help maintain it between deep cleans.
What's the best way to clean moldy grout?
Make a paste of baking soda and water, apply it to grout, then spray with vinegar. Scrub with a brush and rinse. For stubborn mold, use hydrogen peroxide.
Can I use vinegar on all bathroom surfaces?
Avoid vinegar on natural stone like marble or granite, as it can etch the surface. It's safe for tiles, glass, and most fixtures.
How do I prevent hard water stains on glass?
Use a squeegee after every shower to remove water. For existing stains, clean with a 50/50 vinegar-water solution and wipe dry.
What's the best order to clean a bathroom?
Start from the top (dusting) and work down. Clean the toilet last to avoid spreading germs. Follow the steps in this article for a logical flow.
Conclusion
A clean bathroom sets the tone for your entire home reset. By following these 15 steps, you can turn a daunting chore into a manageable routine. Start with the tasks that feel most urgent, then build from there.
Consistency is your best friend—a little effort each week keeps the deep cleans from piling up. Your bathroom will feel fresher, and you'll enjoy the peace of mind that comes with a sparkling space.


