
Grout lines start bright and clean, but over time they attract dirt, soap scum, and mildew that make your tiles look dingy. You've probably tried scrubbing with a brush and cleaner, only to see little improvement.
The right technique makes all the difference, and you likely have most of the supplies at home already. From pantry staples like baking soda and vinegar to tools like steam cleaners and pumice stones, these 15 methods tackle grout grime from every angle.
Each tip targets a specific type of buildup, so you can pick the one that fits your mess. No more sore knees or disappointing results—just clean, bright grout with less effort.
1. Baking Soda and Vinegar Paste
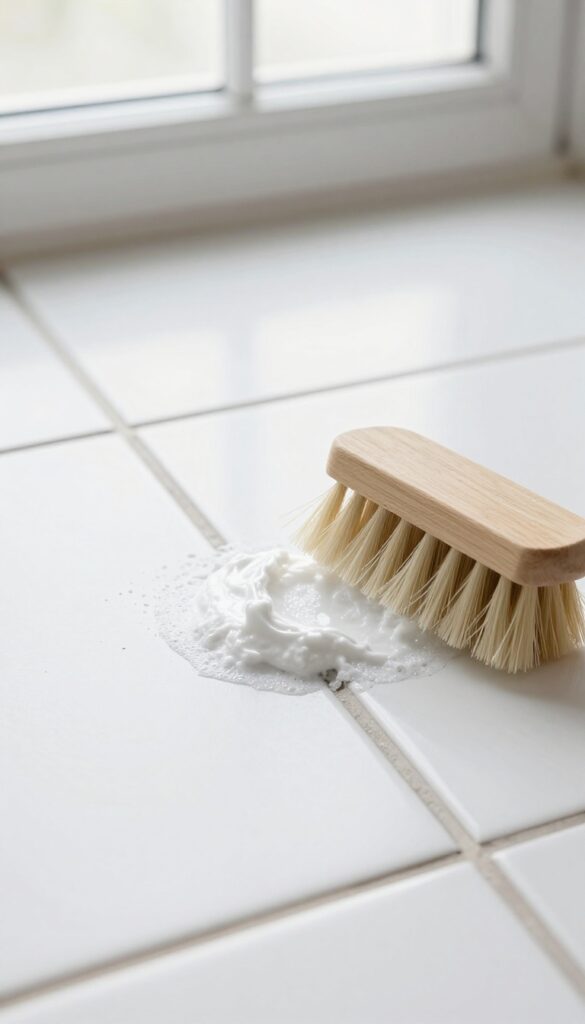
This classic combo is a go-to for good reason. The fizzing action helps lift grime while the baking soda provides gentle abrasion. It works best on light to moderate soil, not thick, old buildup.
Mix three parts baking soda with one part white vinegar until you get a spreadable paste. Apply it generously to the grout lines, let it sit for 10 minutes while it bubbles, then scrub with a stiff brush. Rinse thoroughly with water.
For extra stubborn spots, let the paste dry completely before scrubbing.
Why It Works
The chemical reaction between the alkaline baking soda and acidic vinegar creates carbon dioxide bubbles that help dislodge dirt. The baking soda also acts as a mild abrasive that scrubs without scratching tile.
Best Uses
This method is ideal for ceramic or porcelain tile grout that's lightly to moderately dirty. Avoid on natural stone tiles like marble or granite, as the acid can etch the surface.
Pro Tips
Use an old toothbrush for tight corners. If the paste dries on, rewet with a spray bottle of vinegar. Always test in an inconspicuous area first.
2. Hydrogen Peroxide and Baking Soda
If your white grout has seen better days, hydrogen peroxide and baking soda make a stellar bleaching paste. The peroxide lifts stains while the baking soda provides gentle abrasion. This duo works especially well on light-colored grout that's turned yellow or gray from embedded dirt.
Mix baking soda with enough hydrogen peroxide to form a thick paste—think toothpaste consistency. Spread it over the grout lines, let it sit for about 15 minutes (don't let it dry completely), then scrub with a stiff brush and rinse with water. For extra stubborn spots, add a few drops of dish soap to the paste.
Always test on an inconspicuous area first, as peroxide can lighten some grout colors.
Why This Combo Works So Well
Hydrogen peroxide is a mild bleach that breaks down organic stains, while baking soda is a fine abrasive that doesn't scratch tile. Together, they create an oxygenating reaction that lifts dirt from porous grout without harsh fumes.
Best For White Or Light Grout
This method is ideal for white, off-white, or beige grout. Avoid it on dark or colored grout, as the peroxide can cause fading. If your grout is colored, stick to gentler cleaners like vinegar and water.
How To Apply For Maximum Effect
Use a small brush or an old toothbrush to work the paste into the grout lines. Let it bubble and sit for 10–15 minutes, then scrub in a circular motion. Rinse thoroughly with warm water and wipe away residue with a damp cloth.
3. Steam Cleaner
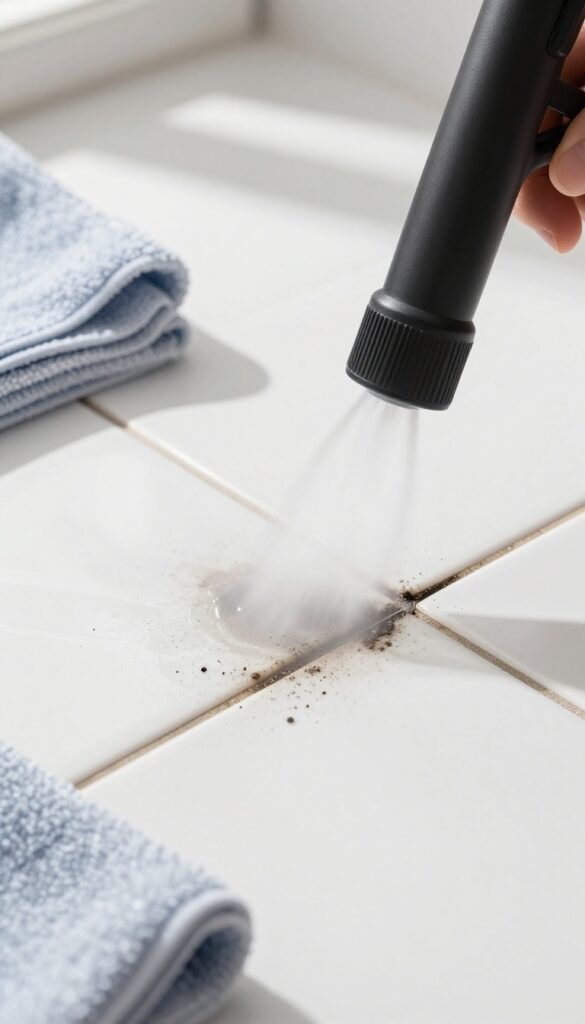
A steam cleaner is a powerful, chemical-free way to blast away grime from grout lines. The high-temperature steam penetrates deep into porous grout, loosening dirt, soap scum, and mildew on contact. It's especially effective for large areas or stubborn buildup that resists scrubbing.
Using a steam cleaner is straightforward, but a few tips can maximize results. Start by vacuuming or sweeping the floor to remove loose debris. Fill the steam cleaner with water and let it heat up fully.
Attach the grout nozzle—usually a small brush or angled tip—and work in sections. Move the nozzle slowly along each grout line, letting the steam dwell for a few seconds. Wipe away the loosened residue with a microfiber cloth or sponge before it dries.
For extra-tough spots, go over the line a second time.
Best Steam Cleaners For Grout
Not all steam cleaners are created equal. Look for a handheld model with a grout-specific attachment—a small, stiff brush tip works best. Popular options include the Bissell SteamShot or McCulloch MC1275.
If you already own a steam mop, check if it comes with a grout tool; many do.
Safety And Prep Tips
Test the steam cleaner on an inconspicuous area first, especially if your grout is old or cracked—high heat can worsen damage. Protect nearby surfaces from moisture and heat. Wear gloves and open a window if the steam picks up any mold spores.
Let the grout cool before touching it.
After-steam Care
Once the grout is clean and dry, consider sealing it to prevent future stains. A penetrating sealer will keep dirt from settling in. Regular steam cleaning every few months can maintain the results without harsh chemicals.
4. Toothbrush and Dish Soap
When grout stains are fresh or mild, you don't need heavy chemicals. A simple toothbrush and dish soap can do the job without damaging the grout or surrounding tiles. This method is perfect for regular maintenance or for cleaning small areas like backsplashes and bathroom corners.
Grab an old toothbrush—preferably one with firm bristles—and a bowl of warm water mixed with a few drops of dish soap. Dip the brush in the soapy water, then scrub the grout lines in a circular motion. The bristles reach deep into the porous surface to loosen dirt.
After scrubbing, wipe the area with a damp cloth to remove soap residue. This technique is gentle enough for weekly cleaning and won't harm colored or sealed grout.
Why Dish Soap Works
Dish soap is a mild degreaser that breaks down everyday grime without harsh fumes. It's safe for all tile types and won't strip sealants. Plus, it's cheap and always on hand.
Best Practices For Scrubbing
Use a toothbrush with a handle that gives you good grip. Apply firm but controlled pressure to avoid damaging the grout. Work in small sections and rinse the brush often.
For extra stubborn spots, let the soapy solution sit for a few minutes before scrubbing.
5. Grout Brush and Bleach Pen
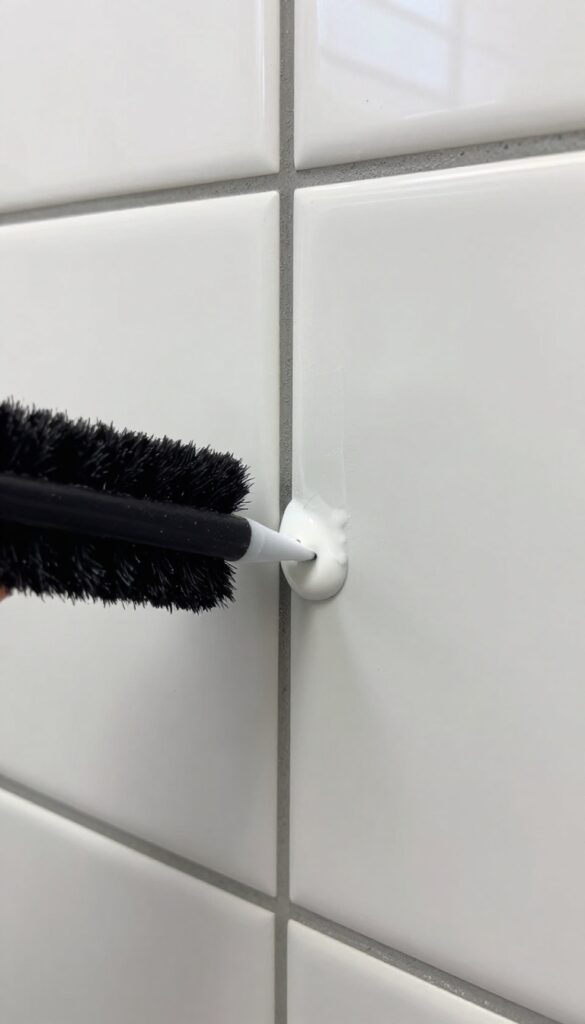
When you spot stubborn black mold or dark stains in your grout, a bleach pen can be your best friend. These pens deliver concentrated bleach right where you need it, making them perfect for spot treatments. Pair it with a stiff grout brush, and you'll see dramatic results with minimal effort.
Why Bleach Pens Work On Mold
Bleach pens contain a thick gel that clings to vertical grout lines without dripping. The bleach kills mold spores and whitens the grout. This is especially effective on porous grout where mold roots deep.
Step-by-step Application
Apply the bleach pen directly along the grout lines, covering the stained areas. Let it sit for 10 minutes to penetrate. Then scrub vigorously with a grout brush.
Rinse with water and wipe dry. Repeat if needed for tough spots.
Safety And Ventilation Tips
Bleach fumes are strong, so open windows and wear gloves. Avoid mixing bleach with other cleaners, especially ammonia. Keep the area ventilated while working.
6. Oxygen Bleach Soak
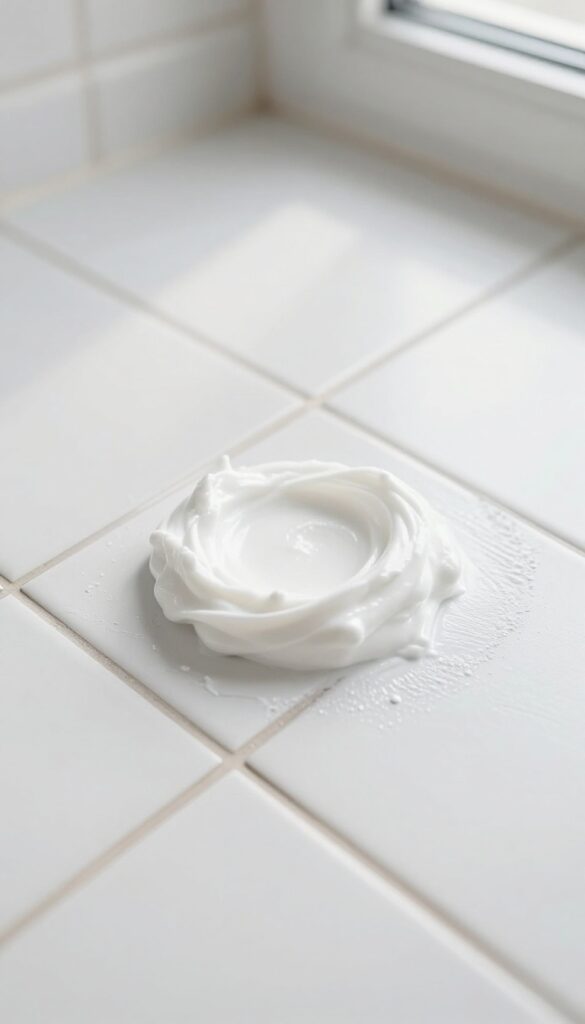
Oxygen bleach is a gentler alternative to chlorine bleach, but it's still tough on stains. It breaks down dirt and organic matter without harsh fumes or discoloration risks. This method works best for deeply embedded grime that regular scrubbing can't reach.
Why Oxygen Bleach Works
Oxygen bleach releases hydrogen peroxide when mixed with water, creating bubbles that lift dirt from porous surfaces. It's safe for colored grout and tiles, unlike chlorine bleach which can fade or yellow them. The soak time allows the solution to penetrate deep into the grout, loosening stubborn stains.
How To Apply The Paste
Mix oxygen bleach powder (like OxiClean) with warm water until it forms a thick, spreadable paste. Apply it generously over the grout lines using a small brush or spatula. Let it sit for 20 minutes—don't let it dry completely, so cover with plastic wrap if needed.
Then scrub with a stiff brush and rinse thoroughly with water.
Best Uses And Tips
This technique is ideal for white or light-colored grout that has yellowed or developed dark stains from years of dirt. For best results, work in small sections and keep the paste wet. If stains persist, repeat the process or extend the soak time to 30 minutes.
Always test on an inconspicuous area first.
7. Magic Eraser
A melamine sponge, often sold as Magic Eraser, is a surprisingly effective tool for cleaning grout. The sponge's micro-abrasive texture lifts dirt without scratching tile. It works best on light to moderate grime and is especially handy for small areas like bathroom backsplashes or kitchen counter edges.
How It Works
The sponge's foam structure acts like ultra-fine sandpaper. When dampened, it creates a mild abrasive action that breaks down dirt and soap scum on grout. The sponge itself wears away as you scrub, so you're always working with a fresh surface.
No extra cleaners are needed—just water.
Best Uses
Magic Erasers excel on small, contained areas. Use them on bathroom grout around sinks, tubs, and showers. They're also great for spot-treating stains on kitchen backsplashes.
Avoid large floor areas because the sponge disintegrates quickly and can be messy.
Tips For Best Results
Cut the sponge into smaller pieces to get more use. Dampen it until it's wet but not dripping. Rub gently along the grout lines—you don't need heavy pressure.
Rinse the sponge frequently to remove trapped dirt. When it starts to crumble, replace it with a fresh piece.
8. Commercial Grout Cleaner
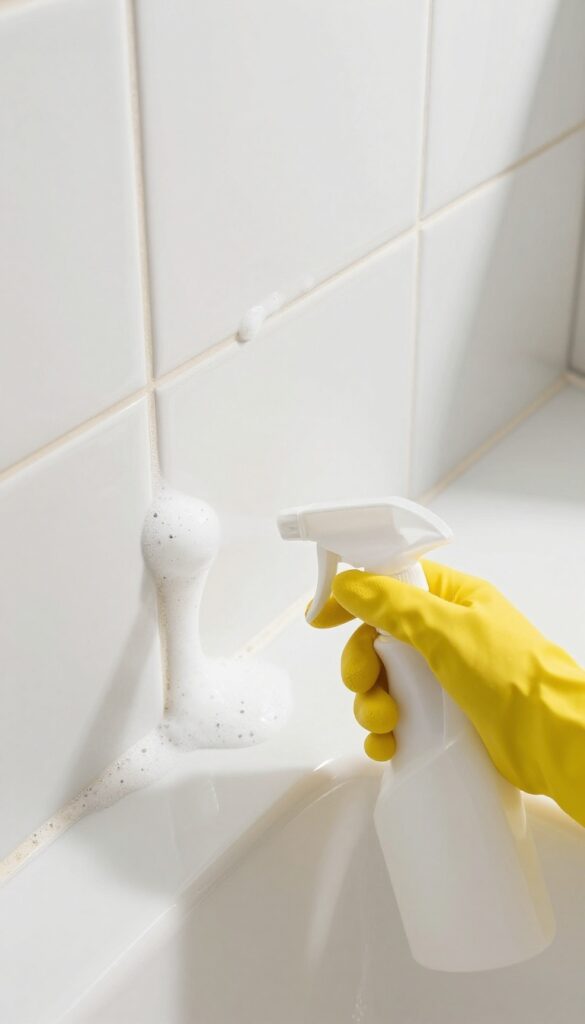
Sometimes the quickest fix is a product made specifically for the job. Commercial grout cleaners are formulated to cut through the toughest grime without damaging the grout itself. They come in sprays, foams, or gels, so you can choose the consistency that works best for your tile.
Store-bought grout cleaners save time and effort, especially on heavily soiled areas. They often contain surfactants and mild acids that dissolve soap scum, dirt, and mildew. Always read the label to ensure the product is safe for your tile type—some cleaners can etch natural stone.
Choosing The Right Cleaner
Look for a cleaner labeled specifically for grout. Avoid products with harsh bleaches if you have colored grout. Check reviews or ask at a hardware store for recommendations.
For bathrooms, a mold-fighting formula is a smart choice.
How To Apply For Best Results
Spray or apply the cleaner directly onto the grout lines. Let it sit for the time recommended on the bottle—usually 5 to 15 minutes. Don't let it dry completely.
Scrub with a stiff brush, working in small sections. Rinse thoroughly with water and wipe away residue.
Safety First
Many commercial cleaners contain strong chemicals. Wear gloves and work in a well-ventilated area. Open windows or use a fan.
Keep children and pets away until the area is dry. Follow disposal instructions for any leftover product.
9. Vinegar and Water Spray
A simple vinegar and water spray is a go-to for regular grout maintenance. The mild acidity cuts through soap scum and light dirt without harsh chemicals. It's safe for most tile types and costs pennies to make.
Why It Works
White vinegar contains acetic acid, which breaks down alkaline residues like soap scum and mineral deposits. The 1: 1 ratio with water dilutes it enough to be safe on grout but still effective. This mix won't damage sealed grout when used occasionally.
How To Apply
Fill a spray bottle with equal parts white vinegar and water. Spray the solution directly onto grout lines until they're wet but not dripping. Let it sit for 5 minutes to loosen dirt, then scrub with a stiff-bristled brush.
Rinse with water and wipe dry with a cloth.
Best For Light Maintenance
Use this method weekly or bi-weekly to prevent buildup. It's ideal for bathrooms and kitchens where soap scum accumulates. For heavy stains or mold, you'll need a stronger cleaner, but for everyday freshening, vinegar spray is a reliable, eco-friendly choice.
10. Pumice Stone
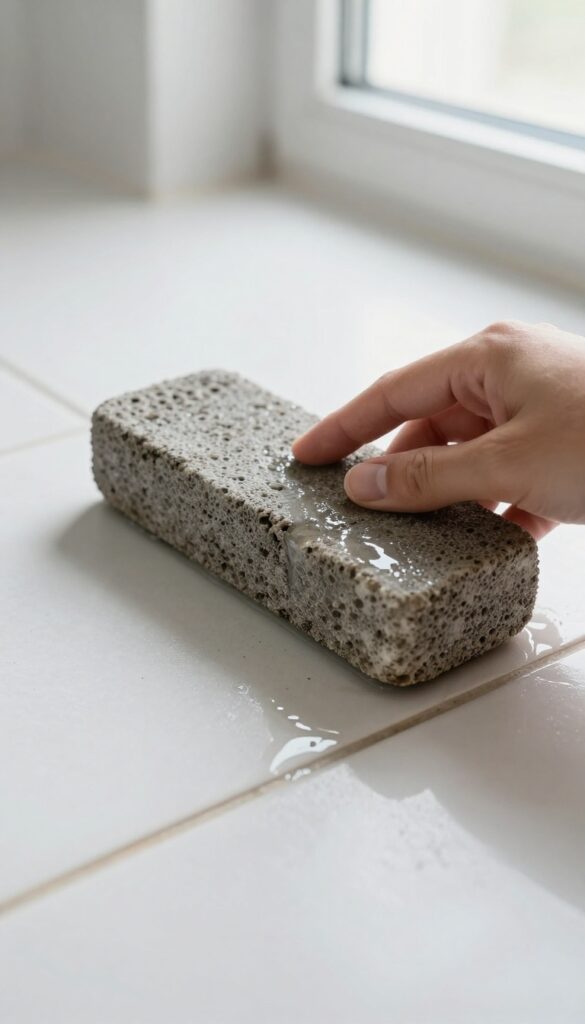
A pumice stone isn't just for rough feet—it's a surprisingly effective grout cleaner. The porous volcanic rock acts like a fine sandpaper, scraping away stubborn stains without harsh chemicals. When wetted, it glides over grout lines, lifting dirt that regular scrubbing leaves behind.
Just be careful: pumice is abrasive, so it can scratch glossy tiles if you press too hard or use it dry.
How Pumice Works On Grout
Pumice is a lightweight, porous stone formed from volcanic lava. When you rub it against grout, the rough surface acts as a gentle abrasive, wearing down the top layer of dirt and mineral deposits. Because grout is harder than most stains but softer than tile, the pumice targets the grime without damaging the grout itself—as long as you keep it wet.
The water reduces friction and prevents the stone from scratching.
Step-by-step: Using A Pumice Stone Safely
First, wet the pumice stone thoroughly. You can even soak it in water for a few minutes. Then, gently rub the stone over the stained grout lines using light pressure.
Work in small sections, rinsing the stone frequently to remove the residue it picks up. After scrubbing, wipe the area with a damp cloth to see your progress. Repeat if needed.
Important: never use a pumice stone on unglazed, polished, or natural stone tiles—it can cause permanent scratches.
When To Choose Pumice Over Other Methods
Pumice stones excel at removing tough, set-in stains like rust, hard water rings, and deep grime that baking soda or vinegar can't budge. They're also great for large areas of dirty grout because they cover more surface than a toothbrush. However, avoid pumice on delicate tiles or if your grout is already crumbling.
For regular maintenance, stick to milder cleaners. Use pumice as a targeted heavy-duty option when nothing else works.
11. Toothpaste and Baking Soda
Your bathroom cabinet holds a surprising grout cleaner: toothpaste. Combined with baking soda, it forms a gentle abrasive paste that lifts stains without harsh chemicals. This duo works especially well on light-colored grout where everyday dirt shows most.
White toothpaste contains mild abrasives like calcium carbonate or silica, which polish away surface stains. Baking soda adds extra scrubbing power and helps deodorize. Together, they create a paste that's tough on grime but safe for tile.
This method is ideal for small areas like bathroom backsplashes or shower corners where you want a quick fix without pulling out heavy-duty cleaners.
How To Apply The Paste
Squeeze a dollop of white toothpaste (avoid gel or whitening varieties) onto a stiff-bristled brush. Dip the brush into a small dish of baking soda, then scrub the grout lines using circular motions. Work in sections so the paste doesn't dry out.
Let it sit for 5 minutes before rinsing with warm water.
Why It Works So Well
The abrasives in toothpaste are fine enough to scrub grout without scratching tile. Baking soda is slightly alkaline, which helps break down acidic grime like soap scum. The combination creates a thick paste that clings to vertical surfaces, giving it time to dissolve stains.
When To Skip This Method
Avoid toothpaste on dark or colored grout—the white paste can leave a residue that's hard to rinse out. Also, skip it if your grout is heavily sealed, as abrasives may wear down the sealant. For deep-set mold or mildew, use a bleach-based cleaner instead.
12. Hydrogen Peroxide and Dish Soap
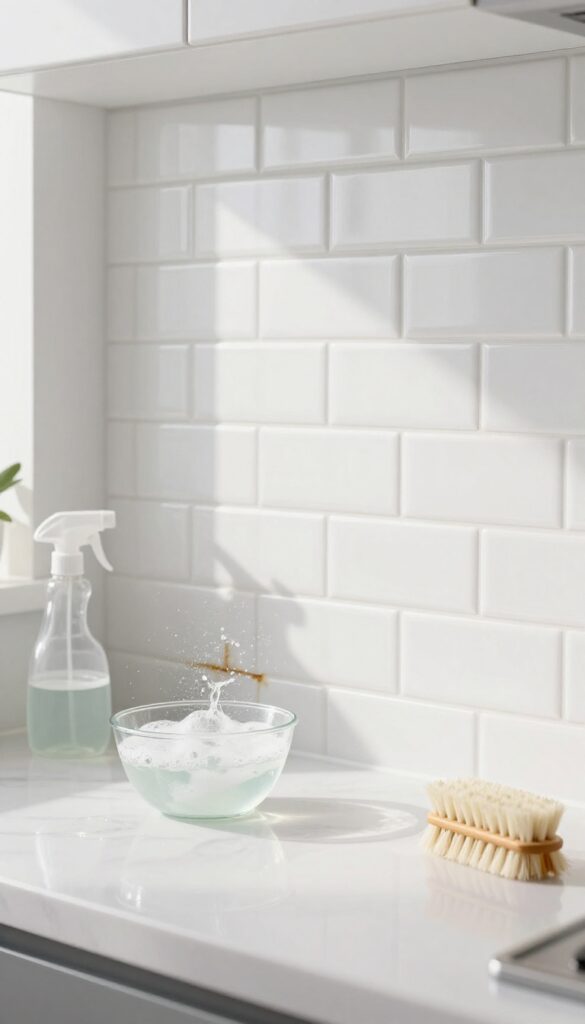
When grout stains are stubborn but you want to avoid harsh chemicals, hydrogen peroxide and dish soap make a powerful team. Hydrogen peroxide lifts organic stains and kills bacteria, while dish soap cuts through grease and soap scum. Together, they create a fizzing, bubbling cleaner that works deep into porous grout without bleaching or damaging surfaces.
Mix 2 parts hydrogen peroxide with 1 part dish soap in a small bowl. Apply the mixture to grout lines using a spray bottle or a sponge, let it sit for 10 minutes to break down grime, then scrub with a stiff brush. Rinse thoroughly with water and wipe dry.
This solution is safe for most tile types but test on a hidden area first.
Why This Combo Works So Well
Hydrogen peroxide is a mild bleach alternative that oxidizes dirt and mildew without the strong fumes. Dish soap acts as a surfactant, loosening greasy residues so the peroxide can penetrate deeper. The fizzing action helps lift debris from grout pores, making scrubbing more effective.
Best Uses And Surfaces
This mixture is ideal for kitchen backsplashes, bathroom walls, and floor grout that has both grease and soap scum buildup. It works well on ceramic, porcelain, and stone tiles, but avoid it on unsealed natural stone like marble or travertine, as peroxide may cause etching.
Pro Tips For Maximum Results
Use a grout brush or an old toothbrush to work the solution into the lines. For extra stubborn spots, let it sit for 15 minutes and scrub again. Rinse with a damp microfiber cloth to remove all residue.
Always ventilate the area and wear gloves if you have sensitive skin.
13. Grout Sealer After Cleaning
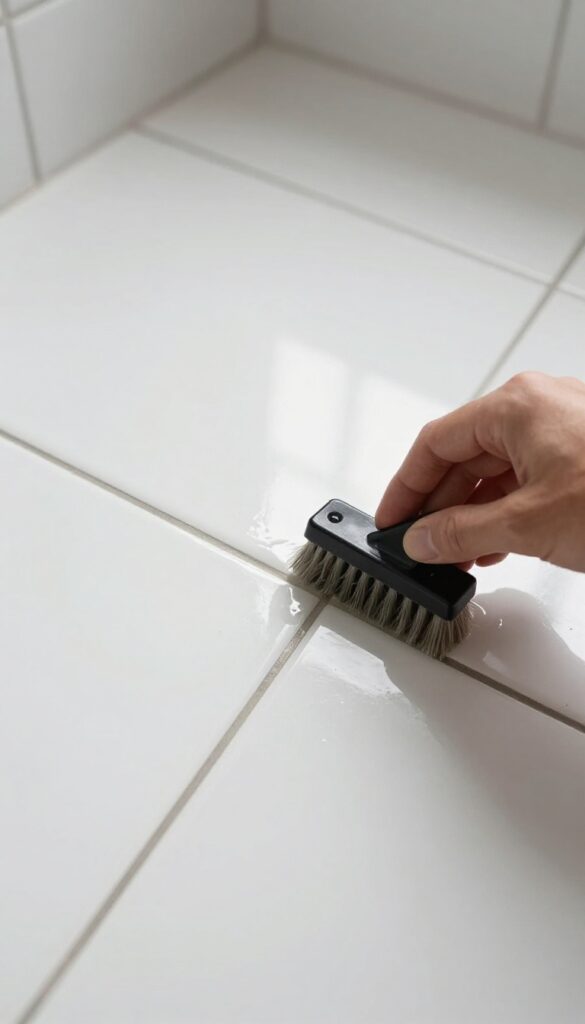
You've put in the elbow grease to get your grout looking fresh again. Now, the last thing you want is for it to get dirty again in a week. That's where grout sealer comes in—it's like a raincoat for your grout lines, repelling dirt and moisture so you don't have to scrub as often.
After deep cleaning, applying a grout sealer is a smart preventive step. It locks out stains and makes future cleaning much easier. The process is simple: use a small brush to apply the sealer carefully along the grout lines, avoiding the tile surface.
Let it dry completely before allowing any foot traffic or moisture. Most sealers need a few hours to cure, but the payoff is weeks of cleaner grout.
Pick The Right Sealer
Not all sealers are the same. For porous grout, a penetrating sealer works best because it soaks in and protects from within. For less porous grout, a membrane-forming sealer creates a protective layer on top.
Check the label to see which type suits your grout. If you're unsure, do a small test patch first.
Application Tips For Best Results
Clean and dry the grout thoroughly before sealing. Use a small foam brush or a grout sealer applicator to trace the lines. Work in small sections to avoid missing spots.
Wipe away any excess sealer from the tile surface immediately with a clean cloth—otherwise it can dry into a hazy film.
How Long To Wait Before Use
Drying time varies by product, but most sealers are dry to the touch within an hour. However, full curing can take up to 24 hours. It's best to keep the area off-limits until the sealer is completely cured.
Check the manufacturer's instructions and err on the side of caution—rushing it can ruin the seal.
14. Pressure Washer (Outdoor Tiles)
When you've got a large patio or walkway with dirty grout, a pressure washer can save you hours of scrubbing. It blasts away embedded dirt and mildew in seconds, but you need to use it carefully on grout to avoid damage. This method is best for cement-based grout on outdoor tiles.
Indoor grout is usually too soft or thin for a pressure washer, so stick with the other techniques inside.
A pressure washer is a powerhouse for outdoor tile grout. The key is using a low-pressure nozzle (like a 40-degree tip) and keeping the wand moving. Hold it at a slight angle, about 6–8 inches from the surface, and work in overlapping passes.
Test on an inconspicuous spot first to ensure the pressure doesn't erode the grout. For extra cleaning power, apply a tile cleaner or degreaser beforehand and let it sit for 5–10 minutes. Then rinse with the pressure washer.
This technique is especially effective for removing algae, moss, and stubborn outdoor grime.
Choosing The Right Nozzle And Pressure
Use a wide-angle nozzle (25–40 degrees) and keep the pressure between 1, 200–1, 500 PSI. Higher pressures can blast grout out of the joints. If your washer has adjustable pressure, start low and increase only if needed.
Always hold the nozzle at a 45-degree angle to the grout line to avoid digging into it.
Pre-treating For Best Results
For heavily soiled grout, spray a commercial outdoor cleaner or a mixture of bleach and water (1: 3 ratio) onto the grout lines. Let it sit for 10 minutes before pressure washing. This loosens organic stains and reduces the need for high pressure.
Rinse thoroughly afterward to remove any chemical residue.
Protecting Adjacent Surfaces
Cover nearby plants, furniture, and delicate surfaces with plastic sheeting to protect them from overspray and cleaning solutions. Also, be mindful of windows and doors—direct the spray away from them to prevent water intrusion. Work in sections to ensure even cleaning and avoid letting cleaner dry on the tiles.
15. Professional Grout Cleaning Service
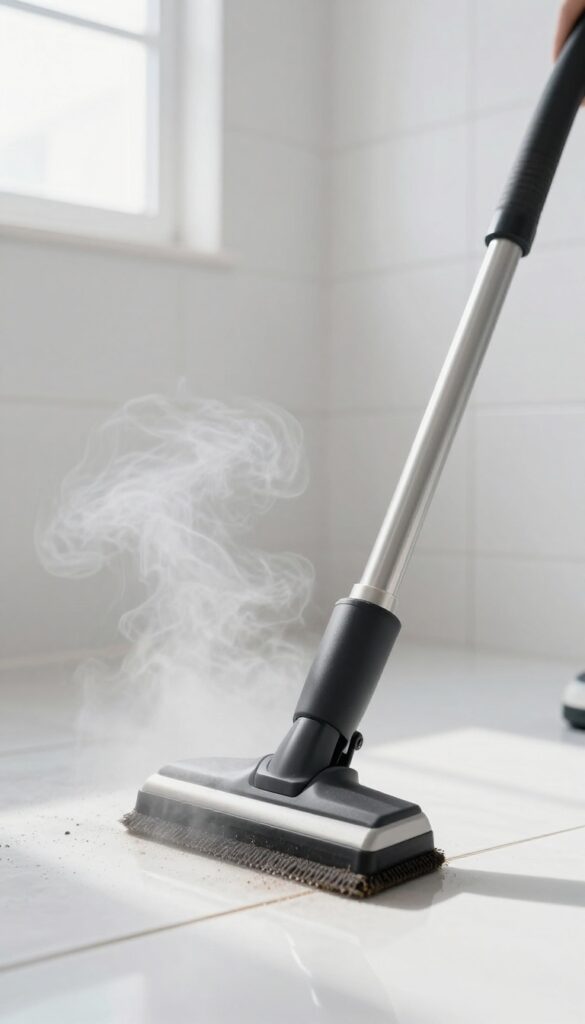
Sometimes, no matter how hard you scrub, the grout just won't cooperate. That's when it's time to call in the pros. Professional grout cleaning services use industrial-grade steamers and high-pressure extraction systems that can blast away years of embedded dirt and grime.
It's a cost-effective solution for large areas or grout that's been neglected for too long.
Hiring a professional isn't admitting defeat—it's a smart move when DIY methods have hit their limit. Pros have equipment that reaches deep into porous grout, removing stains and bacteria that household tools can't touch. They also apply sealants afterward to protect your grout from future stains, extending the life of your tile installation.
When To Call A Pro
If you've tried multiple DIY methods without success, or if your grout is heavily soiled over a large area, it's time to consider professional cleaning. Signs include persistent mold, efflorescence, or grout that's crumbling away. A pro can assess the condition and recommend the best approach.
What To Expect
The process typically involves a pre-treatment with a cleaning solution, followed by steam cleaning or hot water extraction. The technician will use specialized tools to agitate and remove dirt, then rinse and extract the waste. Finally, they may apply a sealer to protect the grout.
The whole process can take a few hours to a full day, depending on the area size.
Cost Vs. Value
Professional services usually cost between $1 and $4 per square foot, which can be more economical than buying expensive equipment or multiple cleaning products. For large areas like a basement floor or an entire bathroom, the investment pays off with results that last longer than any DIY effort.
FAQ
How often should I clean tile grout?
Light cleaning every 2-4 weeks prevents buildup. Deep clean every 3-6 months, depending on traffic and spills.
Can I use bleach on colored grout?
Bleach can discolor colored grout. Test in an inconspicuous area first, or use a color-safe cleaner like hydrogen peroxide.
What is the best homemade grout cleaner?
A paste of baking soda and hydrogen peroxide works well for most stains. For grease, add a drop of dish soap.
How do I prevent grout from getting dirty?
Seal grout after cleaning and reapply sealer annually. Wipe spills immediately and use a daily shower spray in bathrooms.
Is steam cleaning safe for all tile types?
Steam is safe for ceramic, porcelain, and natural stone tiles. Avoid on unsealed or cracked grout, as moisture can seep underneath.
Conclusion
Grout doesn't have to stay dingy. With these 15 methods, you can pick the one that matches your supplies and energy level—whether it's a quick baking soda scrub or a deep hydrogen peroxide soak. Start with the gentlest option and work your way up.
Your tile floors and walls will look noticeably brighter, and you'll save money by skipping harsh commercial cleaners. Try a couple of these techniques this weekend, and you'll see how satisfying it is to restore that fresh-from-installation look.


