You walk across your tile floor and notice it's looking a little dull. Maybe there's a sticky spot near the kitchen island or grout that's seen better days. Don't worry—bringing back that fresh, clean shine is easier than you think.
Tile floors are durable and beautiful, but they need the right care to stay that way. Using the wrong cleaner or skipping steps can leave them looking worse. That's why we've broken down the process into 15 straightforward steps.
From sweeping to sealing, each step targets a specific issue. You don't need expensive products or professional help. Just a little time and the right technique will have your floors glowing again.
1. Clear the Floor Completely
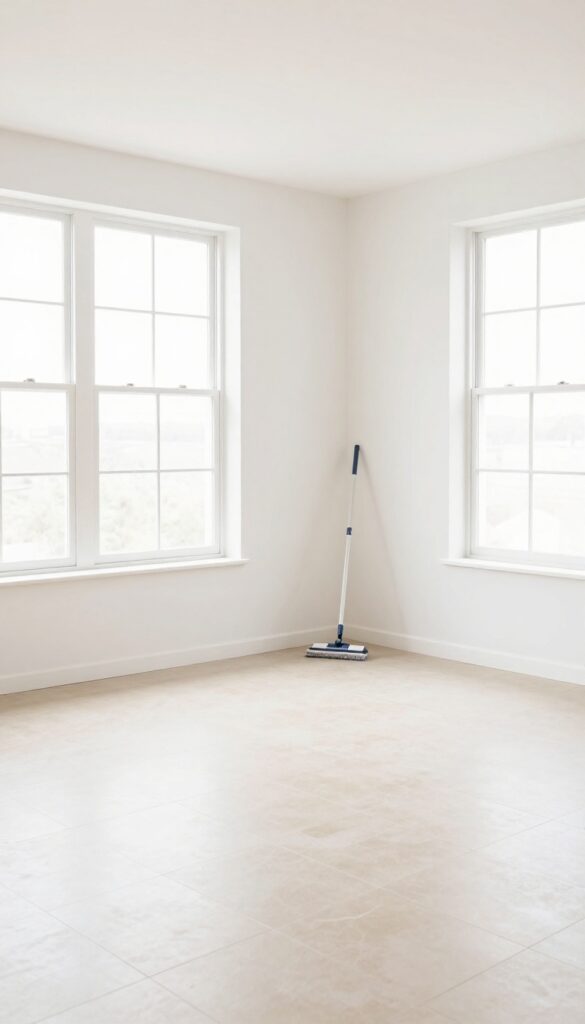
Before you can make your tile floors shine, you need a clean slate. That means moving everything off the floor—furniture, rugs, plant pots, pet bowls, even that pile of mail you've been ignoring. A clear floor gives you full access to every tile and prevents scratches from dragging heavy items around.
Why Bother?
You might be tempted to just clean around the furniture. But dirt and grime love to hide under rugs and behind legs. If you skip this step, you'll miss those spots, and your floor will look uneven.
Plus, moving furniture after cleaning can redeposit dust and dirt, undoing your hard work.
How To Do It Right
Start by removing small items like rugs and mats. Shake them out outside or toss them in the wash if they're machine-safe. For larger furniture, ask a friend to help or use furniture sliders to avoid scratching the tile.
Work in sections if you can't clear the whole room at once.
Deal With The Debris
Once the floor is bare, sweep or vacuum up loose dirt, dust, and crumbs. Pay extra attention to corners and edges where debris collects. This pre-cleaning step keeps you from pushing dirt around when you mop later.
A quick pass with a microfiber dust mop works wonders.
2. Dry Sweep or Vacuum Thoroughly
Grab a soft-bristle broom or a vacuum with a hard floor setting. This first pass picks up loose dust, dirt, and hair that can scratch your tile when you mop. It's a small step that makes a big difference in the final shine.
Sweeping or vacuuming before wet cleaning is non-negotiable. Even tiny grit particles act like sandpaper on tile surfaces. A dry removal step protects the finish and prevents dullness over time.
Choose The Right Tool
A soft-bristle broom is gentle on tile and grout. Avoid stiff bristles that can scratch. For vacuums, use the hard floor setting and turn off the brush roll to avoid scattering debris.
Work In Sections
Divide your floor into manageable areas. Sweep or vacuum each section thoroughly, moving debris toward a central pile. This ensures no spot is missed and keeps dust from resettling.
Don't Forget The Corners
Use a dustpan and brush or a crevice tool to reach edges and corners. Grout lines collect hidden dirt that can darken over time. A quick detail pass now saves scrubbing later.
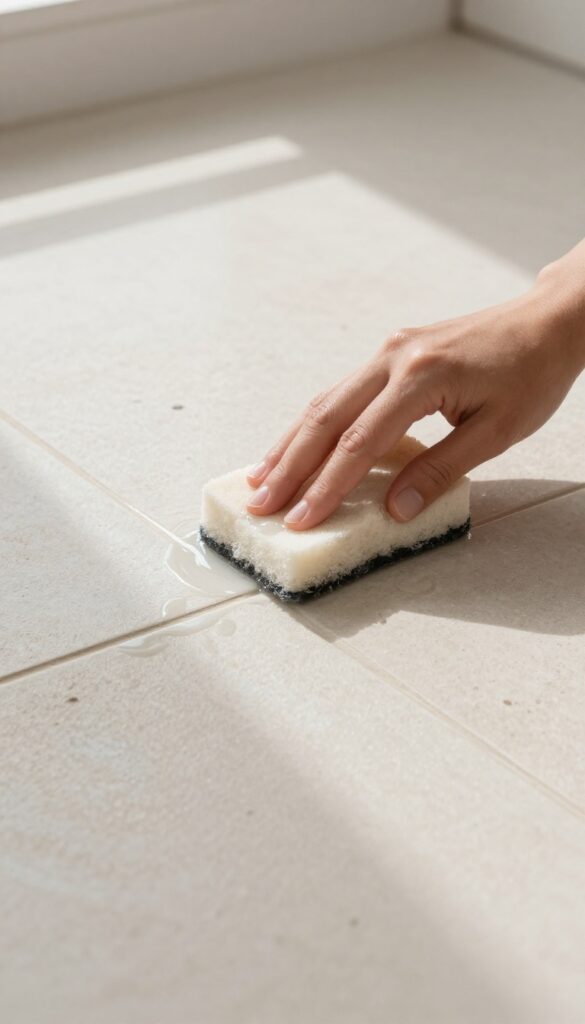
3. Spot Clean Stubborn Stains
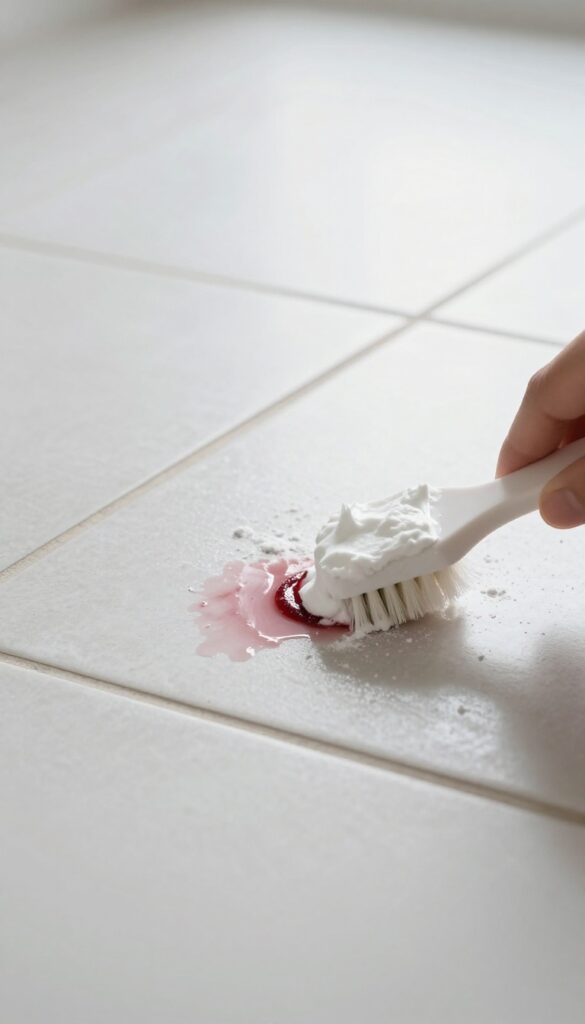
Some stains just won't budge with a regular mop. Wine spills, grease splatters, and muddy footprints can leave marks that seem permanent. But a simple homemade paste can handle them without harsh chemicals.
Make A Baking Soda Paste
Mix three parts baking soda with one part water to form a thick paste. For extra stubborn stains, add a few drops of dish soap. The paste is gentle enough for tile but abrasive enough to lift grime.
Apply And Let It Sit
Spread the paste directly over the stain, covering it completely. Let it sit for at least 10–15 minutes. This gives the baking soda time to break down the stain without scrubbing too hard.
Scrub Gently
Use a soft-bristle brush or an old toothbrush to scrub the area in small circles. Avoid steel wool or hard scrubbers—they can scratch the tile finish. Rinse with water and wipe dry.
4. Choose the Right Cleaner for Your Tile
Not all tile cleaners are created equal. In fact, using the wrong one can damage your floors or leave behind a dull film. The key is matching the cleaner to your specific tile type and finish.
Here's how to pick a winner every time.
Know Your Tile Type
Ceramic and porcelain tiles are tough and can handle most pH-neutral cleaners. Natural stone like marble, travertine, or slate is much more sensitive. Acidic cleaners (vinegar, lemon) can etch and dull the surface.
Always check what your tile is made of before buying anything.
The Ph-neutral Rule
For natural stone, stick with a pH-neutral cleaner specifically labeled for stone. These are gentle enough to clean without damaging the sealant or the stone itself. Avoid anything with acids, alkalis, or harsh abrasives.
When in doubt, a drop of mild dish soap in warm water works wonders.
Grout Needs Special Care
Unsealed grout is porous and soaks up liquids like a sponge. Vinegar and other acidic cleaners can break it down over time. Use a grout-specific cleaner or a baking soda paste for tough stains.
If your grout is sealed, check the manufacturer's recommendations—some sealants react poorly to certain chemicals.
Check Manufacturer Guidelines
Before you pour anything, look up your tile or flooring manufacturer's care instructions. Many brands void warranties if you use the wrong cleaner. A quick online search or a peek at the product manual can save you from costly mistakes.
Stick to what they recommend for best results.
5. Mix a Gentle Mopping Solution
Now that your floor is free of loose dirt and stubborn stains, it's time to mop. But don't just grab any cleaner off the shelf. The right mopping solution makes all the difference between a sparkling floor and a dull, sticky mess.
Start with a bucket of warm water—hot water can set some stains, and cold water doesn't clean as effectively. Add just a few drops of mild dish soap or a pH-neutral tile cleaner. A little goes a long way; too much soap leaves a residue that actually attracts dirt, making your floors look dingy faster.
If you have stone tiles, skip the vinegar and lemon juice—they're acidic and can etch the surface. Stick to products labeled safe for your specific tile type.
Why Less Is More
It's tempting to pour in extra soap for a deeper clean, but that's a mistake. Excess suds don't rinse away completely, leaving a film that traps dust and grime. Your floors will look clean for a day, then quickly appear dirtier than before.
A capful of cleaner per gallon of water is usually plenty.
Choosing The Right Cleaner
Not all tile cleaners are the same. For ceramic or porcelain, a mild dish soap works fine. For natural stone like marble or travertine, use a stone-specific cleaner that's pH neutral.
Avoid anything with bleach or ammonia—they can discolor grout and damage the tile finish over time.
Warm Water: The Secret Weapon
Warm water helps dissolve grease and grime more effectively than cold water. But don't use hot water—it can cause some cleaners to evaporate too quickly or damage sensitive tile. Aim for a temperature that feels comfortably warm to the touch, like bath water.
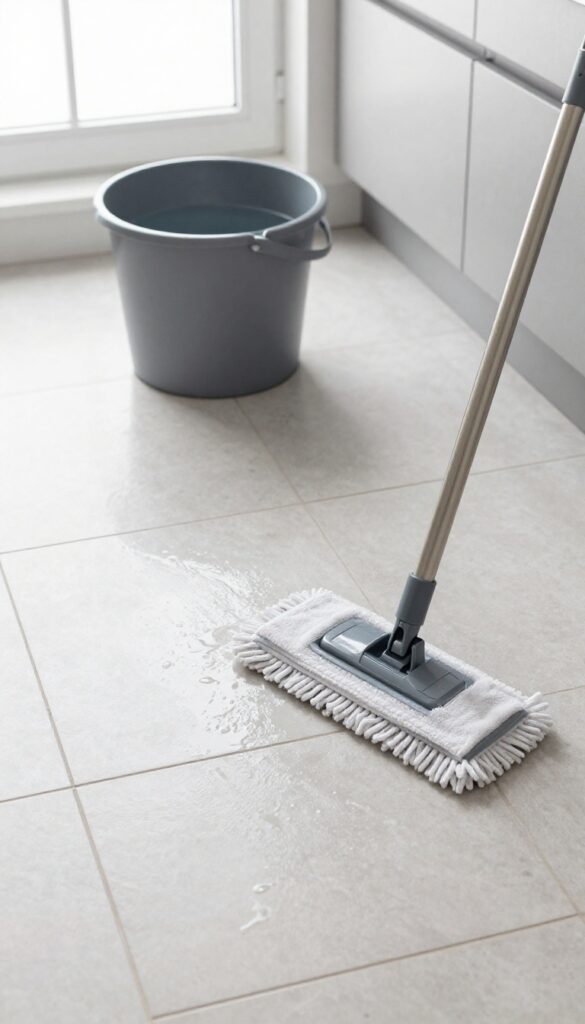
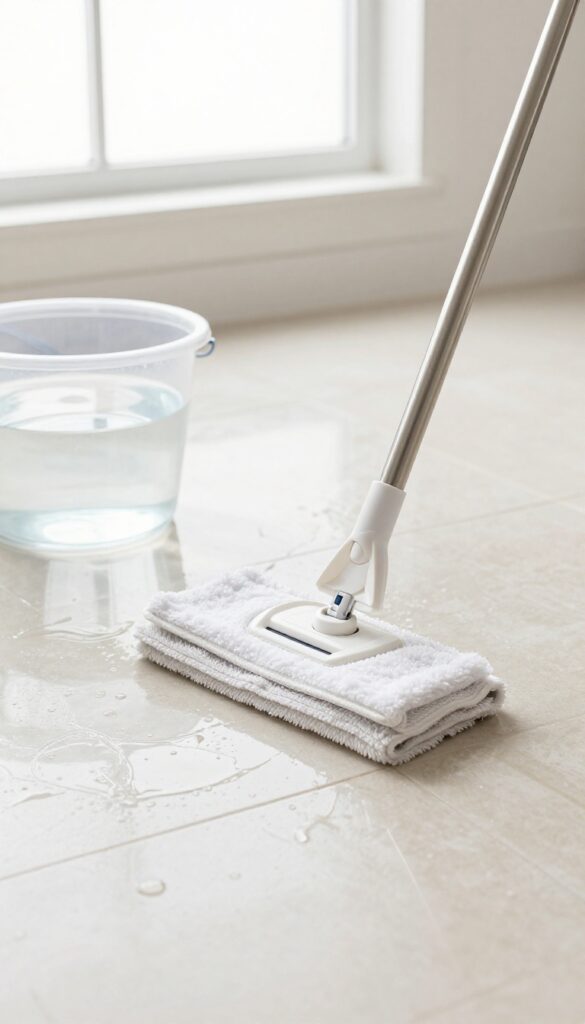
6. Mop Using the Two-Bucket Method
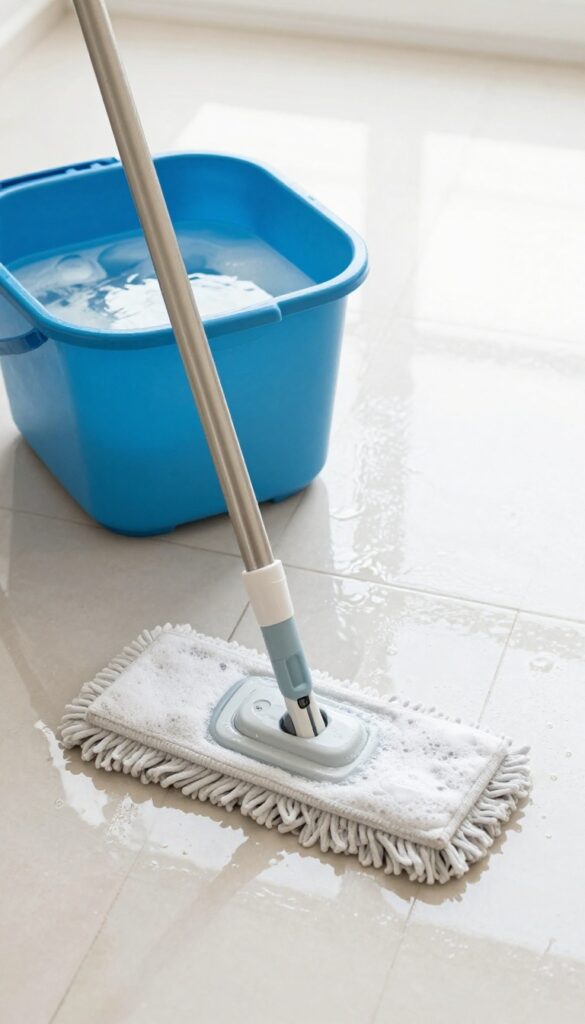
One bucket of cleaning solution and one of plain water—that's the secret to a truly clean floor. The two-bucket method stops you from spreading dirty water back onto the tile. It's a simple switch that makes a big difference in your final shine.
Grab two buckets. Fill the first with your preferred tile cleaner and warm water. Fill the second with plain warm water.
Dip your mop into the cleaning bucket, wring it out well, and mop a small section. Then rinse the mop in the plain water bucket, wring again, and go back to the cleaning bucket. Repeat until the whole floor is done.
This keeps the cleaning solution effective and avoids leaving a grimy film.
Why Two Buckets Work Better
When you rinse the mop in dirty water, you just keep adding grime to the floor. The two-bucket system keeps the cleaning solution fresh. The rinse bucket catches all the dirt and residue, so your mop always starts clean.
How To Set Up Your Buckets
Use two clearly different buckets so you don't mix them up. Label them if needed. Fill the rinse bucket with fresh water after every few rooms.
Change the cleaning solution when it looks sudsy or dirty.
Mop Technique Tips
Work in small sections, overlapping slightly. Don't flood the floor—excess water can seep into grout and cause damage. Wring the mop until it's damp, not dripping.
Let each section air dry before walking on it.
7. Work in Small Sections
Trying to mop an entire kitchen or bathroom at once is a recipe for streaks and missed spots. When you cover too much ground, the cleaning solution can dry on the tile before you have a chance to rinse it off, leaving a hazy film behind. Instead, break the floor into manageable chunks—about 3×3 feet each.
Focus on one small square at a time. Dip your mop or microfiber pad into the cleaning solution, wring it out well, and clean that section thoroughly. Then immediately follow with a second mop or pad dipped in plain water to rinse away any residue.
Move to the next square, slightly overlapping the previous one to ensure complete coverage. This method guarantees every inch gets both a proper wash and a clean rinse, which is the key to a streak-free shine.
Why 3×3 Feet Works Best
A 3×3 foot area is small enough that the cleaning solution stays wet until you rinse it, but large enough to make steady progress. If you go bigger, the solution can dry out, leaving a dull film. Smaller than that, you'll waste time and energy.
This size also fits well with standard mop heads and microfiber pads, so you're not constantly repositioning.
Overlap To Avoid Lines
When moving from one section to the next, overlap the previous area by a few inches. This prevents a distinct line of dried solution or dirt from forming between sections. It also ensures you don't accidentally skip a narrow strip.
Think of it like mowing the lawn—slight overlap gives you a uniform finish.
Rinse Your Mop Frequently
Between sections, rinse your mop or pad in the plain water bucket to remove dirt and solution residue. A dirty mop just spreads grime around. Change the rinse water as soon as it looks murky—usually after three or four sections.
Clean water is essential for that final streak-free look.
8. Rinse with Clean Water
You've scrubbed and mopped, but there's one more step that makes all the difference. Rinsing with clean water removes any leftover cleaning solution that can attract dirt and leave streaks. It's quick, simple, and your floors will thank you.
After mopping each section with your cleaning solution, go over it again with a mop dipped in plain water. This step is crucial for removing any residue that can cause dullness or stickiness. Change the rinse water frequently to avoid spreading dirty water back onto the floor.
A clean rinse leaves your tile looking spotless and streak-free.
Why Rinsing Matters
Leftover cleaner can create a film that traps dirt and makes floors look cloudy. Rinsing ensures no residue remains, so your tile dries clear and shiny. It also prevents slippery spots, making your floor safer to walk on.
How To Rinse Effectively
Use a separate bucket of clean, cool water. Dip your mop, wring it out well, and go over the same area you just mopped. Work in small sections and rinse the mop often.
For best results, use a microfiber mop head that absorbs residue without leaving lint.
When To Skip The Rinse
Some tile cleaners are labeled as no-rinse, but it's still a good idea to rinse if you see any film. If you're using a homemade vinegar solution, always rinse to prevent the acid from dulling the finish. When in doubt, a quick rinse never hurts.
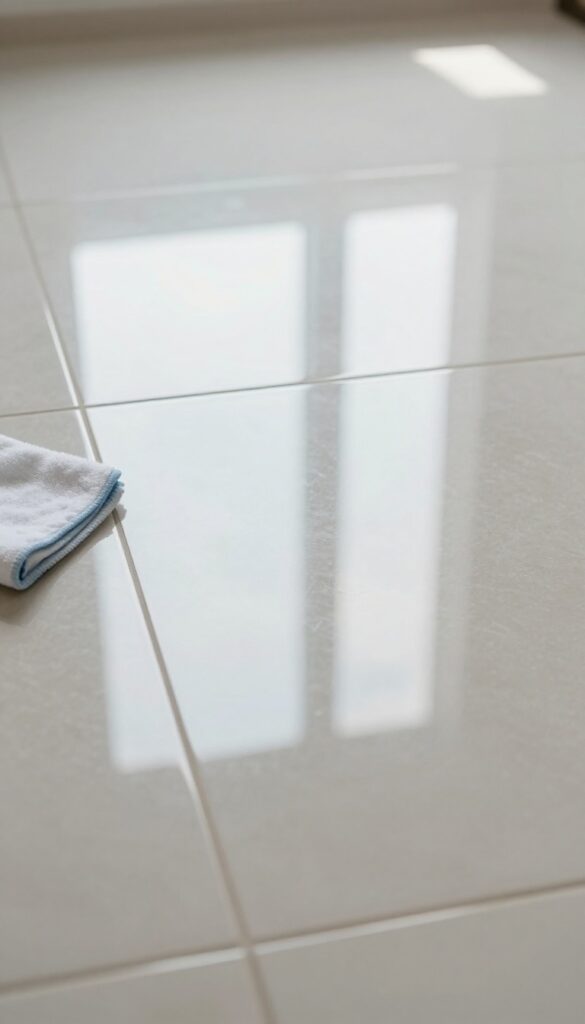
9. Dry the Floor Immediately
You've just finished mopping, and the floor looks fantastic. But if you walk away now, water spots and streaks will ruin that fresh shine. Drying the tile right after mopping locks in the clean look and prevents mineral deposits from forming as the water evaporates.
It's a simple step that makes a huge difference.
Grab a clean, dry microfiber mop or a soft cloth and go over the entire floor. Work in sections, starting from the farthest corner and moving toward the door so you don't step on wet areas. This removes any leftover moisture and buffs the surface to a brilliant gleam.
For large areas, a microfiber flat mop with a dry pad works fast. For smaller spaces or tight corners, a clean towel on hands and knees ensures every spot is dry. The key is to use a fabric that won't shed lint or scratch the tile.
Microfiber is ideal because it traps water and dust without leaving residue.
Why Drying Prevents Water Spots
Tap water contains minerals like calcium and magnesium. When water dries naturally on tile, these minerals are left behind as cloudy spots or a dull film. By drying immediately, you wipe away the water before it can evaporate and leave deposits.
This is especially important in areas with hard water, where spots can be stubborn and require extra polishing to remove.
Best Tools For Drying Tile
A microfiber mop with a removable, washable pad is the top choice for drying floors. It's absorbent, gentle, and easy to rinse between sections. If you don't have a dry mop, a clean, lint-free cotton towel works well—just make sure it's not one that leaves fuzz behind.
Avoid paper towels, which can disintegrate and create more mess. For large rooms, consider using a squeegee to pull water toward a drain, then follow up with a microfiber cloth.
How To Get A Mirror-like Shine
For an extra glossy finish, use a dry microfiber pad in a figure-eight motion. This buffs the tile and removes any last traces of moisture. If your tile is glazed ceramic or porcelain, a quick once-over with a dry cloth can make the surface look polished.
For natural stone, avoid excessive buffing—just dry gently to prevent wear. The goal is a spotless, streak-free floor that reflects light beautifully.
10. Deep Clean Grout Lines
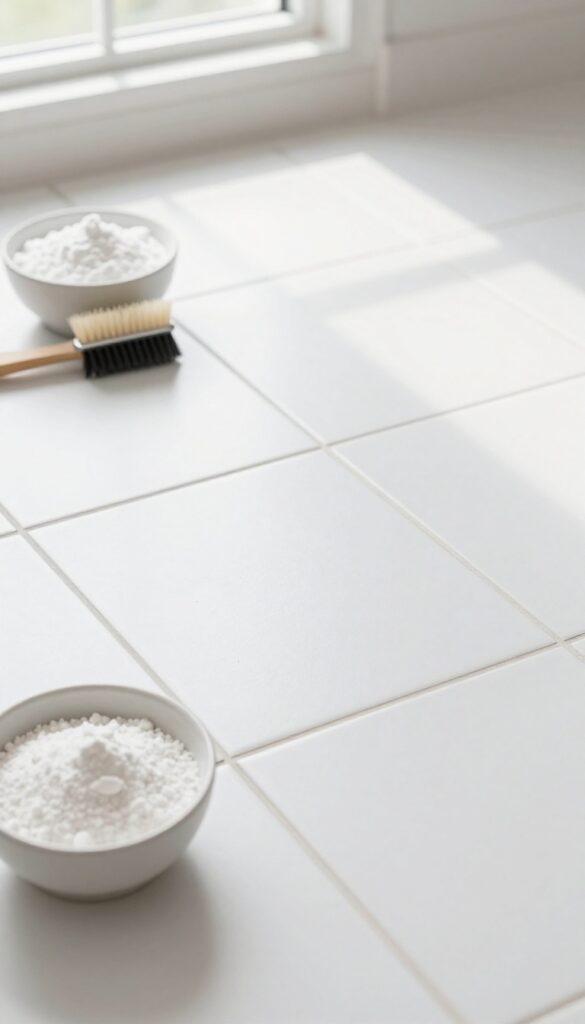
Grout lines are the first place dirt and grime settle, and they can quickly turn a clean floor into a messy one. A simple mop won't cut it here—you need to get into those porous lines with a targeted approach. This step is all about restoring the original color and freshness of your grout without damaging the tile.
Mix baking soda and water into a thick paste. Apply it generously over the grout lines using an old toothbrush or a small grout brush. Let it sit for about 10 minutes so the paste can lift embedded dirt.
Scrub in small circular motions, then rinse with clean water. For stubborn stains, add a splash of hydrogen peroxide to the paste for extra whitening power. Work in small sections to keep the paste from drying out.
Once done, dry the area with a clean cloth to prevent new dirt from sticking.
Why Grout Needs Special Attention
Grout is porous, which means it absorbs spills and dirt easily. Regular mopping only cleans the surface, leaving deep stains behind. Over time, this can lead to discoloration and even mold growth.
A dedicated deep clean every few months keeps grout looking fresh and prevents permanent damage.
The Baking Soda Paste Method
Baking soda is a gentle abrasive that won't scratch tile. Mix it with water until it forms a spreadable paste. Apply it to the grout lines and let it sit for 10 minutes to break down grime.
Scrub with a stiff brush, then rinse thoroughly. This method is safe for all tile types and is non-toxic.
When To Use Hydrogen Peroxide
For tough, set-in stains, hydrogen peroxide acts as a mild bleach. Add a small amount to your baking soda paste to boost its cleaning power. Test on an inconspicuous area first, especially on colored grout, as it may lighten it.
Use sparingly and rinse well to avoid residue.
11. Use a Steam Cleaner for Sanitizing
A steam cleaner isn't just a fancy gadget—it's a powerful tool for deep cleaning tile floors. It uses high-temperature steam to kill bacteria, loosen dirt, and sanitize without any chemicals. This is especially handy in kitchens and bathrooms where hygiene matters most.
Steam cleaners are a game-changer for tile floors. They blast away grime from grout lines and surface stains without harsh chemicals. The heat kills up to 99.
9% of germs, making it ideal for homes with kids or pets. Plus, it's eco-friendly since you're only using water.
How Steam Cleaning Works
Steam cleaners heat water to around 200°F, producing pressurized steam that loosens dirt and kills bacteria. The steam penetrates porous grout and tile surfaces, lifting embedded grime. Most models come with a mop attachment for easy floor cleaning and a detail brush for grout lines.
Best Practices For Tile Floors
Always sweep or vacuum first to remove loose debris. Fill the cleaner with distilled water to avoid mineral buildup. Move the steam mop slowly over the tiles, letting the steam work.
For grout, use the brush attachment and scrub in small sections. Wipe away excess moisture with a microfiber cloth if needed.
When To Use A Steam Cleaner
Use a steam cleaner for weekly or bi-weekly deep cleans, especially in high-traffic areas. It's perfect for kitchens where grease and food spills accumulate, and bathrooms where mold and mildew thrive. Avoid using it on unsealed natural stone tiles, as the heat and moisture can damage them.
12. Buff for Extra Shine
That final gleam you see in magazine photos? It's not magic—it's buffing. Once your floor is completely dry, a quick polish with a soft cloth or microfiber pad removes any remaining dust and adds a brilliant, streak-free shine.
No extra products needed, just a little elbow grease.
Buffing is the secret step that takes your floor from clean to dazzling. It's especially effective on glazed ceramic, porcelain, and natural stone tiles that tend to look a bit flat after mopping. The friction from buffing smooths out microscopic residue and brings out the tile's natural luster.
Why Buffing Works
When you mop, even with the best technique, a thin film of water and cleaner residue can dry on the surface. Buffing lifts that film, leaving a clean, reflective surface. It also picks up any lint or dust that settled while the floor dried.
Best Tools For The Job
A microfiber cloth or a dry microfiber mop pad works best. For large areas, attach a microfiber pad to a flat mop. Avoid terry cloth or rough fabrics—they can leave lint or scratches.
A clean, soft cotton cloth also works well for small spots.
How To Buff Like A Pro
Work in small sections, using overlapping circular motions. Apply light to moderate pressure—too much pressure can leave streaks. For high-traffic areas, buff in the direction of the tile pattern for a uniform look.
Don't forget corners and edges.
When To Skip Buffing
Skip buffing on unglazed or textured tiles—it won't add shine and may actually push dirt into the surface. Also avoid buffing if your floor has a matte finish you want to preserve. In those cases, just let the floor dry naturally.
13. Apply a Tile Sealer (If Needed)
Not every tile needs sealing, but if yours is porous or the grout is unsealed, this step is a game-changer. Sealer locks out moisture and stains, making future cleaning a breeze. It's a small effort that pays off big time.
Sealing isn't always required, but for natural stone, unglazed ceramic, or any tile with a matte finish, it's a smart move. Grout is especially vulnerable—it's porous and soaks up spills like a sponge. A good sealer creates a protective barrier so dirt and liquids sit on top instead of sinking in.
You'll notice your floors stay cleaner longer and are easier to wipe down.
Do You Need A Sealer?
First, check if your tile or grout is sealed. Sprinkle a few drops of water on the surface. If they bead up, you're good.
If they soak in quickly, sealing is needed. Focus on grout lines first—they're the most absorbent. For tile, test an inconspicuous spot.
Porous materials like travertine or slate almost always benefit from sealing.
Choosing The Right Sealer
Pick a sealer that matches your tile type. For grout, a penetrating sealer works best—it soaks in and protects from within. For natural stone, use a sealer specifically designed for stone to avoid discoloration.
Avoid topical sealers on tile surfaces as they can create a slippery film. Read labels carefully and choose a product that's easy to apply and dries clear.
How To Apply Sealer
Make sure your floor is completely clean and dry before starting. Apply sealer with a small brush or sponge, working it into grout lines or over the tile surface. Wipe away any excess immediately with a clean cloth to avoid hazy residue.
Let it dry according to the manufacturer's instructions—usually a few hours. For best results, apply a second coat after the first dries.
Aftercare And Maintenance
Once sealed, your floor is protected but not invincible. Reapply sealer every year or two, depending on foot traffic. Use pH-neutral cleaners to avoid breaking down the sealer.
Avoid abrasive scrubbing that can wear it away. With proper care, sealed tile and grout stay looking fresh and are much easier to maintain.
14. Maintain with Daily Quick Wipes
A deep clean once a week is great, but the real secret to shiny tile floors is what you do in between. A quick daily wipe keeps dirt and grime from building up, so your floors stay fresh with minimal effort. Think of it as a tiny habit that saves you from scrubbing later.
Just a few seconds with the right tools can make a huge difference in how your floors look and feel every day.
A daily quick wipe is the easiest way to keep your tile floors looking their best. It takes less than a minute and prevents dirt from turning into stubborn stains. The key is having the right supplies ready so you can grab them without thinking.
Start by keeping a spray bottle filled with plain water or a very diluted tile-safe cleaner near your cleaning station. Pair it with a microfiber cloth or a dry mop pad. When you see a spill, a dusty footprint, or just a dull spot, give it a quick spritz and wipe.
That's it. This habit is especially useful in high-traffic areas like the kitchen, entryway, or bathroom. A daily pass over these spots keeps the whole floor looking cleaner and reduces the need for heavy mopping.
Plus, it's a great way to extend the life of your grout and sealant by preventing moisture and dirt from settling in. Make it part of your evening routine or do it while you're waiting for coffee to brew. Once it becomes automatic, you'll wonder how you ever managed without it.
What You Need
Grab a spray bottle, microfiber cloths, and optional dry mop. Keep them in a caddy or basket near the area you clean most. Microfiber traps dust without scratching tile, and a spray bottle lets you control moisture.
Where To Focus
Hit the spots that see the most action: kitchen floors near the sink and stove, bathroom floors around the toilet and shower, and entryway tiles where shoes drop dirt. A quick wipe here prevents buildup from spreading.
When To Do It
Aim for once a day, preferably in the evening after dinner or right before bed. It takes under a minute and keeps your floors consistently clean. If you miss a day, no big deal—just pick it back up the next day.
15. Schedule Regular Deep Cleans
Even with the best daily habits, tile floors need a thorough reset every few months. Dirt, grime, and residue build up in the pores of the tile and grout over time, dulling the shine. A scheduled deep clean strips away that buildup and restores the floor's original luster.
Think of it as a reset button for your tiles.
How Often Should You Deep Clean?
For most homes, a deep clean every 1-3 months works well. High-traffic areas like kitchens and entryways need it more often—closer to every month. Low-traffic bathrooms or guest rooms can stretch to every three months.
Pay attention to how the floor looks and feels. If it no longer shines or feels gritty after mopping, it's time for a deep clean.
What A Deep Clean Involves
A deep clean goes beyond your usual sweep-and-mop routine. Start by clearing the floor completely. Then use a pH-neutral cleaner or a tile-specific cleaning solution.
Scrub grout lines with a stiff brush or a grout cleaning tool. For stubborn dirt, consider using a steam cleaner or a gentle oxygen bleach solution. Rinse thoroughly with clean water to remove any residue.
Post-clean Care To Extend Results
After a deep clean, let the floor dry completely before walking on it. If your tile is porous, apply a sealer to grout lines to protect against future stains. Switch to a maintenance routine that includes daily sweeping and weekly damp mopping.
This will keep your floor looking fresh longer and reduce the frequency of deep cleans.
FAQ
Can I use vinegar on all tile floors?
No, vinegar is acidic and can damage natural stone tiles like marble or travertine. It can also degrade unsealed grout. Stick to pH-neutral cleaners for stone.
How often should I clean tile floors?
Sweep or vacuum daily to remove debris. Mop weekly or as needed. Deep clean grout and seal every 1-3 months depending on foot traffic.
What's the best way to dry tile floors after mopping?
Use a clean, dry microfiber mop or a soft cloth to dry immediately. This prevents water spots and streaks, leaving a shiny finish.
How do I remove dark stains from grout?
Make a paste of baking soda and hydrogen peroxide, apply to the stain, let it sit for 10 minutes, scrub with a brush, then rinse. Repeat if needed.
Do I need to seal my tile floors?
If your tile or grout is porous, sealing helps prevent stains and makes cleaning easier. Test by dropping water on the tile—if it absorbs, seal it.
Conclusion
Now that you've worked through these 15 steps, your tile floors should be gleaming and grime-free. Regular maintenance using this routine will keep them looking fresh without requiring heavy scrubbing every time.
Remember, the key is consistency—a quick daily sweep and weekly damp mop prevent buildup. Your floors will thank you with lasting shine and minimal effort.

I’m Pallab Kishore, the owner of Little Pets Realm — an animal lover and pet care enthusiast sharing easy tips, healthy recipes, and honest advice to help every small pet live a happy, healthy, tail-wagging life.


