
Stove grates bear the brunt of every spill, splatter, and simmer—until they're coated in a stubborn layer of baked-on grease. Scrubbing with brute force rarely cuts it, and harsh chemicals aren't always appealing.
The good news is you've probably got several effective fixes in your pantry right now. From fizzing soaks to surprising smear-on pastes, these 13 methods target grease in different ways.
Each one is tested and practical, so you can pick the approach that matches your mess and your patience level. No more wrestling with crusty grates—just smart, kitchen-friendly solutions.
1. Baking Soda and Vinegar Soak
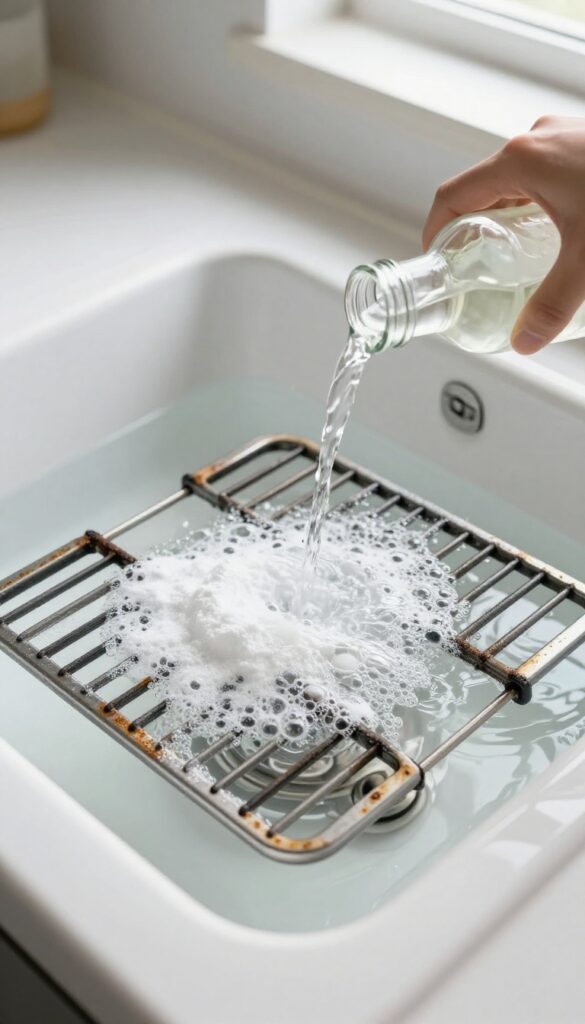
Baking soda and vinegar are a classic duo for cutting through grime, and they work wonders on greasy stove grates. The fizzy reaction helps lift baked-on residue, making scrubbing much easier. This method is gentle enough for porcelain-coated grates but tough on stubborn buildup.
Start by removing the grates from your stove and placing them in a large plastic bag or a sink filled with hot water. Sprinkle a generous amount of baking soda over the grates, then spray or pour white vinegar over them until the mixture fizzes. Let the grates soak for 30 minutes—the fizzing action will start breaking down the grease.
After soaking, scrub with a non-abrasive sponge or brush, rinse thoroughly, and dry. For extra-stubborn spots, make a thicker paste with more baking soda and less vinegar, apply it directly, and let it sit longer.
Why This Works
Baking soda is a mild abrasive that helps physically scrub away grease without scratching surfaces. Vinegar's acidity dissolves the bonds in baked-on grease, while the carbon dioxide bubbles from the reaction help lift debris away from the metal.
Best For
This method is ideal for porcelain-coated or enameled grates that are sensitive to harsh chemicals. It's also great for everyday maintenance when grease isn't extremely thick or burnt.
Pro Tip
For maximum fizzing action, use warm vinegar—it reacts faster with baking soda. If your grates are heavily soiled, let them soak for up to an hour, but check periodically to avoid over-soaking.
2. Dish Soap and Hot Water Overnight Soak
Sometimes the simplest solution is the most effective. A long, lazy soak in hot, soapy water works wonders on baked-on grease without any scrubbing or harsh chemicals. All you need is dish soap, hot water, and a bit of patience.
Fill your sink or a large basin with the hottest water you can handle (safety first—use gloves if needed). Add a generous squirt of grease-cutting dish soap and submerge the grates completely. Let them sit overnight.
By morning, the grease will have softened significantly, making it easy to wipe away with a sponge or soft brush. For extra stubborn spots, a quick scrub with a non-abrasive pad finishes the job.
Why This Works
Hot water helps dissolve grease while dish soap breaks down oil molecules. The extended soak time allows the soap to penetrate layers of carbonized buildup, loosening their grip on the metal.
Best Grates For This Method
This method is safe for porcelain-coated, enameled, and stainless steel grates. Avoid using it on cast iron unless the grates are enameled, as prolonged water exposure can cause rust.
Pro Tip For Faster Results
If you're short on time, bring the water to a boil before adding the grates. The extra heat accelerates grease breakdown, cutting the soak time to 2-3 hours.
3. Ammonia Bag Method
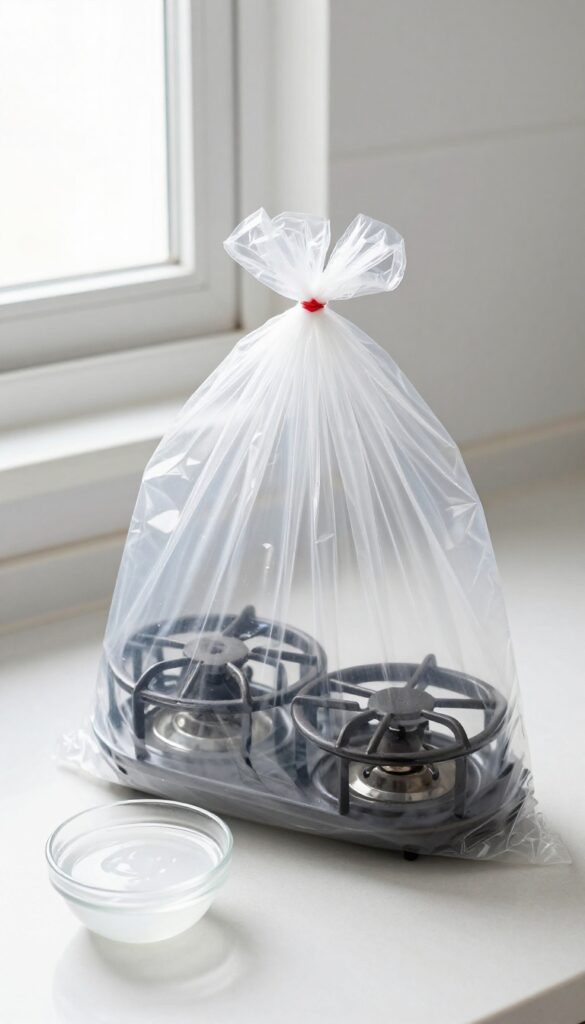
Ammonia is a powerful degreaser that works wonders on baked-on grime without elbow grease. The trick is to let the fumes do the heavy lifting. By sealing your grates in a bag with a small amount of ammonia, the vapors soften the grease overnight.
You'll wake up to grates that rinse clean with minimal effort.
This method is ideal for heavily soiled grates that have resisted other cleaning attempts. It requires little hands-on work, but you do need to handle ammonia carefully due to its strong fumes. Always work in a well-ventilated area and wear gloves.
The key is to use just enough ammonia to create fumes without soaking the grates.
What You'll Need
You need a large, heavy-duty garbage bag (or two, one inside the other for leak protection), 1/2 cup of clear household ammonia (not sudsy), and a secure tie. Also have rubber gloves and a well-ventilated space—preferably outdoors or near an open window.
Step-by-step Instructions
Place your grates inside the bag. Pour the ammonia into a small cup or bowl and set it inside the bag beside the grates (do not pour directly on the grates). Seal the bag tightly, ensuring no leaks.
Let it sit overnight (8–12 hours) in a safe spot away from pets and kids. The next day, open the bag outdoors. Remove the grates, rinse thoroughly with water, and scrub lightly with a sponge if needed.
Most grease will slide right off.
Safety Tips
Never mix ammonia with bleach or other cleaners—toxic gas can result. Keep the bag sealed and away from heat sources. If you're sensitive to fumes, consider wearing a mask.
After rinsing, wash grates with dish soap to remove any ammonia residue before putting them back on the stove.
4. Boiling Water and Baking Soda
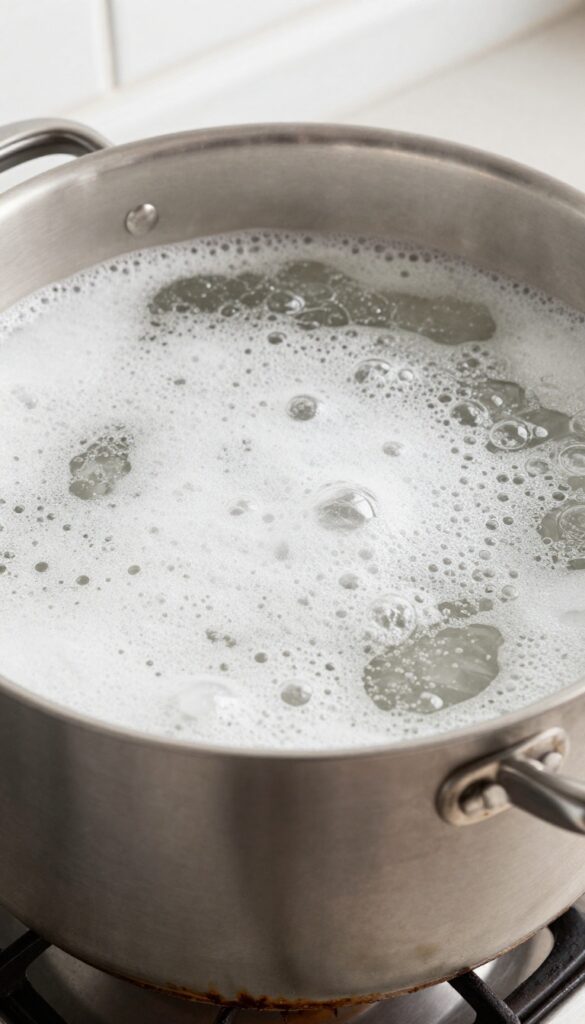
When scrubbing fails, let physics do the work. Boiling grates in water with baking soda creates a fizzy, alkaline bath that loosens carbonized grease without you lifting a finger. The heat helps melt stubborn fats, while the baking soda gently lifts residue.
This method is ideal for grates that are small enough to fit in a large pot. It’s hands-off, effective, and uses only pantry staples. After boiling, a quick rinse usually reveals clean metal underneath.
What You'll Need
A large stockpot or canning pot that fits your grates, enough water to fully submerge them, and 1/2 cup of baking soda. That’s it. No special tools required.
Step-by-step Process
Fill the pot with water and add the baking soda. Bring to a boil, then carefully lower the grates in. Boil for 15 minutes.
The water will turn brown as grease releases. Turn off the heat and let the grates cool in the water.
Final Cleaning
Once cool enough to handle, scrub the grates with a non-abrasive sponge or brush. Most residue will slide off. Rinse thoroughly and dry.
For any remaining spots, repeat or use a paste of baking soda and water.
Pro Tips
Add a splash of white vinegar after boiling for extra fizzing action. If your grates are enamel-coated, avoid sudden temperature changes to prevent cracking. Always check the manufacturer’s instructions first.
5. Lemon Juice and Salt Scrub
Sometimes the best degreaser is already sitting in your fruit bowl. Lemon juice cuts through grease naturally, while coarse salt provides the abrasion needed to lift baked-on residue without scratching metal or enamel. This combo is especially handy when you want to avoid chemical fumes but still need serious cleaning power.
Why This Combo Works
Lemon juice contains citric acid, which breaks down grease molecules on contact. Salt acts as a gentle scrubbing agent that physically dislodges stuck-on grime. Together, they create a paste that tackles grease without harsh scrubbing or toxic ingredients.
How To Make The Scrub
Cut a lemon in half and dip the cut side into a small dish of coarse salt. Rub the lemon directly onto the grates, squeezing gently to release juice as you go. Focus on the greasiest spots, adding more salt as needed.
Let the mixture sit for 10–15 minutes so the acid can work.
Rinsing And Finishing
After the wait, scrub the grates with a non-abrasive sponge or brush under warm water. The salt will have loosened most of the grease. Rinse thoroughly and dry with a clean cloth.
For extra shine, wipe with a bit of lemon juice before drying.
6. Dryer Sheet Soak
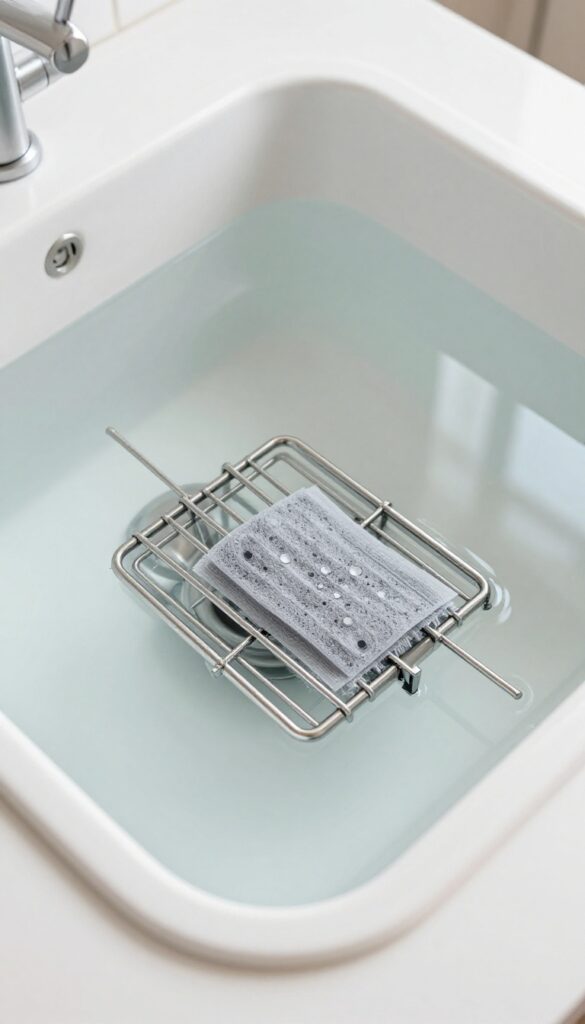
Fabric softener sheets aren't just for the laundry room—they're surprisingly effective at loosening baked-on grease. The softening agents and surfactants in dryer sheets help break down grime when given time to soak. This method is gentle, smells fresh, and requires almost no scrubbing.
Fill your sink or a large tub with hot water and toss in a few used or new dryer sheets. Submerge the grates completely and let them soak for at least an hour—overnight for heavy buildup. The heat and fabric softener compounds work together to dissolve grease.
After soaking, rinse the grates and wipe away residue with a sponge. For stubborn spots, a gentle scrub with a soft brush finishes the job.
Why It Works
Dryer sheets contain cationic surfactants that reduce surface tension, allowing water to penetrate grease layers. They also have mild abrasive particles that help lift grime without scratching metal surfaces.
Best Practices
Use hot water to activate the softening agents. If your grates are extra greasy, add a squirt of dish soap to the soak. Replace the water and sheets if it cools down before the grates are clean.
What To Avoid
Don't use dryer sheets on cast iron grates—the chemicals can damage the seasoning. Stick to stainless steel or enameled grates. Also, avoid leaving grates to soak for more than 24 hours, as prolonged exposure may dull the finish.
7. Cream of Tartar Paste
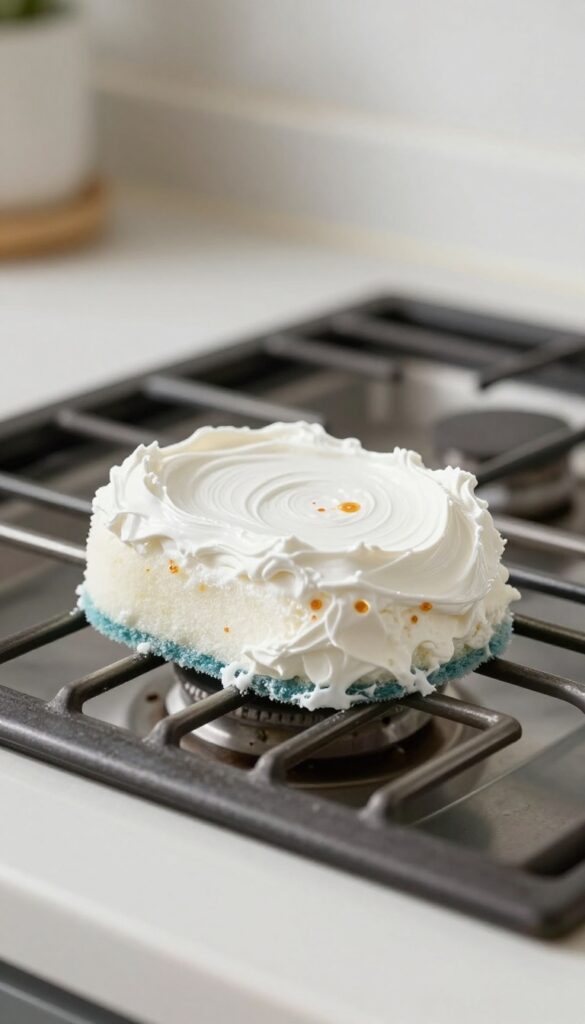
Cream of tartar is a mild acid that cuts through grease without harsh scrubbing. Mixed into a paste, it becomes a gentle abrasive that lifts baked-on grime from stove grates. This method is especially useful for porcelain or coated grates where you want to avoid scratching.
Cream of tartar paste works best on light to moderate grease buildup. For heavy deposits, you may need to let it sit longer or combine it with a bit of vinegar for extra fizzing action. Always rinse thoroughly after scrubbing to remove any residue.
Making The Paste
Combine 2 tablespoons of cream of tartar with just enough water to form a thick, spreadable paste. Adjust the ratio as needed—it should be like toothpaste, not runny. For tough spots, add a splash of white vinegar to boost the acid reaction.
Application And Wait Time
Apply the paste generously over the greasy areas of the grates. Let it sit for 10 to 15 minutes—longer if the grime is stubborn. The cream of tartar will start to break down the grease during this time.
Scrubbing And Rinsing
Use a non-scratch sponge or soft brush to scrub the paste into the grates. The gentle abrasiveness lifts grease without damaging the surface. Rinse thoroughly with warm water and dry immediately to prevent water spots.
8. Ketchup Application
Ketchup isn't just for fries—it's a surprisingly effective cleaner for greasy stove grates. The acidity in tomatoes helps break down baked-on residue without harsh scrubbing. This method is especially handy when you need a quick fix with ingredients you already have.
Spread a generous layer of ketchup over the greasy areas of your grates. Let it sit for about 20 minutes to allow the acids to work. Then wipe off with a damp cloth or sponge.
For stubborn spots, a gentle scrub with a soft brush may help. Rinse thoroughly and dry.
Why It Works
Tomatoes contain natural acids like citric and malic acid that dissolve grease and grime. The thick consistency of ketchup helps it cling to vertical surfaces, giving it time to penetrate baked-on layers.
Best For Light To Moderate Grease
This method works best on grates with moderate buildup. For heavily crusted grates, you might need a longer soak or a stronger cleaner. But for everyday grease, ketchup is a gentle, non-toxic option.
Pro Tip
Use cheap ketchup—it has more vinegar and sugar, which can boost cleaning power. Avoid letting it dry completely, or it may stick. Rinse well to avoid any sticky residue.
9. Hydrogen Peroxide and Baking Soda
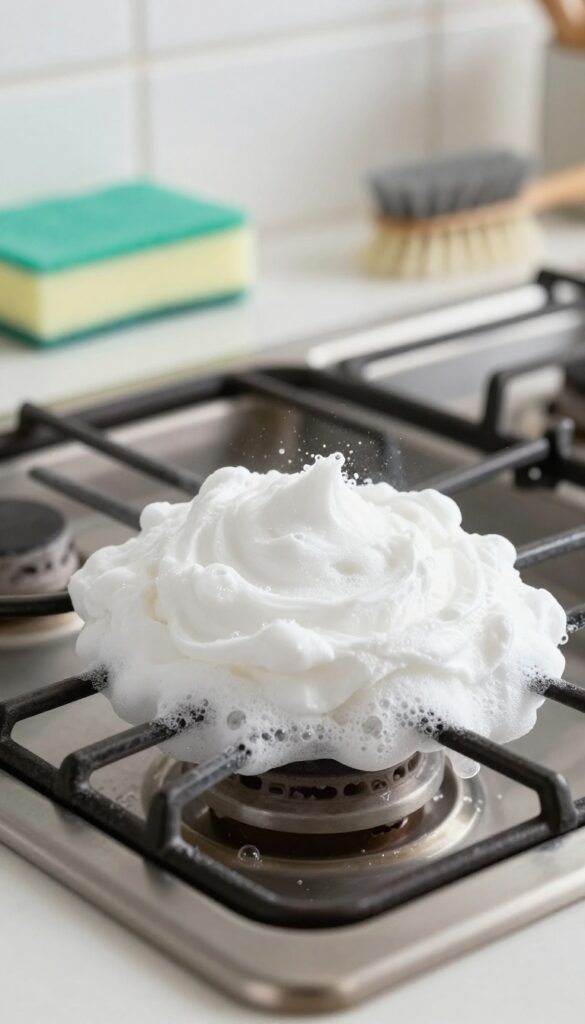
Hydrogen peroxide isn't just for first aid—it's also a powerful cleaner that reacts with baking soda to create a fizzing, bubbling paste. This dynamic duo works together to lift and dissolve baked-on grease without harsh scrubbing. The oxygen bubbles help push grime away from the surface, making it easier to wipe clean.
To use this method, start by sprinkling a generous layer of baking soda over your dry stove grates. Then, pour hydrogen peroxide (3% solution works fine) directly onto the baking soda until it forms a thick, spreadable paste. The mixture will bubble and fizz immediately—that's the reaction doing its job.
Let it sit for 15 to 20 minutes, then scrub gently with a soft brush or sponge. Rinse thoroughly with warm water and dry completely before putting the grates back on the stove.
Why This Combo Works
Baking soda is a mild abrasive that helps scrub away grease, while hydrogen peroxide acts as an oxidizing agent that breaks down organic stains. When combined, they create carbon dioxide bubbles that physically lift grease and food residue from the metal. This chemical reaction is gentle enough for most stove grate materials, including enameled cast iron and stainless steel.
Best For Light To Moderate Grease
This paste is ideal for grates with a moderate layer of baked-on grease that hasn't hardened into a thick crust. For heavy, years-old buildup, you may need to repeat the process or let the paste sit longer. It's also a great option if you prefer to avoid strong chemical cleaners—both ingredients are non-toxic and safe for kitchen use.
Tips For Best Results
Use a spray bottle with hydrogen peroxide to wet the baking soda if you want more control over the paste consistency. For extra stubborn spots, make a thicker paste and let it sit for up to 30 minutes. Always rinse the grates thoroughly after cleaning to remove any residue, and dry them immediately to prevent water spots or rust.
10. Commercial Degreaser Spray
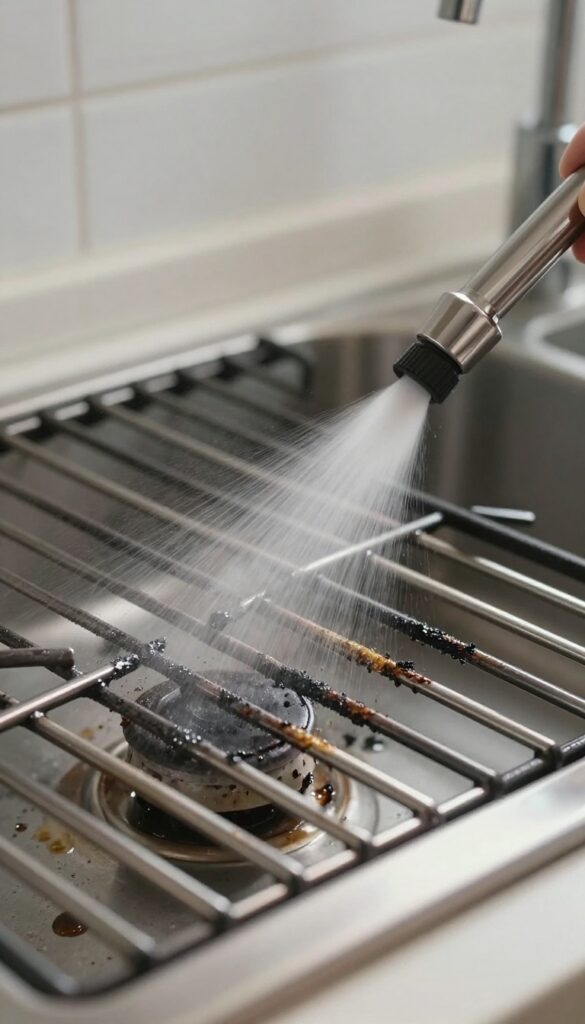
When home remedies aren't cutting it, a store-bought degreaser spray can be a lifesaver. These products are formulated to break down tough, baked-on grease quickly, making them ideal for heavy buildup. Just spray, wait, and wipe—no mixing or soaking required.
Commercial degreasers are powerful, so they work fast on even the most stubborn grime. Look for sprays labeled for kitchen use, like those containing citrus solvents or alkaline cleaners. Always check the label to ensure they're safe for your grate material (most are fine for enameled cast iron or stainless steel).
How To Use It
Remove the grates from the stove and place them in a sink or on a protected surface. Spray the degreaser generously over the entire surface, focusing on areas with heavy buildup. Let it sit for the time recommended on the label—usually 5 to 15 minutes.
Then scrub with a non-abrasive pad or brush, rinse thoroughly with warm water, and dry completely before returning to the stove.
Best For Tough, Stubborn Grease
If your grates have layers of baked-on grease that won't budge with gentler methods, a commercial degreaser is your best bet. It's also great for quick cleanups when you don't have time for soaking. Just be sure to wear gloves and work in a well-ventilated area, as these sprays can be strong.
Pro Tips For Best Results
For extra-stubborn spots, apply the spray and cover the grates with plastic wrap to keep the product from evaporating. Let it sit longer—up to 30 minutes. After scrubbing, rinse well to avoid any residue that could affect food next time you cook.
If the grates are still greasy, repeat the process.
11. Self-Cleaning Oven Cycle
Your oven's self-cleaning cycle isn't just for the interior—it can also tackle greasy stove grates. The extreme heat burns off baked-on residue, turning it into ash that wipes away easily. This method is almost effortless, but it does require caution and proper setup.
How It Works
Place your grates directly on the oven racks (remove any rubber feet or plastic handles first). Run a standard self-cleaning cycle—typically 2–4 hours at 800°F–900°F. The heat incinerates grease and food particles, leaving a fine ash behind.
Safety First
Check your oven manual first: some manufacturers warn against cleaning grates this way, especially for enamel-coated or aluminum grates. Also, expect strong odors and smoke—open windows and turn on ventilation. Never leave the oven unattended.
After The Cycle
Let the oven cool completely before opening. Remove the grates and wipe them with a damp cloth to remove ash. For stubborn spots, a quick rinse with soapy water does the trick.
The result is clean, dry grates with zero scrubbing.
12. Dishwasher Method
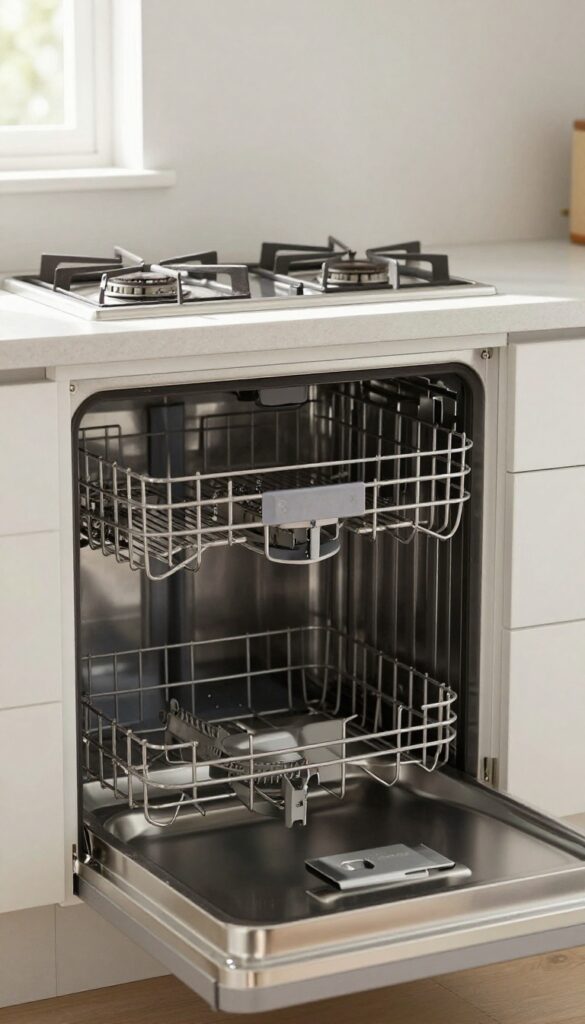
If you want to skip the scrubbing entirely, let your dishwasher do the heavy lifting. This method works best for grates that aren't caked with burnt-on carbon but still have a solid layer of greasy residue. A heavy-duty cycle with the right detergent can blast away grime while you tend to other chores.
Before loading the grates, scrape off any loose food particles or ash. Place them vertically or at an angle in the dishwasher rack, making sure they don't block the spray arms. Use a heavy-duty dishwasher detergent or add a degreasing booster like a tablespoon of baking soda to the main wash compartment.
Run the hottest cycle available, preferably with a heated dry option. Once the cycle finishes, check for any remaining grease—if needed, a quick wipe with a damp cloth finishes the job. This method is especially handy for gas stove grates that fit easily in most dishwashers.
Avoid using this method on enamel-coated grates, as the high heat and detergent can damage the finish.
Prep Work Matters
Give your grates a quick rinse under hot water to loosen surface grease. If they're heavily soiled, soak them in hot, soapy water for 15 minutes first. This prevents the dishwasher from getting overloaded with grease and ensures a more thorough clean.
Detergent Choices
Standard dishwasher pods work fine, but for extra grease-cutting power, try a tablet designed for tough stains or add a grease-fighting booster. Avoid using too much detergent, as excess suds can interfere with the wash cycle.
Post-cycle Care
Once the cycle ends, inspect the grates. If any baked-on spots remain, use a non-abrasive scrubber or a paste of baking soda and water to spot-clean. Rinse and dry thoroughly before returning them to the stove.
13. Bar Keepers Friend Powder
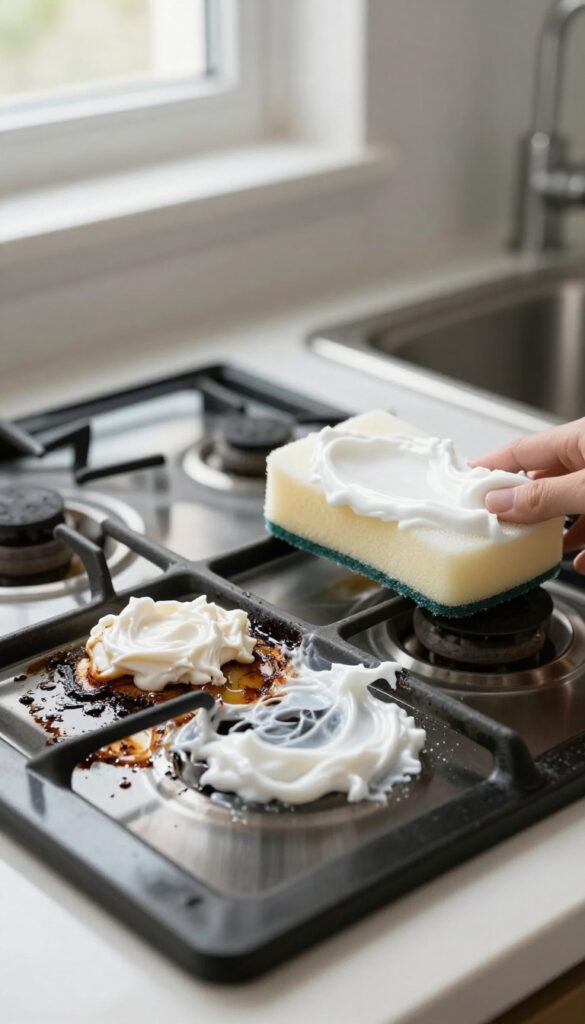
Bar Keepers Friend is a powerhouse cleaner that many people keep under the sink for stainless steel and porcelain. But it works wonders on baked-on grease on stove grates too. The mild oxalic acid cuts through grime without harsh fumes, making it a solid choice for deep cleaning.
To use Bar Keepers Friend on your stove grates, start by sprinkling the powder directly onto the dry grates. Add just enough water to form a thick paste—about a tablespoon of water per tablespoon of powder. Use a soft sponge or cloth to spread the paste evenly over the greasy areas.
Let it sit for 1 to 2 minutes, but don't let it dry completely. Scrub gently in circular motions, focusing on the worst spots. Rinse thoroughly with warm water and dry with a clean towel.
The grates should come out looking nearly new.
Why It Works So Well
Bar Keepers Friend contains oxalic acid, which is a mild acid that dissolves mineral deposits and oxidizes grease. It's also slightly abrasive, so it provides gentle scrubbing power without scratching most surfaces. Unlike bleach-based cleaners, it doesn't produce strong fumes, making it more pleasant to use indoors.
Best Grates For This Method
This method works best on porcelain-coated or enameled cast iron grates. It's also safe for stainless steel. Avoid using it on aluminum or uncoated cast iron, as the acid can cause discoloration or damage.
If you're unsure, test a small hidden area first.
Pro Tips For Maximum Results
For extra-stubborn grease, let the paste sit for up to 5 minutes, but keep it moist by spritzing with water if needed. Use a non-scratch scrub pad for better agitation. Rinse very well—any leftover residue can leave a white film.
Follow up with a quick wipe of vegetable oil to restore shine on cast iron grates.
FAQ
Can I use oven cleaner on stove grates?
Yes, but check the manufacturer's instructions first. Some coatings may be damaged by harsh chemicals.
How often should I clean stove grates?
Every 1-2 months for regular use, or more often if you cook greasy foods frequently.
Will boiling damage my grates?
Boiling is safe for most metal grates, but avoid it for porcelain-coated ones as it may cause chipping.
Can I use a wire brush on grates?
Only on cast iron or stainless steel. Avoid wire brushes on porcelain or coated grates to prevent scratching.
What if my grates are rusted?
Remove rust with a vinegar soak or a commercial rust remover, then dry thoroughly and season if cast iron.
Conclusion
Cleaning stove grates doesn't have to be a dreaded chore. With these 13 methods, you can pick the one that fits your schedule and supplies. Whether you prefer a quick soak or a heavy-duty scrub, there's a fix that works.
Your grates will look like new, and your kitchen will feel fresher. Try a few approaches to see which one you like best—you might even find yourself looking forward to cleanup.


