
That once-gleaming brass candlestick now looks dull and spotted. Tarnish doesn't mean the piece is ruined—it means it needs the right rescue.
These 11 methods use everything from pantry staples to specialty polishes to restore the warm glow you love. Each idea targets a different level of tarnish, so you can pick the one that fits your item's condition.
No need to replace your favorite brass—just clean it smartly and watch the shine return.
1. Lemon and Salt Paste
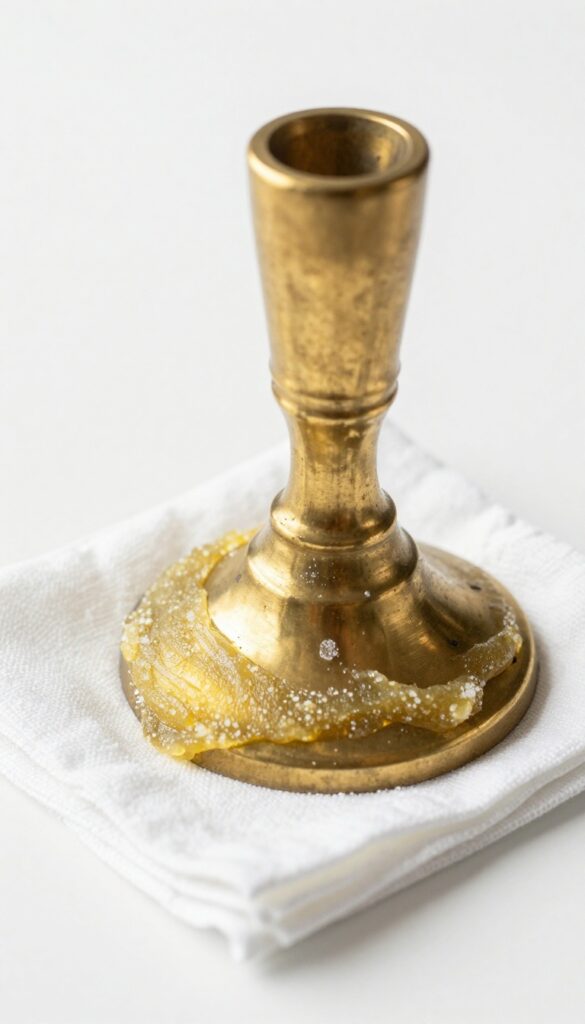
Lemon juice and salt are a classic duo for cutting through tarnish. The citric acid breaks down oxidation while salt provides gentle abrasion. This method works best on lightly to moderately tarnished brass items without a lacquered finish.
To make the paste, squeeze fresh lemon juice into a small bowl and add salt until it forms a thick, spreadable consistency. Apply it generously to the brass surface using a soft cloth or your fingers, rubbing gently into the tarnished areas. Let the paste sit for about 5 to 10 minutes—longer if the tarnish is stubborn.
Rinse thoroughly with warm water and dry immediately with a clean, soft cloth. Buff the brass with a dry microfiber cloth to restore its shine. This method is safe for most solid brass items but avoid using it on brass-plated pieces, as the abrasion could wear away the thin plating.
Why This Works
The acid in lemon juice reacts with the copper oxide that forms tarnish, converting it into a compound that rinses away easily. Salt acts as a mild scrubbing agent to lift the loosened tarnish without scratching the brass. Together, they create a chemical and mechanical cleaning action that's effective yet gentle.
Best For
This paste is ideal for brass candlesticks, doorknobs, decorative bowls, and jewelry that have a dull, hazy appearance rather than deep green or black corrosion. It's also a great choice for items with intricate details where a liquid polish might pool or miss spots.
Pro Tips
Use fine table salt, not coarse kosher salt, for a smoother paste. If the paste dries on the brass, reapply a fresh coat rather than scrubbing dry residue. Always test on a small hidden area first, especially if you're unsure whether the item is solid brass or plated.
For extra shine, finish with a few drops of olive oil on a soft cloth.
2. Vinegar and Flour Dough
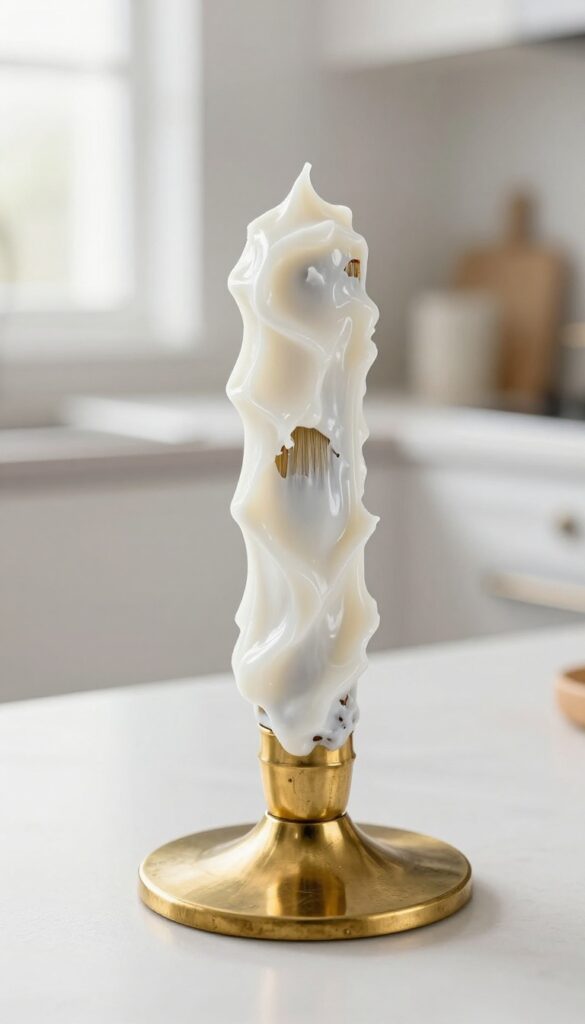
If you prefer a no-scrub approach, this paste does the work for you. The vinegar gently eats away tarnish while the flour turns it into a spreadable dough. Once it dries, you simply wipe off the mess—and the tarnish goes with it.
Mix equal parts white vinegar and all-purpose flour until you have a thick, spreadable paste. Apply it generously to the brass item, making sure every tarnished spot is covered. Let it sit until completely dry—this can take anywhere from 30 minutes to an hour depending on thickness.
Once dry, rinse the paste off under warm water or wipe it away with a damp cloth. The tarnish should lift off easily. For stubborn spots, repeat the process or gently rub with a soft sponge.
This method is especially good for intricate details or crevices where scrubbing is tricky.
Why It Works
The acetic acid in vinegar reacts with the tarnish (copper oxide) to dissolve it. Flour acts as a binder, keeping the vinegar in contact with the surface long enough to work. No harsh chemicals, no elbow grease—just chemistry.
Best For Light To Moderate Tarnish
This paste is ideal for brass that has lost its shine but isn't heavily corroded. If your item has thick, crusty tarnish, you might need a stronger method or a second application. Always test on a small hidden area first.
Tips For Best Results
Use distilled white vinegar for consistent acidity. Don't add too much vinegar or the paste will run off. Apply paste with a soft brush to reach carvings.
Rinse thoroughly and dry immediately to prevent water spots.
3. Ketchup Surprise
Ketchup isn't just for fries—it's a surprisingly effective brass cleaner. The tomato acid in ketchup gently lifts light tarnish without harsh scrubbing. This method works best on pieces with mild discoloration, like a brass doorknob or a small decorative bowl.
Squeeze a generous amount of ketchup onto a soft cloth and rub it into the brass surface. Let it sit for 5-10 minutes, then rinse thoroughly with warm water. Dry immediately with a clean towel and buff to a shine.
For stubborn spots, let the ketchup sit longer or apply a thicker layer.
Why It Works
Ketchup contains acetic acid (vinegar) and citric acid (from tomatoes), both of which react with tarnish to dissolve it. This mild acid action is gentle enough for most brass items but effective enough to restore shine.
Best Items To Try
This method is ideal for small brass objects like candlesticks, drawer pulls, or jewelry. Avoid using it on lacquered brass, as the acid can damage the protective coating.
Pro Tips
Use regular ketchup, not organic or low-sodium varieties, as they have less acid. Rinse thoroughly to prevent sticky residue, and always dry completely to avoid water spots.
4. Baking Soda Scrub
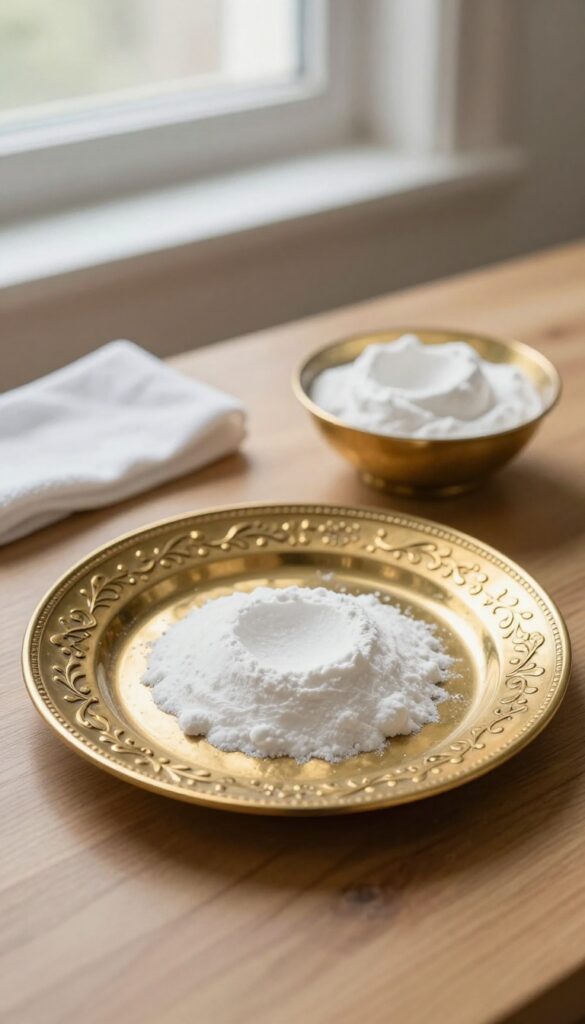
Baking soda is a gentle abrasive that can lift tarnish without scratching the metal. Mixed with water, it forms a paste that's perfect for tackling stubborn spots or uneven discoloration. This method works well on brass items with intricate details, like filigree or engraved patterns, because the paste can reach into crevices.
To use this method, mix three parts baking soda with one part water to form a thick paste. Apply it to the brass with a damp, soft cloth or a sponge. Rub gently in circular motions, focusing on the tarnished areas.
The paste will darken as it lifts the tarnish. Rinse thoroughly with warm water and dry with a clean, soft cloth. For heavy tarnish, let the paste sit for 10–15 minutes before scrubbing.
Avoid using too much pressure, as baking soda can be slightly abrasive on plated brass.
When To Use This Method
This scrub is ideal for brass items that have stubborn, patchy tarnish or built-up grime. It's also great for pieces with detailed designs where a liquid cleaner might not reach. However, if your brass has a lacquered finish, skip this method—the abrasion can damage the coating.
Tips For Best Results
Always test the paste on a small, hidden area first to ensure it doesn't cause scratches. For extra cleaning power, add a few drops of lemon juice or white vinegar to the paste. Rinse well to remove all residue, as leftover baking soda can cause white spots when dry.
5. Commercial Brass Polish
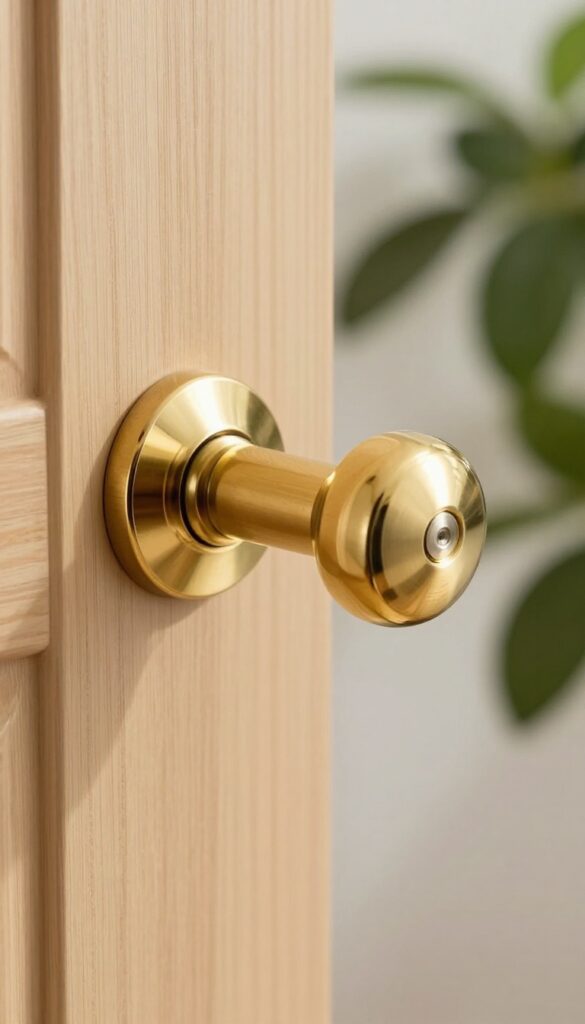
When tarnish has really set in and home remedies aren't cutting it, it's time to bring out the big guns. Commercial brass polishes are formulated specifically to handle heavy oxidation and restore that mirror-like finish. Products like Brasso and Wright's have been trusted for generations, and they work fast.
Commercial polishes contain solvents and mild abrasives that dissolve tarnish quickly. They're ideal for large items like doorknobs, fireplace tools, or elaborate candelabras where scrubbing every crevice would be tedious. Always test on a small hidden area first to ensure compatibility with your brass's lacquer or finish.
How To Apply
Shake the bottle well, then apply a small amount to a clean, soft cloth—not directly to the brass. Rub gently in the direction of the grain or in small circles, covering the entire surface. Let it sit for the time recommended on the label (usually a minute or two), then buff with a separate dry cloth until the shine appears.
When To Use It
Reach for commercial polish when you see green or black tarnish patches, or when the item has been neglected for years. It's also perfect for large, flat surfaces where even pressure is easy to apply. Avoid using it on antique or lacquered brass unless you're sure the lacquer is already worn off.
Safety Tips
Work in a well-ventilated area because these polishes have strong fumes. Wear gloves to protect your skin, and keep the product away from children and pets. After polishing, wash your hands thoroughly and dispose of used rags safely—they can be flammable.
6. Toothpaste Trick
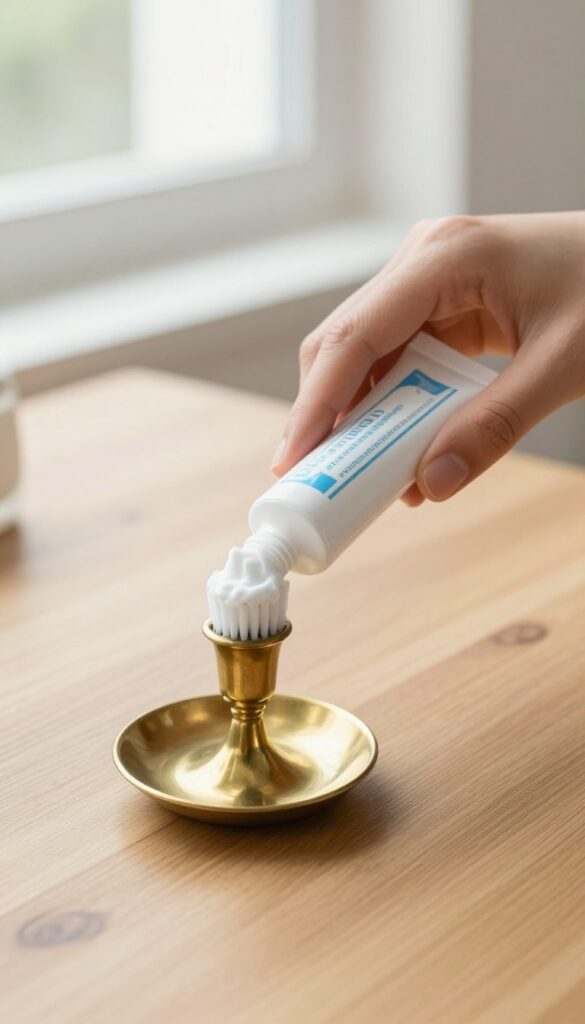
Toothpaste isn't just for your teeth—it can also polish brass. The mild abrasives in non-gel, non-whitening toothpaste are gentle enough to remove tarnish without scratching the metal. This trick works best on lightly tarnished items or for quick touch-ups.
Squeeze a small amount of toothpaste onto a soft toothbrush or a clean cloth. Gently scrub the brass in circular motions, focusing on tarnished areas. Rinse thoroughly with warm water and dry immediately with a soft towel.
The result is a bright, polished surface with minimal effort.
Why Toothpaste Works
Toothpaste contains mild abrasives like calcium carbonate or silica, which physically buff away tarnish. It also includes detergents that help lift dirt and grime. Avoid whitening or gel varieties, as they may contain harsh chemicals or lack the necessary abrasives.
Best Practices For Best Results
Test on a small, hidden area first. Use a soft-bristled toothbrush to reach crevices and intricate details. Work in small sections and rinse often to check your progress.
For stubborn spots, let the toothpaste sit for a minute before scrubbing.
Aftercare Tips
Once cleaned, rinse thoroughly to remove all toothpaste residue. Dry completely to prevent water spots. Apply a thin layer of mineral oil or wax to slow future tarnishing.
Store brass in a dry, low-humidity area.
7. Soap and Water Wash
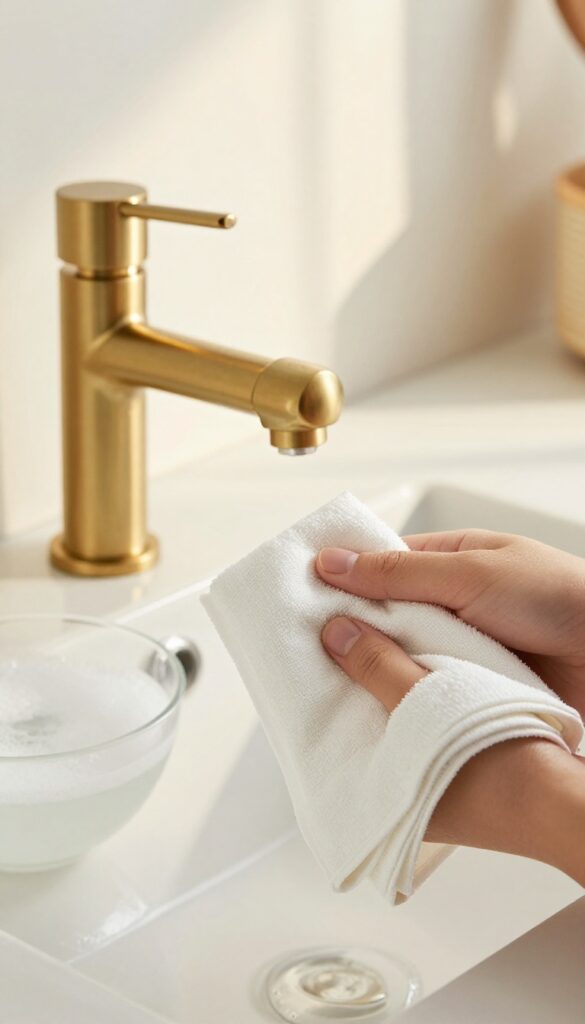
Not every brass cleaning job calls for vinegar, ketchup, or commercial polish. For pieces that are only lightly tarnished or have a protective lacquer coating, a simple wash with mild dish soap and warm water is all you need. This gentle method removes dust, grease, and surface grime without risking damage to the finish.
It’s also the safest first step before trying anything stronger.
When To Use This Method
Soap and water works best on brass that still looks fairly shiny but has lost some luster due to everyday dirt and oils. It’s also the go‑to for lacquered brass, which shouldn’t be treated with acidic or abrasive cleaners. If your brass has a clear coating that’s intact, this wash will refresh it without stripping the lacquer.
How To Do It Right
Fill a basin with warm water and add a few drops of mild dish soap—avoid anything with lemon, bleach, or harsh degreasers. Dip a soft sponge or microfiber cloth into the soapy water, wring it out slightly, and gently wipe the brass. Rinse thoroughly with clean water to remove all soap residue, then dry immediately with a soft towel.
Leaving water spots can lead to new tarnish, so don’t skip the drying step.
What To Avoid
Never use abrasive scrubbers, steel wool, or harsh detergents—they can scratch the brass or strip the lacquer. Also avoid soaking brass items, especially if they have crevices or are glued together. Prolonged moisture can seep into joints and cause damage.
Stick to a quick wash and dry.
When It’s Not Enough
If your brass still looks dull or has dark tarnish spots after washing, the lacquer may have worn off or the tarnish is deeper than surface level. In that case, move on to one of the more targeted methods later in this list. But for routine maintenance or lightly soiled pieces, this simple wash is often all you need.
8. Oxalic Acid Solution
For brass that's deeply stained or has stubborn dark spots, a mild oxalic acid solution can work wonders. This chemical is commonly found in wood cleaners and some rust removers, and it's excellent at dissolving tarnish without heavy scrubbing. Just be sure to handle it carefully—gloves and good ventilation are a must.
Oxalic acid is a stronger option when gentler methods fail. It's available in powder form at hardware stores or online. Always follow the package instructions for dilution, as concentrations vary.
A typical ratio is about 1 tablespoon of oxalic acid per cup of warm water. Submerge the brass item for a few minutes—longer for heavy tarnish—then rinse thoroughly with water. Neutralize any residue with a baking soda paste (baking soda mixed with water) and rinse again.
Dry and buff with a soft cloth.
Where To Find Oxalic Acid
You'll often find oxalic acid in wood bleach products like Bar Keepers Friend or in specialized rust removers. Check the label—if it lists oxalic acid as an ingredient, you're good. Hardware stores and online retailers carry pure oxalic acid crystals as well.
Safety First
Always wear rubber gloves and work in a well-ventilated area. Oxalic acid can irritate skin and lungs. Avoid contact with eyes and keep it away from children and pets.
Rinse the brass thoroughly after treatment to remove all traces of acid.
Best For Stubborn Tarnish
This method is ideal for brass that has been neglected for years or has dark, crusty tarnish. It's also great for intricate pieces where scrubbing is difficult. However, avoid using it on lacquered brass, as it can damage the coating.
9. Ammonia Fumes Method
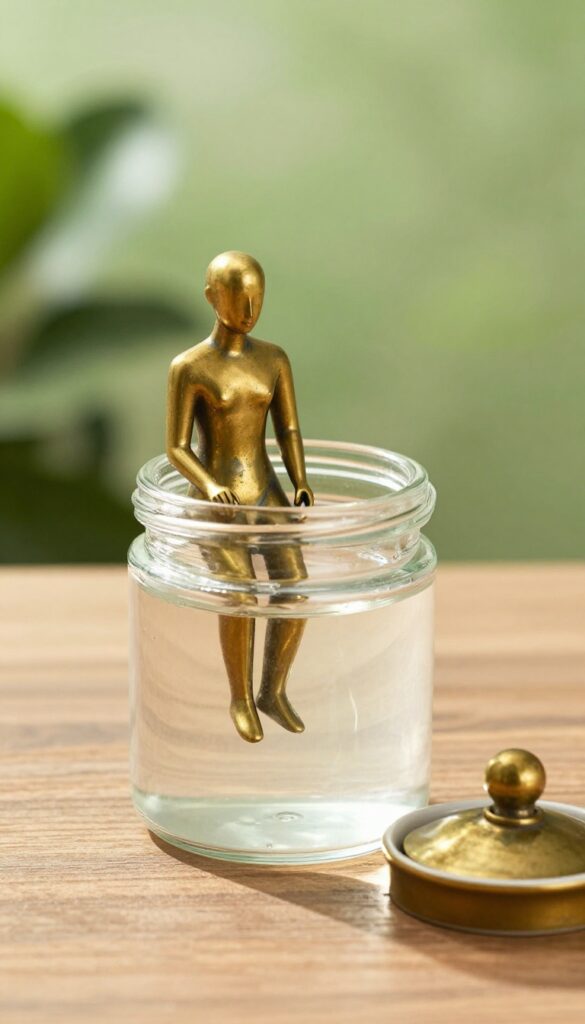
This method feels a bit like science class, but it works wonders on heavily tarnished brass. The ammonia fumes do the heavy lifting, reacting with the tarnish so you can wipe it away with minimal elbow grease. Just be sure to work in a well-ventilated area or outdoors—the fumes are strong.
What You'll Need
Grab a container with a tight-sealing lid (large enough to hold your brass item), a small dish or bowl, and household ammonia. You'll also need rubber gloves and a soft cloth for the final wipe. That's it—no scrubbing required.
Step-by-step Instructions
Place your brass piece inside the container. Set a small dish of ammonia next to it—don't let the liquid touch the brass. Seal the container and leave it overnight.
The fumes will loosen the tarnish. In the morning, remove the brass, rinse it with water, and wipe it clean with a soft cloth. For stubborn spots, a gentle polish afterward helps.
Safety First
Ammonia fumes are potent, so always work outdoors or in a space with excellent ventilation. Wear gloves and avoid breathing in the vapors. Keep the container away from kids and pets.
This method is best for tough jobs where other methods have failed.
10. Ultrasonic Cleaner
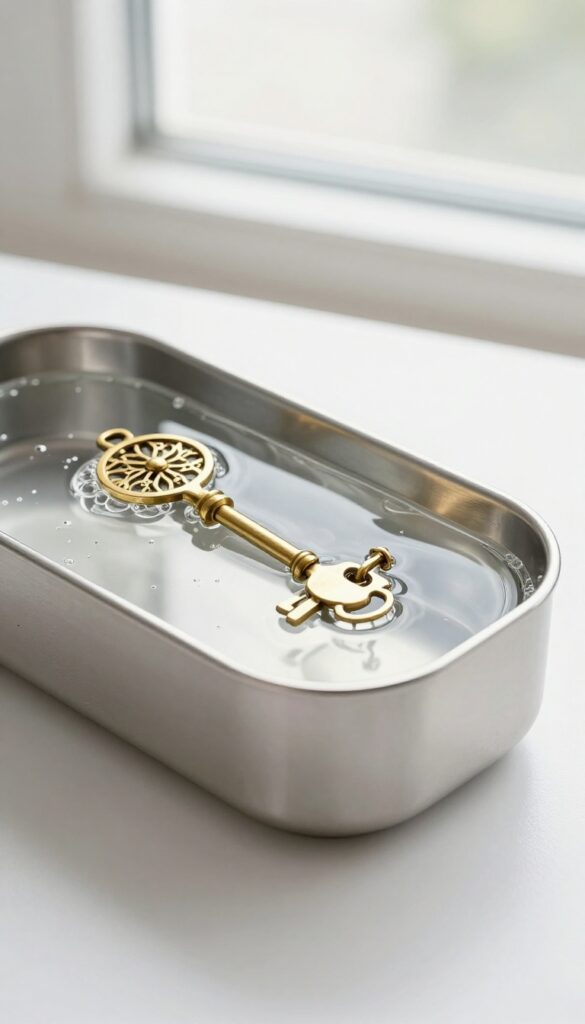
For small, intricate brass pieces with tarnish hiding in every nook and cranny, an ultrasonic cleaner is a game-changer. These devices use high-frequency sound waves to create microscopic bubbles that gently blast away dirt and oxidation. It's especially effective for jewelry, detailed hardware, or any item with hard-to-reach crevices.
An ultrasonic cleaner works by sending high-frequency vibrations through a cleaning solution, causing cavitation—tiny bubbles that implode and dislodge contaminants. For brass, use a mild, non-abrasive cleaner (like diluted dish soap or a specialized jewelry solution) to avoid damaging the metal. Simply submerge the brass pieces, run the cycle (usually 3-10 minutes), rinse thoroughly, and dry with a soft cloth.
This method is hands-off and delivers consistent results, even for heavily tarnished items. However, avoid using it on plated brass or pieces with delicate patinas you want to preserve.
Choose The Right Solution
Not all cleaning solutions are safe for brass. Stick to mild, pH-neutral options. A few drops of dish soap in distilled water works well.
Avoid acidic or ammonia-based cleaners, which can cause discoloration. For extra tarnish-fighting power, you can add a pinch of citric acid, but test on a small area first.
Best Items For Ultrasonic Cleaning
This method shines for small, complex pieces like brass jewelry, keychains, buckles, or drawer pulls. It reaches into engravings, filigree, and joints that are tough to scrub by hand. Avoid large items that won't fit fully submerged or items with glued components, as the vibrations may loosen them.
Post-cleaning Care
After the cycle, rinse the brass under warm running water to remove any residue. Pat dry immediately with a lint-free cloth to prevent water spots. For extra shine, buff with a microfiber cloth.
Store in a dry place to slow future tarnish.
11. Professional Restoration
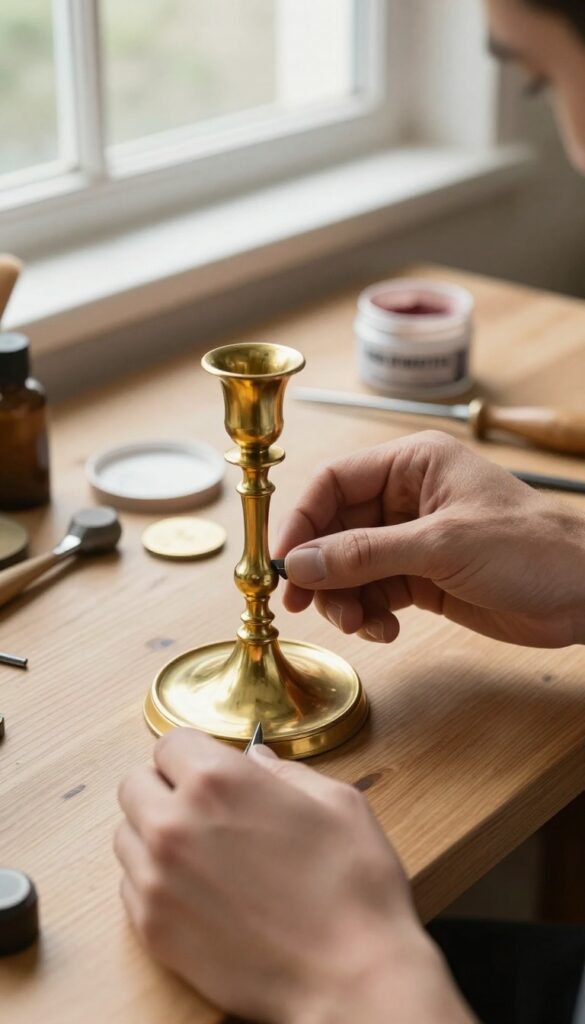
Sometimes DIY methods just won't cut it. For valuable heirlooms, antique pieces, or brass that's severely damaged, a professional restorer is your best bet. These experts have the specialized tools and knowledge to safely remove deep tarnish without harming the metal.
Professional restoration isn't just about cleaning—it's about preservation. Restorers can assess the piece's condition, identify the exact type of brass or plating, and apply treatments that won't cause long-term damage. They also have access to industrial-grade polishes and protective coatings that aren't available to consumers.
While this option costs more, it's often worth it for items with sentimental or monetary value.
When To Call A Pro
If your brass piece is an antique, has intricate engravings, or shows signs of corrosion like green spots (verdigris), it's time to seek help. Also, if you've tried multiple DIY methods and the tarnish won't budge, a professional can diagnose whether the issue is deeper than surface tarnish.
What To Expect
A professional will first clean the piece gently to remove dirt, then apply a chemical or mechanical treatment to lift tarnish. They may use a jeweler's rouge, a buffing wheel, or even electro-cleaning for stubborn cases. Finally, they'll apply a lacquer or wax sealant to protect the shine for years.
Always ask about their process and whether they can match the original finish.
FAQ
Can I use these methods on lacquered brass?
Lacquered brass has a protective coating that can be damaged by abrasive cleaners or acids. Stick to mild soap and water for lacquered pieces to avoid stripping the finish.
How often should I clean brass to prevent tarnish?
Regular dusting and occasional polishing every few months can keep tarnish at bay. For high-use items, a quick wipe with a dry cloth after handling helps maintain shine.
What's the best way to store brass items?
Store brass in a cool, dry place away from humidity. Wrap pieces in acid-free tissue paper or soft cloth to prevent scratches and minimize exposure to air.
Why does brass tarnish so quickly?
Brass contains copper, which reacts with oxygen and sulfur in the air to form a dark patina. Humidity, pollution, and skin oils can accelerate this process.
Can I use these methods on brass-plated items?
Be cautious—brass plating is thin and can wear off with harsh scrubbing. Test a small area first and use gentle methods like soap and water or a mild vinegar solution.
Conclusion
Tarnish doesn't have to be the end of your brass's beauty. With these 11 methods, you can choose the approach that best fits your item and your comfort level. From a quick ketchup rub to a full professional restoration, there's a solution for every level of tarnish.
Remember to always test a small, hidden area first, especially on antique or plated pieces. A little care goes a long way in keeping your brass gleaming for years to come.


