
Cleaning an oven is one of those chores that gets put off until the grime is practically a science experiment. Baked-on grease and food residue can make even the toughest scrub feel futile.
But with the right grease-loosening methods, you can cut through that crust without spending hours on your hands and knees. These 15 techniques use everyday ingredients and a little patience to break down stubborn buildup.
Whether you prefer natural solutions or commercial products, there's a method here that will save you elbow grease and leave your oven sparkling.
1. Baking Soda and Water Paste
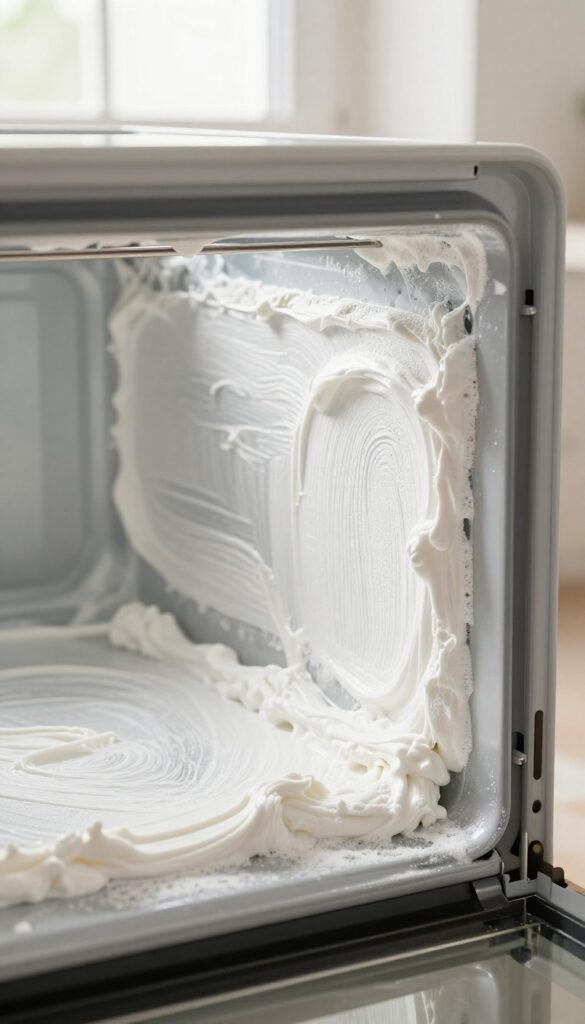
Baking soda is a gentle abrasive that works wonders on baked-on grease without scratching surfaces. When mixed with water, it forms a spreadable paste that clings to vertical walls and grime. Letting it sit overnight gives it time to break down tough residue, making cleanup almost effortless.
Start by removing oven racks and any loose debris. In a small bowl, combine about half a cup of baking soda with a few tablespoons of water. Stir until it forms a thick, spreadable paste—think frosting consistency.
Using a sponge or your hands (gloves recommended), apply the paste to all interior surfaces, avoiding heating elements. Let it sit for at least 12 hours or overnight. The longer it sits, the more grease it loosens.
After the wait, wipe away the paste with a damp cloth. For stubborn spots, spray a little white vinegar to create a fizzing reaction that helps lift residue. Rinse thoroughly with a wet cloth to remove any baking soda film.
Why It Works So Well
Baking soda is mildly alkaline, which helps break down fatty acids in grease. The paste's thick consistency keeps it in contact with grime for hours, slowly dissolving the bond between grease and metal. Unlike harsh chemicals, it's non-toxic and safe for food surfaces.
Pro Tips For Best Results
For extra-stubborn spots, add a few drops of dish soap to the paste. Use a plastic scraper or spatula to lift off thick layers before wiping. If your oven has a self-cleaning cycle, skip this method—baking soda can damage the enamel during high heat.
What To Avoid
Don't use too much water or the paste will run off. Avoid getting paste on heating elements or the oven door seal. Never use abrasive scrubbers like steel wool, which can scratch the surface.
2. Vinegar Spray for Residue
After the baking soda paste has done its heavy lifting, vinegar steps in to finish the job. The two create a fizzy reaction that helps lift stubborn grease and neutralize lingering odors. It’s a simple, chemical-free way to get that last bit of grime off.
How To Apply The Vinegar Spray
Fill a spray bottle with undiluted white vinegar. After you’ve wiped away the baking soda paste, spray the interior surfaces generously. The vinegar will react with any remaining baking soda, creating a foam that bubbles up and loosens residue.
Let it sit for a few minutes, then wipe clean with a damp cloth.
Why The Fizzing Reaction Works
The acid in vinegar reacts with the alkaline baking soda to produce carbon dioxide gas. Those bubbles help physically lift grease and grime from the oven walls. Plus, vinegar cuts through grease on its own, making it a double-duty cleaner.
Tips For Best Results
Use white vinegar for its high acidity and lack of coloring. Avoid using on aluminum surfaces, as vinegar can cause pitting. For extra tough spots, spray vinegar directly and let it sit for up to 10 minutes before wiping.
3. Lemon Juice Steam
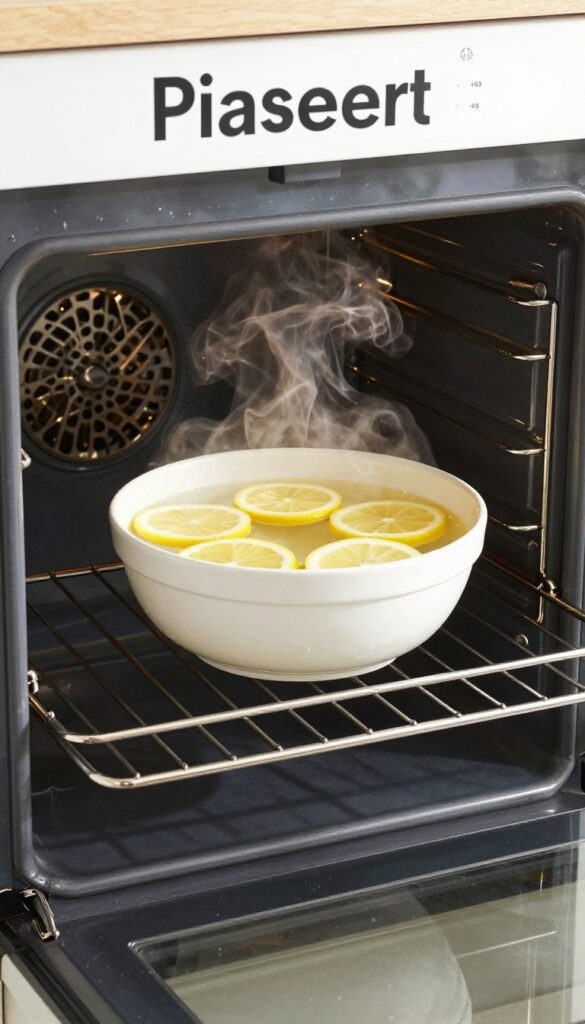
Steam is a powerful grease softener, and lemon juice adds a fresh, acidic punch that helps break down stubborn buildup. This method is perfect for light to moderate grime and leaves your oven smelling clean, not chemical. All you need is a lemon, water, and an oven-safe bowl.
The combination of heat, moisture, and citric acid works together to loosen baked-on grease without scrubbing. As the water turns to steam, it penetrates the grime, while the lemon’s acidity helps dissolve the oil. After steaming, a simple wipe removes most of the residue.
How To Set It Up
Fill an oven-safe bowl with about 2 cups of water. Slice one lemon into rounds and drop them into the water. Place the bowl on the middle rack of a cold oven, then preheat to 250°F (120°C).
Once hot, let it steam for 30 minutes. Turn off the oven and let the steam sit for another 10 minutes before opening the door.
Wiping Away The Grease
Carefully remove the bowl (it will be hot). Use a damp microfiber cloth or sponge to wipe down the interior surfaces. The grease should come off easily.
For stubborn spots, dip the cloth in the remaining lemon water for extra cleaning power. Rinse the cloth frequently to avoid spreading grease.
When This Method Works Best
Lemon steam is ideal for light to moderate buildup, especially if you clean your oven regularly. It’s not strong enough for thick, carbonized crusts, but it’s a great maintenance step between deep cleans. Plus, it’s natural and leaves a pleasant citrus scent.
4. Dish Soap and Hot Water Soak
Oven racks collect the worst of the grease and grime, but they're also the easiest part to clean if you let them soak. A simple dish soap and hot water bath loosens baked-on residue without harsh scrubbing. While the racks soak, you can focus on the oven interior with other methods.
This method is perfect for removing stubborn grease from oven racks with minimal effort. The hot water helps dissolve grease, while dish soap breaks it down so it rinses away cleanly. Just make sure your sink or tub is large enough to fully submerge the racks.
Setting Up The Soak
Fill your sink or a large plastic tub with the hottest water from your tap. Add a generous squirt of dish soap—about a tablespoon per gallon of water—and swish to mix. Place the oven racks in the water, ensuring they are completely submerged.
If they stick out, rotate them halfway through the soak.
Soaking Time And Scrubbing
Let the racks soak for at least 30 minutes, or up to 2 hours for heavily soiled racks. The grease will soften and loosen. After soaking, scrub each rack with a non-abrasive sponge or nylon brush.
For stubborn spots, use a paste of baking soda and water. Rinse thoroughly with warm water and dry before returning to the oven.
Tips For Best Results
Use a degreasing dish soap like Dawn for maximum grease-cutting power. If your racks are too large for your sink, soak them in a bathtub lined with old towels. Avoid using abrasive scrubbers that can scratch the rack's coating.
For extra tough buildup, add 1/2 cup of white vinegar to the soak water.
5. Commercial Oven Cleaner (Heavy-Duty)
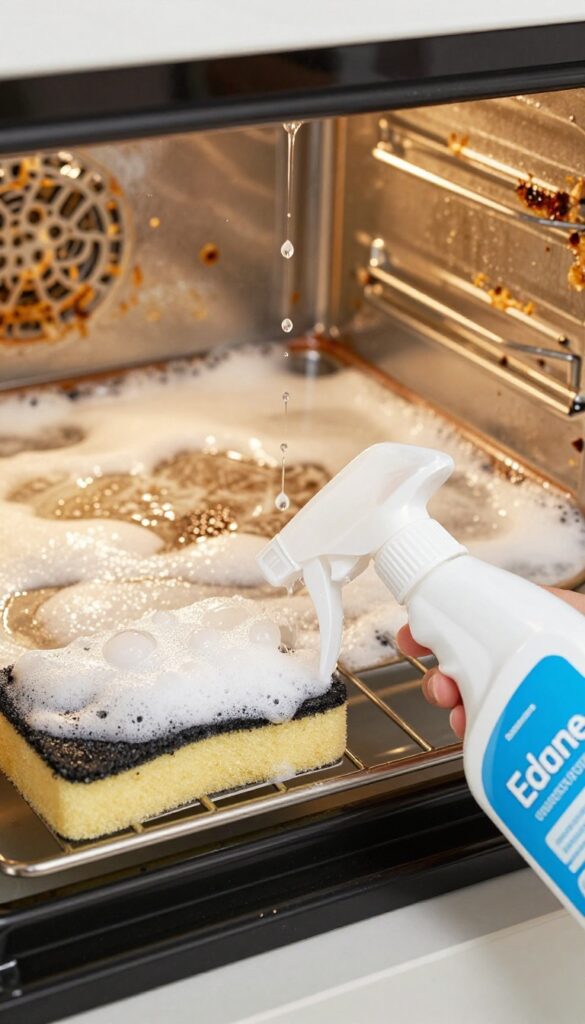
When natural methods aren't cutting it, it's time to bring out the big guns. Commercial oven cleaners are formulated with strong chemicals that dissolve even the most stubborn, baked-on grease in minutes. They're a no-nonsense solution for ovens that haven't seen a scrub in months—or longer.
These sprays or foams work fast, but they also come with safety precautions. The key is to follow the instructions to the letter and ensure good ventilation. Used correctly, a commercial cleaner can save you hours of scrubbing and leave your oven looking like new.
Commercial oven cleaners are designed for heavy-duty grease removal. They typically contain sodium hydroxide or other alkaline compounds that break down carbonized food and grease on contact. Most products require you to spray the interior, let it sit for a specified time (usually 15–30 minutes), then wipe away the dissolved grime.
Some formulas are fume-free or low-odor, but even those should be used in a well-ventilated space. Before using, remove oven racks and any loose debris. Protect your hands with rubber gloves and avoid contact with eyes or skin.
Open windows and turn on the kitchen exhaust fan. Apply the cleaner evenly, avoiding heating elements and the oven door seal. After the dwell time, wipe down with a damp cloth or sponge, then run a rinse cycle if recommended.
Always check if the cleaner is safe for your oven type—some are not suitable for self-cleaning ovens or certain coatings.
Choosing The Right Product
Not all commercial cleaners are the same. Look for one labeled for heavy-duty grease and baked-on residue. Some are spray-on foams that cling to vertical surfaces, while others are gels that stay put on stubborn spots.
Read reviews and check if the product is safe for your oven's interior finish (porcelain, enamel, etc. ). Avoid abrasive formulas that could scratch surfaces.
Safety First: Ventilation And Protection
Strong chemicals mean strong fumes. Always work in a well-ventilated area—open windows and use a fan. Wear rubber gloves to protect your skin, and consider safety glasses if you're prone to splashes.
Keep children and pets away until the cleaner is fully wiped off and the oven is aired out. If you have respiratory issues, opt for a fume-free or natural alternative.
Application Tips For Best Results
For maximum effectiveness, preheat the oven slightly (around 150°F) before applying the cleaner—warmth helps the chemicals work faster. But never spray a hot oven; let it cool to warm, not hot. Apply generously to areas with thick buildup, and use a brush or sponge to spread the foam if needed.
After the recommended time, scrub gently with a non-abrasive pad to lift remaining residue, then wipe thoroughly with a damp cloth.
6. Salt and Baking Soda Scrub
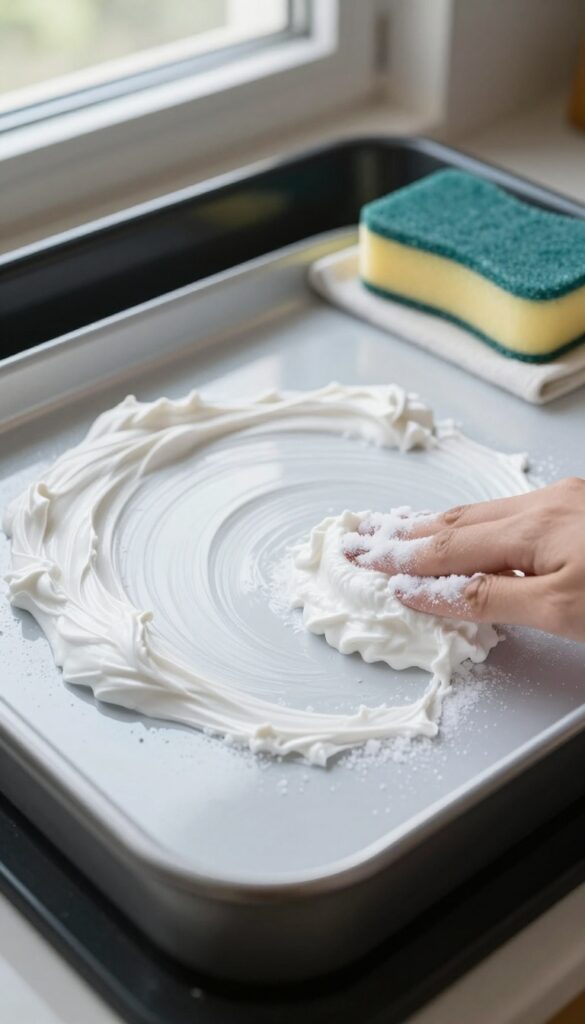
Sometimes you need a little grit to get the job done, but you don't want to scratch your oven's interior. That's where salt and baking soda come in. Salt adds gentle abrasion while baking soda helps lift grease and neutralize odors.
Together, they form a scrub that's tough on grime but kind to surfaces.
Mix equal parts salt and baking soda in a small bowl. Add just enough water to form a thick paste. Apply the paste to greasy spots using a damp sponge or cloth.
Let it sit for 10–15 minutes to soften the grime. Then scrub gently in circular motions. Rinse with a damp cloth and wipe away any residue.
For stubborn areas, let the paste sit longer or add a little more salt for extra abrasion.
Why Salt Works
Salt is a natural abrasive that's coarser than baking soda but still safe for enamel and glass surfaces. It breaks down baked-on grease without scratching. Plus, it's cheap and you probably already have it in your pantry.
Best Areas To Use This Scrub
This scrub is perfect for the oven floor, sides, and door where grease tends to accumulate. Avoid using it on self-cleaning oven liners or non-stick coatings, as the abrasion could damage them. Stick to manual-cleaning ovens and standard enamel interiors.
Tips For Maximum Effectiveness
For extra stubborn spots, let the paste sit for 20–30 minutes. You can also add a few drops of dish soap to the mixture for more grease-cutting power. After scrubbing, wipe with a vinegar-dampened cloth to remove any salty residue and leave a streak-free shine.
7. Steam Cleaning with a Pan of Water
Steam is a fantastic grease softener, and you don't need a fancy appliance to create it. A simple pan of water inside a hot oven does the trick. The moisture loosens baked-on grime, making it much easier to wipe away without harsh chemicals.
How It Works
Place an oven-safe pan or baking dish filled with water on the bottom rack. Heat the oven to 250°F (120°C) and let it run for 20–30 minutes. The steam penetrates grease and food residue, softening it enough for a quick wipe-down.
Tips For Best Results
Use a pan with a wide surface area to maximize steam production. Add a few drops of dish soap or a splash of vinegar to the water for extra grease-cutting power. After steaming, let the oven cool slightly, then wipe the interior with a sponge or microfiber cloth.
Avoid using abrasive scrubbers that could damage the enamel.
When To Use This Method
Steam cleaning is ideal for light to moderate buildup. For heavy, baked-on crust, you may need to repeat the process or combine it with a baking soda paste. It's also a great maintenance technique to use monthly to prevent stubborn grime from forming.
8. Cream of Tartar Paste
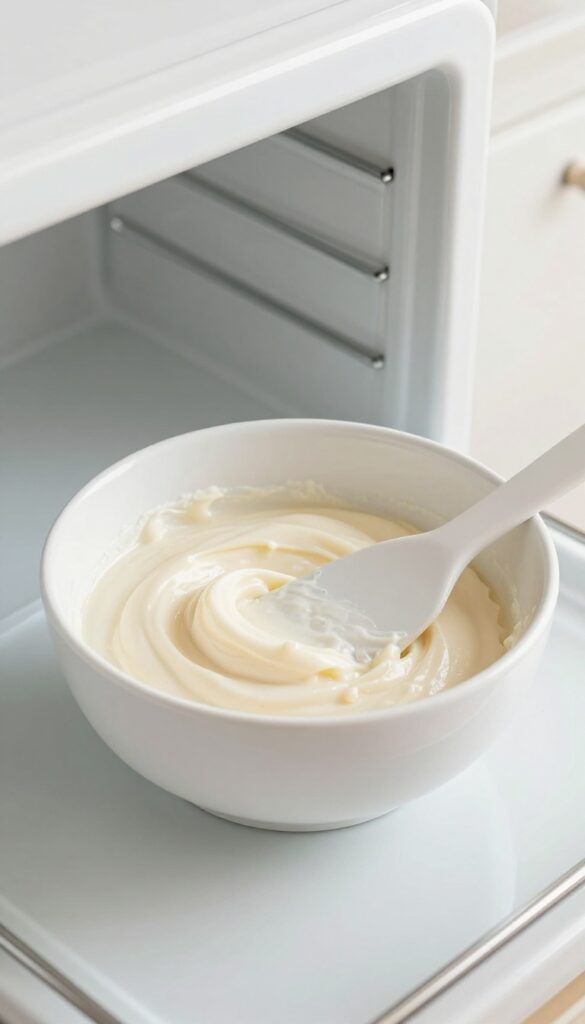
Cream of tartar isn't just for stabilizing egg whites—it's also a mild acid that helps dissolve grease. When mixed with hydrogen peroxide, it forms a gentle but effective paste that tackles baked-on spots without harsh fumes. This method is especially good for light-colored oven interiors where you want to avoid scratching or staining.
Cream of tartar is a fine white powder that acts as a mild abrasive and acid. Hydrogen peroxide adds oxygen bubbles that help lift grease. Together, they create a paste that breaks down stubborn spots without the strong smell of commercial cleaners.
It's a safe option for households with kids or pets, as long as you rinse thoroughly.
How To Make The Paste
In a small bowl, mix 2 tablespoons of cream of tartar with enough hydrogen peroxide (3% solution) to form a thick paste—about 1 to 2 tablespoons. Stir until smooth. The consistency should be spreadable but not runny.
If it's too thin, add more cream of tartar; too thick, add a few drops of peroxide.
Applying It To Grease Spots
Use a spatula or an old pastry brush to apply the paste directly onto greasy areas. Focus on the worst spots, like the bottom of the oven or around the door seal. Let it sit for 15 to 20 minutes.
You'll see the paste start to bubble slightly—that's the peroxide working. Don't let it dry completely, or it will be harder to wipe off.
Scrubbing And Rinsing
After the paste has sat, scrub the area with a non-abrasive sponge or a soft-bristle brush. The grease should lift easily. Wipe away the residue with a damp cloth, then rinse with clean water to remove any remaining powder.
Repeat on stubborn spots if needed. Your oven will be left clean and streak-free.
9. Ammonia Fumes Overnight
This method is almost like magic—you barely lift a finger, and the grease practically dissolves on its own. Ammonia fumes are powerful enough to break down baked-on grime without any scrubbing. Just a bowl of ammonia left in a cold oven overnight does the heavy lifting.
Place a small glass or ceramic bowl filled with about 1/2 cup of ammonia on the top rack of your cold oven. Make sure the oven is off and completely cool. Close the door and let it sit overnight for at least 8 to 12 hours.
The fumes will soften the grease and grime. In the morning, open the oven and let it air out for about 15 minutes before wiping down the interior with a damp cloth. Rinse thoroughly with water to remove any ammonia residue.
Why It Works
Ammonia is a strong alkaline solution that reacts with grease, turning it into a soap-like substance that wipes away easily. The fumes reach every corner of the oven, including hard-to-reach spots, without any scrubbing.
Safety First
Ammonia fumes are potent and can be irritating. Always work in a well-ventilated area—open a window or turn on the exhaust fan. Wear gloves and avoid inhaling the fumes directly.
Keep the oven door closed during the process to contain the fumes.
Best For Stubborn, Baked-on Grease
This method is ideal for ovens with thick, crusty buildup that won't budge with gentler methods. It's especially effective on the oven floor and walls. For lighter grime, you might prefer a quicker steam or baking soda approach.
10. Borax and Lemon Juice Combo
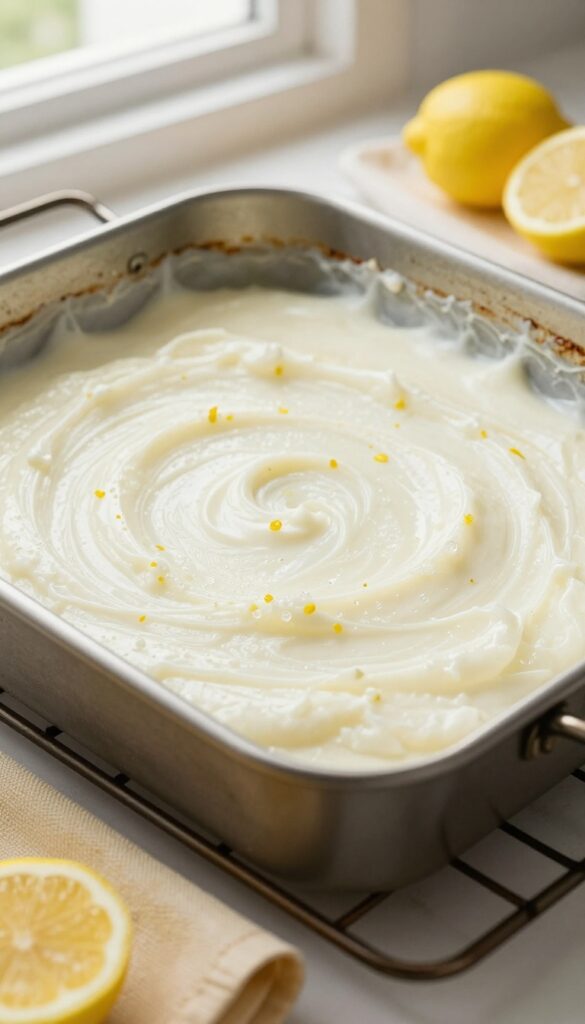
If you like the idea of a natural scrub that packs a punch, this borax and lemon juice paste is a solid choice. Borax is a mild abrasive that helps lift grease, while lemon juice cuts through grime with its acidity. Together, they form a powerful cleaning team that's still gentle on your oven's surfaces.
Mix equal parts borax and lemon juice to form a thick paste. Apply it generously to the greasy areas inside your oven, avoiding the heating elements. Let the paste sit for about 30 minutes to break down the baked-on residue.
Then, scrub with a non-abrasive sponge or brush and rinse thoroughly with a damp cloth. The result is a noticeably cleaner oven without harsh fumes.
Why This Combo Works So Well
Borax has natural cleaning properties that help emulsify grease, making it easier to wipe away. Lemon juice provides a mild acid that dissolves mineral deposits and adds a fresh scent. The paste consistency ensures the mixture stays put on vertical surfaces, giving it time to work.
Tips For Best Results
For extra-stubborn spots, let the paste sit longer—up to an hour. If the paste dries out, spritz a little water to reactivate it. Always test on a small hidden area first, especially if your oven has a special coating.
Rinse thoroughly to avoid any residue that might smoke when the oven is next used.
Safety Note
Borax is generally safe for cleaning, but it can irritate skin and eyes. Wear gloves and work in a well-ventilated area. Keep it away from children and pets.
After cleaning, run the oven on a low heat for a few minutes to dry it completely.
11. Hydrogen Peroxide and Baking Soda
Hydrogen peroxide isn't just for first aid—it's a powerful oxidizer that breaks down grease on contact. When you mix it with baking soda, the reaction creates oxygen bubbles that help lift and loosen baked-on grime from oven walls. This combo works well on light to moderate buildup and leaves surfaces looking bright without harsh fumes.
To use this method, start by sprinkling a generous layer of baking soda over the greasy areas inside your oven. Then, pour hydrogen peroxide into a spray bottle and mist it over the baking soda until it forms a thick paste. The mixture will fizz and bubble as it works.
Let it sit for 15–20 minutes, then scrub with a damp sponge or non-abrasive pad. Wipe away residue with a clean, wet cloth. For stubborn spots, apply more paste and let it sit longer.
Why This Combo Works
Baking soda is a mild abrasive that helps scrub away grease without scratching surfaces. Hydrogen peroxide adds an oxidizing action that breaks down the chemical bonds in baked-on food and grease. Together, they create a fizzy reaction that helps lift debris away from the oven walls, making it easier to wipe clean.
Best Practices For Application
Always test a small, hidden area first to ensure your oven's finish isn't affected. Avoid using this mixture on self-cleaning oven liners or aluminum surfaces, as peroxide can cause discoloration. Work in sections to prevent the paste from drying out, and rinse thoroughly to remove all residue before using the oven again.
Safety Tips
Wear gloves to protect your skin from prolonged contact with hydrogen peroxide, which can cause mild irritation. Keep the oven door open during application to ensure ventilation. Never mix hydrogen peroxide with vinegar or bleach, as this can create harmful gases.
12. Essential Oil Degreaser Spray
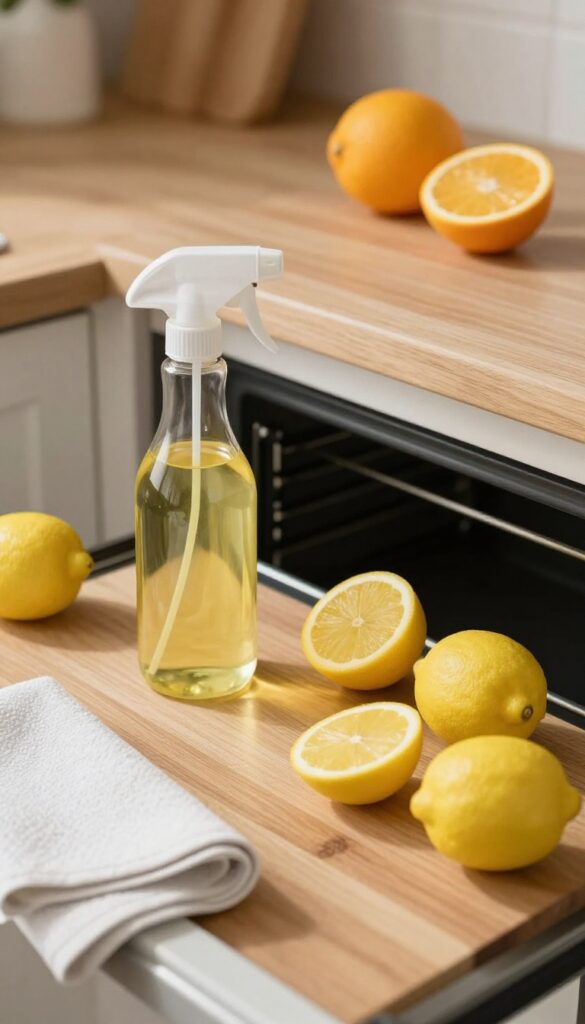
If you love natural cleaning solutions that smell amazing, this essential oil degreaser is about to become your go-to. Lemon and orange essential oils are packed with d-limonene, a powerful solvent that cuts through grease on contact. Combined with vinegar and water, this spray is gentle enough for regular use but tough on baked-on grime.
This method works best on warm surfaces, so heat your oven slightly (around 150°F) and turn it off before spraying. Let the solution sit for 10–15 minutes to break down the grease, then wipe with a damp cloth. For stubborn spots, spray again and scrub with a non-abrasive sponge.
Why Essential Oils Work
Citrus oils are natural degreasers because they contain compounds that dissolve fats and oils. Lemon and orange oils also leave a fresh, clean scent that lingers long after you're done cleaning.
How To Make The Spray
Mix 1 cup of water, 1 cup of white vinegar, and 10–15 drops of lemon or orange essential oil in a spray bottle. Shake well before each use. Avoid using on self-cleaning oven coatings or aluminum surfaces.
Application Tips
Spray generously on greasy areas, including the door and racks. Let it sit for at least 10 minutes. Wipe with a microfiber cloth, rinsing frequently.
For heavy buildup, repeat or follow with a baking soda paste.
13. Castile Soap and Hot Water
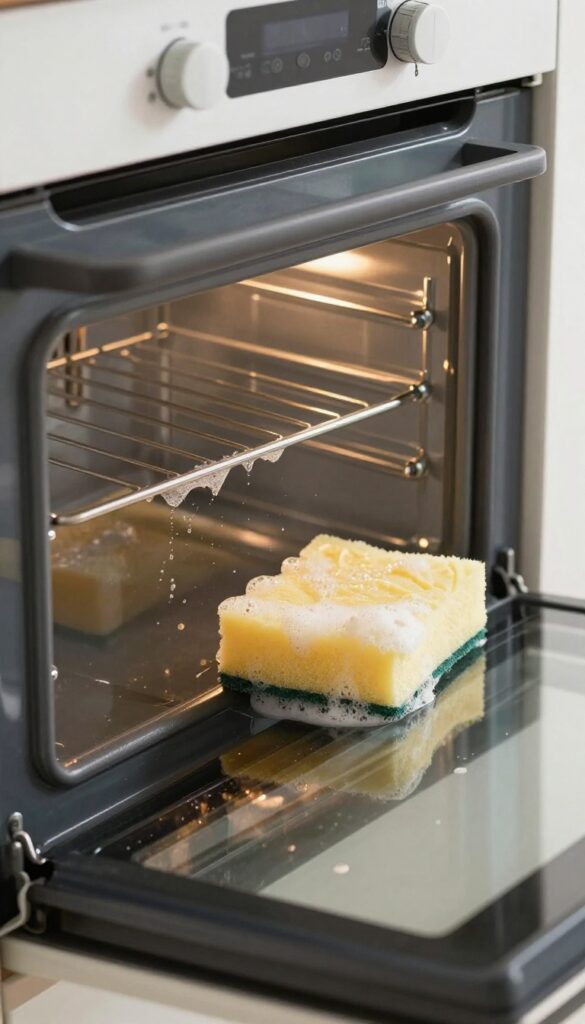
Castile soap is a vegetable-based soap that's gentle on surfaces but tough on grease. When mixed with hot water, it creates a powerful cleaning solution that breaks down baked-on oils without leaving harsh chemical residues. This method is especially great for those who prefer natural, non-toxic cleaning around the kitchen.
To use this method, mix about a quarter cup of liquid Castile soap with a gallon of hot water. Dip a soft sponge or microfiber cloth into the solution, wring it out slightly, and wipe down all oven surfaces, including the door, walls, and racks. Let the soapy water sit for 10–15 minutes to loosen the grease, then rinse with a clean damp cloth.
For stubborn spots, you can apply undiluted Castile soap directly and let it sit before wiping.
Why Castile Soap Works
Castile soap is made from plant oils like olive, coconut, or hemp, which naturally emulsify grease. Unlike synthetic detergents, it doesn't leave a sticky residue and rinses clean easily. The hot water helps melt the grease, while the soap lifts it away from the surface.
Best Practices For Application
Always use hot water—it activates the soap and helps dissolve grease faster. Avoid using too much soap, as excess suds can be hard to rinse. Work in small sections, and don't let the solution dry on the surface.
If you have a self-cleaning oven, check the manual first to ensure this method is safe for your model.
Rinsing And Drying
After the solution has done its work, thoroughly rinse the oven with a clean cloth dipped in plain hot water. Any soap residue can cause streaking or affect the taste of food. Dry the interior with a soft towel to prevent water spots and ensure the oven is ready for use.
14. Pumice Stone for Stubborn Spots
When baking soda and vinegar won't cut it, a pumice stone can be your secret weapon. It's a natural volcanic rock that gently abrades baked-on grease without scratching the enamel surface. The key is to wet the stone thoroughly before use—dry pumice is too harsh and can leave marks.
This method is perfect for those stubborn spots that have been baked on for months.
To use a pumice stone, first wet both the stone and the oven surface. Gently rub the stone back and forth over the grease spot using light pressure. The stone will gradually wear down the grime, leaving a smooth surface.
Rinse the area with a damp cloth to remove any residue. This method works best on vertical surfaces and corners where scrubbing is difficult.
How To Choose The Right Pumice Stone
Look for a pumice stone specifically designed for cleaning, often labeled as a 'pumie' or 'pumice scouring stick. ' Avoid stones meant for foot care, as they may be too soft or contain additives. A good cleaning pumice is dense and uniform in texture.
Safety Tips For Using Pumice
Always wet the stone and the oven surface to reduce friction. Never use pumice on non-stick coatings or glass oven doors, as it can cause scratches. Test on an inconspicuous area first.
If you feel resistance, stop and re-wet the stone.
When To Use This Method
Pumice is best for small, concentrated spots of baked-on grease that won't budge with other methods. It's not meant for large areas or light cleaning. Use it as a finishing touch after a deep clean to tackle remaining marks.
15. Self-Cleaning Cycle (With Caution)
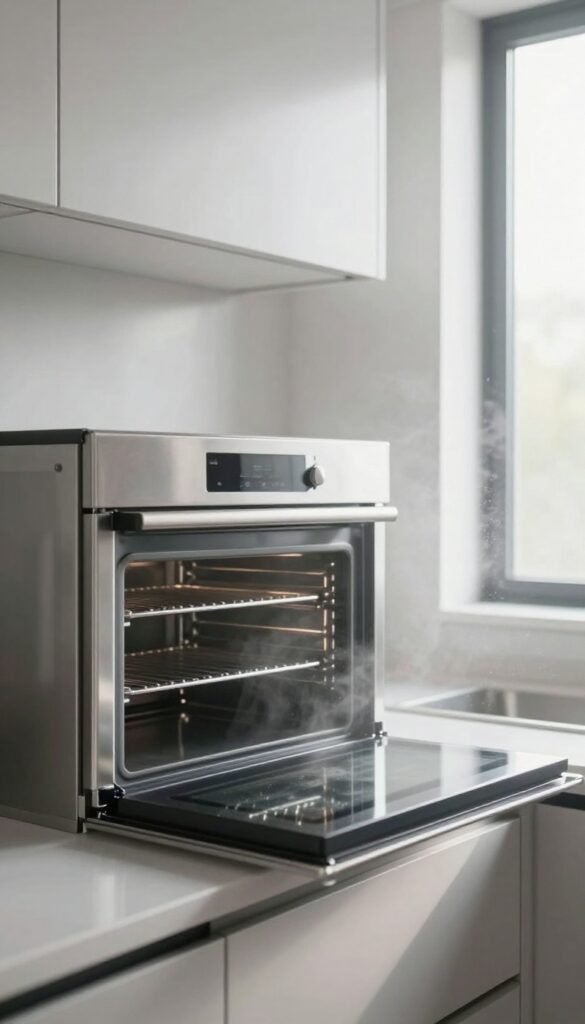
Your oven might already have a feature designed to handle the toughest grease: the self-cleaning cycle. It uses high heat to incinerate food residue and grease, turning them into ash that wipes away easily. This method is almost effortless, but it comes with a few important caveats.
The self-cleaning cycle heats your oven to around 800°F, turning grease and grime into fine ash. After the cycle finishes and the oven cools, simply wipe the interior with a damp cloth. It's a set-it-and-forget-it solution, but not all ovens or situations are ideal for this method.
How It Works
During the cycle, the oven locks itself and heats to extreme temperatures. Grease and food particles are burned off, leaving only ash. This process can take 2 to 4 hours, depending on your oven model.
Once done, a quick wipe removes the residue.
When To Skip It
Avoid the self-cleaning cycle if your oven has sensitive electronic controls, as the high heat can damage them. Also, skip it if your oven is older or has a history of issues. The intense heat can also produce smoke and odors, so ensure your kitchen is well-ventilated.
Preparation Tips
Before starting, remove all racks and any large food debris. Wipe up loose crumbs to reduce smoke. Make sure the oven door seals properly and the latch works.
If you have pets, consider keeping them out of the kitchen during the cycle.
FAQ
How often should I clean my oven?
It depends on usage, but a deep clean every 3-6 months is typical. Wipe up spills promptly to reduce buildup.
Can I use oven cleaner on self-cleaning ovens?
It's best to avoid harsh chemicals on self-cleaning ovens. Stick to natural methods or the self-cleaning cycle.
Is it safe to mix baking soda and vinegar for oven cleaning?
Yes, but use them separately. Baking soda paste first, then vinegar spray to react and lift residue.
How do I clean oven glass without streaks?
Use a baking soda paste, then wipe with vinegar. For streaks, finish with a microfiber cloth and glass cleaner.
What if my oven has a continuous cleaning lining?
Avoid abrasive cleaners or scrubbing. Use gentle methods like steam or mild soap to protect the lining.
Conclusion
Getting your oven clean doesn't have to be a dreaded chore. With these 15 grease-loosening methods, you can tackle even the most stubborn buildup using ingredients you already have. Start with the gentlest option and work your way up to stronger cleaners if needed.
A little patience and the right technique will leave your oven looking like new. Remember to always ventilate and follow safety precautions, especially with chemical cleaners. Happy cleaning!


