
Streaks on laminate floors can make even a fresh cleaning job look messy and dull. You wipe and wipe, but those cloudy marks just won't budge.
The secret to a spotless, streak-free shine isn't about scrubbing harder—it's about using the right tools and techniques. These 13 methods cut through grime without leaving residue, so your floors look clean, not hazy.
From everyday pantry staples to smart mopping habits, each tip targets the real cause of streaks. Say goodbye to dull patches and hello to a mirror-like finish with less effort.
1. Microfiber Mop Magic
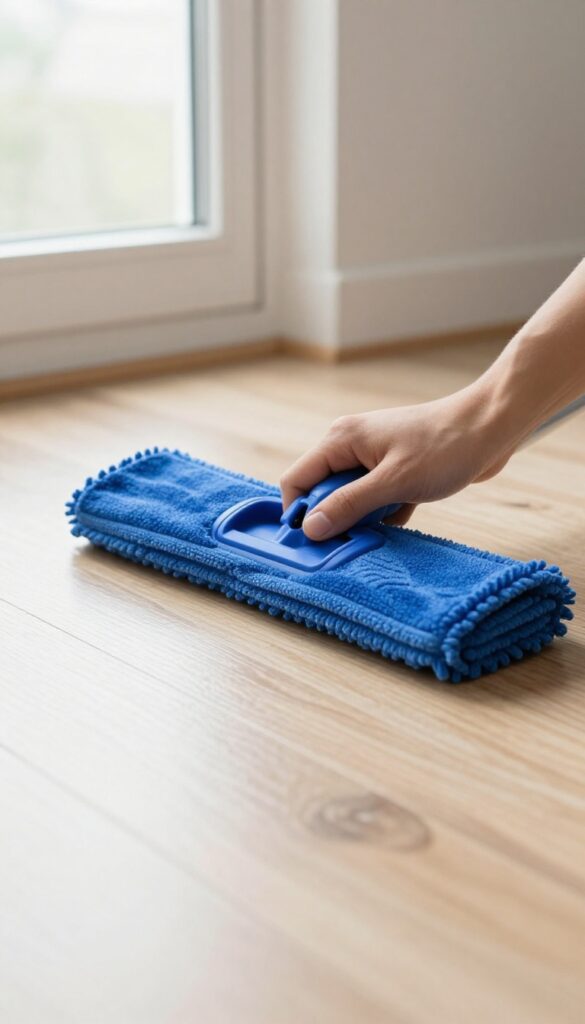
Microfiber is the MVP of streak-free cleaning. Its ultra-fine fibers trap dust and dirt without scratching the surface, and they absorb water evenly so no puddles form. The trick is using two mops—one dry, one damp—to lift grime without leaving residue.
Start by dry-mopping the entire floor with a clean microfiber pad. This picks up loose dust, hair, and crumbs that would otherwise turn into muddy streaks when wet. Then swap to a slightly damp microfiber mop—just water, no cleaner needed for most floors.
Wring it well so it's barely moist, then mop in figure-eight strokes to avoid overlapping wet lines. The result is a clean, even shine with zero effort.
Why Microfiber Works
Microfiber has a static charge that attracts dust like a magnet. Unlike cotton mops that push dirt around, microfiber traps particles in its fibers. Plus, it's absorbent enough to pick up spills but dries fast, preventing water spots.
Two-mop Method
Keep one mop head labeled "dry" and one "wet. " Dry-mop first to remove debris, then damp-mop. If you only have one head, wash it between passes.
Using a dirty mop just spreads grime and causes streaks.
Water Temperature Matters
Use warm—not hot—water. Hot water can damage the laminate's sealant over time, and cold water doesn't clean as effectively. Warm water helps dissolve light grime without harming the floor.
2. Vinegar and Water Solution
White vinegar is a classic cleaning staple for good reason—it cuts through grease and grime without leaving behind harsh chemicals. When mixed with water, it creates a gentle yet effective cleaner that evaporates quickly, reducing the chance of streaks. This simple solution has been a go-to for homeowners who want a natural, streak-free finish without spending money on specialty products.
The Right Ratio Matters
Getting the vinegar-to-water ratio right is crucial. Too much vinegar can leave a slight acidic residue that attracts dirt, while too little won't cut through grime. Stick to 1/4 cup of white vinegar per gallon of warm water.
Warm water helps the vinegar mix evenly and evaporates faster, which means fewer streaks. Avoid using hot water—it can damage the laminate's sealant over time.
Mop Like A Pro
Damp mopping is the key—never soak the floor. Dip your mop into the solution, then wring it out until it's barely damp. You want the mop to feel almost dry to the touch.
Work in small sections, using a figure-eight motion to pick up dirt without spreading it around. Rinse the mop frequently in clean water to avoid redepositing grime.
Let It Air Dry
After mopping, let the floor air dry completely. Don't buff or wipe it dry—that can actually push the vinegar solution around and create streaks. Open windows or turn on a fan to speed up drying.
Within 15 to 20 minutes, your floors should be spotless and shine without any hazy residue.
3. Rubbing Alcohol for Stubborn Streaks
When water alone leaves behind cloudy patches, rubbing alcohol steps in as a quick-drying hero. It speeds up evaporation so moisture doesn't linger long enough to form spots. A small addition to your mopping routine can make a big difference on high-traffic areas or after deep cleaning.
Why It Works
Rubbing alcohol lowers the surface tension of water, allowing it to spread evenly and evaporate rapidly. This prevents water from beading up and leaving mineral deposits behind. The result is a streak-free shine with less effort.
How To Mix It
Fill a bucket with one gallon of warm water and add 1/2 cup of rubbing alcohol. For extra cleaning power, add a few drops of liquid dish soap. Stir gently to combine.
Avoid using too much alcohol, as it can dull the finish over time.
Application Tips
Use a microfiber mop to apply the solution lightly—damp, not soaking wet. Work in small sections and let the floor air dry. If you notice any residue, buff with a dry microfiber cloth.
This method works best on sealed laminate floors.
4. Dish Soap Degreaser
Sometimes the simplest solution is hiding in your kitchen sink. A few drops of mild dish soap in warm water can cut through the greasy film that builds up on laminate floors over time. The trick is using just a tiny amount—too much suds leaves a sticky residue that attracts dirt and causes streaks.
A quick rinse with plain water afterward seals the deal for a clean, matte finish.
Dish soap is a gentle degreaser that breaks down oily footprints and cooking splatters without harsh chemicals. It's especially useful in kitchens and dining areas where floors tend to get grimy. The key is moderation: a teaspoon per gallon of warm water is plenty.
Mop with the soapy solution, then go over the floor with a damp mop dipped in clean water to remove any leftover soap. Dry with a microfiber mop or let air dry for a streak-free result.
Why Dish Soap Works
Dish soap is designed to break down grease on plates, and it does the same on floors. It's pH-neutral and won't damage laminate's protective layer. Unlike vinegar or ammonia, it's non-abrasive and safe for sealed surfaces.
The tiny amount needed means less risk of buildup if you rinse properly.
How To Mop Without Residue
Fill a bucket with warm water and add a few drops of mild dish soap. Dip your microfiber mop, wring it well so it's damp not wet, and mop in sections. Rinse the mop frequently.
After mopping the whole floor, empty the bucket, refill with plain warm water, and go over the floor again. This second pass removes any soap residue that could cause streaks.
When To Avoid Dish Soap
If your laminate floor has visible wax or is unsealed, skip dish soap—it can dull the finish. Also avoid using too much soap or skipping the rinse step. Always test a small hidden area first.
For floors that are just dusty, plain water or a dry microfiber mop is enough.
5. Store-Bought Laminate Cleaner
Sometimes you just want a product that's made for the job, no mixing required. Store-bought laminate cleaners are formulated to clean effectively without leaving streaks or damaging the floor's protective layer. The key is choosing the right one and using it correctly.
Not all floor cleaners are safe for laminate. Avoid anything with wax, oil, or bleach, as these can dull the finish or cause cloudiness. Look for a pH-neutral cleaner specifically labeled for laminate or hardwood.
Brands like Bona, Murphy's Oil Soap (the laminate version), and Quick Shine are popular choices. Always follow the label directions—usually you'll dilute a small amount in water. Overusing the product can leave residue, so less is more.
Pair it with a microfiber mop or pad, and spray the cleaner onto the mop (not the floor) to control moisture. Work in small sections and let the floor air dry for a spotless shine.
What To Look For
Scan the label for "pH-neutral" and "no residue. " Avoid products with ammonia, bleach, or abrasive ingredients. If it's safe for laminate, it'll usually say so prominently.
How To Apply For Best Results
Dilute the cleaner as directed—using too much is the #1 cause of streaks. Spray lightly onto a dry microfiber mop, not directly on the floor. Mop in the direction of the planks, and let the floor dry completely before walking on it.
Top Brands To Try
Bona Hardwood Floor Cleaner (also safe for laminate), Quick Shine Multi-Surface Floor Cleaner, and Murphy's Oil Soap for Laminate are all trusted options. Each has a spray or ready-to-use formula that works well with microfiber pads.
6. Steam Mop Caution
Steam mops promise a deep, chemical-free clean, but they can also be the fastest way to ruin your laminate floors. Laminate is not the same as hardwood or tile—it's a composite material with a sealed top layer that can warp or discolor when moisture seeps into the seams. If you own a steam mop, don't toss it just yet.
You just need to know when and how to use it safely.
Check Your Seal First
Before you even fill the water tank, test whether your laminate is properly sealed. Drip a few drops of water on the floor and wait 15 minutes. If the water beads up, the seal is intact.
If it soaks in or leaves a dark spot, your laminate is not sealed—keep the steam mop away. Using steam on unsealed laminate can cause swelling, buckling, and permanent damage.
Keep It Moving
A common mistake is letting the steam mop sit in one spot. Even on sealed floors, prolonged heat and moisture can weaken the glue and edges. Glide the mop in smooth, continuous passes, and don't pause.
Work in sections so you don't have to go back over wet areas. The goal is to steam clean and dry quickly, not soak the floor.
Use The Lowest Setting
Most steam mops have adjustable steam levels. For laminate, always start on the lowest setting. You don't need a billowing cloud of steam—just enough to loosen dirt.
If the mop leaves visible moisture behind, it's too high. Wipe any excess immediately with a dry microfiber cloth to prevent water from sitting on the surface.
When To Skip Steam Altogether
If your laminate has deep scratches, gaps between planks, or is more than a few years old, skip the steam mop entirely. Stick to a damp microfiber mop with a laminate-safe cleaner. Steam mops are best for newer, well-sealed floors in low-moisture areas like living rooms, not kitchens or bathrooms where water exposure is already higher.
7. Dry Dusting First
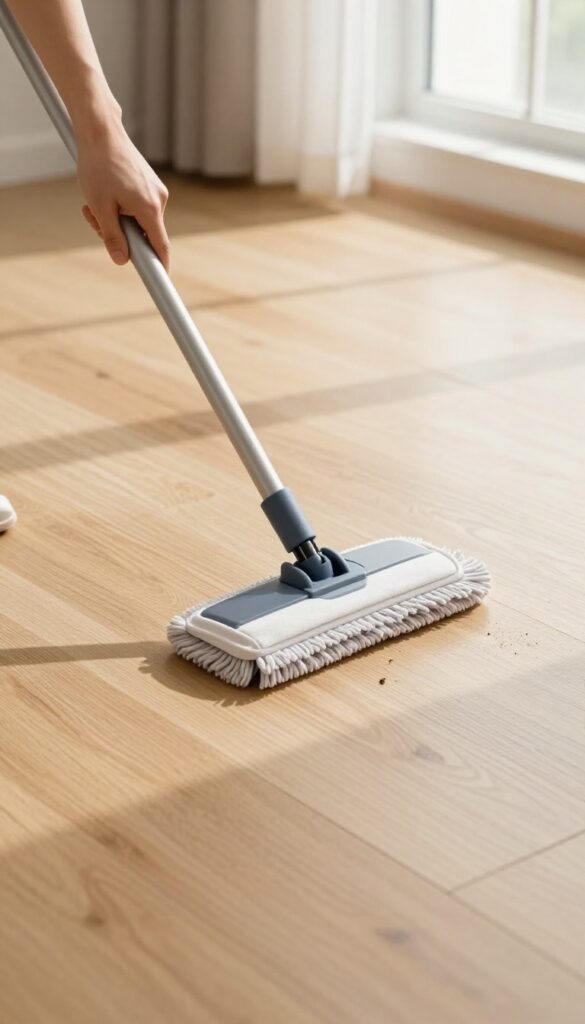
You wouldn't sand a floor without sweeping up the dust first, so why wet-clean a dirty laminate? Skipping the dry step is the #1 cause of those frustrating swirl marks. A quick sweep or vacuum removes the grit that acts like sandpaper when you mop.
Dry dusting isn't just a preliminary chore—it's the foundation of a streak-free finish. When you mop over loose dirt, you're essentially grinding particles into the surface, creating micro-scratches that scatter light and appear as dull streaks. By removing debris first, you let your cleaning solution work on the actual grime, not the gravel.
Choose The Right Tool
A microfiber dust mop or a soft-bristle broom is ideal. Avoid traditional brooms with stiff bristles—they can scratch the laminate's protective layer. For vacuuming, use the hard floor setting and turn off the beater bar to prevent scuffs.
Work In A Pattern
Start at the farthest corner of the room and work your way toward the exit. Overlap your passes slightly to ensure you don't miss spots. This systematic approach also prevents you from stepping onto already-dusted areas, keeping the floor clean longer.
Don't Forget The Edges
Baseboards and corners collect dust bunnies that can get swept into the main area later. Use a crevice tool on your vacuum or a small hand brush to clear out these hidden pockets before you mop.
8. The Two-Bucket Method
It sounds simple, but separating your cleaning solution from your rinse water makes a huge difference. When you dip a dirty mop back into clean solution, you're just spreading grime around. Two buckets keep the dirt where it belongs—out of your cleaning water.
This method is a professional cleaner's secret. Fill one bucket with your preferred laminate-safe cleaning solution and another with plain water. Dip your mop in the solution, wring it well, and clean a section.
Then rinse the mop in the plain water bucket, wring again, and dip back into the solution. This way, you're always applying fresh, clean liquid to the floor, not dirty water that leaves streaks.
Why Two Buckets Work Better
Most people use a single bucket, so the water gets cloudy fast. That cloudy water leaves a film on the floor as it dries, causing streaks. With two buckets, the rinse bucket catches all the dirt and old solution, while the cleaning bucket stays pristine.
Your mop picks up fresh product every time, and the floor dries clear.
Choosing The Right Buckets
You don't need anything fancy. Two standard mop buckets or even large plastic bins work fine. If you can, get buckets with wringer attachments to make the process faster.
Color-code them or label them so you don't mix them up mid-job. One tip: use a smaller bucket for rinse water so you're forced to change it more often.
Step-by-step Routine
Start by sweeping or vacuuming the floor. Fill bucket A with warm water and a few drops of laminate floor cleaner. Fill bucket B with plain warm water.
Dip your mop in A, wring until damp, and mop a 3×3 foot area. Rinse the mop in B, wring, then dip in A again. Repeat.
Change the rinse water when it looks dirty—usually after every couple of rooms.
9. Wring Out Thoroughly
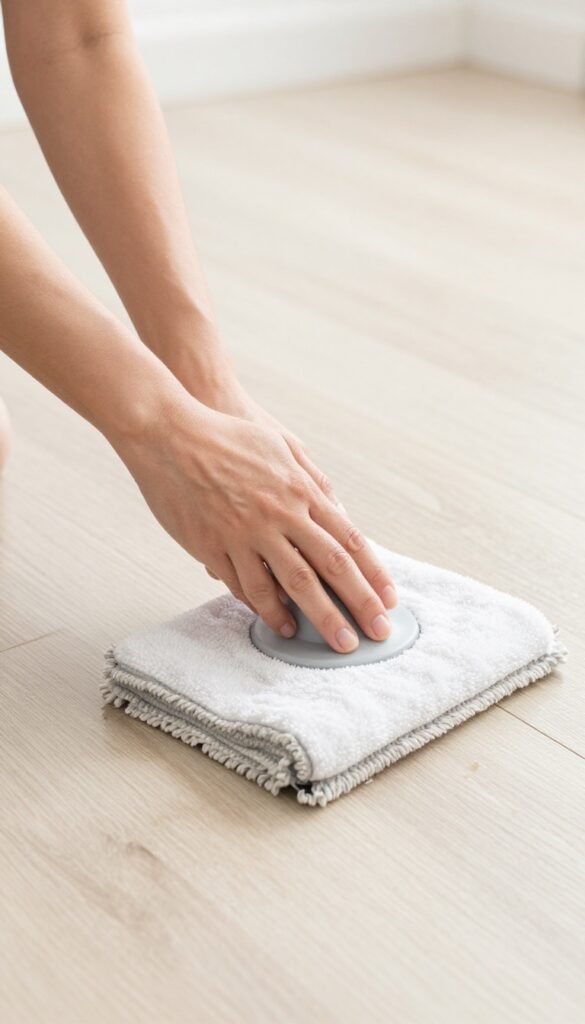
A damp mop is better than a wet one. Excess water seeps into seams and causes streaks. The key is to wring until the mop is just moist, not dripping.
Most people use way too much water when mopping laminate. That extra moisture sits on the surface, evaporates slowly, and leaves behind mineral streaks. Worse, it can seep into the seams and cause swelling or warping over time.
The fix is simple: wring your mop until it barely drips when you hold it up. You want it damp enough to pick up dirt, but not wet enough to leave puddles.
The Two-bucket Method
Use one bucket for cleaning solution and another for rinse water. Dip the mop in the cleaning bucket, wring it out thoroughly, then mop a section. Rinse the mop in the clean water bucket, wring again, and repeat.
This prevents dirty water from redepositing grime and keeps your mop consistently damp.
Check Your Mop Type
String mops hold more water than microfiber flat mops, so they need extra wringing. For a string mop, twist it tightly with a wringer bucket or by hand until no water runs out. For a microfiber mop, press it firmly against the wringer or squeeze it with your hands.
If you can wring out visible water, you're on the right track.
Test Before You Mop
Before starting, do a quick test: run your damp mop over a small area of laminate. If you see any standing water or beading, wring it more. The floor should look damp but not wet, and it should dry within a minute or two.
If it stays wet longer, you're using too much water.
10. Baby Wipes for Quick Touch-Ups
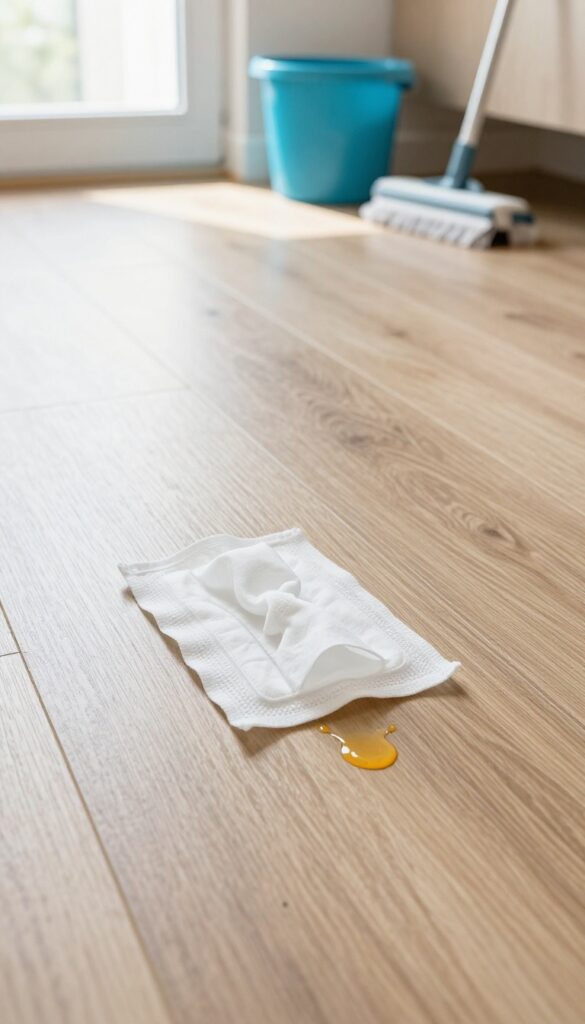
Not every spill calls for a full mop session. Sometimes you just need a fast, no-fuss fix. Unscented baby wipes are surprisingly effective for spot-cleaning laminate floors without leaving streaks or residue.
They're gentle enough for daily use and convenient enough to keep in a caddy under the sink.
Why Baby Wipes Work
Baby wipes are pre-moistened with a mild, non-abrasive solution that lifts dirt and spills without damaging the laminate's protective layer. Unlike paper towels, they don't shed lint, and they're designed to be gentle on sensitive surfaces—perfect for quick cleanups.
How To Use Them Correctly
Grab a wipe and gently blot or wipe the spill, following the direction of the planks. For sticky spots, let the wipe sit for a few seconds to loosen the residue. No need to rinse or dry—just toss the wipe and move on.
Avoid using scented or lotion-infused wipes, as they can leave a film.
When Baby Wipes Aren't The Answer
Baby wipes are great for small, fresh spills like a drop of juice or a smudge from a shoe. For larger spills or dried-on messes, you'll need a damp mop or a targeted cleaner. Also, never use them as a substitute for a full cleaning—they're a touch-up tool, not a deep cleaner.
11. Avoid Harsh Chemicals
Bleach, ammonia, and abrasive cleaners may seem like heavy hitters for tough stains, but they're actually your laminate floor's worst enemy. These harsh chemicals eat away at the protective finish, leaving behind a dull, scratched surface that's prone to streaking. Once the seal is damaged, dirt and moisture can seep in, making future cleaning even harder.
Why Strong Cleaners Backfire
Laminate floors have a clear wear layer that shields the decorative print underneath. Strong chemicals like bleach and ammonia break down that layer over time, causing discoloration and a cloudy haze. Abrasive powders or scouring pads physically scratch the surface, creating tiny grooves where residue collects.
Instead of a deep clean, you end up with a floor that looks worse than before.
What To Use Instead
Stick to pH-neutral cleaners specifically labeled for laminate, or make your own with a few drops of mild dish soap and warm water. For extra shine, a vinegar-and-water solution (1/4 cup vinegar per gallon of water) works well—but use it sparingly and rinse with plain water. Avoid anything with wax, oil, or silicone, which can leave a slippery film that attracts dirt.
The One Exception: Spot Cleaning Stubborn Marks
If you have a dried-on spill or sticky residue, try a dab of rubbing alcohol on a soft cloth instead of reaching for bleach. Test it in an inconspicuous area first. For permanent marker or crayon, a tiny amount of non-gel toothpaste on a damp microfiber cloth can gently buff it away without damaging the finish.
12. Polish with a Dry Cloth
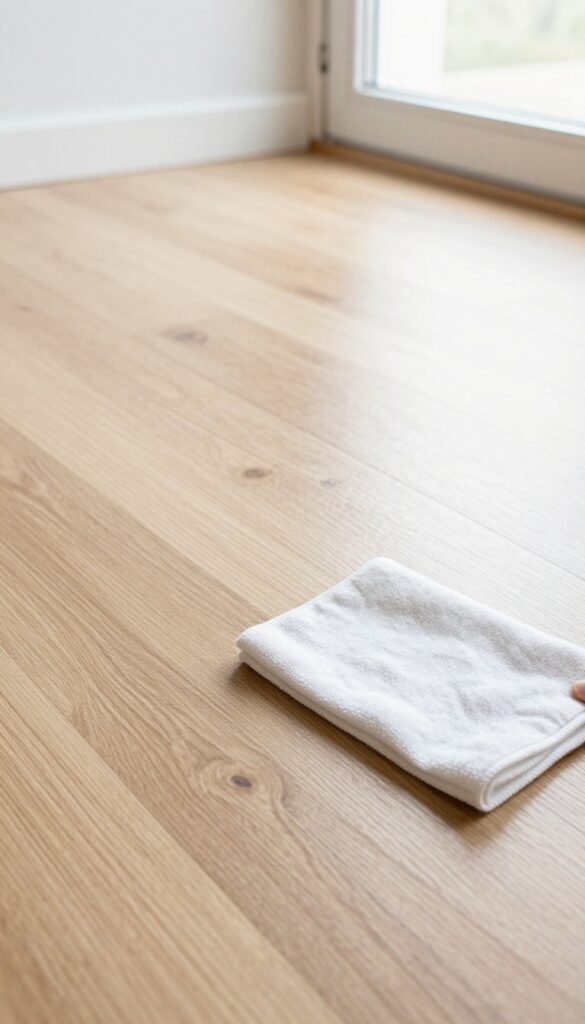
Even after a perfect mop job, a faint haze can settle on laminate as it dries. That's because leftover moisture evaporates and leaves behind minerals or cleaning residue. A quick buff with a dry cloth lifts that haze and restores the floor's natural shine.
Grab a clean, dry microfiber cloth and lightly buff the floor in circular motions. Focus on areas that look cloudy or streaky. This step takes just a minute or two but makes a visible difference—your floors will look polished, not just cleaned.
Why Microfiber Works Best
Microfiber has ultrafine fibers that trap dust and residue without scratching the laminate. Cotton cloths or paper towels can leave lint or tiny scratches. A dedicated dry microfiber mop pad works well for larger areas.
When To Buff
Buff right after mopping while the floor is still slightly damp, or wait until it's fully dry. Both work, but buffing while damp helps prevent water spots. If you wait, make sure the floor is completely dry to avoid smearing.
Avoid Wax Or Polish Products
Laminate doesn't need wax or traditional floor polish. Those products can build up and make the floor look dull over time. A dry cloth buff is all you need for a streak-free shine.
13. Regular Maintenance Schedule
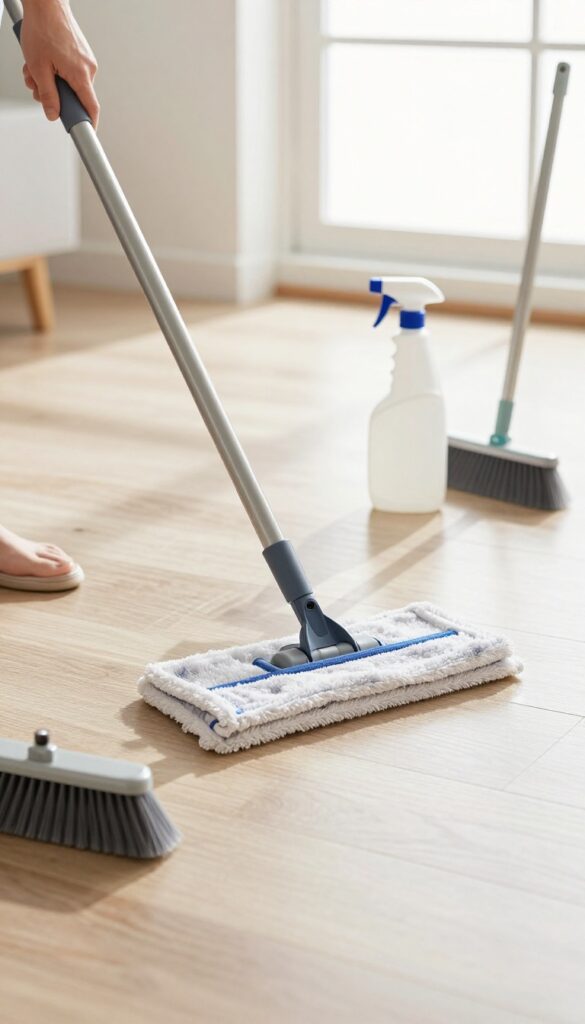
Consistency is the unsung hero of streak-free laminate floors. A simple routine prevents dirt from building up and turning into a hazy film that's tough to remove. By sticking to a regular schedule, you'll spend less time scrubbing and more time enjoying your clean, shiny floors.
A regular maintenance schedule is the final piece of the puzzle. It ties together all the previous methods and ensures your floors stay streak-free with minimal effort. The key is to break it down into three frequencies: daily, weekly, and monthly.
Daily: Quick Sweep Or Vacuum
Dust and grit are the main culprits behind scratches and dullness. A quick daily sweep with a soft-bristle broom or a vacuum with a hard floor setting removes abrasive particles before they can damage the finish. Focus on high-traffic areas like entryways and kitchen paths.
Weekly: Damp Mop With Care
Once a week, give your floors a damp mop using a microfiber mop and a gentle cleaner (like the vinegar solution from method #2 or a pH-neutral laminate cleaner). Remember: damp, not wet. Excess water is the enemy of laminate.
Wring the mop until it's just barely moist, and work in sections to avoid puddles.
Monthly: Deep Clean And Spot Treatment
Once a month, do a deeper clean. Start by moving furniture and rugs. Then, use a slightly more concentrated cleaner (still gentle) to tackle any stuck-on grime.
For stubborn spots, use the baking soda paste from method #8. Finish with a dry microfiber cloth to buff the floor to a streak-free shine.
FAQ
Can I use a steam mop on laminate floors?
Only if your laminate is sealed and the manufacturer allows it. Excessive moisture can warp the boards.
What is the best homemade cleaner for laminate floors?
A mix of 1/4 cup white vinegar, 1/2 cup rubbing alcohol, and 1 gallon warm water works well.
How often should I clean laminate floors?
Sweep daily, damp mop weekly, and deep clean monthly to maintain shine.
Why do my laminate floors look streaky after mopping?
Using too much water, dirty mop water, or harsh cleaners can cause streaks. Always wring well and use a clean mop.
Can I use vinegar on laminate floors?
Yes, diluted vinegar is safe. Use 1/4 cup per gallon of water to avoid damaging the finish.
Conclusion
Laminate floors don't have to be a constant battle against streaks and dullness. With these 13 methods, you've got a streak-free solution for every situation—from quick daily touch-ups to deep seasonal cleans. Pick the techniques that fit your routine and the mess level you're dealing with.
Start with the gentlest method for your floor type and work your way up if needed. Regular maintenance with the right tools will keep your laminate looking fresh without the frustration. Try one or two of these approaches this week, and you'll see how easy a no-streak shine can be.


