
Your kitchen cabinets look dull and feel sticky to the touch. That greasy film comes from cooking vapors and airborne oils settling over time. But you don't need harsh chemicals or expensive products to restore them.
A few simple ingredients and the right technique can cut through years of buildup. Whether your cabinets are wood, laminate, or painted, these 15 degreasing tips will bring back their original shine.
We've tested each method for effectiveness and safety on different surfaces. Pick the one that fits your cabinet type and cleaning style.
1. Start with a Simple Dish Soap and Water Solution
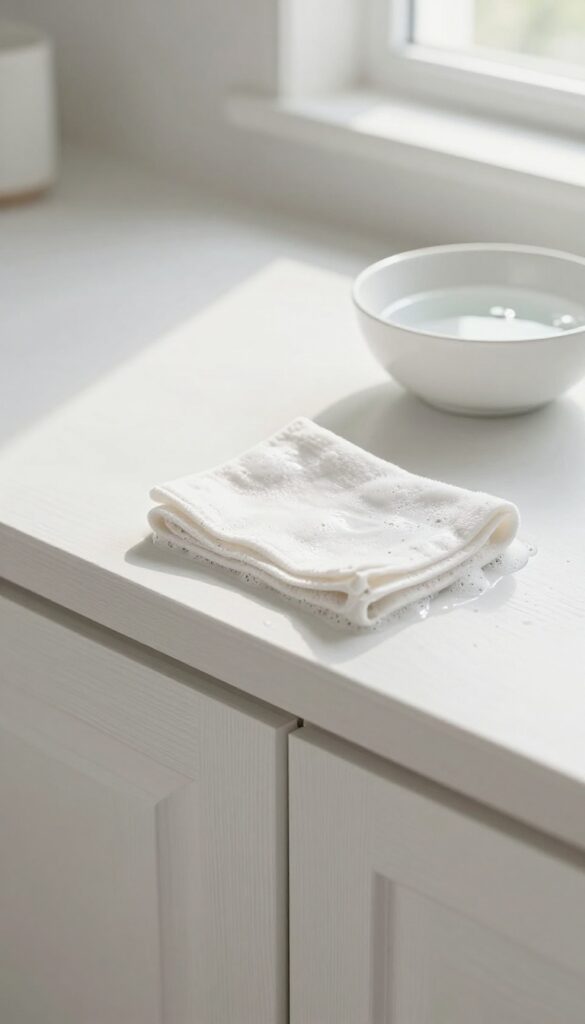
Before reaching for heavy-duty cleaners, try the gentlest option first. Warm water mixed with a few drops of mild dish soap is surprisingly effective at cutting through everyday grease. This solution is safe for most cabinet finishes, including painted, laminate, and sealed wood.
This classic method works because dish soap is designed to break down fats and oils. The warm water helps loosen the grime without damaging the surface. It's also inexpensive and uses ingredients you likely already have under your sink.
Why This Method Works
Dish soap contains surfactants that surround grease particles and lift them away. Warm water speeds up the process by softening the grease. Together, they make a powerful yet gentle degreaser that won't strip paint or dull finishes.
How To Apply It Correctly
Dip a soft microfiber cloth into the soapy water, wring it out well so it's damp not dripping, then wipe the cabinets in the direction of the wood grain. Avoid soaking the surface, as excess moisture can warp wood or loosen laminate edges.
When To Use This Method
Use this solution for regular maintenance cleaning or on cabinets with light to moderate grease buildup. It's perfect for weekly or biweekly wipe-downs to prevent heavy grime from forming. If the grease is thick or sticky, you may need a stronger degreaser.
2. Use White Vinegar to Cut Through Grease Naturally
White vinegar is a powerhouse for cutting through kitchen grease without harsh fumes. Its mild acidity breaks down the oily residue that clings to cabinet surfaces, leaving them clean and streak-free. Best of all, it's safe for most cabinet finishes when used correctly.
Mix equal parts white vinegar and warm water in a spray bottle. Spray the solution onto a microfiber cloth—never directly onto cabinets, as excess moisture can damage wood or laminate. Wipe in the direction of the grain for wood cabinets, using gentle pressure.
For stubborn grease spots, let the cloth sit on the area for a minute before wiping. Follow with a dry cloth to remove any remaining moisture and prevent water marks. This method works beautifully on painted, laminate, and sealed wood cabinets.
Why Vinegar Works So Well
Vinegar contains acetic acid, which naturally dissolves grease and grime without leaving a sticky residue. It also neutralizes odors, so your kitchen smells fresh after cleaning. Unlike many commercial degreasers, vinegar is non-toxic and safe around food and pets.
Best Practices For Different Cabinet Finishes
For sealed wood cabinets, vinegar is perfectly safe as long as you don't oversaturate. On laminate or painted surfaces, test a small hidden area first to ensure the finish doesn't react. Avoid using vinegar on unsealed wood or waxed finishes, as the acid can dull the surface.
When To Add A Drop Of Dish Soap
For extra greasy cabinets, add a single drop of liquid dish soap to your vinegar-water mix. The soap helps lift stubborn, baked-on grease. Just be sure to rinse with a damp cloth afterward to prevent any soapy film from drying on the cabinets.
3. Try Baking Soda Paste for Stubborn Grime
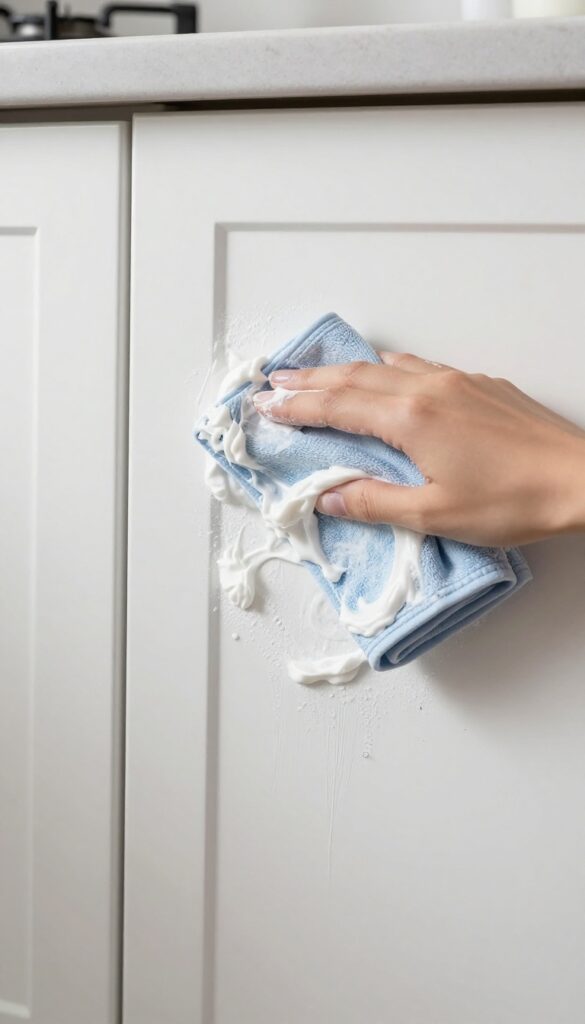
When grease has been baking onto your cabinets for months, a simple spray might not cut it. That's where baking soda paste comes in—it's gentle enough for delicate surfaces but abrasive enough to lift caked-on grime. You probably already have the ingredients in your pantry.
Baking soda paste is a DIY degreaser that works wonders on tough, sticky spots without scratching most cabinet finishes. The paste clings to vertical surfaces, giving it time to break down grease before you wipe it away. It's especially effective on areas near the stove or above the oven where oil splatters accumulate.
How To Make The Paste
Mix three parts baking soda with one part water in a small bowl. Stir until it forms a thick, spreadable paste—think toothpaste consistency. For extra degreasing power, substitute water with white vinegar, but be prepared for fizzing.
Apply the paste generously to greasy areas using a soft cloth or sponge.
Application And Dwell Time
Spread the paste over the grimy spots and let it sit for 10–15 minutes. This dwell time allows the baking soda to penetrate and loosen the grease. Don't let it dry completely, or it becomes harder to remove.
Set a timer so you don't forget.
Gentle Scrubbing And Rinsing
After the paste has rested, gently scrub the area with a soft cloth or non-abrasive sponge. Use circular motions to lift the grime. Rinse with a damp cloth to remove all residue, then dry with a clean towel.
For stubborn buildup, repeat the process or let the paste sit longer.
4. Leverage the Power of Rubbing Alcohol for Quick Drying
Rubbing alcohol isn't just for first aid—it's a secret weapon against greasy cabinets. It dissolves grime fast and evaporates almost instantly, so you don't have to worry about water seeping into wood or laminate. This makes it perfect for areas near sinks or stoves where moisture is a concern.
Why Rubbing Alcohol Works So Well
Alcohol breaks down grease on contact, and its high evaporation rate means no standing liquid to damage your cabinets. It's also safe on most finishes, including painted and sealed wood. Just test a small spot first to be sure.
How To Use It Safely
Mix equal parts rubbing alcohol and water in a spray bottle. Lightly mist a microfiber cloth—never spray directly on cabinets to avoid drips. Wipe in the direction of the grain, then follow with a dry cloth to buff away any residue.
Best For Stubborn Spots And Hardware
For caked-on grease around handles or edges, apply undiluted alcohol with a cotton swab. Let it sit for 10 seconds, then wipe. This method also works great for cleaning cabinet hardware without removing it.
5. Apply a Commercial Degreaser for Heavy Buildup
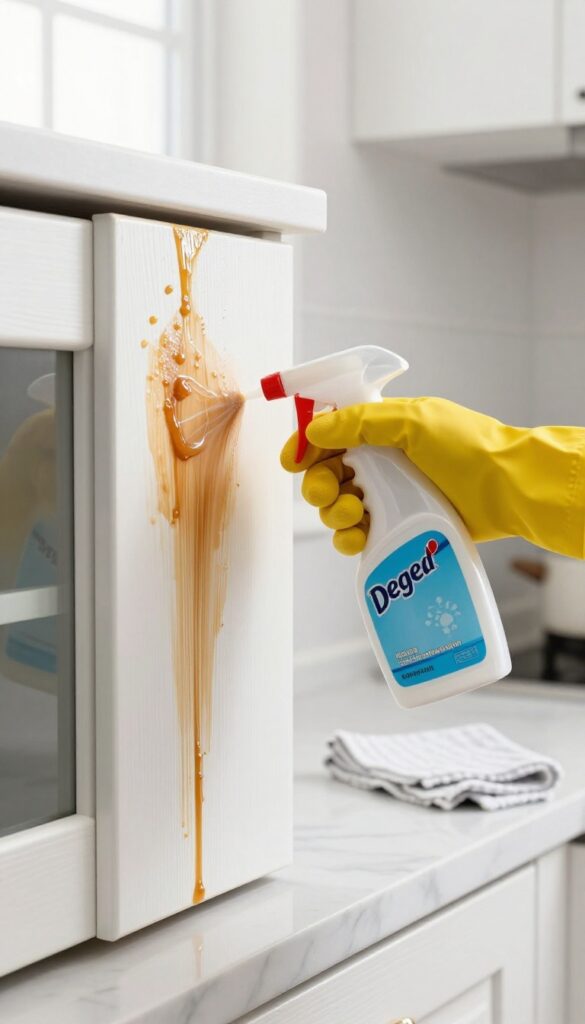
Sometimes a homemade solution just won't cut it. If you're dealing with years of baked-on grease that feels like a layer of varnish, it's time to bring in the big guns. Commercial degreasers are formulated to dissolve tough, stubborn grime quickly and efficiently.
Before you spray anything, check your cabinet material. Some degreasers contain harsh chemicals that can damage wood finishes or discolor laminate. Always test in an inconspicuous spot first.
Once you've confirmed it's safe, spray the degreaser directly onto the greasy areas, let it sit for a few minutes to break down the buildup, then wipe clean with a damp cloth. For extra stubborn spots, a soft sponge or non-abrasive scrub pad can help. Rinse with water and dry immediately to prevent residue.
Choosing The Right Degreaser
Not all degreasers are created equal. Look for products labeled as safe for kitchen cabinets or wood surfaces. Avoid anything with bleach or ammonia if your cabinets have a delicate finish.
Citrus-based degreasers are a good middle ground—strong enough to cut grease but gentler on surfaces.
Application Tips For Best Results
Work in small sections so the degreaser doesn't dry before you wipe it off. Use a microfiber cloth for streak-free results. If you're cleaning upper cabinets, protect your countertops with a towel or plastic sheet to catch drips.
After wiping, go over the area with a clean, damp cloth to remove any chemical residue.
When To Avoid Commercial Degreasers
If your cabinets have a wax finish or are antique, skip commercial degreasers. They can strip the finish or cause discoloration. In those cases, stick with milder options like vinegar or dish soap.
Also avoid degreasers with abrasive particles that can scratch the surface.
6. Use a Magic Eraser for Stubborn Spots
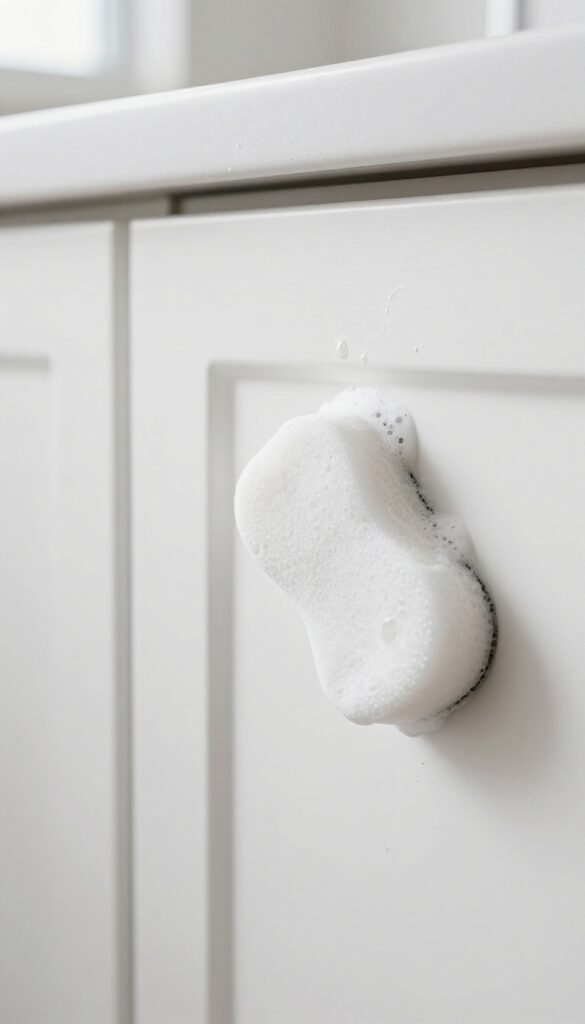
Some grease spots just won't budge with sprays or wipes. That's when a magic eraser—actually a melamine sponge—comes to the rescue. It works like a gentle sandpaper, lifting grime without scratching most surfaces.
How It Works
Melamine foam creates micro-abrasions that loosen and absorb grease. When wet, it releases a mild cleaning action that breaks down sticky residues. It's especially effective on cabinet doors near the stove or handles.
Step-by-step
Dip the sponge in water and squeeze out excess. Gently rub the greasy area in small circles—no need for pressure. Rinse the sponge frequently to avoid redepositing grime.
Wipe the cabinet with a damp cloth afterward.
Important Caution
Always test on a hidden spot first. Melamine can dull glossy finishes or remove paint on some surfaces. Avoid using on antique or unsealed wood.
If you see color transfer or shine loss, stop immediately.
7. Steam Clean with a Handheld Steamer
Steam is a fantastic tool for loosening stubborn grease without scrubbing. A handheld steamer directs hot, pressurized vapor at grimy areas, softening the buildup so it wipes away effortlessly. This method is especially good for intricate details like cabinet grooves or hardware where grease hides.
Steam cleaning is a chemical-free way to tackle tough grease. The heat breaks down the oil, and the moisture helps lift it from the surface. It's safe for most cabinet finishes, but always test a small area first.
After steaming, a quick wipe with a microfiber cloth leaves cabinets clean and streak-free.
Why Steam Works On Grease
Grease is oil-based, and heat reduces its viscosity, making it flow and release from surfaces. Steam also adds moisture, which helps dissolve water-soluble components of the grime. The combination of heat and moisture is highly effective for cutting through years of buildup.
Best Practices For Steaming Cabinets
Use a handheld steamer with a small nozzle for precision. Hold the steamer a few inches from the surface and move it slowly to avoid soaking the wood. Wipe away loosened grease immediately with a dry microfiber cloth.
For stubborn spots, let the steam sit for a few seconds before wiping.
Safety Tips For Different Cabinet Materials
Steam is safe for sealed wood, laminate, and painted cabinets, but avoid excessive moisture on unsealed wood or MDF, as it can cause swelling. Always dry the surface thoroughly after steaming. Test in an inconspicuous area first to ensure the finish holds up.
8. Try a Mixture of Vegetable Oil and Baking Soda
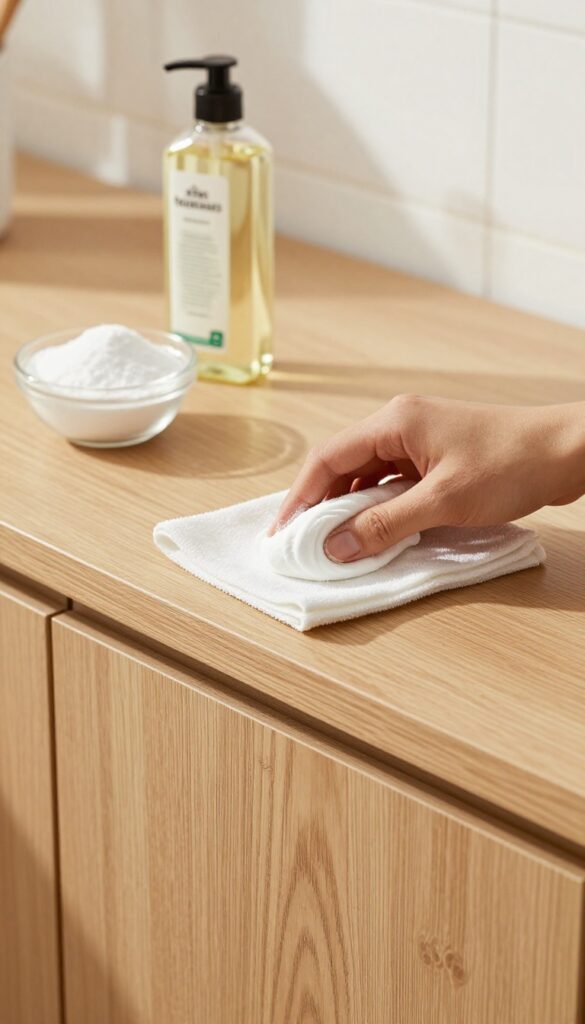
When grease has been baking onto your cabinets for months, a simple spray might not cut it. But you don't need harsh chemicals—just two kitchen staples. Vegetable oil and baking soda combine to make a gentle polish that lifts stubborn grease while conditioning the wood.
Mix equal parts vegetable oil and baking soda to form a paste. Apply it to greasy areas with a soft cloth, rubbing in circular motions. The baking soda acts as a mild abrasive to break down grime, while the oil moisturizes the wood, preventing it from drying out.
Wipe off with a damp cloth and buff dry for a natural shine.
Why This Combo Works
Baking soda is a gentle abrasive that scrubs away grease without scratching most finishes. Vegetable oil dissolves the sticky residue and leaves a protective layer that repels future grime. Together, they create a polish that cleans and conditions in one step.
Best For Wood Cabinets
This method works wonders on unfinished or lightly finished wood cabinets. The oil penetrates the grain to restore moisture, while the baking soda lifts embedded grease. Avoid using it on laminate or painted surfaces, as the oil may leave a residue or dull the finish.
How To Apply
Start with a small test spot. Apply the paste with a microfiber cloth, working in small sections. Let it sit for a minute, then buff gently.
Remove any excess with a clean, damp cloth. For heavy buildup, let the paste sit for 5 minutes before wiping.
9. Use Lemon Juice for a Fresh Scent and Degreasing
Lemon juice does more than just smell amazing. Its natural citric acid breaks down grease on contact, making it a perfect degreaser for kitchen cabinets. Plus, the fresh scent lingers long after you finish cleaning, leaving your kitchen smelling like a citrus grove.
Lemon juice is a gentle yet effective degreaser that works well on most cabinet surfaces. It cuts through cooking grease without damaging finishes, and its antibacterial properties add an extra layer of cleanliness. You can use it alone or combine it with other natural ingredients for a boost.
Lemon Juice And Water Spray
Mix equal parts lemon juice and warm water in a spray bottle. Shake well, then spray directly onto greasy cabinet surfaces. Let it sit for 2-3 minutes to loosen the grime, then wipe clean with a soft cloth.
This solution is safe for sealed wood, laminate, and painted cabinets.
Lemon Juice And Baking Soda Paste
For stubborn, baked-on grease, make a paste with lemon juice and baking soda. Apply it to the greasy spots with a sponge, let it sit for 5 minutes, then scrub gently. The baking soda provides mild abrasion while the lemon juice dissolves grease.
Rinse with a damp cloth and dry.
Lemon Juice And Vinegar Combo
Combine 1/4 cup lemon juice, 1/4 cup white vinegar, and 1/2 cup water. This powerful duo tackles heavy grease and leaves cabinets streak-free. Use it sparingly on unsealed wood, as vinegar can be harsh.
Test on a hidden area first.
10. Apply a Paste of Cream of Tartar and Vinegar
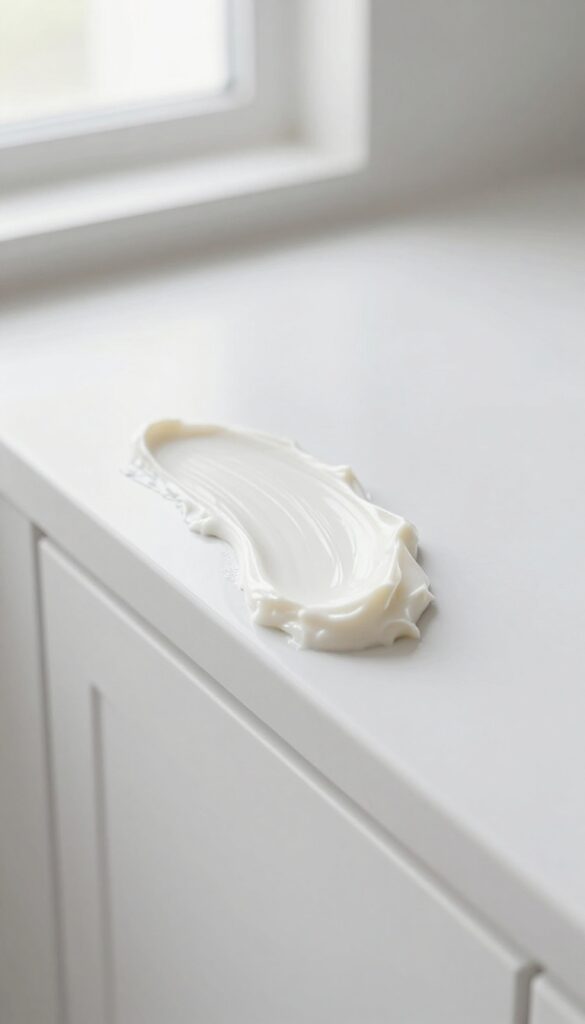
Cream of tartar isn't just for baking—it's a mild acid that tackles grease without scratching surfaces. When mixed with vinegar, it forms a paste that clings to vertical cabinet doors and breaks down stubborn grime. This method works especially well on white or light-colored cabinets where grease stains are most visible.
Making The Paste
Combine two tablespoons of cream of tartar with just enough white vinegar to form a thick paste—think toothpaste consistency. Stir until smooth; it should spread easily but not drip. Use a small bowl and mix fresh for each cleaning session.
Applying And Letting It Sit
Use a soft cloth or sponge to apply the paste directly to greasy spots. Focus on areas near the stove and handles. Let it dry completely—usually 10–15 minutes.
As it dries, the paste pulls oils and grease out of the finish.
Buffing It Off
Once dry, buff the paste off with a clean, dry microfiber cloth. Use circular motions to lift residue and restore shine. For stubborn spots, reapply and let sit a bit longer.
Finish with a damp cloth to remove any leftover powder.
11. Use a Microfiber Cloth for Streak-Free Results
Microfiber cloths are a game-changer when it comes to cleaning kitchen cabinets. Their ultra-fine fibers trap grease and dirt without scratching the surface, leaving a streak-free shine. Whether you're using a homemade degreaser or a store-bought cleaner, pairing it with a microfiber cloth ensures the best results.
Why Microfiber Works Best
Microfiber has a positive charge that attracts negatively charged dust and grease particles. This electrostatic action lifts grime away rather than pushing it around. Plus, the fibers are split to create tiny hooks that grab onto oily residues, making them more effective than cotton or paper towels.
How To Use It Properly
Always use a clean, dry microfiber cloth for dusting first. For degreasing, dampen the cloth with your cleaning solution—never soak it. Wipe in the direction of the wood grain if your cabinets are wooden.
Flip the cloth frequently to avoid redistributing grease. Rinse the cloth in warm water between uses if it gets too dirty.
Caring For Your Microfiber Cloths
To keep them effective, wash microfiber cloths separately from lint-producing fabrics like cotton. Use mild detergent and avoid fabric softener or bleach, which can clog the fibers. Air dry or tumble dry on low heat.
Replace them when they start to feel less grippy or leave streaks.
12. Try a Commercial Wood Cleaner for Finished Cabinets
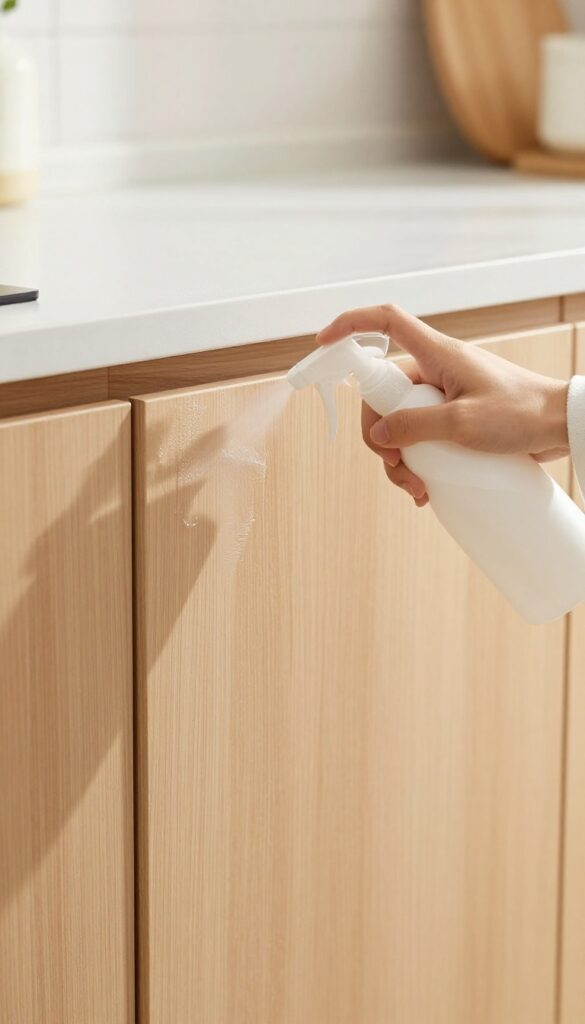
Not all cabinet cleaning jobs are DIY-friendly. If your cabinets have a factory finish or a high-quality stain, a dedicated wood cleaner can be the safest and most effective option. These products are formulated to lift grease without stripping the protective layer, so you get a deep clean without risking damage.
When you choose a commercial wood cleaner, look for one labeled specifically for finished wood surfaces. Avoid all-purpose cleaners that might contain ammonia or bleach, which can dull the finish over time. Spray the cleaner onto a soft cloth—never directly onto the cabinet—and wipe in the direction of the wood grain.
Follow up with a dry microfiber cloth to remove any residue and restore the natural luster.
What To Look For
Check the label for terms like "wood-safe, " "finish-friendly, " or "for sealed wood. " Products with a neutral pH are ideal. Avoid anything with wax or silicone if you plan to repaint or refinish later, as those can cause adhesion problems.
How To Apply
Always test the cleaner on a small, hidden area first. Spray onto a microfiber cloth, then wipe a small section. If the finish looks unchanged and the grease lifts, you're good to go.
Work in small sections, and don't let the cleaner pool on the surface.
When To Use This Method
This method is best for cabinets that are in good condition but have a stubborn greasy film that DIY solutions haven't touched. It's also a great choice if you're short on time and want a reliable, no-mix solution.
13. Use a Degreasing Dishwasher Tablet Dissolved in Water
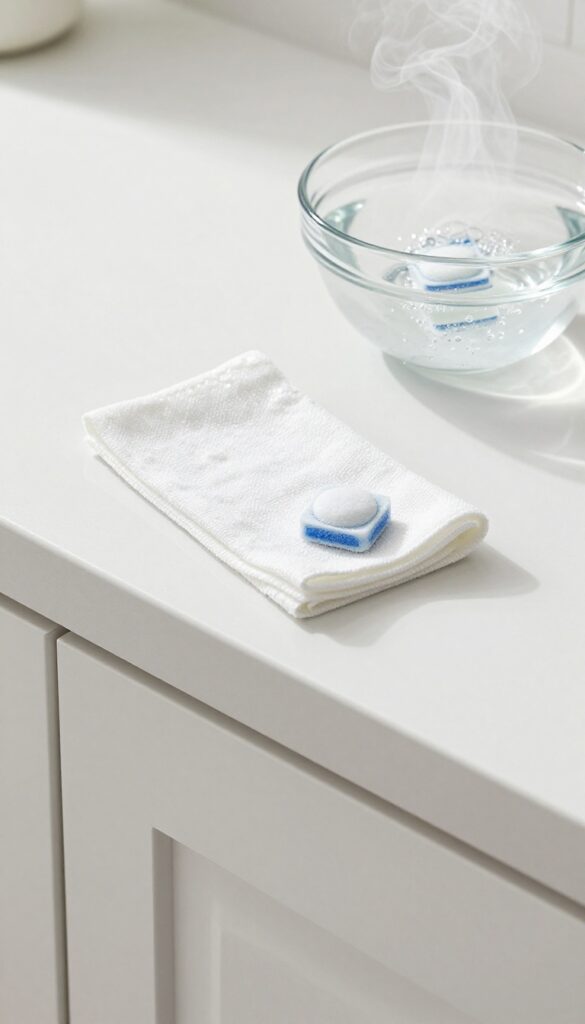
You might think dishwasher tablets are only for the machine, but they're actually packed with powerful degreasers. One tablet dissolved in hot water creates a cleaning solution that cuts through cabinet grease with surprising ease.
Drop one tablet into a quart of hot water and let it fizz and dissolve completely. Dip a soft cloth into the solution, wring it out so it's damp not dripping, and wipe down your cabinets. The enzymes and surfactants break down greasy residue without harsh scrubbing.
Rinse with a clean damp cloth afterward to avoid any residue.
Why It Works So Well
Dishwasher tablets contain enzymes that target food oils and fats, plus surfactants that lift grease away from surfaces. The hot water activates these ingredients, making them more effective than many all-purpose cleaners. Plus, the formula is designed to rinse clean, so you won't leave a sticky film behind.
Best For Painted Or Laminate Cabinets
This method is especially safe for painted and laminate cabinets because it's non-abrasive and gentle. Avoid using it on unfinished wood or cabinets with worn sealant, as the moisture can cause damage. Always test on a small hidden area first.
Tips For Best Results
Use a fresh tablet each time for maximum strength. If the solution cools, reheat it slightly (not boiling) to keep the enzymes active. Work in small sections and wipe with the grain to avoid streaks.
Follow up with a dry microfiber cloth to buff the surface.
14. Apply a Mixture of Borax and Water for Tough Grease
Borax is a natural mineral that works wonders on stubborn grease. When mixed with warm water, it creates a gentle but effective cleaning paste that breaks down oily residues without damaging your cabinet surfaces. This method is especially good for cabinets that have years of built-up grime.
For really tough grease spots, borax is a powerhouse. It's mild enough for most finishes but strong enough to cut through layers of cooking oil. The key is letting the mixture sit for a few minutes so the borax can work its magic before you wipe it away.
How To Mix And Apply
Combine 1 tablespoon of borax with 1 cup of warm water in a small bowl. Stir until the borax dissolves completely. Dip a soft sponge into the solution, wring out excess liquid, and apply it to the greasy areas.
Let it sit for 5 to 10 minutes to loosen the grime.
Wiping And Rinsing
After the solution has sat, use a clean damp cloth to wipe away the borax mixture. You may need to rinse the cloth frequently. Follow up with a dry microfiber towel to remove any residue and prevent streaks.
The cabinets should look noticeably cleaner.
Safety Tips For Different Finishes
Borax is safe for most sealed wood, laminate, and painted cabinets, but always test on an inconspicuous area first. Avoid using it on unsealed wood, as the moisture can cause damage. Wear gloves if you have sensitive skin, and keep the mixture away from children and pets.
15. Finish with a Protective Coating to Prevent Future Grease
You've scrubbed every inch of your cabinets until they gleam. Now keep them that way with a simple protective barrier. A thin layer of furniture polish or mineral oil repels grease and makes future wipe-downs effortless.
This final step locks in your hard work and extends the time between deep cleans.
After cleaning, apply a thin layer of furniture polish or mineral oil to repel grease and simplify future cleaning. This coating fills microscopic pores in the wood or laminate, creating a slick surface that cooking vapors can't cling to easily. For wood cabinets, mineral oil nourishes the grain and prevents drying.
For laminate, a silicone-based polish works wonders. Just spray or dab a small amount onto a soft cloth, then buff in the direction of the grain. Avoid over-application—a little goes a long way.
Reapply every few months for best results.
Choosing The Right Coating
Not all protective coatings are cabinet-friendly. For unfinished or raw wood, food-grade mineral oil is your best bet—it won't go rancid and is safe near food. For painted or laminate cabinets, a spray furniture polish with UV protection helps prevent fading.
Avoid wax-based products on high-moisture areas; they can trap humidity and cause cloudiness.
How To Apply For Best Results
Work in small sections. Dampen a microfiber cloth with your chosen coating, then wipe onto the cabinet surface in long, even strokes. Let it sit for about a minute, then buff with a dry part of the cloth until no streaks remain.
Focus on the front edges and handles—those are grease magnets. Don't forget the underside of upper cabinets where steam rises.
FAQ
Can I use bleach to clean kitchen cabinets?
Bleach is too harsh for most cabinet finishes and can cause discoloration or damage. Stick to mild degreasers like dish soap, vinegar, or baking soda.
How often should I clean my kitchen cabinets?
Wipe down cabinets every few weeks to prevent grease buildup. A deep degreasing every 3-6 months keeps them looking fresh.
What is the best homemade degreaser for kitchen cabinets?
A mixture of warm water and white vinegar (1: 1 ratio) is effective and safe for most surfaces. Add a few drops of dish soap for extra grease-cutting power.
How do I remove grease from wood cabinets without damaging the finish?
Use a gentle cleaner like diluted dish soap or a vinegar-water solution. Avoid abrasive scrubbers and test any cleaner on a hidden area first.
Can I use olive oil to clean kitchen cabinets?
Olive oil can leave a residue and attract dust. It's better to use mineral oil or a commercial wood cleaner for conditioning after degreasing.
Conclusion
With these 15 degreasing tips, your kitchen cabinets can go from sticky to spotless without harsh scrubbing. Start with the gentlest method like dish soap and warm water, then level up to baking soda or vinegar for tougher grease.
The key is matching the cleaner to the grime level—your cabinets will thank you with a fresh, clean look. Pick a few tips to try this weekend, and you'll see how easy maintaining that shine really is.


