
You've tackled the counters and the fridge, but deep cleaning a whole house means breaking it down into zones you might overlook. That's where this 15-zone reset comes in—each area gets a focused, practical approach so nothing slips through the cracks. From the grime behind the toilet to the dust on your entertainment center, we're covering it all.
No vague advice or one-size-fits-all tips here. Every zone has a specific method that targets the real mess, whether it's greasy backsplash buildup or musty closet shelves. You'll finish each section feeling like you actually made a difference.
Ready to reset your space room by room? Let's dive into the 15 zones that will transform your home from lived-in to spotless.
1. Kitchen Counters and Backsplash
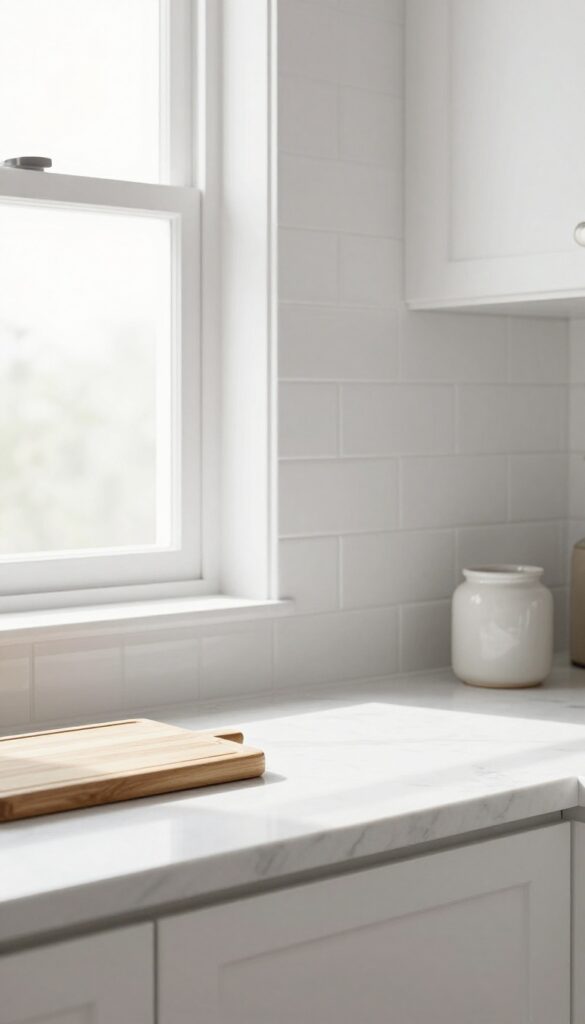
Your kitchen counters see a lot of action—coffee spills, chopping prep, and the occasional mail pile. But the real grime often hides on the backsplash, where grease and cooking splatters build up over time. Here's how to tackle both surfaces so your kitchen feels fresh and sanitary.
Start by clearing everything off the counters. Move appliances, canisters, and clutter to the table or a nearby counter. Then, sweep or vacuum any loose crumbs and debris into a dustpan.
For the backsplash, use a degreasing cleaner or a mix of warm water and dish soap. Spray it on, let it sit for a minute, then wipe with a microfiber cloth. Pay special attention to areas behind the stove and sink—they're usually the grimiest.
Rinse with a damp cloth and dry with a clean towel. Finally, sanitize the countertops with a disinfectant spray or a vinegar-water solution, especially if you've handled raw meat or produce.
Clear The Clutter First
You can't clean what you can't see. Move everything off the counters—appliances, utensil holders, fruit bowls. Give each item a quick wipe before setting it aside.
This also gives you a chance to declutter and decide what really needs to stay out.
Degrease The Backsplash
Backsplash tiles collect grease and food splatters that regular wiping misses. Use a dedicated degreaser or a homemade solution of equal parts white vinegar and warm water. Spray generously, let it sit for 2–3 minutes, then scrub with a non-abrasive sponge.
For stubborn spots, a baking soda paste works wonders.
Sanitize And Dry
After removing grime, it's time to kill germs. Use a food-safe sanitizer or a diluted bleach solution (1 tablespoon bleach per gallon of water). Wipe down all surfaces and let them air dry, or use a clean microfiber cloth to avoid streaks.
Don't forget the edges and corners where crumbs hide.
2. Inside the Refrigerator
The fridge is where food goes to live—and sometimes to die. A quick wipe of the shelves isn't enough when you're doing a total reset. This zone deserves a full clear-out, a deep scrub, and a smart reorganization so your groceries stay fresher longer and you can actually see what you have.
Empty And Toss
Pull everything out, shelf by shelf. Check expiration dates on condiments, leftovers, and produce. Toss anything that's past its prime or looks questionable.
This is also a good time to consolidate half-empty jars and wipe down lids before putting them back.
Scrub Every Surface
Remove shelves and drawers if possible. Wash them in warm, soapy water, then dry completely before reassembling. For the interior walls and door bins, use a mix of baking soda and water to tackle sticky spills and odors.
Don't forget the rubber gasket—it collects grime and can affect the seal.
Organize For Visibility
Group similar items together: dairy on one shelf, leftovers on another, produce in designated bins. Use clear containers or bins to keep small items from getting lost. Place newer groceries behind older ones to encourage rotation.
Label leftovers with dates so you know what needs eating first.
3. Oven and Stovetop
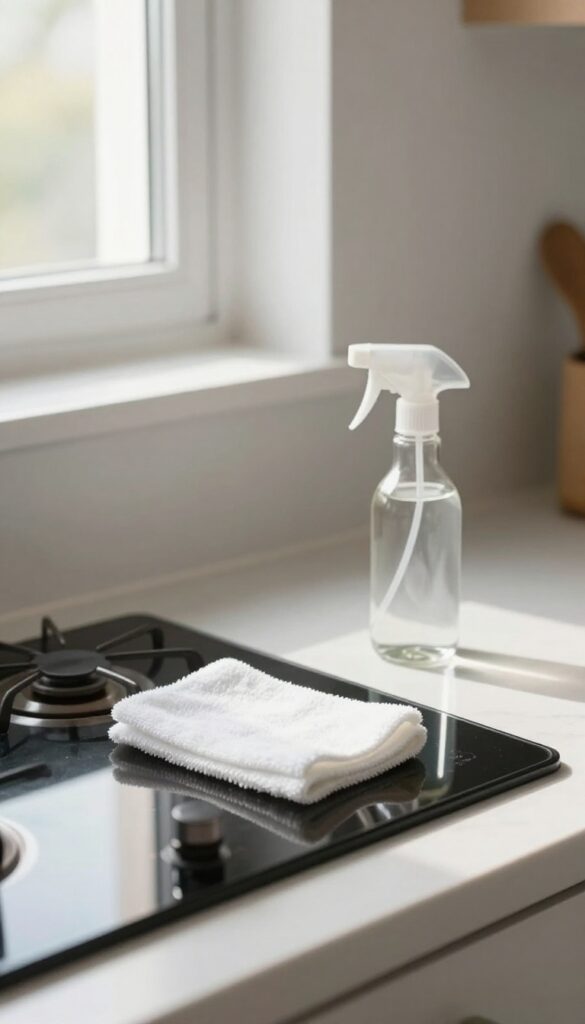
The oven and stovetop take the brunt of cooking splatters, baked-on spills, and greasy residue. This zone needs more than a quick wipe—it demands targeted degreasing and a bit of elbow grease. By breaking it down into three focused steps, you'll have both looking like new without harsh chemicals.
Degrease The Stovetop
Start with the stovetop. If you have a glass cooktop, use a ceramic cooktop cleaner and a soft cloth to avoid scratches. For gas or electric coils, remove the grates and drip pans and soak them in hot, soapy water.
Meanwhile, spray the stovetop surface with a degreaser or a mix of vinegar and dish soap. Let it sit for five minutes to break down the grease, then scrub with a non-abrasive sponge. Rinse and dry thoroughly before replacing the grates.
Clean Oven Racks With Baking Soda Paste
Oven racks collect baked-on grime that a simple wipe can't touch. Remove the racks and place them in a large trash bag or your bathtub (if clean). Make a paste of baking soda and water—about 1/2 cup baking soda mixed with enough water to form a spreadable paste.
Coat each rack thoroughly, then seal them in the bag overnight. The next day, rinse with warm water and scrub off any remaining residue with a sponge. For stubborn spots, use a plastic scraper.
Wipe Down The Oven Door Glass
The oven door glass often gets overlooked, but it's one of the first things you see. Mix a solution of equal parts white vinegar and water in a spray bottle. Spray the glass and let it sit for a minute.
Wipe with a microfiber cloth in circular motions to remove streaks. For burnt-on splatters inside the glass, use a baking soda paste (same as above) applied with a damp cloth, then wipe clean. Avoid using abrasive pads that can scratch the glass.
4. Bathroom Vanity and Sink
The bathroom vanity and sink are ground zero for daily clutter and toothpaste splatters. It's a small zone that gets a lot of action, so resetting it properly makes the whole bathroom feel cleaner. Let's give it the focused attention it deserves.
Clear The Counter
Start by removing everything from the vanity top. Toothbrushes, soap dispensers, and that random bottle of lotion you never use—all of it goes into a basket or onto the floor. This gives you a blank slate to work with and makes it easier to see what actually needs to be there.
Scrub The Sink Basin
Use a non-abrasive cleaner or a paste of baking soda and vinegar to scrub the sink basin. Pay extra attention to the drain area and around the faucet base where grime builds up. Rinse thoroughly and dry with a microfiber cloth to prevent water spots.
Disinfect Faucets And Handles
Spray a disinfectant on the faucet, handles, and any other high-touch surfaces. Let it sit for the recommended time, then wipe clean. Don't forget the area underneath the faucet where water drips and can cause mineral deposits.
Organize Toiletries
Before putting items back, decide what really needs to stay on the counter. Use small trays, jars, or caddies to group similar items like toothbrushes and toothpaste. Store extras in a drawer or cabinet to keep the surface clutter-free.
5. Shower and Tub
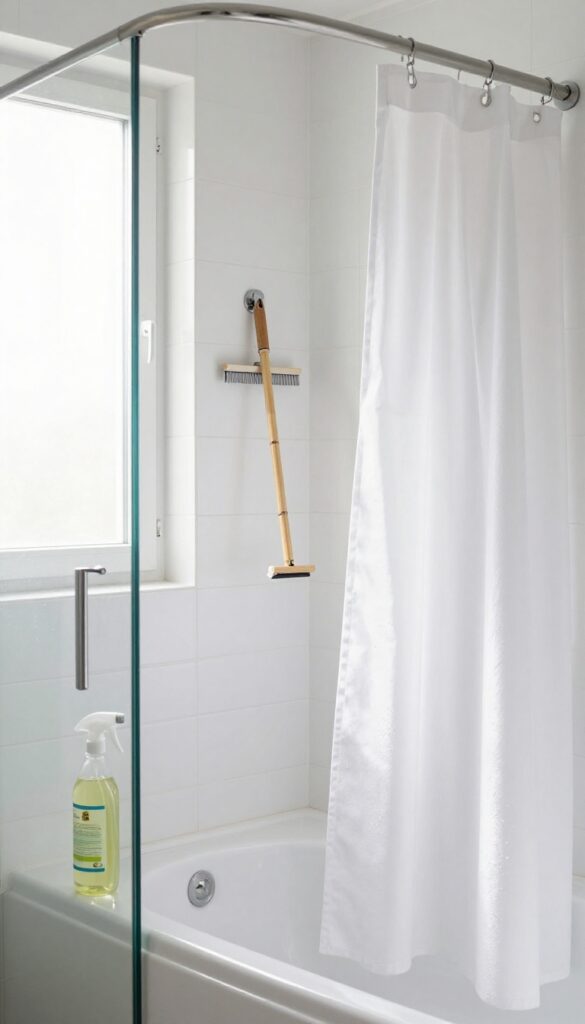
Glass doors, tile walls, and the tub basin itself—this zone collects soap scum, hard water stains, and mildew faster than any other. But you don't need harsh chemicals to get it gleaming. A few simple steps will cut through the buildup and leave your shower looking like new.
Start by spraying down all surfaces with a 50/50 white vinegar and water solution. Let it sit for 10 minutes to dissolve soap scum and mineral deposits. Scrub grout lines with an old toothbrush dipped in baking soda paste, then rinse thoroughly.
For shower curtains or doors, either run fabric curtains through a wash cycle with a cup of vinegar, or wipe glass doors with a squeegee after each use to prevent future buildup. Finish by wiping down fixtures with a microfiber cloth to prevent water spots.
Tackle Soap Scum And Hard Water
Soap scum is just a mix of soap residue and minerals. The vinegar solution breaks it down without scrubbing yourself raw. For stubborn spots, add a squirt of dish soap to the vinegar.
Let it sit longer—up to 20 minutes—then scrub with a non-abrasive sponge.
Grout And Mildew Control
Grout is porous and traps moisture, making it a magnet for mildew. After scrubbing with baking soda paste, spray with hydrogen peroxide and let it fizz for 5 minutes. Rinse well.
To prevent regrowth, keep a squeegee in the shower and use it after every use.
Shower Curtains And Doors
Fabric curtains can go in the wash with a cup of vinegar and a little detergent. Hang them back up while damp to prevent wrinkles. For glass doors, a daily squeegee wipe is the best prevention.
If you already have hard water stains, rub them with a cut lemon or a paste of baking soda and water, then rinse.
6. Toilet and Surrounding Area
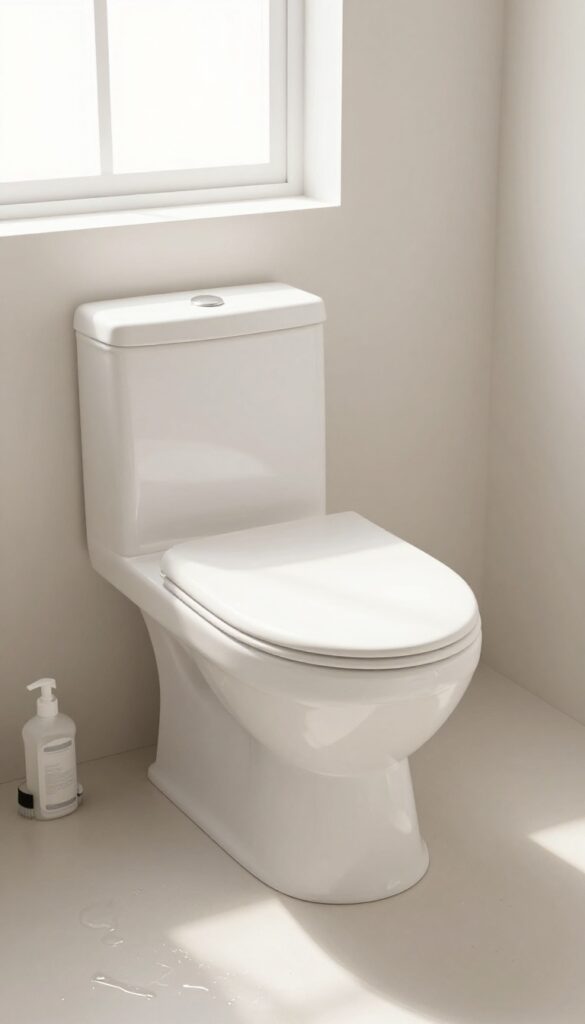
The toilet zone is more than just the bowl. It's the base, the tank, the floor, and even the wall behind it. This area gets overlooked during quick cleanings, but a deep reset here makes the whole bathroom feel fresher.
We're going inside and out, leaving no crevice untouched.
Inside The Bowl And Under The Rim
Start by flushing to wet the bowl, then apply a heavy-duty toilet bowl cleaner around the rim and let it sit for five minutes. Use a toilet brush to scrub the entire interior, focusing on the waterline and under the rim where buildup hides. Flush again, then use a pumice stone on stubborn stains if needed.
For the rim jets, use a small brush or an old toothbrush to dislodge any gunk.
Exterior And Tank
Wipe down the outside of the toilet, including the lid, seat (both sides), and the base with a disinfecting cleaner. Don't forget the flush handle and the hinge area. For the tank, remove the lid carefully and wipe the interior walls with a damp cloth—avoid harsh chemicals that could damage components.
Wipe the lid and set it aside to dry.
The Base And Floor Around It
The area where the toilet meets the floor is a magnet for dust and grime. Use a small brush or an old toothbrush to scrub the seam, then wipe with a damp cloth. Move the toilet if possible (or use a mirror to see behind it) to clean the floor and baseboard.
Finish by mopping or wiping the floor with a disinfectant solution.
7. Living Room Upholstery and Curtains
Your living room sofa and drapes are basically giant dust and allergen sponges. Every time you sit down or pull the curtains, you're stirring up particles that settle into the fibers. This zone is all about giving those soft surfaces a deep reset so your living room feels fresh, not just looks tidy.
Vacuum Every Crevice
Start by removing all cushions and vacuuming both sides, plus the crevices where crumbs and pet hair hide. Use the upholstery attachment for fabric and the brush tool for delicate areas. Don't forget the back and sides of the sofa—dust loves to settle there.
For leather, use a soft brush attachment to avoid scratches.
Spot-clean Stains The Right Way
Check the care tag before applying any cleaner. For most fabric stains, blot (don't rub) with a microfiber cloth and a mild detergent solution. For tougher spots like wine or ink, use a specialized upholstery cleaner.
Test on a hidden area first. For leather, wipe with a damp cloth and condition afterward to prevent cracking.
Wash Or Steam Curtains
Check the curtain label—many can be machine washed on a gentle cycle with cold water. If they're dry-clean only, use a handheld steamer to refresh them without removing. Steaming kills dust mites and removes wrinkles, making curtains look crisp.
If you wash them, hang them back up while slightly damp to avoid new wrinkles.
8. Electronics and Entertainment Center
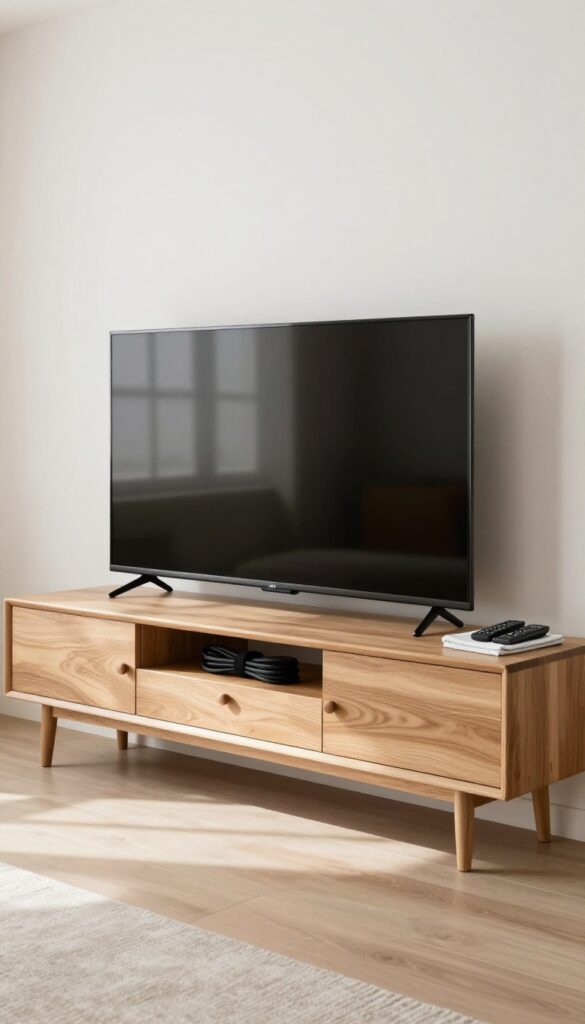
The entertainment center is a magnet for dust, fingerprints, and tangled cables. Screens show every smudge, shelves collect grime, and remotes vanish into couch cushions. This zone deserves a thorough reset so your TV area looks as good as it performs.
Start by unplugging everything—it's safer and makes reaching behind components easier. Dust from top to bottom: wipe screen edges, shelf surfaces, and the backs of electronics. Use a microfiber cloth for screens (paper towels can scratch).
For cables, unplug each one, wipe with a dry cloth, and use cable ties or velcro straps to bundle them neatly. Finally, gather all remotes, wipe them down with a disinfectant wipe, and assign a designated spot like a small tray or caddy.
Screen Cleaning Without Streaks
Turn off the TV or monitor so you can see dust and smudges clearly. Use a dry microfiber cloth in gentle circular motions. For stubborn spots, lightly dampen the cloth with distilled water—never spray directly on the screen.
Avoid alcohol-based cleaners; they can damage anti-glare coatings.
Cable Management Made Simple
Label each cable with a small sticker or bread tie tag before unplugging. Use adhesive cable clips along the back edge of the entertainment center to route cords. For excess length, zip ties or velcro wraps keep them tidy.
This not only looks better but makes future swaps easier.
Dust-proofing Shelves And Vents
Remove all items from shelves and wipe with a slightly damp microfiber cloth. Pay attention to vent grilles on gaming consoles and receivers—use a soft brush or compressed air to clear dust. Consider placing a thin, washable dust cover over equipment when not in use.
9. Bedroom Mattress and Bedding
Your mattress and bedding are where you spend a third of your life, yet they often get ignored during routine cleaning. Dust mites, sweat stains, and dead skin cells accumulate fast, turning your sleep sanctuary into a less-than-fresh zone. This section focuses on stripping, deep-cleaning, and refreshing everything from the mattress surface to the pillow protectors.
Strip And Wash Bedding
Start by removing all sheets, pillowcases, duvet covers, and mattress protectors. Wash them in hot water (at least 130°F) to kill dust mites and bacteria. Use a gentle, fragrance-free detergent if you have sensitive skin.
While the bedding is in the wash, move on to the mattress.
Vacuum The Mattress Surface
Attach the upholstery tool to your vacuum and go over the entire mattress, paying special attention to seams and crevices where dust and debris hide. Don't forget the sides and the box spring if you have one. This step alone removes a surprising amount of allergens.
Spot-clean Stains
Mix a small amount of mild dish soap with hydrogen peroxide or white vinegar to create a gentle stain remover. Dip a clean cloth into the solution, blot the stain (don't rub), and let it air dry. For urine or sweat stains, sprinkle baking soda over the area, let it sit for 15 minutes, then vacuum it up before blotting.
Flip Or Rotate The Mattress
If your mattress is double-sided, flip it over to promote even wear. For single-sided mattresses, rotate it 180 degrees so the head becomes the foot. This extends the life of your mattress and keeps your sleep surface consistent.
While you're at it, fluff your pillows and consider washing them if they're machine-washable.
10. Closet Floors and Shelves
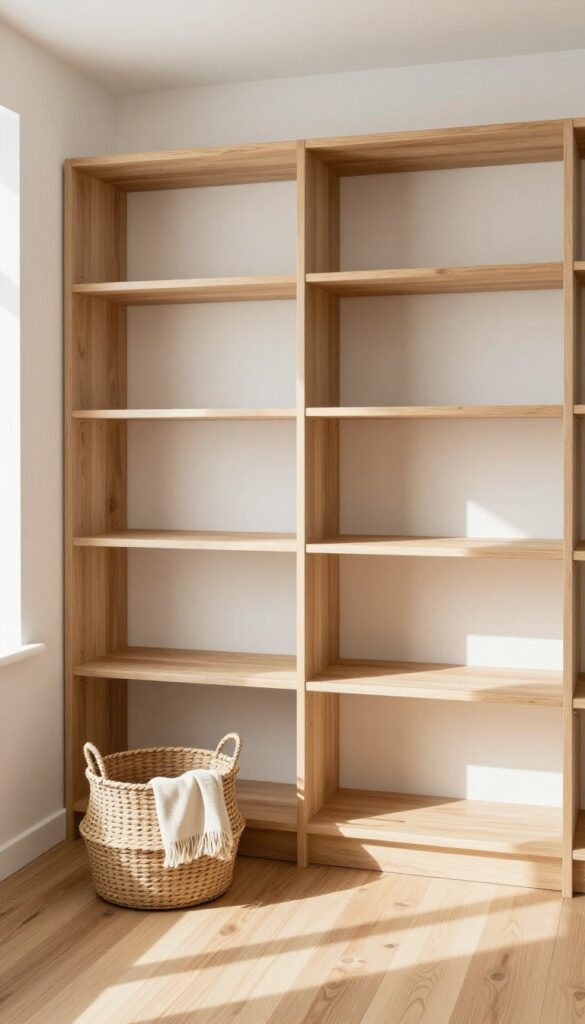
Closet floors and shelves are prime real estate for dust bunnies, stray socks, and forgotten items. They also set the tone for your entire morning routine. When this zone is clean and organized, getting dressed feels effortless.
Start by emptying the entire closet—clothes, shoes, boxes, everything. This gives you a blank slate and forces you to assess every item. Vacuum or mop the floor, paying extra attention to corners and baseboards where dust accumulates.
Wipe down each shelf with a damp cloth or an all-purpose cleaner. While shelves are drying, sort through your belongings. Create a donate pile for anything you haven't worn in a year or that no longer fits.
This step alone can transform your closet from cramped to spacious.
The Great Empty
Pulling everything out might feel overwhelming, but it's the only way to do a thorough job. Use this opportunity to vacuum the floor and wipe down shelves without obstacles. You'll be surprised how much dust hides under shoe boxes and fallen hangers.
Sort And Donate
As you put items back, be ruthless. If it doesn't spark joy or serve a purpose, let it go. Keep a donation bag handy and fill it as you go.
This keeps clutter from creeping back in and makes your closet feel lighter.
Maintenance Tips
To keep closet floors and shelves clean longer, add a small doormat inside the closet to catch dust from shoes. Use shelf liners that are easy to wipe down. And make it a habit to do a quick five-minute tidy every time you change seasons.
11. Home Office Desk and Drawers
Your desk is the command center of your home office, but it's also a landing pad for coffee rings, sticky notes, and random cables. Over time, drawers turn into black holes for old pens, expired coupons, and chargers you forgot you owned. This zone reset will turn your workspace into a place you actually want to sit down at.
Clear The Surface
Start by removing everything from your desk—monitor, keyboard, lamp, papers, and knickknacks. Wipe down the entire surface with a gentle cleaner, paying extra attention to corners where crumbs and dust collect. While the desk dries, sort the items into three piles: keep, relocate, and trash.
Only put back what you use daily; everything else finds a home elsewhere.
Tame The Cable Chaos
Unplug all devices and detangle the mess of cords behind your desk. Use cable ties, clips, or a sleeve to group wires together and run them along the desk leg or wall. Label each plug with a small tag or washi tape so you know which cord belongs to what.
Once everything is neat, plug it back in and secure the bundle so it stays tidy.
Declutter The Drawers
Pull out each drawer completely and dump the contents onto a clean surface. Wipe the inside with a damp cloth and let it dry. Toss dried-out pens, broken paper clips, and old sticky notes.
Group remaining items by category—writing tools, tech accessories, notepads—and use small organizers or dividers to keep them separated. Resist the urge to shove things back in; only return what you genuinely use.
12. Entryway and Mudroom
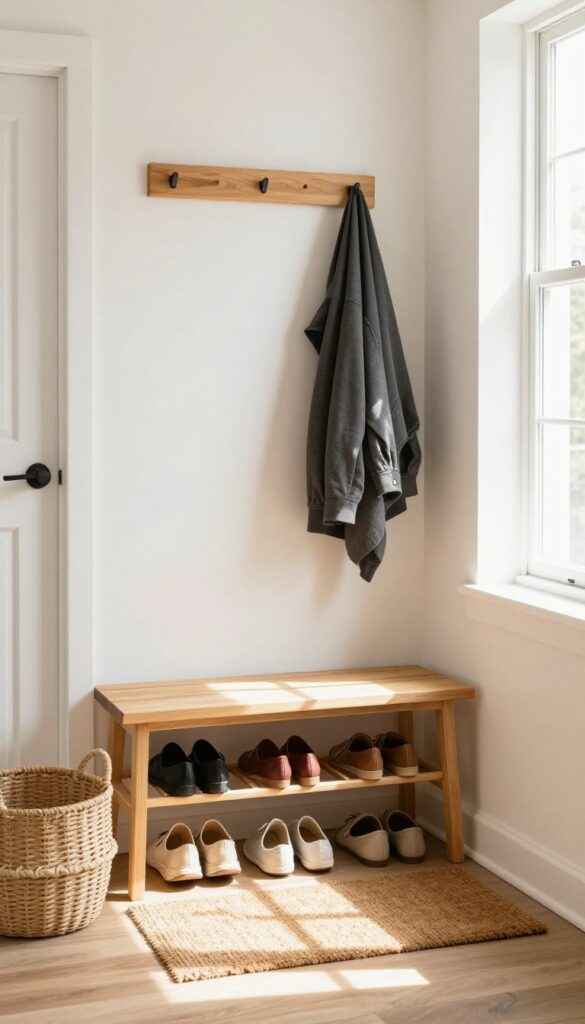
Your entryway is the first thing you see when you walk in and the last thing you see when you leave. It's also a magnet for dirt, clutter, and forgotten items. A clean entryway sets the tone for the whole house, so let's give it the attention it deserves.
Tackle The Floor And Mats
Start by taking all mats and rugs outside. Give them a good shake, then beat them against a railing or wall to dislodge deep dirt. For machine-washable mats, toss them in the wash on a gentle cycle.
While they're out, sweep or vacuum the entryway floor thoroughly, paying extra attention to corners and under shoe racks. For tile or hardwood, follow up with a damp mop using a gentle cleaner. Let the floor dry completely before bringing mats back in.
Organize Shoes And Outerwear
Empty your shoe rack or cubby and sort through every pair. Donate or toss anything worn out or unworn in the last year. Wipe down the rack with a disinfecting wipe or a damp cloth.
For boots and sneakers, give them a quick wipe on the soles and uppers. Next, tackle coats and jackets. Remove anything that doesn't belong (like random bags or hats) and hang everything neatly.
If you have a coat closet, take a moment to vacuum the floor and wipe down the shelves inside.
Wipe Down Surfaces And Storage
Use an all-purpose cleaner to wipe down any shelves, hooks, or cubbies. Don't forget the top of the shoe rack and any decorative ledges. If you have a bench or storage ottoman, vacuum the cushion and wipe the frame.
For baskets or bins, empty them out, wipe the interior, and only return items that are actually useful. This is also a good time to clean the front door handle, light switches, and any nearby wall scuffs.
13. Baseboards and Crown Molding
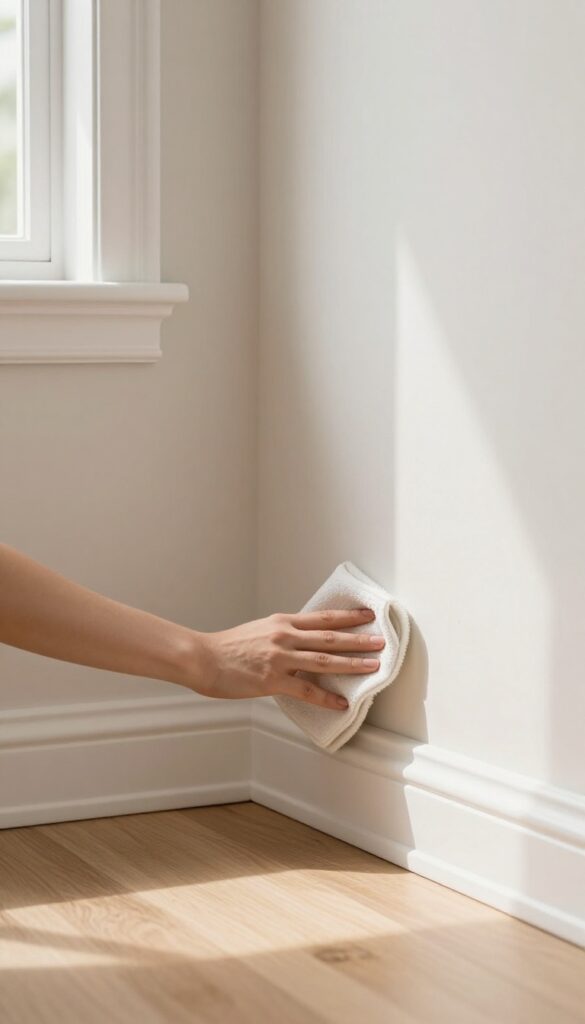
Baseboards and crown molding are like the frame of a painting—they tie the room together, but they also collect dust, cobwebs, and grime that you might not notice until you look closely. These surfaces are often neglected because they're out of direct sight, but cleaning them makes a huge difference in how fresh and polished a room feels. The good news: it's quick work once you have a system.
Start With Dry Dusting
Before you bring any moisture near your trim, remove the loose dust and cobwebs. Use a vacuum with a soft brush attachment—this is the fastest way to cover long stretches without stirring dust into the air. For crown molding, a microfiber duster on an extendable handle lets you reach high corners without a ladder.
Work your way around the entire room, hitting every section of baseboard and molding.
Wipe Down With A Damp Cloth
Once the dust is gone, it's time to tackle the sticky spots—especially in kitchens and hallways where grime builds up. Dip a microfiber cloth in warm water with a drop of dish soap, wring it well, and wipe along the baseboards. For painted trim, avoid soaking the wood; you just want a damp wipe.
Change the water when it gets dirty, and dry the baseboards with a clean cloth to prevent water marks.
Tackle Intricate Molding With A Soft Brush
Crown molding with detailed patterns or multiple ridges can trap dust in every crevice. A soft-bristled paintbrush or a dedicated detailing brush works wonders here. Gently brush along the contours to dislodge dust, then follow up with the vacuum's brush attachment.
For really stubborn grime, a slightly damp cotton swab can reach into tight corners without damaging the finish.
14. Light Fixtures and Ceiling Fans
Light fixtures and ceiling fans collect dust, dead bugs, and grime that dim your rooms and circulate allergens. Cleaning them not only brightens your space but also improves air quality and extends the life of the fixtures. This zone is often skipped because it feels fussy, but with the right approach, it's quick and satisfying.
Turn off power at the switch or breaker before you start. For ceiling fans, use a pillowcase to trap dust from each blade—slide it over, wipe, and pull off. For glass globes, remove them if possible and wash in warm, soapy water.
Lampshades can be dusted with a lint roller or vacuumed with a soft brush attachment. Wipe down bulbs (cool to the touch) with a dry cloth to remove dust. Reassemble and enjoy noticeably brighter light.
Safety First: Power Down
Always turn off the light switch and, for ceiling fans, the wall switch. For extra safety, flip the circuit breaker. Let bulbs cool completely before touching.
Use a sturdy step stool or ladder to reach high fixtures—never stand on furniture.
Ceiling Fan Blades: The Pillowcase Trick
Slide a clean pillowcase over each fan blade, then pull it back toward you. The dust stays inside the pillowcase instead of falling on your floor or furniture. Follow up with a microfiber cloth if needed.
Wipe both sides of the blade.
Glass Globes And Lampshades
Remove glass globes carefully and wash them in warm water with mild dish soap. Dry completely before reattaching. For fabric lampshades, use a lint roller or vacuum with a brush attachment.
For paper shades, use a dry microfiber cloth to avoid damage.
Bulbs And Final Touches
With bulbs cool and dry, wipe them gently with a dry cloth—never wet, as moisture can cause breakage. Reinstall globes and shades. Turn power back on and admire the difference.
Clean light fixtures every 2-3 months for best results.
15. Windows and Window Treatments
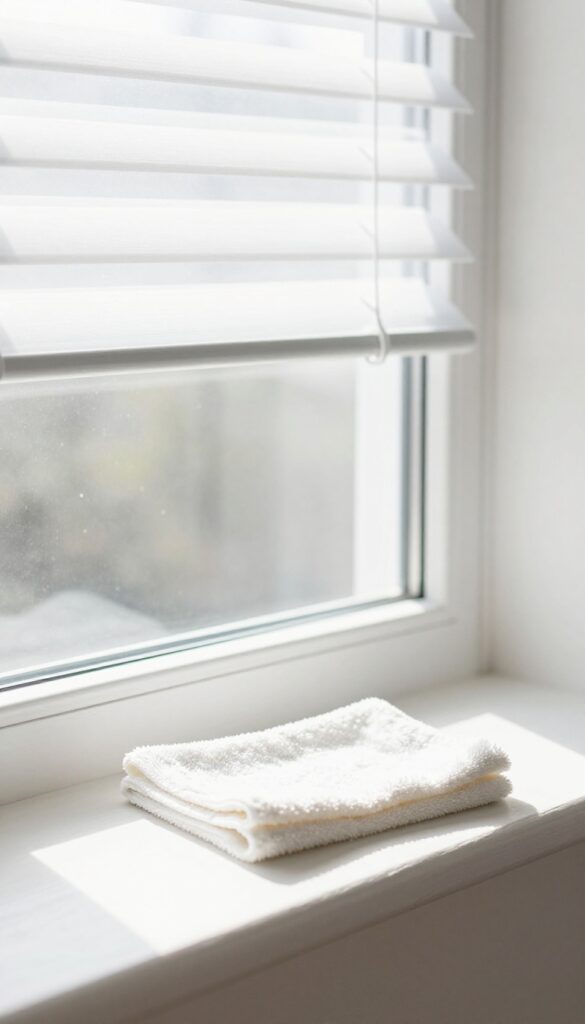
Windows are the eyes of your home, but they're also magnets for dust, smudges, and grime. Clean glass lets in more light and instantly lifts the whole room. But don't stop at the glass—sills, tracks, and blinds collect just as much dirt and deserve equal attention.
Start with the glass. Use a microfiber cloth and a simple solution of water and a few drops of dish soap or white vinegar. Spray the glass, wipe in an S-pattern to avoid streaks, and finish with a dry cloth.
For outdoor windows, a squeegee works best—work from top to bottom, wiping the blade after each pass. Next, tackle the sills and tracks. Vacuum loose debris, then scrub with an old toothbrush dipped in soapy water.
Rinse with a damp cloth and dry thoroughly. Finally, address window treatments. If you have blinds, close them flat and wipe each slat with a microfiber duster or a damp cloth.
For shades, use a lint roller or vacuum with a brush attachment. Wash curtains according to care labels—most can go in the machine on a gentle cycle. Once everything is clean, open the curtains and let the sunshine in.
Cleaning The Glass
Mix equal parts water and white vinegar in a spray bottle. Spray the glass and wipe with a microfiber cloth in a zigzag motion to prevent streaks. For stubborn spots, use a drop of dish soap.
Don't forget the corners and edges—dust loves to hide there.
Sills And Tracks
Vacuum the sills and tracks with a crevice tool to remove loose dirt. Then scrub with a stiff brush or old toothbrush dipped in warm soapy water. Rinse with a damp cloth and dry with a towel.
For really grimy tracks, a paste of baking soda and water works wonders.
Blinds And Shades
Close the blinds flat and wipe each slat with a microfiber duster or a damp cloth. For vertical blinds, use a dusting wand. For fabric shades, a lint roller or vacuum with a soft brush attachment removes dust.
Wash curtains on a gentle cycle or spot-clean as needed.
FAQ
How often should I do a total house reset?
Aim for a deep clean of all 15 zones at least twice a year, such as in spring and fall. You can rotate zones monthly to maintain the results.
What's the best order to clean these zones?
Start from the top (ceilings, fans) and work down to floors. Clean dry areas first (living room, bedroom) then wet areas (kitchen, bathroom) to avoid spreading moisture.
Do I need special cleaning products?
Not necessarily. White vinegar, baking soda, dish soap, and microfiber cloths handle most tasks. Use a degreaser for kitchen grease and a disinfectant for bathrooms.
How long does a full house reset take?
Plan for 4 to 8 hours depending on your home size and how much clutter you have. Break it into two days if needed.
Can I involve my family in the process?
Absolutely. Assign each person a zone or task. Kids can dust baseboards or organize shelves, making the work faster and more fun.
Conclusion
Tackling all 15 zones might feel like a lot, but you don't have to do it all at once. Start with the areas that bother you most—like the kitchen counters or bathroom sink—and build momentum from there. Even one deep-cleaned zone can make your whole home feel fresher.
The key is consistency, not perfection. Pick a zone each weekend, and before you know it, your entire house will feel reset. Your future self will thank you for the clean slate.


