
Baseboards are one of those spots that collect dust and grime without you really noticing—until you run a finger along the top and see a gray line. They don't get cleaned often because it feels tedious, but a fresh set of baseboards can make an entire room look cleaner.
The good news? You don't need to spend hours on your hands and knees.
With the right tools and a few clever tricks, you can knock out this chore in minutes. These 11 shortcuts will help you fight dust and keep your baseboards looking sharp with minimal effort.
1. Dry Dust First with an Extendable Duster
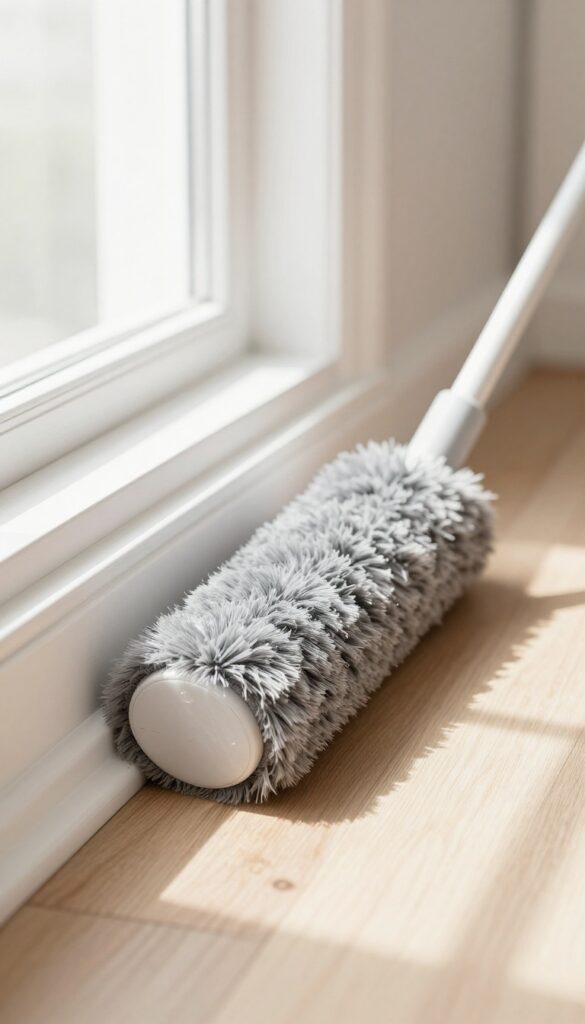
Tackling baseboards with a wet cloth right away is a mistake. It just turns loose dust into a muddy mess that's harder to clean. Start dry to lift all that surface debris without any extra effort.
Grab an extendable duster with a microfiber or lambswool head. The long handle lets you stand upright while reaching every inch of baseboard—no bending or crawling required. The dry fibers attract and hold dust like a magnet, so you're not just pushing it around.
This first pass removes the bulk of the grime, making the wet step that follows much quicker and cleaner. Plus, you'll avoid scratching the paint with gritty particles.
Why Dry Dusting Matters
When you wet a dirty baseboard, the water mixes with dust and forms a paste that smears and dries into a film. Dry dusting first eliminates that problem entirely. It also keeps your cleaning cloths from getting caked with mud, so you can reuse them longer.
Choosing The Right Duster
Look for an extendable duster with a flexible head that can pivot into corners and along the floor edge. Microfiber is great for trapping fine particles, while lambswool holds more dust in one swipe. Avoid feather dusters—they just scatter dust into the air.
Technique Tips
Start at one end of the room and work your way around, dusting from top to bottom. Overlap each pass slightly to catch every speck. For tight spots near furniture, you can tilt the duster head sideways.
Empty or wash the duster head after each room to keep it effective.
2. Use a Microfiber Cloth and All-Purpose Cleaner for Quick Wipes
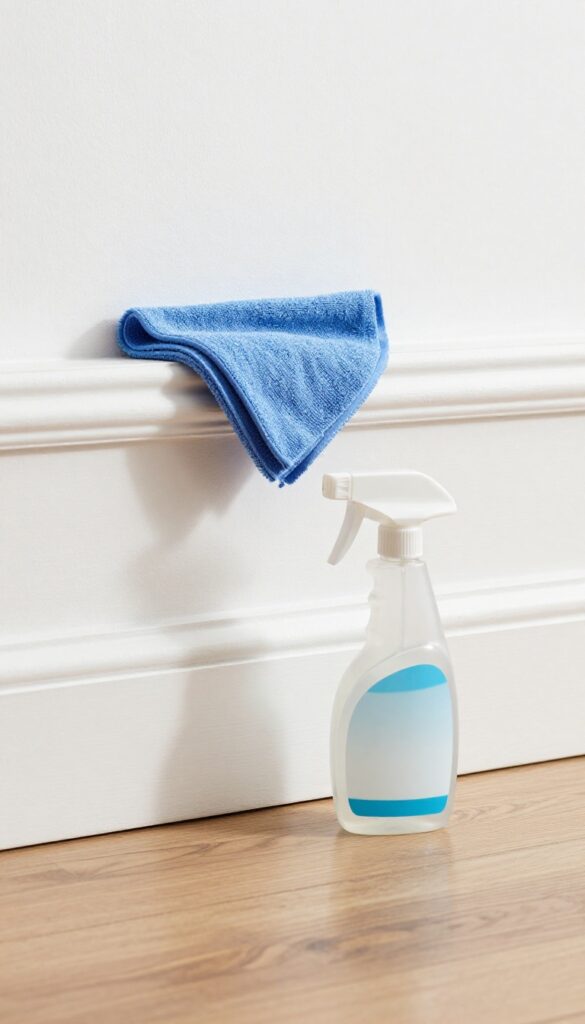
A quick wipe with the right cloth can make baseboards look brand new. Microfiber is the secret weapon here—it grabs dust instead of just moving it around. Paired with a gentle all-purpose cleaner, you can cut through kitchen grease or living room grime in seconds.
Grab a microfiber cloth and dampen it slightly with an all-purpose cleaner. Wipe along the baseboard from one end to the other, applying light pressure. The cloth's fibers trap dust and dirt, while the cleaner dissolves sticky residue.
For best results, use a fresh section of the cloth as it gets dirty.
Why Microfiber Works Best
Microfiber has tiny split fibers that create a static charge, attracting dust like a magnet. Unlike cotton rags that push dust into the air, microfiber holds onto particles until you rinse it out. This makes it ideal for quick touch-ups without spreading allergens.
Choosing The Right Cleaner
Any all-purpose cleaner works, but avoid harsh chemicals that might damage paint or wood. A mild solution of dish soap and water is just as effective. Spray the cleaner onto the cloth, not directly on the baseboard, to prevent drips and overspray.
Wiping Technique
Start at one end and wipe in a single direction, overlapping each pass slightly. For stubborn spots, let the cleaner sit for a few seconds before wiping. Use a dry microfiber cloth afterward to buff away any streaks and leave a clean finish.
3. Try a Dryer Sheet for Static-Free Dusting
Dryer sheets aren't just for the laundry room. A used one can work wonders on baseboards by cutting static and repelling dust. Plus, it leaves a subtle fresh scent behind.
Grab a used dryer sheet from the laundry—one that's already been through the dryer is perfect. Run it along the top and face of the baseboard. The anti-static agents reduce the electric charge that attracts dust, so your baseboards stay cleaner longer.
It's a quick, no-fuss trick that adds a light fragrance to the room.
Why Static Matters
Dust clings to baseboards partly because of static electricity. When you wipe with a dry cloth, you can actually create more static. A dryer sheet neutralizes that charge, so dust particles don't stick as easily.
Best Way To Use It
Always use a used sheet—new ones are too waxy and can leave residue. Glide it along the baseboard in one direction, not back and forth. For stubborn spots, a slightly damp microfiber cloth first, then follow up with the dryer sheet.
Scent Boost Without Chemicals
If you like a fresh smell but want to avoid harsh cleaners, dryer sheets are a gentle option. They leave a light, clean fragrance that fades quickly. Just make sure no one in your home is sensitive to fragrances.
4. Attack Stubborn Grime with a Magic Eraser
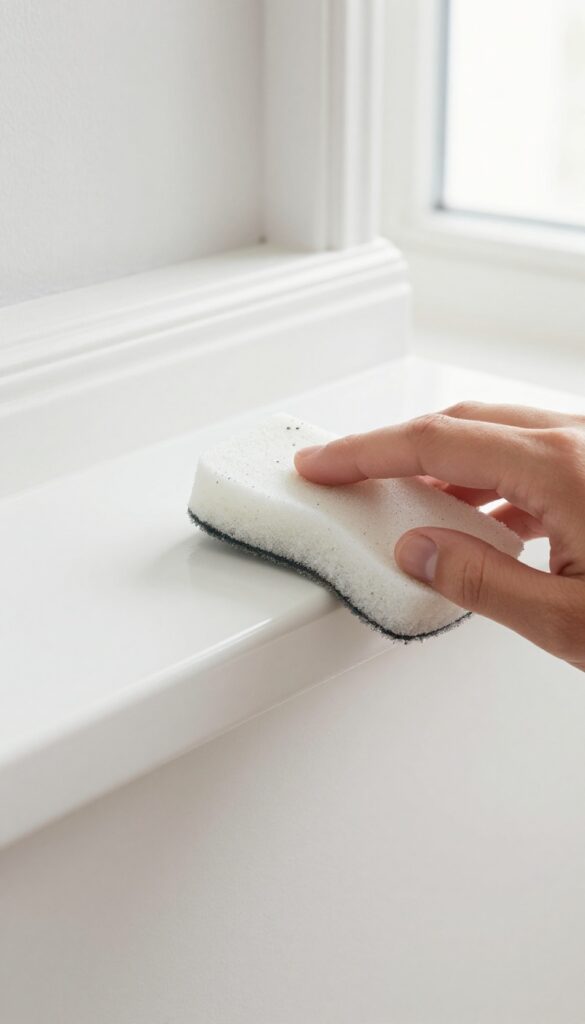
Some baseboard grime just won't budge with a simple wipe. Scuff marks from shoes, sticky residue from cleaning products, or years of built-up dust can leave dark streaks that feel impossible to remove. That's where a melamine sponge—often sold as a Magic Eraser—comes in.
It's like a super-fine sandpaper that lifts dirt without scratching the paint.
Using a Magic Eraser is straightforward. Wet the sponge until it's damp (not dripping), then gently rub the stained area. You'll see the grime transfer to the sponge almost immediately.
No extra cleaner is needed—the sponge's micro-abrasive texture does all the work. For heavy buildup, apply light pressure and rinse the sponge frequently to avoid redepositing dirt. Once the baseboard is clean, wipe it with a dry cloth to remove any residue.
This method is especially effective on white or light-colored baseboards where marks stand out most.
When To Use A Magic Eraser
Reach for a Magic Eraser when you see stubborn scuff marks, crayon art from kids, or dark streaks that won't come off with soap and water. It's also great for removing dirt that has baked onto baseboards near radiators or in high-traffic areas. Avoid using it on delicate surfaces like unfinished wood or high-gloss paint, as it can dull the finish.
How To Avoid Damaging The Paint
Always test the sponge on an inconspicuous spot first. Use a light touch—scrubbing too hard can remove paint or leave a matte patch. Keep the sponge damp, not dry, to prevent excessive abrasion.
If you notice the sponge leaving white residue, rinse it thoroughly and wring out excess water. For colored baseboards, consider a gentler cleaner first, as the Magic Eraser may lighten the paint over time.
Alternative: Diy Melamine Sponge
If you don't have a Magic Eraser on hand, you can buy generic melamine sponges in bulk for a fraction of the cost. They work identically. Simply cut them to size for tight corners or small sections.
Store them dry and reuse until they crumble—usually after a few uses. This makes the method even more budget-friendly for tackling grime throughout the house.
5. Use a Vacuum Brush Attachment for Fast Maintenance
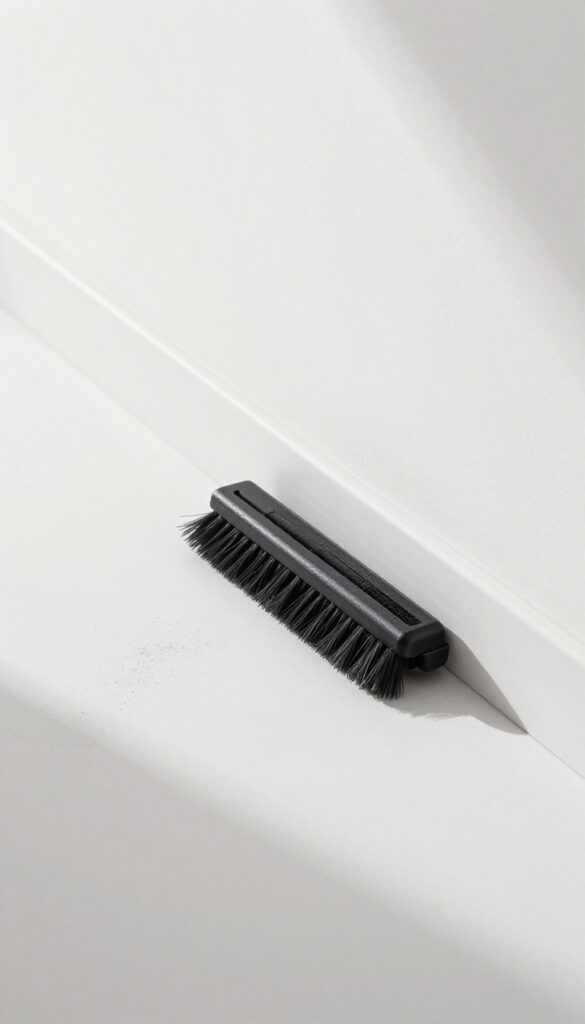
Your vacuum cleaner already has the perfect tool for baseboard dusting—the soft brush attachment. It's gentle enough not to scratch paint but effective at lifting dust from the surface and crevices. Running it along your baseboards weekly takes under a minute per room and prevents dust from building up into a visible, stubborn layer.
Why The Soft Brush Works Best
The soft bristles loosen dust without scattering it into the air. Unlike a stiff brush or a dry cloth, the vacuum sucks the dust away immediately, so you're not just moving it around. This makes it ideal for quick touch-ups between deeper cleans.
How To Do It Efficiently
Start at one end of the room and work your way around, overlapping each pass slightly. Pay extra attention to corners and the top edge of the baseboard where dust settles. If your vacuum has adjustable suction, use a lower setting to avoid pulling off loose paint.
When To Schedule This Shortcut
Incorporate it into your regular vacuuming routine. After you finish the floors, take an extra minute to run the brush along the baseboards. Doing this weekly keeps dust from becoming a visible line, so you can go longer between deep cleanings.
6. Make a DIY Cleaning Solution with Vinegar and Water
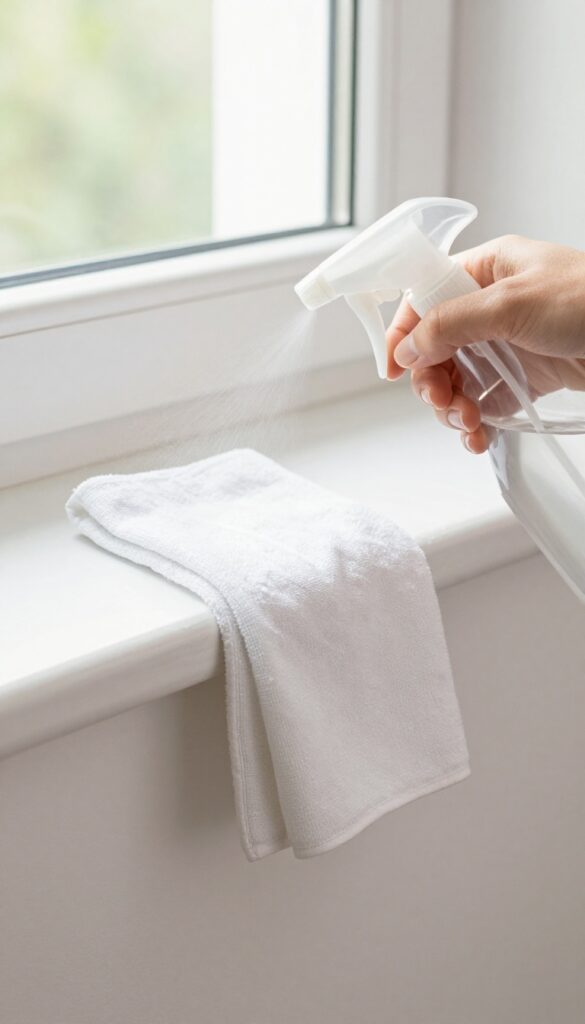
Store-bought cleaners can be expensive and full of harsh chemicals. A simple mix of white vinegar and warm water works just as well on most painted baseboards. It cuts through grease and grime without damaging the finish, and it's safe for homes with kids or pets.
Mix equal parts white vinegar and warm water in a spray bottle. Shake gently to combine. Spray the solution directly onto a microfiber cloth—never directly onto the baseboard to avoid drips on the wall or floor.
Wipe along the baseboard, applying light pressure. For stubborn spots, let the solution sit for a minute before wiping. The vinegar smell disappears quickly as it dries.
Why Vinegar Works So Well
Vinegar is mildly acidic, which helps break down dirt, dust, and greasy residue. It's a natural degreaser and disinfectant, making it effective for kitchen and bathroom baseboards where grime builds up faster. Unlike bleach or ammonia, it won't discolor painted surfaces or leave a sticky residue.
When To Avoid Vinegar
Skip vinegar on unsealed wood or waxed baseboards—the acid can strip the finish. Test on an inconspicuous spot first if you're unsure. Also avoid using it on stone or grout nearby, as it can etch those surfaces.
Add A Drop Of Dish Soap For Extra Power
For really greasy baseboards, add a single drop of mild dish soap to the vinegar-water mix. Don't overdo it—too much soap leaves a film that attracts dust. Shake gently to combine, and use as usual.
This boost is especially helpful in kitchens.
7. Clean Behind Furniture Without Moving It
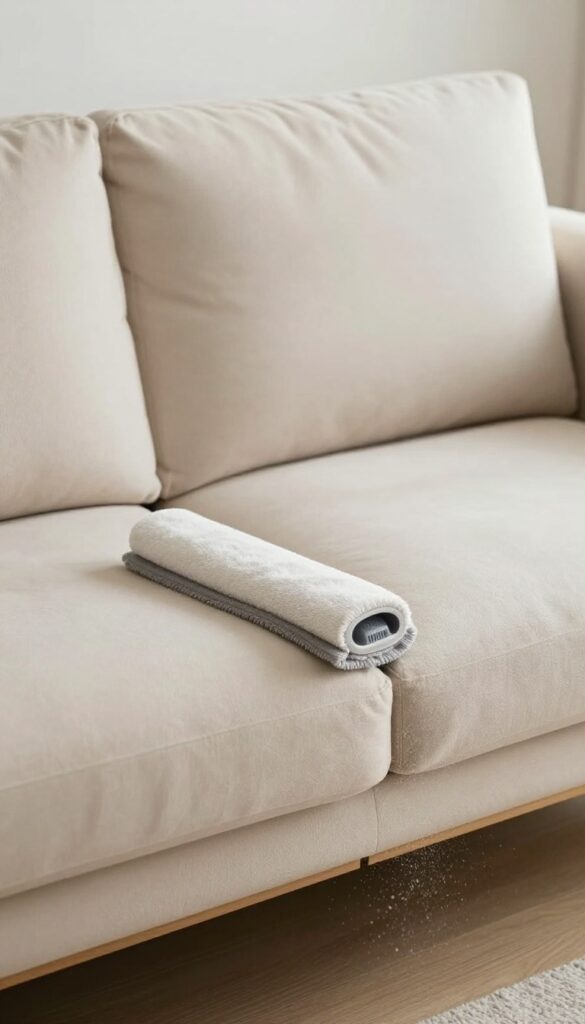
Heavy furniture makes baseboard cleaning a real pain. You don't want to drag a sofa or dresser across the floor just to wipe a strip of wood. Luckily, there's a way to reach those hidden baseboards without breaking your back or scratching your floors.
A long, flat microfiber duster is your best friend here. Slide it behind the furniture, angled downward so the head makes contact with the baseboard. Gently sweep side to side to dislodge dust.
For tighter gaps, wrap a soft cloth around a yardstick or ruler and use that instead. The cloth traps dust instead of pushing it around.
The Right Tool For Tight Spaces
Not all dusters are created equal. Look for one with a flat, flexible head that can slide under furniture with minimal clearance. Microfiber is ideal because it grabs dust rather than scattering it.
If you don't have a dedicated duster, a clean paint roller cover attached to an extension pole works surprisingly well.
The Yardstick Trick
Wrap a microfiber cloth around a yardstick or a thin wooden board and secure it with a rubber band. Slide the covered end behind furniture and move it along the baseboard. The rigid backing gives you control, while the cloth does the cleaning.
This method is especially useful for baseboards behind beds or couches.
Prevent Future Dust Buildup
Once you've cleaned behind furniture, consider adding furniture risers to lift pieces an inch or two. This creates enough space to slide a duster without effort. Also, a quick pass with a microfiber duster every week prevents thick dust from accumulating in those hard-to-reach spots.
8. Use a Paintbrush for Detailed Corners and Edges
A small paintbrush might seem like an odd tool for cleaning, but it's a game-changer for baseboard detailing. The bristles can reach into tight corners and along the top edge where dust hides. This method is especially useful for intricate trim or areas where a cloth or vacuum attachment won't fit.
Grab a clean, dry paintbrush—ideally one with firm bristles, like a 1- or 2-inch angled brush. Use it to sweep dust out of corners, along the top edge, and around any decorative grooves. Follow up with a vacuum or a microfiber cloth to capture the dislodged dust.
This technique works wonders on detailed baseboards and saves you from scrubbing.
Why A Paintbrush Works Best
Paintbrushes are designed to get into crevices and apply even pressure, making them perfect for dusting. The angled tip reaches tight spots that a cloth or duster might miss. Plus, they're gentle enough not to damage paint or wood.
How To Do It Right
Start at one end of the room and work your way around. Hold the brush like a pencil and use short, sweeping motions. Focus on corners, the top edge, and any decorative molding.
After brushing, vacuum the floor or wipe the baseboard with a dry cloth. For stubborn dust, you can lightly dampen the brush.
Pair With A Vacuum For Best Results
Using a paintbrush alone can scatter dust into the air. To avoid that, follow up with a vacuum's crevice tool or soft brush attachment. This two-step method ensures you capture all the dust without spreading it around.
9. Apply a Thin Layer of Furniture Polish to Repel Future Dust
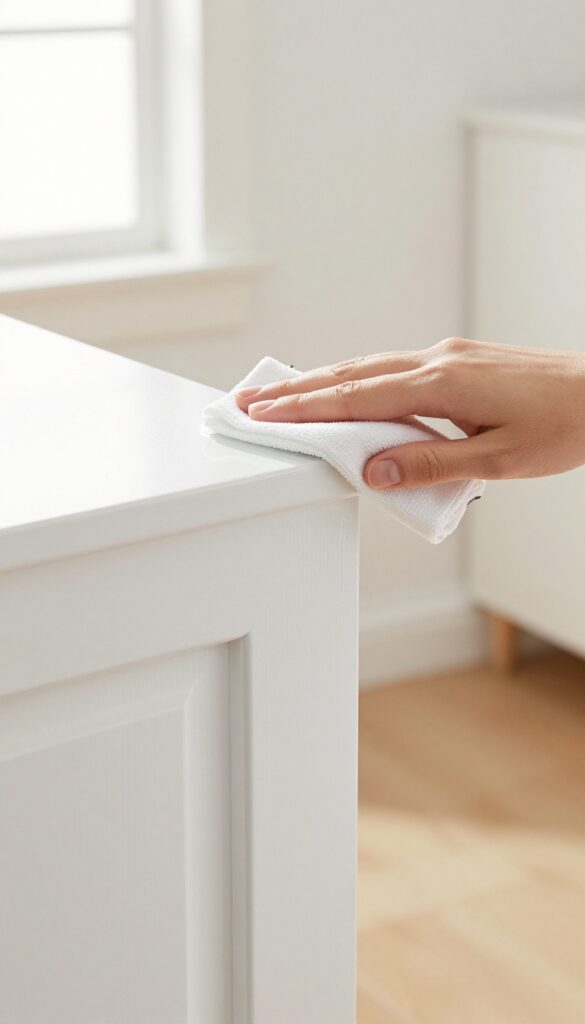
You've scrubbed, wiped, and buffed your baseboards until they shine. Now, wouldn't it be great if they stayed that way longer? A simple trick used by professional cleaners is to apply a thin layer of furniture polish after cleaning.
This creates a microscopic barrier that resists dust and makes your next cleaning session much faster.
Furniture polish isn't just for tables and chairs. When applied to clean baseboards, it leaves behind a slick surface that dust can't easily cling to. Plus, it adds a subtle sheen that makes the baseboards look fresh.
You only need a tiny amount—too much can attract more dust or leave a greasy residue. A quick spray or dab on a microfiber cloth, then wipe along the top edge and front face of the baseboard. Focus on high-touch areas like the top ledge where dust settles fastest.
This small step can cut your dusting frequency in half.
Choose The Right Polish
Not all furniture polishes are baseboard-friendly. Look for a spray polish that dries clear and doesn't contain silicone or heavy oils, which can build up over time. A lemon-scented or unscented polish works well.
Avoid wax-based polishes—they can leave a sticky film that actually traps dust.
How To Apply Without Overdoing It
Less is definitely more here. Spray a small amount onto a microfiber cloth, not directly onto the baseboard. Wipe the cloth along the top edge and front surface in smooth, even strokes.
If you see streaks, you've used too much. Buff lightly with a dry part of the cloth to remove any excess. Let it dry for a few minutes before touching.
When To Reapply
This protective layer isn't permanent. Depending on how much dust your home generates, you may need to reapply every few months. A good rule of thumb: after every third or fourth deep clean, give the baseboards a fresh coat.
You'll notice the dust wipes off much easier when it's time.
10. Use a Swiffer Sweeper with a Dry Cloth for Floors and Baseboards
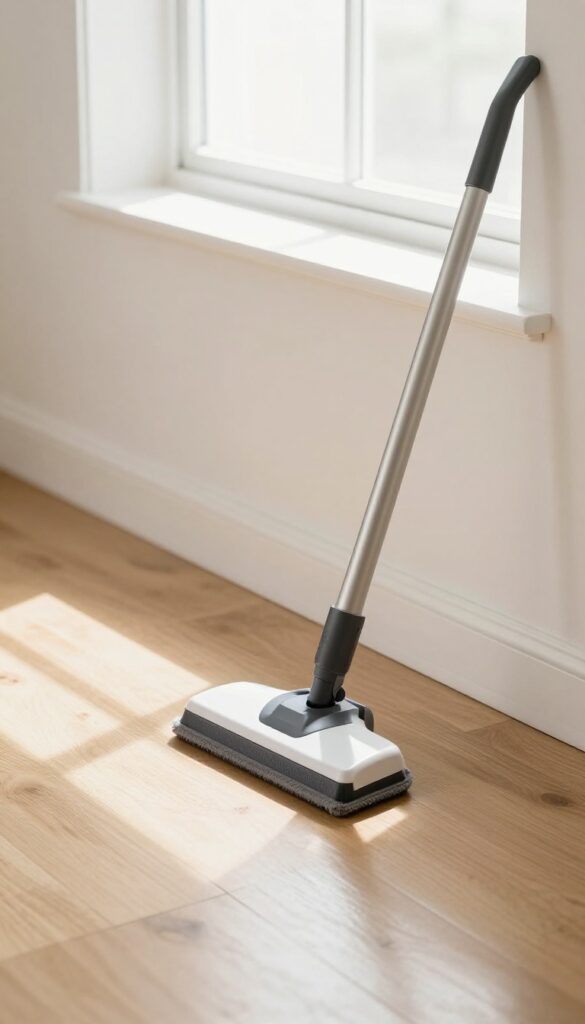
If you already own a Swiffer Sweeper, you’re halfway to cleaner baseboards without any extra gear. The trick is simple: attach a dry cloth and run it along the baseboard while you sweep the floor. It picks up dust in one pass and saves you an extra step.
Why It Works So Well
The Swiffer’s flat head glides right under the baseboard’s edge, where dust bunnies love to hide. The dry cloth’s static charge grabs particles instead of pushing them around. You cover more ground faster than you would with a rag.
How To Do It Right
Start at one end of the room and sweep the floor normally. When you reach a baseboard, tilt the handle so the cloth presses against it. Slide along the entire length, then continue sweeping.
No need to stop or bend down.
Pro Tips For Best Results
Use a fresh dry cloth for each room to avoid redepositing dust. For stubborn grime, dampen the cloth slightly with water or a gentle cleaner. And if your baseboards are tall, use the Swiffer’s extension handle to reach the top edge.
11. Schedule a Monthly Deep Clean with a Soft Scrub Brush
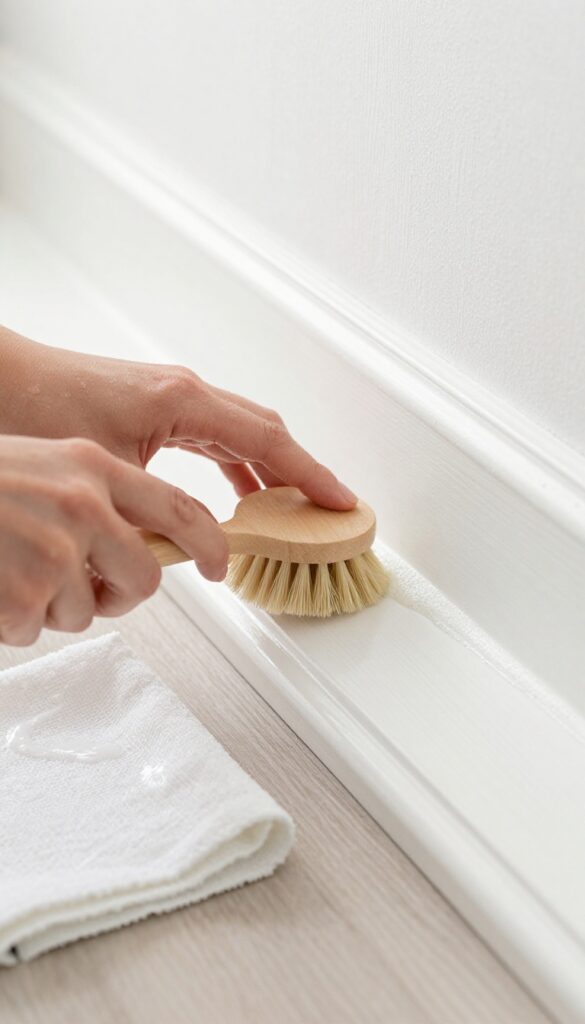
A quick weekly wipe-down is great for maintenance, but baseboards still need a deeper clean to remove stubborn grime. Once a month, break out a soft scrub brush and warm soapy water to give them a thorough wash. This routine prevents buildup and keeps the paint looking fresh.
Why A Soft Scrub Brush Works Best
A soft scrub brush has just enough stiffness to dislodge dirt without scratching the paint. Look for one with nylon bristles and a comfortable handle. Avoid wire brushes or abrasive pads—they can strip the finish or leave visible marks.
The Right Soap-to-water Ratio
Mix a few drops of mild dish soap with warm water in a bucket. Too much soap leaves a residue that attracts more dust. Dip the brush, shake off excess water, and scrub in short, back-and-forth strokes along the baseboard.
Don't Forget To Rinse
After scrubbing, wipe away the soapy residue with a damp microfiber cloth. Follow up with a dry cloth to prevent water spots. This extra step ensures your baseboards dry streak-free and stay clean longer.
FAQ
How often should I clean my baseboards?
For most homes, a quick dry dusting every week and a deeper clean once a month is enough. If you have pets or live in a dusty area, you may need to do it more often.
Can I use bleach on baseboards?
Avoid bleach on painted baseboards as it can strip the paint. Stick to mild cleaners like vinegar and water or a gentle all-purpose spray.
What's the best tool for cleaning baseboards without bending?
An extendable duster or a Swiffer Sweeper with a dry cloth lets you clean baseboards while standing. A vacuum with a long hose and brush attachment also works well.
How do I remove scuff marks from baseboards?
A melamine sponge (Magic Eraser) is very effective. Just dampen it and gently rub the scuff mark. For stubborn marks, a little baking soda paste can help.
Will vinegar damage my baseboard paint?
Diluted vinegar (equal parts vinegar and water) is safe for most painted baseboards. Avoid using it on unsealed wood or if you have a wax finish.
Conclusion
These 11 shortcuts prove you don't need to spend hours on your hands and knees for spotless baseboards. Pick the method that fits your schedule best—whether it's a quick dryer sheet wipe or a microfiber duster pass—and make it part of your regular cleaning rotation. Your baseboards will stay dust-free with minimal effort.
Consistency is the real secret here. A few minutes each week beats a full-day scrub session every time. Try one new trick this weekend, and you'll see how much easier baseboard cleaning can be when you work smarter, not harder.


