Your area rug takes a beating every single day—foot traffic, pet accidents, spilled coffee, and tracked-in dirt. Over time, that once-vibrant centerpiece starts looking dull and dingy.
Professional cleaning is expensive, but you can restore it yourself with the right steps. This guide breaks down the entire process into 13 straightforward actions, from vacuuming both sides to ensuring it dries completely.
No special equipment needed, just patience and a few household supplies. Follow along, and your rug will look fresh and last longer without costing a fortune.
1. Vacuum Both Sides Thoroughly
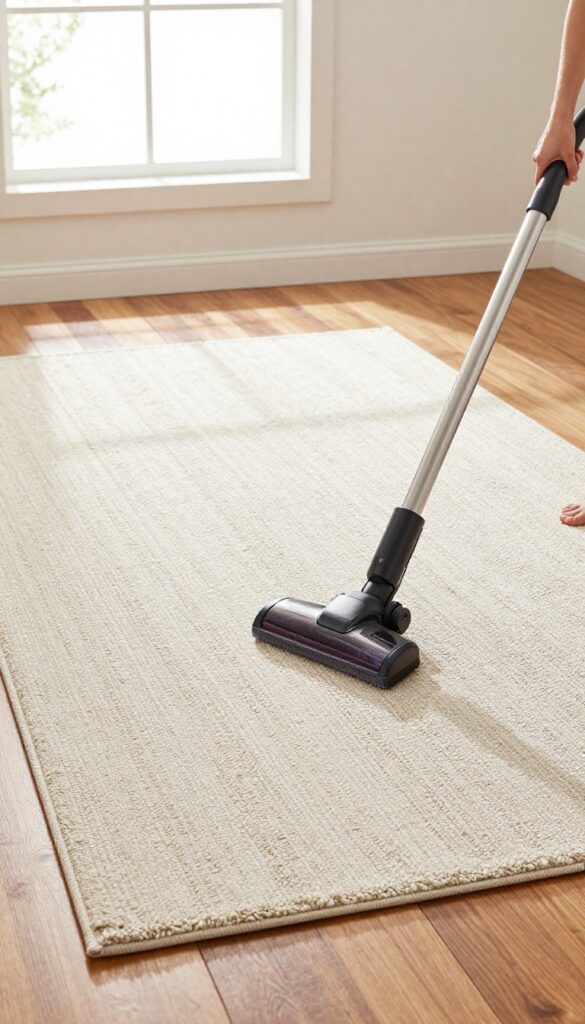
Before you get into any deep cleaning, you need to remove the loose dirt and debris sitting on the surface. Skipping this step means you'll be pushing that grit deeper into the fibers once you add water or cleaning solution. A thorough vacuuming on both sides sets you up for success.
Start by vacuuming the top side of the rug to remove loose dirt and debris, then flip it over and vacuum the back. This prevents dirt from settling deeper during cleaning.
Use The Right Attachment
For most area rugs, a simple brush attachment works best. It agitates the fibers and lifts dirt without damaging them. Avoid using a beater bar on delicate rugs like wool or silk, as it can cause fraying.
Go Slow And Overlap
Rush through this step and you'll miss plenty of hidden dirt. Make slow passes, overlapping each stroke by a few inches. Pay extra attention to high-traffic areas and spots where pets like to lie down.
Don't Forget The Fringe
Fringe collects dust and debris just like the rest of the rug. Use a handheld vacuum or a gentle brush to clean it. If the fringe is tangled, carefully comb it out with your fingers before vacuuming.
2. Check the Care Label
That little tag tucked under the corner of your rug isn't just there for decoration. It holds the key to cleaning your rug safely without ruining the fibers. Skipping this step is one of the fastest ways to accidentally shrink, fade, or distort your rug.
Before you mix any cleaning solution or grab a brush, flip over a corner of your rug and find the care label. It's usually sewn into the backing. The label tells you the fiber content—like wool, cotton, nylon, or silk—and any specific cleaning codes.
For example, "W" means you can use water-based cleaners, "S" means only solvent-based cleaners, and "W-S" means either is okay. If the label says "dry clean only, " avoid water altogether and consider professional cleaning. Knowing this upfront saves you from costly mistakes.
Why Fiber Matters
Different fibers react differently to water and cleaning agents. Wool is delicate and can shrink or felt if soaked too long. Cotton handles water well but may bleed dye.
Synthetics like nylon are tough and can take more scrubbing. Silk is extremely fragile and should never be wet cleaned. The care label gives you the exact fiber blend so you can choose the right method.
What The Symbols Mean
Care labels often use symbols instead of words. A circle means dry cleaning only. A crossed-out triangle means no bleach.
A bucket of water with a hand means hand wash only. If you see a number inside the bucket, that's the maximum water temperature in Celsius. Take a photo of the label with your phone so you can refer to it later without flipping the rug again.
When The Label Is Missing
If the care label is cut off or faded, you can still figure out the fiber. Burn a few loose fibers from the edge—synthetic fibers melt and smell like plastic, natural fibers smell like burning hair. Or do a small spot test in an inconspicuous area with water and mild detergent.
Wait 24 hours to check for color bleeding or damage before proceeding with the full cleaning.
3. Test for Colorfastness
Before you douse your rug with any cleaning solution, you need to know if the dyes will run. A quick colorfastness test saves you from turning a small stain into a bigger, bleached-out disaster. It takes two minutes and could save your rug.
Pick Your Spot
Find a hidden area of the rug—a corner, under a piece of furniture, or along the edge. You want a spot that won't be visible if the test goes wrong. Make sure the area is clean and dry before you start.
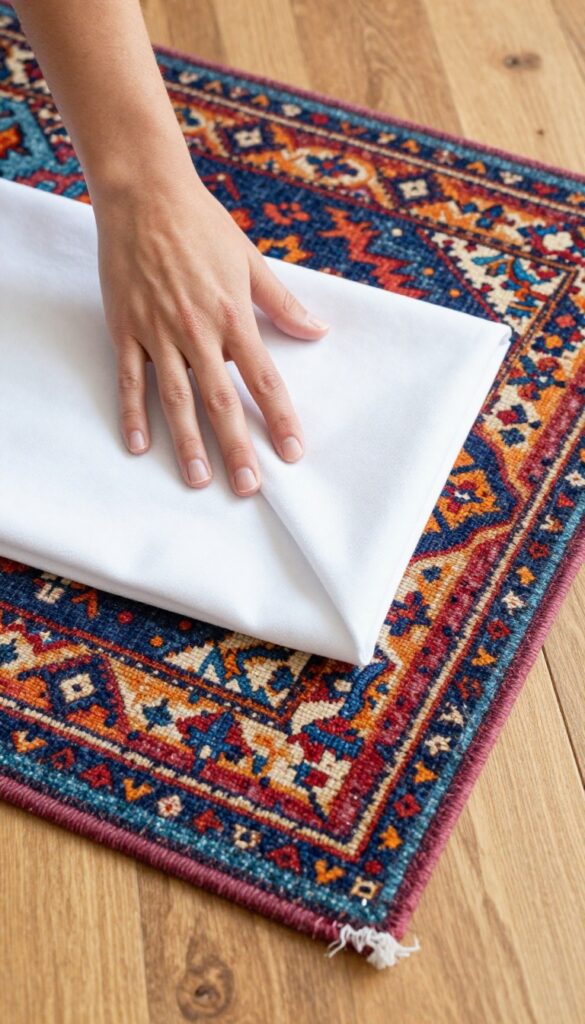
Apply And Blot
Dampen a white cloth with your cleaning solution (the same one you plan to use). Blot the hidden spot gently—don't rub. Then press a dry white cloth on the same area to see if any color transfers.
If the cloth comes away clean, you're good to go.
Wait And Check
Let the test spot dry completely. Sometimes colors bleed only as the rug dries. Once dry, compare the test area to the rest of the rug.
If there's no discoloration, proceed with confidence. If you see fading or bleeding, switch to a milder cleaner or call a pro.
4. Remove Furniture and Obstacles
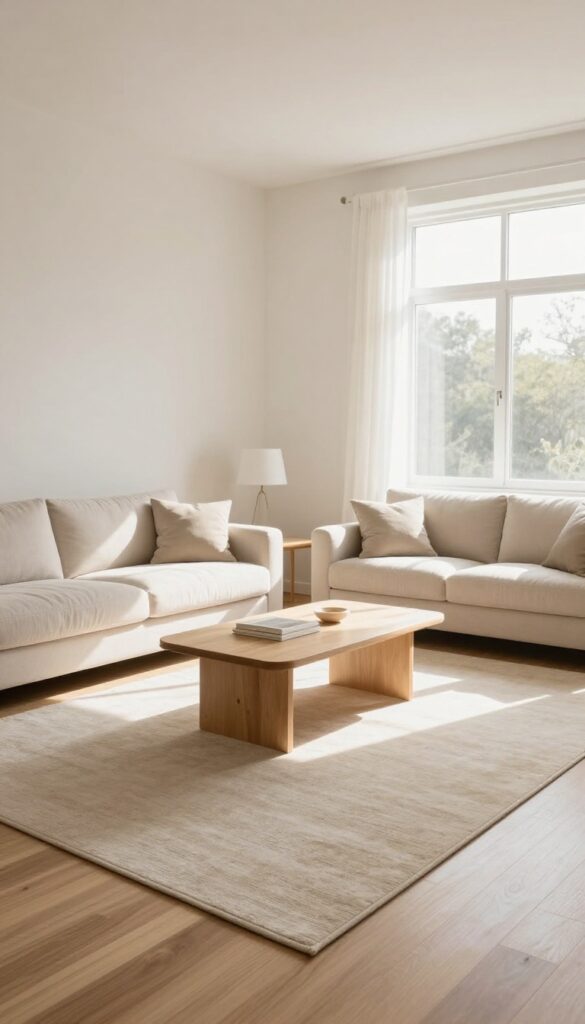
You can't clean a rug properly if there's a coffee table sitting on top of it. Before you start scrubbing or spraying anything, clear the entire area. Move furniture, toys, plants, or any other items off the rug.
This gives you full access to every inch of the fiber, which is essential for even cleaning and thorough drying.
Removing furniture isn't just about convenience—it prevents uneven drying and potential damage. When furniture sits on a damp rug, it can trap moisture underneath, leading to mold, mildew, or discoloration. Plus, you want to avoid the dreaded 'furniture shadows' that appear when the covered area dries at a different rate than the rest of the rug.
So take the time to relocate everything, even if it feels like a hassle. Your rug will thank you.
Lift, Don't Drag
Dragging heavy furniture across a rug can snag fibers or leave permanent creases. Always lift chairs, sofas, and tables when moving them. If an item is too heavy to lift alone, ask for help or use furniture sliders on the floor outside the rug.
Protect your back and your rug at the same time.
Check Underneath For Surprises
Once the rug is bare, take a quick look underneath. You might find dust bunnies, lost toys, or even signs of pests. Vacuum the floor before replacing the rug—this prevents dirt from working its way back up into the fibers.
It's a small step that makes a big difference in the final result.
Plan Your Drying Zone
Think ahead about where the furniture will go while the rug dries. If possible, move items to a different room or against the wall. If you have to place them on the rug while it's still damp, use small blocks or plastic caps under the legs to keep them elevated.
This allows air to circulate and prevents rust or stains from transferring to the rug.
5. Shake or Beat the Rug Outdoors
After vacuuming both sides, your rug still holds deeply embedded dirt that a vacuum can't always reach. Taking it outside for a good shake or beating is an old-school but incredibly effective method to dislodge that hidden grit. This step works best for smaller rugs that you can handle easily, but even larger ones can benefit from a thorough outdoor treatment.
Why Shaking Works Better Than You Think
When you shake a rug, you're using momentum to force particles out of the fibers. A vacuum might pull surface dust, but a vigorous shake sends deeper dirt flying. It's especially useful for rugs with thick piles or those that trap sand and gravel.
Plus, it's free and requires no special tools.
How To Beat A Rug Without Damaging It
If shaking alone isn't enough, hang the rug over a sturdy clothesline or railing and beat it with a broom handle or a dedicated rug beater. Start from the back side to push dirt out through the front. Avoid hitting too hard on delicate fringes or tassels.
For synthetic rugs, a lighter touch prevents fraying.
Best Practices For Outdoor Shaking
Choose a dry, breezy day so dust doesn't settle back onto the rug. Wear a dust mask if you have allergies. Shake the rug in a direction away from your house and neighbors.
For large rugs, fold them in half or quarters to make handling easier. Repeat until no more dust clouds appear.
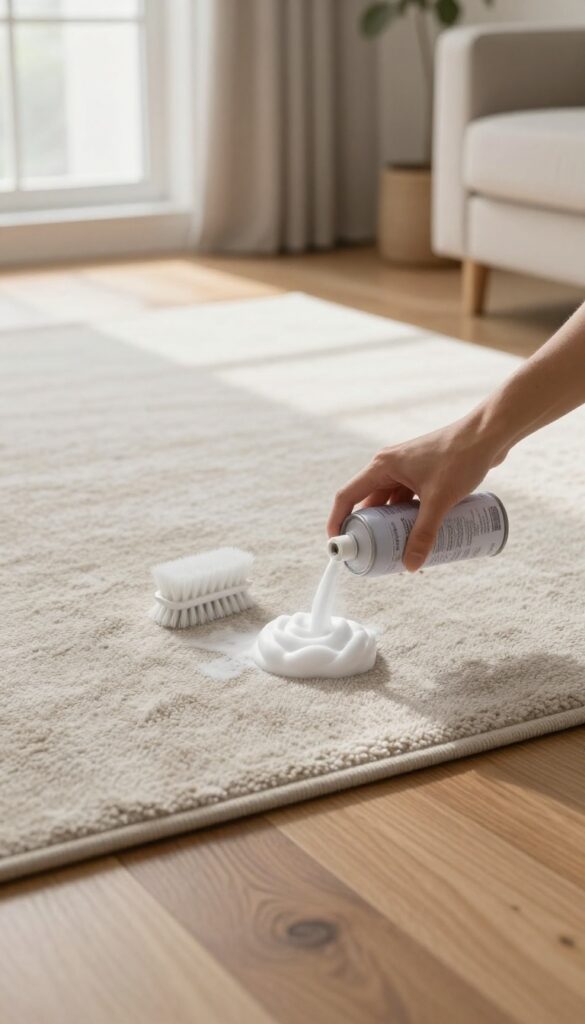
6. Pre-Treat Stains with a Spot Cleaner
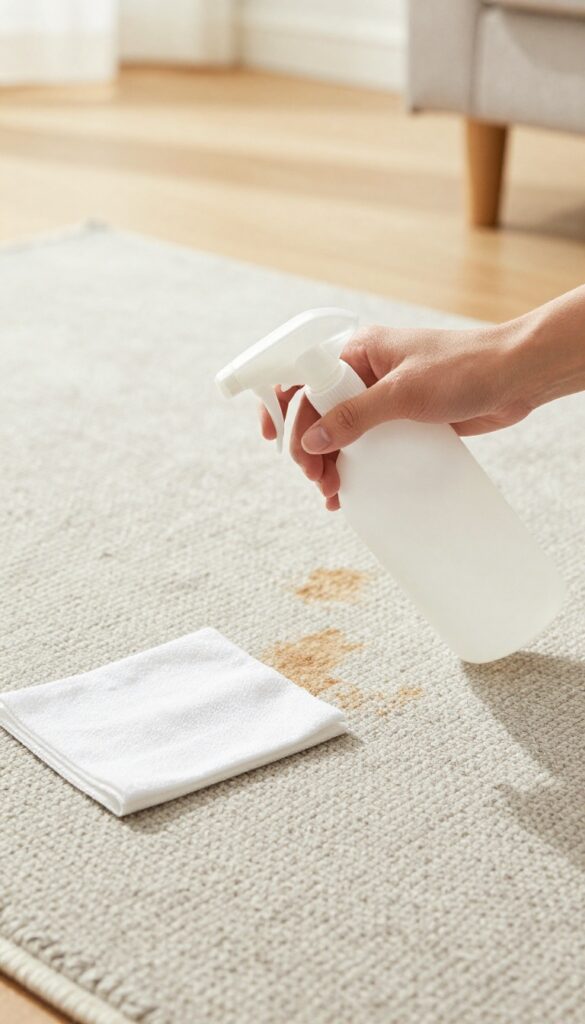
Even with regular vacuuming, stains happen. The key is to treat them before they set. A quick pre-treatment with a gentle spot cleaner can lift most spots without damaging the fibers.
You don't need harsh chemicals—common household items work just as well.
Choose Your Spot Cleaner
Store-bought stain removers are fine, but a DIY mix of equal parts white vinegar and water is just as effective and safer for most rugs. Always test on a hidden area first. Avoid bleach or ammonia-based products—they can discolor or weaken the fibers.
Apply And Let It Sit
Spray or dab the solution onto the stain, covering it completely. Let it sit for 5 to 10 minutes. This gives the cleaner time to break down the stain without you having to scrub.
Patience here saves effort later.
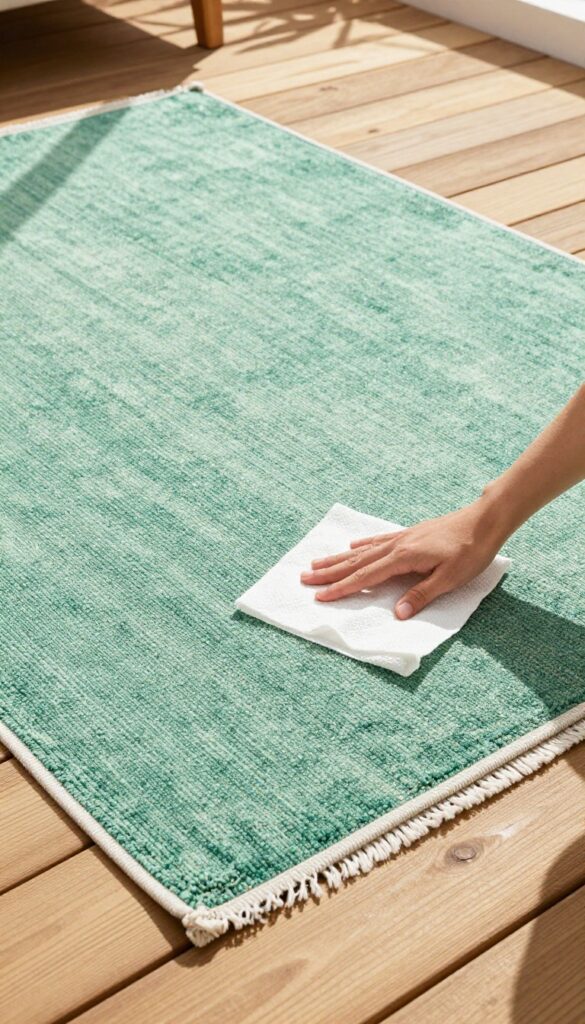
Blot, Don't Rub
Use a clean white cloth or paper towel to blot the stain. Press firmly, then lift. Repeat with a fresh area of the cloth until no more stain transfers.
Rubbing pushes the stain deeper into the fibers and can damage the rug's texture.
7. Choose Your Cleaning Method
Not all cleaning methods work for every rug. The choice between dry cleaning and wet cleaning depends on your rug's material, construction, and how dirty it really is. Pick the wrong method and you could damage fibers, cause shrinkage, or leave residue behind.
Here's how to decide which approach fits your situation.
Dry Cleaning: Powder Or Foam
Dry cleaning uses absorbent powders or foams that you sprinkle or spray onto the rug, work in with a brush, then vacuum up. It's ideal for delicate rugs like wool, silk, or antique pieces that can't handle moisture. It's also great for quick touch-ups or light soiling.
The process is fast—no drying time—and reduces the risk of mold or mildew. However, it won't tackle deep-set grime or heavy stains as effectively as wet methods.
Wet Cleaning: Shampooing Or Steam Cleaning
Wet cleaning involves applying a cleaning solution with water, either by hand, with a machine, or using a steam cleaner. This method penetrates deep into the fibers to lift embedded dirt, grease, and stubborn stains. It's best for synthetic rugs like nylon or polyester that can handle moisture, and for heavily soiled rugs.
The downside: longer drying time (up to 24 hours) and risk of shrinkage or color bleeding if not done carefully. Always test a hidden spot first.
How To Decide Based On Your Rug
Check your rug's care label—it often specifies which cleaning method is safe. For wool or silk, stick with dry cleaning or a very gentle wet method with minimal water. For synthetic rugs, wet cleaning is usually fine.
Also consider the soiling level: light dust and surface dirt call for dry cleaning; heavy traffic areas, pet accidents, or deep stains need wet cleaning. When in doubt, start with the gentler dry method—you can always move to wet cleaning if needed.
8. Apply Cleaning Solution Evenly
Now that your cleaning solution is mixed and tested, it's time to put it to work. How you apply it matters just as much as what you use. The goal is to distribute the cleaner evenly across the rug without soaking it through.
Over-wetting can lead to mold, mildew, and a longer drying time—none of which you want.
Using a sprayer or sponge, apply your chosen cleaner evenly across the rug. Avoid soaking it; a light, even application works best to prevent over-wetting.
Why Even Application Matters
If you dump solution in one spot, that area becomes oversaturated. The cleaning agents can concentrate unevenly, leaving residue or causing color fading. Even coverage ensures every fiber gets the same treatment, so the rug dries uniformly and looks consistent.
Sprayer Vs. Sponge: Which To Use
A spray bottle gives you fine control and covers large areas quickly. For smaller rugs or delicate fibers, a clean sponge works better—you can dab the solution on without saturating the backing. Whichever you choose, work in small sections and keep the rug damp, not dripping.
How To Avoid Over-wetting
A good rule of thumb: after spraying, wait 30 seconds. If you see puddles, you've used too much. Blot excess with a dry towel before scrubbing.
Also, avoid pouring solution directly from the container—always transfer it to a sprayer or use a sponge.
9. Scrub Gently with a Soft Brush

Once your cleaning solution has had a few minutes to work, it's time to agitate the fibers. This step loosens trapped dirt and helps the detergent reach deep into the pile. But scrubbing too hard can damage the rug, so gentle pressure is key.
Use a soft-bristled brush or a sponge to work the solution into the rug. Move in circular motions, applying light pressure. Focus on high-traffic areas and spots that look especially dirty.
Avoid scrubbing back and forth roughly, as that can fray or distort the fibers. For delicate rugs like wool or silk, use a sponge instead of a brush to minimize friction. Work in small sections so the solution doesn't dry before you rinse it out.
Why Soft Bristles Matter
Hard brushes can scratch synthetic fibers or pull loops in hand-tufted rugs. A soft brush lifts dirt without stressing the backing or pile. If you don't have a soft brush, a clean microfiber cloth works too—just use a gentle rubbing motion.
Circular Motion Technique
Start at one corner and work across the rug in overlapping circles. This ensures even coverage and prevents streaks. Apply just enough pressure to see the solution foam slightly—no need to bear down.
For thicker rugs, you can increase pressure a little, but always test on a hidden area first.
When To Stop Scrubbing
Stop as soon as the entire rug looks uniformly damp and the dirt has visibly lifted. Over-scrubbing can cause the colors to bleed or the backing to weaken. If you see suds turning brown, you've lifted the dirt—move on to rinsing.
10. Rinse Thoroughly with Clean Water
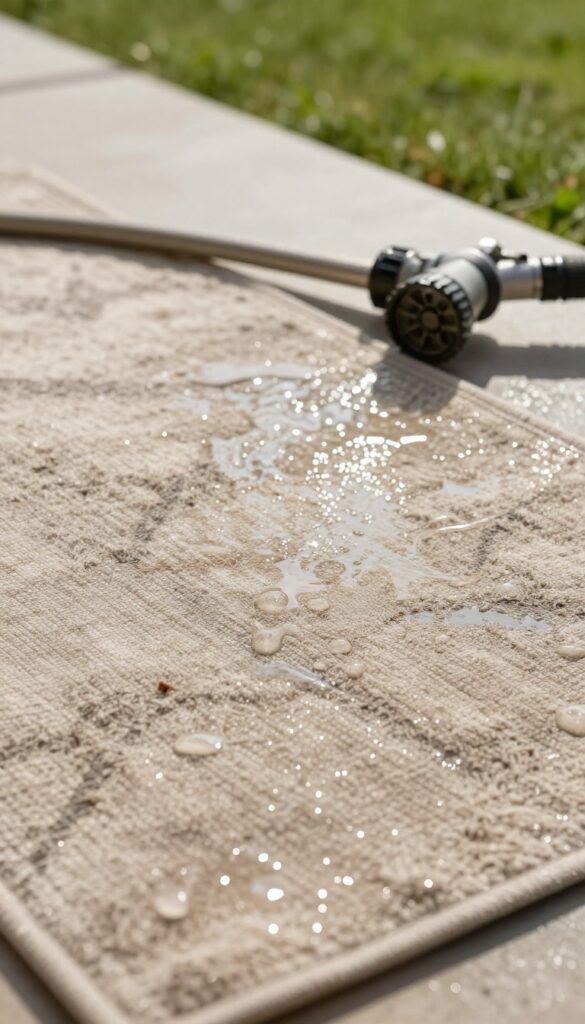
Once you've scrubbed away the dirt and cleaning solution, it's time to rinse. Leaving soap residue in the rug fibers can attract even more dirt and leave the rug feeling stiff or sticky. Rinsing ensures your rug is truly clean and safe to walk on.
Why Rinsing Matters
Soap residue acts like a magnet for dust and grime. Over time, it can cause the fibers to break down and discolor. A thorough rinse removes all traces of detergent, leaving the rug soft and fresh.
Best Rinsing Methods
For outdoor or synthetic rugs, use a garden hose with a spray nozzle. Lay the rug on a clean, sloped surface and spray from one end to the other, letting the water run off. For indoor or delicate rugs, dampen a clean microfiber cloth with plain water and blot the rug repeatedly, rinsing the cloth often.
You can also use a wet-dry vacuum to extract soapy water and then spray clean water over the rug and extract again.
How To Know When It's Rinsed Enough
Keep rinsing until the water runs clear with no suds. Squeeze a small section of the rug—if no soap bubbles appear, you're done. For large rugs, check several spots to be sure.
11. Extract Excess Water
After rinsing, your rug is heavy and soaked. Leaving that much moisture in the fibers invites mold and mildew, which can ruin the rug and create a musty smell. Getting the water out now makes drying faster and keeps your rug fresh.
Use A Wet/dry Vacuum
A wet/dry vacuum is the fastest way to remove water. Switch it to wet mode, then go over the rug slowly in overlapping passes. You'll be surprised how much water comes out.
If you don't have one, many hardware stores rent them by the day.
Squeegee For A Quick Alternative
No vacuum? A floor squeegee works well. Pull it firmly across the rug from one end to the other, pushing water toward a drain or towel.
Repeat several times, wiping the squeegee blade between passes. This method is manual but effective.
Blot With Absorbent Towels
For smaller rugs or spot treatments, lay clean, dry towels over the wet area and press down. Stand on them or roll a heavy object over the towels to absorb moisture. Replace towels as they become wet until the rug feels damp, not soaked.
12. Dry the Rug Completely
Getting your rug dry might feel like the easiest step, but rushing it can undo all your hard work. Damp rugs are a breeding ground for mold, mildew, and musty odors—especially if left on a floor or folded. Proper drying ensures your rug stays fresh and clean for the long haul.
Lay the rug flat in a well-ventilated area or hang it outdoors (out of direct sunlight). Flip it occasionally to ensure both sides dry fully before placing it back.
Why Drying Matters
Moisture trapped in rug fibers can lead to mold growth within 24–48 hours. Even if your rug looks dry on the surface, the backing and inner layers may still be wet. Skipping this step can cause discoloration, fiber damage, and unpleasant smells that are hard to remove.
Best Drying Methods
For small rugs, hang them over a sturdy clothesline or railing, but avoid direct sun which can fade colors. Larger rugs should be laid flat on a clean, dry surface—like a patio or tarp—and flipped every few hours. Use fans or dehumidifiers indoors to speed up the process.
How To Know It’s Fully Dry
Check the rug by pressing a dry paper towel into the fibers and backing. If it comes away damp, it needs more time. Also feel the rug’s underside—if it’s cool or clammy, it’s not ready.
Wait until the entire rug is room temperature and dry to the touch.
13. Fluff and Restore the Pile
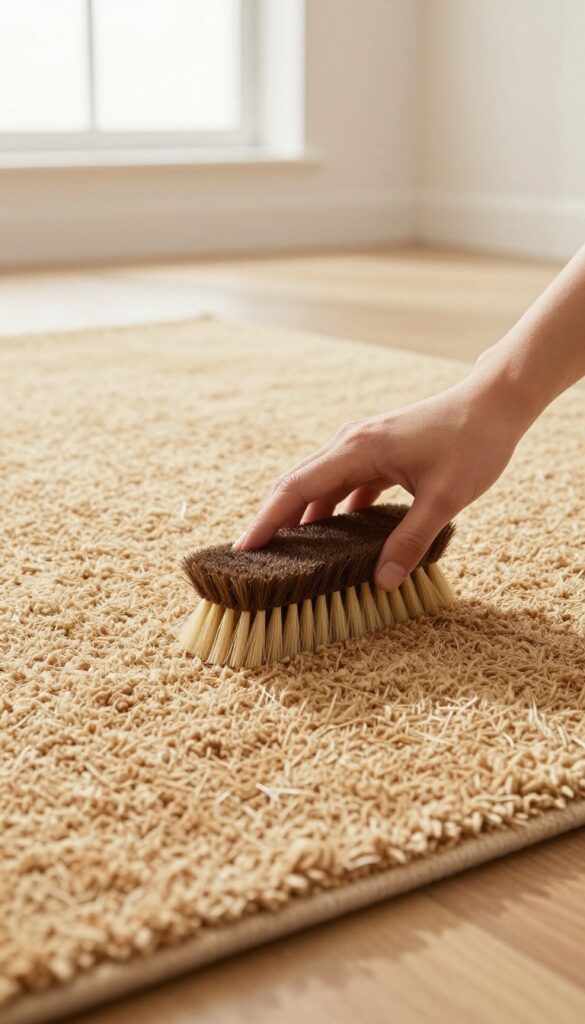
Your rug is clean and dry, but it might still look a little flat or matted. That's normal after a deep clean. The final step is all about bringing back its original texture and softness so it feels as good as new.
Once your rug is completely dry, take a few minutes to fluff the fibers. This simple step makes a huge difference in appearance and feel. Use a soft-bristled brush, a carpet rake, or even your hands to gently lift the pile.
Work in the direction of the nap to avoid damaging the fibers. For high-pile or shag rugs, a wide-tooth comb works wonders. After fluffing, give the rug a light vacuuming with the beater bar turned off.
This picks up any loosened dirt or residue and leaves the rug looking fresh and inviting. Your refreshed rug is now ready to take on daily life again.
Why Fluffing Matters
Cleaning can leave fibers flattened, especially when the rug has been wet. Fluffing restores the pile's natural bounce, improves the rug's appearance, and helps it wear evenly over time. Skipping this step can make a clean rug still look tired.
Tools For The Job
A soft brush or a carpet rake is ideal. For delicate or antique rugs, use your fingers or a microfiber cloth. Avoid stiff brushes that can snag or fray fibers.
A vacuum with a brush attachment (beater bar off) is also great for the final touch.
When To Fluff
Only fluff when the rug is 100% dry. Fluffing damp fibers can stretch or distort them. Wait at least 24 hours after cleaning, longer in humid conditions.
Test a corner before doing the whole rug.
FAQ
How often should I clean my area rug?
Vacuum high-traffic rugs weekly and deep clean every 12-18 months. For low-traffic areas, deep cleaning every 2-3 years is sufficient.
Can I use a steam cleaner on any rug?
No, steam cleaning is best for synthetic rugs. Wool, silk, or antique rugs may shrink or get damaged. Always check the care label first.
What's the best homemade rug cleaner?
Mix 1/4 cup white vinegar, 1 tablespoon dish soap, and 1 cup warm water. This solution works well for most synthetic and wool rugs when tested for colorfastness.
How do I remove pet urine smell from a rug?
Blot up as much urine as possible, then apply a mixture of equal parts white vinegar and water. Let it sit for 10 minutes, blot, and sprinkle baking soda. Vacuum after it dries.
Can I clean a large area rug without a machine?
Yes, you can hand-clean large rugs using a soft brush and a bucket of cleaning solution. Work in sections and rinse thoroughly. Drying may take longer, so ensure good ventilation.
Conclusion
Cleaning your area rug at home doesn't have to be a daunting task. With these 13 steps, you can tackle dirt, stains, and odors effectively, restoring your rug's beauty and extending its life. The key is to be patient and thorough, especially during drying.
Your freshly cleaned rug will not only look great but also contribute to a healthier home environment. So roll up your sleeves and enjoy the satisfying results of your hard work.

I’m Pallab Kishore, the owner of Little Pets Realm — an animal lover and pet care enthusiast sharing easy tips, healthy recipes, and honest advice to help every small pet live a happy, healthy, tail-wagging life.


