
Your air fryer basket looks like a science experiment gone wrong—grease, crumbs, and burnt-on bits clinging to every surface. You know you should clean it, but scrubbing that non-stick coating feels risky.
The good news is you don't need harsh chemicals or elbow grease to keep it spotless. These 13 basket-care rules are practical, gentle, and designed to extend the life of your air fryer.
Each tip targets a specific problem, from stuck-on cheese to lingering odors, so you can pick the fix that fits your mess. No more guessing—just smart, effective cleaning that keeps your food tasting fresh.
1. Cool Down Completely Before You Clean
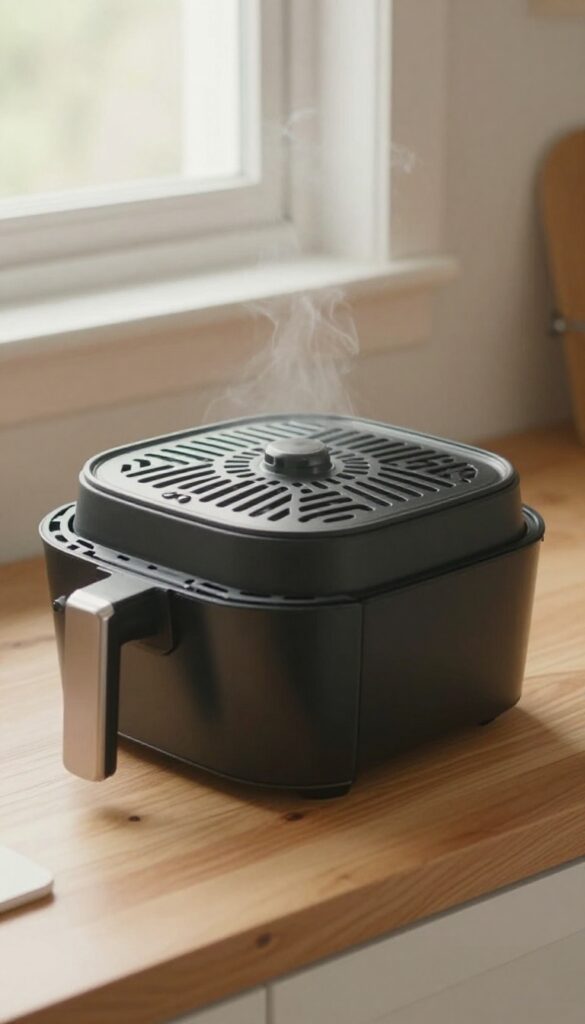
You just pulled out perfectly crispy fries and your instinct might be to run the basket under cold water right away. Don't. That sudden temperature change is a fast track to a warped basket and peeling non-stick coating.
Give it a proper cool-down first.
Let the basket rest on a trivet or heat-proof surface for 10–15 minutes. You want it warm to the touch but not hot. This prevents thermal shock, which can permanently distort the metal and make the basket wobble or sit unevenly.
Patience here saves you from buying a replacement.
Why Thermal Shock Is Bad
When hot metal hits cold water, the rapid contraction can cause micro-cracks in the non-stick layer. Over time, these cracks grow and the coating starts flaking off into your food. A slow cool-down keeps the surface intact.
How To Speed Up Cooling Safely
If you're in a hurry, place the basket on a wire rack instead of a solid surface. Air circulates underneath and cools it faster. Never use a wet cloth or ice—that's just thermal shock in disguise.
What About The Drawer?
The outer drawer (if your model has one) also needs to cool. It's often metal too. Let the whole unit rest with the drawer pulled out slightly to release trapped heat.
Ten minutes is usually enough.
2. Hand-Wash with Soft Sponges Only
Non-stick coatings are a blessing for easy food release, but they're also delicate. The moment you attack them with a scouring pad or steel wool, you're scraping off that slick layer. Once it's damaged, food will start sticking, and cleaning gets harder and harder.
Stick to soft sponges or silicone brushes to keep the coating intact for years.
Abrasive scrubbers and steel wool are the enemy of non-stick surfaces. Use a soft sponge or silicone brush with warm, soapy water to preserve the coating.
Why Abrasives Are A No-go
Even a single scrub with steel wool can create micro-scratches that ruin the non-stick finish. Those scratches become traps for food particles, leading to more stuck-on messes and potential flaking of the coating into your food. Stick to gentle tools only.
The Right Way To Scrub
Fill your sink with warm water and a few drops of mild dish soap. Let the basket soak for 10–15 minutes to loosen grease. Then use a soft sponge or a non-stick-safe silicone brush in circular motions.
Rinse thoroughly and dry with a soft cloth.
When To Replace Your Sponge
Old sponges harbor bacteria and can become abrasive as they wear down. Replace your sponge every two weeks, or sooner if it starts to smell or feel rough. A clean sponge means a clean basket.
3. Soak Stubborn Residue with Baking Soda Paste
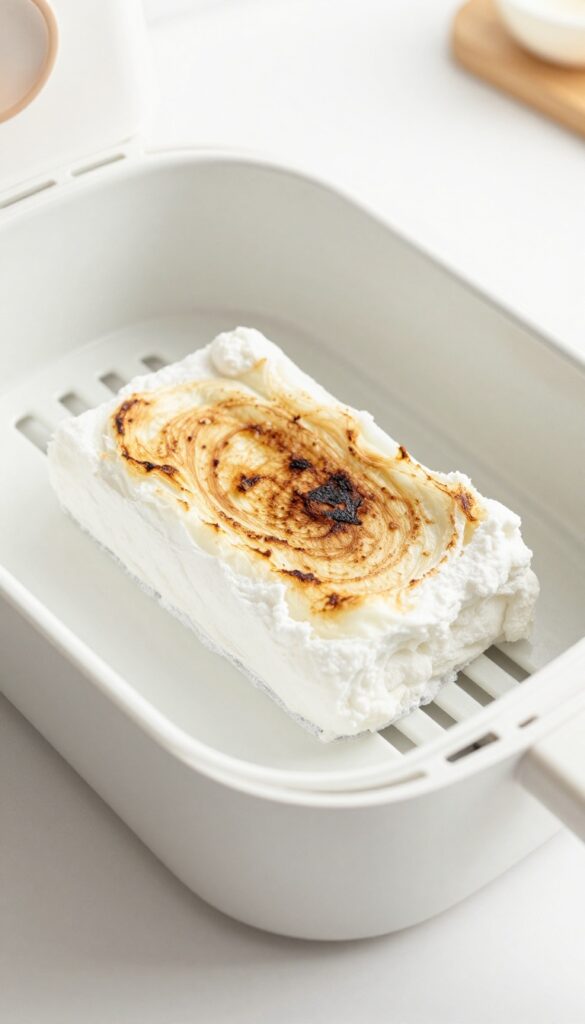
Sometimes a simple wipe-down won't cut it. Burnt-on cheese or dried grease can laugh at soapy water. That's when you need a gentle but powerful paste made from baking soda and water.
It's cheap, non-toxic, and safe for non-stick coatings.
For baked-on grease, make a paste of baking soda and water. Apply it to the basket, let it sit for 15 minutes, then wipe away. No harsh chemicals needed.
Why Baking Soda Works
Baking soda is mildly abrasive, so it lifts grime without scratching. It also neutralizes odors and reacts with grease to break it down. Unlike steel wool or bleach, it won't damage the non-stick surface.
How To Make The Paste
Mix three parts baking soda with one part water in a small bowl. Stir until it forms a thick, spreadable paste. If it's too runny, add more baking soda.
Too thick? Add a few drops of water.
Application And Wait Time
Use a soft sponge or your fingers to spread the paste over the stained areas. Focus on spots with burnt-on residue. Let it sit for 15 minutes—this gives the baking soda time to work.
For extra tough messes, you can leave it up to 30 minutes.
Wiping Away The Mess
After the soak, use a damp cloth or sponge to wipe off the paste. Most of the residue should come off easily. Rinse the basket thoroughly with warm water to remove any baking soda traces.
Dry completely before storing.
4. Use Vinegar Steam for Odor Removal
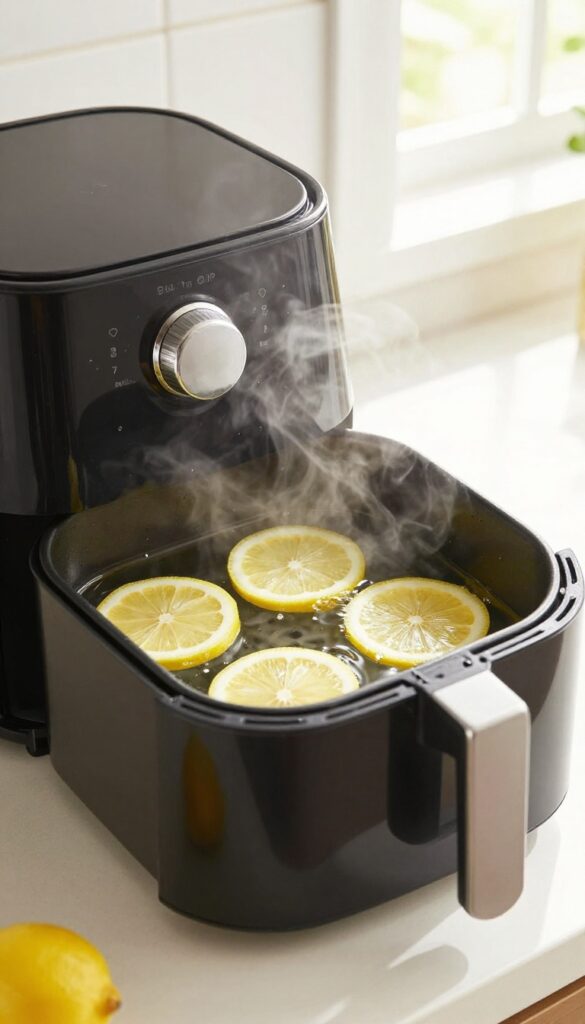
Fish, garlic, or onion smells can linger in your air fryer basket long after the meal is gone. You might have scrubbed every surface, but the odor clings to the non-stick coating like a stubborn ghost. Vinegar steam is a simple, chemical-free trick that neutralizes those smells without damaging your basket.
Fill the basket with 1 cup of water and 1 tablespoon of white vinegar. Place it in the air fryer and run it at 400°F for 5 minutes. The steam will penetrate the coating and lift away odor molecules.
After the cycle, let the basket cool, then wash it with warm soapy water as usual. The smell will be gone.
Why Vinegar Works
Vinegar is a natural deodorizer because its acetic acid binds to odor-causing compounds and neutralizes them. The heat from the air fryer turns the vinegar solution into steam, which reaches every nook and cranny of the basket. Unlike harsh chemicals, vinegar won't harm the non-stick coating or leave behind a strong scent once rinsed.
When To Use This Method
Use vinegar steam after cooking strongly flavored foods like fish, garlic, onions, or broccoli. It's also helpful if you notice a musty smell from storing the basket while slightly damp. Avoid this method if your air fryer has a non-removable heating element that could get wet—check your manual first.
Tips For Best Results
For extra stubborn odors, add a few drops of lemon juice to the vinegar-water mix. Always ensure the basket is properly seated before running the cycle. After steaming, wipe the interior of the air fryer with a damp cloth to remove any residue.
Never use vinegar on aluminum baskets, as it can cause discoloration.
5. Dry Thoroughly to Prevent Rust
Water is the enemy of metal, even the coated kind. You might think a quick shake and air-dry is enough, but trapped moisture in crevices or between the basket and handle can cause rust spots over time. Rust not only looks ugly but can flake into your food.
After washing, grab a clean dish towel and dry every surface of the basket, including the handle, the bottom, and any ridges or holes. Pay special attention to where the basket meets the handle—water loves to hide there. Once towel-dried, let the basket sit on a drying rack for another hour or so to ensure it's completely bone-dry before you put it away.
Towel-dry Immediately
Right after rinsing, use a lint-free towel to wipe down the basket. Don't let it drip-dry on its own—standing water accelerates rust. Make sure to get into the corners and around the non-stick coating edges.
Air-dry Upside Down
Place the basket upside down on a dish rack or a clean towel. This allows any residual water to drain out instead of pooling inside. Leave it for at least an hour, or overnight if you have the time.
Check For Hidden Moisture
Before storing, run your finger along the rim and handle joint. If it feels damp, give it another wipe. A little extra effort now saves you from a rusty basket later.
6. Line the Basket with Parchment Paper (the Right Way)
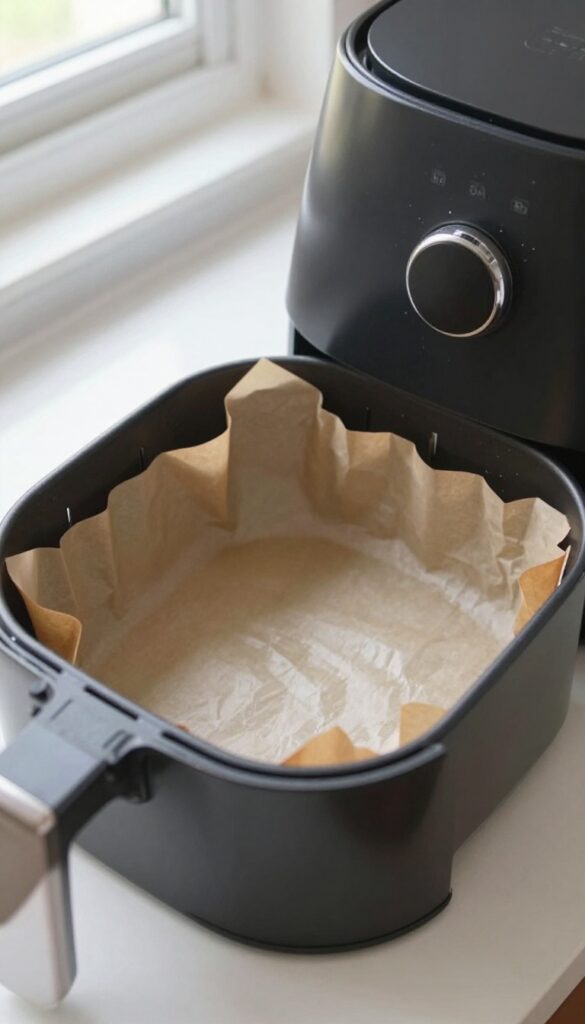
Parchment paper liners are a game-changer for easy cleanup, but there's a catch. If you cover the entire basket, you block airflow and risk smoke or uneven cooking. The trick is to use a liner that fits loosely, leaving gaps around the edges so hot air can circulate freely.
Parchment paper liners catch drips and make cleanup a breeze. But never cover the entire basket—leave gaps for airflow to avoid smoke and uneven cooking.
Why Airflow Matters
Air fryers rely on rapid air circulation to crisp food. If you cover the entire basket bottom with parchment, you block that flow. Food may come out soggy or unevenly cooked.
Worse, trapped grease can overheat and smoke. Always leave at least an inch of space around the edges.
How To Cut The Perfect Liner
Don't buy pre-cut rounds—they're often too small. Instead, take a sheet of parchment, place the basket on top, and trace around it with a pencil. Cut about an inch inside the line.
This gives you a custom fit that won't block airflow. For round baskets, fold the sheet into quarters and trim a curve.
When To Skip The Paper
Parchment isn't ideal for every recipe. High-fat foods like bacon can cause the paper to float and touch the heating element, leading to burns. Also avoid parchment when preheating—it can blow around and catch fire.
Use it only for low-fat, solid foods like veggies or frozen snacks.
7. Clean the Heating Element and Fan Monthly
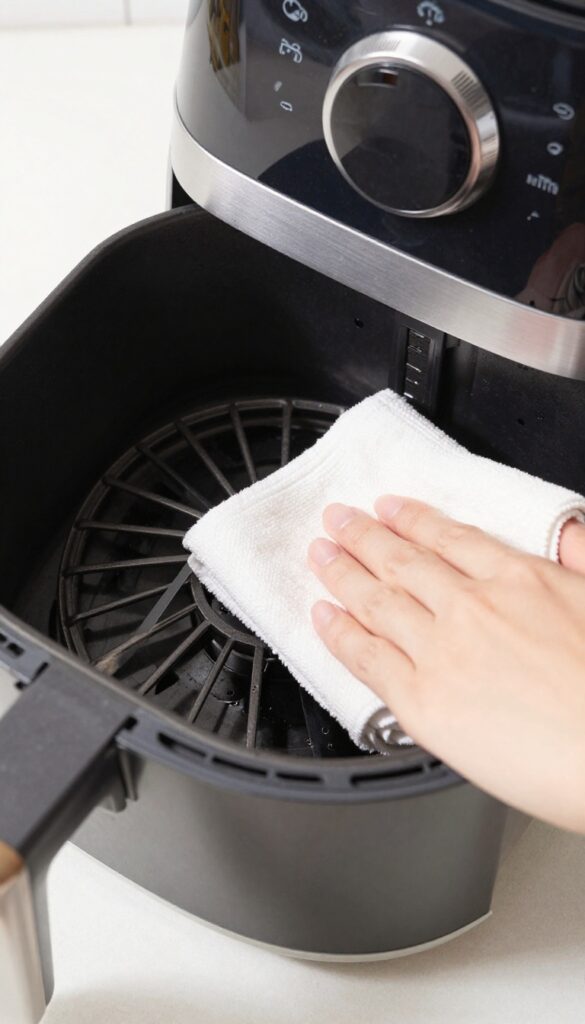
Most people focus on the basket and forget the guts of the air fryer. The heating element and fan are where hidden grease builds up, and that buildup is often what causes smoke or weird smells during cooking. A quick monthly wipe keeps things running smoothly and safely.
Why It Matters
Grease on the heating coil can burn off during cooking, creating smoke that sets off your smoke alarm. A dirty fan can also become unbalanced, making noise or reducing airflow. Cleaning these parts monthly prevents performance issues and keeps your food cooking evenly.
How To Do It Safely
Always unplug the air fryer and let it cool completely before touching the heating element or fan. Use a damp microfiber cloth—never soak or spray water directly. Gently wipe the coil and fan blades, being careful not to bend them.
For stubborn grime, use a soft brush or a toothpick to dislodge debris.
What Not To Do
Never submerge the top part of the air fryer in water or run it through the dishwasher. Avoid abrasive scrubbers or harsh chemicals that could damage the heating element. Also, don't poke too hard at the fan—it's delicate.
A light touch is all you need.
8. Avoid Cooking Spray on Non-Stick Surfaces
Aerosol cooking sprays might seem convenient, but they're actually one of the worst things you can use in your air fryer. The lecithin in these sprays bonds to the non-stick coating, creating a sticky, gummy residue that's tough to remove. Over time, this buildup can ruin the coating and make your basket harder to clean.
Stick to a silicone brush or an oil mister for a healthier, longer-lasting non-stick surface.
Aerosol sprays contain lecithin that bonds to the coating, creating a sticky residue. Use a silicone brush or oil mister instead.
Why Aerosol Sprays Are Trouble
Lecithin, an emulsifier in many cooking sprays, doesn't just sit on the surface—it chemically bonds to the non-stick coating. This creates a stubborn, tacky layer that attracts more grease and crumbs. Even with thorough washing, some residue remains, and repeated use can degrade the coating over time.
Better Alternatives For Oil Application
A silicone brush gives you precise control and uses minimal oil. Just dip it in your favorite cooking oil and brush a thin layer onto the basket. An oil mister is another great option—it sprays a fine mist without any propellants or additives.
Both methods keep your non-stick coating happy and your food crispy.
How To Fix Existing Residue
If you've already used cooking spray, don't panic. Make a paste of baking soda and water, apply it to the sticky spots, and let it sit for 15 minutes. Gently scrub with a soft sponge, then rinse thoroughly.
For tough buildup, a quick soak in warm, soapy water can help loosen the residue before scrubbing.
9. Deep Clean with a Dishwasher (If Safe)
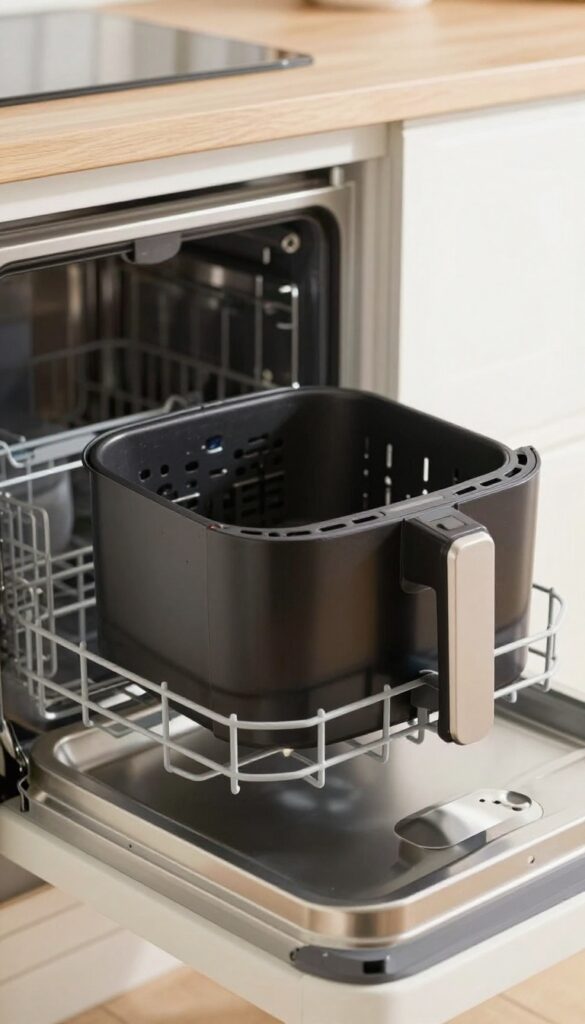
If you're short on time or just want a hands-off approach, the dishwasher can be your best friend. But not all air fryer baskets are built for that ride. A quick check of your manual will tell you if yours is dishwasher-safe.
Most non-stick baskets are, but the heating element and main unit should never go in.
Using the dishwasher is a convenient way to deep clean without scrubbing, but you need to follow a few rules to avoid damaging your basket. First, always place the basket on the top rack, away from the heating element at the bottom. Skip the heated dry cycle—high heat can warp the basket or damage the non-stick coating over time.
Let it air dry instead. Also, avoid harsh detergents with bleach or citrus, as they can degrade the coating. If your basket has a separate tray or rack, wash those on the top rack too.
And never put the main unit or any electrical parts in the dishwasher—that's a fire hazard.
Check The Manual First
Before you toss your basket in the dishwasher, flip through the manual. Not all air fryer baskets are dishwasher-safe, especially older models or those with a ceramic coating. If you've lost the manual, look for a dishwasher-safe symbol on the bottom of the basket.
When in doubt, hand wash to be safe.
Top Rack Only
Always place the basket on the top rack of the dishwasher. The bottom rack is too close to the heating element, which can cause warping or melting. Also, the top rack gets gentler water pressure, reducing the risk of scratching the non-stick surface.
Skip The Heated Dry Cycle
The heated dry cycle can get hot enough to warp the basket or damage the non-stick coating. Instead, let the basket air dry after the wash cycle ends. You can open the dishwasher door slightly to speed up drying.
This small step can extend the life of your basket significantly.
10. Tackle Burnt-On Cheese with Lemon Juice
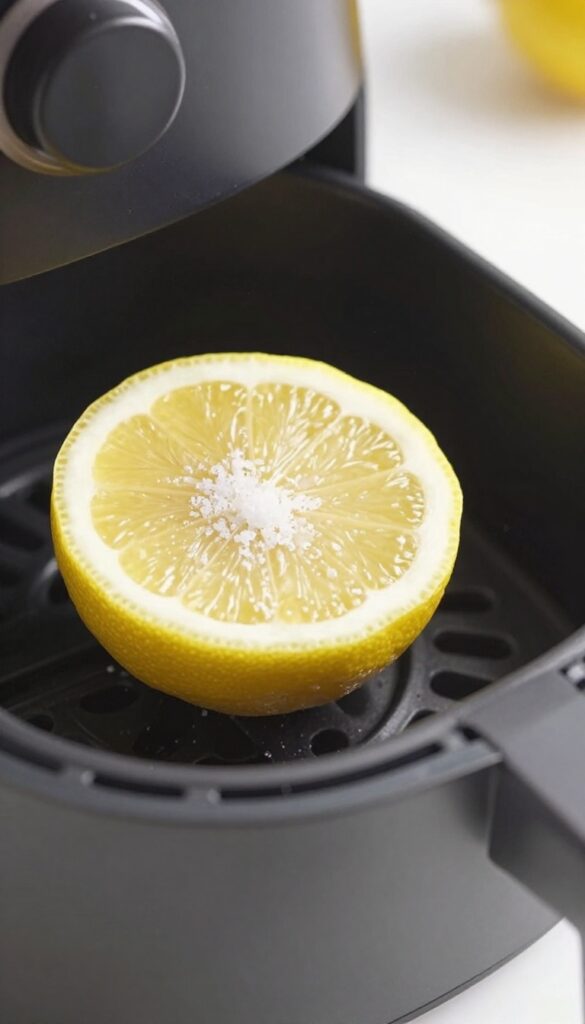
Cheese has a way of fusing itself to the basket, turning a simple cleanup into a frustrating scrape. But before you reach for a metal scrubber, grab a lemon and some salt. This kitchen duo cuts through the char without damaging the non-stick coating.
Sprinkle a generous layer of table salt over the burnt cheese, then squeeze fresh lemon juice directly onto the salt. Let the mixture sit for about 10 minutes—the acid works to loosen the carbonized bits. After the wait, scrub gently with a soft sponge or a non-abrasive brush.
Rinse thoroughly with warm water and dry. For stubborn spots, repeat the process or add a bit more lemon juice. This method is gentle enough for daily use and leaves your basket smelling fresh.
Why Salt And Lemon Work
Salt acts as a mild abrasive that helps lift debris without scratching. Lemon juice contains citric acid, which breaks down the chemical bonds in burnt-on proteins and fats. Together, they create a paste that targets stuck-on food without harsh chemicals.
Tips For Best Results
Use coarse salt for extra scrubbing power, but avoid anything with added iodine or anti-caking agents that might leave residue. Let the mixture sit longer for thicker cheese layers—up to 15 minutes. Always rinse well after cleaning to prevent any salty or acidic aftertaste on your next meal.
When To Avoid This Method
If your basket has visible scratches or the non-stick coating is peeling, skip abrasive scrubbing altogether. In that case, a soak in warm soapy water is safer. Also, avoid using lemon juice on aluminum baskets, as acid can cause discoloration or pitting.
11. Wipe the Exterior After Every Use
Grease splatters on the outside attract dust and can discolor the plastic. A quick wipe with a damp microfiber cloth keeps it looking new. This simple habit takes seconds but makes a big difference in how your air fryer looks over time.
Why Exterior Care Matters
The outside of your air fryer gets hit with grease splashes every time you cook. Over time, that greasy film traps dust and can cause the plastic to yellow or become sticky. A quick wipe after each use prevents buildup and keeps your appliance looking fresh.
The Right Tools For The Job
Use a soft microfiber cloth dampened with warm water. Avoid abrasive sponges or harsh cleaners—they can scratch the surface or damage the finish. For stubborn spots, add a drop of mild dish soap to your cloth, then wipe with a clean damp cloth to remove residue.
Don't Forget The Control Panel
The buttons and screen collect fingerprints and grease too. Gently wipe them with a slightly damp cloth, being careful not to let moisture seep into the cracks. Dry immediately with a soft cloth to keep the electronics safe.
12. Store with the Basket Slightly Open
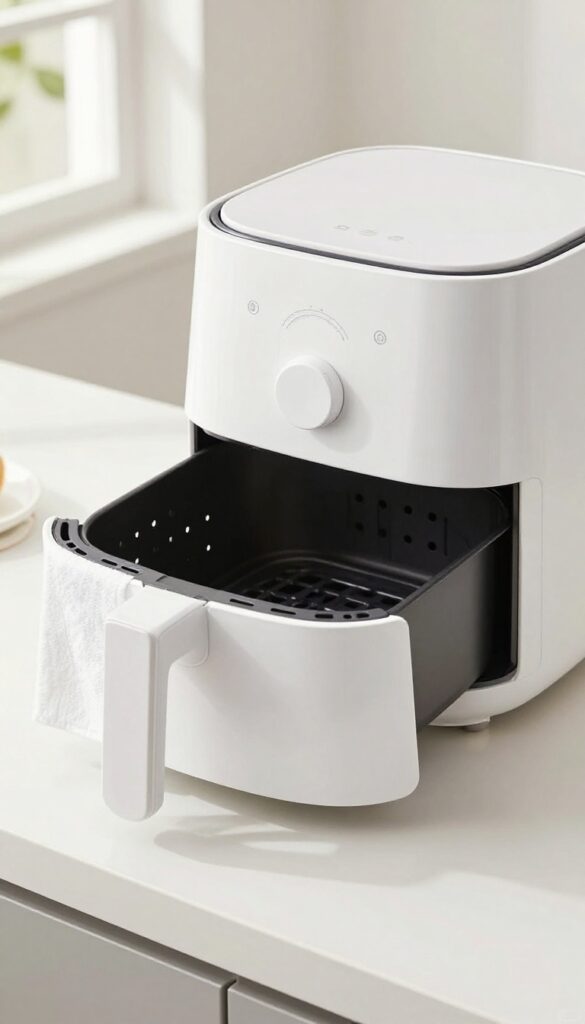
You scrub the basket clean, dry it with a towel, and slide it back into the air fryer—then close the drawer tight. That sealed, dark environment is a breeding ground for moisture, mold, and funky smells. Even a tiny drop of water trapped inside can lead to musty odors that transfer to your next batch of fries.
The fix is simple: after cleaning and drying, leave the basket slightly ajar or store it separately. This allows air to circulate, preventing any residual moisture from turning into a science experiment. It takes two seconds and makes a huge difference in keeping your air fryer fresh between uses.
Why Trapped Moisture Is A Problem
When you close the basket while it's still damp, you create a mini greenhouse for bacteria and mold. Over time, that can cause discoloration on the non-stick coating and a persistent sour smell that's hard to remove. Even if you think the basket is completely dry, a thin film of moisture can linger in crevices.
Best Storage Practices
If your air fryer has a removable basket, take it out and let it sit on a drying rack or countertop with the basket tilted open. For models with a fixed drawer, just pull the drawer out slightly so there's a gap—about an inch is enough. You can also store the basket separately in a cabinet if you have space.
What About Dust?
Some people worry that leaving the basket open will let dust settle inside. While that's possible, a quick rinse before your next use solves it. The trade-off is worth it: fresh-smelling food and no hidden mold.
If dust is a concern, cover the opening with a clean dish towel or paper towel.
13. Replace the Basket When the Coating Peels
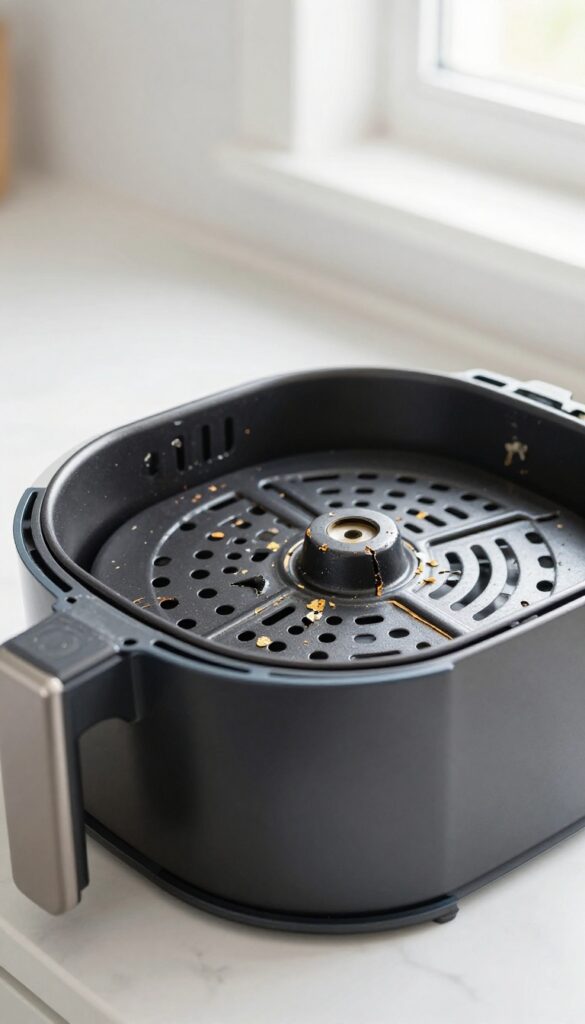
Non-stick coatings don't last forever. Over time, the slick surface can start to flake or peel, especially if you've used metal utensils or abrasive cleaners. That's not just an eyesore—it's a safety concern.
Those tiny flakes can end up in your food, and nobody wants to eat bits of coating.
If you notice the coating peeling, it's time to say goodbye to that basket. Using it any longer risks contaminating your meals with potentially harmful particles. Some manufacturers offer replacement baskets, so check your model's availability.
If not, consider buying a new air fryer altogether. It's better to invest in a fresh start than to compromise your health.
How To Spot Peeling Early
Inspect your basket regularly under good light. Look for small bubbles, cracks, or areas where the coating looks thinner. Run your finger gently over the surface—if you feel any rough patches, that's a warning sign.
Catching it early means you can plan a replacement before it gets worse.
Why Peeling Happens
The main culprits are metal utensils, harsh scrubbing pads, and high heat. Even dishwasher detergents can be too aggressive. Once the coating is compromised, it tends to spread quickly.
Understanding the cause helps you prevent it in the future.
What To Do Next
First, stop using the basket immediately. Contact the manufacturer or check online for a replacement part. If the basket is removable and a replacement is available, that's the cheapest fix.
If not, weigh the cost of a new air fryer against the risk. Your health is worth the upgrade.
FAQ
Can I put my air fryer basket in the dishwasher?
Many baskets are dishwasher-safe, but always check your manual. Use the top rack and skip the heated dry cycle to prevent warping.
How often should I clean my air fryer?
Wipe the basket after every use, and do a deep clean of the heating element and fan once a month for best performance.
Why does my air fryer smoke when I use it?
Smoking usually means grease buildup on the heating element. Unplug, let cool, and wipe the coil with a damp cloth. Also check for food debris in the basket.
Can I use metal utensils in my air fryer basket?
Avoid metal utensils—they scratch the non-stick coating. Stick to silicone, wood, or plastic tools.
Is it safe to use parchment paper in an air fryer?
Yes, but never cover the entire basket. Leave gaps for air circulation to prevent smoke and uneven cooking. Weigh it down with food so it doesn't fly up.
Conclusion
Keeping your air fryer clean doesn't have to be a chore. These 13 basket-care rules are designed to fit into your routine without much fuss, whether you're a daily user or an occasional fryer. Start with the tips that match your current cleaning habits and build from there.
Your air fryer will reward you with better-tasting food and a longer lifespan. Pick a couple of these methods to try this week, and soon you'll have a system that keeps your basket in top shape with minimal effort.


