Let's be real—bathroom cleaning isn't anyone's favorite chore. But between hard water stains, soap scum, and that lingering musty smell, it's a room that demands extra attention. The good news is you don't need a cabinet full of harsh chemicals to get it sparkling.
These 15 ideas rely on everyday items you probably already have, from baking soda to dishwasher tablets. Each tip targets a specific problem area, so you can work smarter, not harder.
Ready to make your bathroom shine without the elbow grease? Let's dive in.
1. The Magic of Baking Soda and Vinegar
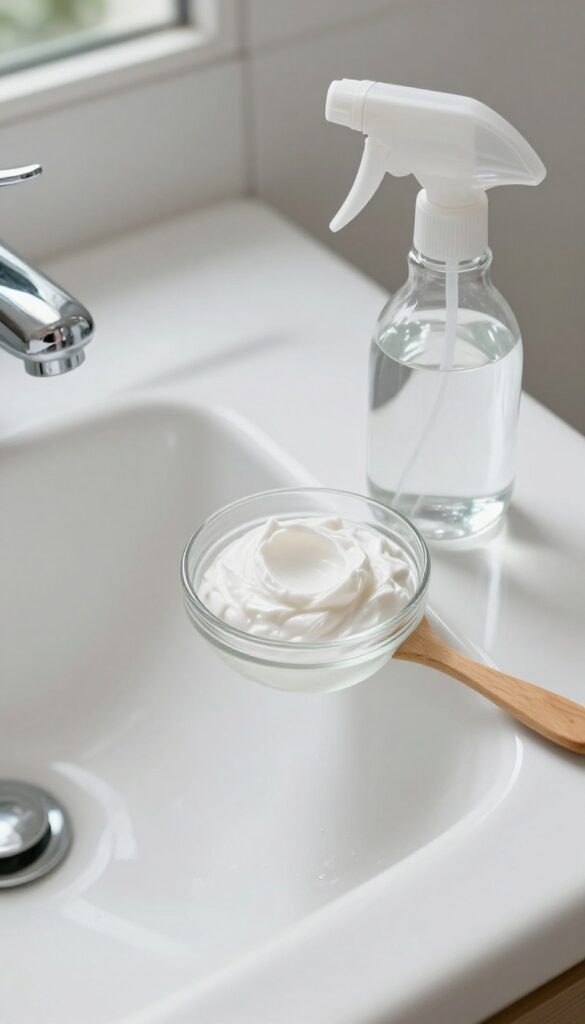
Baking soda and vinegar are a classic cleaning duo for a reason. When combined, they create a fizzing reaction that helps lift dirt and grime without scrubbing your life away. This natural paste is gentle enough for daily use but tough on soap scum and hard water stains.
To make the paste, mix equal parts baking soda and vinegar until it forms a spreadable consistency. Apply it to sinks, tubs, and tiles, let it sit for 10-15 minutes, then scrub with a soft sponge and rinse. The result is a bright, residue-free surface that smells fresh.
For extra cleaning power, sprinkle baking soda directly on wet surfaces and spray with vinegar—the fizz does the work.
Why It Works So Well
Baking soda is a mild abrasive that gently scrubs away dirt without scratching. Vinegar is acidic, which dissolves mineral deposits and soap scum. Together, they tackle both organic grime and hard water stains, making them a versatile all-in-one cleaner.
Best Surfaces To Use It On
This paste is safe for ceramic, porcelain, and fiberglass surfaces. Avoid using it on natural stone like marble or granite, as the acid can etch the finish. Stick to sinks, bathtubs, shower tiles, and even grout lines for a deep clean.
Pro Tips For Maximum Effect
For tough stains, let the paste sit longer—up to 30 minutes. Use a toothbrush for tight corners and grout. Rinse thoroughly with warm water to prevent any residue.
For a fresh scent, add a few drops of lemon essential oil to the paste.
2. Squeegee Your Shower Walls Daily
A squeegee might seem like a small tool, but it makes a huge difference. Spending just 30 seconds after each shower keeps glass doors and tiles free from water spots and soap scum. It's the easiest way to cut down on scrubbing later.
Grab a squeegee and hang it inside your shower. After you turn off the water, quickly run the squeegee over the walls and doors. This simple habit prevents mineral deposits from drying onto surfaces.
Your shower will look cleaner with almost no effort.
Why It Works So Well
Hard water contains minerals that leave cloudy spots when they dry. By removing the water before it evaporates, you stop those deposits from forming. Soap scum also needs moisture to stick—deny it that, and it won't build up as fast.
Choosing The Right Squeegee
Look for a squeegee with a rubber blade and a hook for hanging. A 12-inch blade is good for most shower walls. Avoid cheap plastic ones that leave streaks.
A small, handheld style works best for tight spaces.
Making It A Habit
Keep the squeegee within arm's reach. Do it right after your shower while the walls are still wet. It takes less than a minute.
After a week, it'll feel automatic—and you'll notice how much less cleaning you need to do.
3. Deep Clean Grout with Hydrogen Peroxide
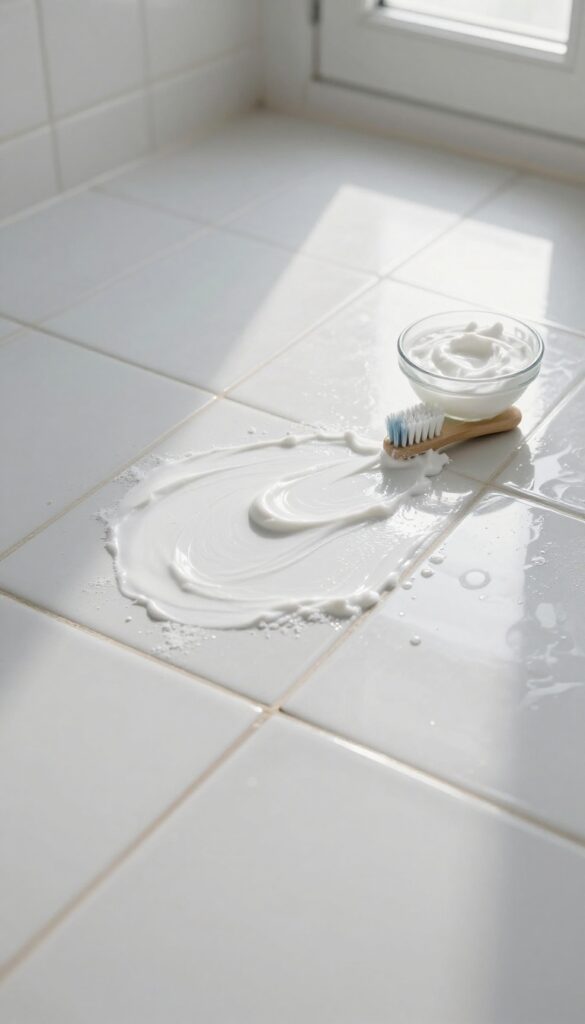
Grout lines can be the dirtiest part of any bathroom, collecting grime and mildew that make the whole space look dingy. Hydrogen peroxide is a gentle but effective bleach alternative that tackles stains without the harsh fumes. Combined with baking soda, it creates a powerful paste that lifts embedded dirt right out of porous grout.
Why This Combo Works
Hydrogen peroxide is a natural oxidizer that breaks down organic stains and kills mold spores. Baking soda adds gentle abrasion to scrub away residue without scratching tiles. Together they form a thick paste that stays put on vertical surfaces, giving the cleaner time to penetrate deep into the grout.
Step-by-step Application
Mix 3 parts baking soda with 1 part hydrogen peroxide to form a spreadable paste. Apply it generously along grout lines using an old toothbrush or a small spatula. Let it sit for 10–15 minutes—longer for stubborn stains.
Scrub in circular motions, then rinse with warm water. Repeat if needed.
Pro Tips For Best Results
For extra whitening power, add a squeeze of lemon juice to the paste. Always test on a hidden area first, especially with colored grout. Seal the grout after cleaning to prevent future stains and make next time easier.
4. Use a Dishwasher Tablet for the Toilet
Dishwasher tablets aren't just for dishes. Drop one into your toilet bowl, and it fizzes away stains and odors with minimal scrubbing. It's a simple trick that makes a big difference.
Drop a dishwasher tablet into the toilet bowl, let it fizz for 15 minutes, then scrub and flush. It removes stains and deodorizes.
Why It Works
Dishwasher tablets contain powerful cleaning agents like sodium carbonate and enzymes that break down tough stains and organic matter. The fizzing action helps lift grime from the porcelain, making it easy to scrub away.
How To Do It Right
Drop one tablet into the toilet bowl, making sure it sinks to the bottom. Let it sit for 15 minutes—longer for stubborn stains. Then give the bowl a quick scrub with a toilet brush and flush.
The result is a clean, fresh-smelling toilet with almost no effort.
Safety Tips
Avoid using dishwasher tablets in toilets with septic systems, as the chemicals can disrupt the bacteria balance. Also, keep them out of reach of children and pets. Stick to one tablet per cleaning session to avoid excess foam.
5. Steam Clean Your Showerhead
A clogged showerhead can ruin your morning routine with weak, uneven spray. Hard water minerals and soap residue build up inside the nozzles over time, reducing water flow and creating a breeding ground for bacteria. The fix is surprisingly simple and uses just one common household ingredient.
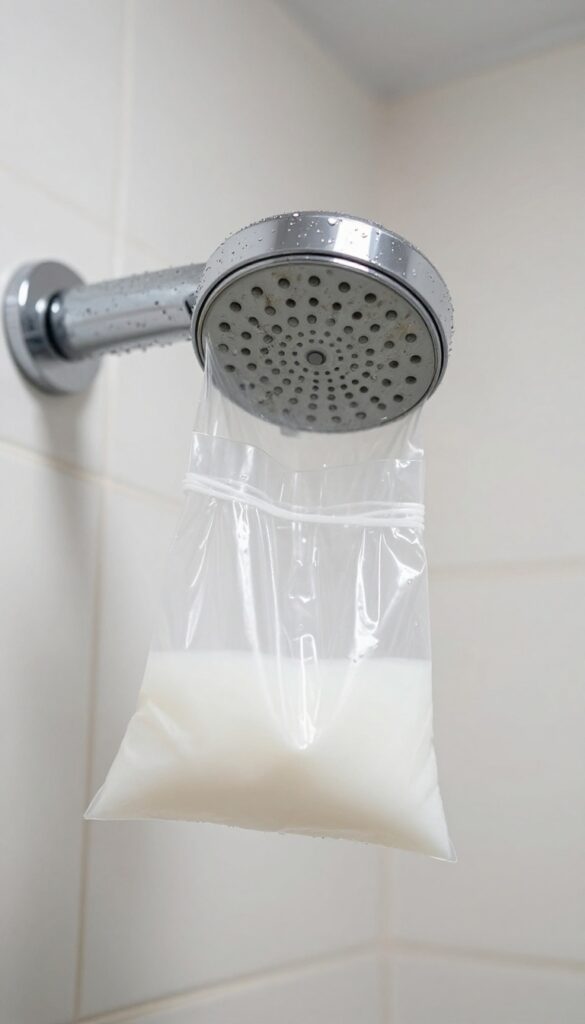
White vinegar is a natural descaler that dissolves mineral deposits without scrubbing. To steam clean your showerhead, fill a plastic bag with enough white vinegar to submerge the head. Secure the bag with a rubber band or twist tie, making sure it's tight enough to keep the vinegar in contact with the nozzles.
Let it soak overnight—or at least four hours—then remove the bag and run the shower for a few minutes to rinse away loosened gunk. For stubborn buildup, gently scrub the nozzles with an old toothbrush before rinsing.
Why Vinegar Works
White vinegar contains acetic acid, which breaks down calcium carbonate and other mineral deposits found in hard water. Unlike harsh chemical descalers, vinegar is non-toxic and safe for most showerhead finishes. The longer soak time allows the acid to penetrate deep into the nozzles, restoring full water pressure.
Pro Tips For Best Results
If your showerhead is fixed in place, use a larger bag and secure it with a zip tie. For chrome or brass finishes, avoid soaking longer than eight hours to prevent tarnishing. After rinsing, wipe the showerhead dry with a microfiber cloth to prevent water spots.
Repeat this process every three months to keep the spray strong and even.
6. Tackle Mold with Tea Tree Oil
Mold in the bathroom is not just unsightly—it can also be a health hazard. Instead of reaching for bleach, try a natural alternative that’s just as effective. Tea tree oil is a powerful antifungal and antibacterial essential oil that kills mold spores without the harsh fumes.
It’s gentle on surfaces but tough on grime, making it a go-to for bathroom maintenance.
Mix 2 teaspoons of tea tree oil with 2 cups of water in a spray bottle. Shake well, then spray directly onto moldy areas like shower corners, grout lines, or around the tub. Let it sit for at least 30 minutes (or longer for stubborn spots), then wipe clean with a damp cloth.
The smell fades quickly, leaving your bathroom fresh and mold-free. Repeat weekly to prevent regrowth.
Why Tea Tree Oil Works
Tea tree oil contains terpinen-4-ol, a compound that disrupts mold cell membranes and stops spore reproduction. Unlike bleach, it doesn't just bleach the stain—it kills the mold at the root. Plus, it’s safe for most surfaces, including tile, glass, and plastic, as long as you rinse thoroughly.
Best Places To Use It
Focus on high-moisture areas: shower curtains, window sills, and caulking. For porous surfaces like grout, apply the solution with a soft brush and let it soak. Avoid using on unsealed wood or natural stone, as the oil can cause discoloration.
Safety Tips
Always dilute tea tree oil—it’s potent and can irritate skin undiluted. Wear gloves if you have sensitive skin, and ensure the room is ventilated. Keep the spray bottle out of reach of children and pets.
If you have respiratory issues, test a small area first to ensure the scent doesn’t bother you.
7. Organize with Over-the-Door Caddies
Counter space in a bathroom is prime real estate. If your bottles and brushes are constantly in the way, it’s time to look up—or rather, at the back of your door. Over-the-door caddies turn unused vertical space into a cleaning command center, so everything you need is within arm’s reach and off your counters.
An over-the-door caddy is a simple rack that hooks over the top of a standard bathroom door. Most have multiple shelves or pockets designed to hold spray bottles, scrub brushes, sponges, and gloves. Installing one takes seconds and requires no tools or drilling.
Once it’s up, you can stash your daily cleaners right where you use them. No more digging under the sink or walking back and forth to the closet. Plus, keeping bottles off the counter means less clutter to wipe around, making your actual cleaning faster.
Choose The Right Caddy
Not all over-the-door caddies are the same. Look for one with adjustable hooks so it fits snugly on your door without wobbling. Metal or heavy-duty plastic holds up best in humid bathrooms.
Check the shelf depth—if it’s too shallow, spray bottles may tip over. Some caddies come with small hooks for hanging scrub brushes or a microfiber cloth, which is a nice bonus.
Arrange By Frequency Of Use
Put your most-used cleaners on the top or middle shelves—things like all-purpose spray, glass cleaner, and a toilet bowl cleaner. Store less frequently used items like grout brushes or specialty stain removers on the bottom. This way you grab what you need without shuffling bottles.
If you have multiple caddies (say, one for cleaning and one for toiletries), label them to avoid confusion.
Keep It Dry And Clean
Over-the-door caddies can collect dust and moisture. Wipe down the shelves every couple of weeks with a disinfectant wipe to prevent grime buildup. If you store wet sponges or brushes, let them dry before putting them back to avoid mildew.
A quick shake-out of the caddy when you change your cleaning supplies keeps it fresh.
8. Clean Mirrors with Rubbing Alcohol
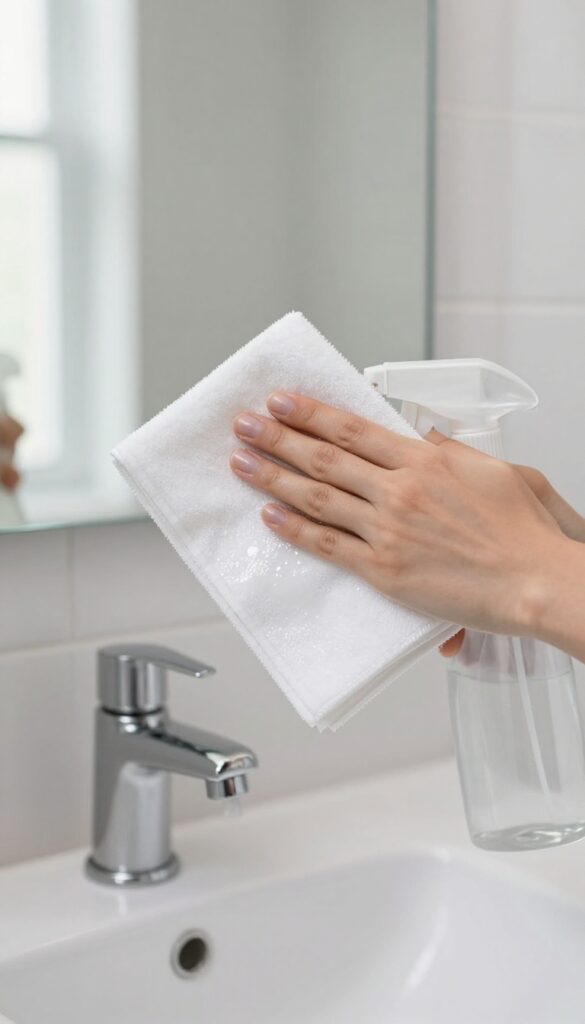
Streak-free mirrors can make your bathroom look instantly cleaner. But standard glass cleaners often leave behind smears or a hazy film. Rubbing alcohol cuts through grease and dries fast, leaving a crystal-clear finish without any residue.
Mix equal parts rubbing alcohol and water in a spray bottle. Lightly mist the mirror, then wipe with a clean microfiber cloth in a zigzag pattern to avoid streaks. For tough spots like toothpaste splatters, let the solution sit for 30 seconds before wiping.
Why Alcohol Works
Rubbing alcohol evaporates quickly, so it doesn't leave water spots. It also dissolves oils from skin products and hair sprays that regular cleaners might miss.
Pro Tips For Best Results
Use a fresh microfiber cloth—old rags can leave lint. Clean mirrors on a cloudy day; direct sunlight dries the solution too fast and causes streaks. For extra shine, finish with a dry microfiber cloth.
Safety Precautions
Keep rubbing alcohol away from flames and heat sources. Make sure the bathroom is well-ventilated while you work. Store the spray bottle out of reach of children.
9. Descale Faucets with Lemon Juice
Hard water deposits can make your faucets look crusty and dull. Instead of scrubbing with harsh chemicals, reach for a lemon. The citric acid naturally breaks down mineral buildup without damaging the finish.
This simple method works wonders on chrome, stainless steel, and even brushed nickel fixtures. Just cut a lemon in half, rub it directly onto the faucet, let the juice sit for 10 minutes, then rinse with water and buff dry. For stubborn spots, dip the lemon in salt before rubbing.
Why Lemon Works
Lemon juice contains citric acid, which dissolves calcium carbonate and other minerals found in hard water stains. It's gentle enough for regular use but effective enough to tackle buildup that has been sitting for weeks.
Step-by-step Application
Start by wiping away any loose dirt. Cut a lemon in half and squeeze it slightly to release juice. Rub the cut side all over the faucet, focusing on areas with visible white deposits.
Let it sit for 10 minutes—don't let it dry completely. Rinse thoroughly with water and dry with a soft cloth to prevent water spots.
Extra Tips For Best Results
If the deposits are thick, wrap a lemon-soaked paper towel around the faucet and leave it for 15 minutes. Avoid using lemon on brass or gold-plated fixtures, as the acid can damage the finish. Always rinse well to prevent any sticky residue.
10. Use a Pumice Stone on Hard Water Stains
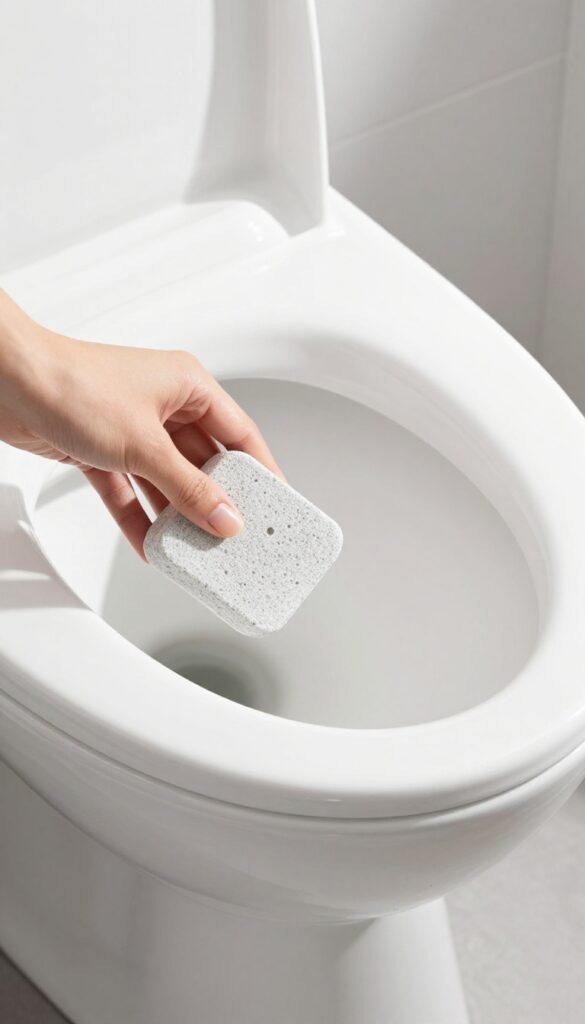
Hard water stains in the toilet bowl can be stubborn, but a pumice stone is a surprisingly gentle solution. The porous volcanic rock is soft enough not to scratch porcelain yet abrasive enough to lift mineral deposits. Just wet it first and rub lightly—no harsh chemicals required.
Wet a pumice stone and gently rub it on hard water rings in the toilet bowl. It removes stains without scratching porcelain. This method works best on dried, stubborn rings that other cleaners can't budge.
Why Pumice Works
Pumice is a natural abrasive that's softer than porcelain. When wet, it becomes even gentler, so it scrubs away calcium and lime deposits without leaving scratches. It's ideal for those brown or white rings that form at the water line.
How To Use It Safely
Always wet the stone and the toilet bowl surface first. Rub the stain gently with circular motions—don't press hard. Rinse and check progress.
Stop as soon as the stain is gone to avoid unnecessary abrasion. Flush to remove debris.
When To Avoid
Don't use pumice on acrylic, fiberglass, or enameled surfaces—it can scratch them. Stick to ceramic or porcelain toilets. Also, avoid dry rubbing, which can cause damage.
11. Freshen the Air with DIY Spray
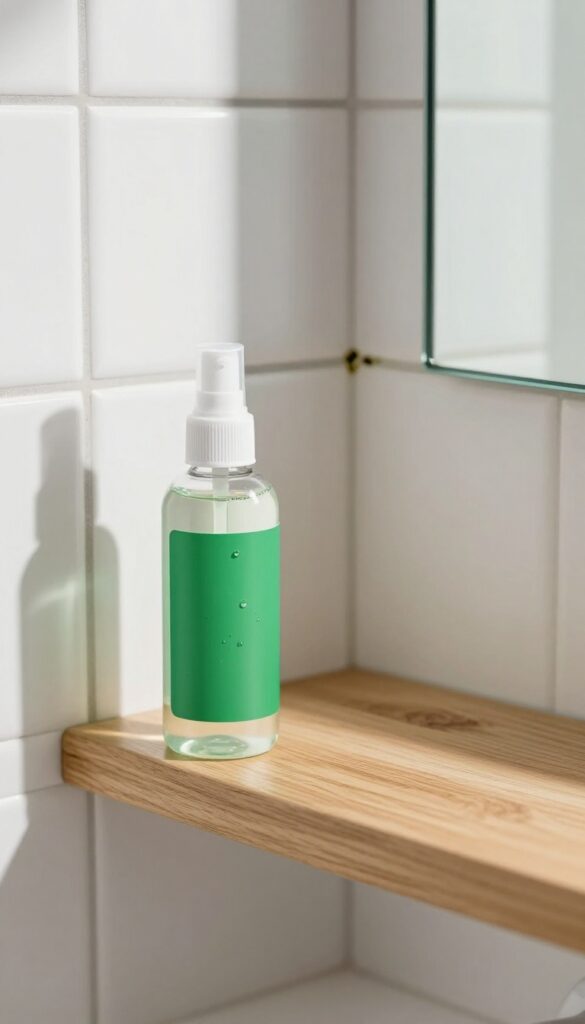
A fresh-smelling bathroom is the final touch that makes all your cleaning efforts feel complete. Store-bought air fresheners often mask odors with synthetic fragrances, but a simple DIY spray actually neutralizes smells and leaves a light, natural scent. You can whip one up in under a minute with ingredients you likely have on hand.
Why Vodka Works
Vodka is a natural deodorizer because its high alcohol content kills odor-causing bacteria. It evaporates quickly without leaving a sticky residue, making it perfect for a spray. Don't worry—the alcohol scent disappears almost instantly, leaving only the essential oil fragrance behind.
Choosing Your Essential Oils
Pick oils that complement a clean bathroom vibe. Lemon and tea tree are great for a fresh, antibacterial boost. Lavender adds a calming touch, while peppermint gives an invigorating kick.
Start with 10–15 drops per cup of liquid, then adjust to your preference.
How To Use It
After you finish cleaning, give the air a few spritzes—focus on corners, around the toilet, and near the trash can. You can also lightly mist towels or the shower curtain for a lasting freshness. Shake the bottle before each use, as the oils can separate.
12. Wash Shower Curtains in the Machine
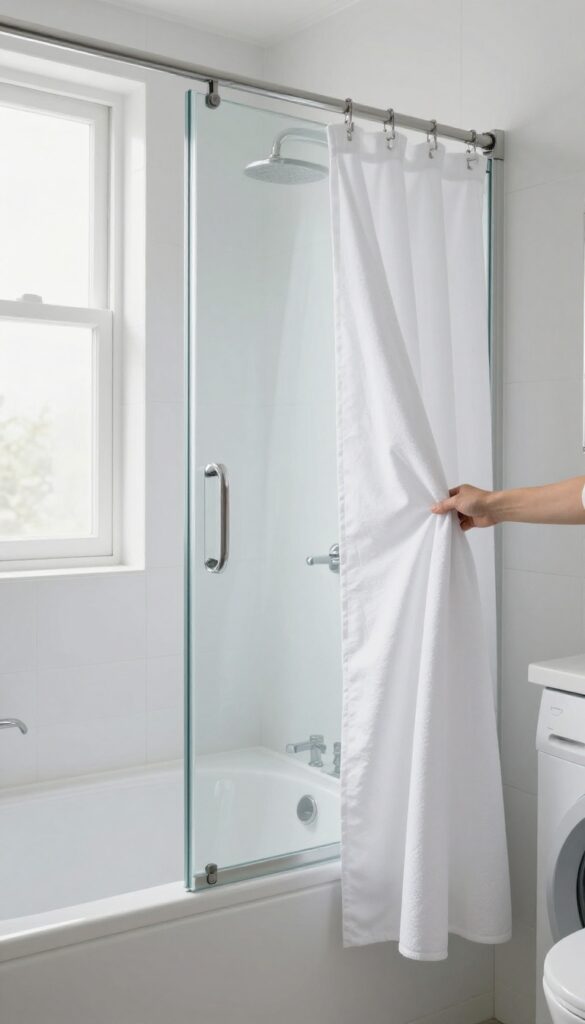
Shower curtains often get neglected until they're visibly grimy. But they collect soap scum, mildew, and hard water residue just like everything else in the bathroom. The good news is you can toss most plastic or fabric liners right in the washing machine.
Remove the curtain and any metal rings or hooks. Add a cup of white vinegar and half a cup of baking soda to the drum along with your regular detergent. Run a gentle cycle with warm water.
For extra cleaning power, add a few old towels to help scrub the curtain during the cycle. Once done, hang the curtain back up immediately to dry—this prevents wrinkles and mildew. Do not put it in the dryer unless the label specifically says it's safe.
What You'll Need
White vinegar, baking soda, mild detergent, and a washing machine. That's it. No special cleaners required.
Pro Tips For Best Results
Use warm water, not hot, to avoid damaging plastic liners. Add a couple of clean towels to the load—they act as scrubbers and help remove stubborn soap scum.
When To Replace Instead
If your curtain has mold that won't come out after washing, or if it's more than six months old, it's time for a new one. Fabric curtains can last longer but need regular machine washing every few weeks.
13. Use a Toothbrush for Tight Spots

Grime loves to hide in the tiny cracks and crevices where your regular sponge just can't reach. Faucet bases, drain covers, and tile corners collect soap scum and mildew over time, but a simple toothbrush makes quick work of these stubborn spots.
An old toothbrush is the perfect tool for precision cleaning. Its small bristles can scrub away buildup from narrow spaces without scratching surfaces. Dip it in a mixture of baking soda and vinegar or your favorite all-purpose cleaner, then get to work on those hard-to-reach areas.
Faucet Bases And Drain Covers
The area where your faucet meets the countertop is a magnet for grime. Use a toothbrush to scrub around the base and under the handles. For drain covers, remove any visible debris, then brush the metal slats and the rim to eliminate soap scum and hair residue.
Tile Corners And Grout Lines
Mold and mildew love to settle in grout lines and tile corners. A toothbrush with stiff bristles can scrub these areas effectively. Apply a paste of baking soda and water, let it sit for a few minutes, then brush in circular motions.
Rinse with warm water for a fresh look.
Shower Tracks And Glass Corners
Sliding shower doors have tracks that collect gunk. A toothbrush can reach into the grooves to scrub away buildup. Also, clean the corners of glass shower doors where water tends to pool and leave mineral deposits.
14. Make Your Own Glass Cleaner
Store-bought glass cleaners work fine, but they're mostly water with a few active ingredients and a hefty price tag. You can whip up a batch at home for pennies, and it often works better because you control the formula. This simple recipe cuts through soap scum and hard water spots on mirrors, shower doors, and windows without leaving streaks.
Combine 1 cup water, 1 cup white vinegar, and 1 tablespoon cornstarch in a spray bottle. Shake well before each use to suspend the cornstarch. Spray onto glass surfaces and wipe with a microfiber cloth or crumpled newspaper.
The vinegar dissolves mineral deposits, while cornstarch gently buffs away residue for a crystal-clear finish.
Why Cornstarch Makes A Difference
Cornstarch acts as a mild abrasive that polishes the glass as you wipe. It helps lift stubborn spots that vinegar alone might leave behind. Plus, it gives the cleaner a slightly thicker consistency, so it clings to vertical surfaces longer and doesn't drip as much.
Best Surfaces For This Cleaner
This mix is ideal for glass shower doors, bathroom mirrors, and windows. Avoid using it on tinted glass or surfaces with a special coating, as vinegar can damage those over time. For regular clear glass, it's perfectly safe and highly effective.
Pro Tips For Streak-free Results
Always use a clean, lint-free cloth—microfiber works best. Wipe in a zigzag or S-pattern to avoid re-depositing grime. If you see streaks, you might be using too much cleaner; a light mist is all you need.
For extra shine, buff with a dry cloth after the initial wipe.
15. Schedule a Weekly 15-Minute Tidy
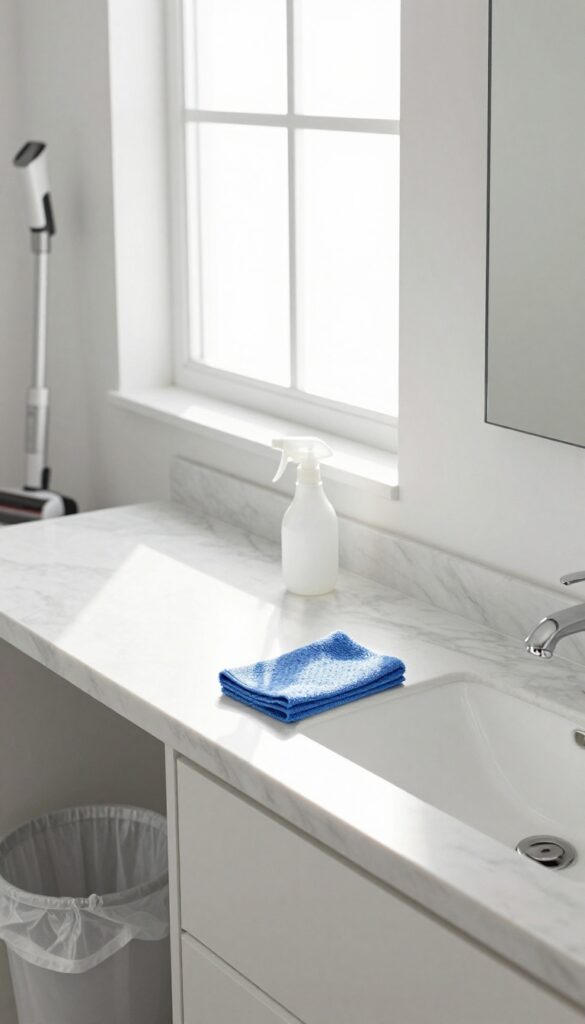
Consistency beats intensity when it comes to bathroom cleaning. A short weekly session prevents grime from building up and keeps your space fresh without overwhelming your schedule. This quick tidy targets the hotspots that get dirty fastest.
Set a timer for 15 minutes each week and focus on the tasks that make the biggest visual impact. Wipe down the counter, sink, and faucet with a microfiber cloth. Sweep or vacuum the floor to catch hair and dust.
Empty the trash and replace the liner. Finally, give the mirror a quick spray and wipe. That's it—your bathroom looks and feels significantly cleaner in just a quarter of an hour.
What To Tackle First
Start with the surfaces that show dirt most: the sink area and counter. A quick all-purpose cleaner or a vinegar-water spray works wonders. Then move to the floor—a cordless vacuum or a small broom makes this step fast.
End with the trash and mirror for an instant freshness boost.
Make It A Habit
Pick a consistent day and time, like Sunday evening or Wednesday morning. Set a recurring reminder on your phone. After a few weeks, it becomes automatic.
You'll also notice that your deeper monthly cleans become much easier because there's less buildup to tackle.
Tools To Keep Handy
Store a small caddy under the sink with a microfiber cloth, a spray bottle of cleaner, a dustpan and brush, and extra trash bags. Having everything within arm's reach means you waste no time gathering supplies. A timer app on your phone keeps you honest and focused.
FAQ
How often should I deep clean my bathroom?
Aim for a deep clean once a month, with quick wipe-downs weekly to prevent buildup.
Can I use bleach on colored grout?
Bleach can discolor colored grout. Use hydrogen peroxide or a mild cleaner instead.
What's the best way to remove soap scum?
A mixture of vinegar and dish soap works well. Spray it on, let it sit, then scrub.
How do I prevent mold in the bathroom?
Improve ventilation with a fan or open window, and wipe down wet surfaces after use.
Is it safe to mix baking soda and vinegar?
Yes, but use immediately while it fizzes. The reaction is safe and effective for cleaning.
Conclusion
A sparkling bathroom doesn't require a full day of scrubbing or expensive products. Most of these ideas rely on items you already have and take just minutes to put into action.
Pick the tip that solves your biggest frustration—whether it's grout stains, soap scum, or a musty smell. Small, consistent efforts add up to a bathroom that feels fresh every single day.


