Last updated on June 27th, 2026 at 03:17 pm
Scuff marks, crayon art, and mystery stains can turn your walls into a gallery of household chaos. Before you grab a scrub brush and risk damaging the paint, know that most marks come off with surprisingly gentle methods.
These 13 steps walk you through everything from dusting to stain removal, using common household items that won't strip your finish. Each technique targets a specific type of mark, so you can restore your walls without repainting.
Start with the right prep, and you'll erase years of wear in an afternoon.
1. Identify Your Wall Type Before You Start
Not all walls are created equal. Painted walls, wallpaper, and textured surfaces each react differently to cleaning methods. Using the wrong approach can cause peeling, discoloration, or permanent damage.
Take a minute to figure out what you're working with before you begin.
Knowing your wall type is the first and most important step. It determines which cleaning solutions and tools are safe to use. For painted walls, check if the paint is flat, satin, or semi-gloss.
Flat paint is especially delicate and can rub off easily. Wallpaper requires extra care because moisture can loosen the adhesive. Textured walls like popcorn or knockdown can trap dirt but are also more fragile.
When in doubt, test your cleaning method on a small, hidden area first.
Check The Paint Finish
If your walls are painted, the finish matters a lot. Flat or matte paint absorbs cleaner quickly and can leave shiny spots if scrubbed too hard. Satin and semi-gloss are more durable and can handle a bit more scrubbing.
To find out, look at the sheen in good light or check leftover paint cans. If you're still unsure, assume it's flat and use the gentlest method.
Spot Test For Wallpaper
Wallpaper is tricky because water can seep behind the edges and cause bubbling. Before cleaning a large area, dab a small inconspicuous spot with a damp sponge. Wait a few minutes.
If the paper stays intact and doesn't lift, you're good. If it wrinkles or peels, switch to a dry cleaning method like a sponge eraser or dry cloth.
Handle Textured Walls With Care
Textured walls like orange peel or knockdown have a rough surface that holds dirt in the crevices. They're also more prone to crumbling if you scrub too hard. Use a soft brush or vacuum with a brush attachment to loosen dust before any wet cleaning.
Avoid soaking the wall—just lightly dampen your cloth and work in small circles.
2. Dust the Wall First to Avoid Smearing
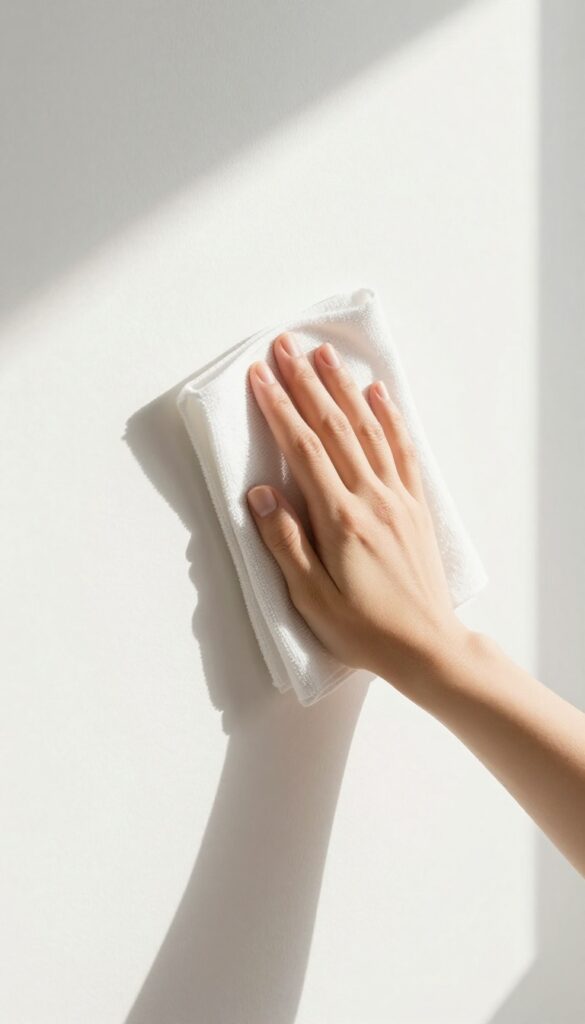
Before you touch a single mark, you need to remove the loose stuff. Dust, cobwebs, and airborne grime sit on the surface waiting to be ground into the paint the moment you apply pressure. A quick dry dusting prevents that mess and makes every cleaning step more effective.
Grab a microfiber cloth or an extendable duster with a soft head. Work from the top of the wall downward so falling dust doesn't land on already-cleaned areas. Pay extra attention to corners, baseboards, and light switch plates where dust collects.
If you skip this step, your damp cloth will turn into a mud spreader instead of a cleaner.
Choose The Right Duster
Microfiber cloths trap dust without scattering it. Avoid feather dusters that just fling particles into the air. For high ceilings, use a telescoping duster with a bendable head to reach corners easily.
Work Top To Bottom
Start at the ceiling line and move downward. This way, falling dust won't resettle on areas you've already dusted. Overlap each pass slightly to ensure full coverage.
Don't Forget Hidden Spots
Dust gathers behind furniture, on window sills, and along picture frames. Move lightweight items or use the duster's narrow attachment to reach tight spaces. A thorough dusting now saves scrubbing later.
3. Test Your Cleaning Solution in an Inconspicuous Spot
You might be tempted to spray a cleaner directly onto a visible stain and start scrubbing right away. But that shortcut can backfire if the solution reacts with your paint or wall finish. A quick patch test takes just a minute and can save you from creating a bigger problem than the one you're trying to fix.
Testing your cleaning solution on a hidden area is the smartest way to avoid discoloration, fading, or damage. Different wall finishes—flat, eggshell, satin, semi-gloss, or matte—react differently to cleaners. What works on a glossy kitchen wall might strip the finish off a flat bedroom wall.
A patch test lets you see how the paint responds before you commit to a full cleaning.
Where To Test
Pick a spot that's out of sight, like behind a piece of furniture, inside a closet, or near the baseboard in a corner. Avoid testing in areas that get direct sunlight, as light can affect how the paint looks when wet. The goal is to choose a place where any potential issue won't be noticeable.
How To Perform The Test
Dampen a clean white cloth or sponge with your cleaning solution. Gently dab or rub a small area—about the size of a quarter—and wait for it to dry completely. If the color looks the same as the surrounding paint, and there's no bubbling, peeling, or residue, you're good to go.
If you see any change, switch to a milder cleaner or try a different method.
What To Watch For
Look for color bleeding, fading, streaking, or a change in sheen. Some cleaners can leave a dull spot or make the paint look blotchy. Also check for any sticky residue that might attract dirt later.
If the test spot looks perfect after drying, you can confidently clean the rest of the wall.
4. Use a Magic Eraser for Stubborn Scuffs

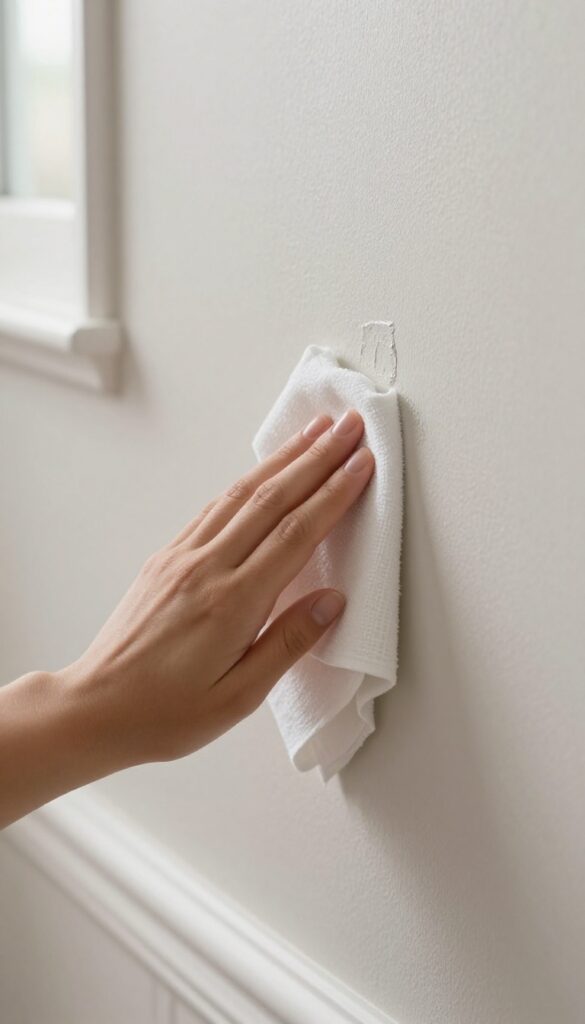
Some marks just won't budge with soap and water. That's where a melamine sponge, better known as a Magic Eraser, saves the day. It's like a super-fine sandpaper that buffs away scuffs without damaging most painted surfaces.
Melamine sponges are your secret weapon against shoe scuffs, furniture bumps, and crayon marks. They work by micro-abrasion, gently wearing away the top layer of the mark without harming the paint underneath. Always test in an inconspicuous spot first, though, because some flat or matte finishes can become shiny if you scrub too hard.
How To Use It Right
Dampen the sponge with water until it's soft but not dripping. Gently rub the scuff mark using light pressure—let the sponge do the work. You'll see the mark lift away almost instantly.
Rinse the sponge frequently to avoid spreading dirt, and stop as soon as the mark is gone to prevent over-scrubbing.
When To Skip It
Avoid using melamine sponges on glossy, satin, or semi-gloss paints because they can leave a dull patch. Also, don't use them on wallpaper, textured walls, or any surface with a delicate finish. For these, stick to a mild detergent or baking soda paste instead.
5. Erase Crayon Marks with Baking Soda Paste
Crayon on walls is a classic childhood signature. The good news is that you don't need harsh solvents to remove it. A simple paste of baking soda and water works like a gentle eraser, lifting wax and pigment without damaging the paint underneath.
Baking soda is mildly abrasive, which helps break down the waxy crayon without scratching the wall. When mixed into a paste, it clings to vertical surfaces and targets the mark directly. This method is safe for most painted walls, including flat, eggshell, and satin finishes.
Make The Paste
In a small bowl, combine three parts baking soda with one part water. Stir until you get a thick, spreadable paste. It should be about the consistency of toothpaste—not too runny or it will drip.
Adjust with a little more powder or water as needed.
Apply And Gently Rub
Dip a soft cloth or sponge into the paste. Dab it onto the crayon mark, then rub in a circular motion with light pressure. You'll see the color transfer to the cloth.
Work in small sections, and rinse the cloth as it picks up crayon to avoid spreading the stain.
Wipe Clean And Dry
Once the crayon is gone, dampen a clean cloth with plain water and wipe away any baking soda residue. Pat the area dry with a towel. If a faint trace remains, repeat the process—it usually fades completely after a second pass.
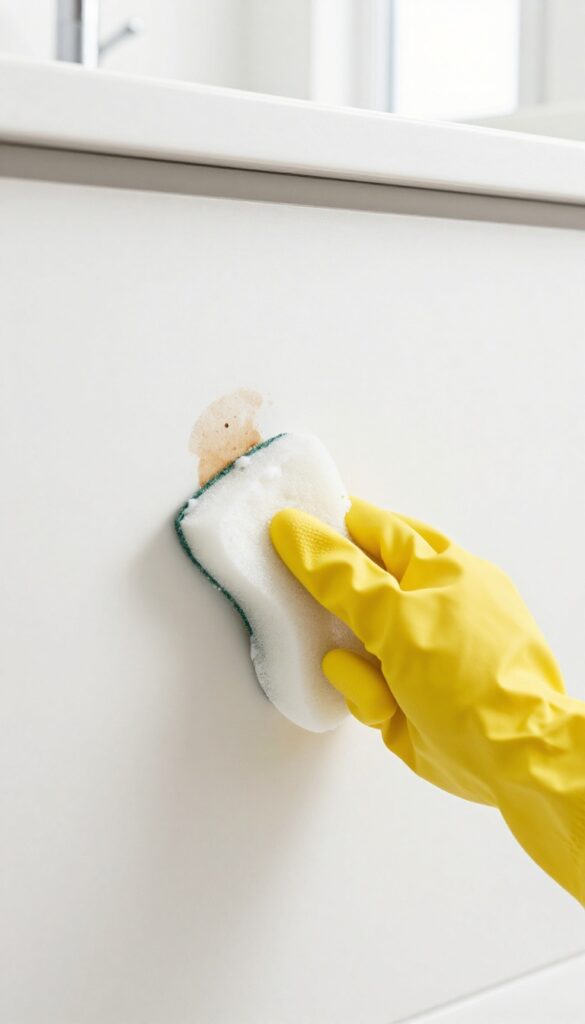
6. Remove Grease Spots with Dish Soap and Warm Water
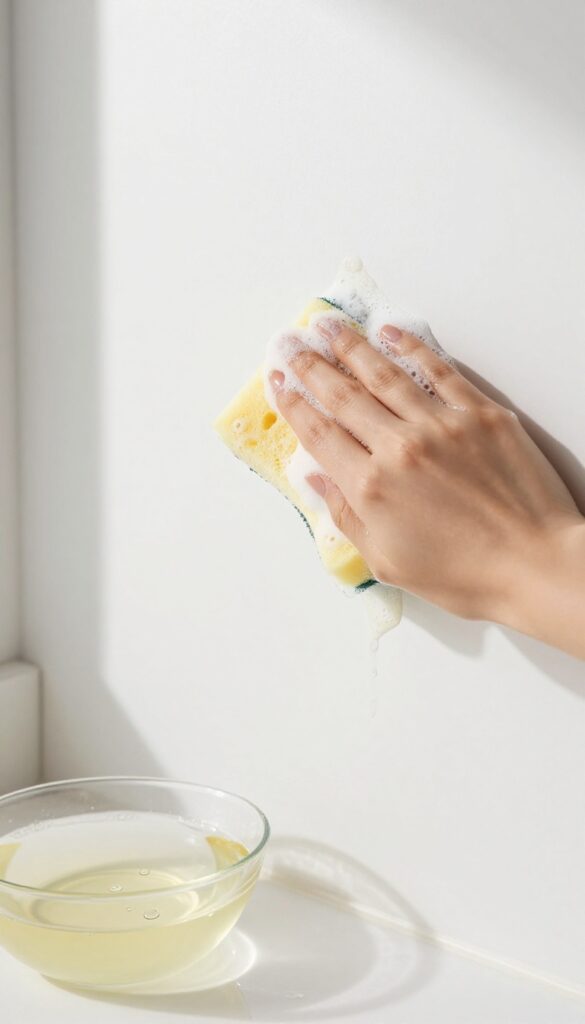
Kitchen walls take a beating from cooking splatters. Grease can cling to paint and dry into stubborn, yellowish patches that don't come off with plain water. Dish soap is designed to break down grease on dishes, and it works just as well on walls.
Mix a few drops of mild dish soap into a bowl of warm water. Dip a soft sponge or microfiber cloth into the solution, wring it out well so it's damp but not dripping, and gently blot the grease spot. Let it sit for a minute to loosen the grease, then wipe in a circular motion.
Rinse the cloth with clean water and go over the area again to remove any soap residue. Pat dry with a towel.
Why Dish Soap Works Without Damaging Paint
Dish soap is a gentle surfactant that lifts grease without harsh chemicals. Unlike degreasers that can strip paint or leave a sticky film, dish soap rinses clean. Always use a mild brand without bleach or abrasive additives to protect your wall finish.
The Right Technique For Stubborn Grease
For older or baked-on grease, let the soapy water sit on the spot for 3–5 minutes before wiping. If the stain persists, add a pinch of baking soda to the soap solution to create a mild paste. Scrub gently with a soft brush, then rinse and dry.
When To Avoid This Method
Do not use dish soap on unsealed or flat paint without testing first. In a hidden area, dab a little solution and wait for it to dry. If the paint darkens or rubs off, switch to a dry cleaning sponge or consult a professional.
7. Tackle Pencil Marks with a Regular Eraser
Pencil marks on walls are common, especially near desks or kids' study areas. Before reaching for a cleaning solution, try the simplest tool: a clean pencil eraser. It lifts graphite without moisture, reducing the risk of damaging paint or leaving streaks.
A standard pink or white eraser works wonders on painted walls. The gentle friction lifts graphite particles from the surface without smearing or spreading the mark. This method is quick, requires no prep, and leaves no residue.
Choose The Right Eraser
A clean, soft eraser is key. Avoid erasers with embedded grit or those that are overly hard, as they might scratch the paint. A standard pink eraser or a white vinyl eraser works best.
Test on an inconspicuous area first to ensure it doesn't remove paint.
Gentle Erasing Technique
Lightly rub the eraser over the pencil mark in one direction. Use short, gentle strokes—applying too much pressure can damage the paint. If the mark doesn't lift after a few passes, try a slightly damp cloth afterward, but often the eraser alone is sufficient.
When To Switch To Liquid Cleaners
If the eraser doesn't remove the mark completely, it may be embedded in the paint or combined with oils. In that case, use a mild soap solution or a magic eraser sparingly. But always start with the eraser—it's the gentlest option.
8. Blot Ink Stains with Rubbing Alcohol
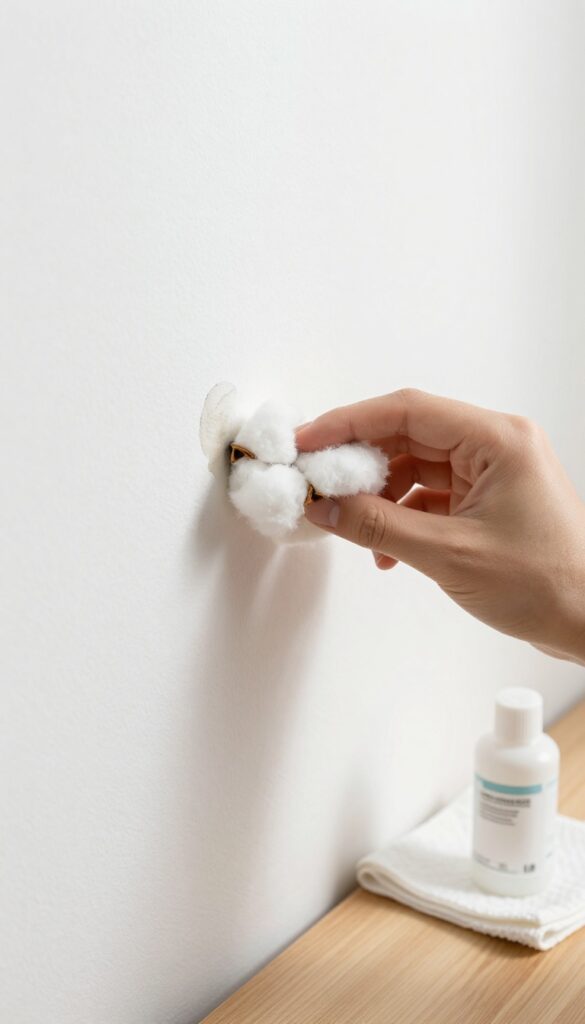
Ink stains from pens or markers can be stubborn, but rubbing alcohol is a gentle solvent that lifts ink without damaging most paint finishes. The key is to avoid rubbing, which can push the ink deeper into the wall or spread it into a larger smudge. Instead, use a blotting motion to absorb the stain from the surface.
Why Blotting Works Best
Rubbing alcohol breaks down the ink's pigments, making them soluble. When you blot, you lift the dissolved ink onto the cotton ball instead of grinding it into the paint. Rubbing would force the ink into the pores of the wall, making the stain permanent or much harder to remove.
Step-by-step Blotting Process
Dampen a cotton ball or soft cloth with rubbing alcohol—don't soak it, just moisten. Gently blot the ink stain, starting from the outer edge and moving inward. Replace the cotton ball as it picks up ink to avoid redepositing the stain.
Continue until no more ink transfers.
What To Do For Stubborn Marks
If the stain persists, let the alcohol sit on the mark for 30 seconds before blotting again. For permanent marker, you may need to repeat the process several times. After the ink is gone, wipe the area with a damp cloth to remove any alcohol residue, then dry.
9. Clean Wallpapered Walls with a Damp Cloth Only
Wallpaper adds texture and character, but it's not as forgiving as painted drywall. Too much moisture can loosen the adhesive, cause bubbles, or even peel the paper right off. That's why the golden rule for wallpaper is: less water, more patience.
Start by dusting the wallpaper with a soft brush or vacuum attachment to remove loose dirt. Then, wring out a microfiber cloth until it's just barely damp—think wrung-out sponge, not dripping wet. If you need a little cleaning power, add a drop of mild dish soap to warm water.
Gently blot or wipe the mark, working from the edges inward to avoid spreading the stain. Never scrub aggressively, and always test on an inconspicuous spot first. After cleaning, pat the area dry with a soft towel to prevent moisture from seeping into the seams.
Why Water Is The Enemy
Wallpaper is essentially paper glued to your wall. Excess water can seep through the surface, weaken the adhesive, and cause the paper to lift or bubble. Even vinyl-coated wallpapers have seams where moisture can get in.
That's why a barely damp cloth is your safest bet.
Choosing The Right Cloth
Microfiber cloths are ideal because they pick up dirt without scratching. Avoid abrasive sponges or rough rags that can scuff the wallpaper's surface. If the wallpaper is textured, use a soft-bristled brush or a sponge with gentle pressure to reach into crevices without damaging the pattern.
Dealing With Stubborn Marks
For grease or crayon marks, mix a tiny amount of dish soap with water, but keep the cloth barely damp. Blot the stain repeatedly rather than wiping, which can spread the grease. If the mark persists, try a wallpaper-specific cleaner or a paste of baking soda and water applied with a soft cloth.
Always rinse with a clean, damp cloth and dry immediately.
10. Remove Water Stains with a Bleach Solution
Water stains from leaky roofs or splashes near sinks can leave ugly brown rings on your walls. If your walls are white or light-colored, a diluted bleach solution can lift those stains without damaging the paint. Just be careful—bleach is strong stuff, so test it first and use it sparingly.
Bleach is a powerful stain remover, but it's not for every wall. Stick to white or very light paint, and always test a hidden spot before you start. The goal is to lighten the stain, not scrub it away aggressively.
Mix The Right Ratio
Combine one part bleach with three parts water in a small bowl or spray bottle. Stir gently—don't shake it, or you'll create too many bubbles. Use a clean white cloth or sponge, not a colored one that might bleed dye onto the wall.
Apply Carefully
Dip the cloth into the solution and wring it out until it's just damp. Dab the stain gently—don't rub, or you might spread it. Let the solution sit for a minute, then blot with a dry cloth.
Repeat if needed, but avoid soaking the wall.
Rinse And Dry
After the stain fades, wipe the area with a clean damp cloth to remove any bleach residue. Then pat dry with a towel. Bleach can leave a slight sheen, so make sure the wall is completely dry before you judge the result.
11. Use a Dry Sponge for Textured Walls
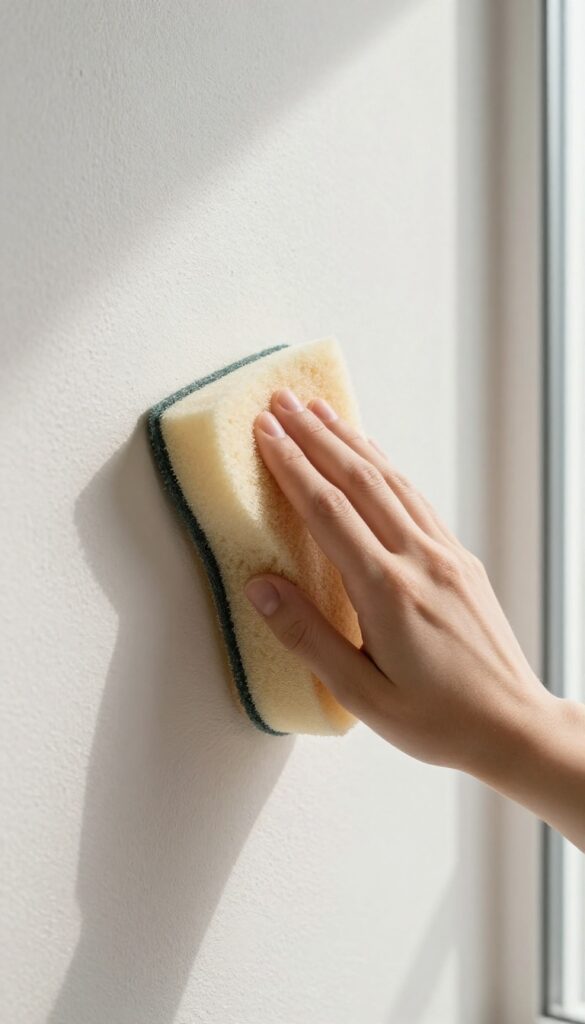
Textured walls are great at hiding imperfections, but they're also magnets for dust and grime. The nooks and crannies that give the wall its character can trap particles, making a damp cloth push dirt deeper instead of lifting it away. A dry sponge or soft brush is the smarter tool for these surfaces.
A dry sponge—specifically a dry chemical sponge (often used for soot or smoke cleanup)—works wonders on textured walls. Its porous structure grabs dust without moisture, so you avoid wetting the texture or smearing dirt. Gently wipe in one direction, and you'll see the sponge darken as it picks up hidden grime.
For deeper cleaning, a soft-bristled brush (like a clean paintbrush or a dry wall brush) can dislodge dust from crevices before you go over it with the sponge. This two-step method keeps your textured walls looking fresh without damaging the finish.
Why Dry Cleaning Works Best
Water and textured walls don't mix well. Moisture can soften the texture, cause it to peel, or lead to mold growth in the crevices. A dry sponge or brush avoids all that by relying on static attraction and gentle abrasion.
It's also faster—no waiting for walls to dry between passes.
Choosing The Right Tool
Look for a dry-cleaning sponge at hardware stores or online—they're often labeled as chemical sponges or soot sponges. They're typically white or beige and feel slightly tacky. Avoid using a regular kitchen sponge dry; it may scratch the paint.
Alternatively, a microfiber cloth wrapped around a putty knife can reach into grooves.
Technique Tips
Start at the top of the wall and work downward so dust falls onto uncleaned areas. Use light pressure and long, straight strokes. If the sponge gets dirty, trim or replace the soiled section.
For heavily textured walls like popcorn or orange peel, a soft brush followed by the sponge will give the best results.
12. Rinse with Clean Water to Avoid Residue
You’ve scrubbed, dabbed, and wiped your way through a stubborn mark. The wall looks clean, but if you leave cleaning solution on the surface, it can dry into a streaky, sticky mess. That final rinse step is what separates a professional-looking finish from a blotchy one.
After using any cleaning solution, grab a fresh microfiber cloth or sponge dampened with plain water. Wipe the area you just cleaned, using light pressure and overlapping strokes. This dilutes and removes any leftover soap or solvent that could attract dust or leave a film.
For larger sections, rinse your cloth frequently and change the water if it gets dirty. A second pass with a dry cloth can speed up drying and prevent water spots. Skipping this step is the number one reason walls look worse after cleaning than before.
Why Residue Matters
Soap residue doesn’t just look bad—it can actually damage paint over time. Leftover cleaning agents can react with light and humidity, causing discoloration or a tacky feel that traps dirt. Rinsing ensures your walls stay clean longer and maintain their original sheen.
Best Tools For The Job
Microfiber cloths are ideal because they trap residue without leaving lint. Avoid old rags or paper towels that can shed fibers or scratch delicate paint. A clean sponge works too, but squeeze out excess water so you’re not saturating the wall.
When To Skip Rinsing
Some gentle methods, like a dry eraser sponge or a baking soda paste, don’t require rinsing because they leave no chemical residue. But if you used any liquid cleaner—even a mild one—always rinse. When in doubt, a quick wipe with a damp cloth never hurts.
13. Let Walls Air Dry Completely Before Repainting or Decorating
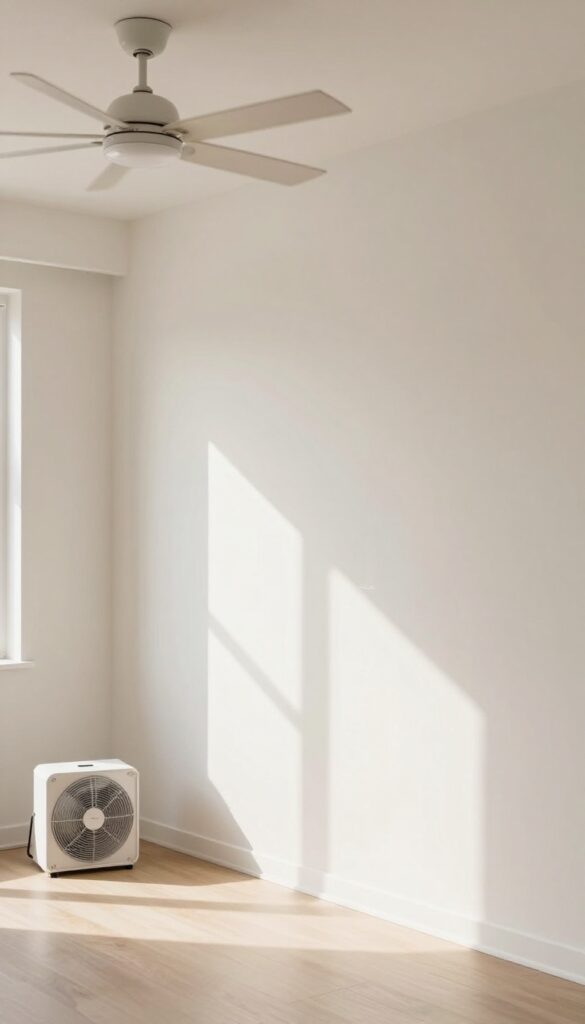
After all that scrubbing and rinsing, it's tempting to start hanging pictures or rolling on a fresh coat of paint right away. But damp walls are fragile. Moisture trapped beneath new paint or behind a poster can cause peeling, bubbling, or even mold over time.
Patience here saves you from redoing the work.
Rushing the drying process is one of the most common mistakes after cleaning. Even if the surface feels dry to the touch, moisture can linger deeper in the paint or wallpaper. Give your walls at least 24 hours of air drying before any repainting or decorating.
Use fans or open windows to speed things up, but avoid direct heat sources like space heaters, which can dry the surface too fast and cause cracking.
Why Drying Matters
Paint adheres best to a completely dry surface. If you paint over damp walls, the new coat won't bond properly and may blister or peel within weeks. Wallpaper is even more sensitive—moisture can loosen the adhesive and cause edges to curl.
How To Speed Up Drying
Turn on a ceiling fan or place a box fan in the room, pointing it toward the wall. Open windows if humidity is low. For stubborn damp spots, use a dehumidifier.
Avoid using a hair dryer or space heater, as intense heat can damage the paint or wallpaper.
Check For Readiness
After 24 hours, press a piece of clear tape against the wall. If it sticks firmly and comes off clean, the wall is dry. Another test: touch the wall with the back of your hand—if it feels cool or clammy, give it more time.
FAQ
Can I use vinegar to clean painted walls?
Yes, but dilute it with water (1: 4 ratio). Vinegar is acidic, so test first on a small area to ensure it doesn't dull the paint.
How do I remove marker from walls?
For dry-erase markers, a dry erase marker can lift the stain. For permanent markers, try rubbing alcohol or hairspray.
What if my wall has flat paint?
Flat paint is very delicate. Use the least amount of moisture possible—a dry sponge or eraser is safest.
Can I use a pressure washer on exterior walls?
Yes, but use a low-pressure setting and keep the nozzle at least 12 inches away to avoid damaging siding or paint.
How often should I clean my walls?
Spot clean as needed, but a full wall cleaning once or twice a year is usually enough for most homes.
Conclusion
You don't need harsh chemicals to get walls spotless. By following these 13 gentle steps, you've removed marks without damaging paint or finish. The real trick is catching stains early and using the softest touch possible.
Make wall cleaning part of your regular dusting routine. A quick wipe-down every few weeks prevents buildup, so you'll rarely need a deep scrub. Your walls will stay fresh with minimal effort.

I’m Pallab Kishore, the owner of Little Pets Realm — an animal lover and pet care enthusiast sharing easy tips, healthy recipes, and honest advice to help every small pet live a happy, healthy, tail-wagging life.


