
A whole-home deep clean doesn't have to mean losing an entire weekend to scrubbing and stress. The secret lies in breaking the job into focused, high-impact tasks that target the grime you usually overlook.
These 17 checklist ideas are designed to help you tackle every corner with confidence, from greasy kitchen cabinets to dusty ceiling fans. Each one is a practical, step-by-step plan that delivers visible results without the overwhelm.
Whether you're prepping for guests or just craving a truly fresh space, these strategies will transform your cleaning routine into something efficient and even satisfying.
1. Declutter Before You Deep Clean

Before you break out the scrub brushes, take a step back. Deep cleaning works best when surfaces are bare and you're not shuffling knick-knacks around. Clearing the clutter first makes every other step faster and more effective.
Start by removing everything from counters, shelves, and floors. As you go, sort each item into one of three piles: keep, donate, or toss. Be honest with yourself—if you haven't used it in a year, it's probably time to let it go.
Once the space is stripped down, you can see the actual dirt and grime that needs attention. Plus, cleaning a clear surface is infinitely easier than working around a pile of mail or a stack of magazines.
Tackle One Room At A Time
Decluttering the whole house at once can feel overwhelming. Instead, focus on one room—or even one zone within a room—before moving on. This keeps the task manageable and gives you a visible win that motivates you to keep going.
Set Up Your Sorting Stations
Grab three boxes or bags and label them Keep, Donate, and Toss. Place them in the center of the room so you can quickly drop items where they belong. Having a system in place prevents second-guessing and keeps the momentum going.
Be Ruthless With Paper And Sentimental Items
Paper clutter is a major culprit in most homes. Recycle old bills, expired coupons, and junk mail without hesitation. For sentimental items, give yourself a limit—a small memory box per person is plenty.
If it doesn't spark joy or serve a purpose, it's just taking up space.
2. Kitchen Cabinet Tops and Interiors
Kitchen cabinets are workhorses, but their tops often become a hidden layer of greasy dust. Meanwhile, interiors can turn into chaotic catch-alls. This idea focuses on giving both the tops and the insides the attention they deserve for a truly clean kitchen.
Start by clearing everything off the cabinet tops. Use a step stool to reach safely. Vacuum loose dust and cobwebs, then wipe down with a degreasing cleaner—a mix of warm water and dish soap works wonders.
For stubborn grease, add a splash of white vinegar. Dry with a microfiber cloth to avoid streaks. Next, empty each cabinet completely.
Sort items into keep, donate, or toss piles. Wash shelves with warm soapy water, rinse, and dry thoroughly. Before restocking, line shelves with non-slip shelf liner or washable mats for easy future cleaning.
Organize items by category—pans together, spices in a rack, etc. —and use bins or risers to maximize space. Finally, wipe down cabinet doors and handles to remove fingerprints and grime.
Tackle The Grease On Top
Cabinet tops collect a sticky film of cooking grease and dust. Start by removing everything from the top. Vacuum with a brush attachment to catch loose debris.
Then, spray a degreasing solution (like diluted dish soap) and let it sit for a minute. Wipe with a damp microfiber cloth, rinsing frequently. For tough spots, use a paste of baking soda and water.
Finish with a dry cloth to prevent water spots.
Empty And Sort Cabinet Interiors
Pull everything out of each cabinet. Group similar items and check expiration dates—toss anything past its prime. Wipe down shelves with a mild cleaner, paying attention to corners where crumbs hide.
Let shelves dry completely before adding shelf liner. This is also a good time to declutter: donate duplicate or unused items.
Organize Before Restocking
Use clear bins for small items like spice packets or baking supplies. Install pull-out shelves or lazy Susans for deep cabinets. Group like items together: baking pans, canned goods, and dry staples.
Label bins if it helps. Restock heaviest items on bottom shelves and lighter ones above. Keep frequently used items at eye level.
3. Oven and Stovetop Deep Scrub
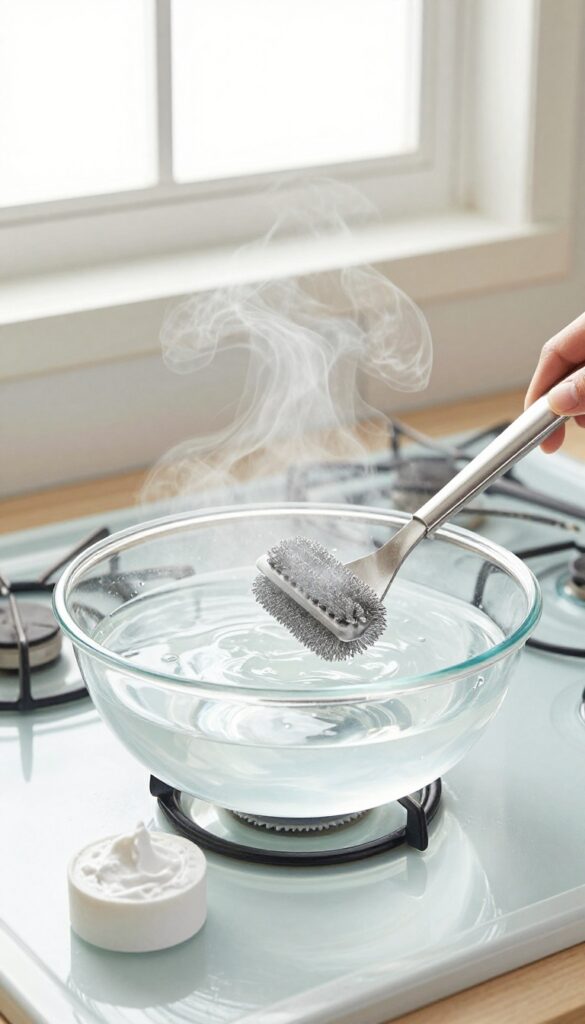
The oven and stovetop take the most abuse in the kitchen, so they deserve a thorough, targeted scrub. This isn't just about wiping down the exterior—it's about tackling the baked-on grease and grime that builds up over time. With a few simple steps, you can make these surfaces look almost new again.
Soak The Racks
Start by removing the oven racks and placing them in a bathtub or large sink filled with hot water and a degreasing dish soap. Let them soak for at least an hour—overnight is even better for stubborn buildup. Scrub with a non-abrasive pad, rinse, and dry before putting them back.
Baking Soda Paste For The Interior
Mix a paste of baking soda and water, then spread it over the interior surfaces of the oven, avoiding the heating elements. Let it sit overnight to break down grease. The next day, spray with vinegar to create a fizzing reaction, then wipe clean with a damp cloth.
For extra stubborn spots, use a plastic scraper.
Stovetop Burners And Knobs
Remove burner caps, grates, and knobs if possible. Soak them in hot, soapy water, then scrub with a brush. For gas stovetops, clean the burner holes with a toothpick.
Wipe down the stovetop surface with a degreaser, and reassemble everything once dry.
4. Refrigerator Coils and Interior
Your fridge runs 24/7, but when was the last time you looked behind it? Dusty coils make it work harder, driving up your energy bill. And the interior?
It's probably hiding forgotten leftovers and sticky spills. This task tackles both efficiency and freshness.
Vacuum The Coils
Pull the fridge away from the wall and unplug it. Use a vacuum with a brush attachment to gently remove dust from the coils. If they're really caked on, a coil cleaning brush helps.
This simple step can improve efficiency by up to 30%.
Toss And Wipe
Go through every shelf and drawer. Check expiration dates and toss anything questionable. Wipe down all surfaces with warm soapy water or a mild vinegar solution.
Don't forget the door bins and the rubber gasket—crumbs love to hide there.
Deep Clean Drawers
Remove the crisper drawers and wash them in the sink with warm soapy water. Let them dry completely before sliding back in. This prevents mold and keeps your produce fresher longer.
Final Touch
Wipe the exterior, including the top where dust bunnies collect. Plug the fridge back in and enjoy a clean, efficient appliance. Your electricity bill will thank you.
5. Microwave Interior and Exterior
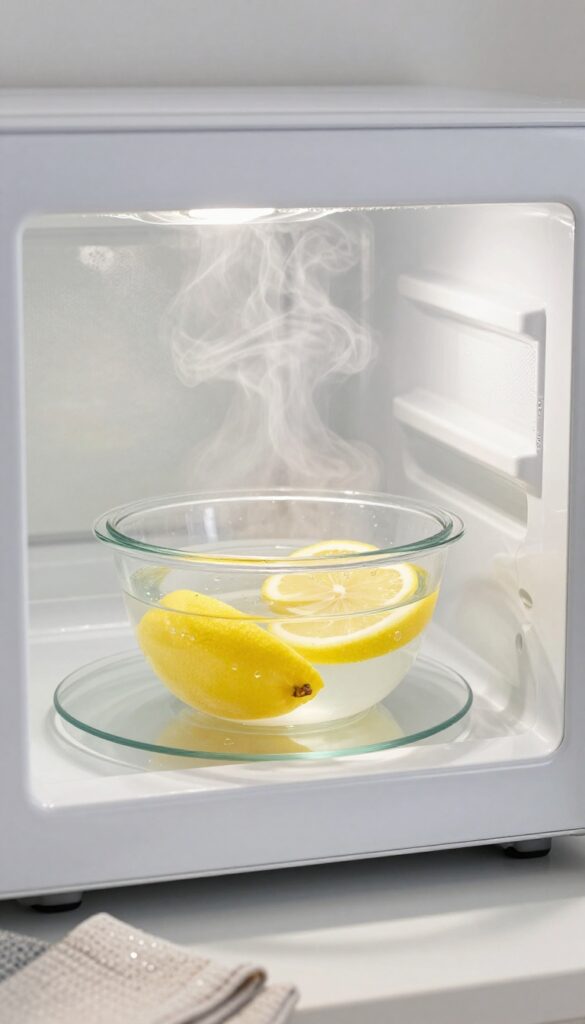
Microwaves collect splatters and spills faster than almost any other appliance, but a deep clean doesn't require harsh chemicals. A simple steam treatment loosens baked-on messes, making wiping effortless. This method also tackles odors, leaving your microwave fresh and spotless.
Steam Clean The Interior
Fill a microwave-safe bowl with 1 cup of water and add slices of lemon or a few tablespoons of vinegar. Microwave on high for 3-5 minutes until the window steams up. Let it sit for 2 minutes without opening the door—the steam will soften food residue and grease.
Carefully remove the bowl (it will be hot), then wipe down the interior walls, ceiling, and floor with a damp cloth or sponge. The loosened grime comes off easily.
Scrub The Turntable And Roller Ring
Take out the glass turntable and roller ring. Wash them in warm, soapy water or place them in the dishwasher if they're dishwasher-safe. Use a non-abrasive scrubber to remove any stubborn spots.
Dry thoroughly before putting them back. While they're out, wipe the microwave floor where the turntable sits—crumbs and spills often hide there.
Wipe Down The Exterior And Keypad
Spray a microfiber cloth with an all-purpose cleaner or a vinegar-water solution (never spray directly onto the microwave to avoid liquid seeping into vents). Wipe the top, sides, door, and handle. For the keypad, use a slightly damp cloth and gently clean between buttons.
A dry toothbrush can help dislodge debris from crevices. Finish by buffing the stainless steel with a dry cloth to prevent streaks.
6. Bathroom Grout and Tile Restoration
Grout lines are notorious for trapping soap scum, mildew, and dirt, making even the cleanest bathroom look dingy. Restoring them doesn't require harsh chemicals—just a simple paste and a bit of elbow grease. This process not only brightens your tiles but also protects them from future stains.
Make A Paste That Works
Mix baking soda and hydrogen peroxide into a thick paste—about two parts baking soda to one part peroxide. Apply it directly to the grout lines using an old toothbrush or a small grout brush. Let it sit for 10 minutes to break down the grime.
Scrub And Rinse Thoroughly
Scrub the paste into the grout with firm circular motions. Focus on heavily stained areas, applying extra paste if needed. Rinse with warm water and wipe away residue with a damp cloth.
Repeat stubborn spots until the grout looks clean.
Seal For Long-lasting Results
Once the grout is dry, apply a grout sealer with a small brush or applicator. This creates a protective barrier that repels moisture and stains, making future cleaning much easier. Reapply sealer every six months to maintain the fresh look.
7. Showerhead and Faucet Mineral Removal
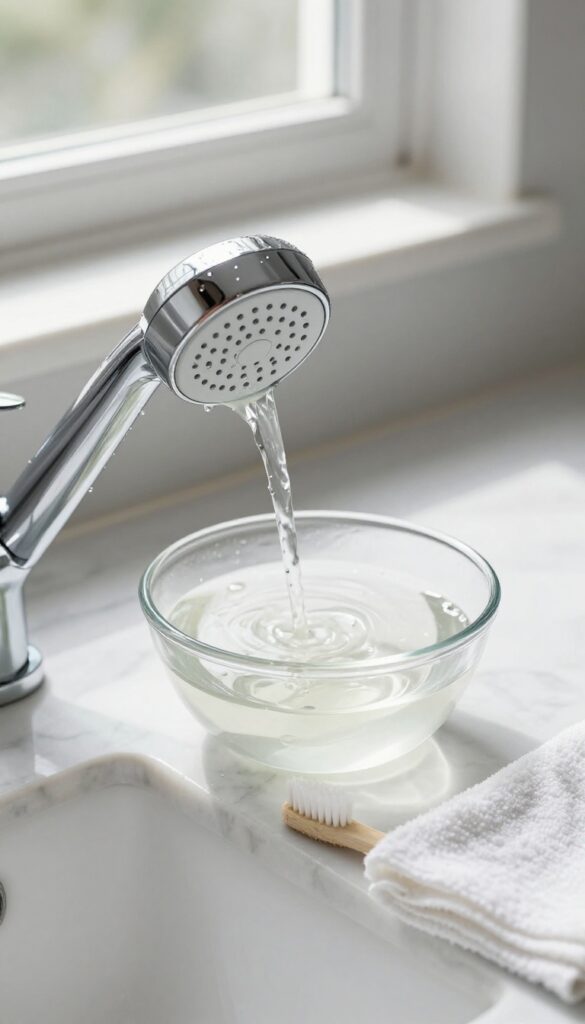
Hard water leaves behind stubborn mineral deposits that can clog your showerhead and dull your faucets. Over time, these white crusty buildups reduce water pressure and make fixtures look grimy no matter how much you wipe them. Luckily, removing them is one of the easiest deep-cleaning wins in your whole home scrub.
Start by unscrewing your showerhead and placing it in a bowl of white vinegar. Let it soak overnight to dissolve calcium and lime scale. In the morning, scrub away any remaining residue with an old toothbrush, then rinse thoroughly.
For fixed showerheads, fill a plastic bag with vinegar, tie it around the head, and secure it with a rubber band. Let it soak for a few hours before removing and running water. Don't forget to clean faucet aerators—unscrew them, soak in vinegar, and scrub before reinstalling.
Finally, wipe down all fixtures with a microfiber cloth and a bit of vinegar or glass cleaner to restore that streak-free shine.
Why Vinegar Works Best
White vinegar is mildly acidic, which breaks down alkaline mineral deposits without harsh chemicals. It's safe for most metal finishes, but avoid soaking brass or nickel-plated fixtures for too long—check manufacturer guidelines. For stubborn buildup, heat the vinegar slightly before soaking.
Step-by-step Soaking Method
Remove the showerhead and place it in a bowl of undiluted white vinegar. If it won't fit, use a plastic bag tied around the head. Let it soak for at least 4 hours or overnight.
After soaking, scrub with a toothbrush and rinse with warm water. For faucet aerators, unscrew them, soak separately, and scrub before reattaching.
Finishing Touches For A Streak-free Shine
Once the mineral deposits are gone, wipe all fixtures with a microfiber cloth dampened with a 50/50 water-vinegar solution. Buff dry with a clean cloth to prevent water spots. This final step ensures your showerhead and faucets look as good as new.
8. Toilet Base and Behind the Bowl
The toilet is often the dirtiest spot in the house, but most people only clean the bowl and seat. The base and the area behind the bowl hide layers of grime, dust, and bacteria that get ignored for months. A proper deep clean here makes a huge difference in both hygiene and appearance.
Start by removing any items around the toilet, like a trash can or toilet brush holder. Put on gloves and spray a disinfectant cleaner all over the base, the back of the bowl, and the floor around it. Let it sit for a few minutes to break down stains and kill germs.
Scrub The Base And Crevices
Use a small scrub brush or an old toothbrush to reach the tight spaces where the bowl meets the base. Pay special attention to the bolts and caps at the bottom. Wipe away loosened dirt with a microfiber cloth, then rinse the area with a damp cloth.
Don't Forget Behind The Bowl
The gap between the toilet and the wall is a magnet for dust and grime. Use a long-handled duster or a flexible brush to sweep out debris. For a deeper clean, spray a disinfectant and wipe with a cloth attached to a ruler or a cleaning wand.
Finish With A Floor Wipe
Once the toilet is clean, wipe the floor around the base with a disinfectant cleaner. This catches any drips or splashes and leaves the area spotless. Let everything air dry before replacing items.
9. Window Tracks and Sills
Window tracks are magnets for dust, dead bugs, and grime that can make opening and closing windows a gritty chore. But once you see how much dirt accumulates in those narrow grooves, you'll want to add this to your regular rotation. A clean track not only looks better but also helps your windows operate smoothly.
Start by using a vacuum with a crevice tool to suck up loose debris from the tracks. Follow up with a damp microfiber cloth or an old toothbrush dipped in warm soapy water to scrub away stubborn buildup. For sills and frames, wipe them down with the same cloth, then dry thoroughly.
Finish by washing the glass inside and out with a streak-free cleaner for that sparkling finish.
The Right Tools For The Job
A crevice tool attachment for your vacuum is essential for reaching deep into tracks. An old toothbrush or a small detailing brush works wonders for scrubbing corners. Use a microfiber cloth and a mild dish soap solution to avoid residue.
Tackling Stubborn Grime
For caked-on dirt, make a paste of baking soda and water, apply it to the tracks, and let it sit for a few minutes before scrubbing. A putty knife wrapped in a cloth can help dislodge compacted debris without scratching.
Finishing For Clarity
After cleaning the tracks and sills, wash the windows using a squeegee or a lint-free cloth. A solution of equal parts water and vinegar cuts through grease and leaves glass streak-free. Don't forget to wipe down the window screens too.
10. Light Fixtures and Ceiling Fans
Ceiling fans and light fixtures are some of the most neglected spots in a home. They collect dust, dead bugs, and grime that can dim your lights and spread allergens every time you flip a switch. A proper scrub here makes your whole room feel cleaner and brighter.
Dust Fan Blades Without The Mess
The old pillowcase trick is a game-changer. Slip a clean pillowcase over each fan blade, then slide it off to trap all the dust inside. No clouds of debris falling onto your furniture or floor.
After that, wipe down the blades with a damp microfiber cloth to remove any stubborn residue.
Wipe Down Light Fixtures And Replace Bulbs
Turn off the power and let bulbs cool before cleaning. Use a dry or slightly damp cloth to dust glass shades and metal bases. For sticky grime, a tiny drop of dish soap in warm water works wonders.
While you're at it, replace any burnt-out bulbs and consider switching to LEDs for better light and lower energy bills.
Don't Forget Lampshades And Chandeliers
Fabric lampshades can be gently vacuumed with a brush attachment to remove dust. For glass chandeliers, a microfiber cloth with a bit of glass cleaner will restore sparkle. If your shades are washable, check the label—some can be hand-washed and air-dried for a deeper clean.
11. Baseboards and Crown Molding
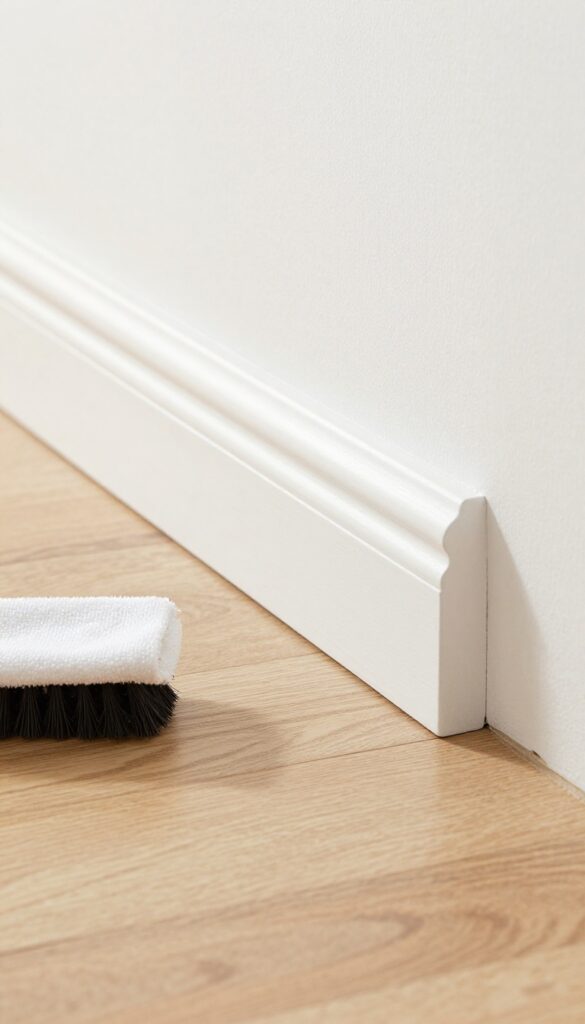
Baseboards and crown molding are like the frame of your home—they tie everything together, but they also collect dust, cobwebs, and grime. When was the last time you gave them a proper scrub? A quick wipe during regular cleaning isn't enough to remove the buildup that settles into crevices and corners.
This deep-cleaning step will make your walls and floors look crisp and well-maintained.
Start With Dry Dusting
Before you introduce any moisture, knock off loose dust and cobwebs. Use a vacuum with a soft brush attachment or a microfiber duster on an extension pole. Work from top to bottom so falling debris doesn't resettle on already-cleaned areas.
Pay extra attention to corners where the molding meets the wall or floor.
Tackle Stubborn Grime With A Gentle Cleaner
For greasy kitchen baseboards or dusty crown molding, mix a few drops of dish soap with warm water. Dip a microfiber cloth—not a sponge that might drip—and wring it out well. Wipe along the length of the molding, using a soft toothbrush or cotton swab for tight crevices.
Avoid soaking the wood or drywall underneath.
Rinse And Dry For A Streak-free Finish
After washing, go over the surface with a damp cloth (just water) to remove any soap residue. Then dry immediately with a clean microfiber towel. This prevents water spots and protects painted or stained finishes.
For crown molding, use a step ladder and work in sections so you don't miss any spots.
12. Upholstery and Curtains Refreshing
Your sofa and drapes might look fine from across the room, but they trap dust, allergens, and odors over time. Giving them a proper refresh not only makes your home smell cleaner but also extends the life of your fabrics. This idea focuses on simple, effective methods to revive upholstery and curtains without professional help.
Start by vacuuming all upholstered surfaces with an upholstery attachment. Use a crevice tool to reach between cushions and along seams. For curtains, check the care labels—many can be machine washed on a gentle cycle, while others may need dry cleaning.
Spot treat any stains on upholstery with a mild detergent solution, blotting gently to avoid spreading. Once clean, consider steaming both upholstery and curtains to kill dust mites and remove wrinkles. A handheld steamer works great for this and gives fabrics a fresh, crisp look.
Vacuuming And Dusting First
Before any wet cleaning, remove loose dirt by vacuuming thoroughly. Use the brush attachment for delicate fabrics and the crevice tool for crevices. Don't forget the tops of curtains and behind furniture.
Washing And Drying Curtains
Follow the care label instructions precisely. Most cotton or polyester curtains can be machine washed in cold water and tumble dried on low. Hang them back up while slightly damp to prevent wrinkles.
Spot Cleaning And Steaming Upholstery
Mix a small amount of mild dish soap with water. Dip a white cloth into the solution, blot the stain, then blot with a dry cloth. Finish by steaming the entire piece to sanitize and refresh the fabric.
13. Mattress and Bedding Deep Clean
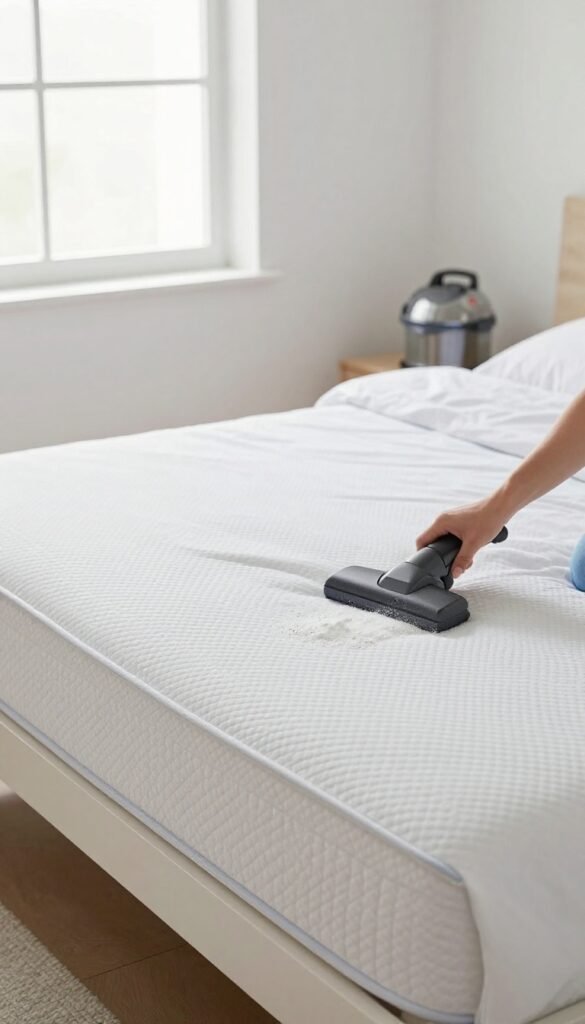
Your mattress works hard every night, absorbing sweat, dead skin cells, and dust mites. A deep clean every few months can improve sleep quality and extend its life. Start by stripping all bedding and washing it in hot water to kill allergens.
Strip And Launder Everything
Remove all sheets, pillowcases, mattress protectors, and duvet covers. Wash them in hot water (at least 130°F) with a quality detergent. Add a cup of white vinegar to the rinse cycle to break down oils and odors.
Dry on high heat if fabric allows.
Vacuum The Mattress Surface
Use the upholstery attachment on your vacuum to go over the entire mattress top, sides, and seams. Pay special attention to creases and tufts where dust and debris hide. This step removes loose dirt before spot cleaning.
Spot Clean Stains With Baking Soda
For sweat, urine, or other stains, sprinkle a generous layer of baking soda over the affected area. Let it sit for at least 30 minutes (longer for tough stains) to absorb moisture and odors. Vacuum up the baking soda completely.
Flip Or Rotate For Even Wear
If your mattress is double-sided, flip it over. For one-sided mattresses, rotate it 180 degrees. This prevents sagging and extends the mattress's lifespan.
Do this every time you deep clean to maintain support.
14. Under Furniture and Behind Appliances
That dust bunny gang under the sofa has been plotting a takeover. Moving furniture and appliances reveals hidden grime, lost socks, and sometimes even signs of pests. This step turns overlooked zones into sparkling, clean spaces.
Prep And Safety First
Clear the area around the piece you're moving. Enlist a helper for heavy items like refrigerators or sofas. Use sliders or furniture pads to protect floors and prevent injury.
Unplug appliances before pulling them out.
Vacuum And Sweep Systematically
Start with a crevice tool to suck up loose debris along baseboards and corners. Then switch to a wide brush attachment for the main floor area. For hardwood or tile, follow up with a damp microfiber mop to catch fine dust.
Check For Trouble Spots
Look for signs of pests like droppings or chewed wires. Inspect for mold or water damage behind appliances. Retrieve any lost items—toys, earrings, or that remote you gave up on.
Wipe down appliance sides and cords before pushing back.
15. Closet Organization and Dusting

Closets often become catch-all spaces where clutter hides behind closed doors. A deep clean here means emptying everything out, not just tidying the visible shelves. This is your chance to dust every surface, vacuum hidden corners, and finally tackle that pile of clothes you've been meaning to sort.
Empty And Sort
Pull everything out of the closet—clothes, shoes, accessories, and bins. Sort items into keep, donate, and toss piles. Be honest about what you actually wear or use.
This step makes the rest of the cleaning much easier and gives you a fresh start.
Deep Dust And Vacuum
With the closet bare, vacuum the floor, baseboards, and corners. Use a microfiber cloth or extendable duster to wipe down shelves, rods, and any built-in drawers. Don't forget the top shelf and the floor under shoe racks—dust loves those hidden spots.
Reorganize With Storage Bins
Group similar items together and use clear bins or labeled baskets for accessories, seasonal gear, or rarely used items. Install shelf dividers or stackable organizers to maximize vertical space. Hang clothes by category or color to make mornings easier.
Maintain The System
Keep a small donation bag in the closet so you can drop off items as you outgrow them. Set a reminder to do a quick seasonal edit. A well-organized closet stays tidy longer when you have a simple routine to keep clutter in check.
16. Entryway and Mudroom Refresh
The entryway is the first thing you and your guests see, and it takes a beating from daily traffic. Dirt, mud, and germs pile up fast on floors, mats, and high-touch surfaces. A focused refresh here sets a clean tone for the whole home and keeps mess from spreading inside.
Tackle Doormats And Floors
Start by taking doormats outside and shaking them out vigorously. For rubber or coir mats, hose them down with water and scrub with a stiff brush using mild soap. Let them dry completely before placing them back.
Sweep or vacuum the entry floor, then mop with a cleaner that tackles mud and grime. Pay extra attention to corners and under shoe racks.
Wipe Down Walls, Doors, And Trim
Entryway walls and doors collect fingerprints, scuffs, and splashes. Use a damp microfiber cloth with a gentle all-purpose cleaner to wipe down painted walls and door surfaces. For stubborn marks, a magic eraser works wonders.
Don't forget the door frame, baseboards, and the top edge of the door where dust settles.
Disinfect High-touch Surfaces
Light switches, door handles, and key hooks are germ magnets. Spray them with a disinfectant or wipe with alcohol wipes. Let the disinfectant sit for the recommended dwell time to kill germs.
Also clean any mail sorter, shelf, or bench surface where bags and hands frequently land.
Organize Shoes And Coats
Remove everything from the entryway and sort items into keep, donate, and trash piles. Wipe down shoe racks or bins with disinfecting wipes. Vacuum or shake out coat linings and brush off lint.
Hang only current-season coats and store the rest elsewhere. Arrange shoes neatly, and consider a small tray for keys and mail to keep surfaces clutter-free.
17. Air Vents and Filters Replacement
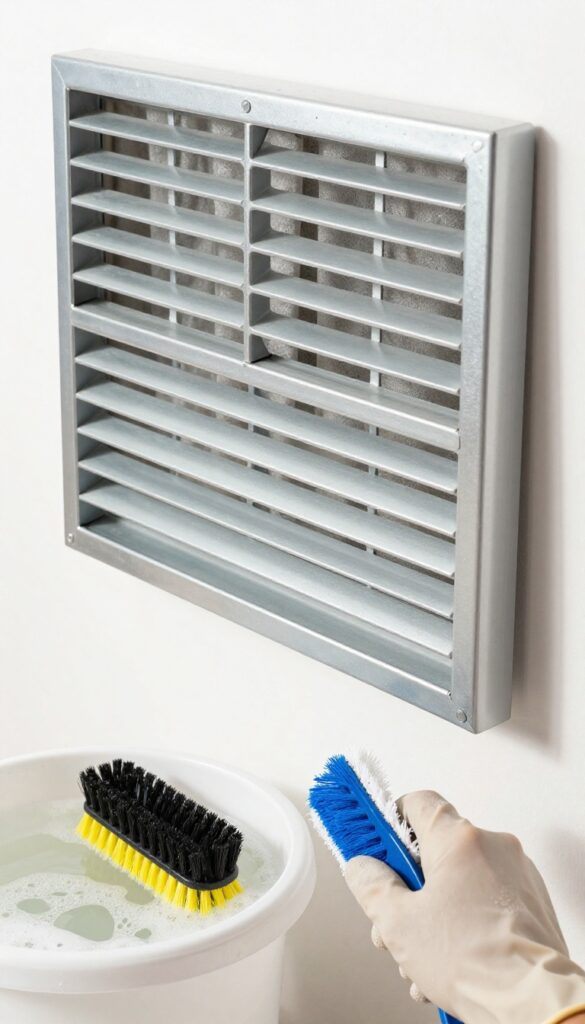
Air vents and HVAC filters are easy to ignore, but they play a huge role in your home's air quality. Over time, dust, pet dander, and even mold can build up, circulating allergens every time the system runs. Giving them a proper clean not only freshens the air but also helps your heating and cooling equipment run more efficiently.
Start by turning off your HVAC system to avoid blowing dust around. Remove vent covers and soak them in warm, soapy water for about 15 minutes, then scrub with a brush and rinse. While they dry, use a vacuum with a brush attachment to reach into the ducts as far as you can—just a few inches makes a difference.
For a deeper clean, consider a professional duct cleaning every few years. Finally, check your HVAC filter: if it looks dirty or it's been more than three months, replace it with a new one. A clean filter can lower energy bills and keep your system running smoothly.
Washing Vent Covers
Remove all vent covers from floors, walls, and ceilings. Soak them in a bucket of hot water and dish soap. Use a stiff brush to dislodge caked-on dust, then rinse and dry thoroughly before reinstalling.
Vacuuming Ducts
With the vent covers off, use your vacuum's hose and crevice tool to reach into the duct openings. You'll be surprised how much debris collects just inside. If you have flexible ducts, be gentle to avoid damage.
Replacing Filters
Locate your HVAC filter (usually in the return air duct or near the furnace). Slide out the old filter, note the size, and insert a new one with the arrow pointing toward the unit. Set a reminder to check it every three months.
FAQ
How often should I deep clean my home?
Most homes benefit from a deep clean every 3 to 6 months. High-traffic areas or homes with pets may need it more frequently.
What is the difference between deep cleaning and regular cleaning?
Regular cleaning maintains surfaces (dusting, vacuuming, wiping counters). Deep cleaning targets hidden dirt, grime, and buildup in hard-to-reach areas.
Can I deep clean my home in one day?
It's possible if you have help and focus on high-impact areas. For a thorough job, spread the tasks over a weekend or tackle one room per day.
What supplies do I need for deep cleaning?
Basic supplies include microfiber cloths, all-purpose cleaner, baking soda, vinegar, a scrub brush, vacuum with attachments, and a mop. Specialty cleaners for grout or stainless steel can help.
How do I make deep cleaning less overwhelming?
Break the work into small tasks using a checklist like this one. Set a timer for 20-minute intervals, play music, and reward yourself after each section.
Conclusion
A whole-home deep clean doesn't have to be tackled in one exhausting weekend. By breaking it down into these 17 focused checklists, you can work through each area methodically without burning out. Start with the room that bothers you most or the one your family uses the most.
The visible results will motivate you to keep going. Pick one checklist today, set a timer for 30 minutes, and see how much you can accomplish. Your home will feel fresher, and you'll gain a system you can reuse all year long.


