
Your apartment doesn't need a full weekend scrub to feel fresh. With 23 targeted tips, you can weave cleaning into your daily routine without it feeling like a chore.
From making your bed in the morning to using a squeegee on carpets for pet hair, these strategies are designed for real life—small spaces, tight schedules, and budgets that don't allow for expensive products.
Each tip is practical, effort-aware, and aimed at keeping your space orderly with minimal fuss.
1. Make Your Bed Every Morning
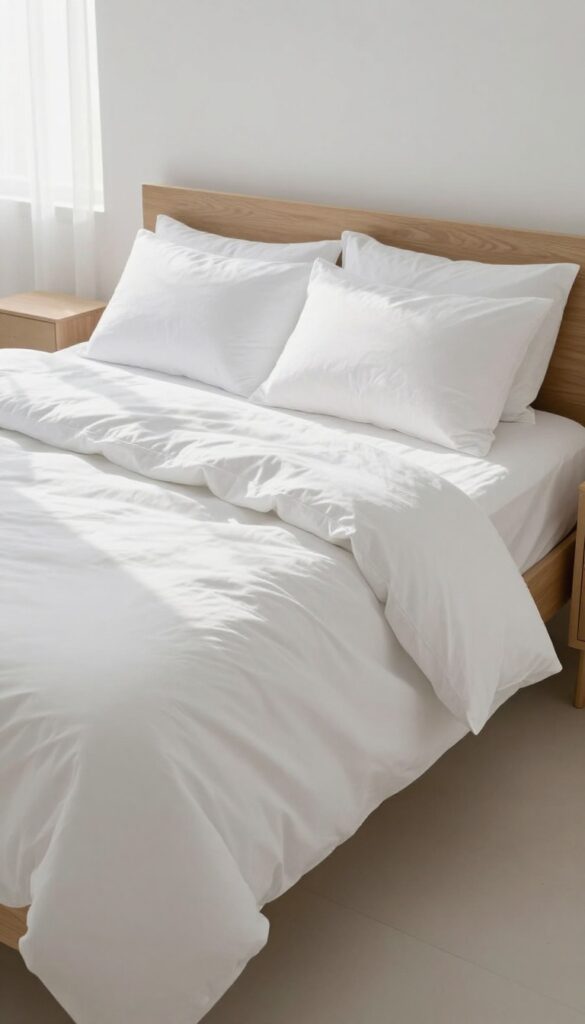
It's the smallest task on your to-do list, yet it sets the tone for the whole day. Making your bed takes less than two minutes, but the visual impact is immediate. A tidy bed transforms a messy bedroom into a space that feels calm and put together.
Plus, it's a quick win that builds momentum for tackling other chores.
This simple habit is often recommended by productivity experts and cleaning enthusiasts alike. When your bed is made, the entire room looks cleaner, even if other items are out of place. It also prevents dust and pet hair from settling on your sheets, keeping your sleeping area fresher longer.
The Mental Boost
Starting your day with an accomplishment, however small, gives you a sense of control. It's a psychological trick that makes you more likely to keep the rest of your space tidy. You'll think twice before tossing clothes on a neatly made bed.
How To Make It Stick
Keep your bedding simple. A duvet and a few pillows are easier to arrange than a complex set of sheets and blankets. If you're short on time, just straighten the covers and fluff the pillows.
Even a half-made bed looks better than an unmade one.
Bonus: Fresher Sheets
Making your bed daily reduces the amount of dust and allergens that accumulate on your sheets. It also helps your mattress stay cleaner. For an extra fresh feel, open your window for a few minutes while you make the bed to air out the room.
2. Use a Lint Roller for Lampshades and Fabric Shades
Dust and pet hair love to cling to fabric lampshades and curtains, but hauling out a vacuum for every speck feels like overkill. A lint roller is your secret weapon—it's quick, mess-free, and requires zero setup. Just roll it over the surface and watch the grime disappear without any spray or residue.
Lint rollers aren't just for clothes. They're perfect for delicate fabric surfaces where dusting sprays might leave stains or where vacuum attachments feel too bulky. Keep one in your cleaning caddy or even in a drawer near the couch so you can grab it whenever you notice a dusty lampshade or pet-hair-covered curtain.
The adhesive sheets lift particles without spreading them into the air, making it a great option for allergy sufferers.
Why It Works So Well
Fabric shades and upholstery trap dust through static electricity and texture. A lint roller's tacky surface grabs that dust directly, rather than pushing it around like a feather duster might. It's also dry—no moisture means no risk of water spots or warping on delicate lamp shades.
Where To Use It Beyond Lampshades
Don't stop at lampshades. Run the roller over fabric curtain panels, throw pillows, and even the headboard of your bed. It's also fantastic for removing pet hair from upholstered chairs or sofas between deep cleans.
For larger areas, use a wide roller or swap sheets frequently.
Pro Tips For Best Results
For best results, roll in one direction and overlap each pass slightly. If the adhesive starts to lose its stick, peel off the used sheet and continue. On very delicate fabrics, test a small hidden area first to make sure the adhesive doesn't pull threads.
Store the roller with the cover on to keep it dust-free between uses.
3. Keep a Microfiber Cloth in the Kitchen Sink
The kitchen is the heart of the home, but it's also where grime builds up fast. A simple habit—keeping a microfiber cloth in the sink—can stop messes before they harden. This tip saves you from scrubbing later and keeps your counters looking clean with almost zero effort.
Why Microfiber Works Best
Microfiber cloths trap dust, grease, and bacteria better than cotton or paper towels. They lift grime without scratching surfaces, making them ideal for stainless steel, granite, and glass. Plus, they're reusable—just toss them in the wash after a few uses.
The One-minute Wipe Rule
Right after you finish cooking, take 30 seconds to wipe down the stovetop, counters, and any splattered backsplash. This prevents grease from hardening into a sticky film. If you wait until later, you'll need more elbow grease and cleaner.
Keep It Handy, Keep It Fresh
Store the cloth draped over the edge of the sink or on a small hook nearby. Swap it out daily or every other day to avoid bacteria buildup. A damp cloth left in the sink can smell, so rinse it out after each use and let it dry.
4. Clean the Shower While You're in It
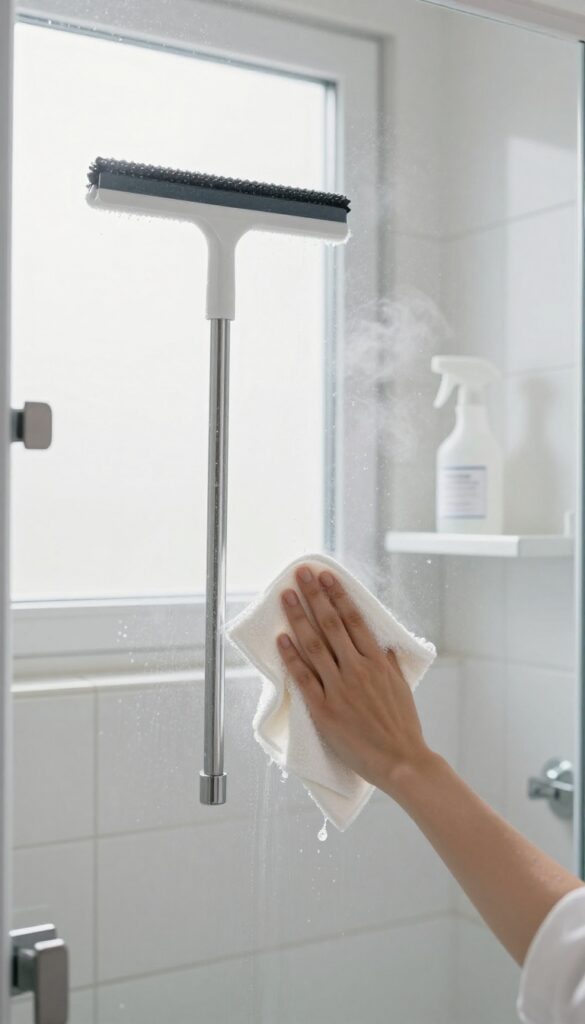
Shower cleaning often feels like a separate, dreaded task. But what if you could tackle it without adding extra time to your routine? The trick is to use the time you're already spending in the shower to prevent buildup before it starts.
A few simple habits can keep your shower looking fresh with almost zero extra effort.
Squeegee After Every Shower
Keep a squeegee in your shower and use it on the walls and door after your last rinse. This takes about 30 seconds and removes most of the water that causes soap scum and hard water stains. If you don't have a squeegee, a microfiber cloth works too.
Make it a habit and your shower will stay cleaner between deep cleans.
Use A Daily Shower Spray
A quick spritz of a daily shower cleaner after you dry off can make a huge difference. You can buy one or make your own with equal parts water and white vinegar, plus a few drops of dish soap. Spray it on the walls and floor, then let it dry.
This prevents mildew and soap scum from forming, so you won't need harsh scrubbing later.
Clean While You Condition
While your conditioner sits in your hair, use that minute or two to wipe down the shower walls with a sponge or your hand. This simple step removes any soap residue before it hardens. It's a perfect use of waiting time and keeps your shower from ever looking grimy.
5. Declutter One Surface a Day
Clutter builds up slowly, and before you know it, every flat surface in your apartment is covered in mail, keys, and random odds and ends. The trick is to tackle it in small, manageable doses. Instead of dedicating an entire Saturday to decluttering, pick just one surface each day—a counter, a table, or a shelf—and clear it off completely.
This approach keeps the task from feeling overwhelming and builds a habit that prevents messes from piling up again.
By focusing on one surface at a time, you avoid decision fatigue and actually finish what you start. Over the course of a week, you’ll have addressed seven different hotspots, and your apartment will start to feel noticeably more spacious and calm. The key is consistency: make it a daily ritual, like brushing your teeth, and soon it’ll feel strange to skip a day.
Pick A High-impact Spot First
Start with surfaces that you see and use the most—the kitchen counter, the entryway table, or your desk. Clearing these areas gives you an immediate sense of accomplishment and motivates you to keep going. Choose spots that tend to collect the most random items, and focus on one per day.
Have A System For The Stuff You Remove
When you clear a surface, you need to know where everything goes. Keep a small bin or tray nearby for items that belong elsewhere. Sort them into categories: trash, recycle, put away, or donate.
This prevents you from just moving clutter from one spot to another. After you’ve sorted, immediately put each item in its proper place.
Set A Timer To Stay Focused
Give yourself just 10 to 15 minutes per surface. Setting a timer creates a sense of urgency and helps you avoid getting sidetracked. When the timer goes off, stop—even if you’re not completely done.
You can always come back the next day. This keeps the task from feeling like a chore and makes it easy to stick with the habit.
6. Use a Dryer Sheet to Dust Baseboards
Baseboards collect dust like crazy, but wiping them down can feel awkward and time-consuming. A used dryer sheet makes the job faster and leaves a pleasant scent behind. The anti-static properties help repel dust longer, so you won't have to clean as often.
Why Dryer Sheets Work So Well
Dryer sheets are designed to reduce static cling and attract lint, which makes them perfect for grabbing dust from baseboards. The fabric softener coating helps loosen dirt, and the sheet itself is flexible enough to fit into tight corners. Plus, the light fragrance lingers, giving your room a fresh scent without extra sprays.
How To Do It Right
Grab a used dryer sheet from your laundry—no need to buy new ones. Slide the sheet along the top edge of the baseboard, then wipe the face and bottom. For stubborn spots, use a slightly damp sheet.
Toss the sheet when it gets dirty, and grab another. No buckets, no sprays, no mess.
Bonus: Repels Dust Longer
The anti-static properties in dryer sheets actually reduce the amount of dust that settles on surfaces. After cleaning, your baseboards will stay dust-free for days longer than with a dry cloth. This means fewer cleaning sessions and more time enjoying your space.
7. Vacuum in Both Directions
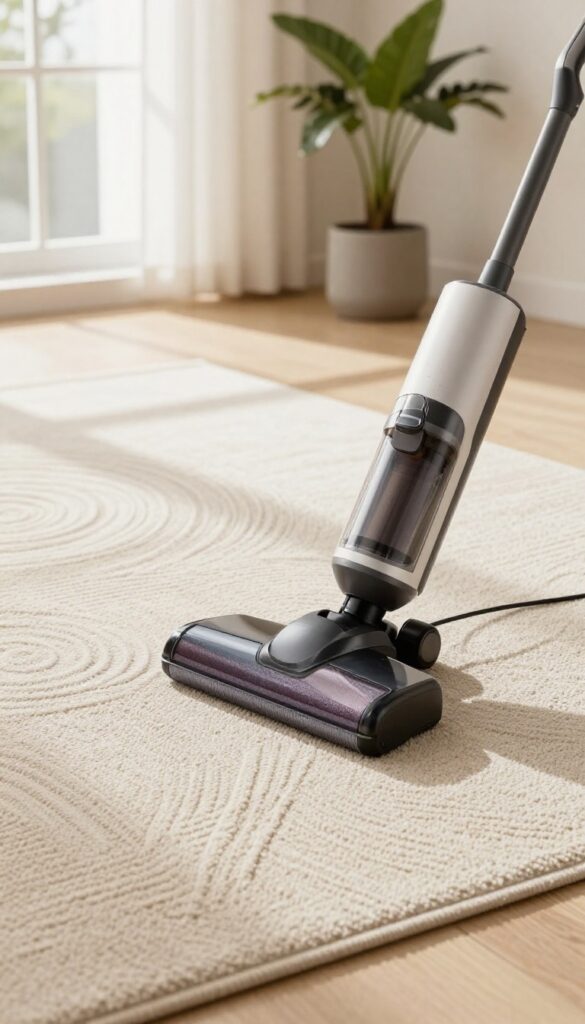
Most people vacuum in a single direction, but that leaves dirt and debris trapped deep in the carpet fibers. By going both lengthwise and crosswise, you lift more particles and give your rugs a deeper clean. It's a simple switch that makes a noticeable difference without any extra equipment.
Vacuuming in both directions ensures that you capture dirt from every angle. Carpet fibers are woven in a way that traps debris, and a single pass often misses particles lodged against the grain. By crossing your path, you dislodge and pick up more dust, crumbs, and pet hair.
This technique works especially well for high-traffic areas and rugs that see a lot of wear. Plus, it helps restore the carpet's texture and appearance, making it look fluffier and fresher.
Start With A Slow Pass
Rushing through vacuuming pushes dirt deeper instead of lifting it. Begin with a slow, deliberate pass in one direction, allowing the vacuum's brush roll to agitate the fibers. This initial pass loosens surface debris and brings embedded dirt to the top.
Overlap Your Paths
After your first pass, go back over the same area perpendicular to your original direction. Overlap each stroke slightly to avoid leaving strips of untouched carpet. This crosshatch pattern ensures you cover every inch and maximize dirt pickup.
Focus On High-traffic Zones
Areas like entryways, hallways, and in front of sofas accumulate more grime. Spend extra time vacuuming these spots in both directions. For best results, use a slow, steady pace and consider adjusting your vacuum's height setting for deeper cleaning.
8. Store Cleaning Supplies in a Caddy
Ever find yourself making multiple trips to the kitchen for a spray bottle, then the closet for a rag, then back again for the scrub brush? A cleaning caddy eliminates that wasted time. By keeping everything in one portable container, you can carry your entire cleaning kit from room to room without forgetting a thing.
A cleaning caddy isn't just about convenience—it's about building momentum. When you don't have to stop and search for supplies, you're more likely to finish the job. Plus, a caddy helps you see what you're running low on, so you can restock before you run out mid-clean.
Choose The Right Caddy
Look for a sturdy caddy with a handle and compartments. A plastic tote with a divided interior works well for bottles and brushes. If you have a lot of supplies, a larger caddy with a removable tray gives you flexibility.
Avoid anything too heavy when full—you'll be carrying it around.
Stock It Strategically
Include your go-to all-purpose cleaner, glass cleaner, microfiber cloths, a scrub brush, and a sponge. Add a small bottle of dish soap and a razor scraper for sticky spots. Keep it minimal—only what you actually use.
Overstuffing defeats the purpose.
Make It A Habit
After each cleaning session, return everything to the caddy and put it in a designated spot. That way, it's always ready to grab. You can even keep a smaller caddy for quick daily touch-ups and a larger one for deep cleans.
9. Use a Dish Soap and Vinegar Spray for Mirrors
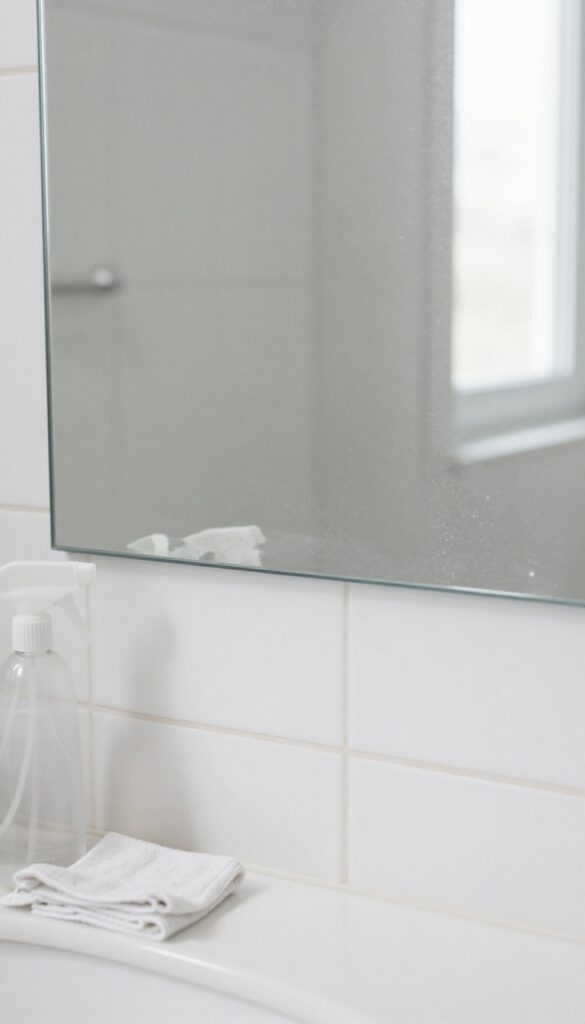
Mirrors in an apartment collect smudges, toothpaste splatter, and dust faster than you'd think. Commercial glass cleaners work, but they often leave a chemical smell and cost more than a DIY alternative. A simple mix of water, vinegar, and a drop of dish soap gives you streak-free shine without the harsh fumes.
This homemade spray is gentle enough for daily use and tough on grime. The vinegar cuts through grease and residue, while the dish soap helps lift dirt and prevents streaking. It's safe for most glass surfaces and costs pennies per bottle.
The Perfect Ratio
Mix one part water, one part white vinegar, and a single drop of liquid dish soap in a spray bottle. Shake gently to combine. Too much soap creates foam that leaves streaks, so stick to one drop.
Use distilled water if your tap water is hard to avoid mineral spots.
Application Tips For Best Results
Spray the solution lightly onto the mirror—don't soak it. Wipe with a microfiber cloth in a zigzag or S‑pattern to avoid leaving lint. For stubborn spots, let the solution sit for 10 seconds before wiping.
Avoid paper towels; they leave fibers and streaks.
When To Avoid This Mix
Do not use this spray on mirrors with anti-fog coatings or tinted glass, as vinegar can damage the coating. Test on an inconspicuous corner first. For everyday mirrors in bathrooms and bedrooms, it's perfectly safe and effective.
10. Wipe Down Electronics with a Soft Brush
Electronics are dust magnets, but using a damp cloth can damage them. A soft brush—like a clean makeup brush or a small paintbrush—gently lifts dust from keyboards, vents, and screens without scratching or introducing moisture. This trick keeps your gadgets looking new and running cooler.
Dust buildup on electronics isn't just unsightly; it can trap heat and shorten device life. A soft brush reaches into crevices where cloths can't go, making it a simple, effective tool for routine cleaning.
Why A Soft Brush Works Best
Soft bristles are non-abrasive and won't scratch delicate surfaces like laptop screens or TV panels. They also won't leave lint behind like paper towels. A brush can dislodge dust from between keys and inside vents, improving airflow and performance.
How To Dust Electronics Properly
First, unplug the device. Use a dry brush in gentle strokes, working from top to bottom. For keyboards, tilt the device and brush diagonally to sweep crumbs out.
Follow up with a microfiber cloth for any remaining smudges on screens—never spray liquid directly.
Tools To Keep Handy
Dedicate a clean makeup brush, a small paintbrush, or a specialized electronics dusting brush. Keep it in a drawer near your desk or entertainment center. Wash the brush monthly with mild soap and let it dry completely before reuse.
11. Rotate Your Cleaning Focus Each Week
Trying to tackle every corner of your apartment in one go is a recipe for burnout. Instead, pick one deeper cleaning task each week and give it your full attention. This keeps your place consistently fresh without overwhelming your schedule.
Create A Weekly Rotation Schedule
List out the major tasks that don't need to be done daily: cleaning the oven, defrosting the fridge, washing windows, scrubbing baseboards, or deep-cleaning the bathroom grout. Assign one to each week. Over a month or two, you'll hit every area without any single week feeling heavy.
Keep The Rotation Visible
Stick your schedule on the fridge or add it to your phone calendar. When you know what's coming, you can mentally prepare and set aside the right tools. A visible reminder also keeps you accountable—no more forgetting about that dusty ceiling fan.
Pair Deep Tasks With Quick Wins
On the same day you tackle the weekly deep task, do your usual quick tidy-up (make the bed, wipe counters, sweep). This way, you end with a visibly cleaner apartment, which feels rewarding and motivates you for next week's focus.
12. Use a Squeegee on Carpets for Pet Hair
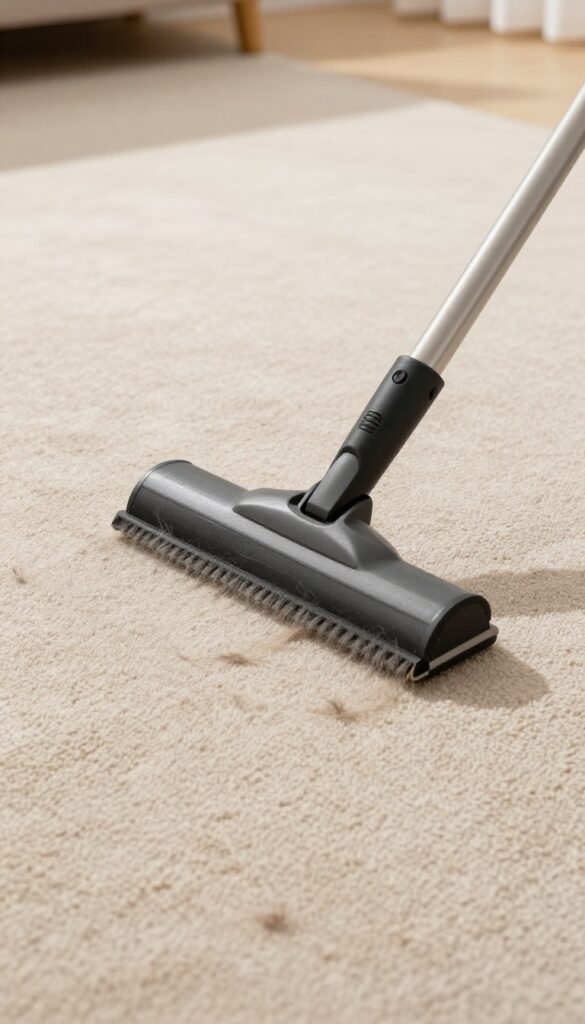
Pet hair clings to carpet fibers like static, making it tough to vacuum up in one pass. A squeegee—yes, the same tool you use on windows—can loosen that hair and gather it into easy-to-sweep clumps. It's a low-tech trick that saves time and saves your vacuum from clogging.
Running a rubber squeegee across your carpet creates friction that pulls pet hair to the surface. The hair collects in a neat line that you can either vacuum up or pick up by hand. This method works especially well on low-pile carpets and rugs, where hair tends to embed itself deeply.
For best results, use a squeegee with a rubber blade and work in one direction, overlapping each stroke slightly.
Why A Squeegee Works Better Than A Brush
Rubber bristles or a rubber blade generate static electricity that attracts pet hair, lifting it from the carpet without damaging fibers. Unlike stiff brushes, a squeegee doesn't push hair deeper or leave scratch marks. It's also gentler on delicate carpets like berber or sisal.
Step-by-step: How To Squeegee Your Carpet
Start by removing any large debris or toys. Hold the squeegee at a 45-degree angle and pull it across the carpet in long, even strokes. After each pass, wipe the hair off the blade onto a paper towel or into a trash bag.
Repeat until you've covered the entire area. Finish by vacuuming up the remaining clumps.
Best Squeegees For The Job
A standard window squeegee with a rubber blade works fine, but dedicated pet hair squeegees often have wider heads and ergonomic handles. Look for one with a replaceable blade. You can also repurpose an old windshield ice scraper if it has a rubber edge.
13. Keep a Trash Bag Handy for Immediate Decluttering
Clutter piles up fast when you don't have a designated spot for trash or donations. A simple solution is to keep a small bag within arm's reach—like hanging one on a doorknob in a high-traffic area. This way, you can toss junk mail, empty product containers, or items you no longer need the moment you spot them, preventing mess from accumulating.
Hang a small bag on a doorknob in a room where clutter tends to gather—like the kitchen, home office, or entryway. Use it for anything you want to discard or donate: expired pantry items, old magazines, worn-out clothes, or packaging. When the bag is full, immediately take it to the trash or donation bin.
This habit keeps surfaces clear and makes decluttering a continuous, low-effort process.
Where To Hang The Bag
Choose a doorknob in a room where clutter accumulates fastest. The kitchen is great for tossing junk mail, expired coupons, or empty spice jars. A home office door works for old bills, broken pens, or notes you no longer need.
The bedroom doorknob is perfect for clothes you plan to donate or worn-out accessories. Avoid placing the bag in a hidden spot—it should be visible so you remember to use it.
What To Toss Immediately
Train yourself to toss anything that doesn't serve a purpose. Junk mail, flyers, and catalogs go straight in. Empty shampoo bottles, expired makeup, and sample sizes you'll never use.
Old receipts, expired coupons, and warranty papers you no longer need. If you're unsure about an item, give yourself a 24-hour rule—if you haven't used it by then, toss it.
Dealing With Donation Items
Use a separate bag for items you want to donate, like clothes, books, or small electronics. Label it clearly to avoid confusion. When that bag fills up, schedule a drop-off or pickup.
This prevents donation items from sitting around and becoming clutter again. A quick weekly check of the bag keeps the habit going without overwhelming you.
14. Clean Your Dishwasher Filter Monthly
Your dishwasher works hard, but it can't do its job if the filter is clogged with food debris and grease. A dirty filter not only causes unpleasant odors but also leaves residue on your dishes, making them look spotty or feel gritty. Taking five minutes each month to clean it keeps your machine running efficiently and your glassware sparkling.
Why It Matters
The filter traps food particles so they don't recirculate onto your dishes. When it's full, water drains poorly, detergent doesn't dissolve fully, and bacteria can grow, leading to musty smells. A clean filter also extends the life of your dishwasher by reducing strain on the pump.
How To Clean It
Start by removing the bottom rack and locating the filter assembly—usually a cylindrical mesh or flat screen near the back or bottom of the tub. Twist or lift it out, then rinse it under hot water while scrubbing with a soft brush to dislodge stuck bits. For stubborn grease, soak it in warm soapy water for 10 minutes before rinsing.
Let it dry completely before reinstalling.
Quick Maintenance Tips
Scrape plates before loading, but don't rinse—modern detergents need some food to work. Run a monthly cleaning cycle with a dishwasher cleaner or a cup of white vinegar on the top rack. Check the spray arms for clogs and wipe the door gasket to prevent mold.
15. Use a Toothbrush for Grout and Tight Spots
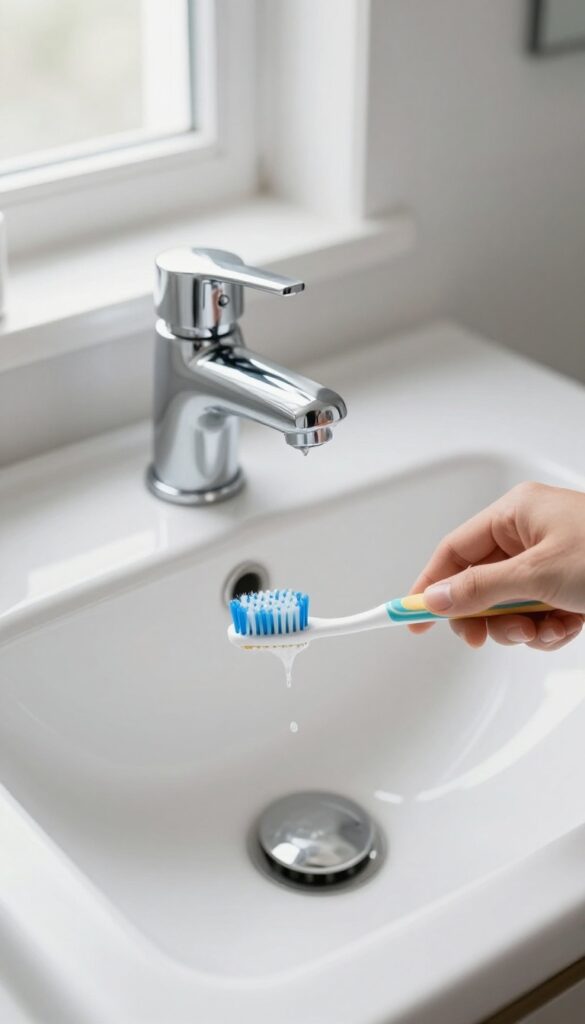
Grout lines, faucet bases, and window tracks are notorious for trapping grime. A standard sponge or cloth can't reach into those narrow gaps, leaving dirt to build up over time. That's where an old toothbrush becomes your secret weapon.
It's small enough to get into tight spaces but firm enough to scrub away stubborn residue.
Don't throw away your old toothbrush when it's time for a new one. It's perfect for detail cleaning tasks that larger tools can't handle. Keep a designated toothbrush in your cleaning caddy so it's always ready for those hard-to-reach spots.
Scrub Grout Lines Like A Pro
Grout is porous and attracts dirt, making it look dingy over time. Dip your toothbrush in a mixture of baking soda and water, then scrub along the grout lines. The bristles work the paste into the pores, lifting stains without damaging the surface.
Rinse with a damp cloth and watch the grout brighten up.
Clean Faucet Bases And Sink Edges
The area where the faucet meets the counter is a magnet for soap scum and hard water deposits. A toothbrush can reach around the base and into the crevices that a sponge misses. Use a little white vinegar or a mild cleaner, scrub gently, and wipe away the residue.
Tackle Window Tracks And Sliding Door Channels
Window tracks collect dust, pollen, and even mold. Run a dry toothbrush along the track to loosen debris, then vacuum it up. For sticky grime, add a drop of dish soap and scrub before wiping clean.
The same method works for sliding closet doors.
16. Freshen Carpets with Baking Soda
Carpets are notorious for trapping odors from pets, cooking, and daily foot traffic. But you don't need harsh chemical sprays to keep them smelling fresh. Baking soda is a simple, affordable solution that neutralizes smells naturally.
Baking soda absorbs and neutralizes odors trapped in carpet fibers. It's non-toxic, safe for pets and kids, and costs pennies per use. For best results, choose a day when you can leave the baking soda down for at least 15 minutes—longer for heavily used areas.
How To Apply It
Sprinkle a generous, even layer of baking soda over the carpet. Focus on high-traffic zones like hallways and living room paths. Let it sit for at least 15 minutes—overnight for extra stubborn smells.
Then vacuum thoroughly, making multiple passes to lift all the powder.
Boost With Essential Oils
Mix 10–15 drops of your favorite essential oil (like lavender or lemon) into a cup of baking soda before applying. Stir well to avoid clumps. This adds a light, natural scent without the synthetic chemicals in commercial carpet powders.
Target Pet Spots
For pet accidents, blot up moisture first, then cover the area with baking soda. Let it sit for several hours to draw out odors and moisture. Vacuum up when dry.
Repeat if needed. This works well alongside enzymatic cleaners.
17. Wipe Cabinet Fronts and Handles Weekly
Cabinet fronts and handles are like magnets for grease, fingerprints, and dust. In a kitchen, cooking splatters land on them invisibly. In a bathroom, toothpaste splashes and hand lotion leave residue.
A weekly wipe-down takes two minutes and keeps them from looking dull or sticky.
You don't need special products for this task. A microfiber cloth dampened with warm water and a drop of dish soap works on most finishes. For wood cabinets, use a gentle wood cleaner or a mixture of vinegar and water (test on an inconspicuous spot first).
Wipe handles with a disinfecting wipe or a cloth sprayed with all-purpose cleaner. Dry with a separate cloth to prevent water spots or streaks. Make it a habit: every Sunday, grab a cloth and do a quick pass.
Your cabinets will stay shiny, and you'll avoid the buildup that requires heavy scrubbing later.
Choose The Right Cloth
Microfiber is best because it traps grease and dust without scratching. Avoid abrasive sponges or rough towels—they can damage the finish over time. Use a fresh cloth for each cleaning session to avoid spreading dirt.
Don't Forget The Hardware
Knobs and pulls collect grime from hands. Wipe them with a disinfectant wipe or a cloth with rubbing alcohol. For intricate designs, use an old toothbrush to get into crevices.
Dry thoroughly to prevent tarnishing.
Prevent Buildup Between Cleanings
Keep a spray bottle of diluted vinegar and water near the sink. After cooking, give the cabinet fronts a quick spritz and wipe. This cuts grease before it hardens and makes weekly cleaning even faster.
18. Use a Lint-Free Cloth for Stainless Steel
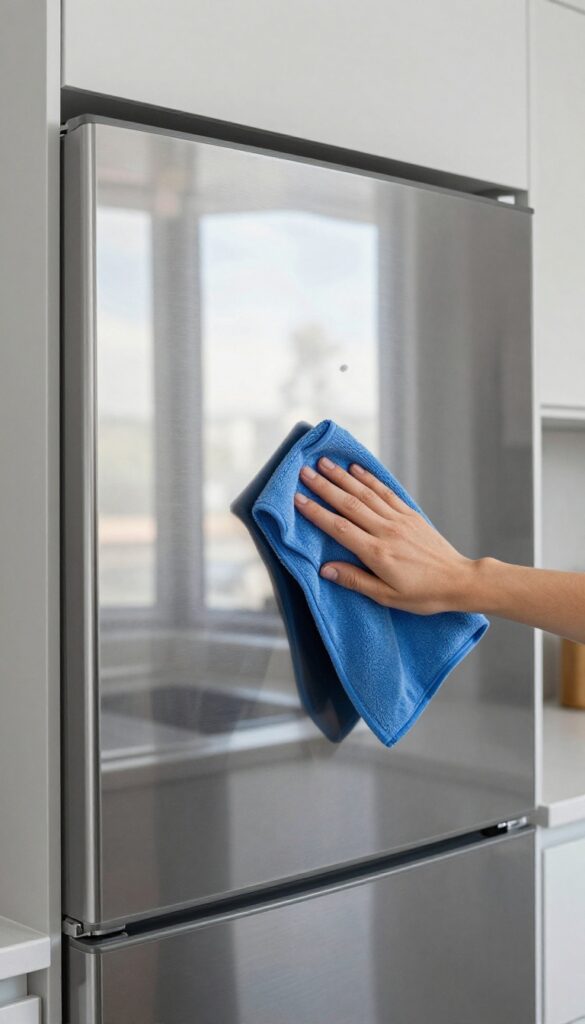
Stainless steel appliances look sleek, but they show every fingerprint, smudge, and water spot. The secret to a flawless finish isn't a fancy spray—it's the cloth you use. A lint-free microfiber cloth makes all the difference, leaving your fridge, dishwasher, and oven mirror-bright without streaks.
Buff stainless steel appliances with a dry microfiber cloth to avoid streaks and water spots. Microfiber traps dust and oils without leaving lint behind, so you get a polished look every time. For stubborn grime, dampen the cloth slightly with water or a drop of dish soap, then buff dry immediately.
Avoid paper towels or terry cloth, which can leave fibers or scratches. This simple swap keeps your kitchen looking professional with minimal effort.
Why Microfiber Works Best
Microfiber has split fibers that create a static charge, attracting dust and grease rather than spreading them around. It absorbs moisture evenly and dries streak-free, unlike cotton cloths that leave lint trails. Plus, it's reusable—just toss in the wash after a few uses.
The Right Technique
Always wipe in the direction of the grain (usually vertical on most appliances). Use a light touch and a dry cloth for final buffing. For stuck-on spots, a tiny dab of white vinegar on a damp cloth cuts through grease without dulling the finish.
What To Avoid
Steer clear of abrasive sponges, bleach-based cleaners, or anything with ammonia. These can damage the protective coating and cause permanent discoloration. Stick to mild soap and water or a dedicated stainless steel cleaner if needed.
19. Clean Your Washing Machine Every Few Months
Your washing machine works hard to keep your clothes fresh, but it can get pretty grimy itself. Over time, detergent residue, fabric softener, and mineral deposits build up inside the drum and hoses, leading to musty smells and less effective cleaning. A simple deep clean every few months keeps it running smoothly and your laundry smelling great.
The Vinegar Cycle
Pour two cups of white vinegar into the detergent dispenser or directly into the drum. Run a hot, empty cycle. Vinegar breaks down soap scum and kills mold and mildew without harsh chemicals.
For front-loaders, wipe the rubber gasket afterward to remove any trapped gunk.
Baking Soda Boost
After the vinegar cycle, add half a cup of baking soda to the drum and run another hot cycle. Baking soda neutralizes odors and helps lift any remaining residue. This two-step combo leaves your machine fresh and ready for your next load.
Don't Forget The Filter And Dispenser
Many washing machines have a lint filter or drain pump filter that collects debris. Check your manual and clean it every few months. Also, remove and wash the detergent dispenser drawer with warm, soapy water to prevent mold buildup.
20. Keep a Small Trash Can in Every Room
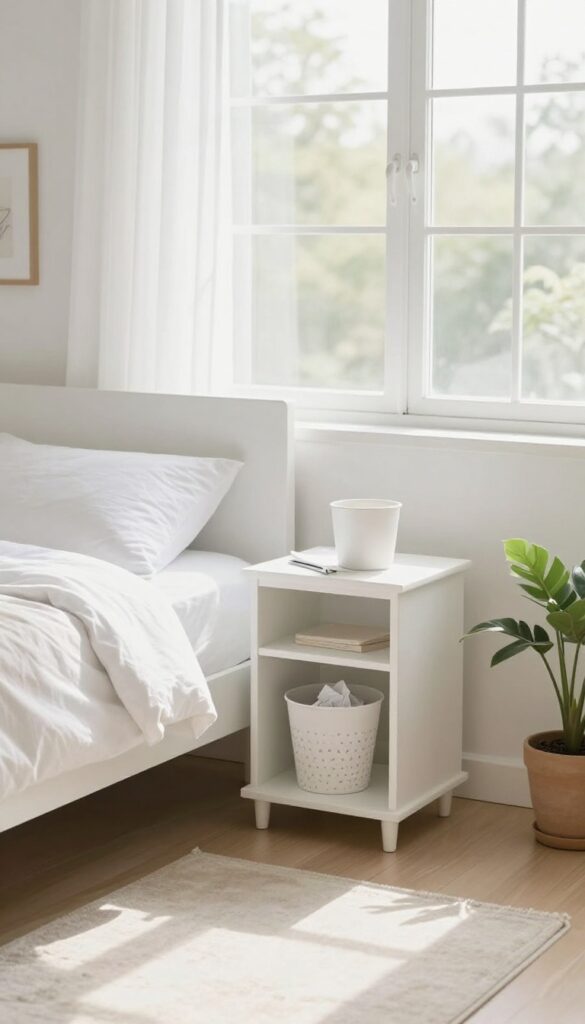
Trash has a way of piling up when the nearest bin is out of sight or down the hall. A small wastebasket in each room makes it effortless to toss wrappers, tissues, and other debris the moment they appear. This simple habit prevents clutter from accumulating and keeps surfaces clean without extra thought.
Choose The Right Size
A bin that's too large encourages filling it with non-trash items, while one that's too small gets overflow. For bedrooms and home offices, a 3-5 gallon can works well. For bathrooms, a 2-3 gallon can is usually enough.
Kitchens need a larger bin, but a small countertop can for prep scraps is also handy.
Placement Matters
Put the bin where you naturally generate waste: next to your desk, beside the bed, near the bathroom sink, and by the couch. Avoid tucking it away in a corner where you have to walk out of your way. The easier it is to reach, the more you'll use it.
Line And Maintain
Use small liners or repurpose plastic grocery bags to keep the cans clean. Empty them frequently—every few days or when they're half full—to avoid odors and overflow. Wipe down the inside of the bin during deep cleans to prevent sticky residue.
21. Use a Pillowcase to Clean Ceiling Fans
Ceiling fans are notorious dust collectors, and cleaning them usually means a cloud of debris falling onto your furniture or floor. But there's a clever hack that makes this job nearly mess-free: a simple pillowcase. Slide it over each blade, wipe the dust into the fabric, and pull it off—no fallout, no extra cleanup.
It's one of those tricks that feels like a secret weapon once you try it.
Why A Pillowcase Works So Well
The pillowcase acts like a giant dust mitt. When you slide it over the blade, the fabric traps the dust inside, preventing it from drifting into the air or onto your floor. Unlike a rag or duster, which can knock dust loose, the pillowcase contains everything until you pull it off and shake it out (or toss it in the wash).
It's especially handy for fans in bedrooms or living areas where you don't want to move all the furniture.
Step-by-step: How To Do It Right
First, make sure the fan is off and stable. Use a step stool if needed. Take an old, clean pillowcase and slide it over one blade, covering as much of the top and bottom as possible.
Gently wipe from the base to the tip, then slide the pillowcase off, trapping the dust inside. Repeat for each blade. For stubborn grime, you can lightly dampen the pillowcase with a mix of water and vinegar.
Just don't soak it—drip-free is key.
Bonus: Other Household Uses
This trick isn't just for ceiling fans. You can use a pillowcase to dust blinds, lampshades, or even baseboards. The fabric grabs dust without scratching surfaces, and the enclosed design keeps mess to a minimum.
Keep a designated pillowcase in your cleaning caddy for quick dusting sessions.
22. Set a 10-Minute Tidy Timer Each Evening
Evenings are when clutter seems to multiply — mail on the counter, shoes by the door, a blanket bunched up on the couch. But you don't need a full reset. A quick 10-minute tidy before bed can transform your morning mood.
When you wake up to a clean space, you start the day with less stress and more focus.
The key is making this a non-negotiable habit. Set a timer on your phone or use a smart speaker. Walk through your main living areas — kitchen, living room, and bedroom — and put things back where they belong.
Don't deep clean, just clear surfaces, fold throws, and fluff pillows. That's it.
Focus On High-impact Zones
Not every corner needs attention. Spend your 10 minutes on the spots that make the biggest visual difference: the kitchen counter, coffee table, and entryway. Wipe down the counter, stack magazines, and hang up coats.
These small wins create an instant sense of order.
Make It A Family Affair
If you share your space, get everyone involved for those 10 minutes. Assign quick tasks — one person clears the table, another picks up toys, someone else straightens the couch. Put on a fun, upbeat song to keep the energy light.
When it's a team effort, it feels less like a chore.
Prepare For Tomorrow
Use the last minute of your tidy time to set yourself up for a smooth morning. Lay out clothes, pack your bag, or prep coffee supplies. This small step reduces decision fatigue and makes your morning routine feel effortless.
23. Reward Yourself After a Cleaning Session
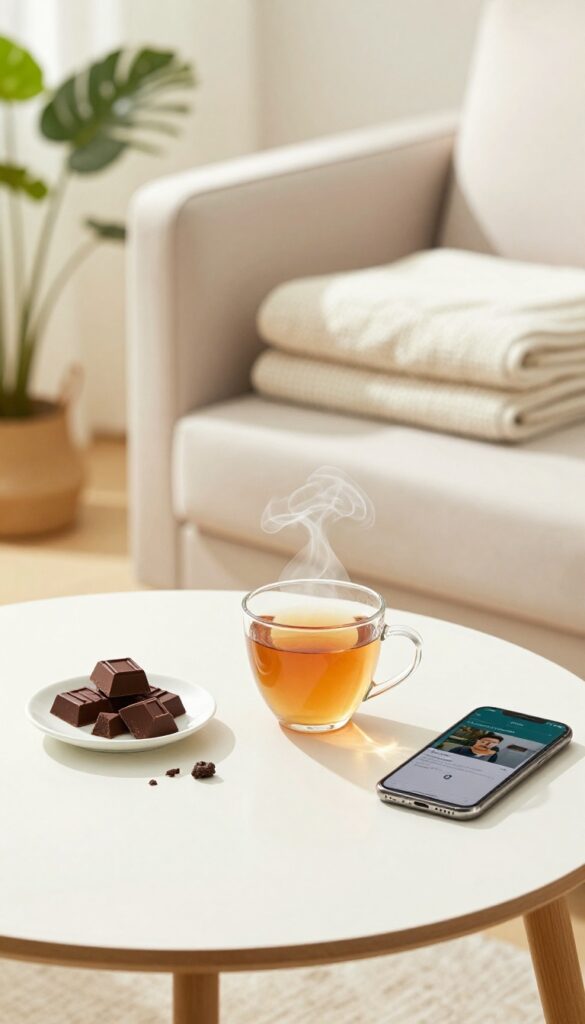
Cleaning can feel like a never-ending loop, especially when you're doing it alone. Tying a small reward to each completed task turns it into a positive experience rather than a dreaded chore. Your brain starts associating a clean apartment with a treat, making you more likely to stick with the habit.
The key is to choose rewards that are immediate and guilt-free. A piece of dark chocolate, a 10-minute scroll through social media, or an episode of your favorite show can work wonders. The reward doesn't have to cost money—it just has to feel like a genuine pat on the back.
Over time, this simple loop builds momentum and makes cleaning feel less like punishment and more like a step toward something enjoyable.
Pick Rewards That Match The Effort
Match the size of the reward to the size of the task. For a quick five-minute wipe-down, a short break or a cup of tea is enough. After a deep clean of the kitchen or bathroom, treat yourself to something bigger—like ordering takeout or watching a movie.
This keeps the reward system fair and sustainable.
Use A Visual Tracker
A simple checklist or a jar where you drop a marble for each completed task can make the reward system tangible. Seeing your progress adds a layer of satisfaction and reminds you that a reward is coming soon. It also helps on low-motivation days when the visual cue can push you to start.
Avoid Counterproductive Rewards
Be mindful not to undo your cleaning work with the reward. For example, don't reward a kitchen clean with a snack that creates crumbs, or a living room tidy-up with an activity that messes it up again. Choose rewards that respect the space you just cleaned.
FAQ
How often should I deep clean my apartment?
Aim for a deep clean every 1-3 months, focusing on areas like the oven, fridge, and windows. Weekly maintenance prevents buildup.
What's the best way to clean apartment windows without streaks?
Use a mixture of water and vinegar (1: 1) with a microfiber cloth. Wipe in a zigzag pattern and dry with a clean cloth.
How can I keep my apartment smelling fresh without harsh chemicals?
Open windows regularly, use baking soda on carpets, and simmer citrus peels or herbs on the stove for a natural scent.
What cleaning supplies should I always have on hand?
All-purpose cleaner, microfiber cloths, a squeegee, baking soda, vinegar, dish soap, and a good vacuum are essentials.
How do I clean a small apartment with limited storage?
Use multi-purpose tools, store supplies in a caddy, and declutter regularly to keep surfaces clear and cleaning manageable.
Conclusion
Keeping your apartment clean doesn't require a full weekend overhaul. Small, consistent habits—like making your bed daily or wiping down surfaces after use—add up to a space that feels fresh without the stress.
Start with just two or three tips from this list and build from there. Over time, these simple routines become second nature, leaving you with more time to enjoy your home rather than constantly cleaning it.


