
A weak, sputtering shower head is frustrating. You turn on the water expecting a steady stream, but instead get a sad drizzle. That loss of pressure is almost always caused by mineral deposits clogging the nozzles.
The good news is you don't need a plumber or expensive tools to fix it. These 10 flow-restoring fixes use common household items and a little elbow grease.
Each method targets the buildup in a different way, so you can choose what works best for your shower head. By the end, you'll have a powerful, clean spray again.
1. The Classic Vinegar Soak
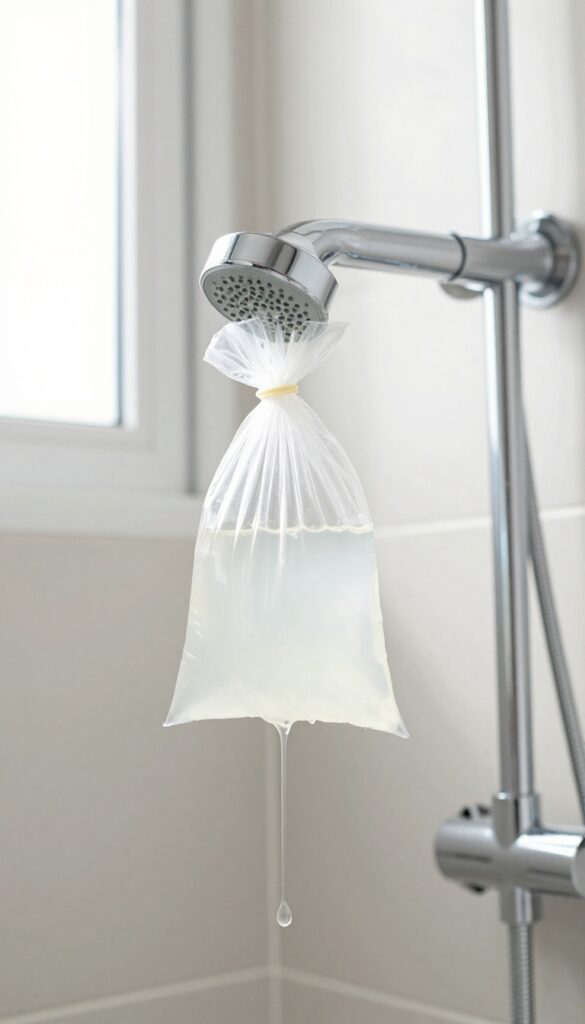
Vinegar is the undisputed champion of shower head cleaning. Its mild acidity breaks down calcium, lime, and other mineral deposits without damaging most finishes. All you need is a plastic bag, some white vinegar, and a rubber band or zip tie.
This soak works best overnight, but even a few hours can make a noticeable difference.
The vinegar soak is the go-to method for good reason. It's simple, effective, and works on nearly every type of shower head. The key is full submersion—the vinegar needs to reach every nozzle to dissolve the buildup.
For fixed heads, a bag works perfectly. For handheld models, you can soak the head in a bowl or container. Just make sure the vinegar covers the nozzles completely.
What You'll Need
White vinegar (distilled is best), a large plastic bag (gallon size works well), a rubber band or zip tie, and a towel to catch drips. If your shower head has heavy buildup, you might also need an old toothbrush for scrubbing afterward.
Step-by-step Soak
Fill the bag about halfway with vinegar. Place it over the shower head so the nozzles are submerged. Secure the bag with the rubber band or zip tie, making sure it's tight enough to hold the vinegar in place.
Let it soak for at least 4 hours—overnight is ideal. After soaking, remove the bag and run the water for a minute to flush out loosened deposits.
When To Skip This Method
Avoid vinegar on brass, gold, or any unlacquered metal finishes—it can cause pitting or discoloration. Also, if your shower head has rubber nozzles, check the manufacturer's instructions; some rubbers may degrade with prolonged exposure to acid. For those cases, try a baking soda paste instead.
2. Baking Soda Paste Scrub
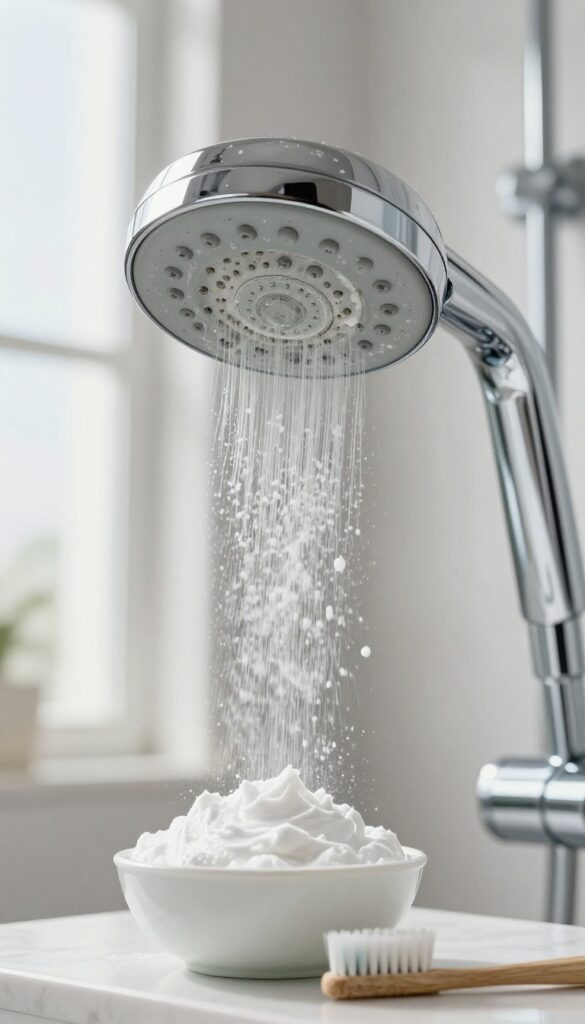
When vinegar alone isn't enough to shift those crusty white deposits, baking soda steps in as a gentle abrasive. It's perfect for shower heads with stubborn spots that won't budge with soaking alone. This method works especially well on metal or ceramic fixtures where you want to avoid harsh scratching.
Baking soda is a mild alkali that reacts with mineral deposits to help break them down. Combined with water, it forms a paste that clings to the nozzles and gives you something to scrub against. The physical action of scrubbing with a toothbrush dislodges the softened gunk, while the baking soda itself helps dissolve the calcium and lime.
It's a one-two punch that's safe for most finishes.
Making The Paste
Mix three parts baking soda with one part water in a small bowl. Stir until you get a thick, spreadable paste. If it's too runny, add more baking soda.
Too dry, add a few drops of water. You want it to stay put on the shower head without dripping off.
Applying And Scrubbing
Use your fingers or a clean cloth to coat each nozzle with the paste. Pay extra attention to the clogged ones. Let it sit for 15 minutes so the baking soda can work on the deposits.
Then take an old toothbrush and scrub each nozzle in a circular motion. Rinse with warm water and wipe dry.
When To Use This Method
This scrub is ideal for shower heads that have visible white or green buildup that didn't come off with a vinegar soak. It's also great for plastic or rubber nozzles that might be scratched by harsher abrasives. Use it as a follow-up after vinegar if you still see spots.
3. Lemon Juice and Warm Water Rinse
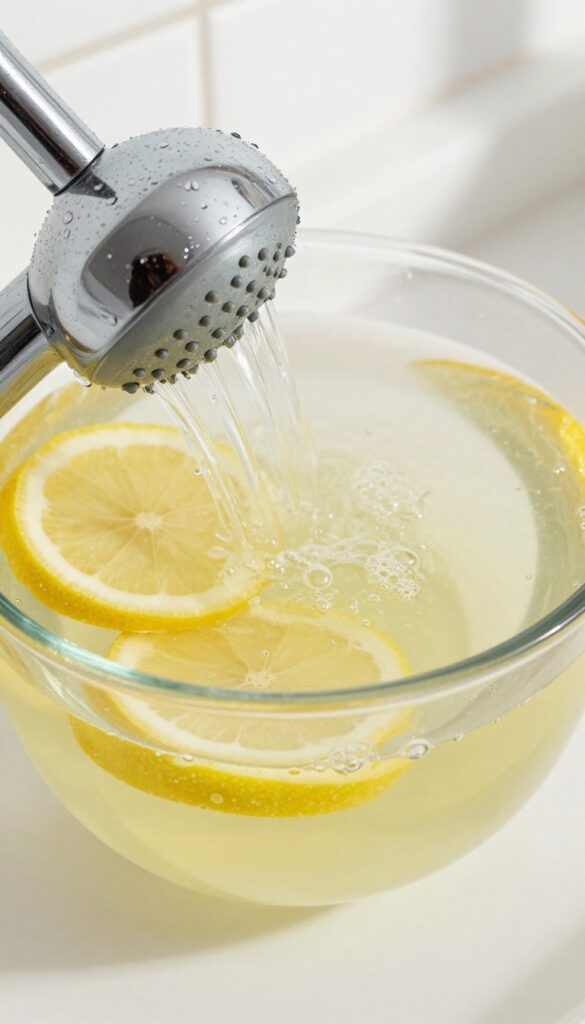
If you like the idea of a natural cleaner that leaves your bathroom smelling fresh, lemon juice is a fantastic alternative to vinegar. The citric acid in lemons works just as well at dissolving mineral deposits, and the scent is far more pleasant. This method is especially good if you're sensitive to the smell of vinegar or just want a more enjoyable cleaning experience.
Lemon juice is a mild acid that breaks down calcium and lime scale without harsh chemicals. It's also a natural degreaser, so it can handle any soap scum that's built up alongside the minerals. The warm water helps activate the citric acid and speeds up the cleaning process.
This soak is gentle enough for most finishes, including chrome and brushed nickel, but avoid using it on brass or unsealed bronze unless you've checked with the manufacturer first.
Prepping The Soak
Start by removing your shower head if possible. If it's a handheld model, just detach it from the hose. For fixed heads, you can still soak the face by filling a plastic bag with the solution and securing it with a rubber band.
Mix equal parts lemon juice and warm water in a bowl or bag—enough to fully submerge the shower head's face. Fresh-squeezed lemon juice works best, but bottled is fine too.
The 30-minute Soak
Place the shower head in the lemon water mixture and let it sit for 30 minutes. The citric acid will start fizzing and loosening the deposits. You might see small bubbles forming—that's a good sign.
If your buildup is really heavy, you can let it soak for up to an hour. Just don't leave it overnight, as the acid could damage some finishes over time.
Rinsing And Scrubbing
After soaking, remove the shower head and rinse it thoroughly with warm water. Use an old toothbrush or a small brush to gently scrub the nozzles and dislodge any remaining debris. Pay attention to any rubber nozzles—you can massage them to pop out stubborn bits.
Rinse again, reattach the shower head, and run the water for a minute to flush out any loose particles.
When To Use This Method
Lemon juice is ideal for light to moderate mineral buildup. It's also a great option if you're cleaning a shower head that hasn't been touched in a while and you want a gentle first pass. The fresh lemon scent is a bonus, and it's safe for most finishes.
Just keep it away from delicate surfaces like marble or natural stone, as the acid can etch them.
4. CLR or Commercial Descaler
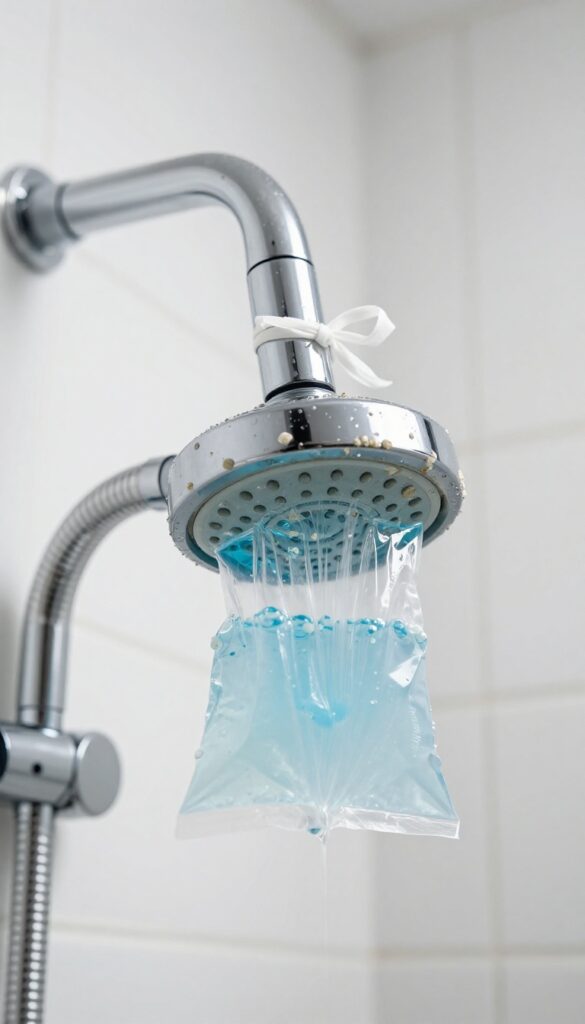
Sometimes the buildup is so stubborn that natural cleaners just won't cut it. That's when you bring in the heavy artillery: a commercial descaler like CLR (Calcium, Lime, and Rust remover). These products are formulated to dissolve the toughest mineral deposits quickly and effectively.
But they're strong chemicals, so you need to handle them with care.
When To Go Commercial
If you've tried vinegar, baking soda, and lemon juice without success, it's time for a commercial descaler. These products are especially effective on shower heads that haven't been cleaned in years or have hard water stains that look almost like white rock. They work faster than natural options, often in minutes rather than hours.
How To Use Clr Safely
Always read the label first. Most descalers require you to dilute them with water. Wear gloves and eye protection, and make sure the bathroom is well-ventilated.
Soak the shower head in the solution for the recommended time—usually 5 to 15 minutes. If you can't remove the shower head, fill a plastic bag with the solution, tie it around the head, and let it soak. Rinse thoroughly with water afterward to remove all chemical residue.
Rinsing Is Critical
After using a commercial descaler, rinse the shower head with plenty of water. Run the water for a full minute to flush out any leftover chemicals from the inside. You don't want those residues on your skin or in your eyes.
A final wipe-down with a damp cloth ensures no spots are missed.
5. Toothpick or Pin Nozzle Cleaning
Sometimes the most straightforward tool is the best. A simple toothpick or sewing pin can work wonders on a clogged shower head. This method is perfect for dislodging those tiny mineral particles that have settled into the nozzle holes.
It's a quick fix that can restore flow in minutes, especially after a soak in vinegar or other cleaner.
Gently poke each nozzle hole with a toothpick or sewing pin to dislodge mineral particles. Works well as a quick fix or after a soak. This method is best for shower heads with small, individual nozzles.
It's satisfying to see the gunk pop out, and you'll notice the water pressure improve almost immediately.
When To Use This Method
This technique is ideal for a quick touch-up between deep cleans. If you notice a few nozzles are blocked while others are fine, a toothpick or pin can target those specific spots without a full soak. It's also great after you've soaked the head in vinegar—any loosened debris can be easily poked out.
Tools And Technique
You'll need a wooden toothpick or a fine sewing pin. Avoid using metal objects that might scratch or damage the finish. Gently insert the tip into each nozzle hole and twist slightly to break up the deposit.
Be careful not to push the mineral buildup further inside. Work over a sink or tub to catch falling debris.
Combining With Other Methods
For best results, use this method after a vinegar soak or baking soda paste treatment. The soak softens the deposits, making them easier to dislodge. After poking, rinse the shower head with warm water to flush out any remaining particles.
This combination ensures a thorough clean and restores full water flow.
6. Vinegar and Baking Soda Fizz
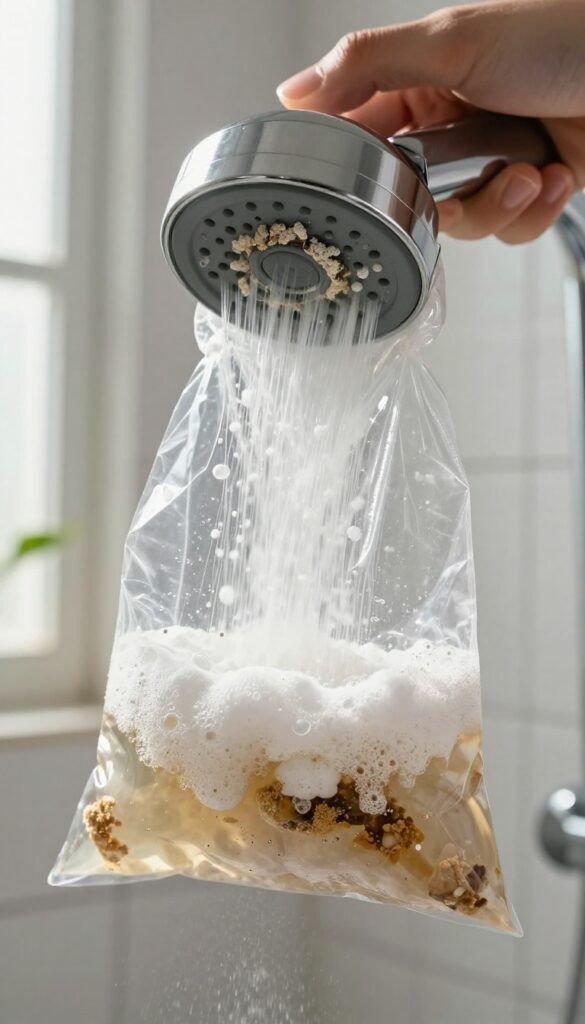
If your shower head has layers of crusty buildup that vinegar alone can't dissolve, the classic vinegar and baking soda fizz is your next move. The chemical reaction creates bubbles that help lift and loosen stubborn mineral deposits from the nozzles. It's a simple, satisfying method that uses two pantry staples.
This dynamic duo works because baking soda (a base) reacts with vinegar (an acid) to produce carbon dioxide gas. Those bubbles agitate the gunk, making it easier to rinse away. The fizzing action reaches into small crevices that soaking alone might miss.
It's especially effective for shower heads with heavy, chalky deposits or those that haven't been cleaned in months.
How To Set Up The Fizz Bag
Fill a plastic bag with about 1/2 cup of baking soda. Slowly pour in 1 cup of white vinegar—it will fizz up immediately, so do this over the sink. Quickly seal the bag around the shower head, ensuring the nozzles are submerged.
Use a rubber band or twist tie to hold it in place. Let it sit for 15 minutes while the fizzing does the work.
Rinsing And Finishing Touches
After 15 minutes, remove the bag carefully (watch for drips). Turn on the shower to flush out any loosened debris. If some nozzles are still clogged, use a toothpick or pin to gently poke them open.
Run the water for another minute to clear everything out. Your shower head should now spray evenly.
7. Dishwasher Pod Soak
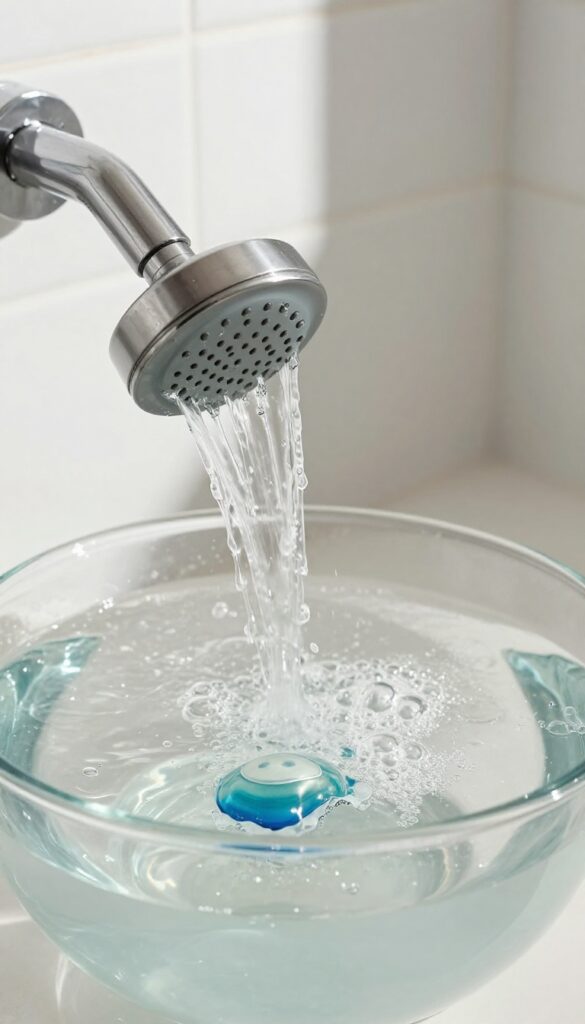
If you have a dishwasher pod lying around, you have a powerful cleaning tool for your shower head. The enzymes and detergents in those pods are designed to break down tough grease and grime on dishes, and they work just as well on mineral deposits. This method is almost effortless—just drop, soak, and rinse.
This trick is perfect for when you want a deep clean without scrubbing. The pod dissolves in hot water, releasing a concentrated cleaning solution that penetrates the nozzles and loosens buildup. It's especially effective on shower heads that haven't been cleaned in months and have a thick layer of white crust.
What You'll Need
Grab a single dishwasher pod (any brand works), a large bowl or bucket big enough to submerge your shower head, and hot tap water. That's it. No vinegar, no baking soda, no extra chemicals.
Step-by-step Soak
Fill the bowl with enough hot water to cover the shower head. Drop in the dishwasher pod and stir until it dissolves. Submerge the shower head completely, making sure all nozzles are underwater.
Let it soak for one hour. For extra-stubborn buildup, you can leave it for up to two hours.
Rinse And Reinstall
After the soak, remove the shower head and rinse it thoroughly under running water. Use an old toothbrush to gently dislodge any remaining loose deposits if needed. Reattach it to the shower arm, turn on the water, and let it flush out for a minute.
You should see a noticeable improvement in water flow.
8. Pressure Washer or High-Pressure Rinse
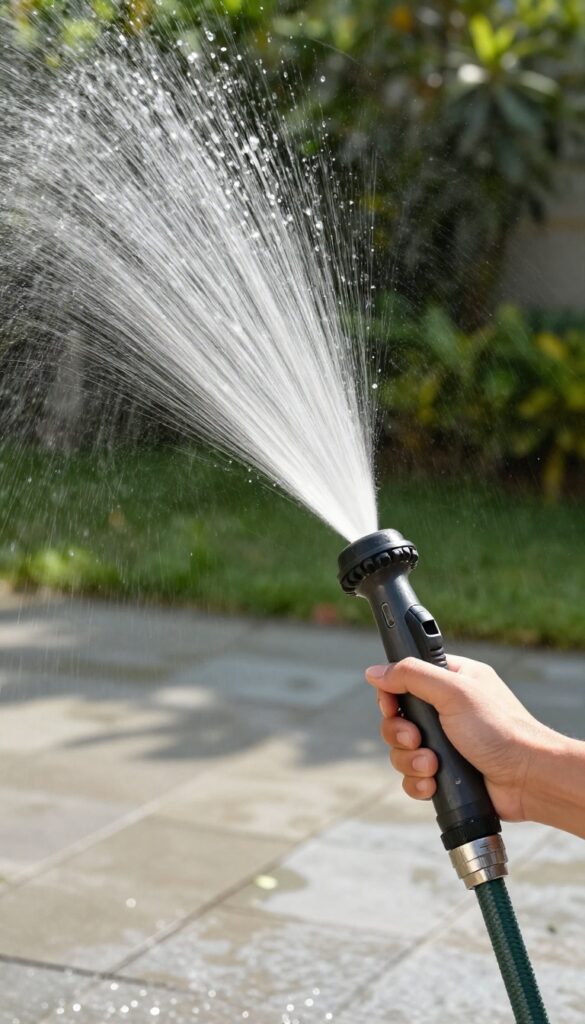
Sometimes the most stubborn clogs need a little brute force. If your shower head is still underperforming after soaking and scrubbing, a pressure washer or high-pressure rinse can blast away the debris that's stuck deep inside the nozzles. This method is especially effective for removable heads that you can take outside and spray without making a mess.
A pressure washer delivers a concentrated stream of water that can dislodge mineral deposits, sand, and other particles that have built up over time. Even if you don't own a pressure washer, a garden hose with a high-pressure nozzle can work nearly as well. Just be careful not to damage the shower head's finish or internal components with too much force.
When To Use This Method
This approach is best for shower heads that are heavily clogged or have visible debris lodged in the nozzles. It's also a good option if you've already tried soaking and scrubbing without success. Avoid using a pressure washer on delicate or antique fixtures, as the force could cause damage.
How To Do It Safely
First, remove the shower head from the arm. Take it outside and attach the pressure washer or high-pressure nozzle. Start with a wide spray pattern at a low pressure, then gradually increase the intensity.
Hold the nozzle a few inches away and work each nozzle opening individually. After rinsing, let the head dry completely before reattaching.
Alternative: High-pressure Garden Hose Nozzle
If you don't have a pressure washer, a garden hose with a trigger-style nozzle set to a jet stream works well. The key is to use a narrow, focused stream to target each clogged hole. This method is gentler than a pressure washer but still effective for most buildup.
9. Descaling with Citric Acid Powder
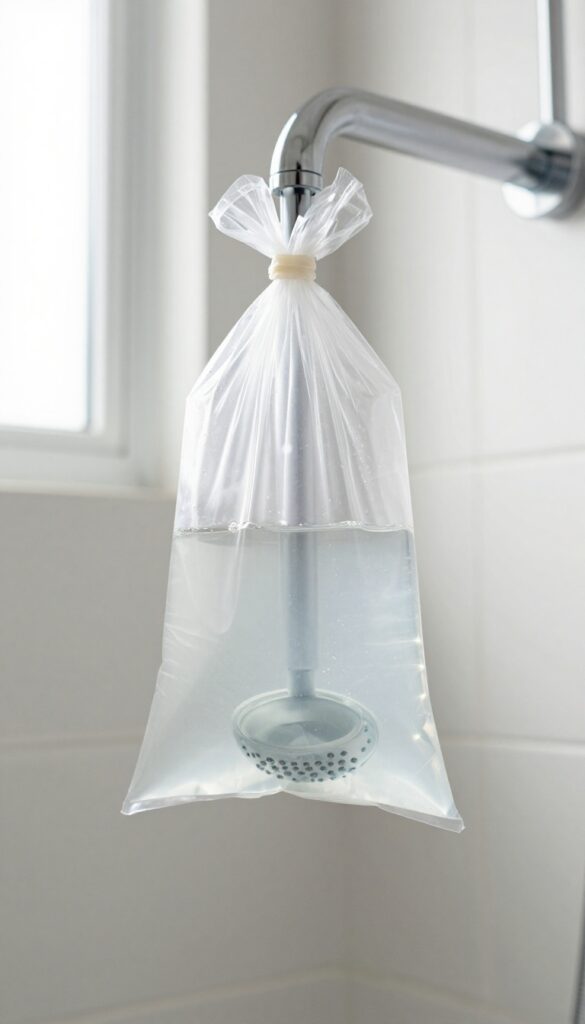
Vinegar is the go-to for descaling, but citric acid powder works just as well—and without the strong smell. It's a food-safe acid that dissolves mineral deposits fast. You can find it in the canning section of grocery stores or online.
This method is ideal if you want a potent, odor-free alternative to vinegar. Citric acid is more acidic than vinegar, so it can tackle heavy buildup in less time. Plus, it leaves no lingering scent.
How To Use Citric Acid
Mix 1 tablespoon of citric acid powder per cup of warm water in a bowl or bag large enough to submerge the shower head. Stir until dissolved. Remove the shower head if possible, or fill a plastic bag and secure it with a rubber band.
Soak for 20 minutes—no longer, as extended exposure can damage finishes.
Rinsing And Finishing
After soaking, remove the shower head and rinse thoroughly with water. Use a soft brush or toothpick to dislodge any remaining debris inside the nozzles. Reattach and run hot water for a minute to flush out any residue.
When To Choose Citric Acid Over Vinegar
Citric acid is a better choice if you're sensitive to vinegar smells or if your shower head has a rubber or plastic component that might be damaged by prolonged vinegar exposure. It's also more effective on calcium-based deposits common in hard water areas.
10. Replace the Shower Head
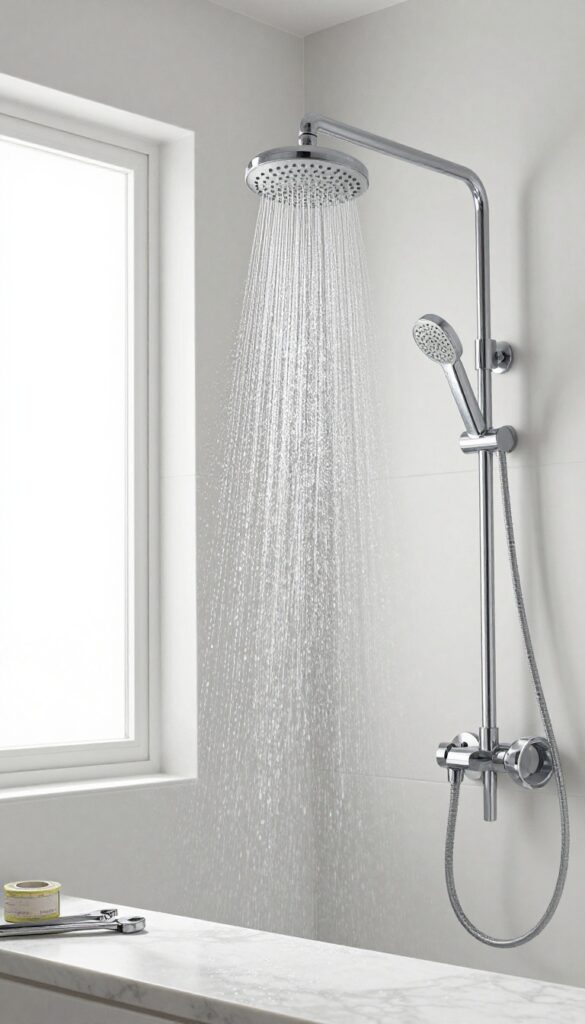
Sometimes, no amount of cleaning can bring a shower head back to life. If you've tried vinegar, baking soda, and even a deep soak with no improvement, the internal parts might be corroded or permanently clogged. That's when it's time for a replacement.
Don't worry—this is a simple, cost-effective fix. A new shower head can cost as little as $20 and installs in minutes with just a wrench or even by hand. It's the ultimate flow-restoring solution when all else fails.
When To Give Up On Cleaning
If your shower head is more than 10 years old, internal corrosion is likely. Signs include persistent low pressure, uneven spray, or visible rust around the connection. Also, if you've cleaned it multiple times and the flow keeps dropping, the mineral deposits may have permanently damaged the inner workings.
Choosing A New Shower Head
Look for a model that matches your needs. For better pressure, choose a high-pressure or low-flow design with good reviews. Consider features like adjustable spray patterns, easy-clean nozzles, and a finish that resists mineral buildup.
Brass or stainless steel bodies last longer than plastic.
Installation Tips
Unscrew the old head counterclockwise—use a wrench if it's stuck, but wrap the jaws with tape to avoid scratching. Clean the pipe threads with a cloth, then wrap plumber's tape clockwise around them for a watertight seal. Screw on the new head by hand, then tighten gently with a wrench.
Turn the water on and check for leaks.
FAQ
How often should I clean my shower head?
Every 3 to 6 months, depending on your water hardness. If you notice reduced pressure or visible deposits, clean it sooner.
Can I clean a shower head without removing it?
Yes. Fill a plastic bag with vinegar or cleaning solution, tie it around the shower head, and let it soak. Make sure the bag is secure and the head is fully submerged.
Will vinegar damage my shower head finish?
Vinegar is safe for most finishes, but prolonged soaking can harm some coatings like chrome or nickel. Limit soak time to 30 minutes for delicate finishes and rinse well.
What if my shower head is still clogged after cleaning?
Try a commercial descaler or replace the shower head. Internal corrosion or broken parts may require a new unit.
Is it safe to use bleach on a shower head?
Bleach is not recommended for mineral buildup. It can damage finishes and is less effective than vinegar or citric acid for descaling.
Conclusion
A clean shower head means better water pressure and fewer mineral deposits to deal with. Pick the method that matches your situation—whether it's a quick vinegar soak or a deeper disassembly—and you'll notice the difference in your next shower.
Regular maintenance keeps the flow strong and extends the life of your fixture. Give one of these fixes a try today, and enjoy a revitalized shower experience tomorrow.


