
You step into the shower expecting a fresh start, but the glass doors look like they've been through a storm. Hard water stains, soap scum, and grime have turned that clear surface into a foggy mess. It doesn't have to stay that way.
These 13 tricks will transform your shower doors from dull to dazzling. Each method is practical, easy to try, and designed to tackle specific problems like streaks, spots, or stubborn buildup.
No harsh chemicals or expensive products required—just smart techniques that work. Let's get those doors sparkling again.
1. White Vinegar and Dish Soap Combo
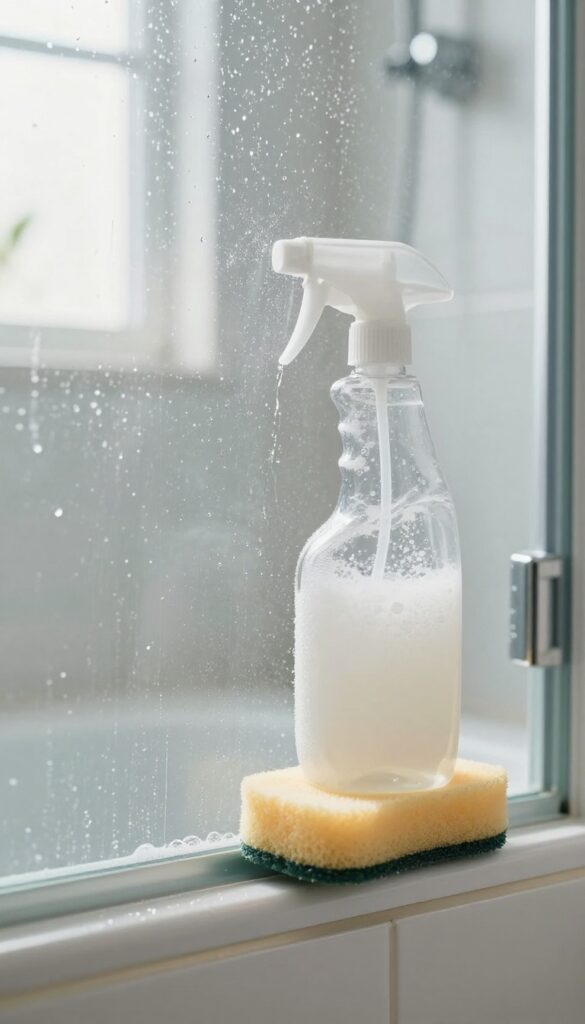
White vinegar is a powerhouse cleaner, but it works even better when paired with a few drops of dish soap. The vinegar cuts through hard water minerals and soap scum, while the dish soap lifts grease and grime. Together, they create a simple, non-toxic solution that leaves glass streak-free.
Mix equal parts white vinegar and warm water in a spray bottle, then add a few drops of liquid dish soap. Shake gently to combine. Spray the solution generously onto the glass doors, making sure to cover all areas.
Let it sit for about 10 minutes to break down stubborn deposits. Scrub with a soft sponge or microfiber cloth, focusing on spots with heavy buildup. Rinse thoroughly with warm water, then immediately squeegee the glass to prevent water spots.
For best results, dry any remaining drips with a lint-free cloth. This method works well for regular maintenance and for tackling moderate soap scum.
Why This Combo Works So Well
Vinegar is acidic, which dissolves alkaline mineral deposits like calcium and lime. Dish soap is a surfactant that breaks the surface tension of water, allowing the vinegar to penetrate grime more effectively. The combination creates a powerful yet gentle cleaner that's safe for most glass surfaces.
Tips For Best Results
Use distilled white vinegar to avoid any additives that might leave residue. Warm water helps the ingredients mix and activates the vinegar faster. Avoid using abrasive scrubbers like steel wool, which can scratch the glass.
Always rinse thoroughly—leftover vinegar can etch glass over time if not removed.
When To Use This Method
This solution is ideal for weekly or bi-weekly cleaning to prevent heavy buildup. If your doors have thick, crusty deposits, you may need a longer soak or a second application. For daily touch-ups, a quick spray and wipe can keep doors looking clear between deep cleans.
2. Lemon Juice for Hard Water Stains
Hard water stains can feel impossible to remove, but nature has a simple solution. Lemons contain citric acid, which breaks down the mineral deposits that cause those cloudy white spots. This trick is cheap, smells great, and works fast.
Cut a lemon in half and rub it directly onto the water spots. The juice will fizz slightly as it attacks the minerals. Let it sit for 5 minutes to work its magic, then rinse thoroughly with warm water.
Dry with a microfiber cloth to prevent new spots from forming. For extra stubborn stains, dip the lemon half in a little salt before scrubbing.
Why It Works
Citric acid is a natural chelating agent, meaning it grabs onto minerals like calcium and magnesium and lifts them away. Unlike harsh chemicals, it's gentle on glass and safe for you and the environment.
Pro Tips For Best Results
Use fresh lemons for maximum acidity. If the stain is old, let the juice sit up to 10 minutes. Rinse well to avoid sticky residue.
Always dry immediately to avoid new spots.
3. Baking Soda Paste for Tough Grime
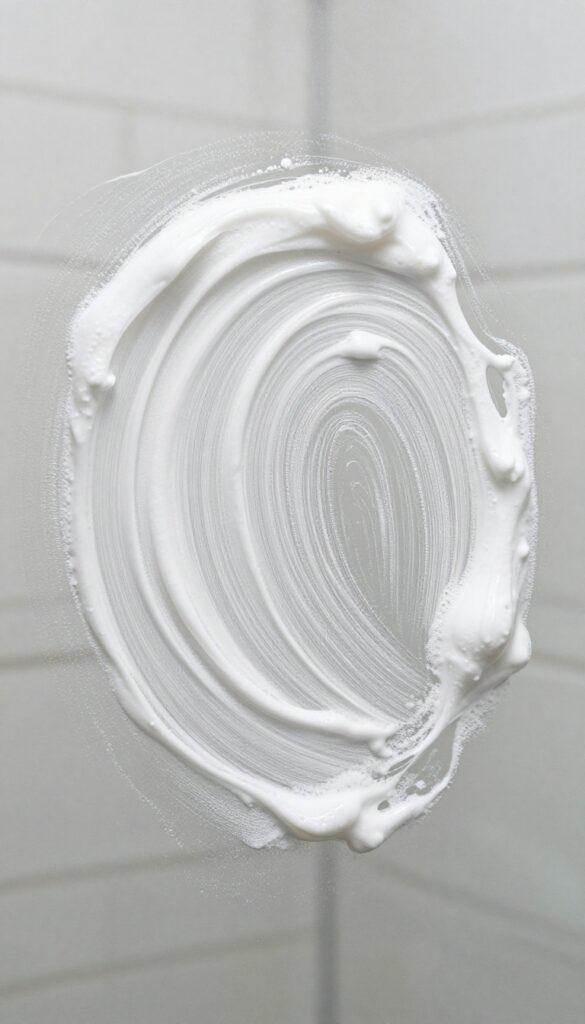
Sometimes a simple spray just won't cut it. When soap scum has built up into a stubborn, chalky layer, you need something with a bit more grit. Baking soda is gentle enough to avoid scratching glass but abrasive enough to break down that grime.
Making The Paste
Mix about half a cup of baking soda with a few tablespoons of water. Stir until it forms a thick, spreadable paste. It should be similar to toothpaste in consistency—not too runny, not too dry.
Applying And Scrubbing
Use a damp sponge to scoop up some paste and apply it directly to the grimy areas. Work in small circular motions, focusing on spots with heavy buildup. The gentle abrasion lifts soap scum without scratching the glass.
Rinsing And Buffing
Rinse the door thoroughly with warm water. Any leftover baking soda residue can leave a white haze, so make sure it's completely gone. Follow up by buffing the glass dry with a microfiber cloth for a streak-free shine.
4. The Magic of a Squeegee After Every Shower
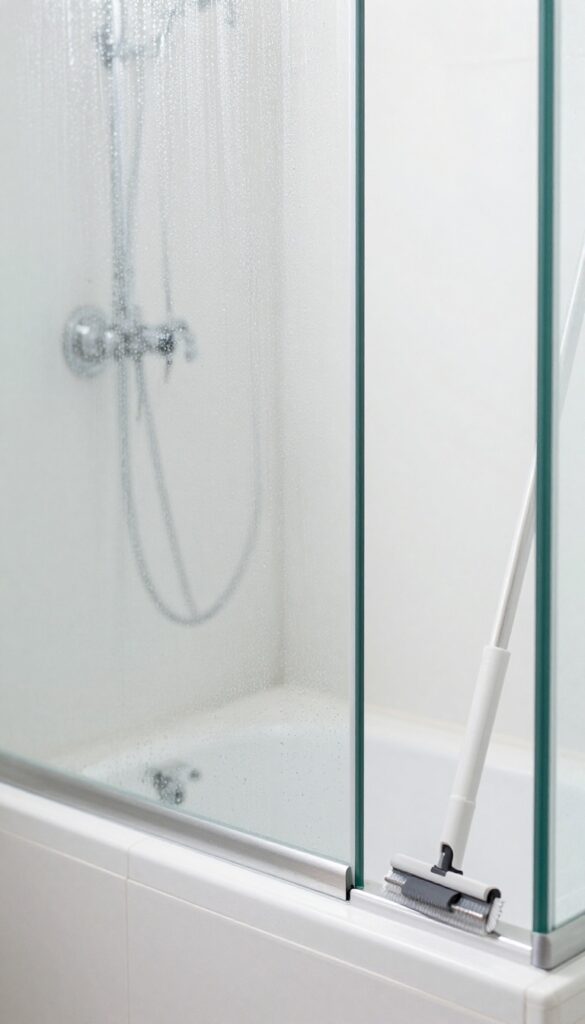
You might think cleaning shower doors requires heavy scrubbing and harsh chemicals, but the real secret is prevention. A squeegee is the simplest tool you can use to keep your glass doors crystal clear with almost no effort. This one habit can eliminate the need for deep cleaning sessions and keep water spots and soap scum at bay.
A squeegee is your first line of defense against hard water stains and soap scum. By removing water droplets immediately after each shower, you prevent minerals and soap residue from drying onto the glass. This simple step takes less than a minute and saves you hours of scrubbing later.
Plus, it keeps your doors looking clean every day, not just after a deep clean.
Why It Works So Well
Hard water contains minerals like calcium and magnesium that leave white spots when water evaporates. Soap scum forms when soap residue mixes with these minerals. A squeegee physically removes the water before it can dry, stopping both problems at their source.
It's the most effective preventive measure you can take.
How To Squeegee Like A Pro
Start at the top corner and pull the squeegee horizontally across the glass, overlapping each stroke slightly. Wipe the blade with a dry cloth after each pass to avoid streaks. Finish with a vertical stroke along the edges to catch any drips.
For best results, use a squeegee with a rubber blade that's in good condition.
Choosing The Right Squeegee
Look for a squeegee with a stainless steel handle and a replaceable rubber blade. A blade width of 6 to 10 inches works well for standard shower doors. Keep it in the shower with a suction cup hook or a caddy so it's always ready.
Replace the blade every few months for optimal performance.
5. Rubbing Alcohol for Streak-Free Glass
Streaks are the enemy of clean glass. You wipe and wipe, but those cloudy lines just won't go away. Rubbing alcohol is the secret weapon you need.
It evaporates almost instantly, leaving behind a crystal-clear surface with zero residue.
This simple DIY spray cuts through grease and grime while drying fast. No waiting around for streaks to form—just spray, wipe, and move on. It's especially great for touch-ups between deep cleans.
Why Alcohol Works So Well
Rubbing alcohol is a solvent that dissolves soap scum and oils on contact. Unlike water-based cleaners, it doesn't leave minerals behind when it dries. That's why you get a perfect streak-free finish every time.
How To Mix And Use It
Combine 1 cup rubbing alcohol, 1 cup water, and 1 tablespoon white vinegar in a spray bottle. Shake gently. Spray onto the glass and immediately wipe with a lint-free microfiber cloth.
Work in small sections for best results.
When To Reach For This Spray
Use it after a regular cleaning to buff away any remaining streaks. It's also perfect for quick daily touch-ups—just a spritz and a wipe keeps your doors looking fresh. Avoid using it on tinted or frosted glass, as alcohol can damage some coatings.
6. Dishwasher Rinse Aid as a Glass Protector
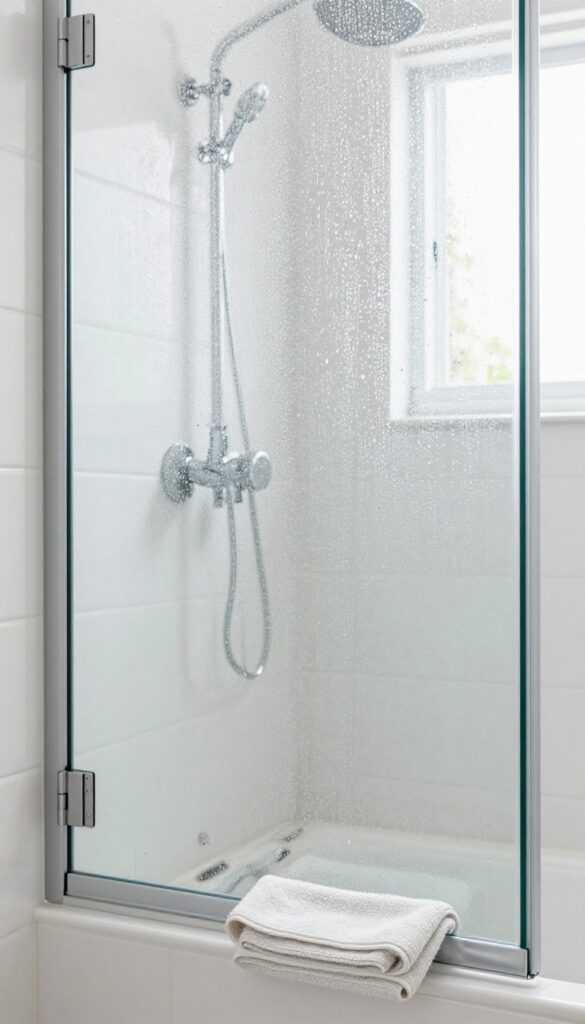
You might not think to look in the dishwasher for a shower glass solution, but rinse aid is a game-changer. The same formula that prevents spots on your dishes creates a hydrophobic layer on glass that makes water bead up and roll off. This means fewer mineral deposits and less soap scum sticking around.
Applying rinse aid is quick and requires no special tools. Just dampen a microfiber cloth with a small amount of the liquid and wipe it evenly over clean, dry glass. Let it sit for a minute, then buff with a dry cloth until clear.
The effect lasts for several washes, cutting down your cleaning frequency significantly.
Why It Works
Rinse aids contain surfactants that reduce the surface tension of water. Instead of water spreading out and leaving mineral spots as it evaporates, it forms tight beads that roll off the glass. This same principle keeps your shower doors clearer for longer.
How To Apply
Start with a clean, dry door. Put a dime-sized drop of rinse aid on a damp microfiber cloth. Wipe the entire glass surface in a thin, even layer.
Wait 30 seconds, then buff with a clean dry cloth until no streaks remain. Avoid getting it on metal or painted surfaces.
Pro Tips
For best results, apply after each deep clean. Use a dedicated cloth to avoid cross-contamination. If you notice a slight haze, you used too much—just buff with a dry cloth.
This trick works on windows and mirrors too.
7. Use a Pumice Stone on Stubborn Deposits
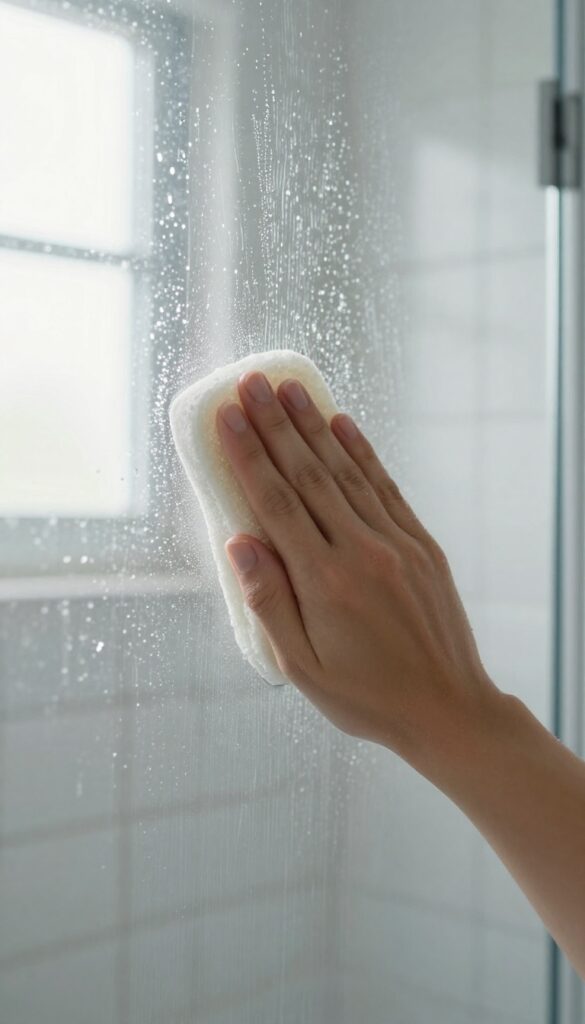
Hard water stains that have baked onto glass for months can feel impossible to shift. A pumice stone—yes, the same one you might use on your feet—is surprisingly effective at scraping away these mineral deposits without damaging the glass. The key is keeping the stone wet and using gentle pressure.
Pumice is a porous volcanic rock that acts like a very fine abrasive. When wet, it gently wears down the calcium and lime scale that standard cleaners leave behind. It's especially useful on stubborn rings near the bottom of the door or on spots that have been ignored for a while.
Always test on a small hidden area first, and never use a dry stone—it can scratch.
How To Prep The Stone And Glass
Soak the pumice stone in water for at least five minutes before you start. While it's soaking, wet the glass surface with warm water or a vinegar solution. The stone should feel soft and almost chalky when fully saturated.
If it feels hard, soak it longer. You want it to glide, not grind.
The Right Technique For Safe Scrubbing
Hold the wet stone at a slight angle and use light, circular motions over the stain. Let the stone do the work—don't press hard. Rinse the area frequently to check your progress and to wash away the gritty residue.
Keep both the stone and glass wet throughout the process. Once the stain is gone, rinse thoroughly and dry with a microfiber cloth.
When To Avoid Pumice
Do not use pumice on tempered glass that has a special coating, like anti-fog or hydrophobic layers. The abrasive action can strip that coating. Also avoid it on acrylic or plastic shower doors—it will scratch them instantly.
Stick to glass-only applications, and always test in an inconspicuous spot first.
8. Hydrogen Peroxide for Mold and Mildew
Mold and mildew love the damp environment around shower doors, especially on seals and corners. Instead of reaching for bleach, try hydrogen peroxide. It's a gentler but effective way to kill spores without the harsh fumes.
Spray 3% hydrogen peroxide directly onto any mold or mildew spots on the glass or rubber seals. Let it sit for about 10 minutes to break down the spores. Then scrub with a soft brush—an old toothbrush works great for tight spots—and rinse thoroughly with water.
The peroxide bubbles away the gunk and leaves surfaces clean.
Why Hydrogen Peroxide Works
Hydrogen peroxide is a natural disinfectant that kills mold and mildew on contact. It's less toxic than bleach and doesn't leave behind strong odors. Plus, it's safe for most glass and seal materials when used as directed.
How To Apply Effectively
Pour the hydrogen peroxide into a spray bottle for easy application. Mist the affected areas generously, making sure to cover any dark spots. Avoid wiping immediately—let the solution dwell for the full 10 minutes to maximize its mold-killing power.
Aftercare And Prevention
After scrubbing and rinsing, dry the area with a microfiber cloth to prevent moisture from lingering. To keep mold at bay, spray the seals with hydrogen peroxide once a week as a preventative measure. It's a simple habit that stops spores from taking hold again.
9. Baby Oil for a Protective Shine
Once your glass doors are spotless, keeping them that way is the next challenge. A thin layer of baby oil can help by creating a hydrophobic barrier that repels water and prevents mineral deposits. This simple trick adds a brilliant shine and cuts down on future cleaning time.
Baby oil is mostly mineral oil, which fills the tiny pores and imperfections in glass. When water hits the treated surface, it beads up and rolls off instead of drying into spots. The oil also gives the glass a polished, streak-free look that lasts for several showers.
How To Apply It
Start with clean, dry glass. Put just a few drops of baby oil on a soft microfiber cloth. Wipe the entire surface in a thin, even layer.
Then buff with a clean part of the cloth until the glass looks clear and shiny. Less is more—too much oil can leave a greasy film.
How Long It Lasts
One application typically keeps water beading for about a week, depending on how often you shower. You can reapply after each deep clean. Over time, the oil may build up, so use a mild dish soap wash every few weeks to remove any residue.
A Note On Safety
Baby oil can make the shower floor slippery if it drips. Wipe up any spills immediately. Also, avoid getting oil on rubber seals or squeegees, as it can degrade them over time.
Stick to the glass only.
10. Commercial Glass Cleaner with a Twist
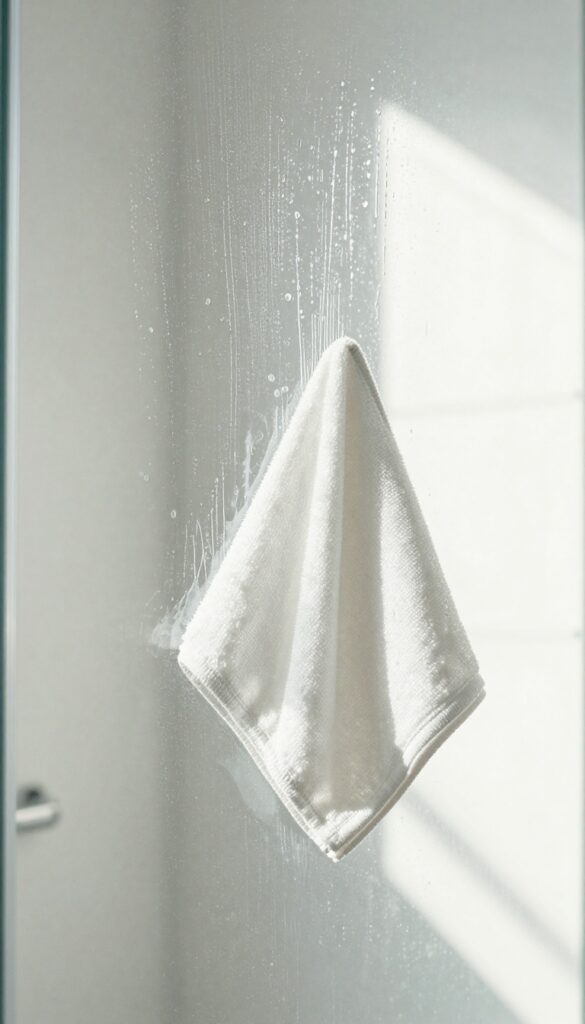
You've probably got a bottle of glass cleaner under the sink, but are you using it right? Most people spray and wipe in circles, which just moves streaks around. The trick is in the application method, not the product itself.
With one small change, that same cleaner can deliver a crystal-clear finish.
Why Circular Wiping Fails
Circles redistribute the cleaner and grime, leaving behind a hazy film when it dries. The curved motion also makes it hard to pick up all the residue. Your glass ends up with swirl marks that catch the light.
The Z-pattern Technique
Spray the glass lightly, then wipe in a Z-shaped pattern from top to bottom. This pushes dirt off the edges instead of spreading it around. Use a clean, dry microfiber cloth for the initial pass.
Final Buff For Extra Shine
After the Z-wipe, grab a second dry microfiber cloth and buff the glass in straight vertical strokes. This removes any leftover moisture and gives that professional, streak-free gleam. No need to re-spray.
11. Rain-X for Shower Doors
You know that satisfying way water beads up and rolls off a freshly waxed car? That same technology works wonders on shower glass. Rain-X, a hydrophobic coating originally made for windshields, creates an invisible barrier that makes water sheet off instead of clinging in droplets.
Less water contact means fewer hard water spots and soap scum deposits, so your glass stays cleaner between scrubs.
Applying Rain-X is straightforward: clean the glass thoroughly, dry it completely, then spray on the Rain-X and buff it in with a clean microfiber cloth. Let it haze, then buff again for a streak-free finish. The coating lasts several weeks depending on use, and reapplication is quick.
It's a simple upfront effort that pays off in dramatically reduced cleaning time.
Why Rain-x Works On Glass
Shower glass and car windshields are both smooth, non-porous surfaces. Rain-X fills microscopic pores and creates a hydrophobic layer that forces water to form tight beads that roll off. On shower doors, this means water slides down in sheets rather than evaporating into spot-causing droplets.
The result: less mineral buildup and fewer streaks.
How To Apply It Right
Start with a spotless, dry door. Spray Rain-X onto the glass and spread it evenly with a damp sponge or cloth. Let it dry to a haze, then buff with a clean, dry microfiber towel until clear.
Do this after a regular deep clean, and avoid using abrasive cleaners afterward to preserve the coating. Reapply every 2-4 weeks for best results.
What Not To Do
Don't apply Rain-X to frosted or textured glass—it won't spread evenly and can leave a messy residue. Also avoid using it on glass that's still wet or dirty; the coating won't bond properly. And never combine it with ammonia-based cleaners, which can strip the coating.
Stick to mild soap and water for maintenance.
12. Soft Water System for Long-Term Prevention
If you're tired of battling hard water stains week after week, there's a bigger-picture solution worth considering. Installing a water softener tackles the root cause of that stubborn buildup. Soft water contains far fewer minerals, so soap scum and scale simply don't form as easily.
A whole-house water softener exchanges calcium and magnesium ions—the culprits behind hard water—for sodium or potassium ions. This simple swap transforms your water's chemistry. The result: your glass shower doors stay clearer longer, and cleaning becomes a quick wipe rather than a scrubbing session.
It's an investment, but one that pays off in reduced cleaning time and fewer chemical cleaners.
How A Water Softener Works
A water softener is a tank that connects to your main water line. It uses resin beads to attract and hold hard minerals, then flushes them away with a brine solution. The softened water that reaches your shower won't leave behind those white, crusty deposits.
You'll notice the difference immediately—less spotting on glass, softer skin, and even brighter laundry.
Installation And Maintenance
You can buy a water softener from a home improvement store or hire a professional for installation. Most models require periodic salt refills, which is straightforward. Expect to spend a few hundred to a couple thousand dollars, depending on your home's size and water usage.
Many homeowners find the convenience and reduced cleaning effort well worth the cost.
Alternative: Point-of-use Softeners
If a whole-house system isn't in your budget, consider a point-of-use softener that attaches directly to your shower head. These smaller units soften only the water flowing through that fixture. They're easier to install and cheaper, but they won't protect your other faucets or appliances.
Still, for shower-door clarity alone, they can make a noticeable difference.
13. Daily Quick Wipe with a Microfiber Cloth
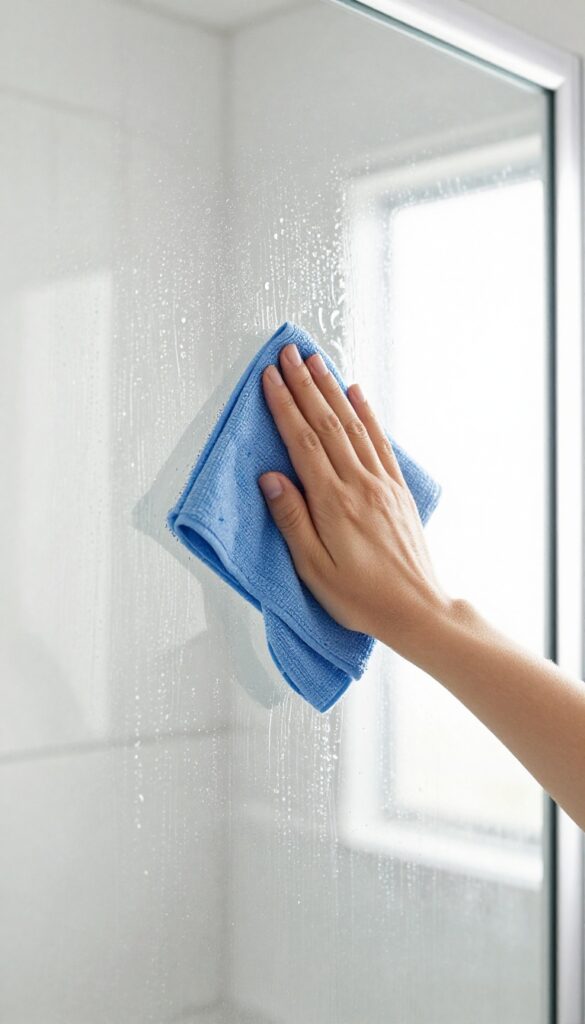
The easiest way to keep your shower doors crystal clear is to stop grime before it starts. A daily 30-second wipe after each shower prevents water spots and soap scum from ever drying on the glass. It's the ultimate low-effort, high-reward habit.
This trick is all about timing. Right after you finish showering, while the glass is still wet, grab a clean, dry microfiber cloth and give the doors a quick once-over. The cloth absorbs moisture and any lingering soap residue, leaving the surface streak-free.
No sprays, no waiting—just a simple swipe that takes less than a minute. Over time, this routine eliminates the need for deep cleaning sessions. Keep a microfiber cloth in the bathroom and make it part of your post-shower ritual.
Your future self will thank you.
Why Microfiber Works Best
Microfiber cloths are uniquely designed to trap dirt and moisture without scratching glass. Their ultra-fine fibers create a static charge that attracts dust and residue, lifting them away rather than pushing them around. Unlike cotton towels, microfiber won't leave lint behind, and it dries glass to a perfect shine without streaks.
Plus, they're reusable—just toss them in the wash after a few uses.
How To Build The Habit
Make the wipe part of your exit routine. Hang a microfiber cloth on a hook near the shower door so you can grab it as you step out. If you forget, set a phone reminder for a week until it becomes automatic.
The key is consistency—even a quick pass makes a difference. Within days, you'll notice less buildup, and your weekly cleaning will become much easier.
Pro Tip: Keep Multiple Cloths Handy
Rotate between two or three microfiber cloths to avoid using a damp one. A dry cloth absorbs better, so swap it out every few days. Wash them separately from lint-producing fabrics like towels, and avoid fabric softener, which clogs the fibers.
With proper care, each cloth lasts for months.
FAQ
How often should I clean glass shower doors?
For best results, do a quick wipe or squeegee after every shower. A deeper clean with vinegar or baking soda can be done weekly or bi-weekly, depending on water hardness.
Can I use bleach on glass shower doors?
Bleach is not recommended for glass as it can damage seals and cause discoloration. Use hydrogen peroxide or vinegar for mold instead.
What causes white film on glass shower doors?
White film is usually hard water stains (mineral deposits) or soap scum. Both are best removed with acidic cleaners like vinegar or lemon juice.
Will vinegar damage my shower door seals?
Vinegar is generally safe for glass and metal, but prolonged exposure can degrade rubber seals. Rinse thoroughly after cleaning and avoid letting vinegar sit on seals for too long.
How do I prevent water spots on glass doors?
The best prevention is drying the glass after each use with a squeegee or microfiber cloth. Applying a water-repellent product like Rain-X also helps.
Conclusion
Those cloudy streaks and water spots don't stand a chance once you add these tricks to your cleaning routine. Start with the one that fits your schedule best—maybe the daily squeegee habit or the weekend vinegar soak—and watch your glass doors regain that crystal-clear sparkle.
A little consistency goes a long way, and soon you'll wonder why you didn't try these sooner. Your shower will look brighter, and you'll save yourself from scrubbing sessions down the road.


