Last updated on August 19th, 2026 at 04:19 pm
Guinea pigs need a spacious, safe, and cozy home to thrive. If you live in a small apartment or house, these 11 DIY cage plans will help you create the perfect indoor setup.
Each plan focuses on comfort, easy cleaning, and smart use of space.
Let's dive in!
The Classic C&C Cage with Fleece Liners
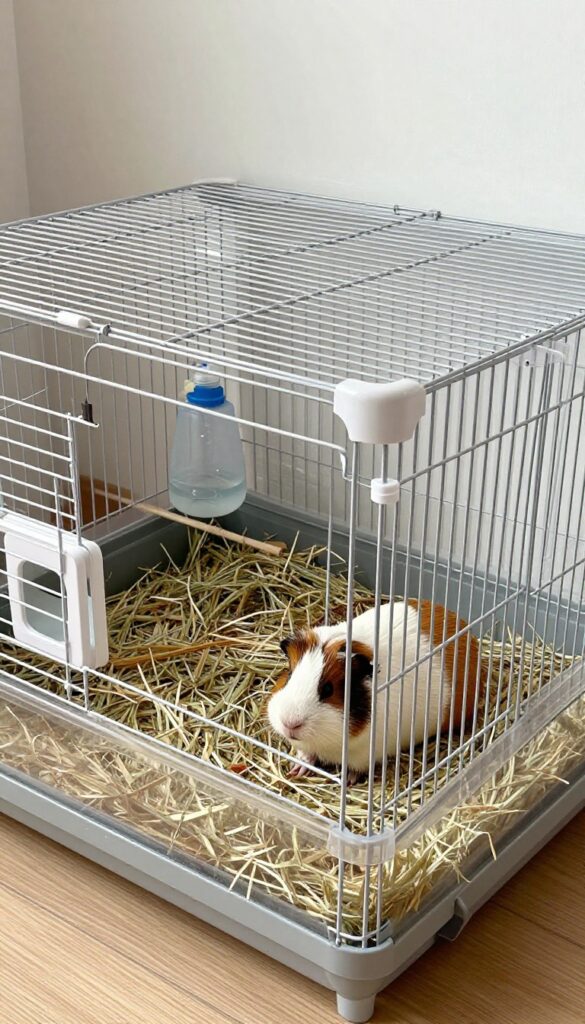
The C&C (cube and coroplast) cage is a favorite among guinea pig owners for good reason. It’s affordable, customizable, and gives your piggies plenty of room to run and play. Here’s how to build one with soft fleece liners for easy cleanup.
Start with wire cube grids (often sold as storage cubes) and a sheet of coroplast, a lightweight corrugated plastic. Connect the grids to form a rectangular pen—aim for at least 7.5 square feet for one piggy, but bigger is better. Cut the coroplast to fit as a base, folding up the edges to create a 4- to 6-inch wall.
This keeps bedding inside.
Key features of a C&C cage
- Fleece liners: Layer fleece over absorbent material like u-haul pads or towels. Fleece wicks moisture away, keeping the surface dry. Shake off hay and poop daily, wash weekly.
- Hay rack: Attach a hay rack or use a small bin to keep hay off the fleece. Guinea pigs need unlimited hay for digestion and dental health.
- Hideouts: Provide at least one hideout per pig, like a wooden house or fleece tunnel. They need a safe space to retreat.
- Water bottle and food bowl: Clip a water bottle to the grid and use a heavy ceramic bowl for pellets to prevent tipping.
- Floor space: A 2×3 grid (about 8 square feet) is the minimum for two piggies. Larger cages reduce boredom and aggression.
- Ventilation: The open grid sides provide excellent airflow, which helps prevent respiratory issues.
Assembly tips
Use zip ties to secure the grids together—they’re stronger than the included connectors. Place the coroplast base inside the grid frame. For easy cleaning, make the coroplast base removable or use a fleece liner that covers the entire floor.
Add a small litter box with paper bedding in one corner; many guinea pigs will use it for urinating.
Multi-Level Loft Cage for Small Spaces
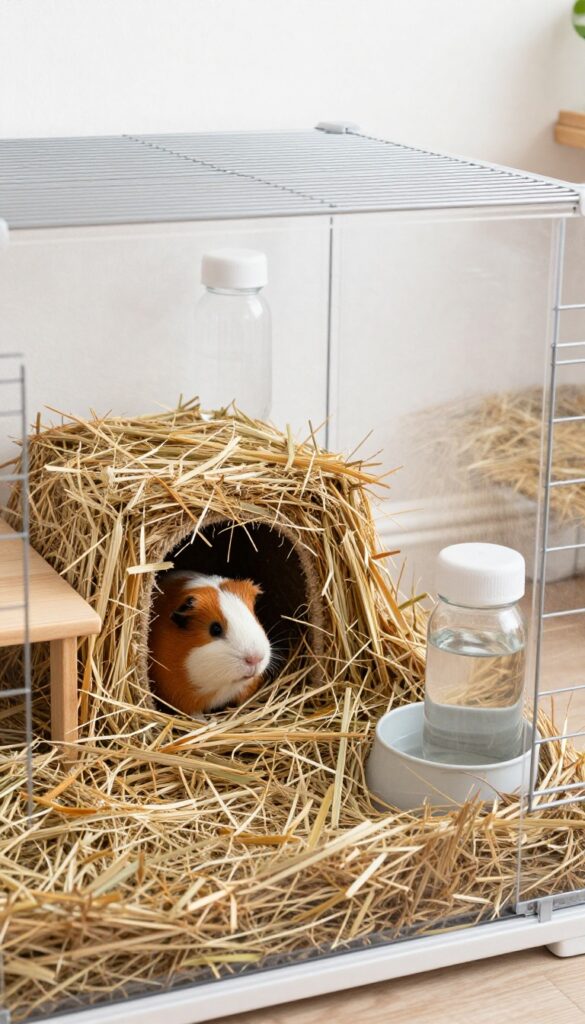
When floor space is limited, building up is the smart solution. A multi-level loft cage doubles your guinea pigs' running area without taking up more room. With a sturdy ramp and cozy loft, your piggies get exercise and enrichment in a compact footprint.
Start with a base cage made from C&C grids or a large storage bin. Add a second level using a strong shelf or more grids, and connect it with a ramp. The ramp should have side guards to prevent falls and a gentle slope (no steeper than 45 degrees) so guinea pigs can climb easily.
Cover the ramp with fleece or a non-slip mat for grip.
Key Details for a Safe Loft Cage
- Use the loft as a hay loft or hideout area to encourage natural foraging and climbing.
- Place a soft fleece liner or bedding on both levels for comfort and easy cleaning.
- Add a hideout, water bottle, and food bowl on each level so piggies don't have to compete.
- Ensure good ventilation by leaving some grid spaces open or using mesh sides.
- Keep the loft low enough for you to reach in for cleaning and bonding.
Practical Habitat Tips
This design works great in a corner of your living room or bedroom. Use storage bins underneath the cage for hay, bedding, and supplies. For cleaning, choose a fleece liner that can be shaken out and washed.
Add chew-safe toys like willow balls or cardboard tunnels to keep your piggies active. Always check that the ramp is secure and that there are no gaps where little feet could get stuck.
Under-Bed Cage with Storage Drawers
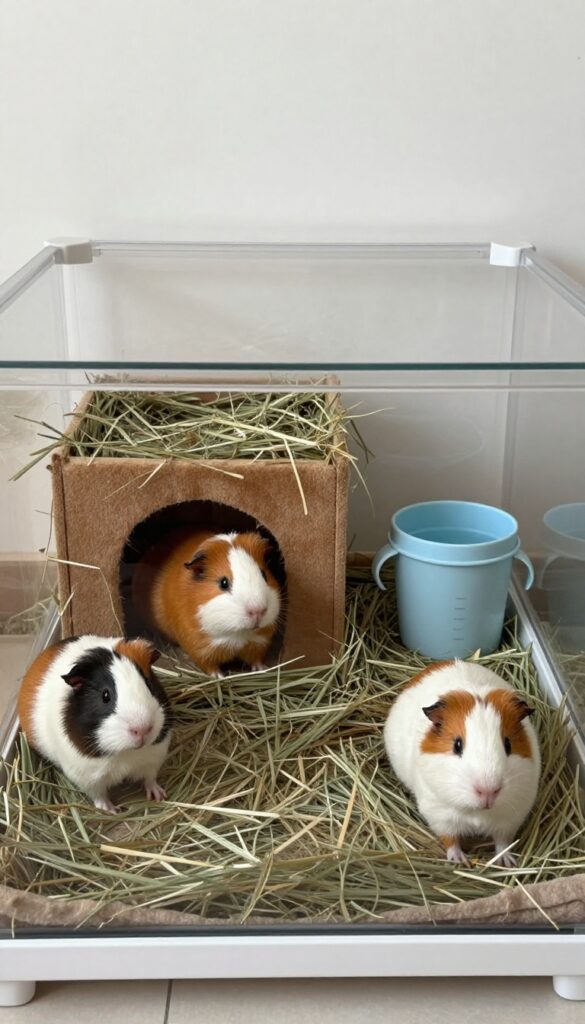
Maximize unused space under your bed with a clever cage design that includes pull-out storage drawers. This plan keeps your guinea pigs cozy and gives you easy access for cleaning and daily care.
Design Overview
Start with a low-profile plastic bin or build a custom wooden frame that fits under your bed frame. The key is to keep the height low enough to slide in and out, but tall enough for your guinea pigs to stand up comfortably (at least 12 inches). Add mesh panels to the sides or top for ventilation.
Key Features
- Use a shallow under-bed storage bin (at least 8 sq ft floor space for two guinea pigs) or build a wooden frame with a plywood base.
- Cut large openings in the bin sides and cover with 1/2-inch hardware cloth for airflow. Secure with zip ties or screws.
- Install a pull-out drawer system: mount drawer slides on a lower platform so you can slide the whole cage out for cleaning.
- Line the bottom with fleece liners or disposable bedding. Add a hideout, hay rack, water bottle, and food bowl.
- Place a shallow litter tray under the hay rack to catch messes and simplify spot cleaning.
Practical Tips
Choose a bin with a smooth interior to prevent chewing. If building a wooden frame, seal all edges with pet-safe paint or liner. Ensure the cage is completely chew-proof by covering any exposed wood with metal edging or PVC trim.
Position the cage so the drawers slide out freely without hitting bed legs or walls.
Safety Check
Make sure the bed frame is sturdy enough to support the cage weight. Never use a bed that is too low – your guinea pigs need at least 6 inches of clearance above their heads. Check ventilation regularly, especially if the cage is tucked under a dust ruffle.
Corner Cage with L-Shaped Layout
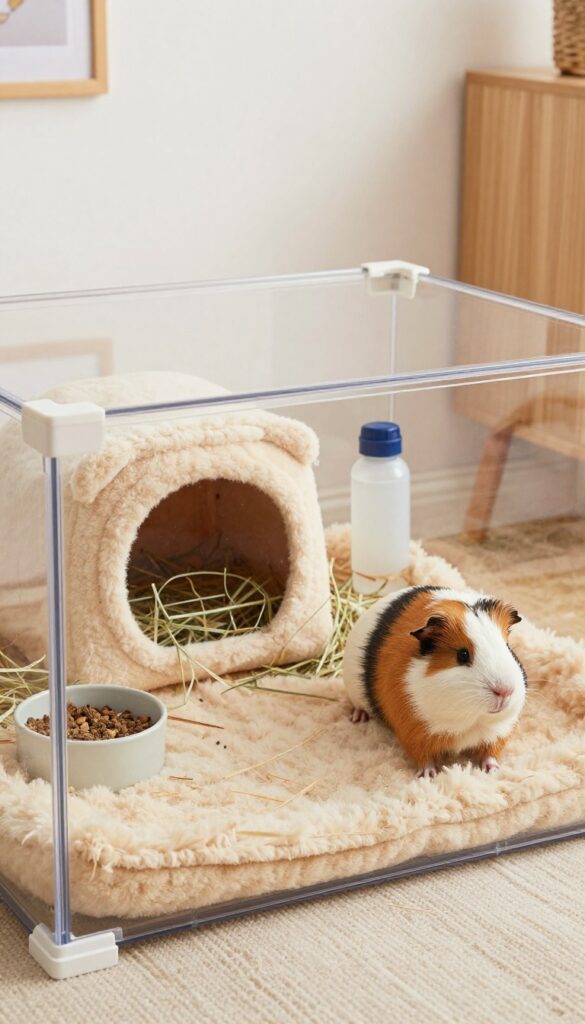
If you have an unused corner in your living room or bedroom, an L-shaped cage is a smart way to turn that dead space into a spacious guinea pig habitat. This design uses coroplast and wire grid cubes (C&C grids) to create a custom L-shaped enclosure that fits snugly into a corner, maximizing floor area without blocking walkways.
An L-shaped cage gives your guinea pigs more room to run and explore while leaving the rest of the room open for furniture or other pets. The corner placement also feels cozy and secure for your piggies, as they have walls on two sides. To build one, start by measuring your corner and cutting coroplast to form an L-shaped base.
Connect wire grids to create walls, using zip ties to secure the corners. Make sure the cage is at least 7.5 square feet for one guinea pig, but bigger is always better.
Key Features of a Corner L-Shaped Cage
- Maximizes floor space: The L-shape uses the corner to give more square footage than a rectangular cage of the same width.
- Easy to access: Leave one side open or add a grid door for cleaning and feeding.
- Cozy feel: Place hideouts and hay racks in the corner where walls meet, creating a snug retreat.
- Practical layout: Use a fleece liner or bedding on the coroplast base for easy cleaning. Add a water bottle and food bowl on the open side.
Pro Tips for a Safe Setup
Ensure the cage has good ventilation by using grid panels on at least two sides. Avoid placing the cage in a drafty spot or near direct sunlight. Use chew-safe materials like coroplast for the base and avoid any sharp edges.
Add a hay rack and a hideout to keep your guinea pigs happy. The L-shape also allows you to store extra supplies, like hay bags or cleaning tools, in the corner behind the cage.
Stackable Bin Cage for Multiple Piggies
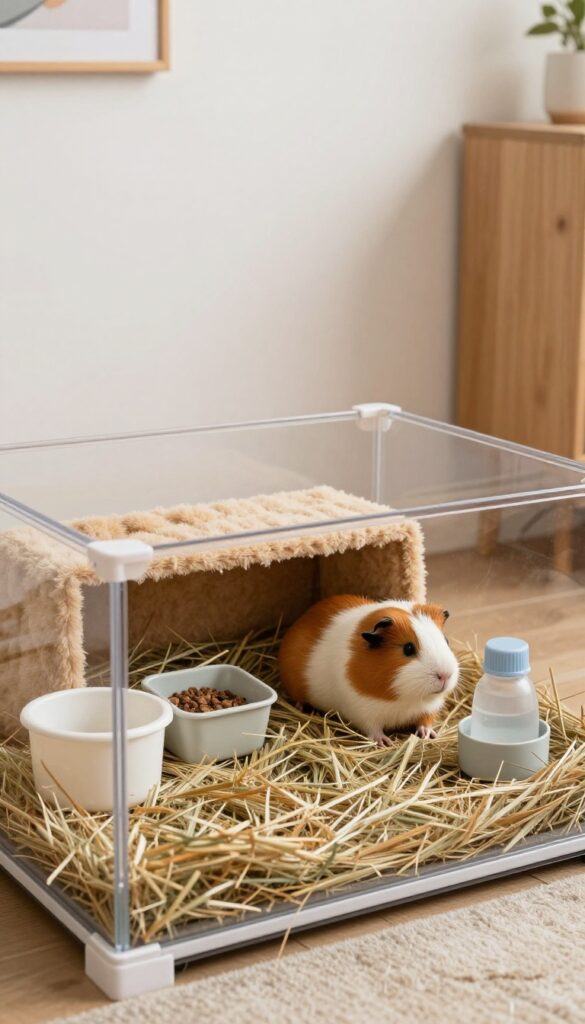
If you have several guinea pigs but limited floor space, a stackable bin cage lets you build upward. Each level is a separate large storage bin with a mesh front for ventilation, and you can connect levels with ramps or tunnels so your piggies can visit each other safely.
Start with two or three 50-gallon or larger clear storage bins. Remove the lids and cut large windows in the front and sides, leaving a few inches of plastic at the bottom to hold bedding. Cover the openings with 1/2-inch hardware cloth or wire mesh, secured with zip ties or screws.
This gives plenty of air flow while keeping your piggies secure.
Key setup tips
- Use mesh dividers between levels if you want to keep pairs separate but allow sight and scent contact.
- Add a wide ramp or a set of shallow steps made from coroplast or wood so piggies can move between levels safely.
- Line each bin with fleece over absorbent padding for easy cleaning. Swap out liners every few days.
- Place hideouts, hay racks, and water bottles on each level so every piggy has access without climbing.
- Make sure the bottom of each bin is solid to hold bedding, and the top level is not too high—keep the stack stable and within easy reach for cleaning.
This setup works great for bonded pairs or small groups that get along. You can also leave one level as a playpen with no ramp, just a door for supervised floor time. Always check that the mesh edges are smooth and that the bins are on a flat, sturdy surface.
With a stackable bin cage, you get a multi-piggy home that’s compact, affordable, and easy to customize.
Convertible Table Cage with Built-In Storage
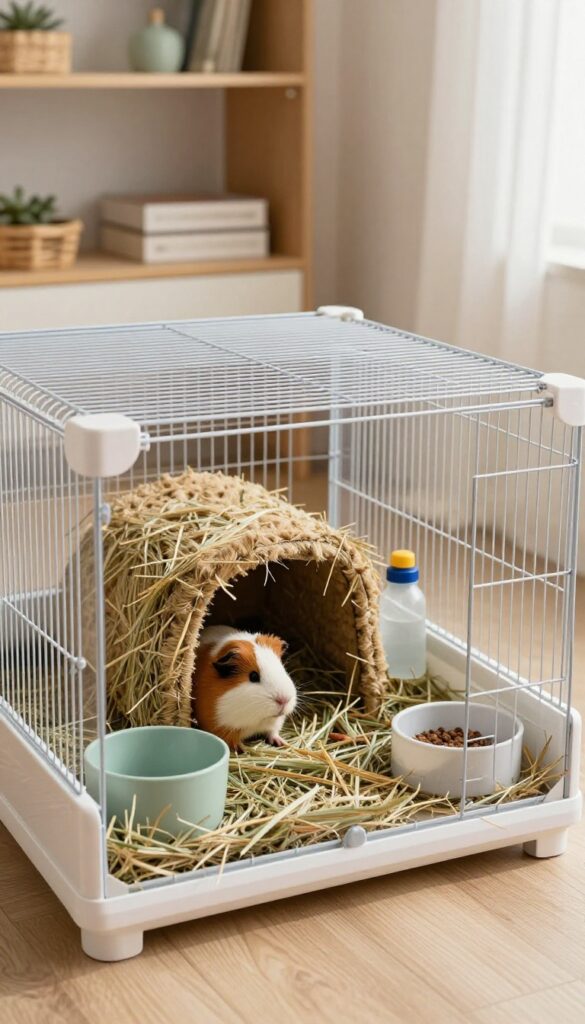
This clever cage design does double duty as a side table or desk, making it perfect for small spaces. Beneath the solid tabletop, you’ll find a secure mesh enclosure for your guinea pigs, plus built-in storage drawers for hay, bedding, and supplies.
The convertible table cage is a space-saving dream. The top is a sturdy wooden or laminate surface that can hold a lamp, books, or a small plant, while the cage area below has mesh sides for excellent ventilation. The storage drawers slide out easily, keeping all your guinea pig essentials organized and within reach.
Key Features for a Happy Guinea Pig Habitat
- Floor space: At least 7.5 square feet for one guinea pig (10.5+ for two). The cage area should be spacious enough for zoomies.
- Bedding: Use fleece liners or paper bedding on a waterproof base. Fleece is easy to spot-clean and cozy.
- Hay rack: Attach a hay rack to the mesh side so your piggies can munch anytime without the hay getting soiled.
- Hideouts: Provide at least one hidey house or tunnel per piggy. A wooden or fleece hideout works great.
- Water bottle and food bowl: Secure a water bottle to the mesh and place a heavy ceramic bowl for pellets.
- Ventilation: Mesh sides ensure constant airflow, preventing ammonia buildup. Avoid solid walls.
- Cleaning access: The front or side of the cage should open fully for easy cleaning. Some designs use a hinged mesh door.
- Chew-safe enrichment: Add wooden chew toys, tunnels, and a mineral chew to keep teeth healthy.
To build this cage, you’ll need a sturdy table frame (wood or metal), mesh panels for the sides, and a solid top. The storage drawers can be built into the base or added as separate rolling bins. Make sure the cage height is at least 12 inches so guinea pigs can stand up.
Place the cage in a quiet, draft-free area away from direct sunlight. With this design, your guinea pigs get a safe, comfy home, and you gain extra storage and a functional table.
Minimalist Open-Top Cage with Low Walls
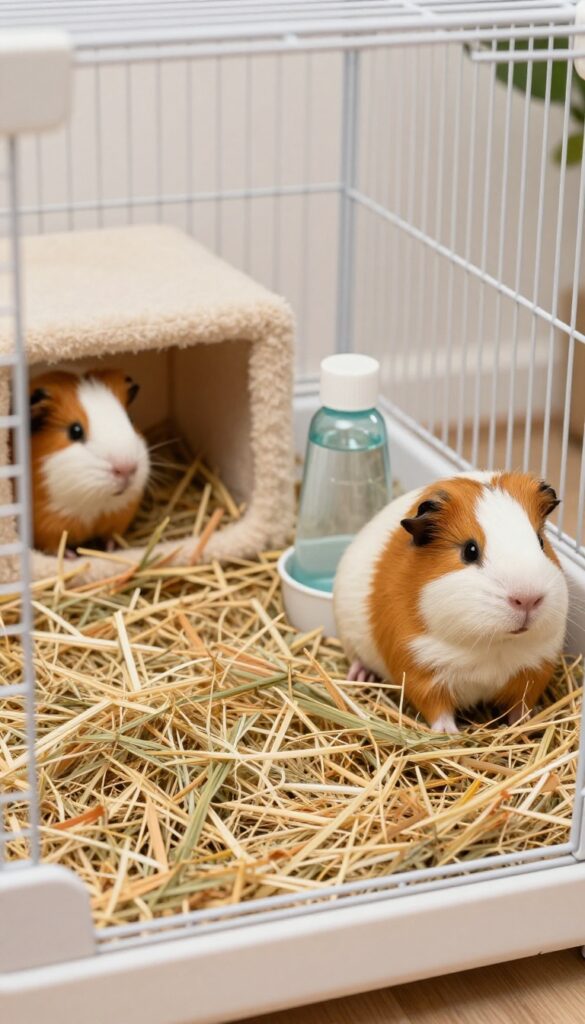
If you want a cage that feels open and easy to reach, this minimalist design uses low coroplast walls and a fleece floor. It’s great for bonding with your guinea pigs, but you need to check for escape hazards and keep the cage in a safe, draft-free spot.
Start with a base of coroplast cut to 6–8 inches high. This low wall is enough to contain bedding and hay but lets you easily reach in for cuddles and cleaning. Line the floor with a washable fleece liner over a layer of absorbent towels or u-haul pads.
The open top means no lid to lift, so you can interact with your pigs anytime.
Because there are no high walls or a roof, you must ensure the cage is placed in a quiet corner away from drafts, direct sunlight, and household traffic. Check that no furniture or cords are near enough for a pig to climb onto. Guinea pigs are not great climbers, but they can jump a few inches if scared or curious.
Key features for a safe, comfy setup
- Use coroplast or a low wooden frame (6–8 inches) to keep bedding inside.
- Line the floor with fleece over absorbent layers for easy spot-cleaning.
- Add a hideout, hay rack, water bottle, and food bowl – all within easy reach.
- Place the cage on a sturdy table or low stand to keep it off the floor and away from drafts.
- Check daily for any gaps or items your pig could use to climb out.
- Keep the area around the cage clear of wires, small objects, or other pets.
Practical habitat details
Provide at least 7.5 square feet of floor space for one guinea pig (more for two). Use a large hideout like a wooden house or a fleece tunnel. A heavy ceramic bowl works well for pellets, and a bottle with a sipper tube keeps water clean.
Place a hay rack on the low wall or use a hay bag attached to the side. For enrichment, add chew sticks, a tunnel, or a small cardboard box. The open layout makes cleaning simple – just lift the fleece and shake it out.
This style is perfect for owners who want a simple, accessible cage that blends into the room. Just remember: open top means you need to piggy-proof the surrounding area. With a little care, your guinea pigs will enjoy a spacious, airy home.
Portable Cage with Wheels for Easy Moving
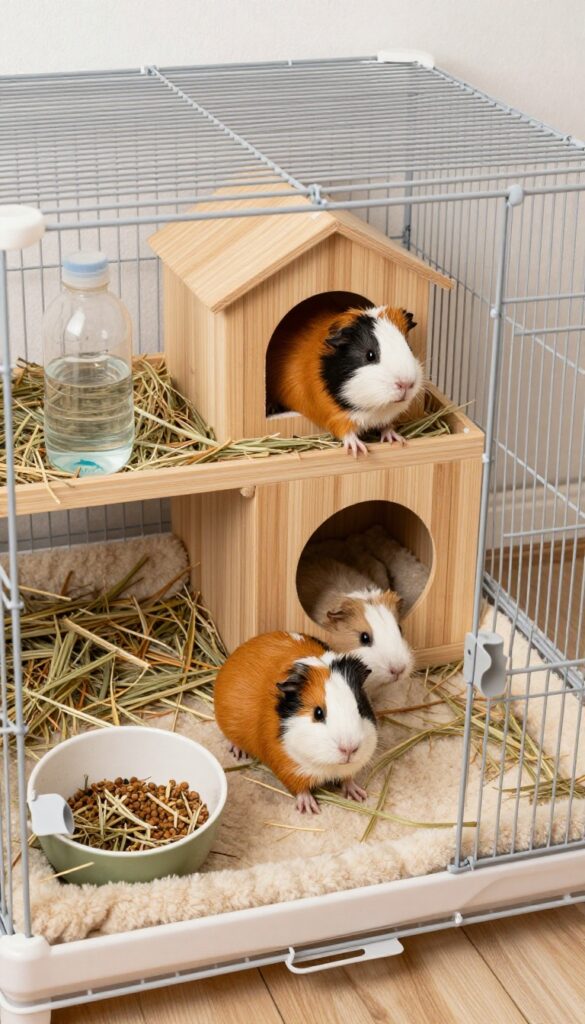
A cage on wheels is a game-changer for guinea pig owners who want flexibility. Whether you need to roll it out of the way for cleaning or move it to a sunnier spot for temperature control, this DIY plan makes it easy. The key is to attach sturdy locking casters to a solid base, like a wooden frame or a large plastic bin, so the cage stays stable when your piggies are zooming around.
Start with a base that’s large enough for your guinea pigs—at least 7.5 square feet for one piggy, but bigger is always better. A wooden frame with a plywood bottom works well, or you can use a heavy-duty plastic storage bin. Drill holes for ventilation, then screw or bolt locking casters into each corner.
Make sure the wheels are rated for the weight of the cage, bedding, and your piggies.
Practical Tips for a Wheeled Cage
- Use locking casters on all four wheels to prevent accidental rolling.
- Line the base with a fleece liner or disposable bedding for easy cleanup.
- Add a hay rack, hideout, and water bottle that stay secure when the cage moves.
- Keep the cage low to the ground (wheels under 2 inches) so it’s stable and easy for piggies to hop in and out of if you use a ramp.
- Place a shallow litter box in one corner to simplify spot cleaning.
This design is perfect for small apartments or rooms where you need to rearrange furniture. Just remember to lock the wheels when the cage is in its final spot, especially if you have other pets or kids. With a portable cage, you can easily vacuum underneath and keep the area fresh for your furry friends.
FAQ
What is the minimum cage size for two guinea pigs?
The minimum recommended size for two guinea pigs is 7.5 square feet (e.g., 30" x 36"), but larger is always better. Many DIY plans exceed this.
Can I use a wire-bottom cage for guinea pigs?
No, wire bottoms can hurt their feet. Always use a solid floor with fleece or bedding.
How often should I clean a guinea pig cage?
Spot clean daily and do a full bedding change weekly. Fleece liners may need washing every 3-4 days.
Conclusion
These 11 DIY guinea pig cage plans prove that you can create a comfy, safe home for your piggies even in a small space.
Pick the one that fits your room and your piggies' needs, and enjoy watching them thrive!

I’m Pallab Kishore, the owner of Little Pets Realm — an animal lover and pet care enthusiast sharing easy tips, healthy recipes, and honest advice to help every small pet live a happy, healthy, tail-wagging life.