Last updated on August 19th, 2026 at 04:20 pm
Living in a small apartment doesn't mean your guinea pigs can't have a spacious, fun home. Corner cages are a smart way to use otherwise wasted space.
Here are 10 DIY designs that are safe, cute, and easy to build.
Each idea focuses on your guinea pigs' comfort and your convenience.
Use a Corner Guinea Pig Cage Layout
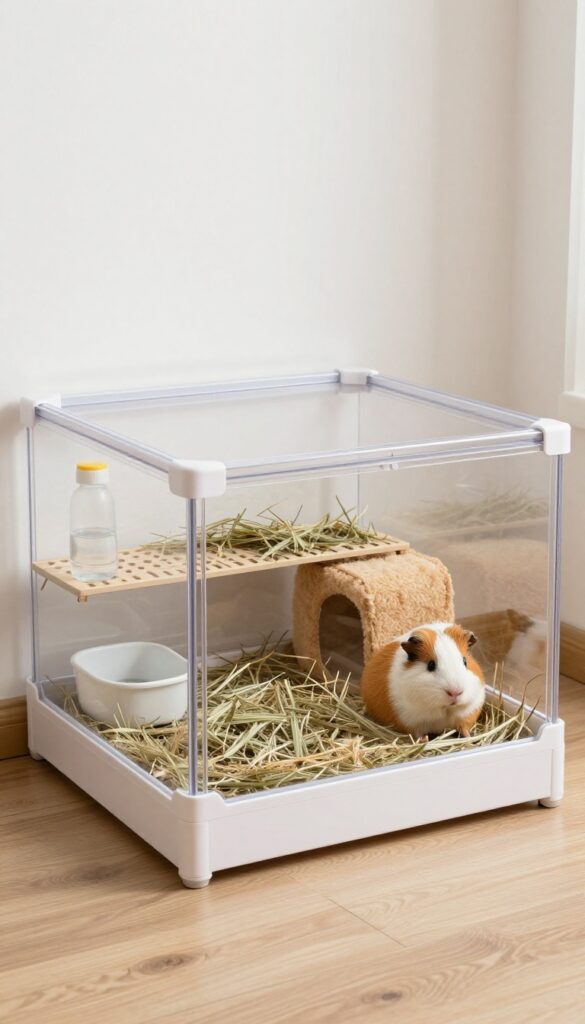
If you have a small room corner, an L-shaped C&C cage is a perfect fit. It uses vertical space and keeps your guinea pigs safe and happy.
Build the cage using cube grids and coroplast. Cut the coroplast to form an L-shape that matches your corner. Attach the grids with zip ties.
This design fits snugly and makes cleaning easy.
- Floor space: At least 8 sq ft for two guinea pigs (2×4 grids is ideal).
- Add a sturdy shelf above the cage for hay storage, extra bedding, and supplies.
- Line the bottom with fleece liners or paper bedding for comfort.
- Place hideouts, a hay rack, water bottle, and food bowl inside.
- Ensure good ventilation by leaving the top open or using a grid lid.
This layout keeps everything you need within reach. The shelf above holds hay and supplies, so you don't need extra floor storage. Your guinea pigs get plenty of room to run, and the corner placement saves space.
Folded Fleece Liner Cage with Hay Rack
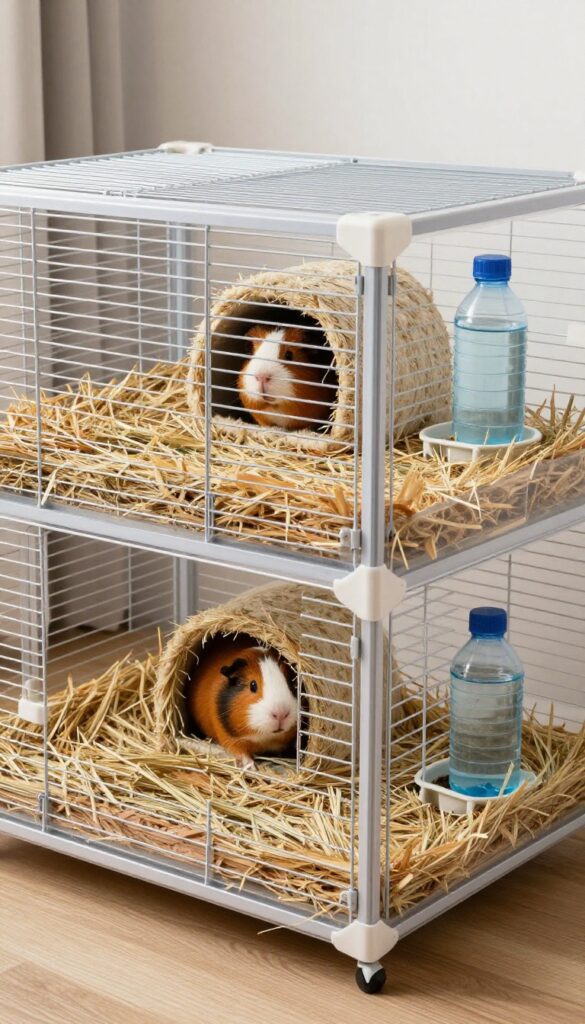
This design combines a simple wire grid cage with a cozy fleece liner and a DIY hay rack, making it perfect for a small corner. It's easy to build, clean, and keeps your guinea pigs comfortable.
Start with a rectangular wire grid cage (like a C&C cage) placed in a corner. Use a plastic base or coroplast to protect floors. For bedding, use a folded fleece liner—just layer fleece over absorbent padding (like U-Haul pads or towels).
Fold the edges over to create a snug fit. This liner is washable and reduces waste.
Key features
- Corner placement saves floor space while giving your pigs room to run.
- Fleece liner is soft on feet and easy to clean—just shake off hay and toss in the wash.
- DIY hay rack: Attach a small wire basket (like a dish rack or office organizer) to the side of the cage with zip ties. Fill with hay to reduce mess and keep hay off the liner.
- Add a hideout (like a wooden house or tunnel) and a water bottle on the opposite side for a balanced layout.
Cleaning and maintenance
Spot-clean daily by removing soiled fleece and hay. Replace the liner every 3–5 days. The hay rack helps keep hay contained, making cleaning quicker.
Ensure good ventilation by leaving the top open or using a mesh lid.
Corner Cabinet Converted into Guinea Pig Habitat
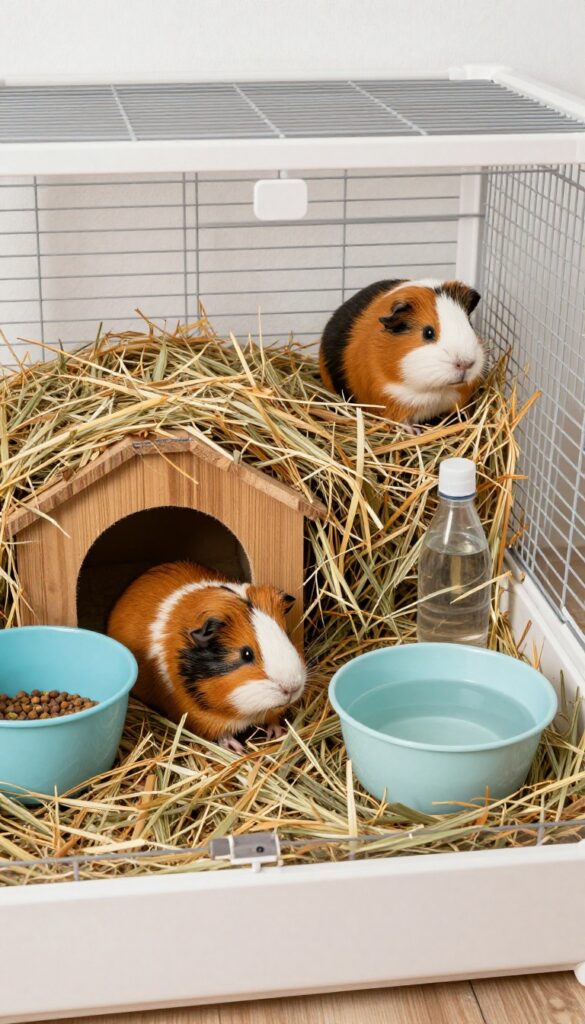
Turn an old low corner cabinet into a cozy guinea pig home. This design saves space and gives your piggies a secure, enclosed area that feels like a little den.
Start by removing the cabinet doors and any shelves that get in the way. Make sure the cabinet is at least 7.5 square feet of floor space for two guinea pigs. Line the inside with a waterproof liner (like a shower curtain or vinyl tablecloth) and cover it with fleece.
For the front, attach a wire mesh or grid panel to keep your piggies in while allowing plenty of airflow. Cut a door in the mesh for easy access.
- Line the bottom with a waterproof layer and fleece for easy cleaning.
- Add a hay rack, water bottle, and heavy food bowl inside.
- Place hideouts like a wooden house or fleece tunnel in the corners.
- Use safe, non-toxic materials—no treated wood or toxic paints.
- Leave the top open or add a wire lid for ventilation.
This setup fits perfectly in a corner, making use of otherwise wasted space. The cabinet walls also help contain hay and bedding mess. Just make sure to clean the liner and fleece regularly to keep the habitat fresh and odor-free.
Stacked Bin Cage for Vertical Corner Space
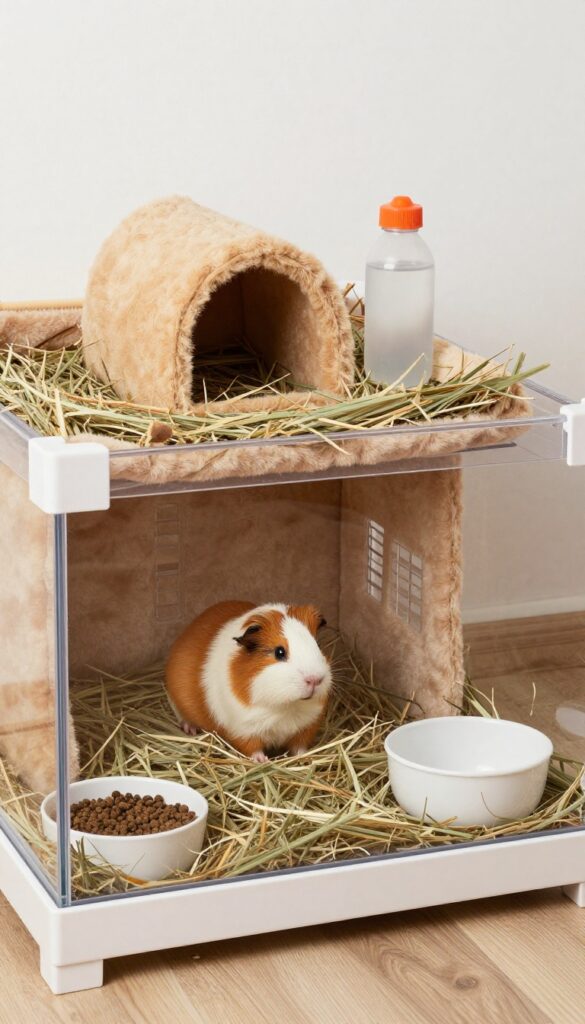
When floor space is tight, think upward! A stacked bin cage uses two large storage bins—one on top of the other—to create a two-level home that fits perfectly in a corner. Your guinea pigs get extra room to explore without taking up more floor area.
Start with two clear or opaque plastic storage bins of the same size (at least 2 feet by 1.5 feet each). Cut a large opening in the front of each bin and cover with 1/2-inch hardware cloth or mesh for ventilation. Stack the bins securely using zip ties or brackets, and cut a hole in the top of the lower bin to insert a ramp.
The ramp can be a wooden plank or a sturdy plastic ramp covered with shelf liner for traction.
Practical Tips for a Safe Bin Cage
- Use only bins labeled BPA-free and wash them before assembly.
- Line each level with fleece liners or paper bedding for comfort.
- Place a hideout on each level so your piggies feel secure.
- Attach a water bottle and food bowl to the lower level for easy access.
- Add a hay rack on the upper level to encourage movement up the ramp.
- Clean each bin separately by removing the liner and wiping down the plastic.
L-Shaped Corner Cage with Built-In Hideout
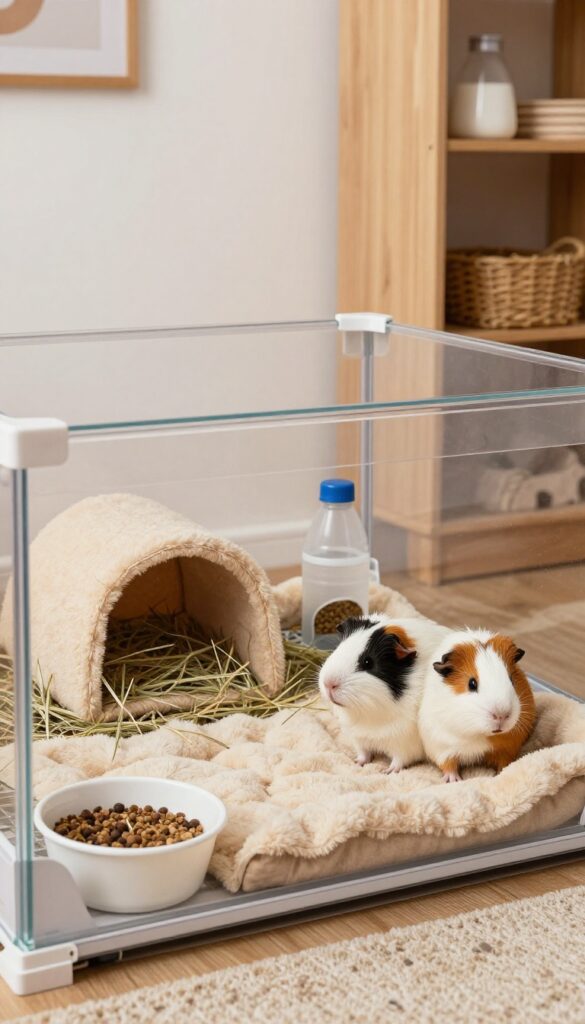
Make the most of a corner by building an L-shaped cage that hugs both walls. This design gives your guinea pigs more floor space than a square cage, and you can tuck a cozy hideout right into the bend of the L.
Start with coroplast and wire grid cubes (like C&C cage panels) to create an L-shaped base. Cut the coroplast to fit your corner exactly, forming a continuous floor. Use zip ties to secure the grids into an L shape.
In the inner corner of the L, place a wooden hideout with two exits so your piggies feel safe and can escape easily.
- Line the floor with fleece liners or washable bedding for easy cleaning.
- Add a corner litter box filled with paper-based litter in one leg of the L to encourage litter training.
- Attach a hay rack and water bottle to the grids near the hideout for convenient access.
- Ensure good ventilation by leaving the top open or using a partial grid cover.
This layout maximizes corner space while providing plenty of room for running and playing. The built-in hideout gives your guinea pigs a secure retreat, and the L-shape makes cleaning easy since you can reach all areas. Keep the cage away from direct sunlight and drafts, and add chew-safe toys like cardboard tunnels or wooden chews for enrichment.
Under-Table Corner Cage with Storage Bins
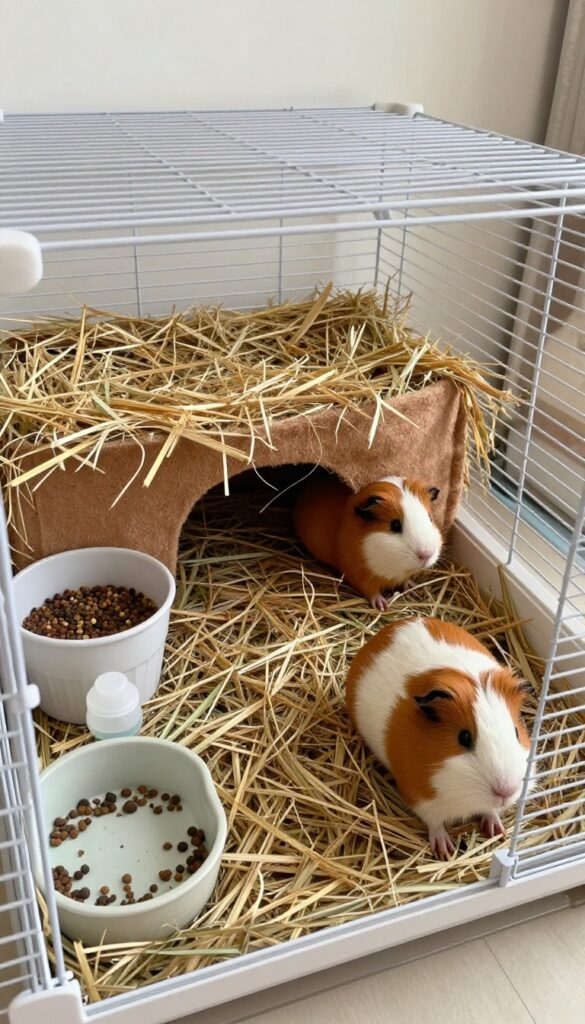
Make use of the empty space under a sturdy corner table by placing a C&C cage there. This design keeps the habitat at a comfortable height and provides tabletop storage for hay, bedding, and supplies.
Choose a table that is at least 12 inches above the cage to allow your guinea pigs to stand upright. The cage should have a solid base or a fleece liner for comfort, and you can attach a hay rack to the cage bars. Place hideouts and a water bottle inside, and use the tabletop for organized storage bins.
- Ensure the cage has at least 7.5 square feet of floor space for two guinea pigs.
- Use a C&C cage or a large plastic bin with a wire top for ventilation.
- Place a fleece liner or paper bedding on the cage floor.
- Add a hideout, food bowl, and water bottle inside the cage.
- Store hay, extra fleece, and toys in bins on the table above.
- Make sure the cage is easy to slide out for cleaning.
Corner Cage with DIY Fleece Forest
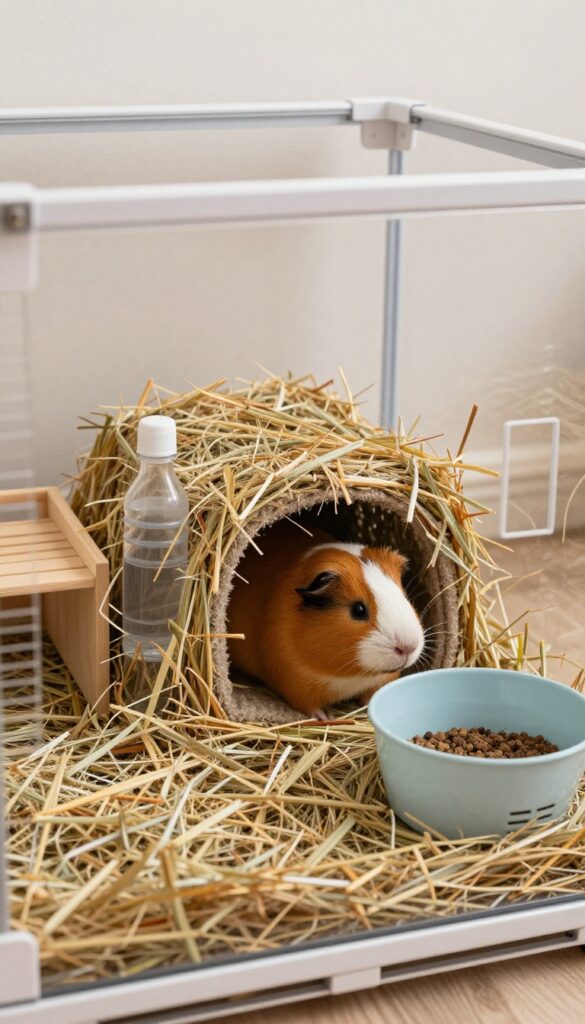
Give your guinea pigs a fun, engaging environment with a fleece forest—a simple enrichment feature made from hanging fleece strips. This design builds on a standard corner cage and adds a canopy of soft fabric for your pigs to explore, hide under, and nibble (safely).
Start with a corner cage made from grid panels or a C&C cage. Ensure it meets the minimum floor space of 7.5 square feet for two guinea pigs. Line the base with a fleece liner or bedding, and place hideouts, tunnels, and a hay rack inside.
How to Build the Fleece Forest
- Cut fleece fabric into strips about 2 inches wide and 12–18 inches long. Use anti-pill fleece to avoid loose threads.
- Attach the strips to a simple grid frame or a wooden dowel suspended across the top of the cage. Space strips a few inches apart so they hang like a curtain.
- Secure the frame at a height where the strips dangle just above the cage floor—guinea pigs can walk through them and hide underneath.
- Place hideouts and tunnels beneath the fleece forest for extra cozy spots.
Practical Habitat Tips
Use washable fleece strips so you can launder them weekly. Ensure the hanging frame doesn’t block ventilation or access to the water bottle and food bowl. Monitor your pigs to make sure they don’t chew and ingest fabric—if they do, switch to a different enrichment.
The fleece forest encourages natural foraging and play, making your corner cage a more exciting home.
Corner Cage with Removable Pee Pad Tray
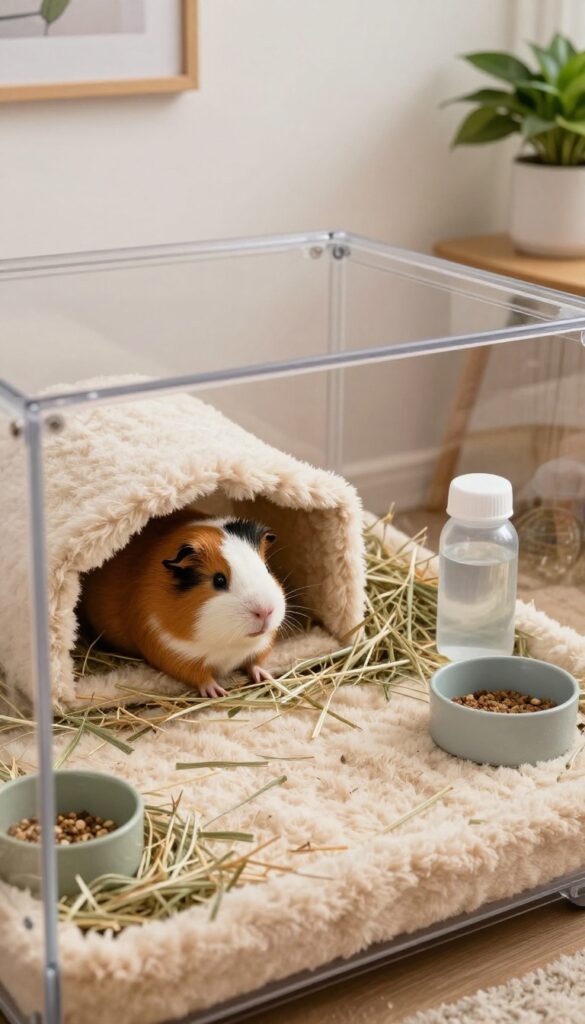
Cleaning a corner cage can be tricky, but adding a removable pee pad tray makes it much easier. This design puts a sliding tray under a section of the floor where your guinea pigs tend to pee most, so you can quickly remove soiled pads without disturbing the rest of the cage.
Start by building a standard corner cage frame from C&C grids or wood. In one corner of the floor, create a cutout or recess that holds a shallow plastic tray (like a boot tray or a small under-bed storage bin). The tray should sit flush with the rest of the floor so your guinea pigs can walk over it easily.
Line the tray with disposable pee pads or washable absorbent liners. Cover the rest of the cage floor with fleece or another soft bedding. Each day, simply slide out the tray, replace the pad, and slide it back in.
This saves you from having to spot-clean the entire cage every day.
Practical tips for this design
- Use a tray with low sides so guinea pigs can step in and out easily.
- Place a small hideout or hay pile near the tray to encourage use.
- Make sure the tray is easy to slide – add handles or a lip to pull.
- Line the tray with multiple layers of pee pads for extra absorption.
- Keep a spare tray ready so you can swap quickly during deep cleans.
This corner cage setup keeps the main floor area clean and reduces odors. Your guinea pigs will have a designated potty spot that’s easy for you to maintain, leaving more time for play and cuddles.
Corner Cage with Hanging Water Bottle and Hay Feeder
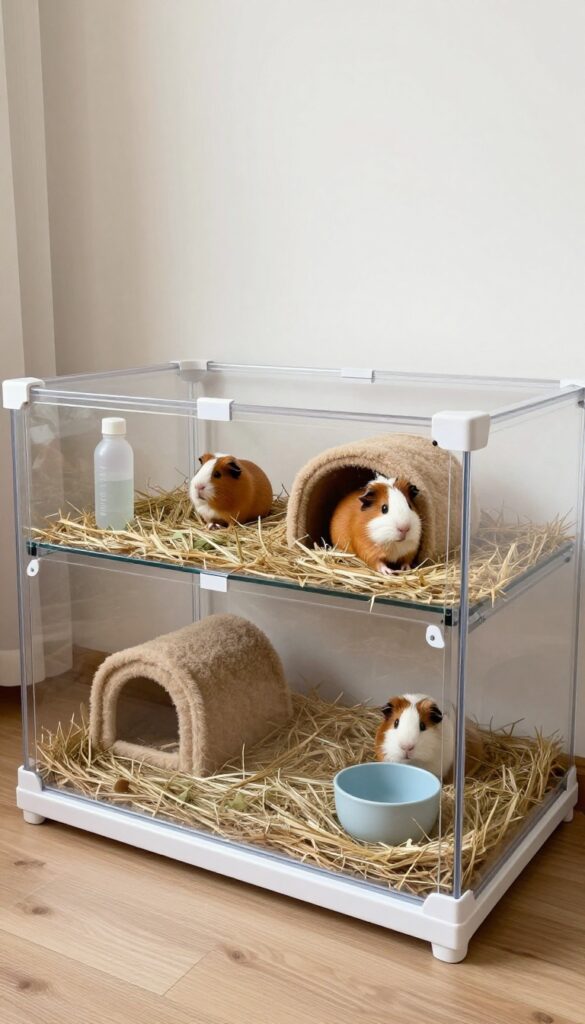
Make feeding and hydration easy by attaching a water bottle and hay feeder directly to the cage walls. This design saves floor space and keeps essentials within reach for your guinea pigs.
Start with a standard corner cage made from grid panels or a prefab corner base. Use zip ties to attach a water bottle to the grid at a height your guinea pigs can comfortably reach—usually about 4 to 6 inches off the floor. For the hay feeder, you can repurpose a small wire basket or a PVC pipe cut lengthwise.
Secure it to the wall near the water bottle so hay stays clean and accessible.
Practical tips for this setup
- Choose a water bottle with a ball bearing tip to prevent leaks.
- Make sure the hay feeder has no sharp edges; sand down any rough spots.
- Position the feeder over a fleece liner or tray to catch hay crumbs.
- Add a hideout on the opposite side of the cage for a balanced layout.
- Use a shallow food bowl for pellets and fresh veggies.
This design works well in small corners because it keeps the cage walls clear for climbing and exploring. Clean the water bottle and hay feeder weekly to prevent mold. Your guinea pigs will love having fresh hay and water always available.
Corner Cage with Multi-Level Loft
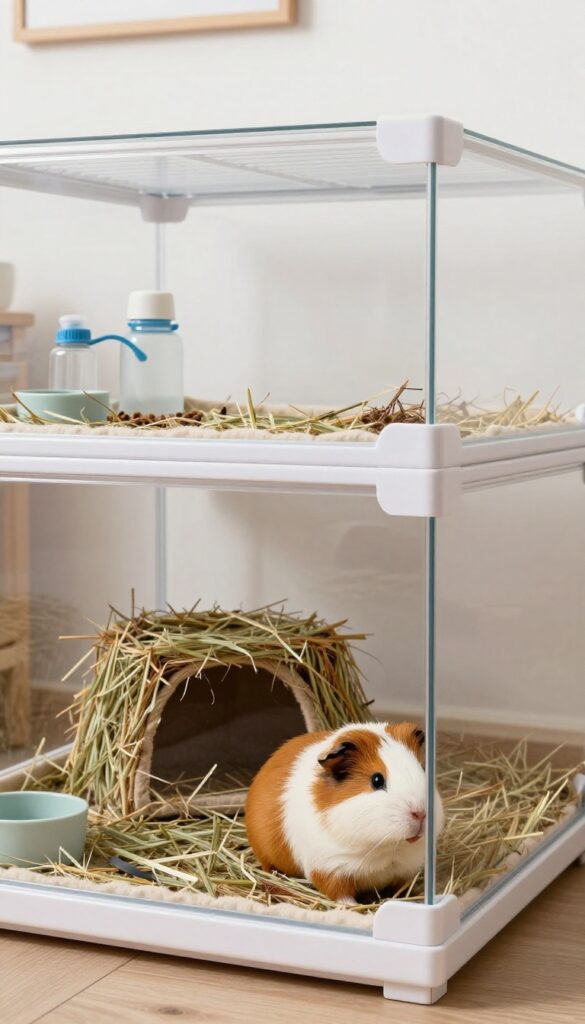
Maximize vertical space in your corner with a multi-level cage that gives your guinea pigs extra room to explore. This design uses a sturdy loft platform connected by a ramp, creating distinct areas for sleeping, eating, and playing.
Start by building a standard corner cage using grid panels or a pre-made base. Then add a second level loft using more grids or a solid platform supported by brackets. The loft should be about 12–18 inches above the main floor to allow headroom.
Cover the loft with a fleece liner and place a hideout and a hay rack up there. Your guinea pigs will love climbing up for a snack or a cozy nap.
- Use a ramp with solid sides (or attach coroplast guards) to prevent falls. The ramp angle should be gentle, no steeper than 30 degrees.
- Make sure the loft has enough floor space for a hideout and a hay pile. Aim for at least 2 square feet per pig on each level.
- Keep the main floor open for running – add tunnels, toys, and a water bottle down below.
- Choose chew-safe materials for the loft and ramp. Avoid wire mesh on the floor; use solid plastic or fleece-covered platforms.
- Ensure easy cleaning access by making the loft removable or hinged. A loft that lifts up lets you reach the lower level without hassle.
This setup works great in a corner because the loft uses vertical space that would otherwise be wasted. Just be sure the cage is well-ventilated and the ramp is secure. With a little DIY effort, your guinea pigs get a fun, multi-level home that fits perfectly in a small room corner.
FAQ
What is the minimum cage size for two guinea pigs?
The minimum is 8 square feet (like 2×4 grids), but 10.5 square feet (2×5) is better. Corner cages can achieve this with an L-shape.
Can I use a plastic storage bin as a guinea pig cage?
Yes, if you cut large windows and cover them with mesh for ventilation. Ensure the bin is large enough and made of non-toxic plastic.
How often should I clean a fleece liner cage?
Spot clean daily and do a full liner change every 3-5 days. Use a litter tray in corners to reduce mess.
What is the best bedding for guinea pigs in a corner cage?
Fleece liners are popular for easy cleaning. Alternatively, use paper-based bedding. Avoid cedar or pine shavings.
How do I ensure good ventilation in a corner cage?
Use wire grids or mesh panels. Avoid solid walls. If using a cabinet, cut large openings covered with mesh.
Conclusion
With a little creativity, you can build a wonderful guinea pig habitat that fits perfectly in a small room corner. These 10 DIY designs prove that limited space doesn't mean limited fun.
Pick the one that suits your space and your piggies' personality, and enjoy watching them thrive!

I’m Pallab Kishore, the owner of Little Pets Realm — an animal lover and pet care enthusiast sharing easy tips, healthy recipes, and honest advice to help every small pet live a happy, healthy, tail-wagging life.