Last updated on August 19th, 2026 at 04:19 pm
Looking for affordable and creative ways to house your guinea pigs? DIY cages let you customize the size, layout, and style while saving money.
In this article, we'll explore 13 DIY guinea pig cage ideas using simple home materials you probably already have. Each idea is designed with your pet's safety and comfort in mind.
Let's get started!
Repurpose a Bookshelf into a Multi-Level Cage
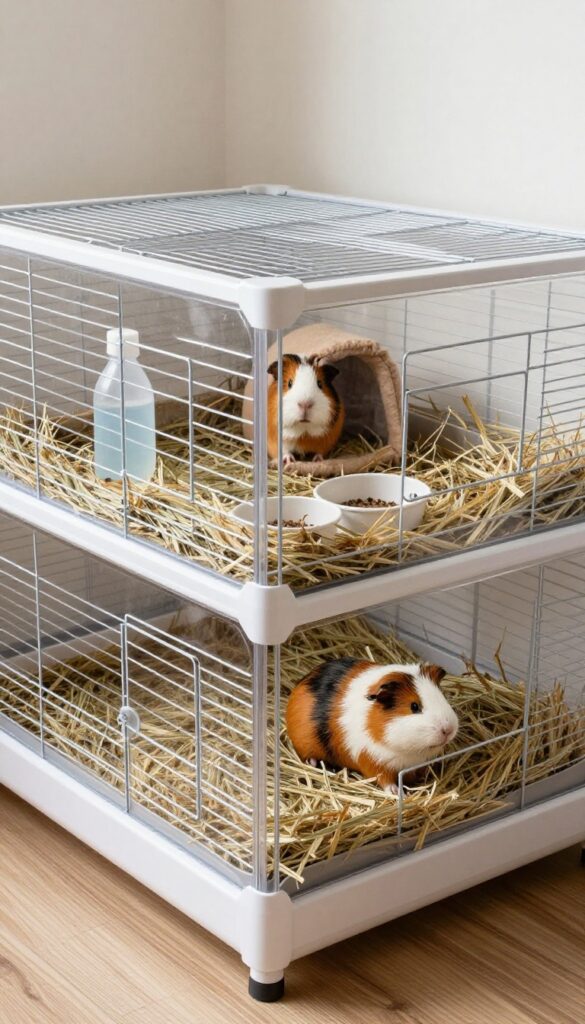
A sturdy wooden bookshelf can become a spacious, multi-level guinea pig enclosure with a few modifications. This DIY project maximizes vertical space while keeping your pets safe and entertained.
Start by removing some shelves to create tall, open areas for your guinea pigs to move around. Line the remaining shelves and the bottom with coroplast or vinyl flooring for easy cleaning, then top with fleece liners or washable bedding. Install ramps covered with grip tape so your guinea pigs can climb safely between levels.
Key considerations for a bookshelf cage
- Ensure the bookshelf is made of untreated, non-toxic wood to avoid harmful chemicals.
- Cut ventilation holes in the back panel or leave the back open for airflow.
- Add a hay rack, hideout, and water bottle on each level for easy access.
- Use coroplast walls on open sides to prevent falls and contain bedding.
- Place the cage away from direct sunlight and drafts for a comfortable environment.
Convert a Plastic Storage Bin into a Cozy Cage
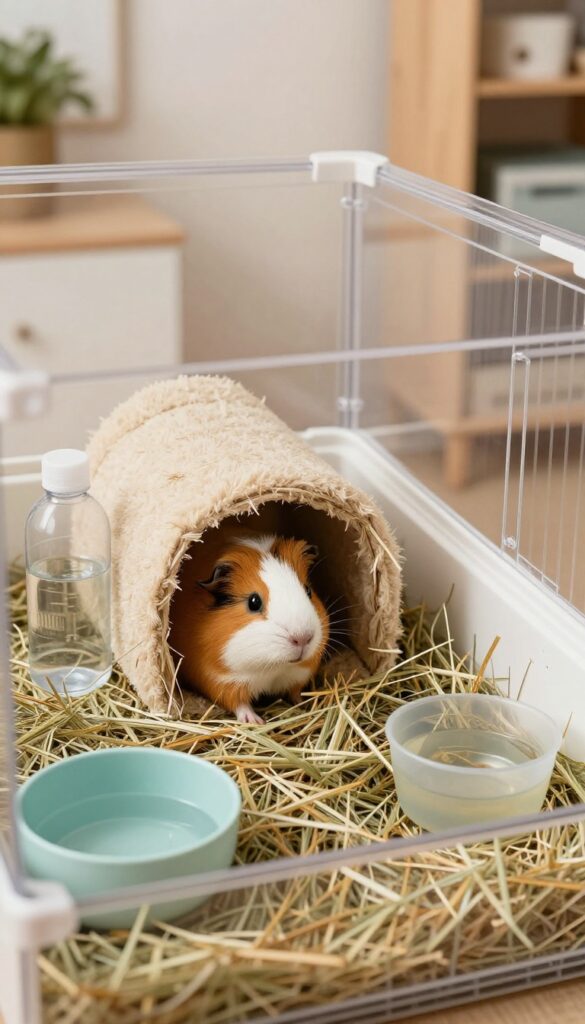
A large clear plastic storage bin can be transformed into a functional and affordable guinea pig cage with just a few modifications. This DIY project is perfect for pet owners who want a lightweight, easy-to-clean enclosure that still offers plenty of space.
Start with a bin that provides at least 8 square feet of floor space—the minimum for one guinea pig. Clear bins allow you to see your pets easily, but make sure the plastic is sturdy and chew-proof. Avoid bins made of brittle or flimsy plastic that could crack or be gnawed through.
Key Steps to Build a Bin Cage
- Cut out large panels from the lid and upper sides using a utility knife or jigsaw, leaving a sturdy frame.
- Replace the cut-out sections with 1/2-inch hardware cloth or wire mesh for ventilation. Secure the mesh with zip ties or screws, ensuring no sharp edges are exposed.
- Cover any rough edges with duct tape or edge trim to prevent injury.
- Add a layer of fleece liner or paper bedding on the floor, a hideout or tunnel, a hay rack, and a water bottle. Place the cage in a quiet, draft-free area away from direct sunlight.
Bin cages are easy to clean—simply remove the top and wipe down the plastic. They also stack well if you have multiple guinea pigs, but ensure each level has adequate ventilation and headroom. Always supervise your pets to ensure they cannot escape or chew through the mesh.
Build a C&C Cage with Coroplast and Grids
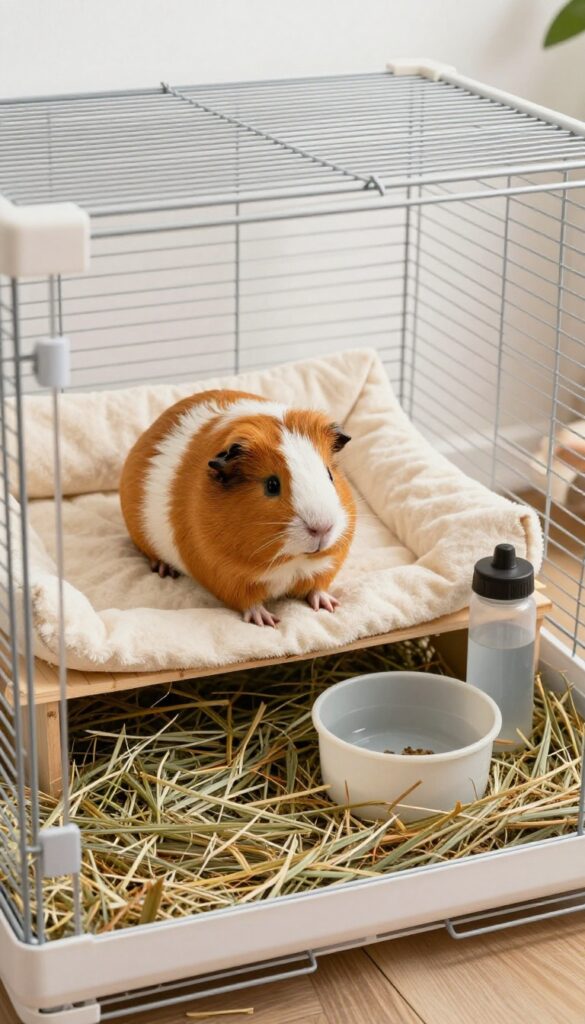
C&C (cube and coroplast) cages are a favorite among guinea pig owners because they are affordable, highly customizable, and provide excellent ventilation. You can build one using wire storage cubes and coroplast sheets, both available at home improvement stores or online.
Start by planning the size. For two guinea pigs, a 2×4 grid layout (about 28 square feet) is recommended. Each grid should be 9×9 inches to ensure the bars are not too wide.
Use zip ties to connect the grids securely, and cover any sharp wire ends with duct tape or plastic edge protectors to prevent injuries.
For the base, cut a coroplast sheet to fit the cage footprint with 6-inch tall walls to contain bedding and mess. Coroplast is lightweight, waterproof, and easy to clean. Place the coroplast inside the grid frame, or attach it with binder clips for easy removal.
Practical habitat details
- Line the coroplast with fleece liners or paper bedding for comfort and absorbency.
- Add a hay rack, hideout, water bottle, and food bowl to create a complete habitat.
- Ensure the cage is placed in a quiet, draft-free area away from direct sunlight.
- Clean the coroplast weekly with vinegar and water to maintain hygiene.
Use Nearby Storage for Cage Supplies
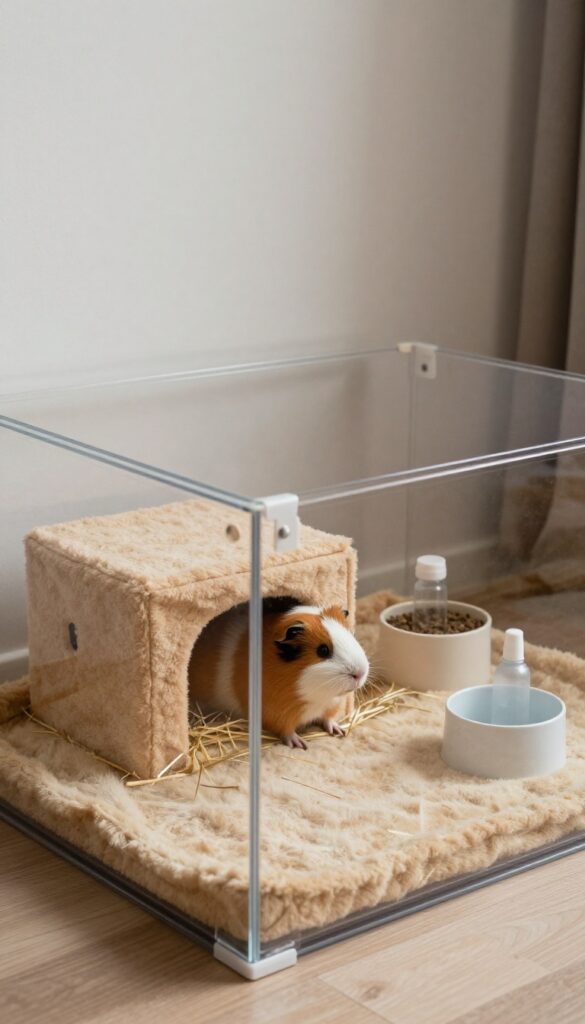
An old dresser drawer can become a spacious, easy-to-access guinea pig cage with a few simple modifications. This idea works especially well if you have a spare drawer that's large enough and made of untreated wood.
Start by removing the drawer from the dresser and cleaning it thoroughly with a pet-safe cleaner. Ensure the wood is untreated and free of any chemicals or splinters. Line the drawer with a waterproof material, such as a vinyl tablecloth or pond liner, then add a layer of fleece or absorbent bedding on top.
Key steps for a safe and functional cage
- Check that the drawer is at least 7.5 square feet for one guinea pig (more for two).
- Add a mesh lid for ventilation and to prevent escapes; secure it with hinges or clips.
- Include a hideout, hay rack, water bottle, and food bowl. Place the cage in a quiet, draft-free area.
- For cleaning, simply lift the fleece or spot-clean the bedding daily.
Create a Playpen Cage Using PVC Pipes and Shower Curtain
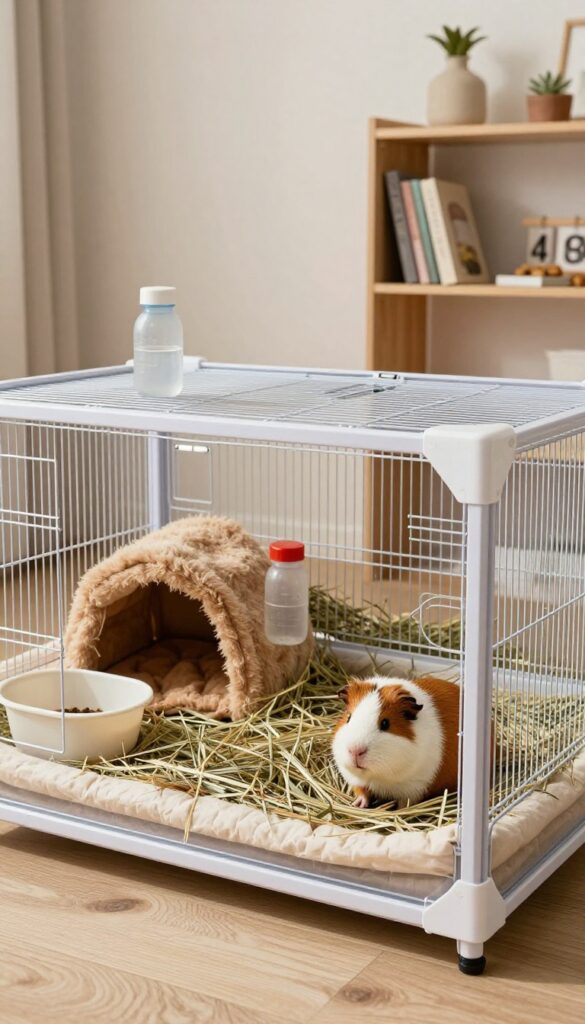
PVC pipes and a clear shower curtain can be transformed into a spacious, lightweight playpen cage that's easy to set up and clean.
Start by cutting PVC pipes into desired lengths for the frame, using connectors to form a rectangular or square shape. The frame should be at least 2 feet high to prevent escapes. Attach a clear, chew-resistant shower curtain around the frame using zip ties or curtain rings, leaving one side open for access.
Place the entire structure on a waterproof mat or tarp to protect floors. Inside, add a soft fleece liner or bedding, a hideout, a hay rack, and a water bottle. Ensure the PVC is non-toxic and the curtain is thick enough to resist chewing.
This cage offers great ventilation and visibility, making it a fun, temporary or permanent habitat.
Key Points
- Use non-toxic PVC pipes and connectors for the frame.
- Choose a clear, chew-resistant shower curtain for walls.
- Place on a waterproof mat or tarp for easy cleanup.
- Include bedding, hideout, hay rack, and water bottle.
- Ensure good ventilation and floor space (at least 7.5 sq ft per pig).
Add a Soft Bedding Section in the Cage
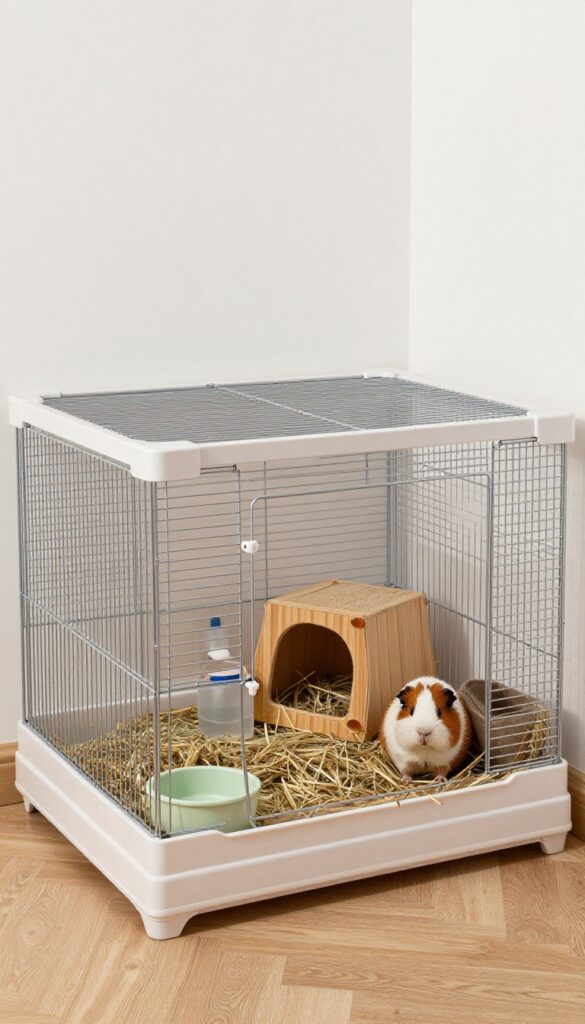
A dedicated soft bedding area gives your guinea pigs a cozy spot to rest and burrow. This idea focuses on creating a plush, safe zone within the cage using simple materials.
Start by selecting a sturdy wire shelving unit with adjustable shelves. Make sure the wire spacing is no more than 1 inch apart to prevent guinea pigs from getting stuck or escaping. Line each shelf with coroplast or thick vinyl to create a solid, waterproof base.
Cover the lined shelves with fleece liners or soft towels for comfort. Add a layer of hay on top for burrowing and nesting.
Key points for a safe and practical setup
- Check that all wire edges are covered with fleece or plastic edging to prevent injury.
- Ensure the shelving unit is stable and placed on a flat surface away from drafts.
- Include a hideout on each level so guinea pigs can retreat and feel secure.
- Place a water bottle and food bowl on the lowest level for easy access.
- Use chew-safe toys like wooden blocks or cardboard tunnels to keep them entertained.
This setup works well as a multi-level cage, but make sure each level has at least 7.5 square feet of floor space per guinea pig. The soft bedding section encourages natural behaviors and makes cleaning easier since you can spot-clean the fleece daily.
Repurpose a Large Cardboard Box into a Temporary Cage
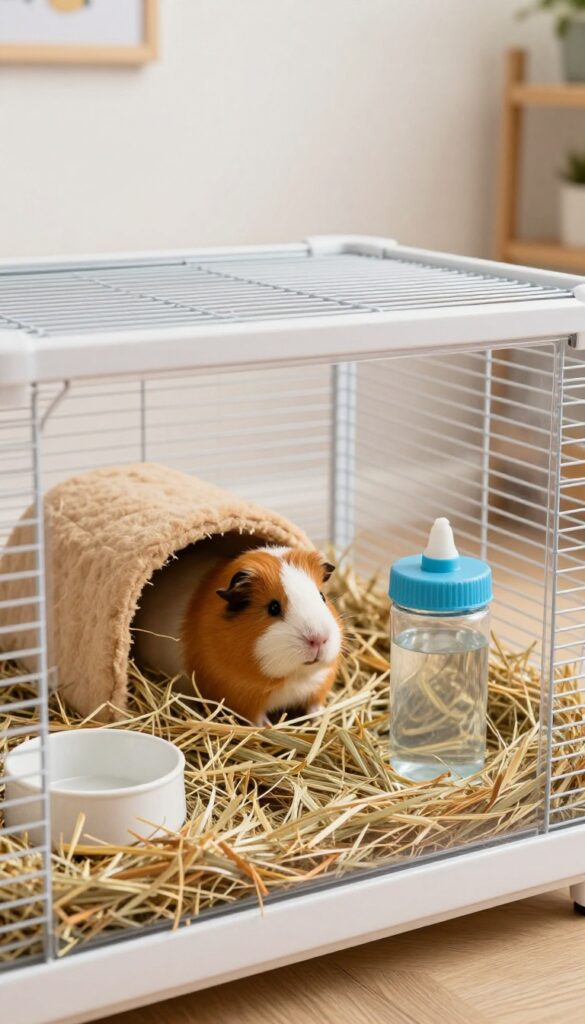
A large moving box can be transformed into a quick, temporary guinea pig cage in minutes. This is perfect for travel, quarantine, or as a backup enclosure.
Start with a clean, sturdy cardboard box that is free of ink and tape. Cut out windows on the sides and cover them with wire mesh or hardware cloth for ventilation. Line the bottom with a plastic sheet or trash bag to prevent leaks, then add a layer of fleece or disposable bedding.
Key Tips
- Ensure the box is large enough—at least 7.5 square feet for one guinea pig.
- Add a hideout, water bottle, and hay pile to meet basic needs.
- Check ventilation regularly; cardboard can get stuffy.
- This is not for long-term use—cardboard absorbs moisture and odors quickly.
Build a Cage from Wooden Pallets
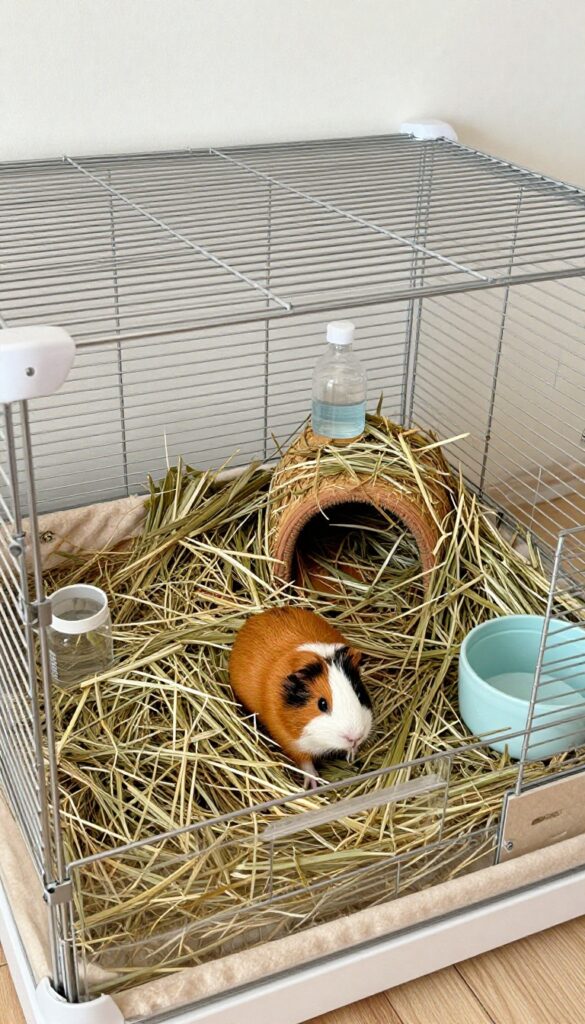
Wooden pallets can be transformed into a sturdy, spacious guinea pig cage with just a few tools and some mesh. This budget-friendly option lets you customize the size and shape to fit your space perfectly.
Start by selecting heat-treated pallets (marked with HT) to avoid chemical exposure. Disassemble the pallets carefully, removing any nails or staples, then sand all wood surfaces thoroughly to eliminate splinters. Construct a rectangular frame using the pallet boards, and attach wire mesh to the sides for ventilation.
Ensure the mesh holes are small enough to prevent escape or injury.
Key tips for a safe pallet cage
- Use only heat-treated pallets (no chemical fumigation).
- Sand all wood until completely smooth to prevent splinters.
- Add a waterproof base (e.g., coroplast or linoleum) and cover with fleece or bedding.
- Include a hideout, hay rack, water bottle, and food bowl for a complete habitat.
- Make one side or top removable for easy cleaning access.
Place the cage in a quiet, draft-free area. The solid wood frame provides chew-safe enrichment, but you can also add apple wood sticks or tunnels. This design offers ample floor space and good ventilation, keeping your guinea pigs happy and healthy.
Convert a Large Dog Crate into a Guinea Pig Cage
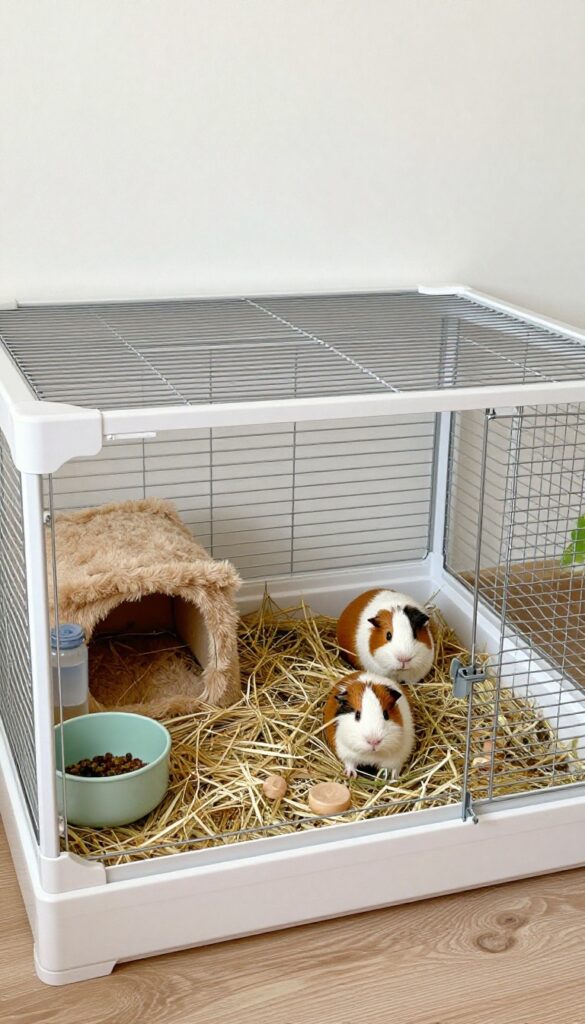
A large dog crate can become a spacious and well-ventilated guinea pig cage with a few simple modifications. The sturdy metal bars provide excellent airflow, and the removable tray makes cleaning easy.
When choosing a crate, look for one with narrow bar spacing (maximum 1 inch) to prevent your guinea pigs from squeezing through or getting their heads stuck. The crate should offer at least 8 square feet of floor space for two guinea pigs, but bigger is always better.
- Line the plastic tray with fleece bedding or a thick layer of paper-based bedding for comfort and absorbency.
- Remove any sharp edges or protruding bolts inside the crate. Sand down rough spots or cover them with duct tape.
- Add a cozy hideout, a hay rack, a water bottle, and a food bowl. Guinea pigs need places to retreat and feel secure.
- Place the crate in a quiet, draft-free area away from direct sunlight and loud noises.
This DIY solution is budget-friendly and easy to assemble. Just ensure the crate is large enough and safe for your small pets.
Make a Cage from an Old Entertainment Center
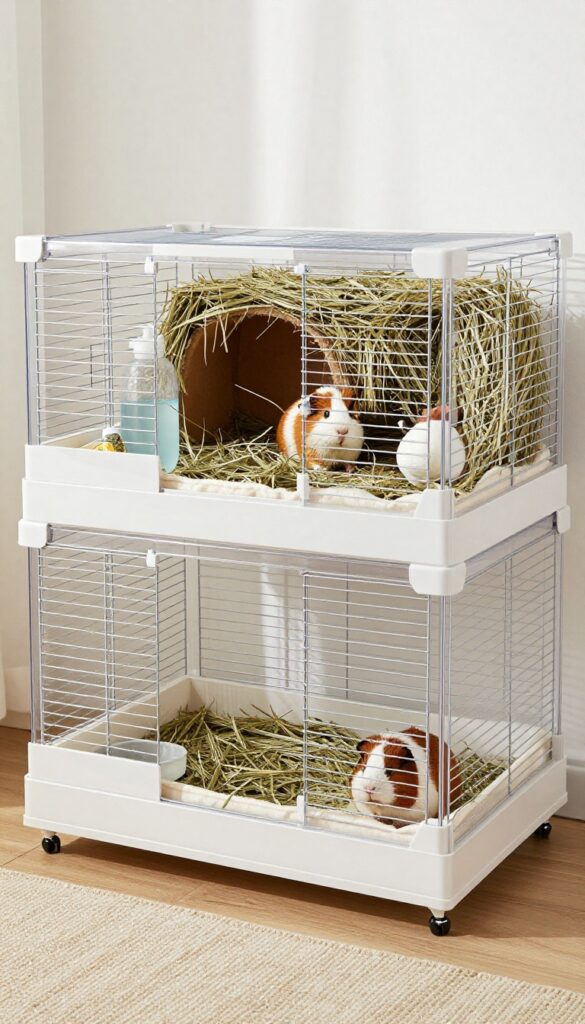
Transform that bulky entertainment center into a spacious, multi-level guinea pig mansion. This project gives your pets plenty of room to roam while keeping costs low.
Start by removing all doors, shelves, and drawers, keeping only the sturdy frame. Ensure the wood is untreated—no varnishes, stains, or particleboard that could harm your guinea pigs. Sand down any rough edges and seal the wood with a pet-safe, waterproof liner (like pond liner or vinyl flooring) on the bottom and lower walls to protect against moisture.
Key steps for a safe, functional cage
- Attach wire mesh (1×2 inch spacing) to the front and sides using staple gun or zip ties for ventilation and visibility.
- Line the interior with a waterproof material—coroplast or heavy-duty shower curtain liner works well.
- Provide at least 7.5 square feet of floor space per guinea pig (more is better).
- Add a soft fleece liner or bedding, a hideout, hay rack, and water bottle.
- Ensure easy access with a hinged mesh door or removable front panel for cleaning.
This setup offers excellent ventilation and multiple levels if you keep some shelves (securely attached). Just make sure ramps are gentle and solid to prevent foot injuries. The enclosed sides also help contain mess, and the wood frame is sturdy enough for larger guinea pig herds.
Use a Large Plastic Tub as a Budget Cage
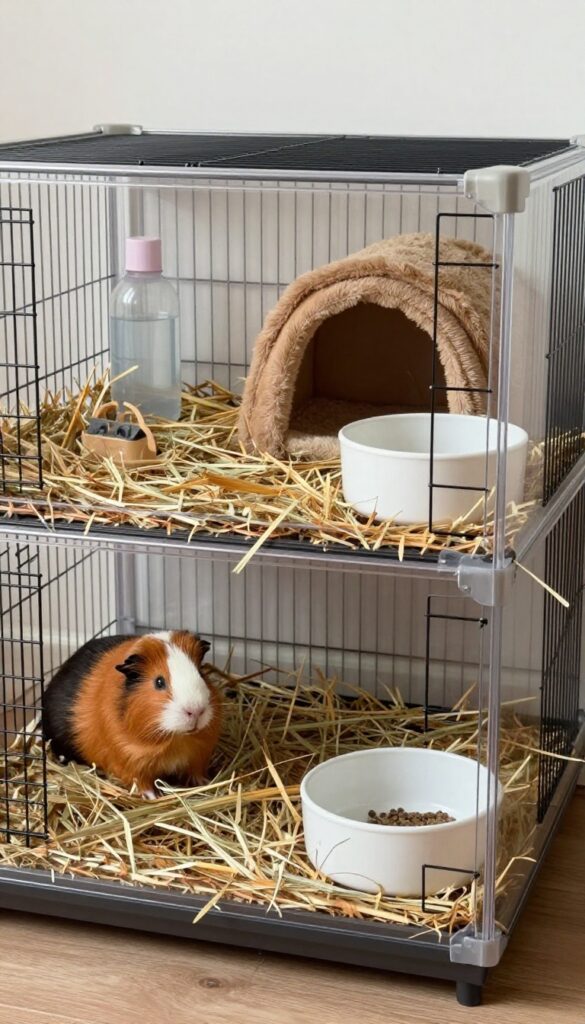
A large plastic storage tub can be transformed into a functional guinea pig cage with minimal effort and cost. This is an excellent option for a temporary or portable enclosure, as long as you choose a BPA-free, chew-resistant tub and make necessary modifications for ventilation and safety.
Select a tub that provides at least 8 square feet of floor space—the minimum recommended for two guinea pigs. The tub should have smooth, non-toxic plastic and no sharp edges. Cut a large opening in the lid and cover it with a metal mesh or hardware cloth to allow airflow while keeping your pets secure.
Drill small ventilation holes along the upper sides of the tub as well.
- Use BPA-free plastic tubs to avoid chemical leaching.
- Ensure the tub is chew-resistant; avoid thin or brittle plastic.
- Sand down any cut edges to prevent injury.
- Add a layer of fleece or paper bedding, a hideout, a hay rack, and a water bottle to complete the habitat.
- The tub is lightweight and easy to move for cleaning or repositioning.
Assemble a Cage Using Wire Grids and Zip Ties
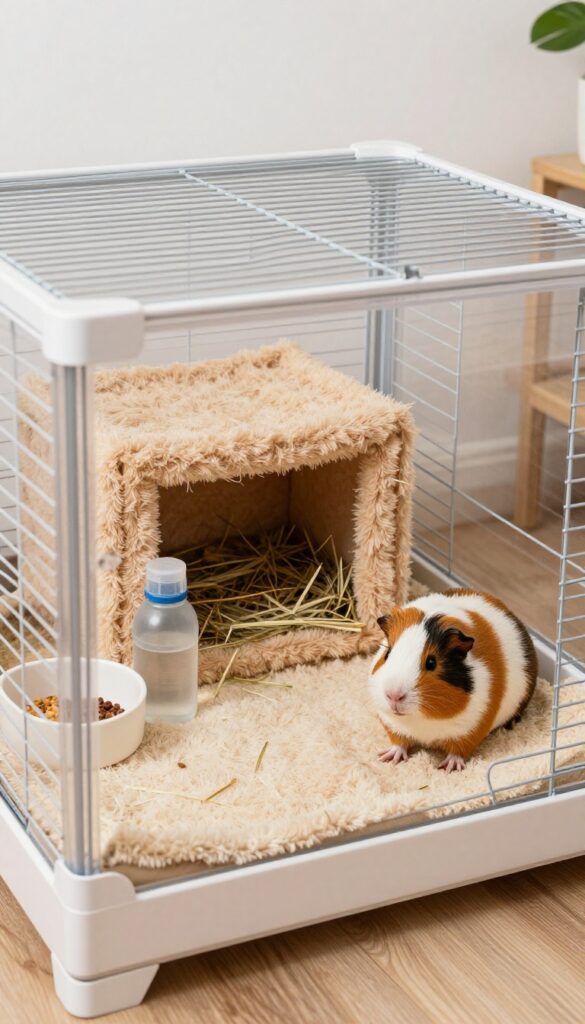
Wire grid panels, commonly sold as storage cubes, offer a versatile and affordable way to build a custom guinea pig cage. With zip ties and a coroplast base, you can create a spacious, well-ventilated enclosure tailored to your space.
Start by gathering wire grid panels with 9×9 inch squares—this spacing is safe for guinea pigs and prevents escapes. Use zip ties to connect the panels into your desired shape, such as a rectangle or L-shape. Cover any sharp edges or cut ends with duct tape to protect your pets.
For the base, cut a sheet of coroplast to fit the cage footprint, folding up the edges to create a 4–6 inch high tray. This contains bedding and mess. Secure the coroplast to the grids with more zip ties or binder clips.
Practical tips for a guinea pig habitat
- Provide at least 7.5 square feet of floor space for one guinea pig, more for pairs.
- Line the base with fleece or paper bedding for comfort.
- Add hideouts, a hay rack, water bottle, and food bowl.
- Ensure the cage is placed in a quiet, draft-free area with good ventilation.
- Use chew-safe enrichment like wooden tunnels or cardboard boxes.
This design is easy to expand or reconfigure, making it a favorite among guinea pig owners. The open grid structure promotes airflow and allows you to interact with your pets easily.
Repurpose a Wooden Crate into a Rustic Cage
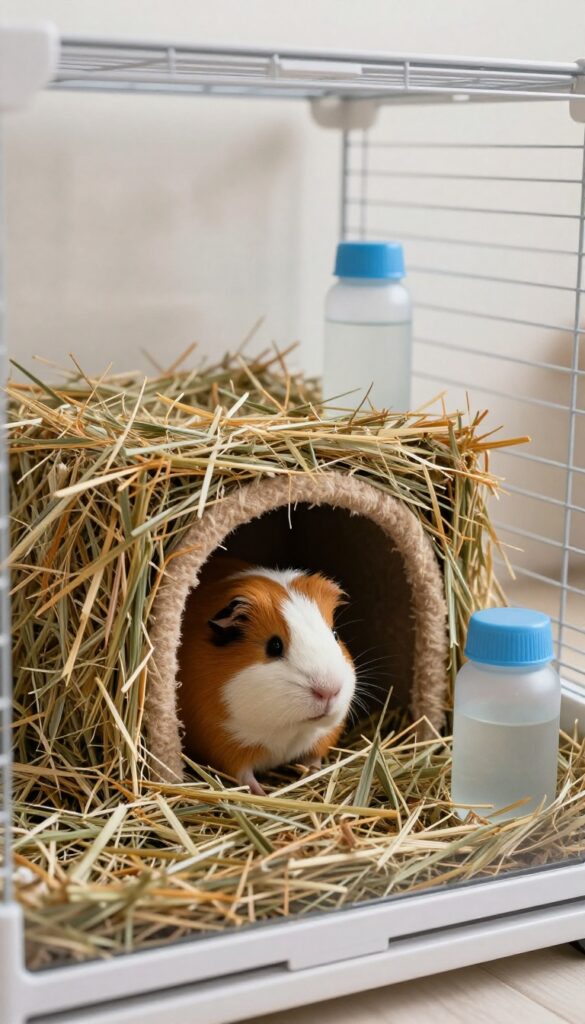
A large wooden crate can become a charming, rustic guinea pig cage with a few modifications. This DIY project is perfect for those who love a natural look and want to upcycle materials.
Start with a sturdy wooden crate that is at least 7.5 square feet for one guinea pig (more for pairs). Ensure the wood is untreated and free of chemicals. Sand all surfaces smooth and apply a pet-safe sealant to protect against moisture.
- Attach wire mesh to the front and top for ventilation and visibility. Use hardware cloth or chicken wire, secured with staples or screws.
- Line the bottom with a waterproof layer (like a shower curtain liner) and then add fleece bedding or paper-based bedding for comfort.
- Include hideouts like small wooden houses or tunnels, a hay rack, water bottle, and food bowl. Ensure easy access for cleaning by making the front panel removable or hinged.
This cage works well for a calm indoor space. Place it on a sturdy table or stand, away from drafts and direct sunlight. The solid wood sides provide a sense of security for guinea pigs, while the mesh front keeps the enclosure open and airy.
FAQ
What is the minimum cage size for two guinea pigs?
The minimum recommended size for two guinea pigs is 8 square feet (e.g., 2×4 C&C grids), but larger is always better.
Can I use pine or cedar bedding in a DIY cage?
No, pine and cedar contain phenols that can harm guinea pigs' respiratory systems. Use aspen, paper-based bedding, or fleece liners instead.
How do I ensure proper ventilation in a DIY cage?
Use wire mesh or grid panels for walls and a mesh top. Avoid solid walls that trap moisture and ammonia.
Is it safe to use plastic storage bins for guinea pig cages?
Yes, as long as the bin is large enough, BPA-free, and you cut out sections for ventilation, replacing them with wire mesh.
How often should I clean a DIY guinea pig cage?
Spot clean daily and do a full bedding change every 4-7 days. Fleece liners need washing every 3-4 days.
Conclusion
DIY guinea pig cages are a fantastic way to provide a spacious, safe, and personalized home for your pets without breaking the bank. From repurposed furniture to simple grid structures, these 13 ideas prove that you can create a wonderful habitat with everyday materials.
Always prioritize safety, ventilation, and cleanliness. Happy building!

I’m Pallab Kishore, the owner of Little Pets Realm — an animal lover and pet care enthusiast sharing easy tips, healthy recipes, and honest advice to help every small pet live a happy, healthy, tail-wagging life.