
Last updated on September 1st, 2026 at 04:43 pm
If your dog can demolish a store-bought chew in minutes, you know the struggle. You want something that keeps them busy, but you also want it to be healthy. That's where homemade pumpkin dog chews come in.
They're simple to make, easy to store, and perfect for meal-prepping a week's worth of treats in one go. Pumpkin is a dog-safe superfood, packed with fiber and vitamins that support digestion and overall health.
When you make your own chews, you control the ingredients, so there are no mystery additives or preservatives. Plus, the natural sweetness of pumpkin makes these treats irresistible to most pups.
1. Classic Pumpkin and Oat Chews
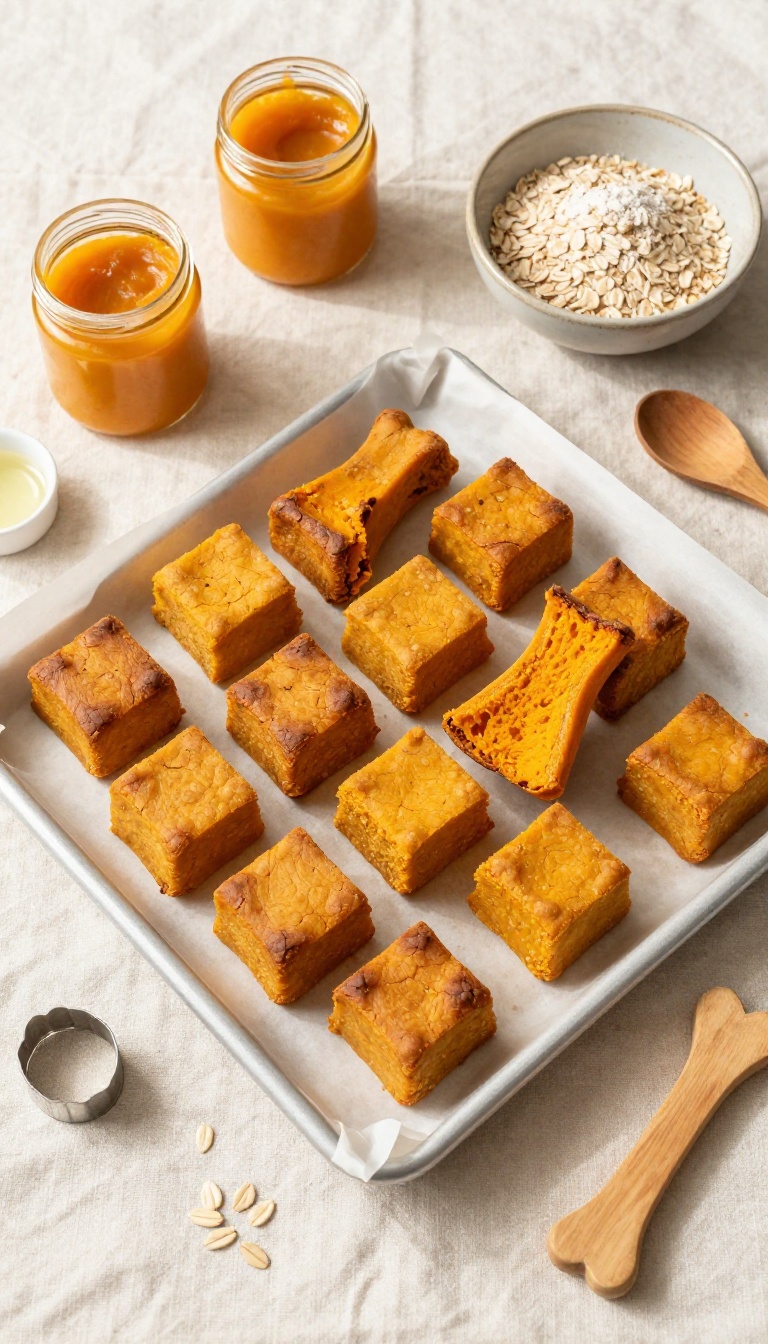
These chewy, golden squares are the kind of treat that makes your dog's tail wag before you even pull them out of the oven. They're soft enough to bend but sturdy enough to keep your pup busy for a good while, making them perfect for slow snackers. Plus, they're a breeze to whip up in big batches, so you can keep a stash ready for busy weeks.
Ingredients
- 1 cup canned pumpkin puree (unsweetened, not pumpkin pie filling)
- 2 large eggs
- 3 tablespoons coconut oil, melted
- 2 ½ cups rolled oats (plus extra for dusting)
- ½ cup oat flour or additional rolled oats, blended finely
Instructions
- Preheat your oven to 350°F (175°C) and line a baking sheet with parchment paper.
- In a large bowl, whisk together the pumpkin puree, eggs, and melted coconut oil until smooth.
- Stir in the rolled oats and oat flour, mixing until a thick, slightly sticky dough forms. If it feels too wet, add a little more oat flour.
- Turn the dough out onto a lightly floured surface and roll it to about ¼-inch thickness.
- Use a cookie cutter or a knife to cut into chew-sized shapes, then place them on the prepared baking sheet.
- Bake for 20–25 minutes, until the edges are lightly golden and the centers feel firm but slightly springy. Let cool completely on a wire rack.
Serving Tip
Store these chews in an airtight container in the fridge for up to a week, or freeze them for up to three months. For a longer-lasting chew, bake them an extra 5–10 minutes to dry them out a bit more. Offer one chew per day for medium-sized dogs, adjusting for your pup's size and chewing habits.
2. Pumpkin and Sweet Potato Jerky Strips
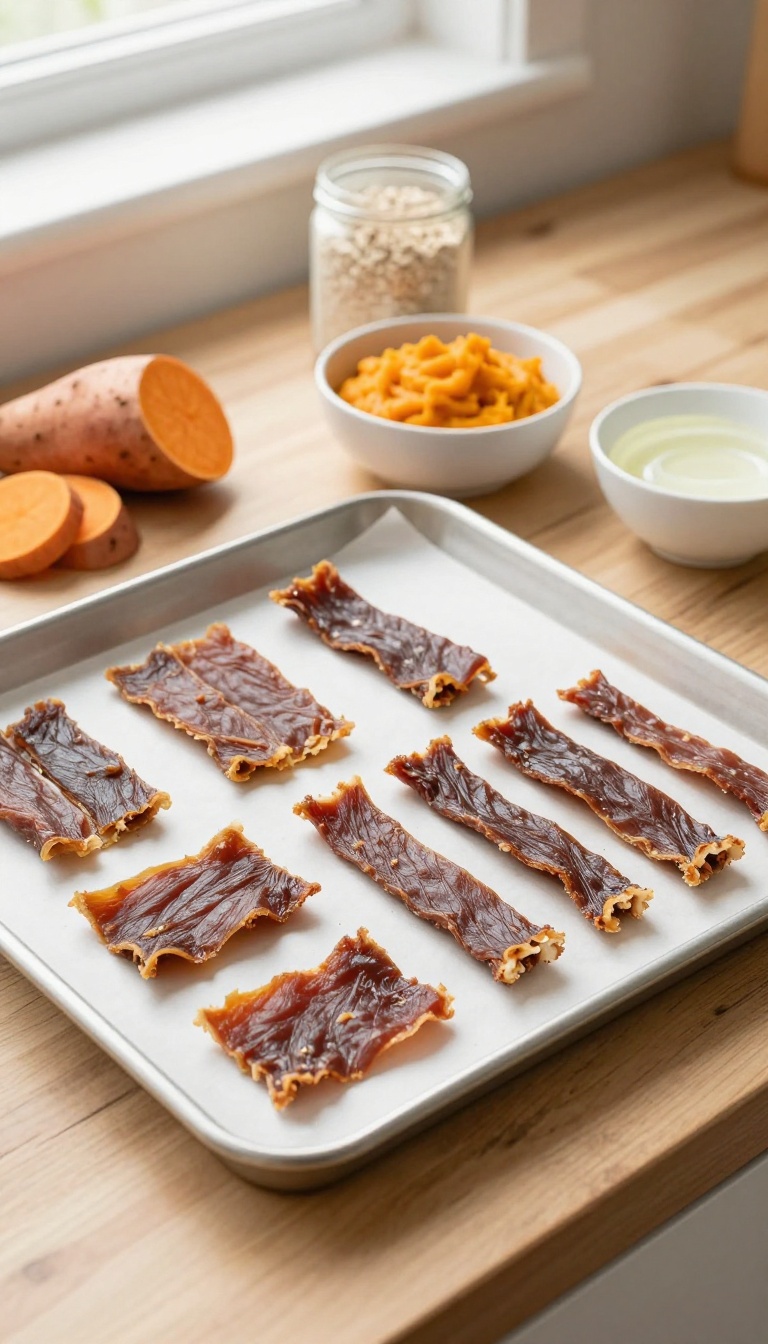
These jerky strips are a dream come true for dog owners who want a treat that lasts. By combining pumpkin and sweet potato, you get a naturally sweet flavor that dogs go wild for, while the dehydration process creates a satisfyingly chewy texture that keeps heavy chewers busy. Plus, they're a breeze to make in batches, so you can prep a week's worth of snacks in one go—perfect for busy pet parents who like to stay ahead of the game.
Ingredients
- 1 cup pumpkin puree (unsweetened, plain canned or homemade)
- 1 large sweet potato, peeled and grated
- 1/2 cup oat flour (or more as needed for a firm dough)
- 1 tablespoon coconut oil (melted)
Instructions
- Preheat your dehydrator to 135°F (57°C) or your oven to its lowest setting (usually around 170°F/75°C). Line a baking sheet with parchment paper if using the oven.
- In a large bowl, mix together the pumpkin puree, grated sweet potato, melted coconut oil, and oat flour until a thick, slightly sticky dough forms. If it's too wet, add a bit more oat flour.
- Roll the dough out between two sheets of parchment paper to about 1/4-inch thickness. Use a knife or pizza cutter to slice into long, thin strips (about 1 inch wide and 6 inches long).
- Place the strips on dehydrator trays or the prepared baking sheet, leaving space between each. Dehydrate for 4-6 hours, flipping halfway, until the strips are dry and leathery but still slightly pliable. In the oven, this may take 3-4 hours at the lowest setting with the door slightly ajar.
- Let the strips cool completely before serving. They will firm up as they cool.
Serving Tip
These jerky strips are perfect for stuffing into a treat-dispensing toy or just handing over for a rewarding chew session. Store them in an airtight container in the fridge for up to two weeks, or freeze for longer storage. Because they're dehydrated, they're less messy than soft treats, making them great for on-the-go adventures.
3. Pumpkin and Peanut Butter Biscuit Chews
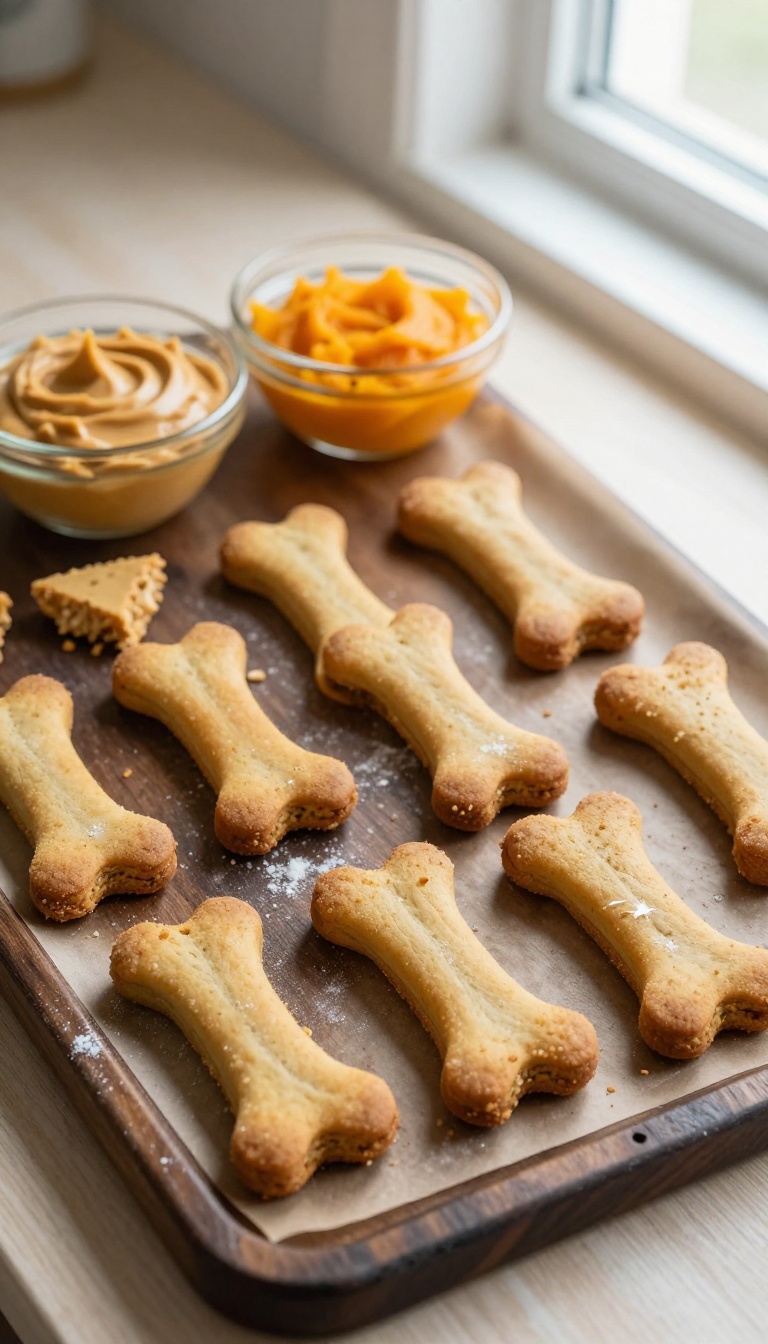
These crunchy biscuits combine the earthy sweetness of pumpkin with the nutty richness of peanut butter, baked until firm for a satisfying chew that keeps your pup busy and helps scrub their teeth. They're a meal-prep dream: mix a big batch, bake, and store them in the pantry for up to two weeks—perfect for busy dog parents who want a reliable, healthy snack on hand. Each bite delivers a hearty crunch that dogs love, while the pumpkin offers fiber and the peanut butter brings protein, making these chews as nutritious as they are delicious.
Ingredients
- 2 ½ cups whole wheat flour (or oat flour for a gluten-free option)
- 1 cup canned pumpkin (100% pure, not pie filling)
- ½ cup natural peanut butter (xylitol-free, unsalted)
- 2 large eggs
- ¼ cup water (or as needed)
- 1 teaspoon ground cinnamon (optional, for aroma)
Instructions
- Preheat your oven to 350°F (175°C) and line a baking sheet with parchment paper.
- In a large bowl, mix the flour and cinnamon. In a separate bowl, whisk together the pumpkin, peanut butter, eggs, and water until smooth.
- Pour the wet ingredients into the dry mixture and stir until a stiff dough forms. If the dough is too dry, add a tablespoon of water at a time until it comes together.
- On a lightly floured surface, roll the dough to about ¼-inch thickness. Use a bone-shaped cookie cutter or any fun shape to cut out the biscuits.
- Place the biscuits on the prepared baking sheet, leaving a little space between each. Bake for 30–35 minutes, until golden and firm to the touch.
- Turn off the oven and leave the biscuits inside for an additional 1–2 hours to dry out completely, ensuring a crunchy texture that lasts longer.
Serving Tip
Store these chews in an airtight container at room temperature for up to two weeks, or freeze them for up to three months. For smaller dogs, break a biscuit into pieces to avoid overfeeding. Always monitor your dog while chewing, and adjust portion sizes based on their daily calorie needs.
4. Frozen Pumpkin and Yogurt Chews
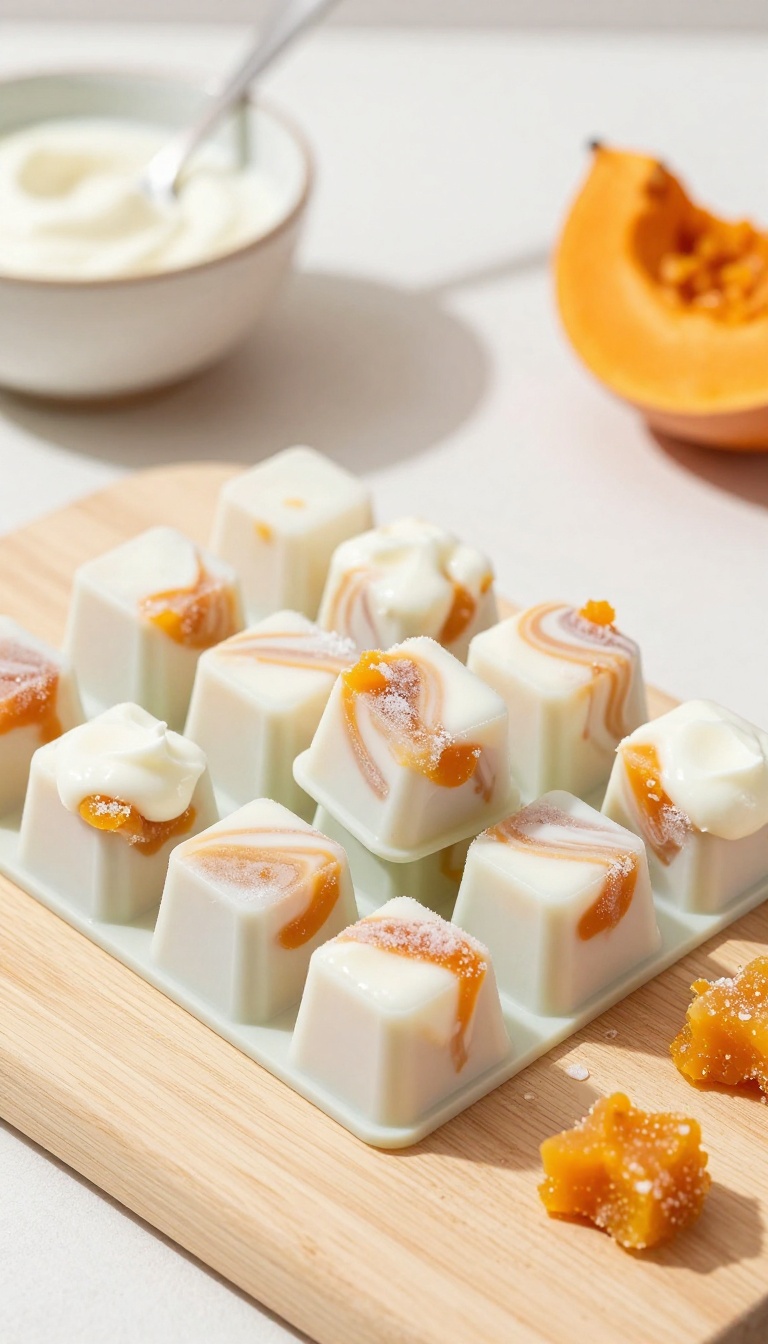
When your pup needs a cool, soothing snack that won't stress their teeth, these frozen pumpkin and yogurt chews are a must-try. They're incredibly simple to make ahead, so you can keep a stash ready for warm days or after long walks. The creamy yogurt and earthy pumpkin blend into a soft, icy bite that dogs adore, and you'll love how easy they are to prep in bulk for the week.
Ingredients
- 1 cup plain, unsweetened yogurt (no xylitol)
- 1/2 cup canned pumpkin puree (not pie filling)
- 1 tablespoon honey (optional, for extra sweetness)
- 1/4 cup unsweetened applesauce (for natural sweetness and texture)
- Silicone mold or ice cube tray
Instructions
- In a medium bowl, whisk together the yogurt, pumpkin puree, honey (if using), and applesauce until smooth and well combined.
- Spoon the mixture into silicone molds or an ice cube tray, filling each cavity about three-quarters full.
- Tap the mold gently on the counter to release any air bubbles, then place it in the freezer for at least 4 hours or until completely solid.
- Once frozen, pop the chews out of the mold and store them in a zip-top bag or airtight container in the freezer.
Serving Tip
- These frozen chews are perfect for hot days, but they're also great for teething puppies or senior dogs with sensitive teeth. Give your dog one chew as a refreshing treat, but always supervise them while they enjoy it. Because they're frozen, they can be a bit hard at first, so let them sit for a minute or two if your dog prefers a softer texture.
- Store any leftovers in the freezer for up to two months.
5. Pumpkin and Coconut Oil Chews
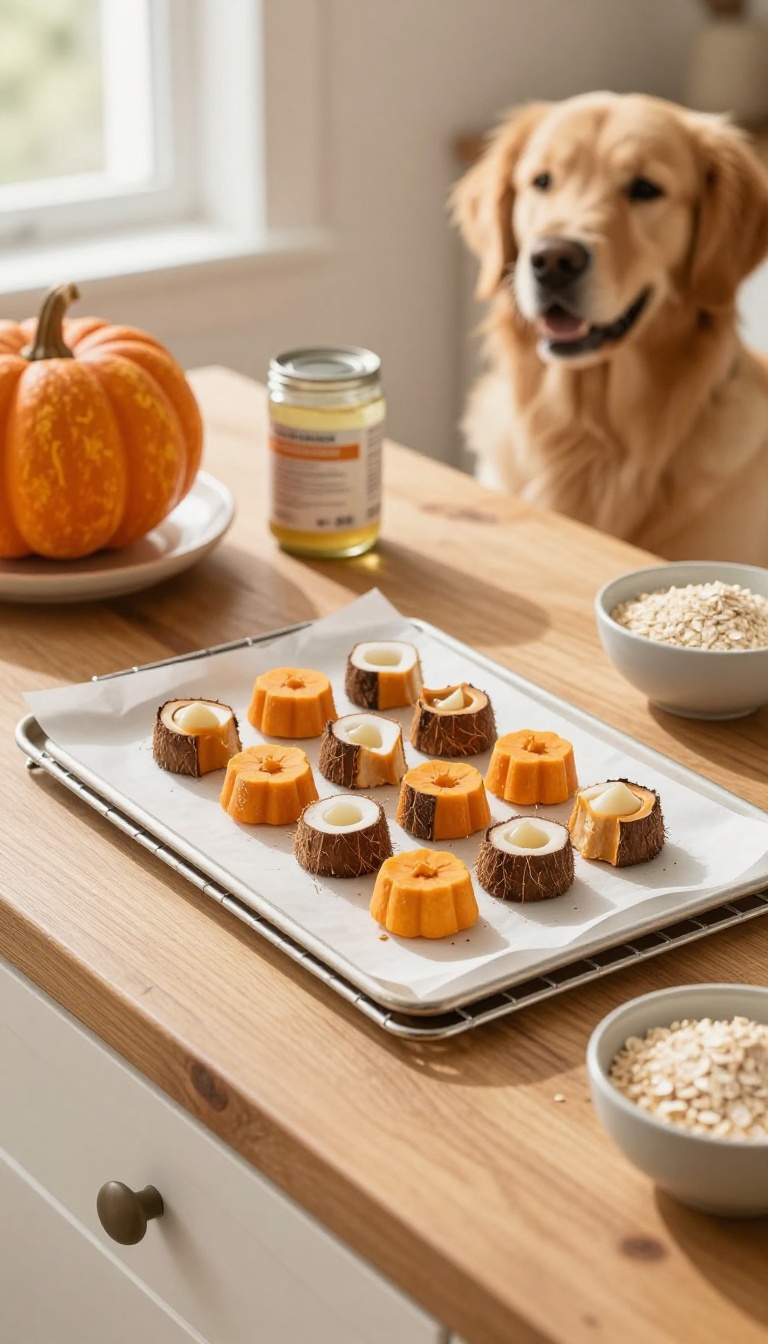
These soft, chewy bites are perfect for dogs who love a gentle, satisfying treat without the crunch. The combination of pumpkin and coconut oil not only tastes great but also supports your dog's coat and digestion. Because they're easy to break into smaller pieces, they're ideal for training sessions or for dogs of all sizes.
Plus, they're a breeze to make ahead for the week, so you always have a healthy snack ready.
Ingredients
- 1 cup canned pumpkin (not pumpkin pie filling)
- 1/4 cup coconut oil, melted
- 2 cups oat flour (or whole wheat flour if your dog tolerates grains)
- 1 egg
- 1/2 teaspoon ground cinnamon (optional, dog-safe in small amounts)
Instructions
- Preheat your oven to 350°F (175°C) and line a baking sheet with parchment paper.
- In a large bowl, mix the pumpkin, melted coconut oil, egg, and cinnamon until well combined.
- Gradually add the oat flour, stirring until a soft dough forms. If the dough is too sticky, add a little more flour; if too dry, add a splash of water.
- Roll the dough into small bite-sized balls (about 1 inch) and place them on the prepared baking sheet. Flatten each slightly with a fork.
- Bake for 15-18 minutes, or until the edges are lightly golden and the chews are firm to the touch.
- Let them cool completely on a wire rack before serving or storing.
Serving Tip
Store these chews in an airtight container in the refrigerator for up to a week, or freeze them for up to three months. Because they're soft, you can easily break them into smaller pieces for training or adjust the size for your dog's breed. Start with one chew per day for small dogs and two for larger dogs, depending on their calorie needs.
6. Pumpkin and Apple Cinnamon Chews
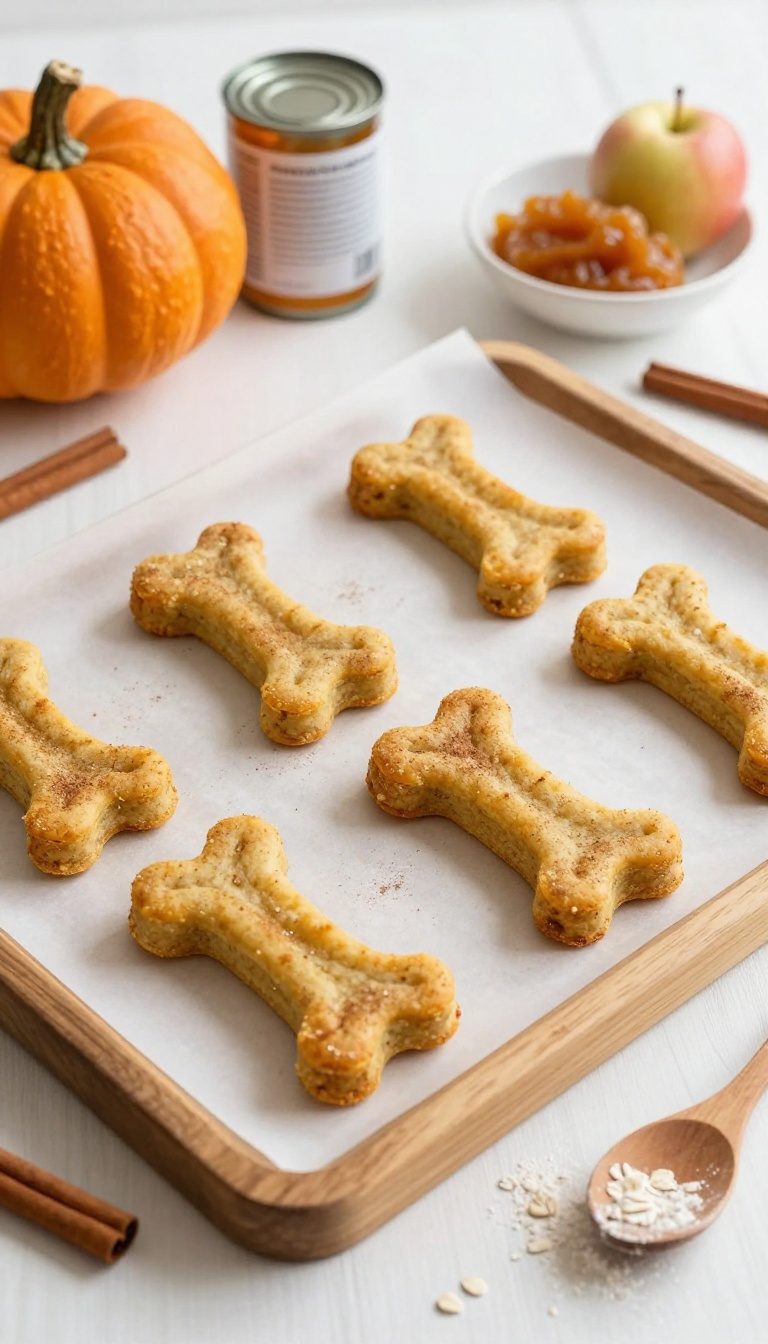
These chews bring together the cozy aroma of cinnamon with the natural sweetness of apple and pumpkin. The dense, baked texture gives your dog something to really sink their teeth into, making snack time last longer. Plus, they're a breeze to prep ahead, so you can have a batch ready whenever your pup needs a satisfying chew.
Ingredients
- 1 cup canned pumpkin (unsweetened)
- 1/2 cup unsweetened applesauce
- 1 teaspoon ground cinnamon
- 2 1/2 cups oat flour (or more as needed)
Instructions
- Preheat your oven to 350°F (175°C) and line a baking sheet with parchment paper.
- In a large bowl, mix the pumpkin, applesauce, and cinnamon until well combined.
- Gradually add the oat flour, stirring until a stiff dough forms. If it's too sticky, add a bit more flour.
- Roll the dough out to about 1/4-inch thickness on a floured surface, then cut into bone-shaped or square treats.
- Place the treats on the prepared baking sheet and bake for 25–30 minutes, or until firm and slightly golden.
- Let them cool completely on a wire rack—they'll harden as they cool, giving that chewy texture.
Serving Tip
Store these chews in an airtight container in the fridge for up to a week, or freeze for longer storage. For heavy chewers, bake them a few extra minutes to make them harder. Always break off a piece to check the hardness before giving to your dog, and supervise them while they enjoy it.
7. Pumpkin and Brown Rice Chews
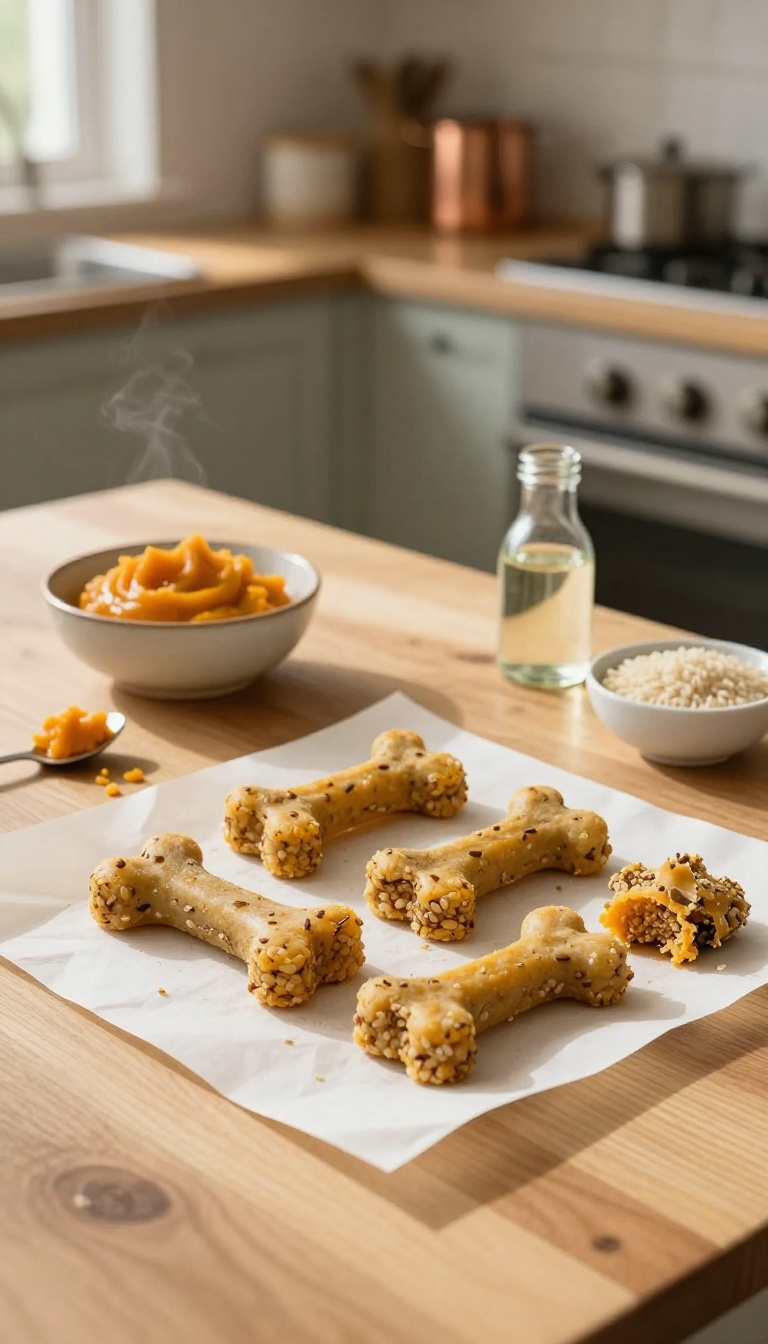
For dog owners who like to prep snacks ahead, these hearty chews are a dream. They combine the natural sweetness of pumpkin with the satisfying chew of brown rice, creating a treat that keeps pups busy and happy. Plus, the brown rice adds a gentle source of fiber that's easy on sensitive stomachs, making these a great choice for dogs with digestion issues.
The texture is firm enough to provide a good chewing session, yet soft enough for older dogs or those with dental sensitivities.
Ingredients
- 1 cup cooked brown rice, cooled
- 1 cup canned pumpkin puree (not pie filling)
- 2 cups whole wheat flour (or oat flour for grain-sensitive dogs)
- 1 egg, beaten
- 2 tablespoons coconut oil, melted
Instructions
- Preheat your oven to 350°F (175°C) and line a baking sheet with parchment paper.
- In a large mixing bowl, combine the cooked brown rice, pumpkin puree, beaten egg, and melted coconut oil. Stir until well blended.
- Gradually add the flour, mixing until a stiff dough forms. If the dough is too sticky, add a little more flour; if too dry, add a splash of water.
- On a lightly floured surface, roll the dough to about 1/4-inch thickness. Use a cookie cutter or a knife to cut into chew-sized shapes.
- Place the chews on the prepared baking sheet and bake for 25-30 minutes, or until golden brown and firm to the touch.
- Let them cool completely before serving. Store in an airtight container in the refrigerator for up to a week, or freeze for longer storage.
Serving Tip
- These chews are perfect for meal-prepping! Make a big batch and freeze them in a zip-top bag. Thaw a few as needed for a quick, satisfying treat.
- For smaller dogs, cut them into smaller pieces; for heavy chewers, you can leave them slightly thicker for more of a challenge. Always supervise your dog while they enjoy any chew treat.
8. Pumpkin and Flaxseed Crunchy Chews
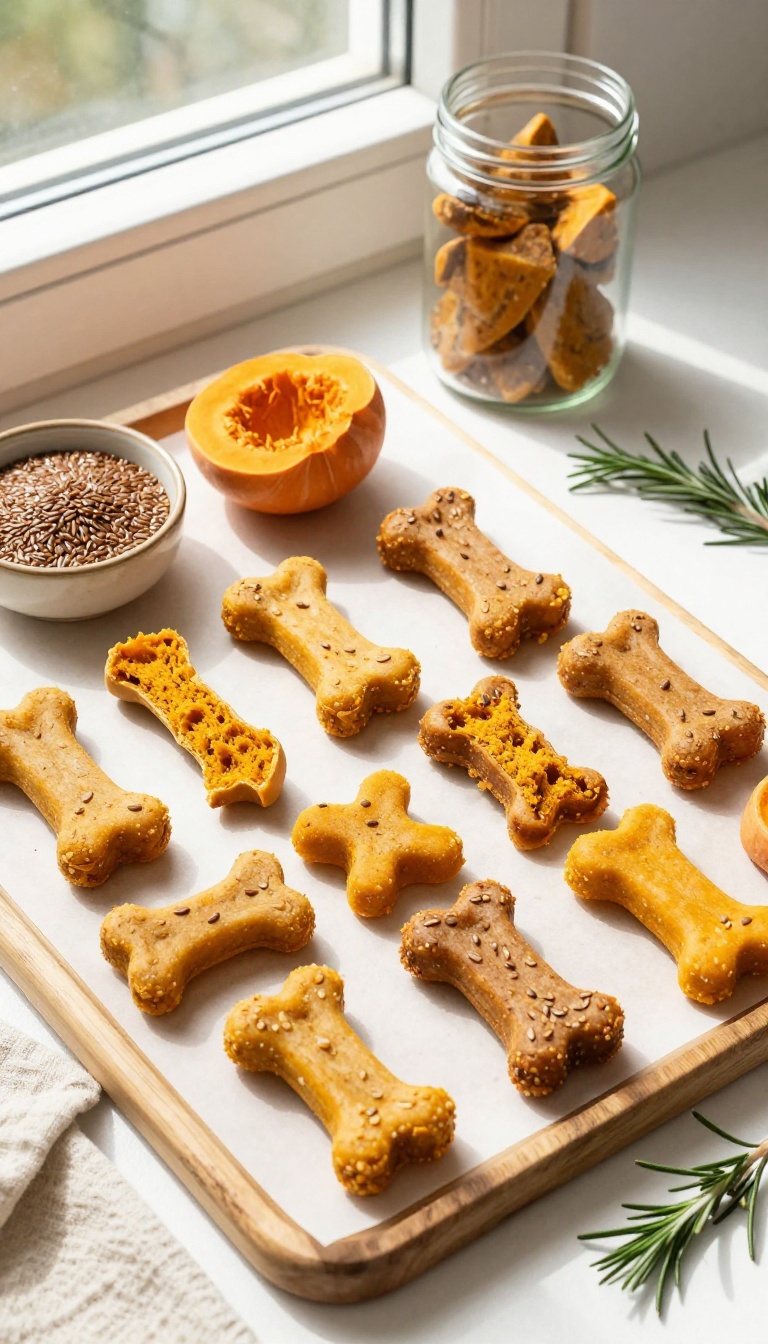
If your dog is a fan of crunchy textures and you're looking for a treat that’s easy to prep ahead for the week, these crispy pumpkin and flaxseed chews are a great pick. The flaxseed brings a boost of omega-3 fatty acids, which support a shiny coat and healthy skin, while the pumpkin adds fiber and that classic autumnal flavor dogs adore. These treats bake up firm and crunchy, making them perfect for dogs who like to take their time gnawing on something satisfying.
Plus, they store beautifully in an airtight container, so you can batch-make them on a lazy Sunday and have a ready supply for training or just because.
Ingredients
- 1 cup canned pumpkin (unsweetened, not pumpkin pie filling)
- 2 cups whole wheat flour (or oat flour for a grain-free option)
- 1/4 cup ground flaxseed
- 1/4 cup water (plus more if needed)
- 1 tablespoon coconut oil, melted
Instructions
- Preheat your oven to 350°F (175°C) and line a baking sheet with parchment paper.
- In a large bowl, mix the pumpkin, melted coconut oil, and water until smooth. Add the whole wheat flour and ground flaxseed, stirring until a stiff dough forms. If the dough feels too dry, add a tablespoon of water at a time until it holds together.
- Roll the dough out on a lightly floured surface to about 1/4-inch thickness. Use a bone-shaped cookie cutter or any fun shape you like, then transfer the cutouts to the prepared baking sheet.
- Bake for 25–30 minutes, or until the treats are golden brown and firm to the touch. Let them cool completely on a wire rack—they’ll crisp up even more as they cool.
Serving Tip
- These crunchy chews are great for medium to large dogs, but you can adjust the size for smaller pups. Store them in an airtight container at room temperature for up to a week, or pop them in the fridge for up to two weeks. For longer storage, freeze them in a zip-top bag for up to three months—just thaw a few at a time as needed.
- Because they’re crunchy, they also work well as a gentle teeth-cleaning snack, but always supervise your dog while they chew.
9. Pumpkin and Chicken Jerky Chews
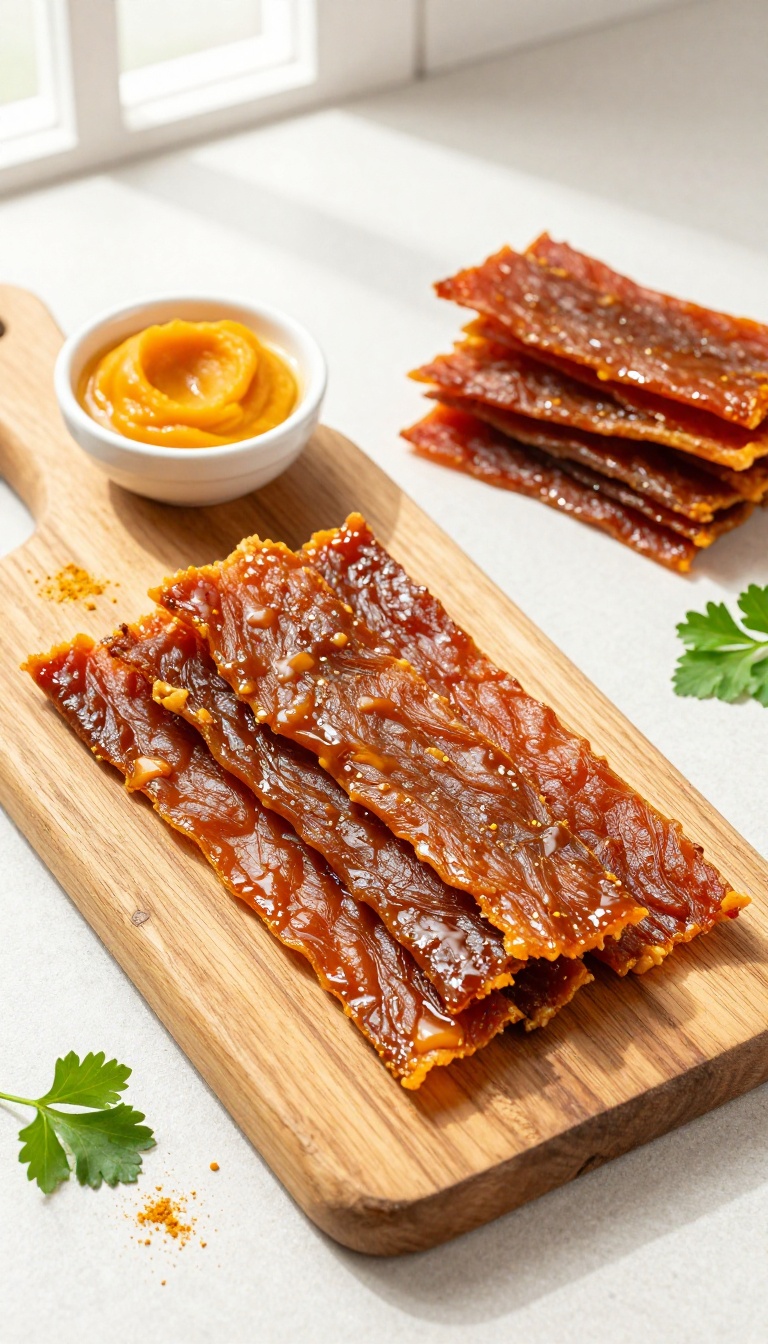
These jerky strips are a savory, satisfying treat that your dog will go wild for. By combining lean chicken with pumpkin, you get a protein-packed chew that’s also gentle on the stomach. The dehydration process creates a chewy texture that keeps dogs busy and happy, making them perfect for training sessions or quiet evenings at home.
Plus, they’re easy to make in batches, so you can always have a healthy snack on hand.
Ingredients
- 1 lb lean chicken breast, sliced into thin strips
- 1 cup canned pumpkin (unsweetened, not pie filling)
- 1 tablespoon coconut oil, melted
- 1/4 teaspoon turmeric (optional, for anti-inflammatory benefits)
Instructions
- In a bowl, mix the pumpkin, melted coconut oil, and turmeric (if using) until smooth. Add the chicken strips and toss to coat evenly.
- Lay the coated strips in a single layer on a dehydrator tray or a baking sheet lined with parchment paper. If using an oven, set it to the lowest temperature (usually 170°F or 75°C).
- Dehydrate for 4-6 hours, or until the strips are dry and leathery but still slightly pliable. For oven, bake with the door slightly ajar to let moisture escape, checking every hour.
- Let the jerky cool completely before serving. Store in an airtight container in the refrigerator for up to a week, or freeze for longer storage.
Serving Tip
Break the jerky into smaller pieces for training treats or give a whole strip for a longer-lasting chew. Always supervise your dog when giving any chew treat, and adjust portion sizes based on your dog’s size and dietary needs.
FAQ
How long do homemade pumpkin dog chews last?
Depending on the recipe and storage method, most pumpkin chews last 1-2 weeks in the fridge or up to 3 months in the freezer. Dehydrated chews can last longer if stored in an airtight container.
Can I use fresh pumpkin instead of canned?
Yes, you can use fresh pumpkin puree, but make sure it's cooked and pureed smoothly. Avoid pumpkin pie filling, which contains added sugars and spices that aren't safe for dogs.
Are these chews suitable for puppies?
Most of these chews are safe for puppies, but always supervise and adjust the size to prevent choking. For puppies, you may want to make smaller pieces or choose softer recipes.
How should I store these treats for meal prep?
Store baked chews in an airtight container in the fridge for up to two weeks, or freeze them for longer storage. Dehydrated chews can be kept at room temperature in a sealed bag for a week or more.
Can I substitute pumpkin with other dog-safe vegetables?
Absolutely! Sweet potato, butternut squash, or carrots can often be substituted for pumpkin in these recipes. Just ensure they are cooked and pureed to a similar consistency.
Conclusion
These 9 healthy pumpkin dog chews are a game-changer for busy pet parents. They're simple to prep in batches, easy to store, and your dog will love the taste and texture. Whether you prefer baked, dehydrated, or frozen, there's a recipe here to suit your pup's chewing style.
Remember to always introduce new treats gradually and consult your vet if you have any concerns about ingredients. With a little planning, you can keep a steady supply of homemade, long-lasting chews ready for your furry friend. Happy prepping!

I’m Pallab Kishore, the owner of Little Pets Realm — an animal lover and pet care enthusiast sharing easy tips, healthy recipes, and honest advice to help every small pet live a happy, healthy, tail-wagging life.