
Last updated on September 1st, 2026 at 04:43 pm
Planning a doggy birthday party or a playdate with your pup's best friends? Homemade treats are a wonderful way to make the occasion extra special. Not only do they let you control the ingredients, but they also show your dog just how much you care.
These 10 all-natural recipes are designed with parties in mind. They're simple to prepare, use wholesome ingredients, and are guaranteed to get tails wagging. From crunchy biscuits to frozen delights, there's something for every pup's taste.
So, roll up your sleeves and preheat the oven. Your dog is about to have the best party ever, and you'll love seeing the joy in their eyes as they enjoy treats made with love.
1. Peanut Butter & Banana Pupcakes
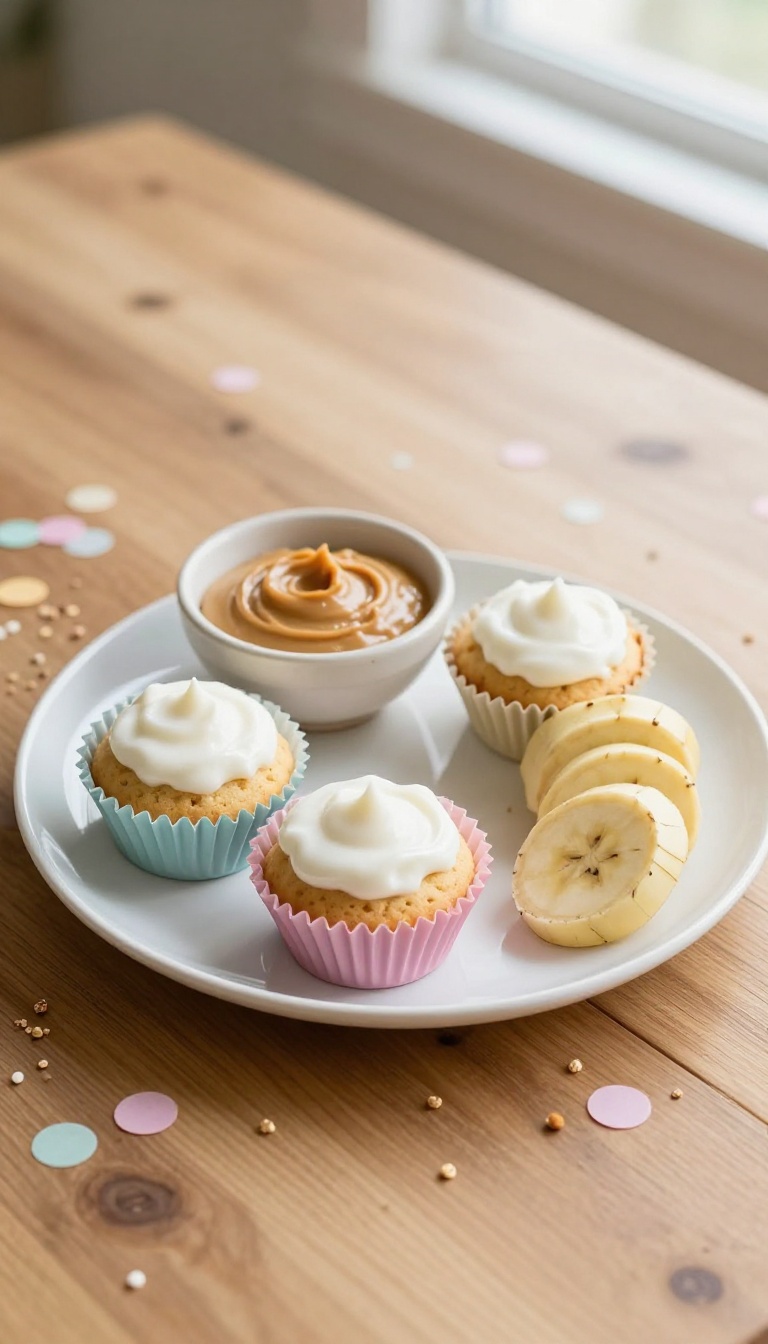
For your next doggy celebration, these mini pupcakes are a guaranteed hit. They're simple to whip up with pantry staples, and the aroma of peanut butter and banana will have your pup doing happy circles. Each little cake is soft, moist, and just the right size for a special treat.
Ingredients
- 1 cup whole wheat flour
- 1/2 cup natural peanut butter (xylitol-free)
- 1 ripe banana, mashed
- 1/4 cup unsweetened applesauce
- 1/4 cup water (or as needed)
- 1 teaspoon baking powder
- Plain yogurt for topping (optional)
Instructions
- Preheat your oven to 350°F (175°C) and line a mini muffin tin with paper liners or lightly grease it.
- In a large bowl, mix the whole wheat flour and baking powder. Add the peanut butter, mashed banana, applesauce, and water, stirring until a thick batter forms. If it's too stiff, add a little more water.
- Spoon the batter into the mini muffin cups, filling each about 3/4 full.
- Bake for 12–15 minutes, or until a toothpick inserted comes out clean. Let cool completely before serving.
- If desired, top each pupcake with a small dollop of plain yogurt just before serving.
Serving Tip
Store pupcakes in an airtight container in the fridge for up to 5 days, or freeze for up to 3 months. For a party, arrange them on a plate and let each pup enjoy one as a special celebration treat—remember, moderation is key.
2. Sweet Potato Chews for the Party Table
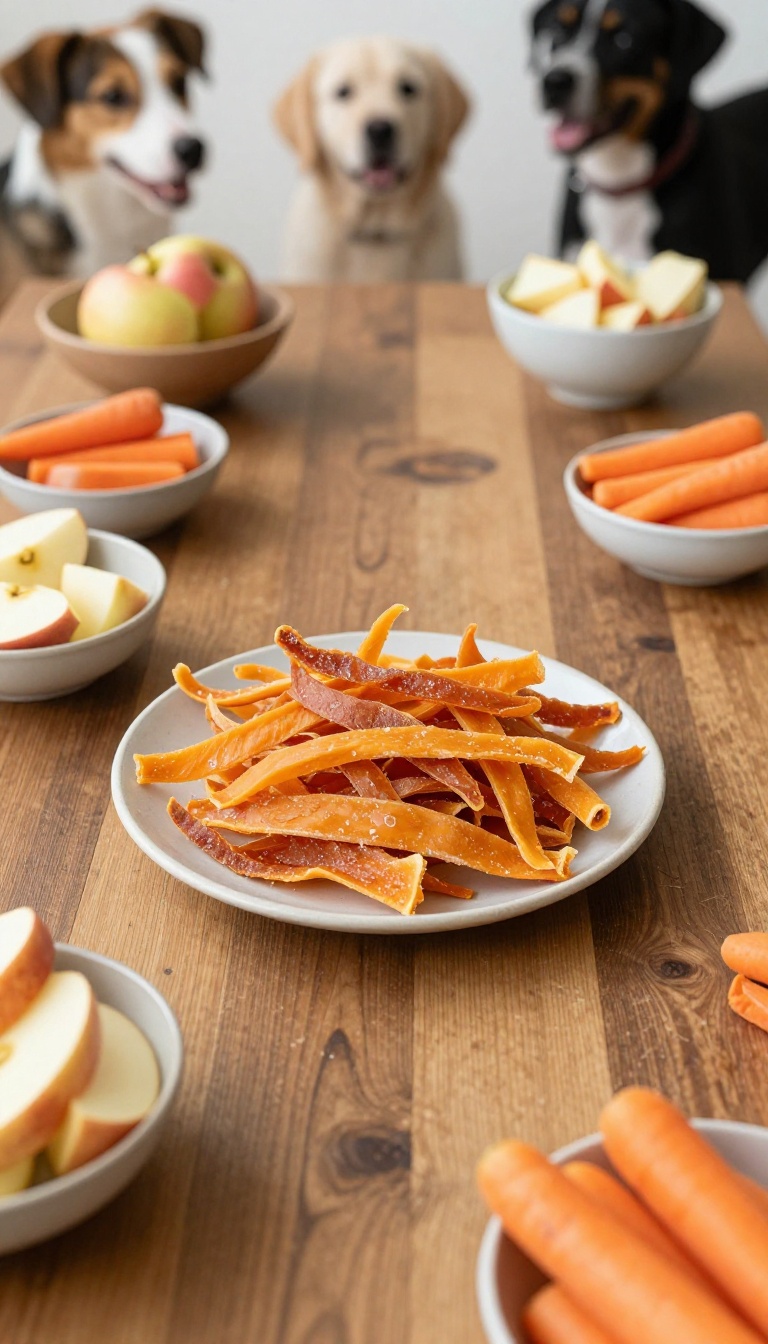
When you're hosting a doggy get-together, you want treats that are easy to grab, share, and enjoy while the pups mingle. These sweet potato chews are exactly that—simple to make, naturally sweet, and chewy enough to keep tails wagging. They're a wholesome alternative to store-bought jerky, and they look great on any snack spread.
Plus, they're so easy to prepare that you can whip up a batch right before the party starts.
Ingredients
- 2 large sweet potatoes, washed and peeled
- 1 tablespoon coconut oil, melted
- 1/4 teaspoon ground cinnamon (optional, for aroma)
Instructions
- Preheat your oven to 250°F (120°C) and line a baking sheet with parchment paper.
- Slice the sweet potatoes into 1/4-inch thick strips, about 3-4 inches long.
- In a large bowl, toss the sweet potato strips with melted coconut oil and cinnamon (if using) until evenly coated.
- Arrange the strips in a single layer on the prepared baking sheet, leaving a little space between each.
- Bake for 2.5 to 3 hours, flipping halfway, until the strips are dried and chewy but not hard. They should bend without snapping.
- Let cool completely before serving to your doggy guests.
Serving Tip
Store these chews in an airtight container in the refrigerator for up to two weeks. For a party, arrange them on a platter with other dog-safe snacks like apple slices and carrot sticks. Each chew is about 10 calories, so adjust portions based on your dog's size—smaller dogs can have one, while larger breeds can enjoy two or three.
3. Frozen Berry Yogurt Bites
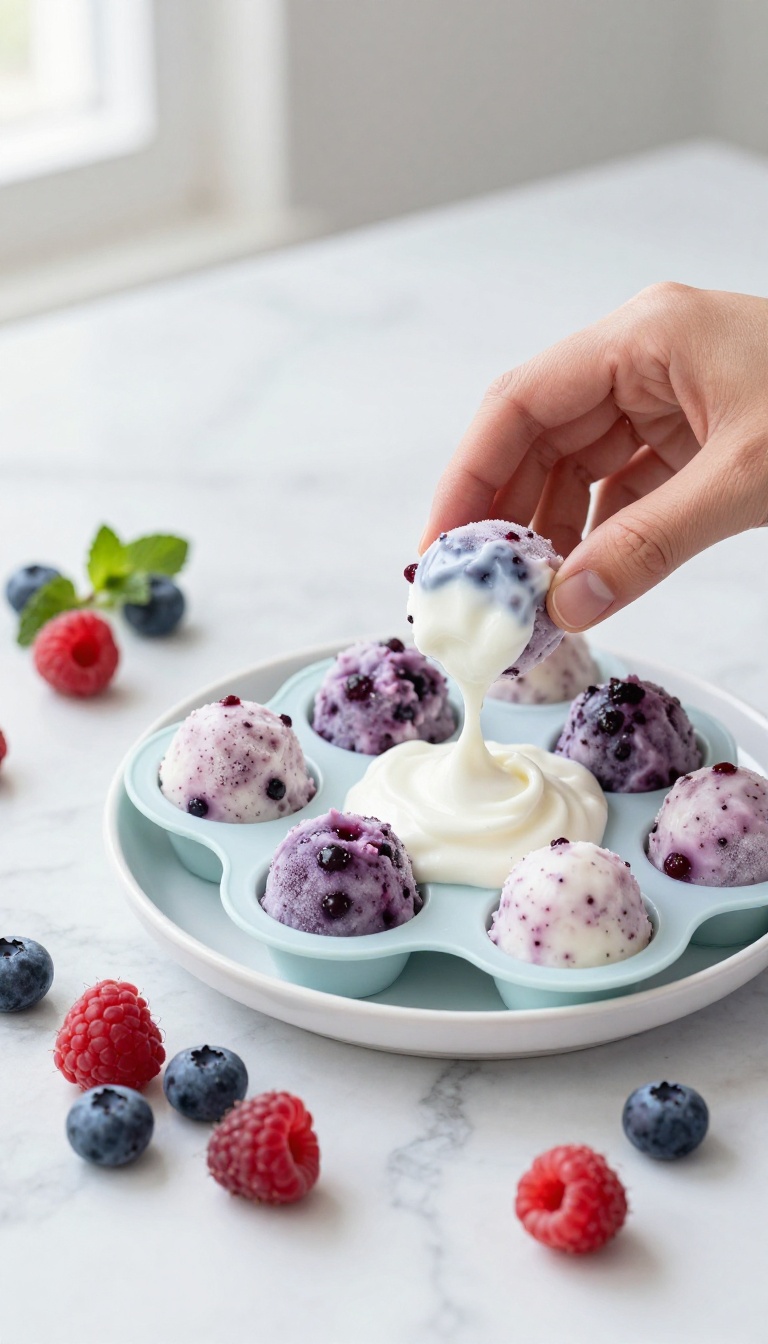
When the temperature climbs, these frozen berry yogurt bites are the perfect way to help your pup cool off. They’re simple to make, use just a few dog-safe ingredients, and can be whipped up in minutes. Whether you’re hosting a doggy playdate or just want to spoil your furry friend after a long walk, these treats are a refreshing, healthy choice that dogs absolutely love.
Ingredients
- 1 cup plain Greek yogurt (unsweetened, no xylitol)
- 1/2 cup fresh or frozen mixed berries (blueberries, strawberries, raspberries)
- 1 tablespoon honey (optional, for a touch of sweetness)
Instructions
- In a blender or food processor, combine the Greek yogurt, mixed berries, and honey (if using). Blend until smooth and well combined.
- Pour the mixture into silicone molds or an ice cube tray, filling each cavity about three-quarters full.
- Place the molds in the freezer for at least 3-4 hours, or until completely frozen.
- Once frozen, pop the bites out of the molds and store them in an airtight container or zip-top bag in the freezer.
Serving Tip
- Serve these frozen treats directly from the freezer, but let them sit for a minute or two to soften slightly for sensitive teeth. For smaller dogs, break a bite into smaller pieces. These are perfect for summer parties or as a special cooldown treat after exercise.
- Keep them stored in the freezer for up to 3 months.
4. Pumpkin & Oat Celebration Biscuits
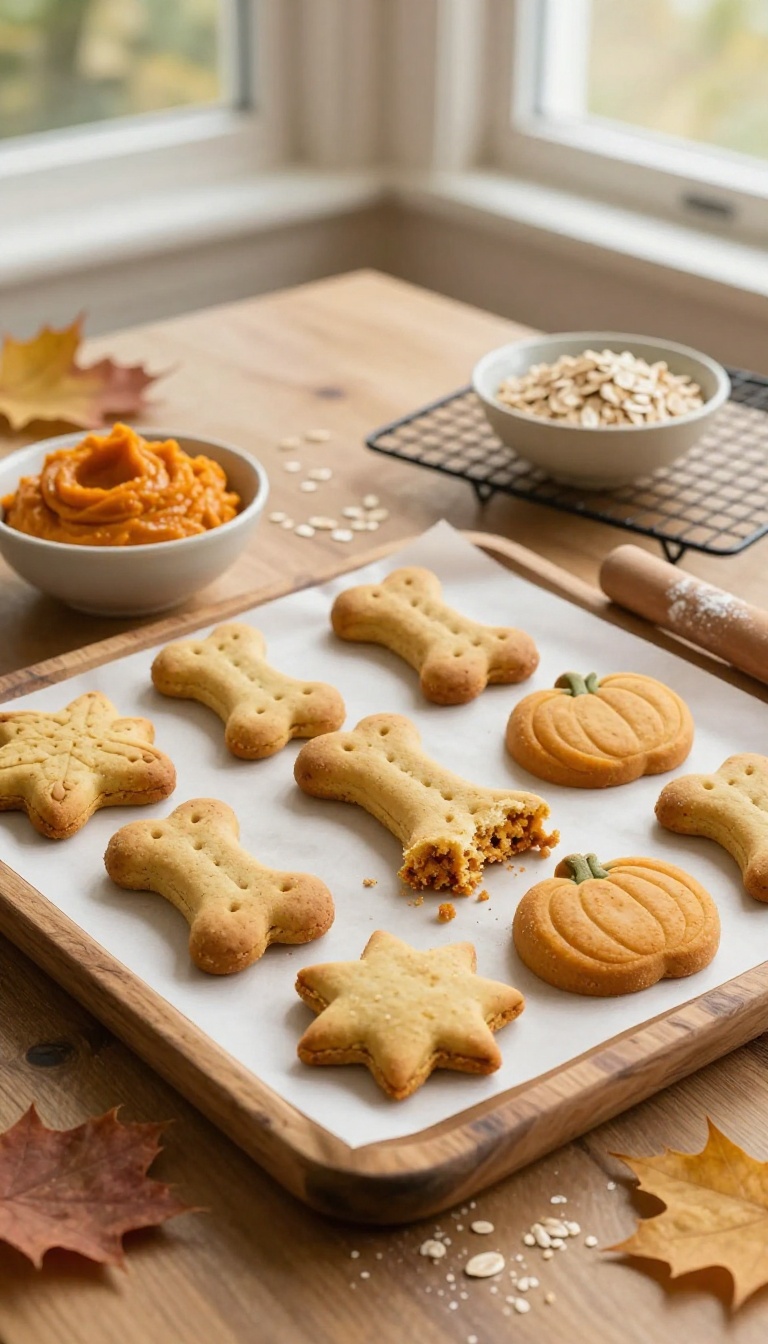
When the leaves start turning and the air gets crisp, these pumpkin and oat biscuits bring a little fall festivity to your pup's snack bowl. The combo of creamy pumpkin puree and hearty oats creates a crunchy texture that dogs love to chomp on, while the natural sweetness keeps them coming back for more. Plus, they're simple to make and easy to customize with your favorite cookie cutters—perfect for celebrating birthdays, gotcha days, or just a cozy afternoon.
Ingredients
- 2 ½ cups oat flour (or finely ground rolled oats)
- 1 cup canned pumpkin puree (unsweetened, not pie filling)
- 2 large eggs
- 1 tablespoon coconut oil, melted (optional, for extra shine)
- ¼ teaspoon ground cinnamon (optional, for aroma)
Instructions
- Preheat your oven to 350°F (175°C) and line a baking sheet with parchment paper.
- In a large bowl, mix the oat flour, pumpkin puree, eggs, coconut oil (if using), and cinnamon until a thick, slightly sticky dough forms. If the dough feels too wet, add a little more oat flour.
- Roll the dough out on a lightly floured surface to about ¼-inch thickness. Use festive cookie cutters (bones, pumpkins, or stars) to cut out shapes.
- Place the biscuits on the prepared baking sheet, leaving a little space between each. Bake for 20–25 minutes, until the edges are golden and the biscuits are firm to the touch.
- Let them cool completely on a wire rack before serving. They'll crisp up even more as they cool.
Serving Tip
These biscuits are crunchy and keep well for up to two weeks in an airtight container at room temperature. For longer storage, pop them in the fridge for up to a month or freeze for up to three months. Because they're denser than some treats, break them into smaller pieces for small dogs or use them as a training reward—just remember to adjust your pup's daily calorie intake accordingly.
5. Carrot & Apple Party Pops
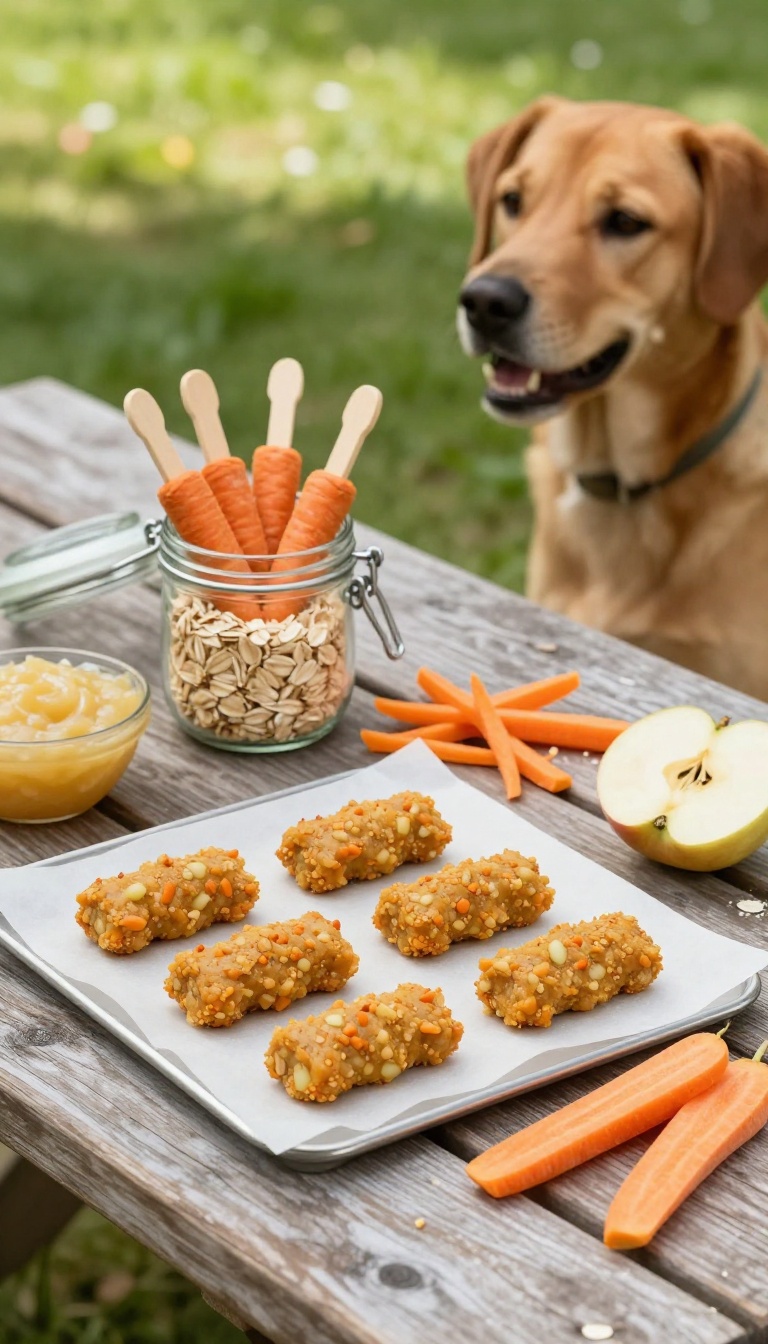
These pops are the life of the party, and your pup will be the center of attention. We've combined the crisp sweetness of apples with the gentle crunch of carrots into a baked treat that's easy to hold and even easier to love. The dog-safe stick makes them perfect for birthdays, gotcha days, or just a sunny afternoon in the yard.
Plus, they're a great way to sneak in some extra fiber and vitamins while your dog thinks they're getting a special snack.
Ingredients
- 1 cup shredded carrots
- 1 cup shredded apple (peeled and cored)
- 1 1/2 cups oat flour
- 1/2 cup unsweetened applesauce
- 1 large egg
Instructions
- Preheat your oven to 350°F (175°C) and line a baking sheet with parchment paper.
- In a large bowl, combine the shredded carrots, shredded apple, oat flour, applesauce, and egg. Mix until a thick dough forms.
- Scoop out tablespoon-sized portions and roll them into balls. Gently insert a dog-safe stick (like a sturdy, untreated wooden skewer or a commercial dog treat stick) into each ball, leaving about an inch exposed.
- Place the pops on the prepared baking sheet and bake for 18-20 minutes, or until the edges are lightly golden and the centers are firm.
- Let them cool completely on a wire rack before serving to your pup.
Serving Tip
These pops are best served fresh, but you can store them in an airtight container in the fridge for up to 5 days. For longer storage, freeze them for up to 3 months—just thaw in the fridge before handing one over. Always supervise your dog while they enjoy a stick treat, and remove the stick if it becomes a choking hazard.
6. Cheesy Spinach Bites for Picky Pups
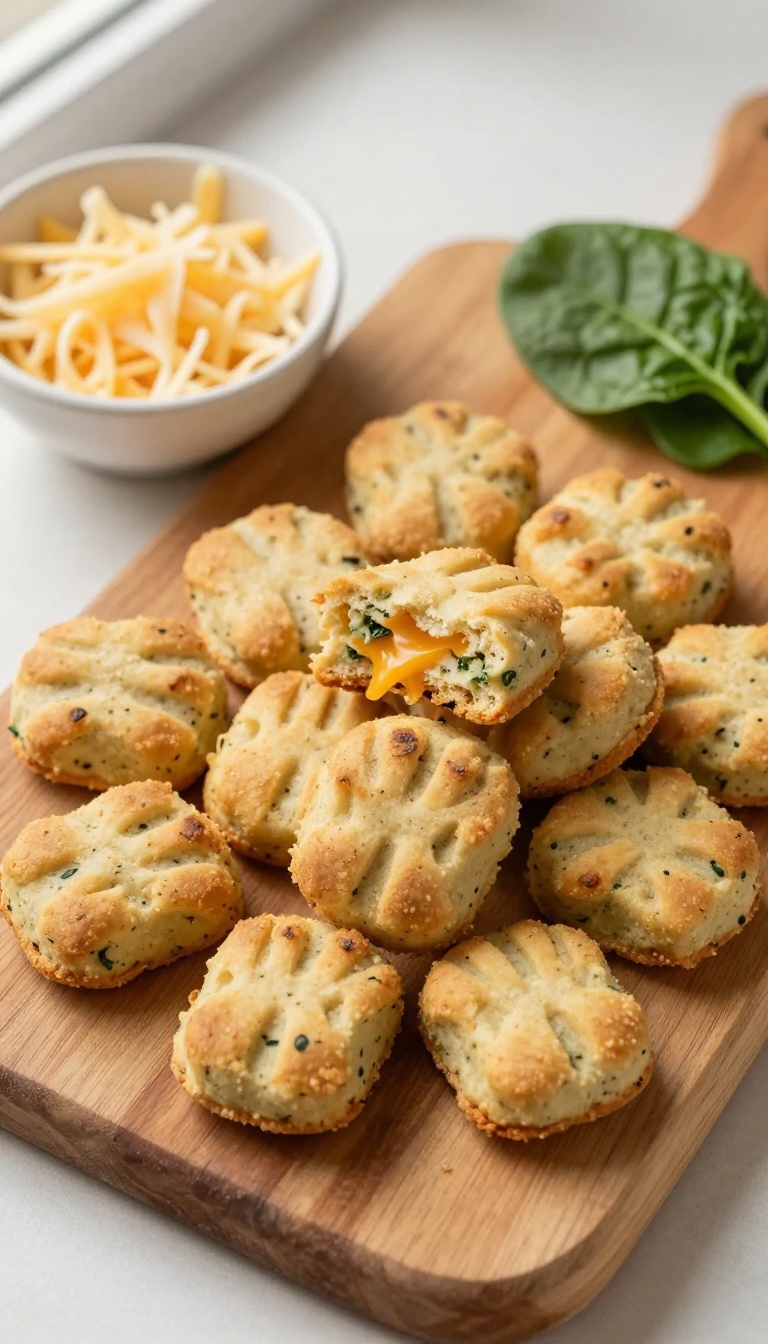
When your dog turns up their nose at the usual treats, it's time to bring out the big guns. These cheesy spinach bites combine the irresistible aroma of melted cheddar with the earthy goodness of spinach, creating a flavor combo that even the fussiest eaters find hard to resist. They're baked into soft, chewy morsels that are perfect for party platters or just a special everyday snack.
Plus, they're packed with nutrients that support your pup's overall health, making them a win-win for both of you.
Ingredients
- 1 cup whole wheat flour (or oat flour for a grain-free option)
- 1/2 cup shredded cheddar cheese
- 1/2 cup fresh spinach, finely chopped
- 1/4 cup plain Greek yogurt (unsweetened)
- 1/4 cup water (or more as needed)
- 1 tablespoon olive oil
Instructions
- Preheat your oven to 350°F (175°C) and line a baking sheet with parchment paper.
- In a large bowl, mix the flour, shredded cheddar, and chopped spinach together.
- Add the Greek yogurt, olive oil, and water, then stir until a soft dough forms. If the dough seems too dry, add a little more water a teaspoon at a time.
- Roll the dough into small bite-sized balls (about 1 inch in diameter) and place them on the prepared baking sheet.
- Flatten each ball slightly with a fork to create a crisscross pattern.
- Bake for 12-15 minutes, or until the edges are lightly golden. Let cool completely before serving.
Serving Tip
- These bites are perfect for parties or training sessions. Store them in an airtight container in the refrigerator for up to a week, or freeze for up to three months. For smaller dogs, break them into smaller pieces to avoid overfeeding.
- Always supervise your dog when giving treats and adjust portions based on their size and activity level.
7. Coconut & Blueberry Frozen Cubes
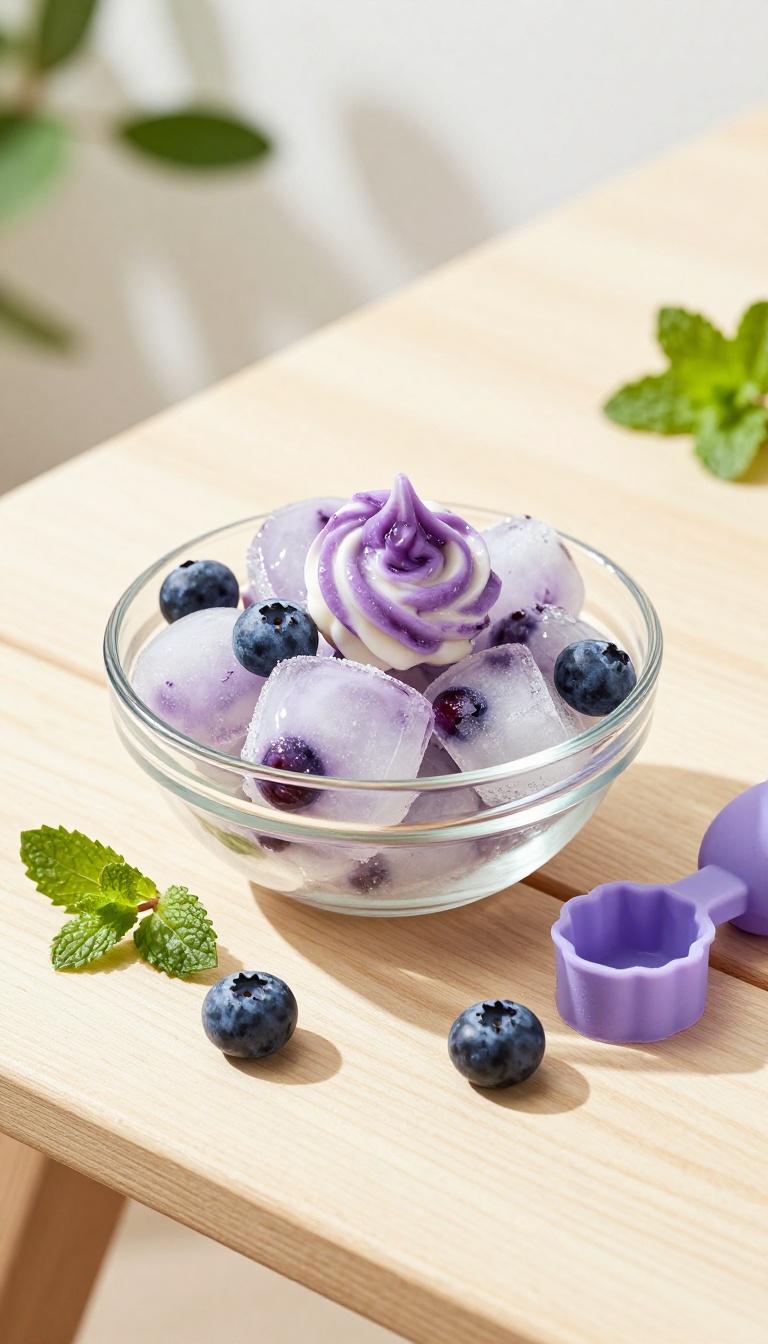
When the weather heats up, these frozen cubes are a party-ready way to help your dog cool down. Made with just two simple ingredients, they're a breeze to whip up for a backyard get-together or a sunny afternoon playdate. The creamy coconut milk and juicy blueberries create a refreshing combo that dogs love, and you'll love how easy they are to serve.
Ingredients
- 1 cup unsweetened coconut milk (canned or carton, no added sugar)
- 1/2 cup fresh or frozen blueberries (unsweetened)
- 1 tablespoon plain, unsweetened yogurt (optional, for extra creaminess)
Instructions
- In a blender, combine the coconut milk, blueberries, and yogurt (if using). Blend until smooth.
- Pour the mixture into ice cube trays or silicone molds, filling each compartment about three-quarters full.
- Freeze for at least 4 hours or until solid. Pop the cubes out and serve directly to your pup, or store in a freezer-safe bag for up to 3 months.
Serving Tip
Start with one cube for small dogs and two for larger breeds, especially on hot days. You can also drop a cube into your dog's water bowl for a fun, flavor-infused sip. Always supervise your dog while enjoying frozen treats to prevent any choking hazards.
8. Chicken & Rice Party Meatballs
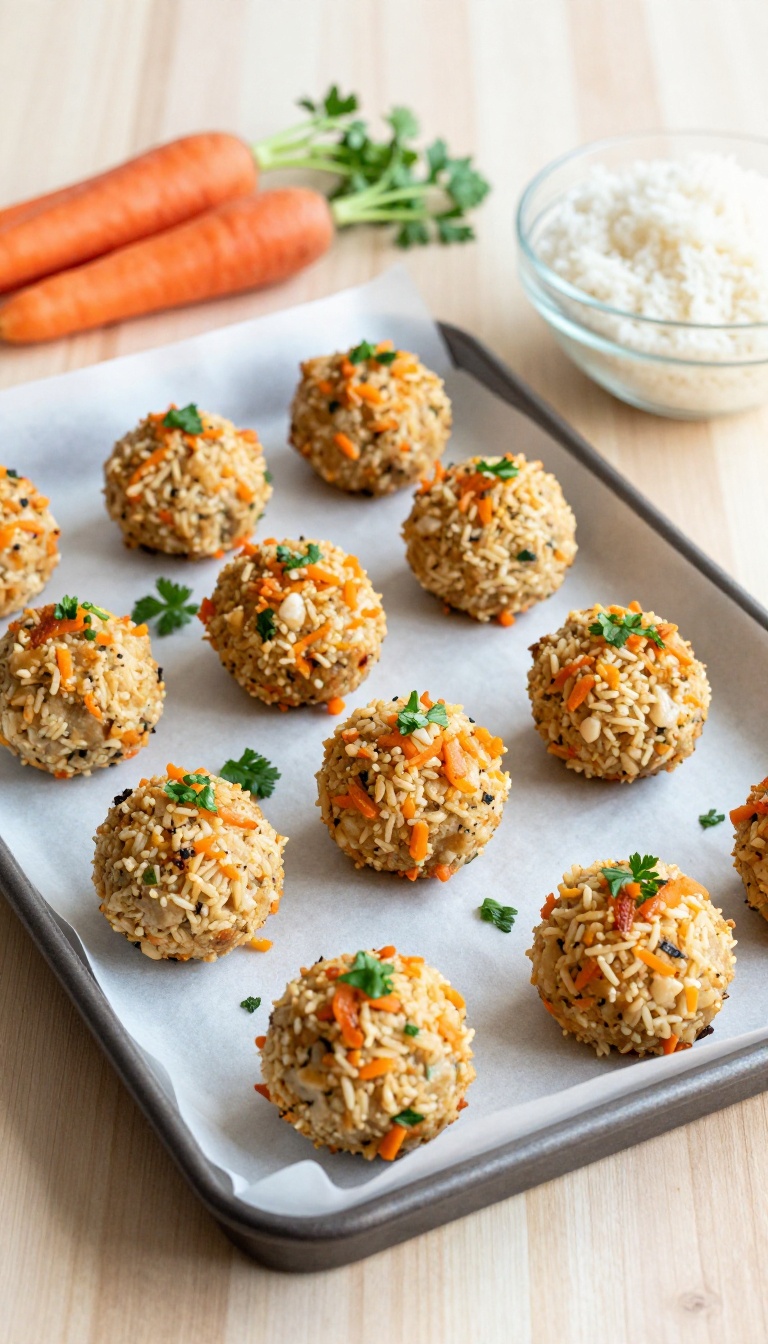
When you're hosting a doggy playdate or just want to make your pup feel extra special, these Chicken & Rice Party Meatballs are the perfect centerpiece. They're hearty, savory, and packed with simple ingredients that dogs love. Plus, they're easy to make in batches, so you'll always have a tasty treat ready for any tail-wagging occasion.
Ingredients
- 1 lb ground chicken
- 1 cup cooked white or brown rice, cooled
- 1/2 cup finely grated carrots
- 1/4 cup chopped fresh parsley (optional)
- 1 large egg, beaten
- 1/2 cup oat flour (or more, if needed)
Instructions
- Preheat your oven to 350°F (175°C) and line a baking sheet with parchment paper.
- In a large bowl, combine the ground chicken, cooked rice, grated carrots, parsley (if using), and beaten egg. Mix gently until just combined.
- Add the oat flour gradually, mixing until the mixture holds together and is not too sticky. You may need a bit more or less depending on the moisture of the rice.
- Roll the mixture into 1-inch meatballs and place them on the prepared baking sheet, spacing them about an inch apart.
- Bake for 20-25 minutes, or until the meatballs are cooked through and lightly browned on the outside. Let them cool completely before serving.
Serving Tip
These meatballs are perfect for parties or training rewards. Store them in an airtight container in the refrigerator for up to 5 days, or freeze them for up to 3 months. For smaller dogs, break them into smaller pieces, and always supervise your pup while they enjoy their treat.
9. Apple Cinnamon Soft Chews
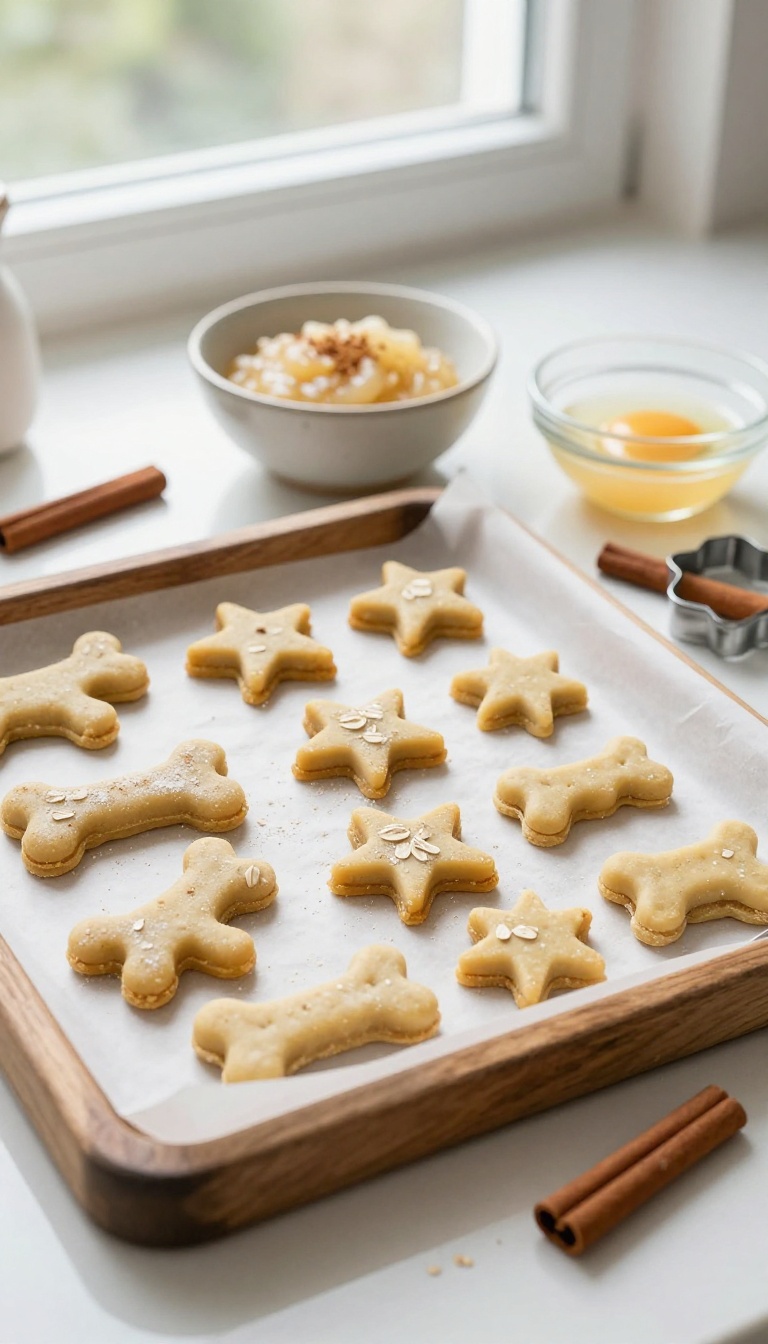
These soft chews are a gentle option for pups who prefer a tender bite, especially seniors or those with dental sensitivities. The natural sweetness of applesauce pairs with a hint of cinnamon, creating a comforting aroma that dogs find irresistible. They're easy to make and even easier to serve, making them a party-friendly addition to any doggy celebration.
Ingredients
- 1 cup unsweetened applesauce
- 1/2 teaspoon ground cinnamon
- 1 1/2 cups oat flour (plus extra for rolling)
- 1 egg, beaten
Instructions
- Preheat your oven to 350°F (175°C) and line a baking sheet with parchment paper.
- In a mixing bowl, combine the applesauce, cinnamon, and beaten egg until well mixed.
- Gradually add the oat flour, stirring until a soft dough forms. If the dough is too sticky, add a little more flour.
- On a lightly floured surface, roll the dough to about 1/4-inch thickness. Use a cookie cutter to cut into fun shapes or simply slice into small squares.
- Place the treats on the prepared baking sheet and bake for 12-15 minutes, until the edges are lightly golden and the centers are set.
- Let them cool completely on a wire rack before serving. Store in an airtight container in the refrigerator for up to a week.
Serving Tip
For party time, cut these into small, bite-sized pieces and scatter them on a dog-friendly platter. They're soft enough for older dogs to enjoy without stress. Keep leftovers chilled and use within a week, or freeze for up to three months—just thaw before serving.
10. Watermelon Mint Coolers
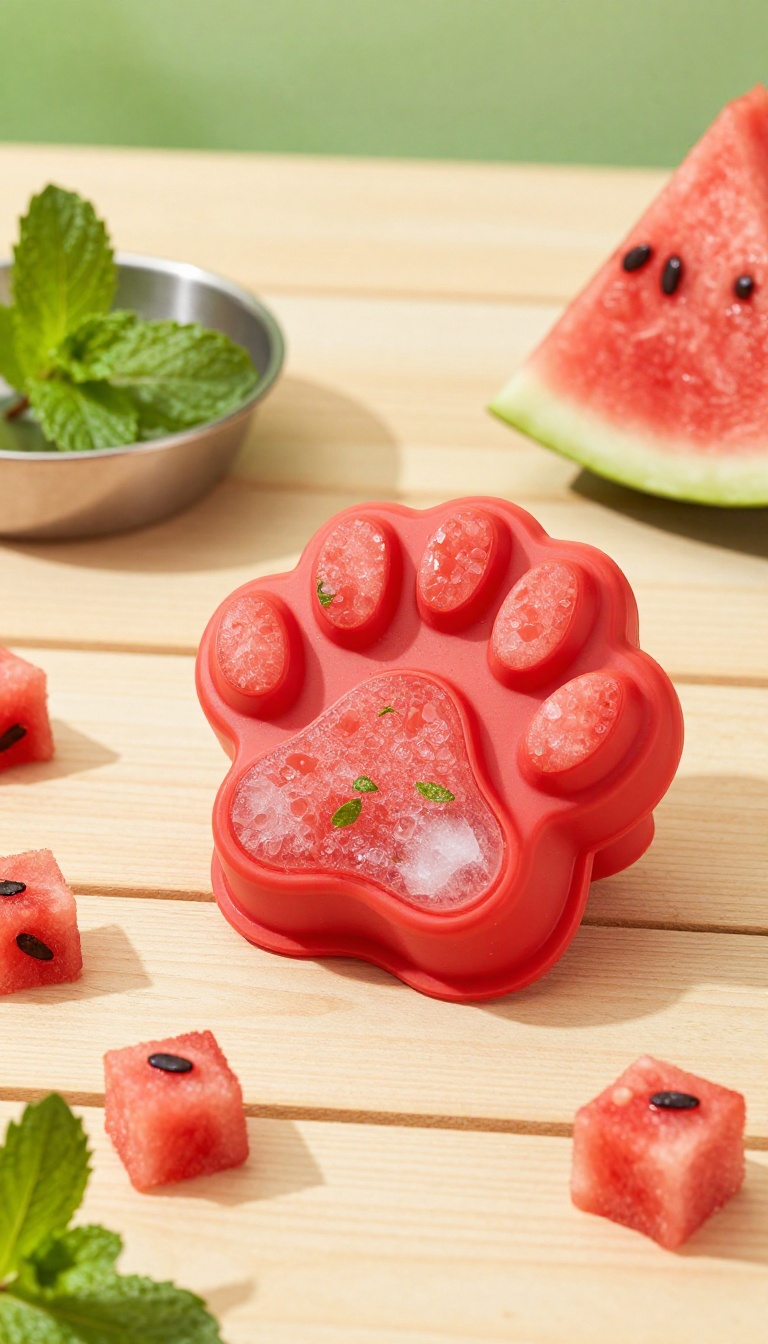
When the summer sun turns your backyard into a sauna, these frozen treats are a lifesaver. Watermelon is about 92% water, making it a fantastic way to keep your pup hydrated during those hot afternoon play sessions. The fresh mint adds a cool, refreshing twist that many dogs find intriguing, and the simple two-ingredient blend means you can whip up a batch in minutes.
Whether you're hosting a doggy playdate or just want to reward your furry friend after a long walk, these coolers are sure to be a hit.
Ingredients
- 2 cups seedless watermelon, cubed
- 5 fresh mint leaves
- 1/2 cup plain coconut water (optional, for extra hydration)
Instructions
- Place the watermelon cubes and mint leaves in a blender. Add the coconut water if using, and blend until completely smooth.
- Pour the mixture into silicone molds or an ice cube tray. If you don't have molds, you can use small paper cups or even a baking sheet lined with parchment paper.
- Freeze for at least 4 hours or until solid. Once frozen, pop the coolers out of the molds and store them in a freezer-safe bag or container.
Serving Tip
These frozen treats are best served outdoors or on a surface that's easy to wipe clean, as they can get a little drippy as they melt. For smaller dogs, break a cube in half to avoid overindulgence. Always supervise your pup while they enjoy a frozen treat, and limit to one or two per day, especially on hot days, to prevent brain freeze or tummy upset.
FAQ
Are these homemade dog treats safe for all dogs?
Most are safe for healthy dogs, but always check with your vet if your dog has allergies or health conditions. Avoid ingredients like xylitol, chocolate, and grapes.
How should I store these treats?
Store baked treats in an airtight container in the refrigerator for up to a week. Frozen treats should be kept in the freezer and served as needed.
Can I substitute ingredients in these recipes?
Yes, you can swap ingredients based on your dog's preferences or allergies. For example, use oat flour instead of wheat flour for gluten-sensitive dogs.
How many treats can I give my dog in a day?
Treats should make up no more than 10% of your dog's daily caloric intake. Adjust meal portions accordingly to avoid weight gain.
Can I make these treats ahead of time for a party?
Absolutely! Most baked treats can be made 2-3 days in advance and stored in an airtight container. Frozen treats can be made weeks ahead.
Conclusion
Making homemade treats for your dog's party is a wonderful way to show your love and ensure they enjoy safe, healthy snacks. With these 10 recipes, you can create a spread that will have every pup at the party begging for more.
Remember to always consider your dog's individual dietary needs and consult your vet if you have any concerns. Now, get ready to celebrate with your furry friend and make some tail-wagging memories!

I’m Pallab Kishore, the owner of Little Pets Realm — an animal lover and pet care enthusiast sharing easy tips, healthy recipes, and honest advice to help every small pet live a happy, healthy, tail-wagging life.