
Last updated on September 1st, 2026 at 04:43 pm
There’s a special kind of joy that comes from making something with your own hands for the dog who makes every day better. When you cook for your pup, you control exactly what goes into their bowl—no mystery fillers, just real, simple ingredients.
It’s a cozy ritual that fills your kitchen with warm smells and your dog’s tail with happy wags. These nine DIY dog food ideas are built around ingredients you probably already have in your pantry or fridge.
Think pumpkin, peanut butter, oats, sweet potatoes, and lean proteins. Each recipe is designed to be easy, budget-friendly, and gentle on your dog’s tummy, whether you’re whipping up a quick meal topper or a batch of chewy treats for training.
1. Cozy Pumpkin & Peanut Butter Dog Biscuits
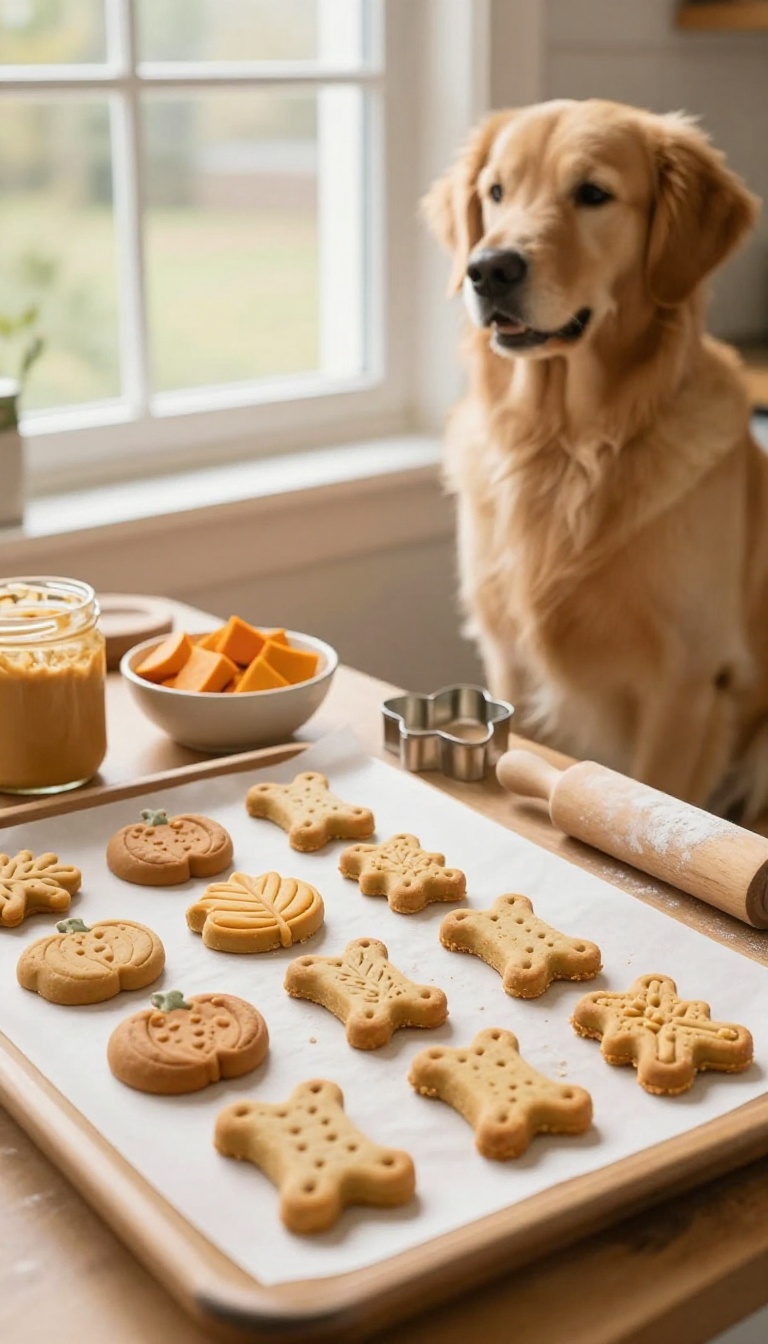
There's a certain magic in the air when autumn leaves start to crunch underfoot, and your dog seems to feel it too. These pumpkin and peanut butter biscuits capture that cozy vibe in every crunchy bite. They're easy to make with pantry staples, and the aroma that fills your kitchen will have your pup doing happy circles around the oven.
Whether you're celebrating the season or just want to share a warm, homemade moment, these treats are a simple way to show your dog some love.
Ingredients
- 1 cup canned pumpkin (unsweetened, not pumpkin pie filling)
- 1/2 cup natural peanut butter (xylitol-free)
- 2 large eggs
- 2 1/2 cups whole wheat flour (or oat flour for a grain-free option)
- 1/2 teaspoon ground cinnamon (optional, for extra coziness)
Instructions
- Preheat your oven to 350°F (175°C) and line a baking sheet with parchment paper.
- In a large bowl, mix the pumpkin, peanut butter, and eggs until smooth and well combined.
- Gradually stir in the flour and cinnamon, mixing until a stiff dough forms. If the dough seems too sticky, add a little more flour.
- Roll the dough out on a floured surface to about 1/4-inch thickness, then cut into fun shapes with cookie cutters.
- Place the biscuits on the prepared baking sheet and bake for 25-30 minutes, or until firm and lightly golden. Let them cool completely before serving.
Serving Tip
Store these biscuits in an airtight container in the refrigerator for up to two weeks, or freeze them for up to three months. For smaller dogs, break a biscuit into bite-sized pieces, and always supervise your pup when giving any treat.
2. Warm Sweet Potato & Chicken Stew for Dogs
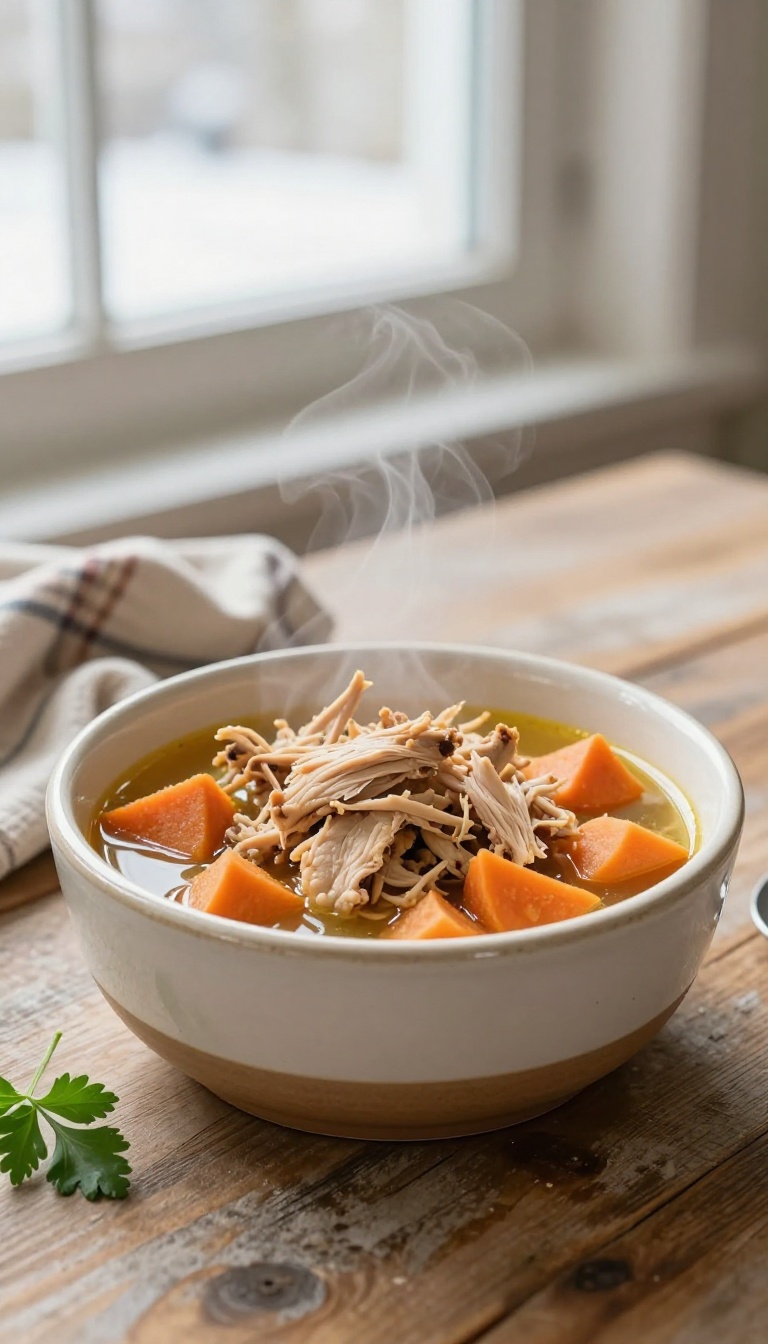
When the temperature drops, there's nothing quite like a warm, comforting bowl of stew to make your pup feel extra loved. This hearty mix of shredded chicken, sweet potatoes, and carrots is packed with dog-safe ingredients that are gentle on the tummy and full of flavor. It's the kind of meal that turns an ordinary dinner into a cozy ritual, especially on chilly evenings when your furry friend curls up by your feet.
Plus, it's simple to make in big batches, so you can keep a stash ready for those extra cold days.
Ingredients
- 1 lb boneless, skinless chicken breast or thighs
- 2 medium sweet potatoes, peeled and cubed
- 2 large carrots, peeled and chopped
- 4 cups low-sodium chicken broth (or water)
- 1 tablespoon olive oil (optional, for extra shine)
Instructions
- Add the chicken, sweet potatoes, carrots, and broth to a large pot. Bring to a boil, then reduce to a simmer and cover. Cook for 20–25 minutes, until the chicken is cooked through and the veggies are fork-tender.
- Remove the chicken to a cutting board, shred it with two forks, then return it to the pot. Stir everything together, let it cool completely, and serve.
Serving Tip
Portion into meal-sized containers and refrigerate for up to 4 days, or freeze for up to 3 months. For a topper, spoon a few tablespoons over your dog's regular kibble. Always let the stew cool to room temperature before serving, and adjust portion sizes based on your dog's weight and activity level.
3. Cheesy Oat & Apple Dog Treats
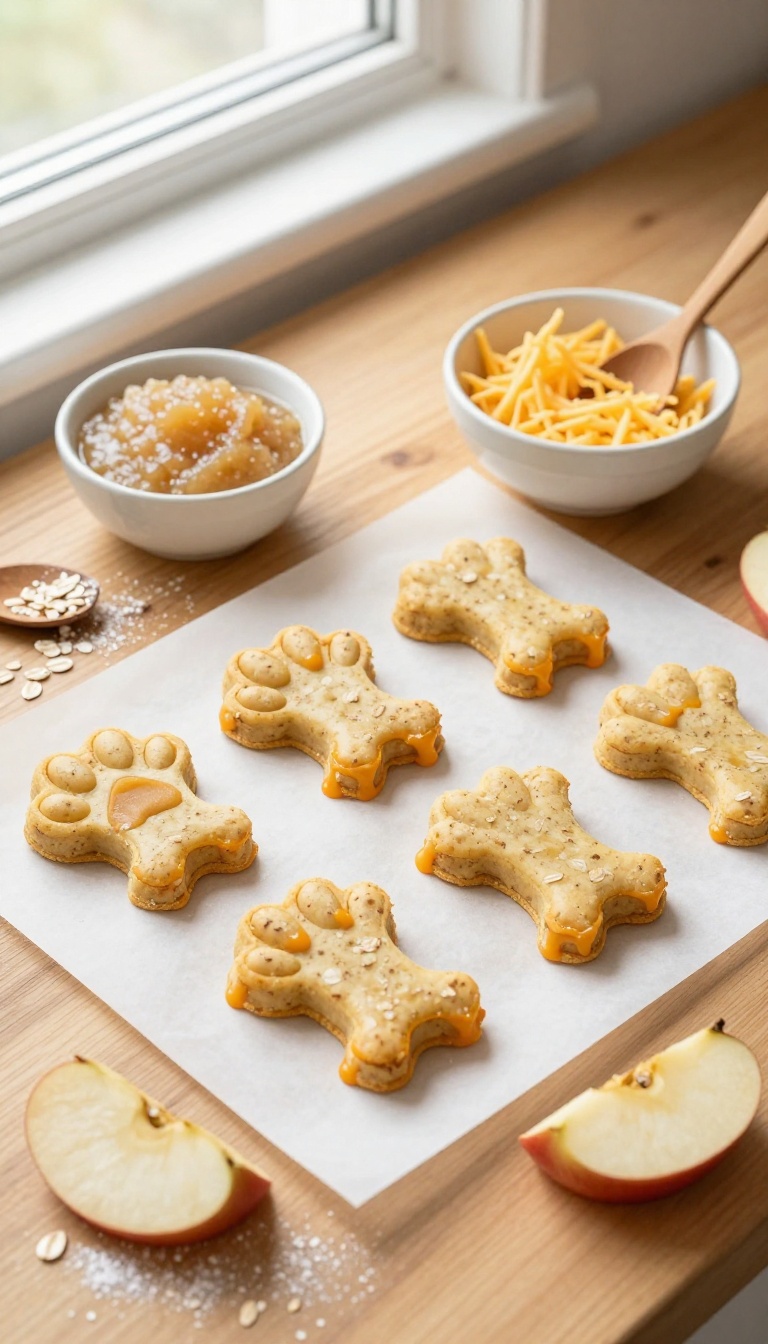
There’s something about the smell of warm apples and cheese baking together that makes the whole kitchen feel like a hug. These soft, chewy bites bring that cozy comfort straight to your pup’s bowl, mixing sweet apple with sharp cheddar in a way that’s hard to resist. They’re simple to stir together, bake up golden, and are perfect for training sessions or just a quiet afternoon snack.
Your dog will wag for these, and you’ll love how easy they are to make.
Ingredients
- 1 cup old-fashioned oats
- 1 cup whole wheat flour (or oat flour for a gluten-free option)
- 1/2 cup shredded cheddar cheese
- 1/2 cup unsweetened applesauce
- 1 large egg
- 1/4 cup water (as needed)
Instructions
- Preheat your oven to 350°F (175°C) and line a baking sheet with parchment paper.
- In a large bowl, mix the oats, flour, and shredded cheddar cheese together.
- Add the applesauce and egg, stirring until a dough forms. If the dough feels too dry, add water one tablespoon at a time until it comes together.
- Roll the dough out on a lightly floured surface to about 1/4-inch thickness, then cut into fun shapes with cookie cutters.
- Place the treats on the prepared baking sheet and bake for 15-18 minutes, or until the edges are lightly golden. Let them cool completely before serving.
Serving Tip
Store these treats in an airtight container in the fridge for up to a week, or freeze them for up to three months. Because they’re soft and chewy, they’re great for senior dogs or puppies who might struggle with crunchier biscuits. Start with one small treat per day for most dogs, and break them into smaller pieces for training rewards.
4. Frozen Blueberry & Yogurt Dog Treats
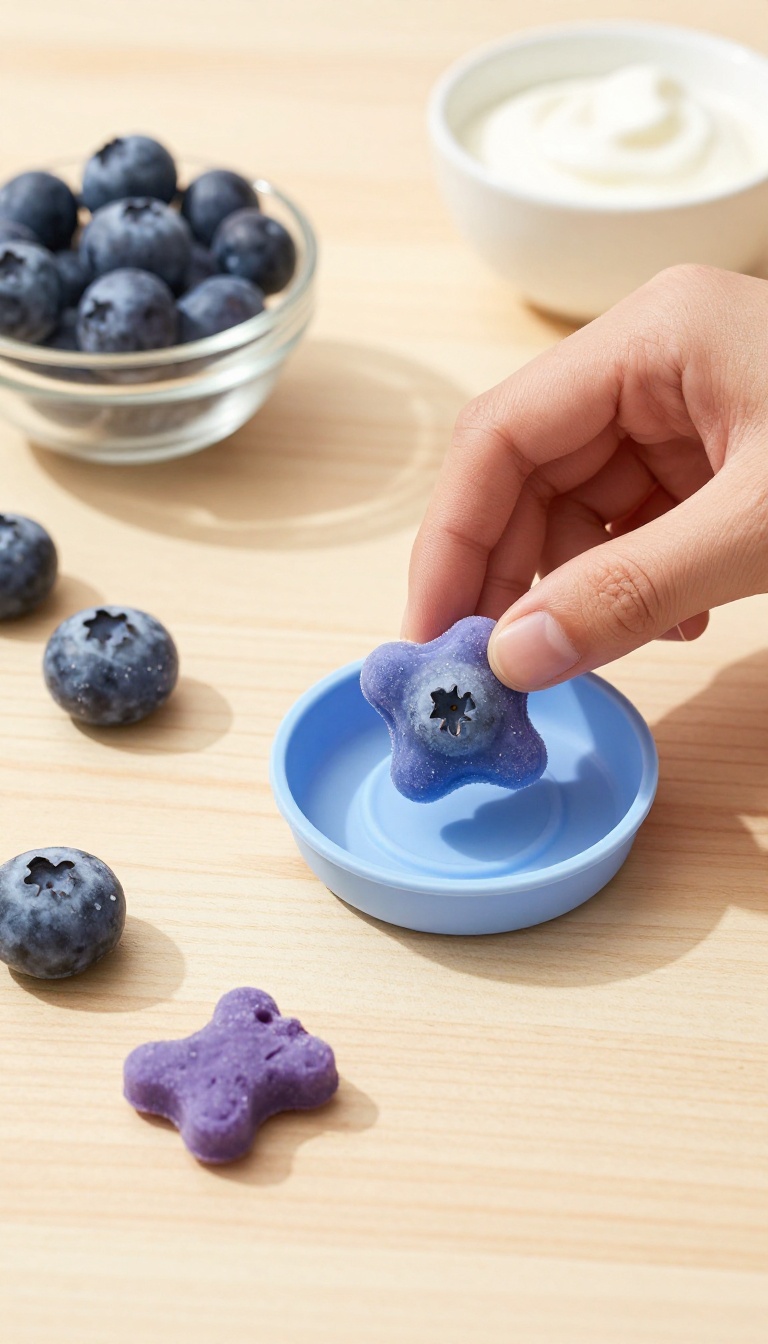
When the afternoon sun turns your backyard into a warm patch of grass, a frozen treat can feel like a little hug for your pup. These blueberry and yogurt bites are creamy, chilly, and full of simple goodness—just two ingredients you probably already have in your fridge. They're a cozy way to slow down together, whether you're capping off a walk or just sharing a quiet moment on the porch.
Plus, the soft, icy texture is gentle on teething puppies and a fun surprise for senior dogs who appreciate something cool and easy to enjoy.
Ingredients
- 1 cup plain, unsweetened yogurt (check that it has no xylitol)
- 1/2 cup fresh or frozen blueberries (rinsed if fresh)
- 1 tablespoon water (optional, to help blending)
Instructions
- In a blender or food processor, combine the yogurt and blueberries (add water if needed) and pulse until the mixture is smooth and evenly purple.
- Pour the mixture into silicone molds, an ice cube tray, or small paper cups, filling each about three-quarters full.
- Place the molds on a flat surface in the freezer and freeze for at least 3 hours, or until completely solid.
- Pop the treats out of the molds and store them in a sealed container or zip-top bag in the freezer.
Serving Tip
- Give your dog one frozen treat at a time, especially on warm days or after playtime. For smaller pups, break a treat into pieces to avoid overdoing it. These are best served straight from the freezer—let them sit for a minute if you want a softer texture.
- Keep them frozen and use within a month for the freshest taste.
5. Hearty Beef & Brown Rice Dog Food
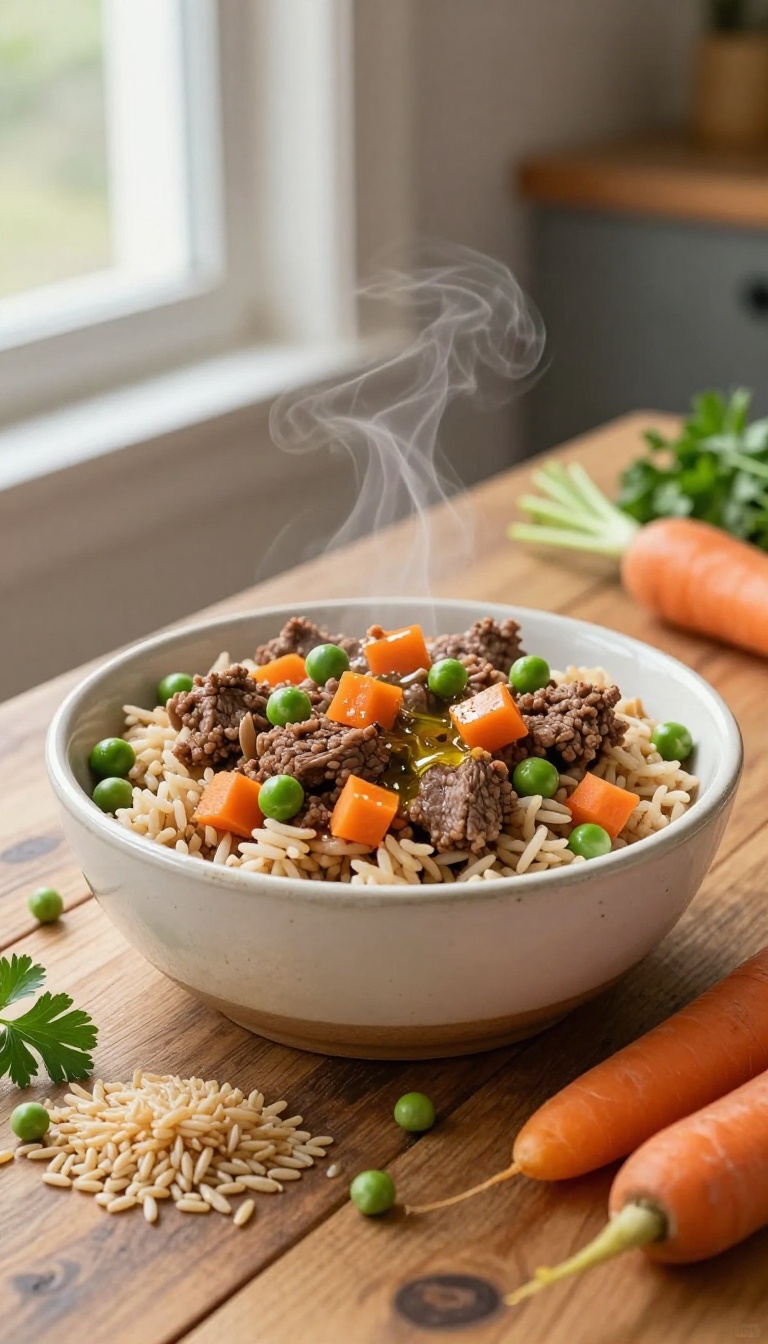
There’s something deeply satisfying about ladling a warm, home-cooked meal into your dog’s bowl, especially when the kitchen smells like slow-simmered beef and rice. This recipe is built around simple, wholesome ingredients that most pups find irresistible, and it’s a lovely way to turn an ordinary evening into a cozy, comforting ritual. Whether you’re looking to supplement your dog’s regular kibble or serve a special dinner, this hearty dish feels like a warm hug in a bowl.
Ingredients
- 1 lb lean ground beef (85% lean or higher)
- 1 cup brown rice, rinsed
- 2 cups water or low-sodium beef broth
- 1 cup frozen or fresh peas
- 1 medium carrot, finely diced
- 1 tablespoon olive oil (optional, for extra shine)
Instructions
- In a large skillet or pot, brown the ground beef over medium heat, breaking it into small crumbles. Drain any excess fat, then set the beef aside.
- In the same pot, add the rinsed brown rice, water or broth, and diced carrot. Bring to a boil, then reduce heat to low, cover, and simmer for about 35–40 minutes, or until the rice is tender and liquid is absorbed.
- Stir in the peas and cooked beef, and let everything warm through for another 5 minutes. Allow the mixture to cool completely before serving to your dog.
Serving Tip
- Serve this as a hearty topper or mix it with your dog’s regular kibble. For a 50-pound dog, a good starting portion is about 1 cup per meal, but adjust based on your dog’s weight and activity level. Store leftovers in an airtight container in the fridge for up to 4 days, or freeze in individual portions for up to 3 months.
- Always let the food come to room temperature before serving.
6. Peanut Butter & Banana Frozen Dog Pops
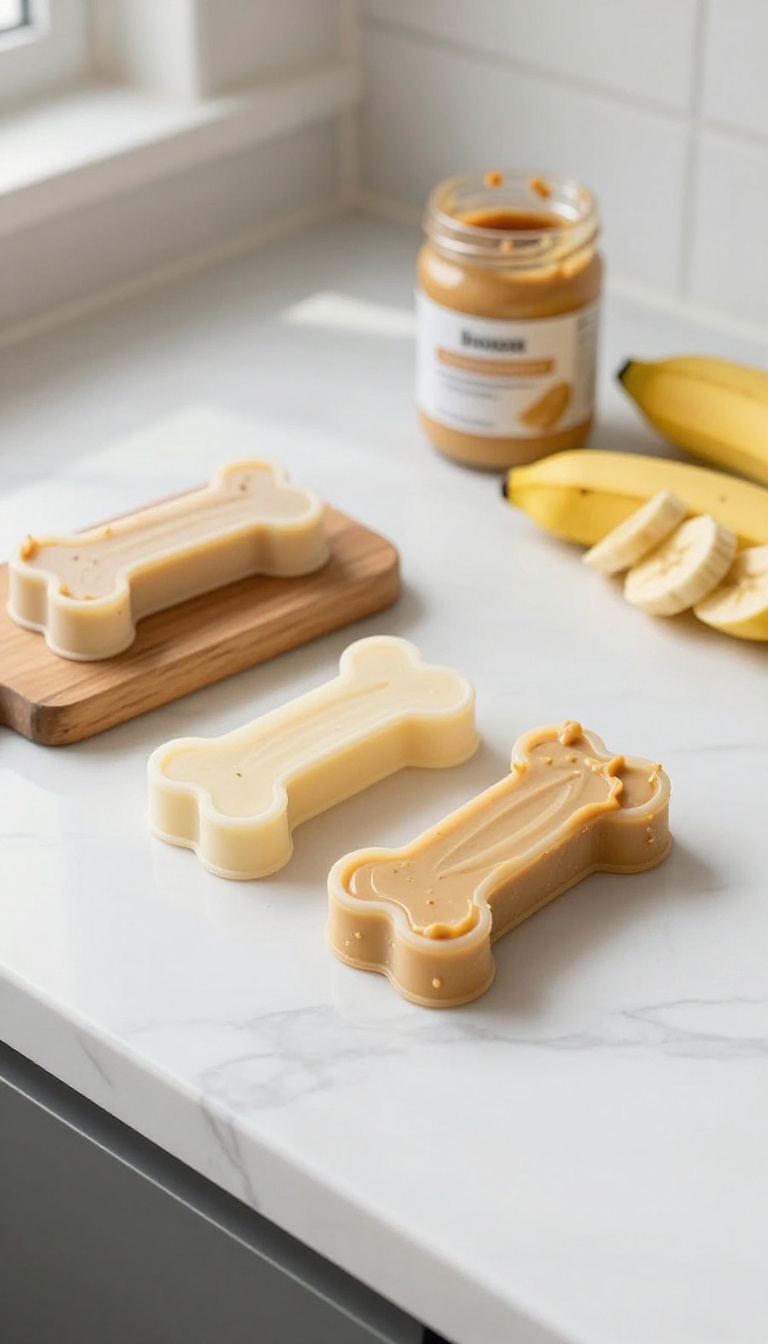
When the afternoon sun turns your backyard into a warm spot, a frozen pop can make your pup's tail wag with pure joy. These creamy bites blend the classic combo of peanut butter and banana into a chilly snack that feels like a special reward. They're simple to whip up, need just a few pantry staples, and give your dog a refreshing break that’s as comforting as a cozy afternoon nap.
Ingredients
- 2 ripe bananas, mashed
- 1/2 cup plain unsweetened peanut butter (xylitol-free)
- 1 cup plain Greek yogurt (or unsweetened coconut yogurt for a dairy-free option)
- 1/4 cup water (or unsweetened almond milk)
Instructions
- In a medium bowl, mash the bananas until mostly smooth. Add the peanut butter, yogurt, and water, then stir until the mixture is well combined and creamy.
- Spoon the mixture into silicone molds or an ice cube tray. If using an ice cube tray, you can add small dog-friendly treats like a tiny piece of banana or a dab of peanut butter in each cube for extra fun.
- Place the molds in the freezer for at least 3–4 hours, or until fully frozen. Pop the pops out and serve one to your pup on a hot day.
Serving Tip
These pops are best served frozen, but you can let them sit out for a couple of minutes to soften slightly if your dog prefers a gentler bite. Store leftovers in an airtight container or zip-top bag in the freezer for up to two weeks. For smaller dogs, consider using mini muffin tins or smaller molds to keep portion sizes appropriate.
7. Salmon & Spinach Dog Food Topper
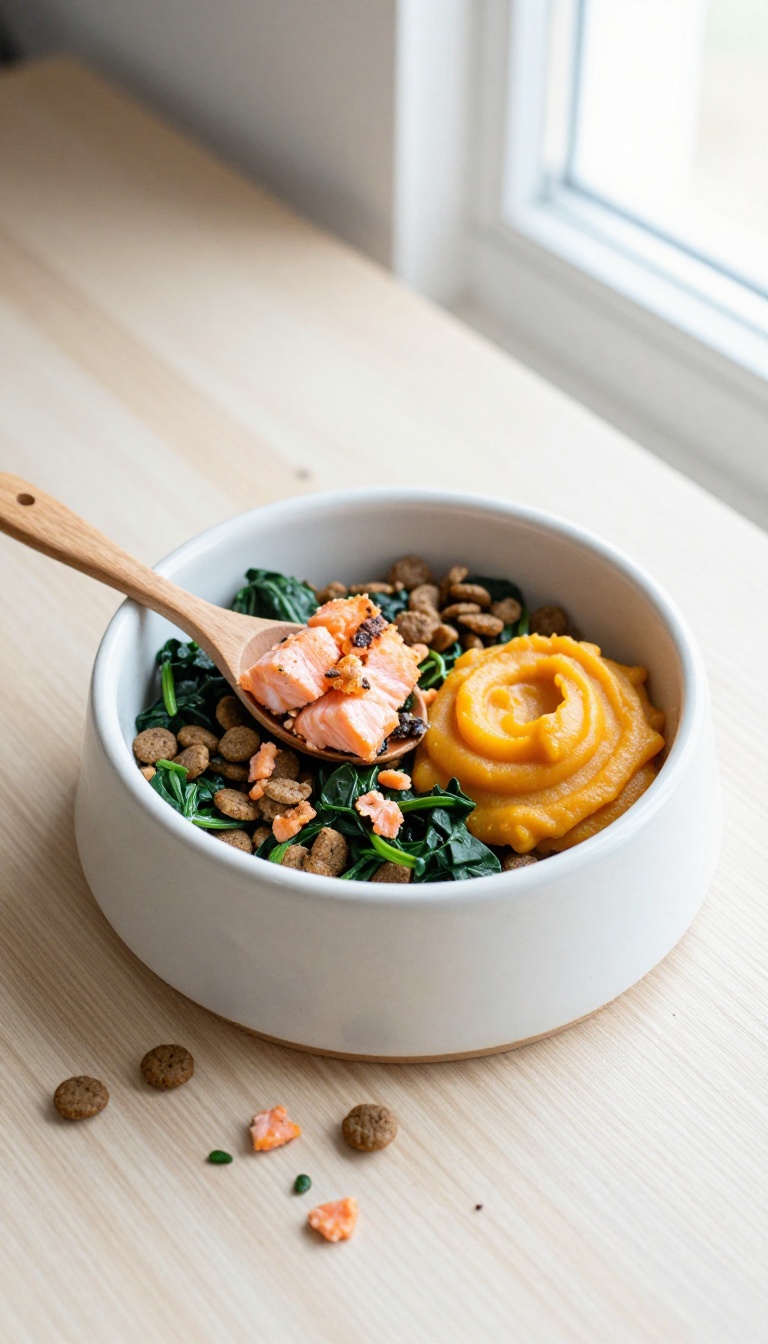
There are days when your pup's regular kibble needs a little extra love, and this salmon and spinach topper is just the cozy hug it deserves. It's a simple way to turn an ordinary meal into something special, with flaky salmon that smells amazing and spinach that adds a gentle green boost. Whether you're looking to entice a picky eater or just want to add some variety, this warm, savory topping will make dinner feel like a comforting ritual for your furry friend.
Ingredients
- 1 cup cooked salmon, flaked (no bones or skin)
- 1/2 cup fresh spinach, finely chopped
- 1/4 cup plain, unsweetened pumpkin puree
- 1 tablespoon olive oil
- 1/4 cup water or low-sodium chicken broth
Instructions
- In a small saucepan, heat the olive oil over medium heat. Add the chopped spinach and sauté for 2–3 minutes until wilted.
- Stir in the flaked salmon, pumpkin puree, and water or broth. Cook for another 3–4 minutes, stirring gently, until everything is warmed through and well combined.
- Remove from heat and let cool slightly before serving. Store leftovers in an airtight container in the fridge for up to 3 days.
Serving Tip
Serve this topper warm or at room temperature, spooning 1–2 tablespoons over your dog's regular meal, depending on their size. It's best used fresh, but you can freeze portions in an ice cube tray for quick thaw-and-serve convenience. Always check with your vet before adding new foods to your dog's diet.
8. Carrot & Coconut Oil Dog Biscuits
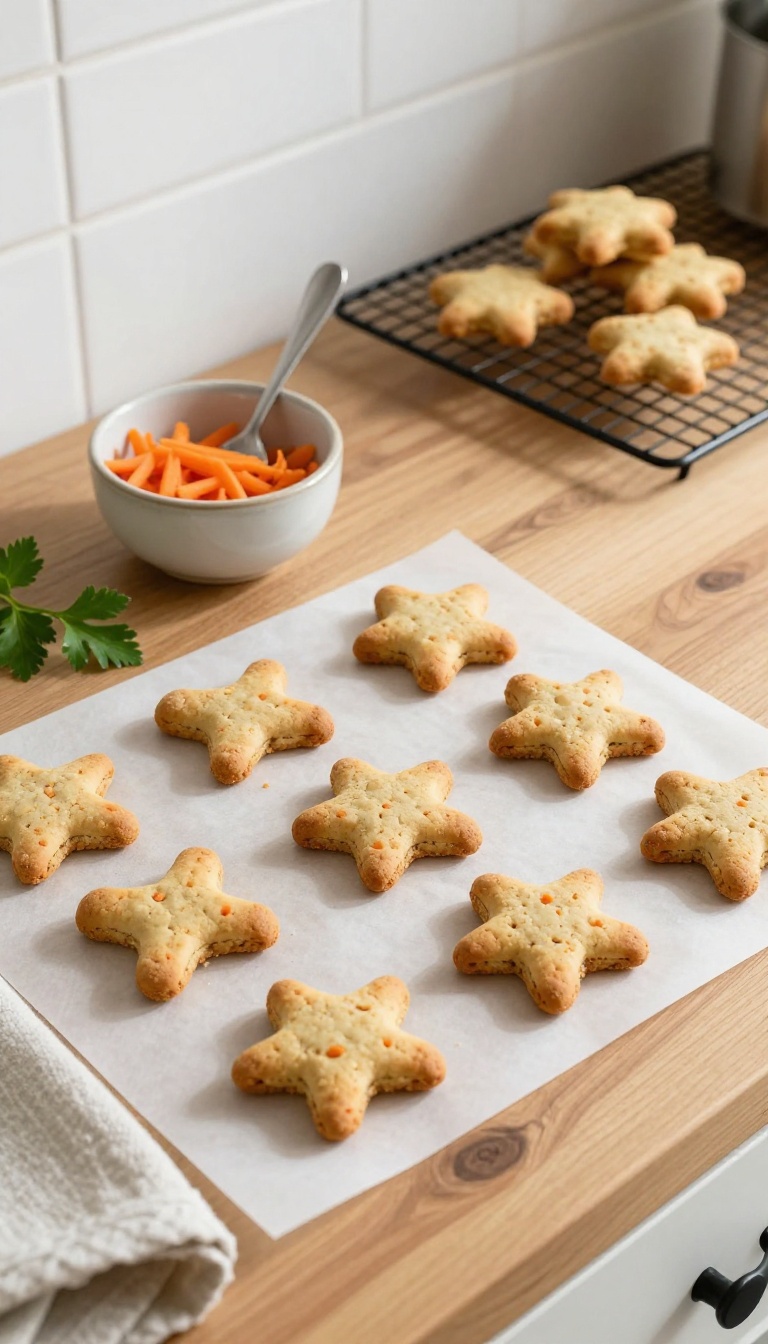
There's a certain comfort in watching your pup crunch into a homemade biscuit, knowing exactly what went into it. These carrot and coconut oil treats bring together the natural sweetness of carrots with the silky richness of coconut oil, creating a cozy snack that feels like a warm hug in treat form. The beta-carotene from carrots supports healthy vision and a shiny coat, while coconut oil adds a gentle boost of healthy fats that many dogs adore.
Whether you're baking for a rainy afternoon or just want to spoil your furry friend, these biscuits are a simple way to show you care.
Ingredients
- 1 cup grated carrot (about 1 medium carrot)
- 1/4 cup coconut oil, melted
- 1 large egg
- 1/3 cup water (or unsalted chicken broth for extra flavor)
- 2 cups whole wheat flour (or oat flour for a gluten-free option)
Instructions
- Preheat your oven to 350°F (175°C) and line a baking sheet with parchment paper.
- In a large bowl, mix the grated carrot, melted coconut oil, egg, and water until well combined.
- Gradually stir in the flour, a cup at a time, until a stiff dough forms. If the dough feels too dry, add a tablespoon of water at a time.
- On a lightly floured surface, roll the dough to about 1/4-inch thickness. Use cookie cutters to shape the biscuits, or simply cut into small squares with a knife.
- Place the biscuits on the prepared baking sheet and bake for 25–30 minutes, or until golden brown and firm to the touch.
- Let the biscuits cool completely on a wire rack before serving. They will harden as they cool.
Serving Tip
Store these biscuits in an airtight container at room temperature for up to a week, or freeze them for up to three months. For smaller dogs, break the biscuits into bite-sized pieces. These treats are perfect for training sessions or as a cozy afternoon snack—just remember to adjust your pup's daily calorie intake accordingly.
9. Turkey & Quinoa Meatballs for Dogs
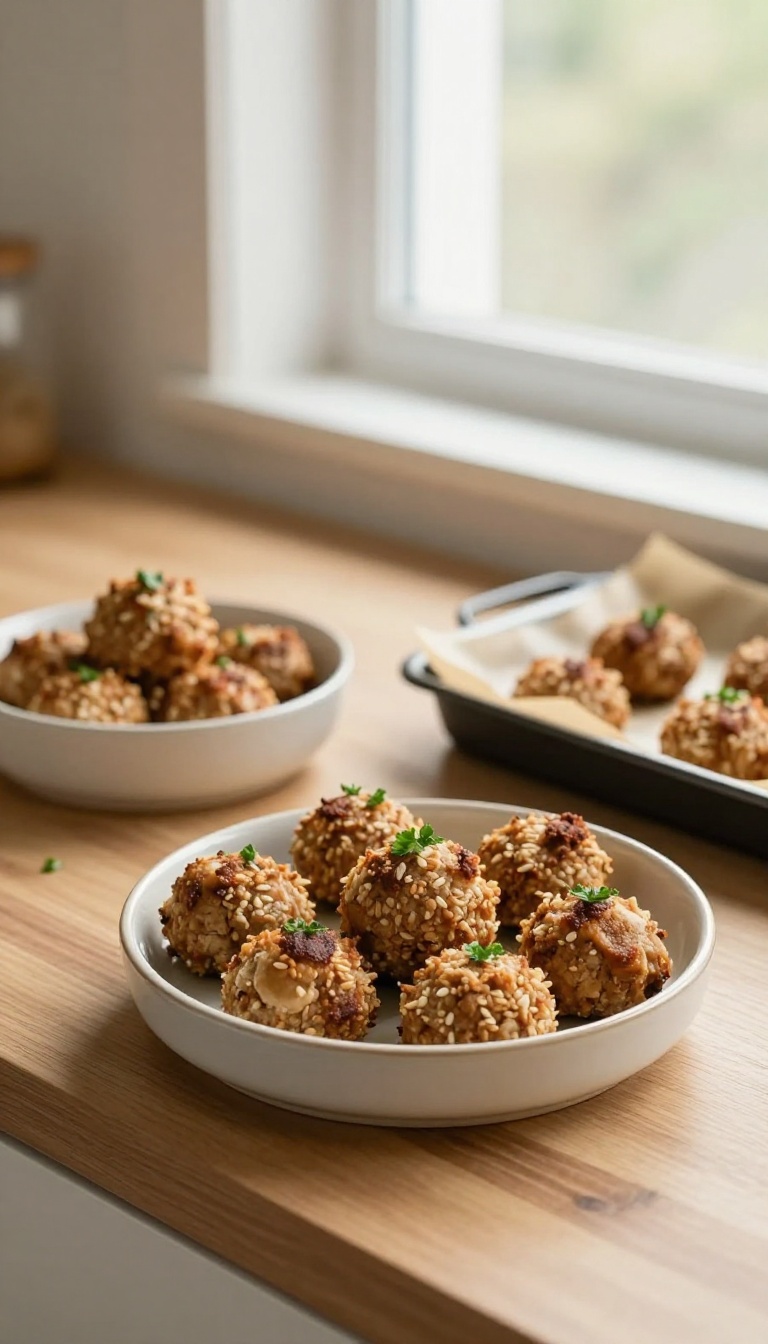
There's something about a warm, hearty meal that just feels like a hug, and these turkey and quinoa meatballs bring that cozy comfort straight to your dog's bowl. They're simple to make with lean ground turkey and fluffy quinoa, which come together into tender, bite-sized treats that are packed with protein and easy to chew. Whether you need a special reward for training or want to add a little excitement to dinner, these meatballs are a wholesome way to show your pup some love.
Ingredients
- 1 lb lean ground turkey
- 1 cup cooked quinoa, cooled
- 1/2 cup finely grated carrots
- 1/4 cup chopped fresh parsley
- 1 large egg, beaten
- 1/4 cup oat flour (or rolled oats, ground)
Instructions
- Preheat your oven to 350°F (175°C) and line a baking sheet with parchment paper.
- In a large bowl, combine the ground turkey, cooked quinoa, grated carrots, parsley, beaten egg, and oat flour. Mix gently until everything is well incorporated.
- Roll the mixture into small, bite-sized meatballs, about 1 inch in diameter, and place them on the prepared baking sheet.
- Bake for 20 to 25 minutes, or until the meatballs are cooked through and lightly golden on the outside. Let them cool completely before serving.
Serving Tip
Store these meatballs in an airtight container in the refrigerator for up to 5 days, or freeze them for up to 3 months. For training, break them into smaller pieces to keep portions treat-sized. Always let them cool completely before serving to avoid burns.
FAQ
Are these DIY dog food ideas nutritionally complete?
Most of these recipes are meant as treats or toppers, not complete meals. For a balanced diet, consult your vet and consider using them as supplements to your dog's regular food.
Can I substitute ingredients in these recipes?
Yes, but always choose dog-safe alternatives. For example, you can swap peanut butter for unsweetened applesauce or use different proteins like turkey instead of chicken. Just avoid toxic ingredients like onions, garlic, and xylitol.
How should I store homemade dog treats and food?
Store baked treats in an airtight container at room temperature for up to a week, or freeze for longer. Fresh food like stews and meatballs should be refrigerated and used within 3-4 days, or frozen in portions.
Can puppies eat these recipes?
Most are safe for puppies, but always introduce new foods gradually and in small amounts. Check with your vet for specific puppy dietary needs, as they require more calories and nutrients.
How do I know if my dog has a food allergy?
Watch for signs like itching, digestive upset, or ear infections. If you suspect an allergy, introduce one new ingredient at a time and monitor your dog. Consult your vet for proper allergy testing and guidance.
Conclusion
Making your own dog food and treats is a wonderful way to show your furry friend how much you care. With these nine simple, cozy recipes, you can create everything from crunchy biscuits to hearty stews, all using real ingredients you can trust.
Your dog will love the flavors, and you’ll love the peace of mind that comes from knowing exactly what’s in their bowl. So next time you’re in the kitchen, think about whipping up a batch of something special for your pup.

I’m Pallab Kishore, the owner of Little Pets Realm — an animal lover and pet care enthusiast sharing easy tips, healthy recipes, and honest advice to help every small pet live a happy, healthy, tail-wagging life.