
Last updated on September 1st, 2026 at 04:43 pm
There's something special about watching your dog settle in with a chew that keeps them busy and content. Homemade dog chews are a wonderful way to show your pup some extra love, and they're easier to make than you might think.
With simple, dog-safe ingredients and a little time, you can create treats that are both comforting and long-lasting. These chews are perfect for cozy afternoons when you want to pamper your furry friend.
They're made with wholesome ingredients like sweet potato, pumpkin, and oats, which are gentle on your dog's tummy and full of natural flavor. Plus, making them at home means you know exactly what's in every bite.
1. Sweet Potato Chew Strips
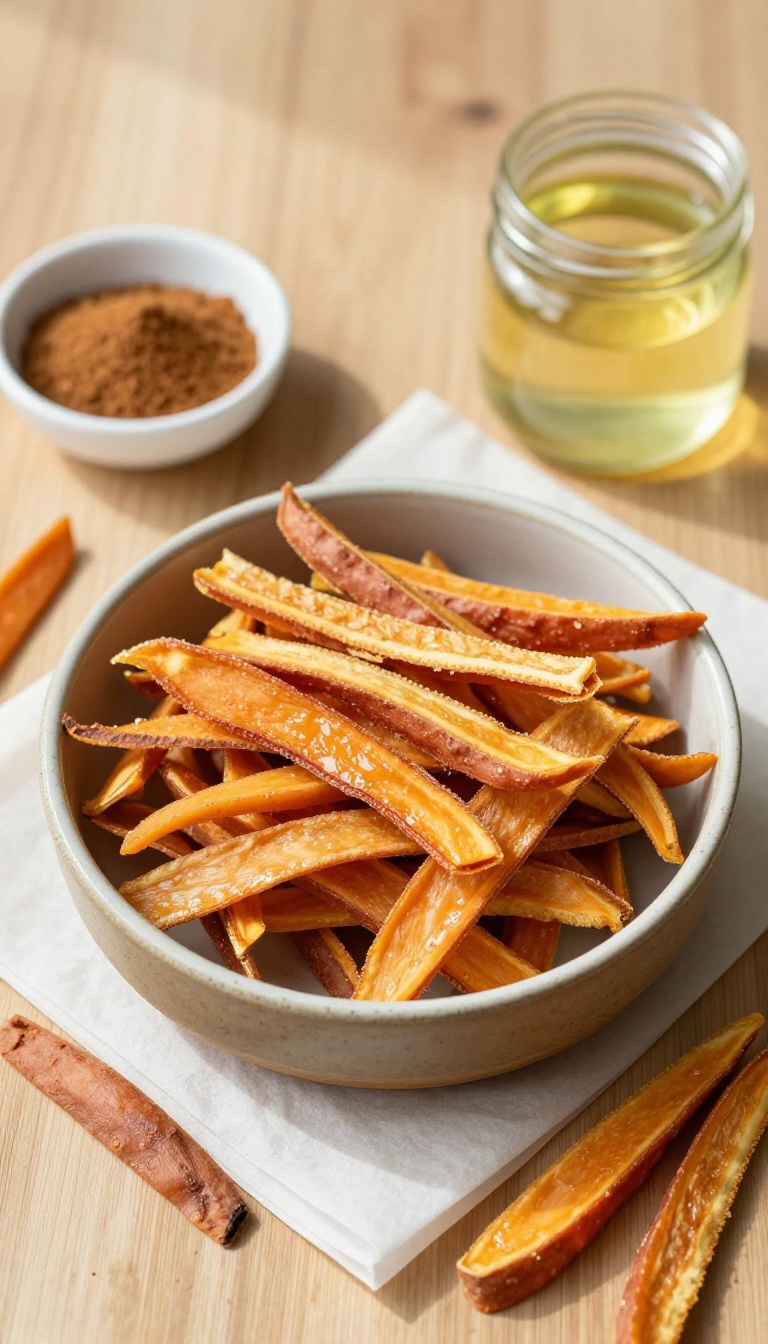
When the afternoon winds down and your pup is looking for something to do, a long-lasting chew can be a cozy comfort. These sweet potato strips are a simple, wholesome way to give your dog a satisfying snack that also keeps them busy. The natural sweetness and chewy texture make them a favorite for many dogs, and you can feel good about exactly what goes into them.
Ingredients
- 2 large sweet potatoes, washed and peeled
- 1 tablespoon coconut oil, melted (optional)
- 1/2 teaspoon ground cinnamon (optional, for a warm aroma)
Instructions
- Preheat your oven to 200°F (95°C) or set your dehydrator to 135°F (57°C). Line a baking sheet with parchment paper if using the oven.
- Slice the sweet potatoes lengthwise into thin strips, about 1/4-inch thick. For a chewier texture, keep them a bit thicker; for crispier strips, slice thinner.
- In a large bowl, toss the strips with the melted coconut oil and cinnamon, if using, until evenly coated.
- Arrange the strips in a single layer on the prepared baking sheet or dehydrator trays, making sure they don't overlap.
- Bake or dehydrate for 3 to 4 hours, flipping halfway through, until the strips are dried but still pliable. They should bend without snapping. Let them cool completely before serving.
Serving Tip
Store these chews in an airtight container in the refrigerator for up to two weeks, or freeze for longer storage. Give your dog one or two strips as a rewarding snack, and always supervise to ensure they chew properly. The chewy texture is great for dental health, but adjust the thickness based on your dog's size and chewing habits.
2. Pumpkin and Oat Chewy Bites
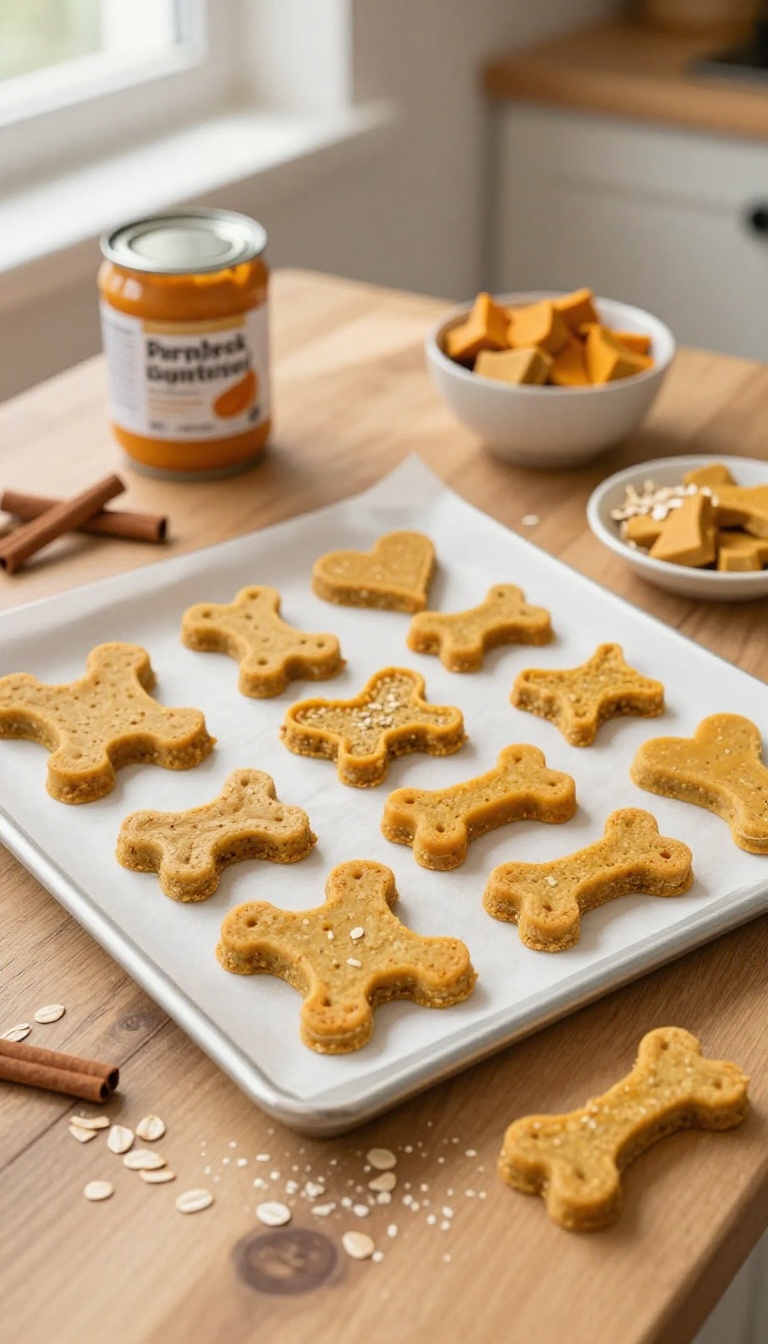
When the weather turns cool, there's nothing quite like the smell of pumpkin and oats baking in the oven. These soft, chewy bites bring that cozy feeling straight to your dog's bowl, making them a wonderful choice for senior pups or any dog who prefers a gentler chew. The combination of pumpkin and oats is not only comforting but also easy on sensitive stomachs, so you can feel good about sharing a warm, homemade treat that's both simple and soothing.
Ingredients
- 1 cup canned pumpkin (100% pure, not pie filling)
- 2 cups rolled oats (plus a little extra for dusting)
- 1/4 cup plain unsweetened applesauce
- 1 large egg
- 1/2 teaspoon ground cinnamon (optional, but adds a nice aroma)
Instructions
- Preheat your oven to 350°F (175°C) and line a baking sheet with parchment paper.
- In a large bowl, combine the pumpkin, applesauce, and egg, mixing until smooth.
- Stir in the oats and cinnamon, then mix until a soft dough forms. If the dough seems too sticky, add a tablespoon of oats at a time until it's manageable.
- Lightly dust a clean surface with oats, then roll the dough to about 1/4-inch thickness. Use a cookie cutter or knife to cut into small, bite-sized shapes.
- Place the bites on the prepared baking sheet and bake for 18–20 minutes, until they're firm to the touch but still soft in the center.
- Let them cool completely before serving. Store any leftovers in an airtight container in the fridge for up to a week.
Serving Tip
These bites are soft enough for older dogs or those with dental issues, but they still hold their shape nicely. For smaller pups, cut them into tiny squares; for larger breeds, you can make them bigger. Keep them refrigerated to maintain their chewy texture, and give one or two as a special treat, adjusting for your dog's size and daily calorie needs.
3. Peanut Butter and Banana Jerky
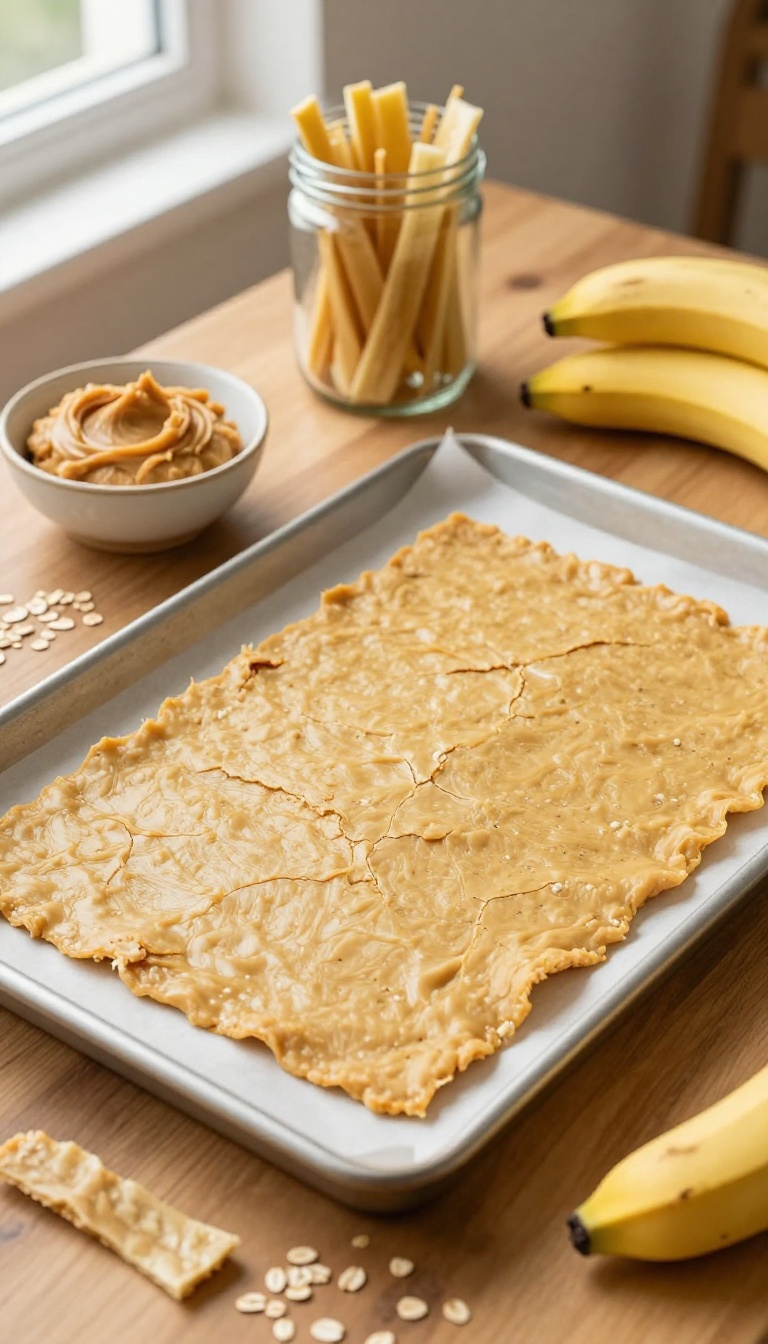
There's something about the combo of peanut butter and banana that makes dogs do a happy dance, and this jerky turns that favorite flavor into a long-lasting chew. It's a cozy, comforting treat that fills your kitchen with a gentle, nutty aroma while it bakes low and slow. Your pup will love the chewy texture, and you'll love how simple it is to make with just a few pantry staples.
Ingredients
- 2 ripe bananas, mashed
- 1/2 cup natural peanut butter (unsalted, no xylitol)
- 1/4 cup water
- 1 1/2 cups rolled oats (or oat flour)
Instructions
- Preheat your oven to 175°F (80°C) and line a baking sheet with parchment paper.
- In a mixing bowl, combine the mashed bananas, peanut butter, and water until smooth. Gradually stir in the oats to form a thick, spreadable batter.
- Spread the batter evenly onto the prepared baking sheet, about 1/4-inch thick. Use a spatula to smooth the top.
- Bake for 2 to 3 hours, or until the mixture is firm and slightly dry to the touch. Let it cool completely.
- Once cool, peel the jerky sheet off the parchment and cut it into strips or bite-sized pieces. Store in an airtight container.
Serving Tip
- This jerky is chewy and rich, so it's perfect for training or as a special afternoon reward. Cut pieces according to your dog's size—smaller for puppies, larger for big dogs. Keep it in the fridge for up to two weeks, or freeze for longer storage.
- Always supervise your dog while enjoying any chew treat.
4. Carrot and Apple Chew Sticks
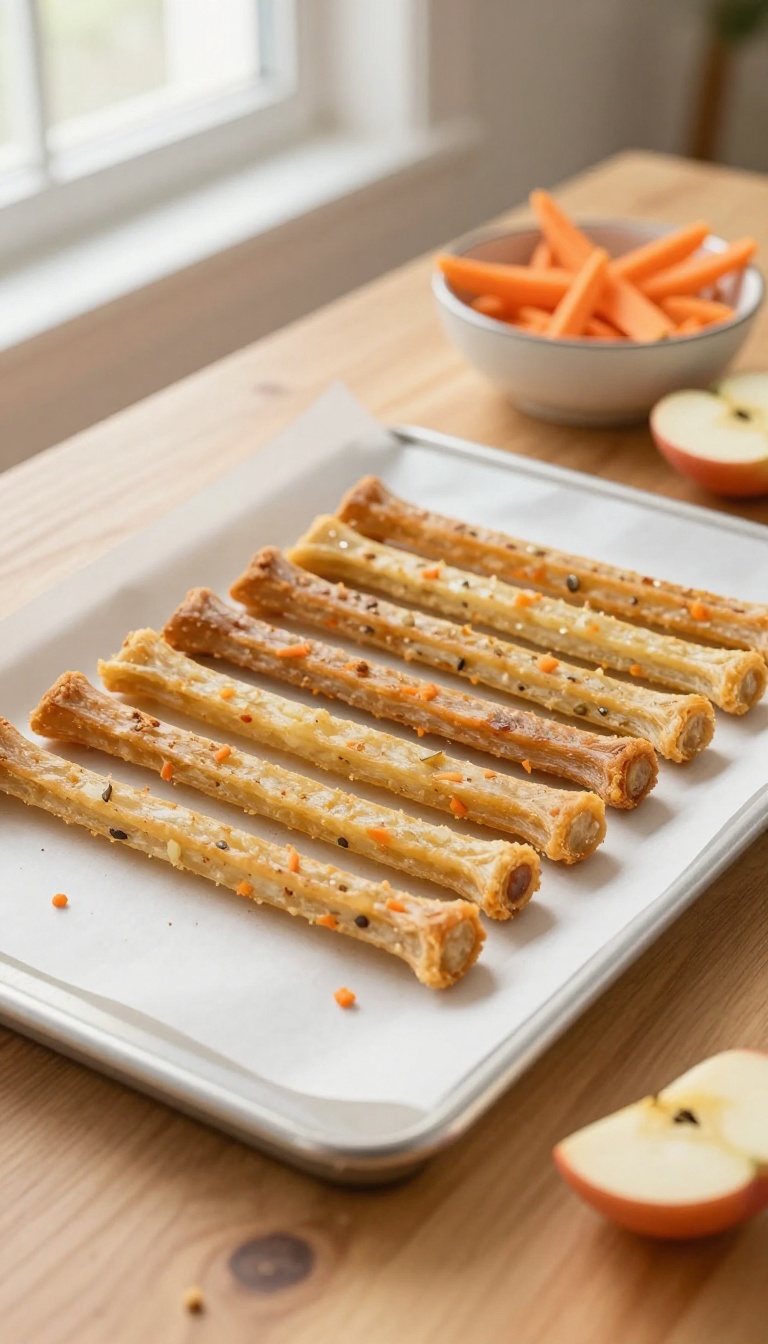
When your pup needs something to gnaw on that’s more than just a fleeting snack, these carrot and apple chew sticks are a cozy, comforting choice. They’re baked until firm and crunchy, giving your dog a satisfying texture that also helps scrape away plaque and freshen breath. The natural sweetness of apple and the earthy crunch of carrot make them a wholesome, dog-safe treat you can feel good about offering anytime.
Ingredients
- 1 cup grated carrot (about 1 medium carrot)
- 1 cup grated apple (about 1 medium apple, cored and seeds removed)
- 1 ½ cups oat flour (or whole wheat flour for a sturdier stick)
- 1 large egg, beaten
- 1 tablespoon coconut oil, melted
Instructions
- Preheat your oven to 350°F (175°C) and line a baking sheet with parchment paper.
- In a large bowl, mix the grated carrot, grated apple, oat flour, beaten egg, and melted coconut oil until a thick dough forms. If it feels too wet, add a bit more flour; if too dry, add a teaspoon of water.
- Turn the dough onto a lightly floured surface and roll it out to about ½-inch thickness.
- Cut the dough into stick shapes (about 3 inches long and ½ inch wide) using a knife or a pizza cutter.
- Place the sticks on the prepared baking sheet, leaving a little space between each.
- Bake for 25–30 minutes, until the sticks are golden and firm to the touch. Let them cool completely on a wire rack before serving.
Serving Tip
- These chew sticks are meant for moderate chewing, not for gulping. Offer one stick per day for medium to large dogs, and break it into smaller pieces for smaller pups. Store them in an airtight container at room temperature for up to a week, or refrigerate for up to two weeks.
- For extra firmness, you can leave them in the oven (turned off) overnight to dry out further.
5. Chicken and Sweet Potato Twists
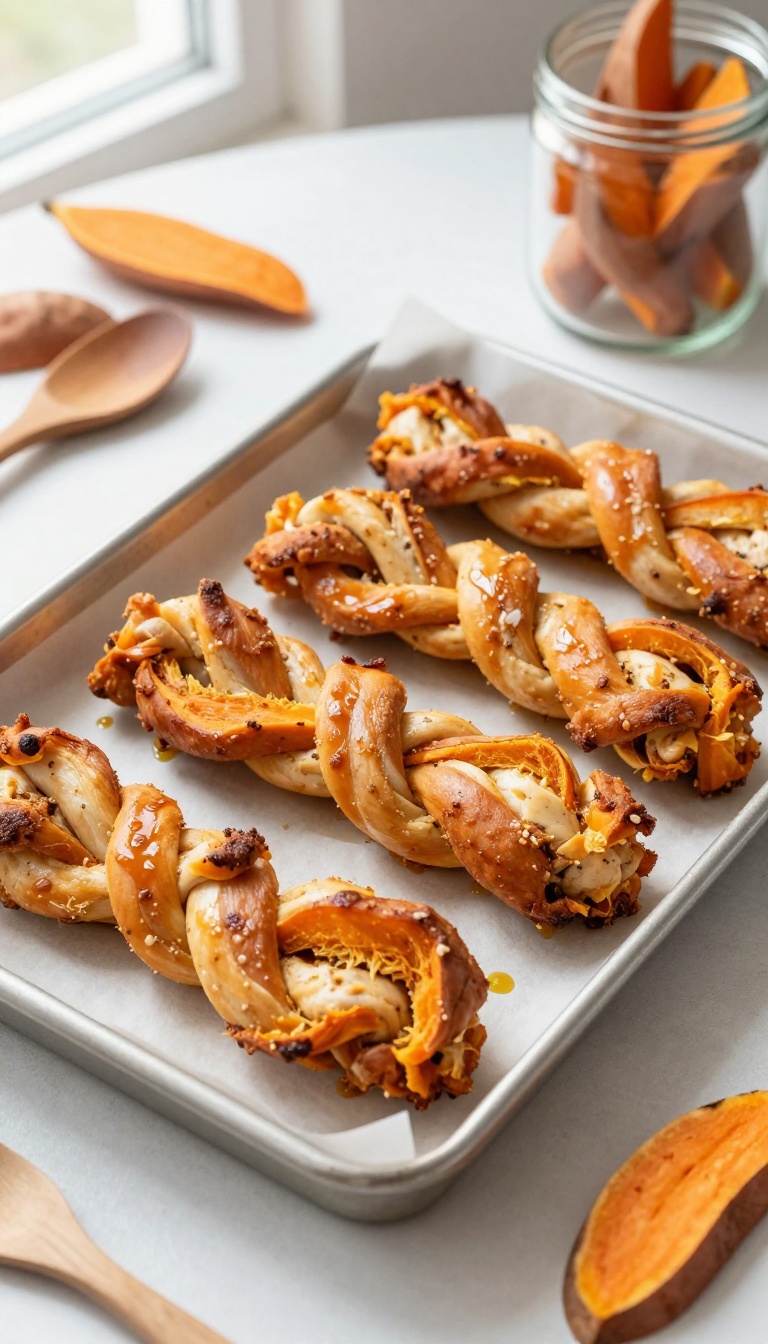
When the weather turns cool and you're craving something cozy, these twists bring that same warm comfort to your dog's treat jar. The combination of lean chicken and naturally sweet sweet potato creates a savory-sweet flavor that dogs find irresistible. Plus, the twisting shape makes them fun to chew and helps keep your pup entertained a little longer.
They're simple to make, easy to store, and perfect for those moments when you want to give your furry friend a little extra love.
Ingredients
- 1 large sweet potato, peeled and sliced into thin strips
- 1 boneless, skinless chicken breast, sliced into thin strips
- 1 tablespoon coconut oil (optional, for brushing)
Instructions
- Preheat your oven to 170°F (or the lowest setting) and line a baking sheet with parchment paper.
- Take one strip of sweet potato and one strip of chicken, lay them side by side, and gently twist them together like a rope. Place the twists on the prepared baking sheet.
- If using, brush each twist lightly with coconut oil to help them crisp up and add a subtle flavor.
- Dehydrate in the oven for 3 to 4 hours, or until the twists are firm and dry to the touch. Let them cool completely before serving.
- Store in an airtight container in the refrigerator for up to a week, or freeze for longer storage.
Serving Tip
These twists are chewy and satisfying, so they're great for slow munching. For smaller dogs, you can cut the twists into bite-sized pieces. Always supervise your dog while they enjoy this treat, and adjust the dehydration time if you prefer a softer or crunchier texture.
6. Coconut and Blueberry Chews
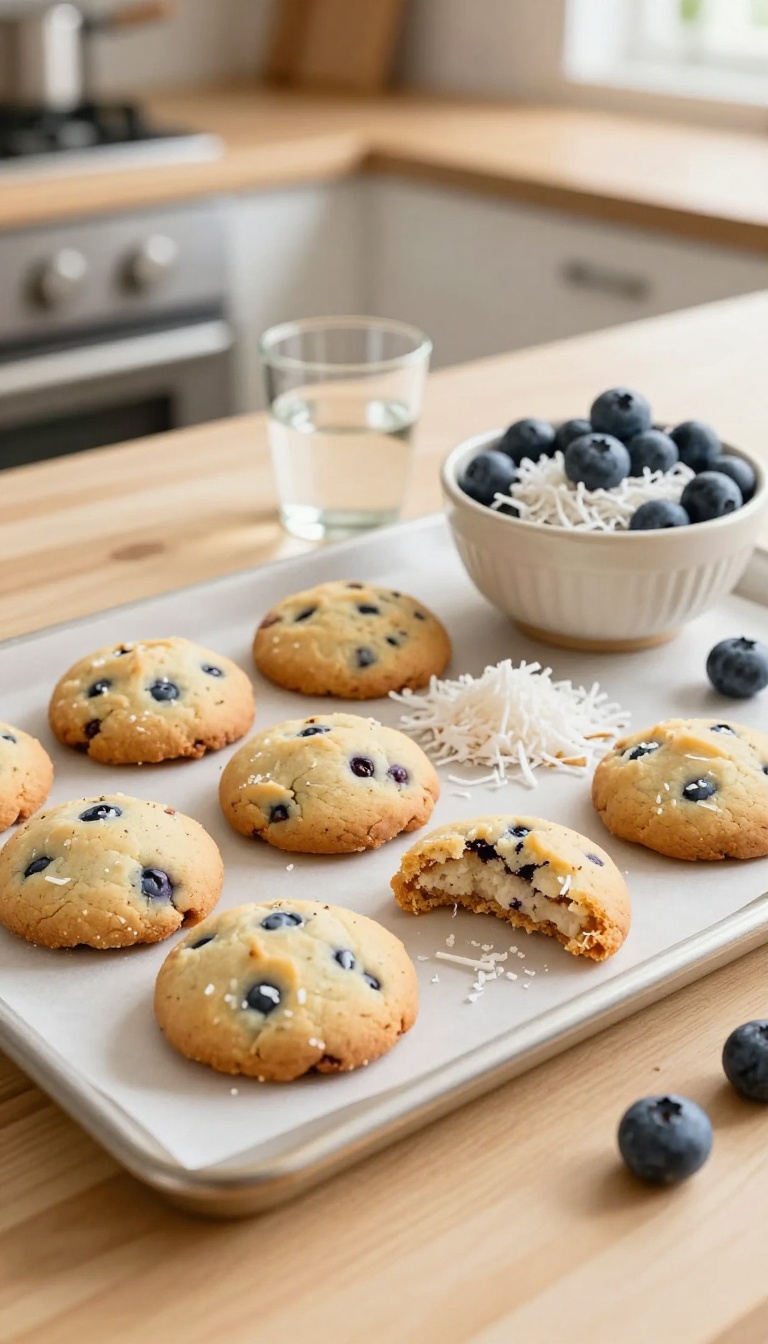
There's something about a chewy treat that feels like a cozy hug for your pup, especially on a quiet afternoon. These Coconut and Blueberry Chews bring a gentle tropical aroma and a pop of fruity sweetness that dogs find irresistible. The combination of coconut and blueberry isn't just tasty—it also offers a boost of antioxidants and healthy fats, making this a treat you can feel good about sharing.
Whether you're rewarding a good sit or simply want to spoil your furry friend, these soft bites are a warm, comforting choice that fits right into your homemade treat routine.
Ingredients
- 1 cup unsweetened shredded coconut
- 1/2 cup fresh or frozen blueberries (thawed if frozen)
- 1/4 cup coconut flour (or oat flour)
- 1 large egg
- 2 tablespoons coconut oil, melted
- 1/4 cup water (or as needed)
Instructions
- Preheat your oven to 350°F (175°C) and line a baking sheet with parchment paper.
- In a food processor, pulse the shredded coconut and blueberries until the blueberries are broken down and the mixture starts to clump.
- Add the coconut flour, egg, and melted coconut oil to the processor. Pulse until a soft dough forms. If the dough seems too dry, add water a tablespoon at a time until it holds together.
- Turn the dough out onto a lightly floured surface (use coconut flour or oat flour). Roll to about 1/4-inch thickness and cut into small, bite-sized shapes using a cookie cutter or a knife.
- Place the chews on the prepared baking sheet and bake for 12-15 minutes, until the edges are lightly golden and the center feels firm to the touch.
- Let cool completely on a wire rack before serving. Store in an airtight container in the refrigerator for up to one week, or freeze for longer storage.
Serving Tip
These chews are soft and easy to break into smaller pieces, making them perfect for training treats or for smaller dogs. Store them in the fridge to keep them fresh, and give your pup one or two per day as a special snack—just remember to adjust their regular meals to account for the extra calories.
7. Beef Liver and Oat Chews
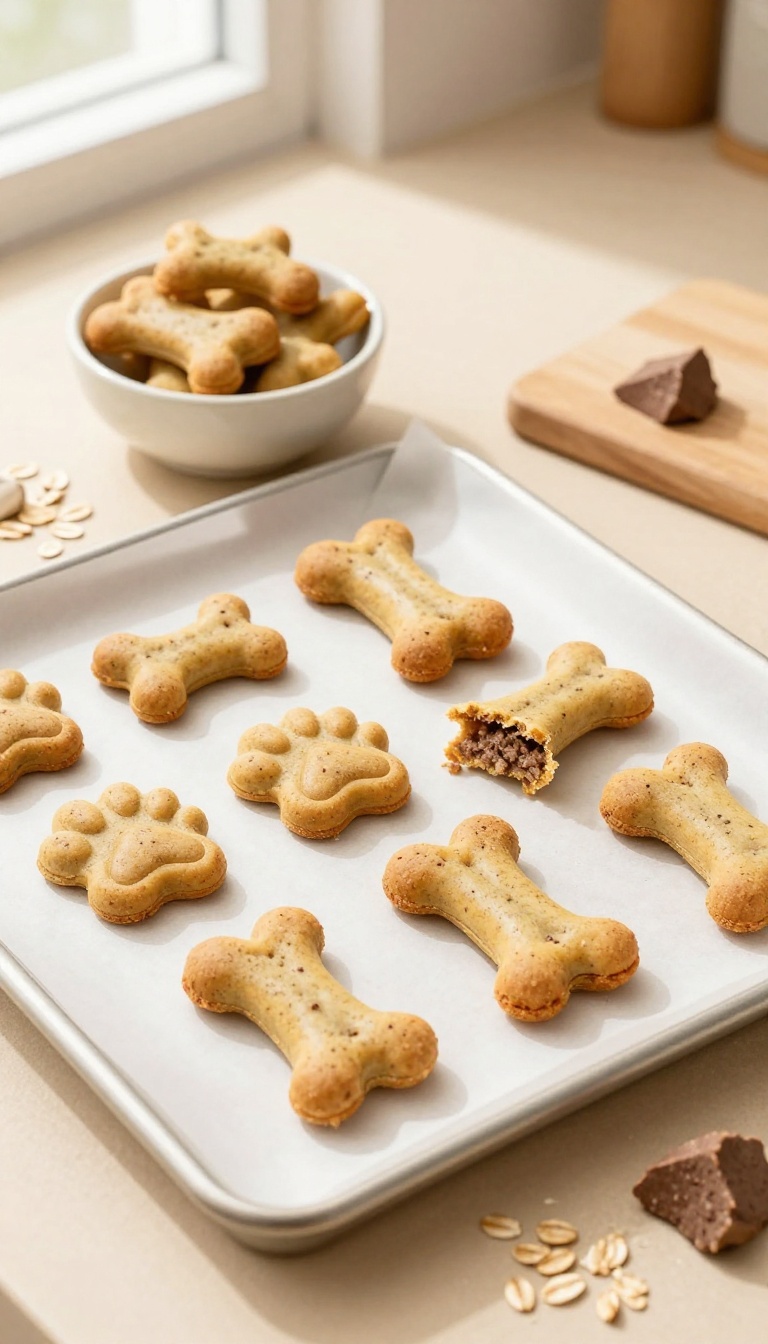
There’s something deeply satisfying about watching your dog’s eyes light up when you pull a fresh batch of treats from the oven. These Beef Liver and Oat Chews bring that joy with a rich, savory aroma that fills the kitchen and sends tails wagging before the tray even cools. Made with nutrient-dense beef liver and wholesome oats, they’re a hearty, high-protein option that supports your pup’s energy and overall health.
Whether you’re rewarding a good training session or simply want to show your furry friend some love, these chews are a cozy, comforting choice that feels like a warm hug in treat form.
Ingredients
- 1 pound beef liver, trimmed and cut into chunks
- 2 cups old-fashioned oats
- 1 large egg
- 1/4 cup water (or as needed)
Instructions
- Preheat your oven to 350°F (175°C) and line a baking sheet with parchment paper.
- In a food processor, pulse the beef liver until finely chopped. Add the oats, egg, and water, then blend until a thick, sticky dough forms. If it’s too dry, add a little more water, a tablespoon at a time.
- Turn the dough out onto a lightly floured surface and roll it to about 1/4-inch thickness. Use a cookie cutter or a knife to cut into desired shapes.
- Place the chews on the prepared baking sheet and bake for 20-25 minutes, until firm and slightly browned. Let them cool completely before serving.
Serving Tip
Store these chews in an airtight container in the refrigerator for up to a week, or freeze them for up to three months. Because they’re rich in protein, start with a small piece to see how your dog tolerates them, especially if they’re new to liver. For smaller dogs, cut them into bite-sized pieces to avoid overfeeding.
8. Pumpkin and Flaxseed Crunchies
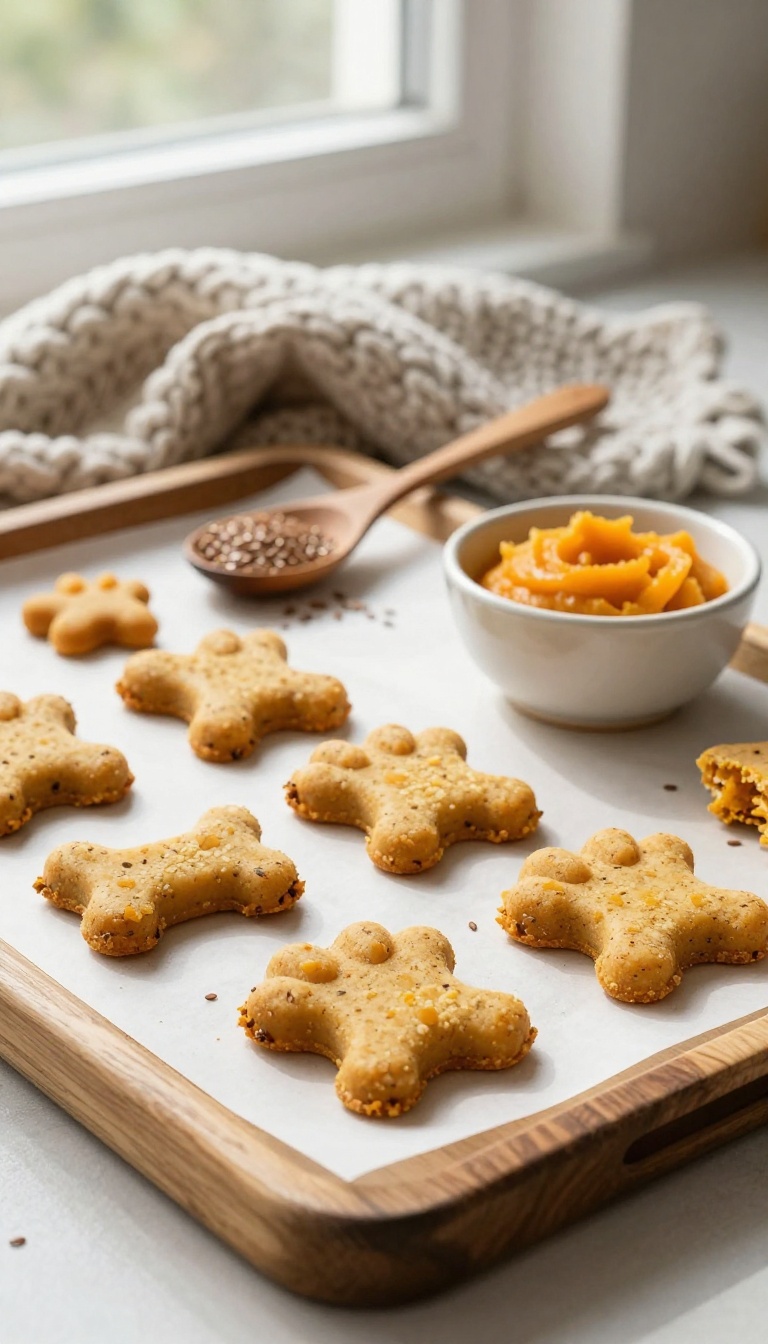
There’s something about the smell of pumpkin and flaxseed baking together that makes the whole kitchen feel like a warm hug. These crunchies are exactly that—a cozy, comforting treat that’s as good for your pup as it is for your senses. The flaxseed adds a nutty depth and a boost of omega-3s, while the pumpkin brings a gentle sweetness and a dose of fiber.
They come out crisp and satisfying, perfect for dogs who love a little crunch in every bite. Plus, they’re simple to make, so you can whip up a batch on a lazy afternoon and watch your furry friend’s tail wag with anticipation.
Ingredients
- 1 cup pumpkin puree (unsweetened, not pie filling)
- 2 cups whole wheat flour (or oat flour for a grain-free option)
- 1/4 cup ground flaxseed
- 1/4 cup water (add more if needed)
- 1 tablespoon coconut oil (melted, optional for extra shine)
Instructions
- Preheat your oven to 350°F (175°C) and line a baking sheet with parchment paper.
- In a large bowl, mix the pumpkin puree, melted coconut oil, and water until smooth.
- Stir in the ground flaxseed and then gradually add the flour, mixing until a stiff dough forms. If the dough feels too dry, add a little more water, a tablespoon at a time.
- On a lightly floured surface, roll the dough to about 1/4-inch thickness. Use cookie cutters to cut into fun shapes, or simply slice into small squares with a knife.
- Place the treats on the prepared baking sheet, leaving a little space between each. Bake for 25–30 minutes, until the edges are golden and the treats feel firm to the touch.
- Let them cool completely on a wire rack. They will harden as they cool, giving that satisfying crunch.
Serving Tip
Store these crunchies in an airtight container at room temperature for up to a week, or pop them in the fridge to keep them fresh longer. For smaller dogs, break them into smaller pieces to avoid overfeeding. They also make a great training treat—just keep the portions tiny during training sessions to balance the extra calories.
9. Apple and Cinnamon Soft Chews
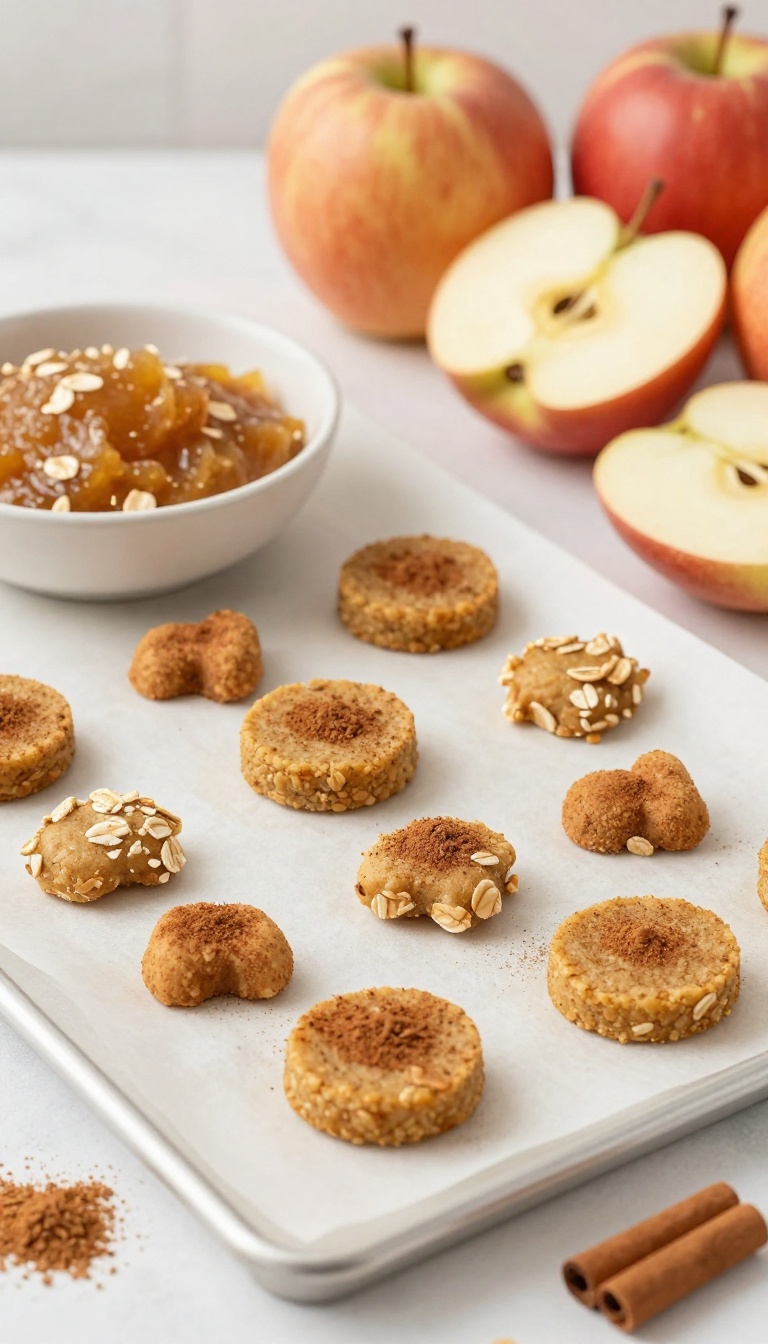
When the weather turns cool, there's nothing cozier than the scent of apples and cinnamon drifting through the house. These soft chews bring that warm, comforting feeling straight to your dog's bowl. They're gentle on sensitive stomachs, thanks to the easily digestible oats and applesauce, making them a soothing snack for pups who need a little extra care.
Your dog will love the soft, chewy texture and the naturally sweet taste, and you'll love how simple they are to whip up.
Ingredients
- 1 cup rolled oats
- 1/2 cup unsweetened applesauce
- 1/4 cup finely grated apple (peeled and cored)
- 1 teaspoon ground cinnamon
- 1 large egg
Instructions
- Preheat your oven to 350°F (175°C) and line a baking sheet with parchment paper.
- In a mixing bowl, combine the rolled oats, applesauce, grated apple, cinnamon, and egg. Stir until a soft, thick dough forms.
- Scoop tablespoon-sized portions of the dough and roll them into small balls. Place them on the prepared baking sheet, gently flattening each with your palm to create a soft chew shape.
- Bake for 12–15 minutes, until the chews are firm to the touch but still soft inside. Let them cool completely before serving.
Serving Tip
Store these chews in an airtight container in the refrigerator for up to a week, or freeze them for up to three months. For small dogs, break each chew in half to keep portions appropriate. Always supervise your dog when giving treats, and adjust the amount based on your dog's size and daily calorie needs.
10. Sweet Potato and Quinoa Chew Bars
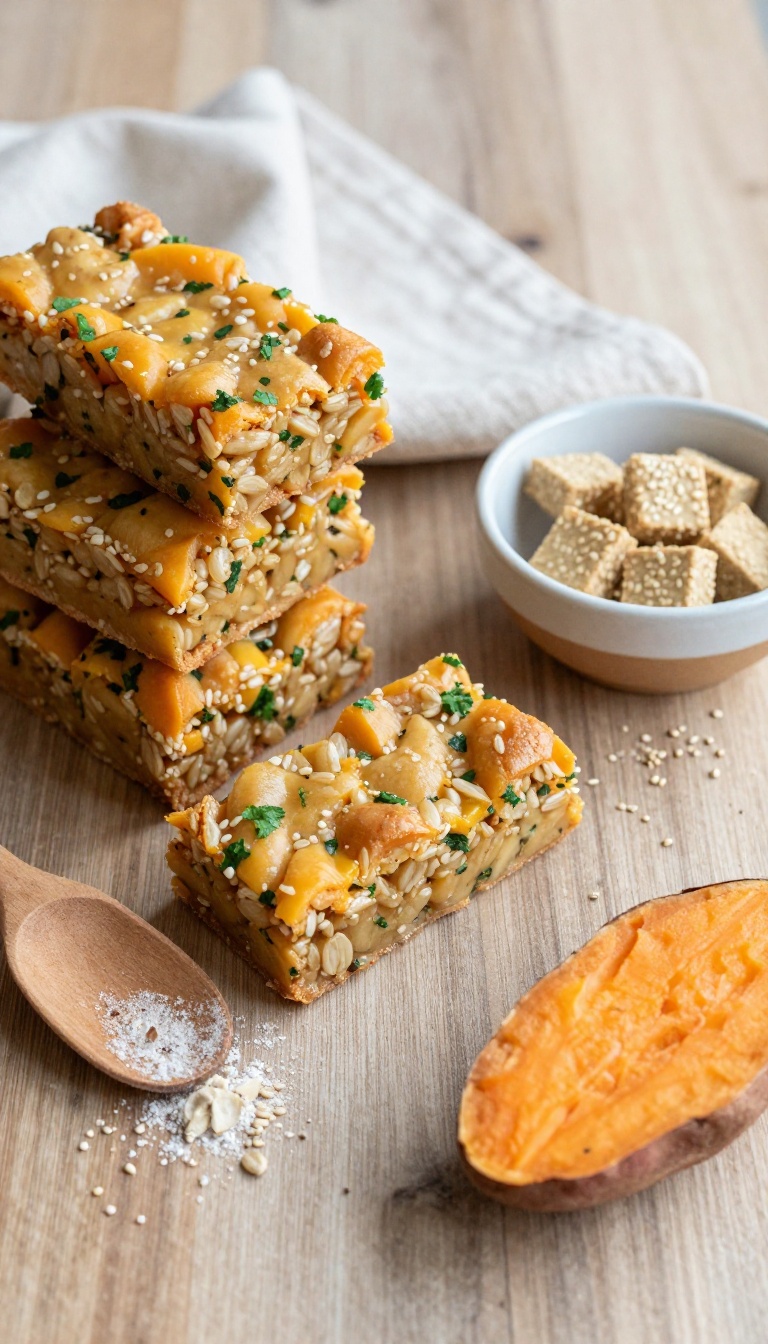
These hearty bars are the kind of comfort food your dog will dream about, with the wholesome goodness of sweet potato and the satisfying chew of quinoa. They’re perfect for pups who love a little texture in their treats, and they come together with simple, dog-safe ingredients you probably already have in your pantry. Whether you’re looking for a training reward or just a cozy afternoon snack, these bars are a warm, comforting choice that will have your dog’s tail wagging in no time.
Ingredients
- 1 cup cooked quinoa, cooled
- 1 cup mashed sweet potato (about 1 medium sweet potato, baked or boiled)
- 1/2 cup oat flour (or rolled oats blended into flour)
- 1/4 cup unsweetened applesauce
- 1 large egg (or 1 flax egg for a grain-free option)
- 1/4 cup chopped fresh parsley (optional, for freshness)
Instructions
- Preheat your oven to 350°F (175°C) and line an 8×8-inch baking dish with parchment paper.
- In a large bowl, mix the mashed sweet potato, applesauce, and egg until well combined.
- Stir in the cooked quinoa, oat flour, and parsley (if using) until a thick, slightly sticky dough forms.
- Press the mixture evenly into the prepared baking dish, smoothing the top with a spatula.
- Bake for 25–30 minutes, or until the edges are golden and the center is set. Let cool completely in the pan.
- Once cool, slice into bar-shaped pieces. For extra chewiness, you can leave them out on a cooling rack for a few hours to firm up.
Serving Tip
Cut the bars into small, bite-sized squares for training treats, or keep them larger for a satisfying chew session. Store in an airtight container in the refrigerator for up to a week, or freeze for up to three months—just thaw before serving. Because they’re hearty and filling, offer one bar per day for medium-sized dogs, and adjust portion sizes for smaller or larger pups.
FAQ
How long do homemade dog chews last?
Homemade dog chews typically last 1-2 weeks when stored in an airtight container in the refrigerator. For longer storage, you can freeze them for up to 3 months. Always check for signs of spoilage before giving them to your dog.
Can I use any type of flour for these recipes?
Yes, you can substitute flours like whole wheat, oat, or coconut flour, but keep in mind that different flours absorb moisture differently. Start with the recommended amount and adjust as needed to get the right dough consistency.
Are these chews suitable for puppies?
Most of these chews are suitable for puppies over 8 weeks old, but always supervise your puppy while they chew. For very young puppies, choose softer recipes like the Pumpkin and Oat Chewy Bites or Apple and Cinnamon Soft Chews.
How should I store homemade dog chews?
Store homemade dog chews in an airtight container in the refrigerator for up to 2 weeks. For longer storage, freeze them in a zip-top bag or container for up to 3 months. Thaw before serving.
Can I adjust the ingredients if my dog has allergies?
Absolutely! You can swap ingredients based on your dog's allergies. For example, use sunflower seed butter instead of peanut butter, or substitute applesauce for eggs.
Always introduce new ingredients gradually and consult your vet if you're unsure.
Conclusion
Making homemade dog chews is a cozy way to bond with your furry friend and ensure they're getting healthy, delicious treats. These recipes are simple, budget-friendly, and made with love, so you can feel good about every bite your dog takes. We hope these ideas inspire you to get creative in the kitchen and find new favorites for your pup.
Remember to always supervise your dog while they enjoy their chews, and store them properly to keep them fresh. Happy chewing!

I’m Pallab Kishore, the owner of Little Pets Realm — an animal lover and pet care enthusiast sharing easy tips, healthy recipes, and honest advice to help every small pet live a happy, healthy, tail-wagging life.