
Last updated on September 1st, 2026 at 04:38 pm
There's something special about pulling a fresh batch of dog biscuits out of the oven and watching your pup's tail wag in anticipation. Homemade treats let you control exactly what goes into every bite, and they're a wonderful way to show your dog some extra love.
Plus, baking for your dog can be a fun, simple activity that the whole family can enjoy together. These cheese and bacon bit biscuits are a favorite in many dog households because they combine two flavors dogs absolutely adore.
The recipes below are designed to be practical and straightforward, using ingredients you likely already have in your kitchen.
1. Classic Cheddar Bacon Crunch Biscuits
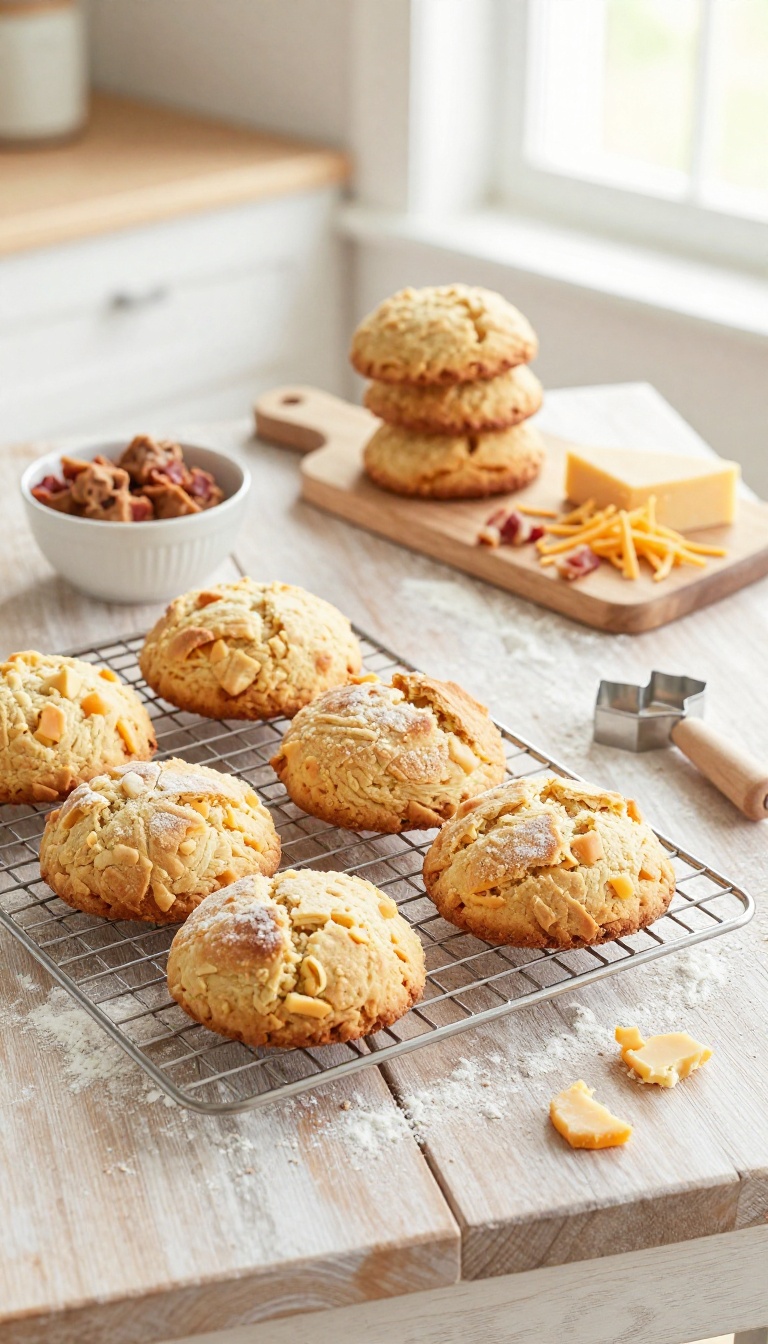
There's a reason cheddar and bacon are a timeless duo—they're simply irresistible, and your pup will think so too. These crunchy biscuits are a great way to turn two favorite flavors into a homemade treat that's perfect for training sessions or just because. They're easy to make with pantry staples, and the oven does most of the work, so you can spend less time prepping and more time rewarding your good dog.
Ingredients
- 2 cups whole wheat flour (or oat flour for a gluten-free option)
- 1 cup shredded sharp cheddar cheese
- 1/2 cup cooked bacon bits (ensure no onion or garlic)
- 1 large egg, beaten
- 1/2 cup water (or low-sodium chicken broth, cooled)
Instructions
- Preheat your oven to 350°F (175°C) and line a baking sheet with parchment paper.
- In a large bowl, mix the flour, cheddar cheese, and bacon bits until well combined.
- Add the beaten egg and water (or broth) to the dry mixture, stirring until a dough forms. If the dough seems too dry, add a little more water, a tablespoon at a time.
- Turn the dough out onto a lightly floured surface and roll it to about 1/4-inch thickness.
- Use dog-bone-shaped cookie cutters (or any shape you like) to cut out biscuits, then place them on the prepared baking sheet.
- Bake for 25–30 minutes, or until the biscuits are golden and firm. Let them cool completely on a wire rack before serving.
Serving Tip
These biscuits are crunchy and perfect for training rewards. Store them in an airtight container at room temperature for up to two weeks, or freeze them for up to three months. Break them into smaller pieces for small dogs or for training sessions.
2. Soft-Baked Bacon Cheddar Bites

These soft-baked bites are a lifesaver for dogs who struggle with crunchier biscuits. The oats and applesauce create a tender texture that's easy on senior dogs or pups with dental issues. Plus, the bacon and cheddar make them irresistible, so even picky eaters will be excited for treat time.
They're simple to make with pantry staples and perfect for breaking into smaller pieces for training or smaller breeds.
Ingredients
- 1 cup old-fashioned oats (blended into a coarse flour, if desired)
- 1/2 cup unsweetened applesauce
- 1/4 cup cooked bacon bits (finely crumbled)
- 1/2 cup shredded cheddar cheese
- 1 large egg
- 1/4 cup water (as needed for dough consistency)
Instructions
- Preheat your oven to 350°F (175°C) and line a baking sheet with parchment paper.
- In a large bowl, combine the oats, bacon bits, and cheddar cheese. Stir in the applesauce and egg until well mixed.
- Add water a tablespoon at a time until the dough comes together into a soft, slightly sticky ball.
- Drop rounded teaspoons of dough onto the prepared baking sheet, spacing them about an inch apart.
- Bake for 12-15 minutes, until the edges are lightly golden and the centers are set. Let cool completely on the baking sheet before serving.
Serving Tip
These soft bites store well in an airtight container in the fridge for up to a week, or you can freeze them for up to three months. Because they're soft, they're easy to break into smaller pieces for training or for smaller dogs. Always supervise your dog with any treat and adjust portion size based on their size and dietary needs.
3. Bacon Parmesan Twists
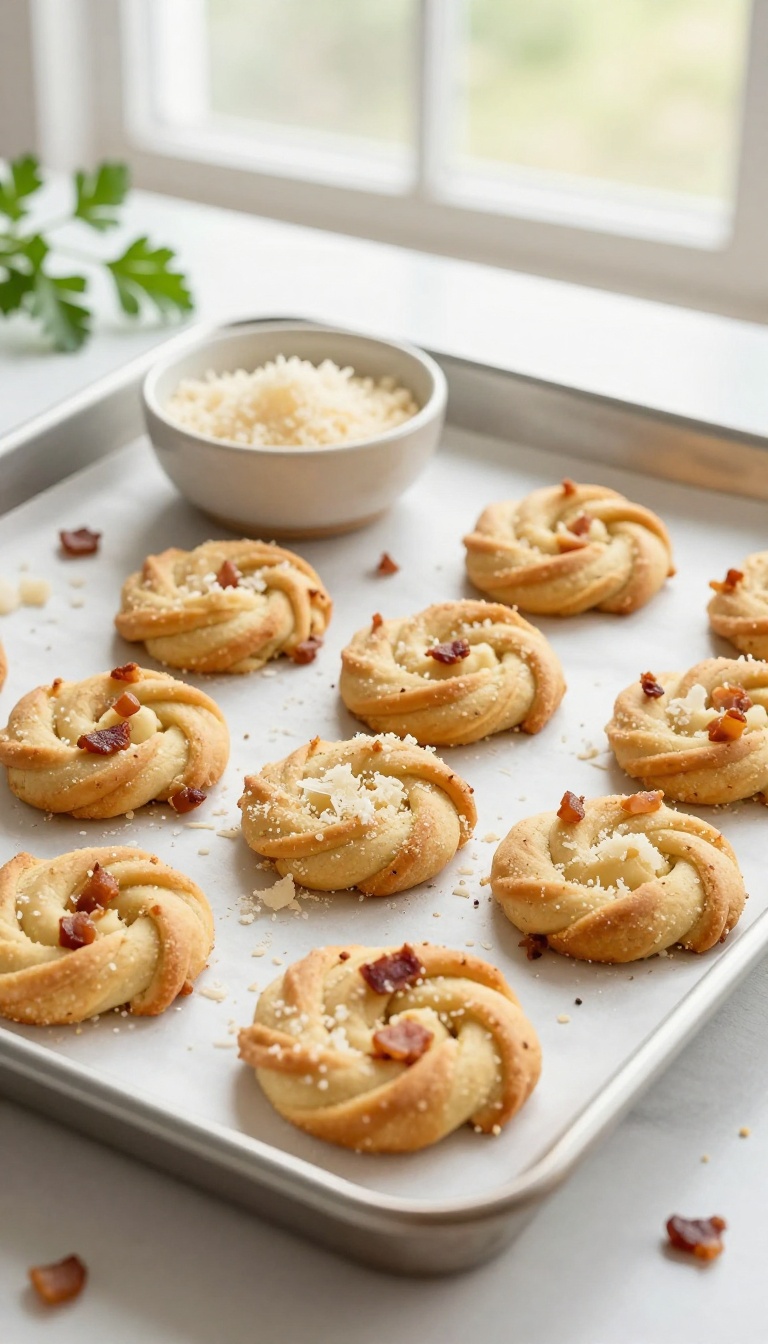
These twisted biscuits are a fun way to switch up your dog's treat routine. The parmesan gives them a savory depth that most pups find irresistible, while the twist shape makes them easy for you to hold and for your dog to crunch. They're simple to make with everyday ingredients, and they bake up golden and crispy, perfect for a satisfying snack that feels a little special without any fuss.
Ingredients
- 1 cup whole wheat flour
- 1/2 cup cooked bacon, crumbled
- 1/2 cup grated Parmesan cheese
- 1/4 cup plain Greek yogurt
- 1/4 cup water (plus more if needed)
Instructions
- Preheat your oven to 350°F (175°C) and line a baking sheet with parchment paper.
- In a large bowl, mix together the flour, crumbled bacon, and Parmesan cheese.
- Add the Greek yogurt and water, stirring until a dough forms. If it's too dry, add water a tablespoon at a time until it comes together.
- Turn the dough out onto a lightly floured surface and knead gently for a minute.
- Roll the dough into a rectangle about 1/4 inch thick, then cut into strips about 1 inch wide.
- Twist each strip a few times and place on the prepared baking sheet.
- Bake for 20-25 minutes, until golden and crisp. Let cool completely before serving.
Serving Tip
Store these twists in an airtight container in the fridge for up to a week, or freeze them for up to three months. For smaller dogs, break the twists into smaller pieces to avoid overfeeding. Start with one twist as a treat, and adjust based on your dog's size and dietary needs.
4. Cheesy Bacon Sweet Potato Rounds
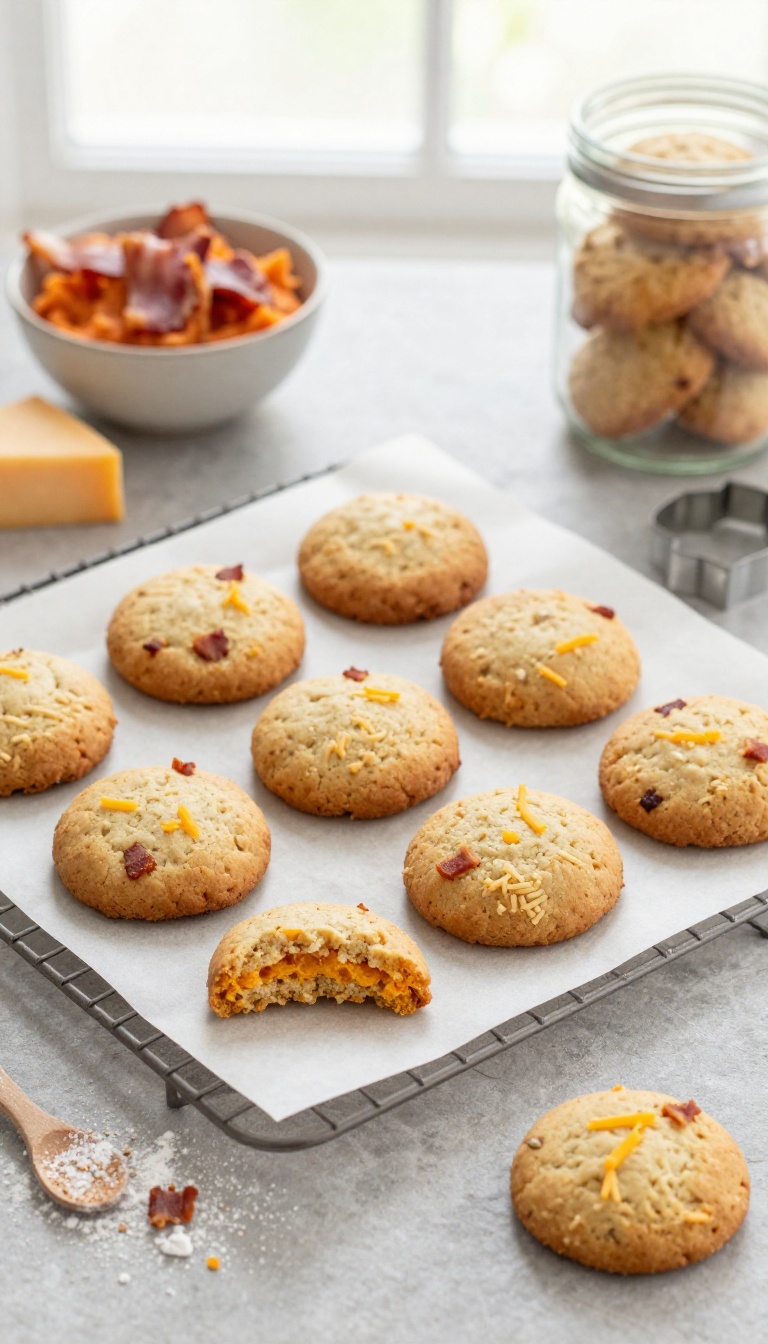
Sweet potato and bacon are a classic duo, and when you add a little cheese, it becomes a treat your dog will absolutely love. These round biscuits are simple to make and pack in fiber and flavor, so you can feel good about giving them as a snack. They're perfect for training sessions, afternoon rewards, or just because your pup deserves something special.
Ingredients
- 1 medium sweet potato, cooked and mashed
- 1/2 cup shredded cheddar cheese
- 2 slices cooked bacon, crumbled
- 1 1/2 cups whole wheat flour (or oat flour for a grain-free option)
- 1 egg, beaten
- 2 tablespoons olive oil
Instructions
- Preheat your oven to 350°F (175°C) and line a baking sheet with parchment paper.
- In a large bowl, mix together the mashed sweet potato, shredded cheese, crumbled bacon, beaten egg, and olive oil until well combined.
- Gradually add the flour, stirring until a stiff dough forms. If the dough is too sticky, add a little more flour; if it's too dry, add a tablespoon of water.
- On a lightly floured surface, roll the dough to about 1/4-inch thickness. Use a round cookie cutter or a glass to cut out biscuits.
- Place the biscuits on the prepared baking sheet and bake for 20-25 minutes, or until golden brown and firm to the touch.
- Let them cool completely on a wire rack before serving. Store in an airtight container in the refrigerator for up to a week.
Serving Tip
These biscuits are sturdy enough for chewing but still soft enough for senior dogs. Break them into smaller pieces for training treats, and keep them refrigerated to maintain freshness. For longer storage, freeze them in a zip-top bag for up to three months—just thaw a few as needed.
5. Bacon Cheddar Pumpkin Pups
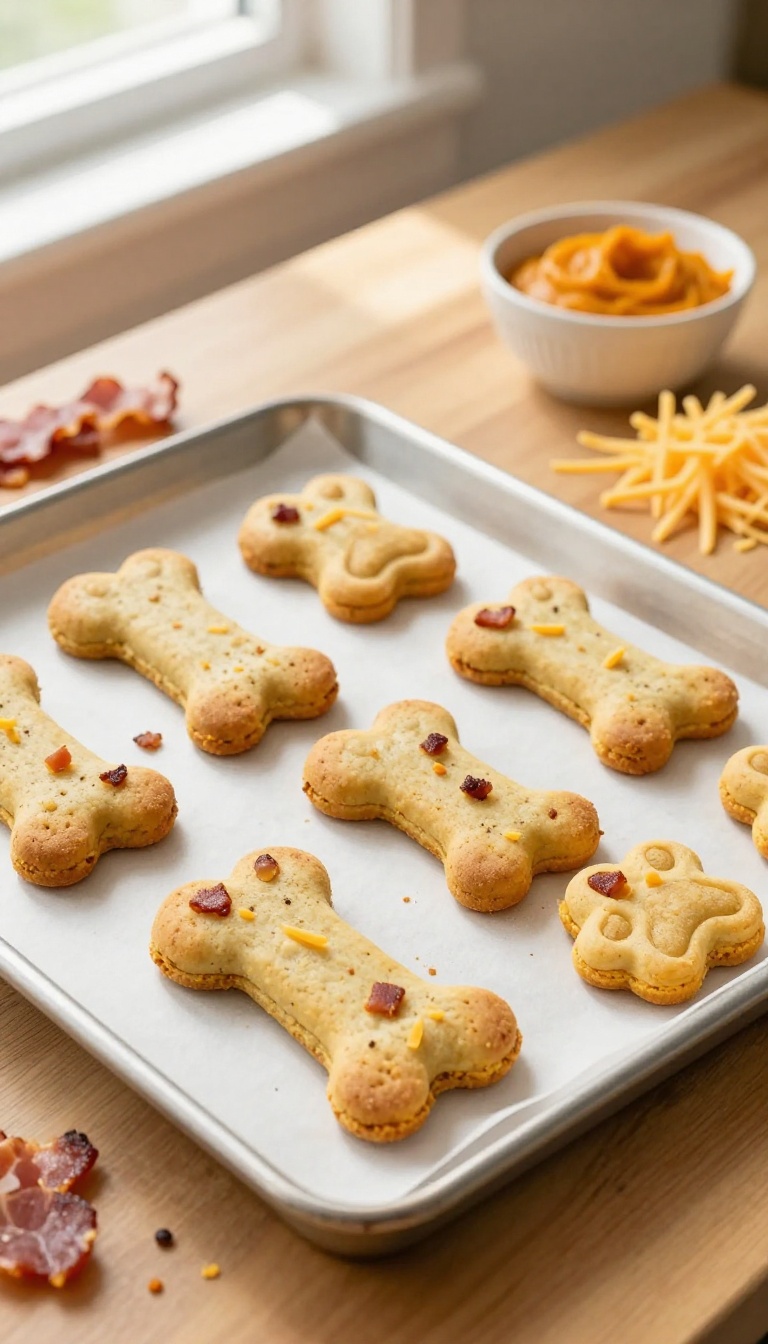
These Bacon Cheddar Pumpkin Pups are a hit in our kitchen, and they're perfect for pups who need a little digestive support. The pumpkin adds fiber and moisture, while the bacon and cheddar give them a savory flavor dogs can't resist. They're easy to make, bake up soft and chewy, and you can cut them into any shape you like with your favorite cookie cutters.
Ingredients
- 1 cup canned pumpkin (not pumpkin pie filling)
- 1/2 cup cooked bacon, crumbled
- 1 cup shredded cheddar cheese
- 2 cups whole wheat flour (or oat flour for sensitive tummies)
- 1 large egg
- 1/4 cup water (as needed)
Instructions
- Preheat your oven to 350°F (175°C) and line a baking sheet with parchment paper.
- In a large bowl, mix the pumpkin, crumbled bacon, cheddar cheese, and egg until well combined.
- Gradually add the flour, stirring until a dough forms. If the dough seems too dry, add water a tablespoon at a time until it comes together.
- Roll the dough out on a floured surface to about 1/4-inch thickness.
- Use cookie cutters to cut out fun shapes, then place them on the prepared baking sheet.
- Bake for 20-25 minutes, or until the biscuits are firm and lightly golden on the edges. Let them cool completely before serving.
Serving Tip
Store these biscuits in an airtight container in the fridge for up to a week, or freeze for up to three months. They're soft and chewy, making them great for senior dogs or pups with dental issues. Start with one biscuit a day to see how your dog's tummy handles them.
6. Mini Bacon Cheese Pretzel Bites
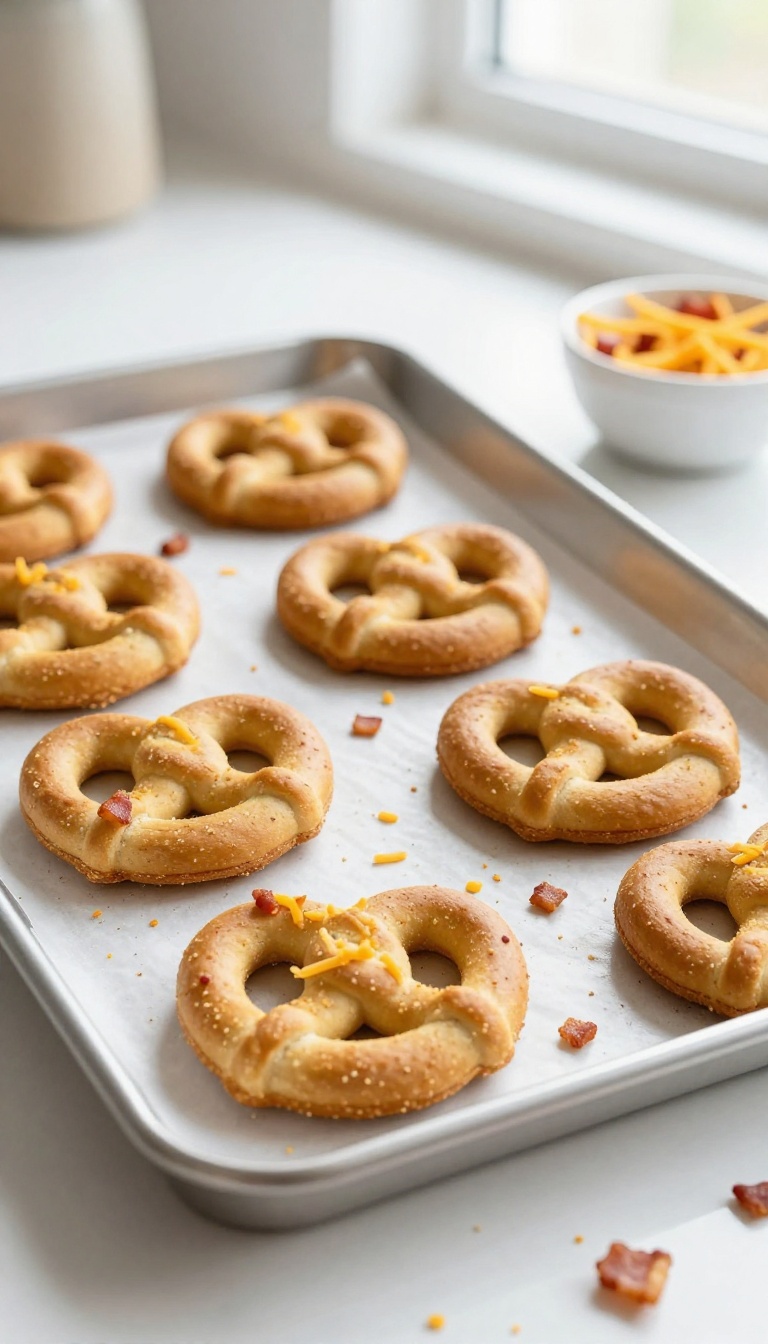
These little pretzel-shaped treats are a fun twist on classic dog biscuits, and they’re just the right size for training or portion control. The combination of bacon and cheddar gives them a savory punch that most dogs find irresistible, while the pretzel shape adds a bit of crunch without being too hard. They’re simple to make with basic pantry staples, and they bake up in about 25 minutes—perfect for a weekend baking session with your pup nearby.
Ingredients
- 1 ½ cups whole wheat flour
- ½ cup rolled oats
- 1 cup shredded cheddar cheese
- 2 strips cooked bacon, finely crumbled
- 1 large egg
- ?? cup water (plus more if needed)
- 1 tablespoon honey (optional, for a touch of sweetness)
Instructions
- Preheat your oven to 350°F (175°C) and line a baking sheet with parchment paper.
- In a large bowl, mix the flour, oats, cheddar cheese, and crumbled bacon until well combined.
- In a small bowl, beat the egg and water (and honey if using), then pour into the dry ingredients. Stir until a dough forms, adding a little extra water if it’s too crumbly.
- Turn the dough out onto a lightly floured surface and knead a few times until smooth.
- Roll the dough into a rope about ½ inch thick, then cut into 2-inch pieces.
- Shape each piece into a small pretzel twist (or just leave them as sticks if you prefer), and place them on the prepared baking sheet.
- Bake for 20–25 minutes, until golden and firm. Let cool completely before serving.
Serving Tip
Store these bites in an airtight container in the fridge for up to a week, or freeze for up to 3 months. Because they’re small, they’re perfect for training rewards—just break them into smaller pieces if your dog is on a strict diet. Always supervise your dog when giving treats, and adjust portion sizes based on your pup’s size and daily calorie needs.
7. Bacon Cheddar Oatmeal Squares
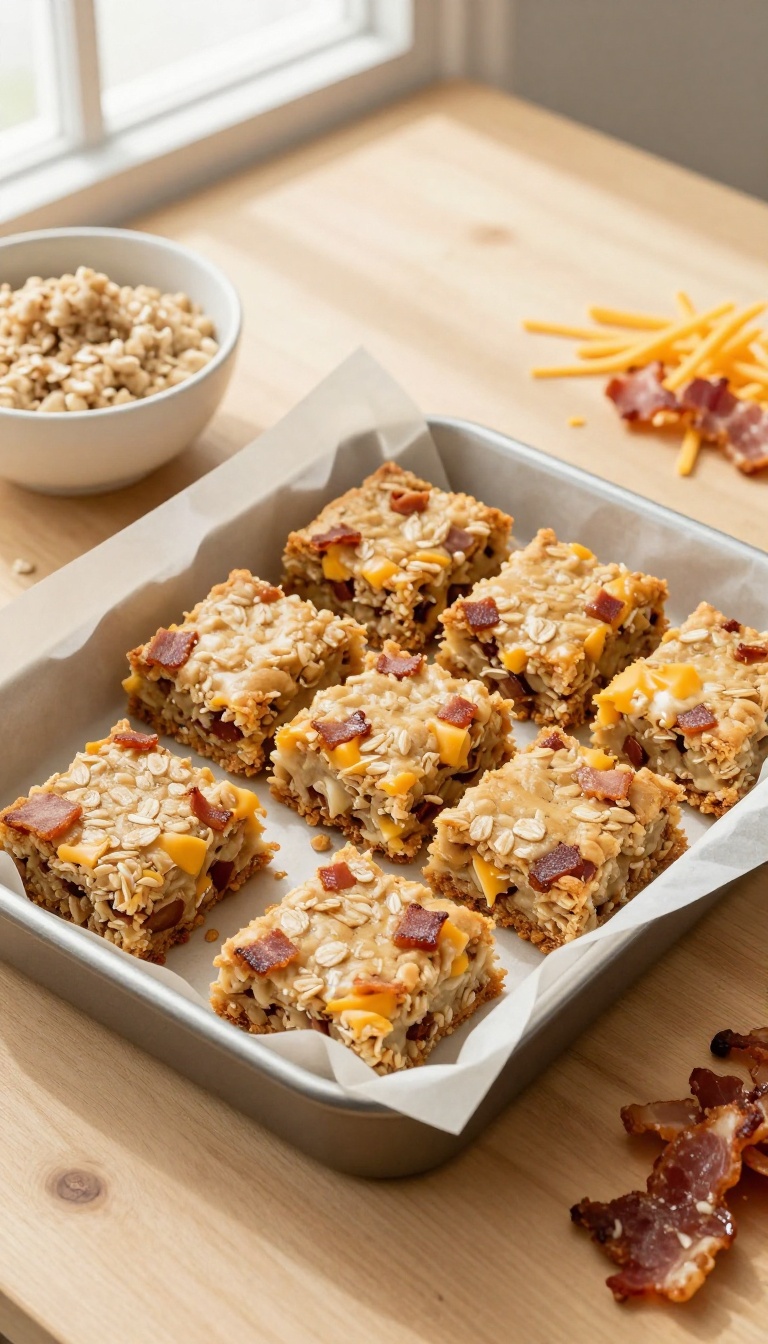
These sturdy squares are a great way to use up leftover oatmeal or just add some wholesome grains to your dog's treat rotation. The bacon and cheddar give them a savory punch that most dogs can't resist, while the oats help create a satisfying, chewy texture that's perfect for training or stuffing in a puzzle toy. They're simple enough to whip up on a lazy Sunday afternoon, and they keep well in the fridge for a week or so.
Ingredients
- 1 cup cooked oatmeal, cooled
- 1/2 cup shredded cheddar cheese
- 1/4 cup cooked bacon, crumbled
- 1 large egg
- 1/2 cup whole wheat flour (or oat flour for a gluten-free option)
- 1/4 cup water (as needed)
Instructions
- Preheat your oven to 350°F (175°C) and line an 8×8-inch baking dish with parchment paper.
- In a mixing bowl, combine the cooked oatmeal, shredded cheddar, crumbled bacon, and egg. Stir until well mixed.
- Gradually add the flour, stirring until a soft dough forms. If the dough seems too dry, add water a tablespoon at a time until it comes together.
- Press the dough evenly into the prepared baking dish, smoothing the top with a spatula.
- Bake for 25-30 minutes, until the edges are golden and the center is set. Let cool completely in the pan before cutting into squares.
- Once cool, cut into 1-inch squares and store in an airtight container in the refrigerator.
Serving Tip
These squares are firm enough to pop into a Kong or treat puzzle, but they're also easy to break into smaller pieces for training. Start with one square for a medium-sized dog, and adjust based on your pup's size and daily treat allowance. Keep them refrigerated and use within a week, or freeze for up to three months.
FAQ
Are cheese and bacon safe for dogs?
Yes, in moderation. Cheese is generally safe for dogs, but some dogs may be lactose intolerant, so start with small amounts. Bacon is high in fat and salt, so it should be used sparingly.
Always choose low-sodium bacon and cook it well, then crumble it into tiny bits. These treats are meant to be occasional snacks, not a staple of your dog's diet.
How should I store these homemade dog biscuits?
Store baked biscuits in an airtight container at room temperature for up to a week. For longer storage, you can refrigerate them for up to two weeks or freeze them for up to three months. Just make sure they are completely cooled before storing to prevent moisture buildup.
Can I substitute ingredients if my dog has allergies?
Absolutely. If your dog is allergic to dairy, you can use a dairy-free cheese alternative or omit the cheese and add a bit of peanut butter (make sure it's xylitol-free). For bacon, you can use turkey bacon or a small amount of bacon-flavored dog-safe seasoning.
Always check with your vet if you're unsure about any ingredient.
How many treats can I give my dog per day?
Treats should make up no more than 10% of your dog's daily caloric intake. The exact number depends on your dog's size, age, and activity level. As a general rule, start with one or two small biscuits per day and adjust based on your dog's weight and health.
When in doubt, ask your veterinarian.
Can I make these biscuits without an oven?
Yes, you can use a dehydrator or an air fryer. For a dehydrator, set it to 160°F and dry until crisp, which may take several hours. For an air fryer, bake at 320°F for about 10-15 minutes, checking frequently.
Just ensure the biscuits are fully cooked and dried to prevent spoilage.
Conclusion
Baking homemade dog biscuits is a rewarding way to treat your furry friend while knowing exactly what's in their snack. These seven cheese and bacon bit recipes offer a variety of textures and flavors, so you can find the perfect one for your pup's preferences. Plus, they make great gifts for other dog owners in your life.
Remember to always introduce new treats gradually and keep an eye on your dog for any adverse reactions. With simple ingredients and easy steps, you can whip up a batch in no time.

I’m Pallab Kishore, the owner of Little Pets Realm — an animal lover and pet care enthusiast sharing easy tips, healthy recipes, and honest advice to help every small pet live a happy, healthy, tail-wagging life.