
Last updated on September 4th, 2026 at 02:30 pm
Training your dog is all about positive reinforcement, and the right treat can make a world of difference. Whether you're teaching a new trick or reinforcing good manners, having a stash of irresistible, homemade training treats on hand is a game-changer.
Not only do you control the ingredients, but you can also tailor the size, texture, and flavor to your dog's preferences. These 10 training dog treat recipes are designed with practicality in mind.
They use simple, dog-safe ingredients that you probably already have in your kitchen. From soft and chewy to crunchy and crisp, there's a recipe here for every training session and every pup.
1. Peanut Butter & Banana Soft Bites
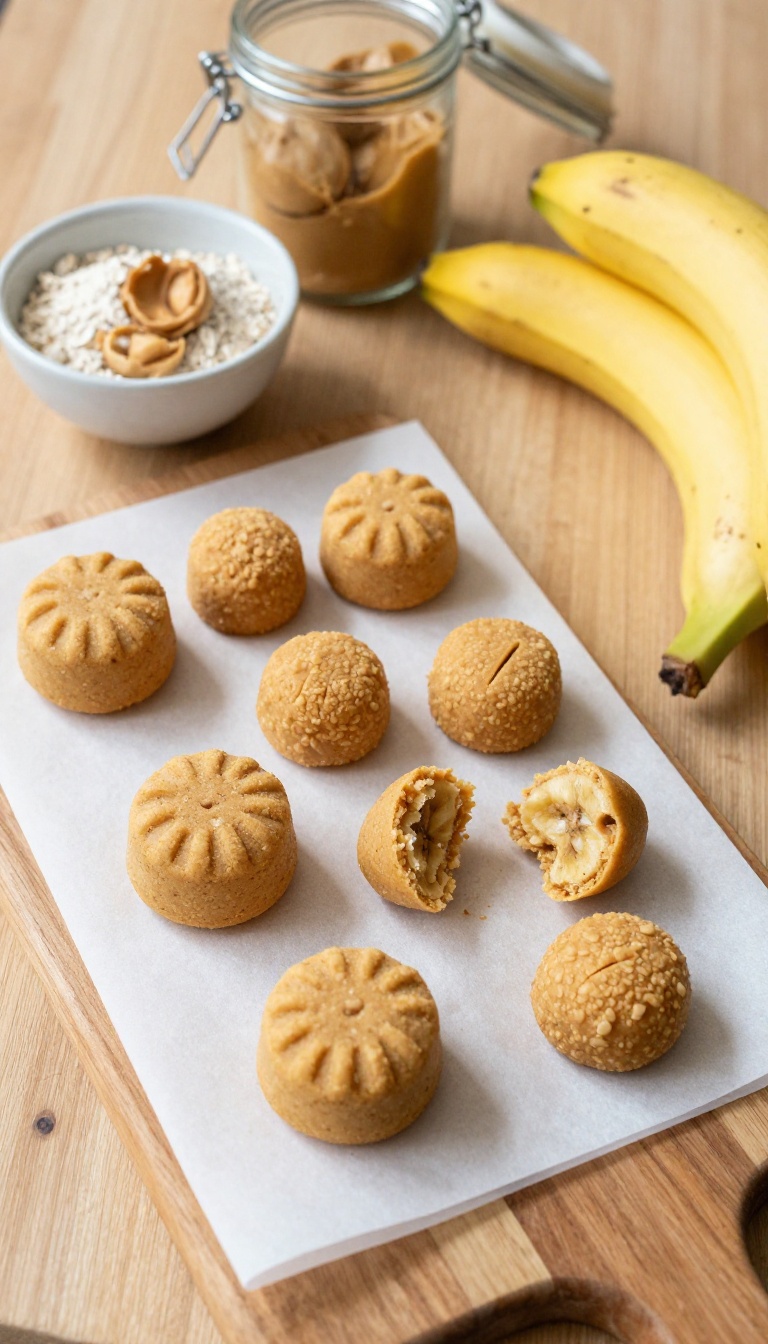
These soft, chewy bites are a training favorite because they’re packed with flavor and easy to break into tiny pieces. The natural sweetness of banana pairs with rich peanut butter, making them a high-value reward that keeps your pup’s attention during even the most distracting sessions. They come together quickly in one bowl, and you can freeze extras for later—so you always have a batch ready when you need it.
Ingredients
- 1 ripe banana, mashed
- 1/2 cup natural unsalted peanut butter (check that it contains no xylitol)
- 1 cup oat flour (or rolled oats blended into a powder)
- 1/4 cup water (or as needed)
Instructions
- Preheat your oven to 350°F (175°C) and line a baking sheet with parchment paper.
- In a mixing bowl, combine the mashed banana and peanut butter until smooth.
- Stir in the oat flour and water, mixing until a soft dough forms. If it’s too dry, add a little more water; if too sticky, sprinkle in extra flour.
- Roll the dough into small balls (about 1 teaspoon each) and place them on the prepared baking sheet. Flatten slightly with a fork.
- Bake for 10–12 minutes, until the edges are lightly golden. Let cool completely before serving.
Serving Tip
Store these bites in an airtight container in the fridge for up to a week, or freeze them for up to three months. Because they’re soft, you can easily pinch off tiny pieces during training—perfect for rewarding quick commands without overfeeding.
2. Sweet Potato & Oat Training Chews
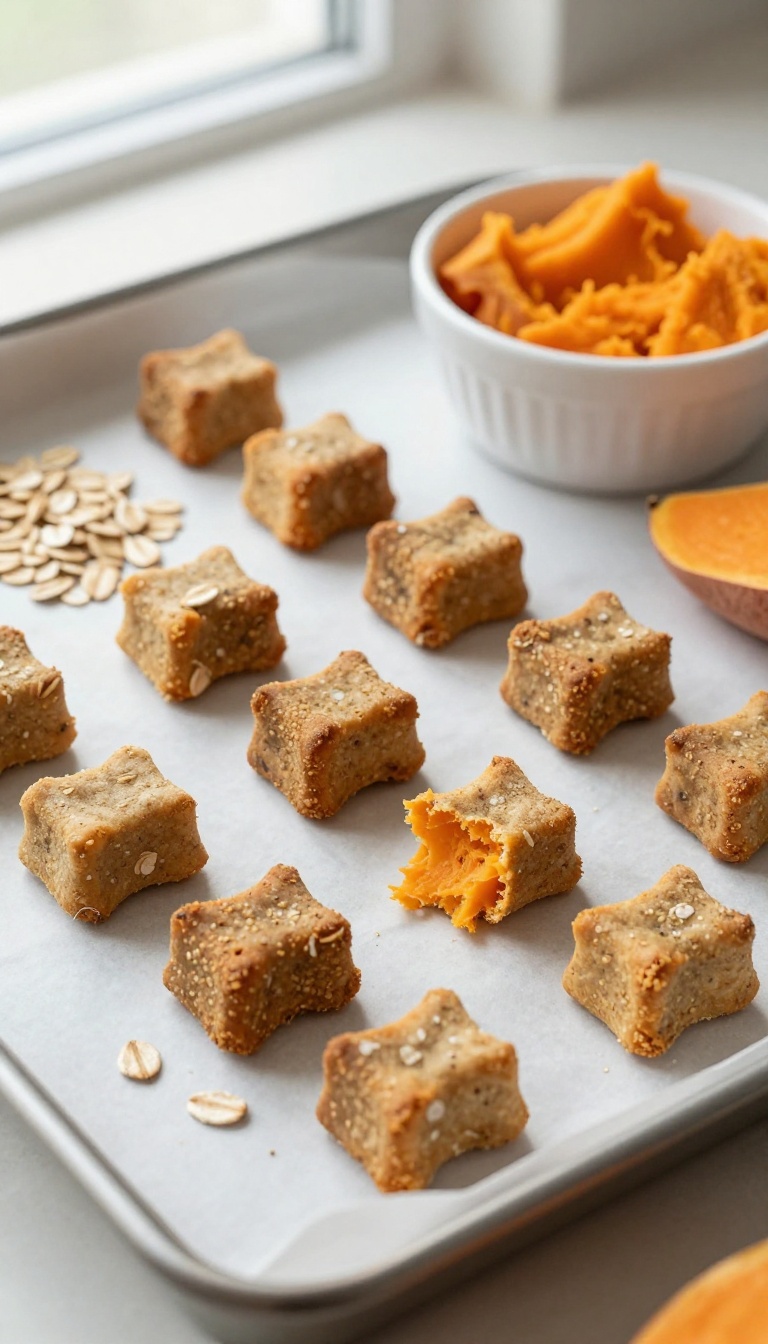
For training sessions that stretch a little longer, these chewy bites bring steady rewards without the sugar rush. The natural sweetness of sweet potato keeps tails wagging, while oats add a soft, pliable texture that's easy to break into smaller pieces. They're simple to make, store well, and give you a dependable treat to keep in your pocket for those focused moments.
Ingredients
- 1 cup mashed cooked sweet potato (cooled)
- 1 ½ cups rolled oats (plus extra for rolling)
- 1 large egg
- 2 tablespoons unsweetened applesauce (optional, for extra moisture)
Instructions
- Preheat your oven to 350°F (175°C) and line a baking sheet with parchment paper.
- In a large bowl, mix the mashed sweet potato, rolled oats, egg, and applesauce until a soft dough forms. If the dough feels too sticky, add a little more oats.
- Turn the dough onto a lightly floured surface (use oats to dust) and roll to about ¼-inch thickness.
- Cut into small, bite-sized squares or use a cookie cutter for fun shapes. Place them on the prepared baking sheet.
- Bake for 20–25 minutes, until the edges are slightly firm but the centers remain chewy. Let cool completely before serving.
Serving Tip
Store these chews in an airtight container in the fridge for up to a week, or freeze for up to three months. Because they're soft, you can easily tear them into smaller pieces for training—perfect for puppies or senior dogs. Start with a small piece to check for allergies, and adjust portion size based on your dog's size and daily calorie needs.
3. Chicken & Apple Mini Biscuits
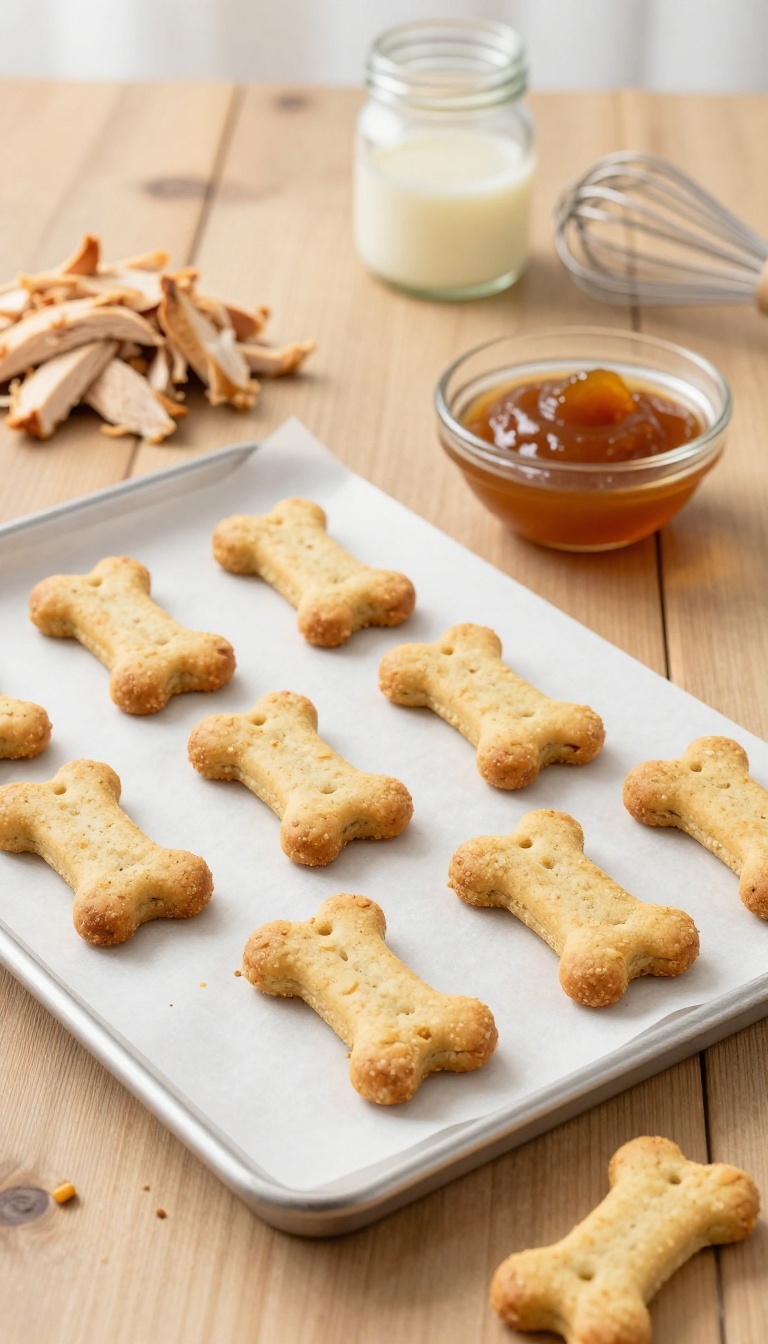
These crunchy little biscuits are perfect for training sessions when you need a reward that's quick to grab and easy to break into smaller pieces. The combination of savory chicken and sweet apple gives your dog a flavor they'll love, while the oat flour keeps the texture sturdy enough for repeated use. They're simple to make, store well, and are a great way to keep your pup focused during clicker training or obedience practice.
Ingredients
- 1 cup oat flour
- 1/2 cup unsweetened applesauce
- 1/4 cup cooked, finely shredded chicken (no bones, skin, or seasoning)
- 1 large egg
- 1 tablespoon coconut oil, melted
Instructions
- Preheat your oven to 350°F (175°C) and line a baking sheet with parchment paper.
- In a large bowl, mix the oat flour, applesauce, shredded chicken, egg, and coconut oil until a dough forms. If the dough is too sticky, add a little more oat flour.
- Roll the dough out on a lightly floured surface to about 1/4-inch thickness. Use a small cookie cutter (or a knife) to cut into tiny bite-sized shapes.
- Place the biscuits on the prepared baking sheet and bake for 15–18 minutes, or until golden and firm to the touch. Let cool completely before serving.
Serving Tip
Store these biscuits in an airtight container in the refrigerator for up to a week, or freeze for up to three months. For training, break each biscuit into smaller pieces to keep rewards low-calorie and easy to handle. Always supervise your dog with any treat and adjust portions based on their size and daily calorie needs.
4. Pumpkin & Cinnamon Training Crunchies
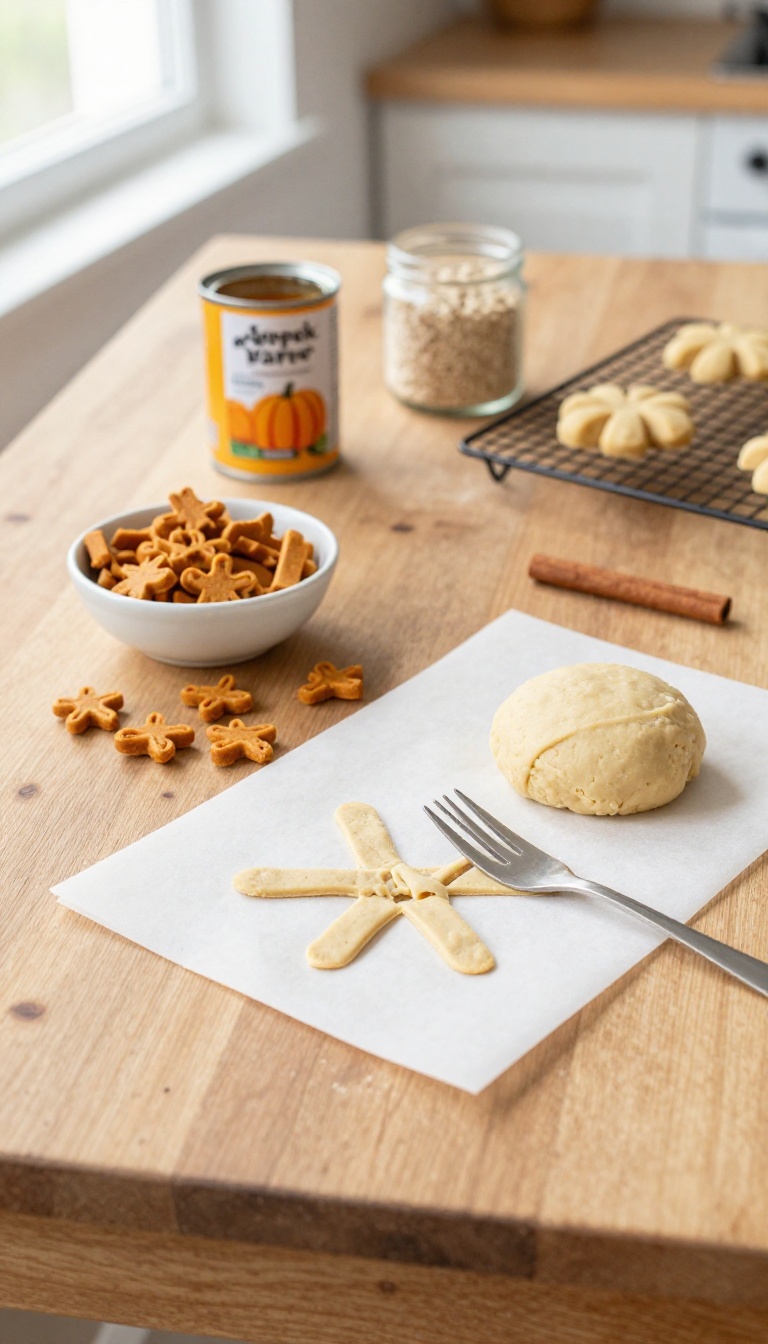
These little bites are a soft-baked, gently spiced reward that feels special without weighing down your dog's tummy. Pumpkin is a go-to for pups with sensitive stomachs, and the cinnamon adds a warm, cozy aroma that makes training time feel like a treat for both of you. Each crunchy morsel is small enough for quick rewards, so you can keep the focus on the trick, not the treat.
Ingredients
- 1 cup canned pumpkin (not pumpkin pie filling)
- 2 large eggs
- 1/4 cup plain unsweetened applesauce
- 2 cups oat flour (or more as needed)
- 1/2 teaspoon ground cinnamon
Instructions
- Preheat your oven to 350°F (175°C) and line a baking sheet with parchment paper.
- In a medium bowl, whisk together the pumpkin, eggs, and applesauce until smooth.
- Stir in the oat flour and cinnamon until a soft dough forms. If the dough is too sticky, add a little more flour, a tablespoon at a time.
- Roll the dough into small, pea-sized balls and place them on the prepared baking sheet, spacing them about an inch apart.
- Use a fork to gently flatten each ball slightly, creating a crisscross pattern on top.
- Bake for 20–25 minutes, until the treats are firm to the touch and lightly golden around the edges.
- Let them cool completely on a wire rack before serving or storing.
Serving Tip
Because these crunchies are tiny, they're perfect for training sessions where you might reward your pup multiple times. Store them in an airtight container in the fridge for up to a week, or freeze them for up to three months. Just grab a few as needed and let them thaw for a minute or two before rewarding your dog.
5. Salmon & Spinach Soft Training Squares
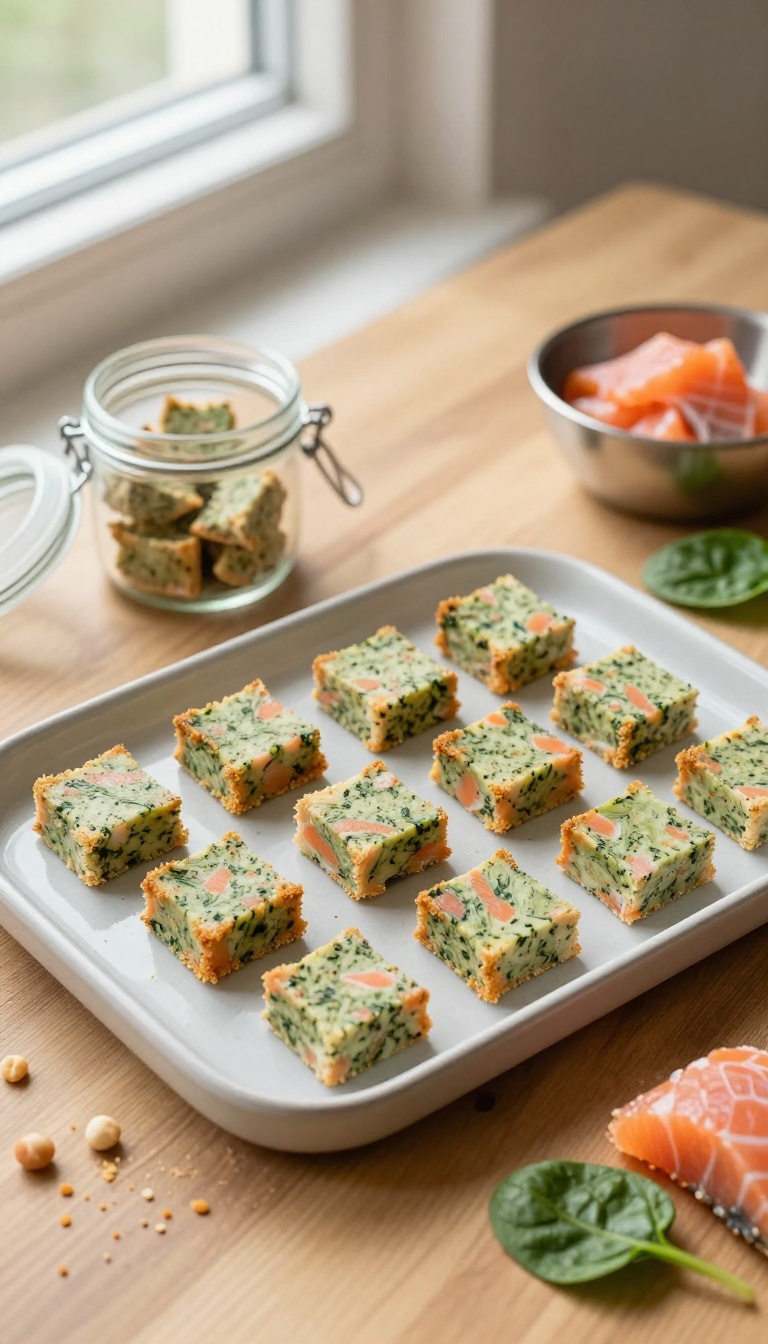
For dogs who need a little extra motivation during training, these salmon and spinach squares are a game-changer. The salmon gives them a rich, savory aroma that grabs their attention, while the spinach adds a boost of greens without making the treat taste too 'vegetable-y.' They're soft enough to break into small pieces, which makes them perfect for quick rewards without interrupting your training flow. Plus, the omega-3s from the salmon support your dog's coat and brain health, so every bite works double duty.
Ingredients
- 1 can (6 oz) boneless, skinless salmon, drained
- 1 cup fresh spinach, finely chopped
- 1 large egg
- 1/2 cup oat flour (or rolled oats blended into flour)
- 1/4 cup unsweetened applesauce
Instructions
- Preheat your oven to 350°F (175°C) and line a small baking sheet with parchment paper.
- In a mixing bowl, flake the salmon with a fork, then add the chopped spinach, egg, oat flour, and applesauce. Stir until everything is well combined into a thick, sticky batter.
- Spread the mixture evenly onto the prepared baking sheet, about 1/2 inch thick. Use a spatula to smooth the top.
- Bake for 20-25 minutes, or until the edges are golden and the center feels firm to the touch. Let it cool completely on the sheet.
- Once cool, slice into small, bite-sized squares. Store in an airtight container in the fridge for up to 5 days, or freeze for longer storage.
Serving Tip
For training sessions, cut these squares into tiny, pea-sized pieces so you can reward your dog frequently without overfeeding. They're soft enough to break apart easily, even when frozen, so you can keep a stash in the freezer and thaw only what you need. Warm them slightly in your hand before offering to your pup to release the salmon aroma and boost the appeal.
6. Blueberry & Yogurt Frozen Training Drops
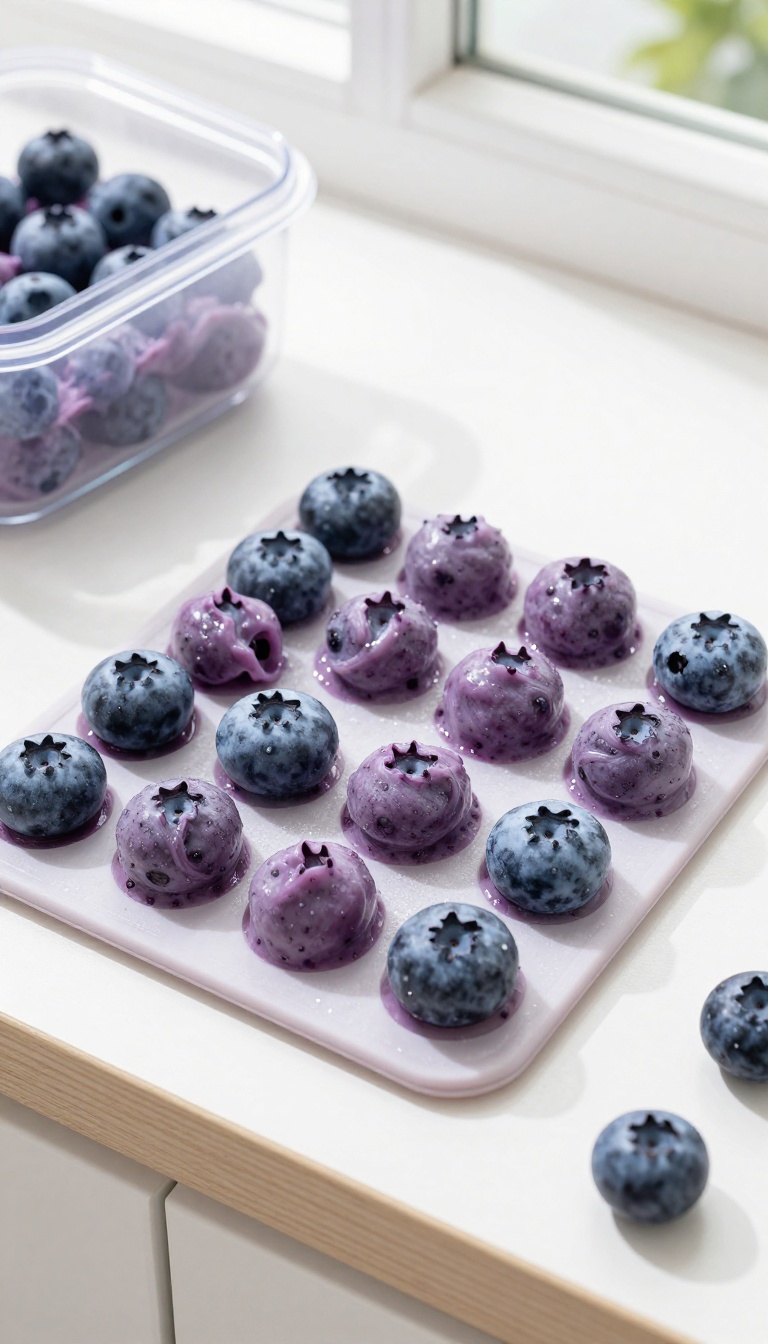
When the temperature climbs, keeping your dog engaged during training can be a challenge. These frozen drops are a cool, refreshing way to reward focus without breaking your flow. They're simple to make, easy to portion, and the combination of blueberries and yogurt is a dog-friendly duo that most pups find irresistible.
Plus, they're gentle on the tummy and perfect for warm-weather sessions.
Ingredients
- 1 cup plain, unsweetened yogurt (Greek or regular, no xylitol)
- 1/2 cup fresh or frozen blueberries (no added sugar)
- 1 tablespoon honey (optional, for extra sweetness, but not necessary)
- 1/4 cup water (if needed to thin the mixture)
Instructions
- In a blender or food processor, combine the yogurt, blueberries, and honey (if using). Blend until smooth. If the mixture is too thick, add water a little at a time until it reaches a pourable consistency.
- Pour the mixture into silicone molds or an ice cube tray, filling each cavity about three-quarters full. You can also use a small spoon to drop dollops onto a parchment-lined baking sheet.
- Place the molds or baking sheet in the freezer for at least 2-3 hours, or until completely frozen. Once solid, pop the drops out and store them in a freezer-safe bag or container.
Serving Tip
- These frozen drops are perfect for training sessions, especially outdoors. Keep a small container in the freezer and grab a few as needed. They're best served cold, so take them out right before you start training.
- For smaller dogs, cut the drops in half or use a mini ice cube tray. Always supervise your dog when giving frozen treats, and adjust portion sizes based on your dog's size and dietary needs.
7. Beef Liver & Parsley Training Bites
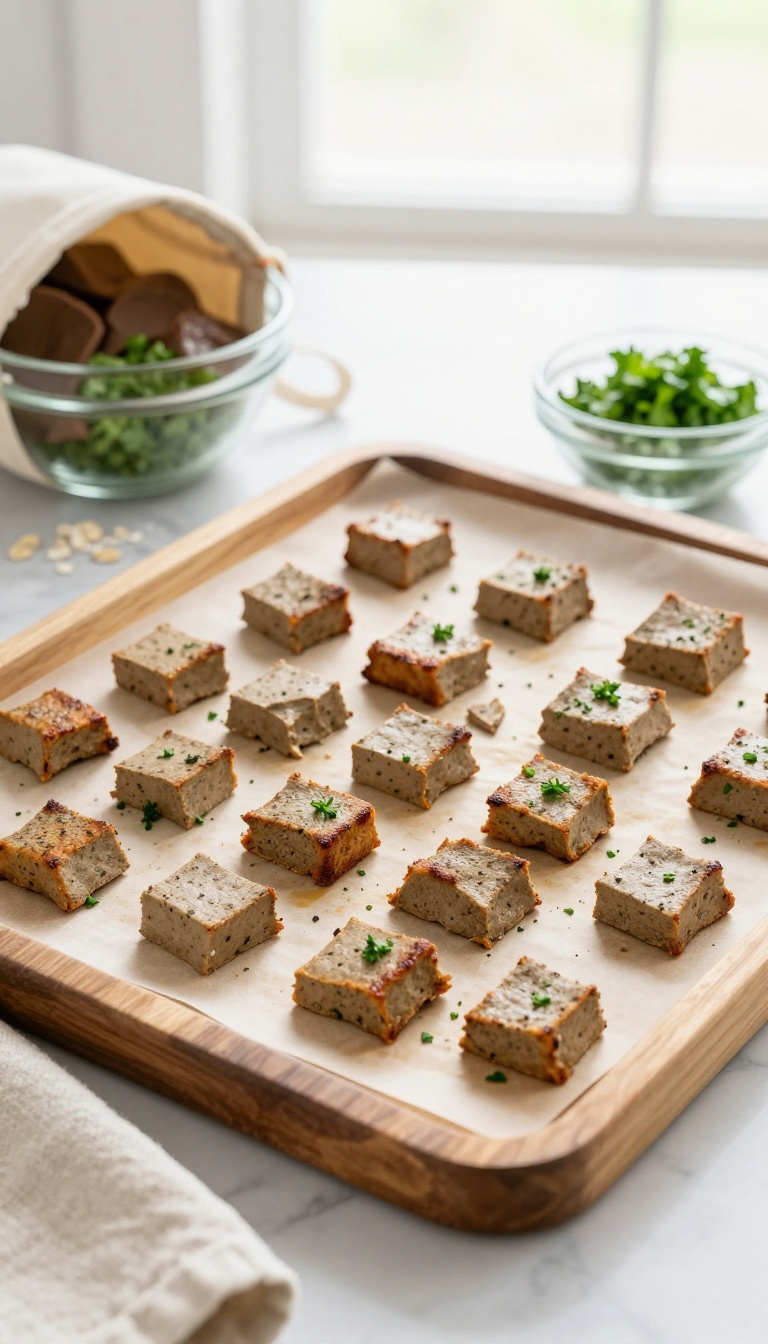
These little bites pack a punch of flavor that makes them perfect for those moments when your dog needs extra motivation. The beef liver brings a rich, meaty taste that most dogs find irresistible, while the parsley adds a fresh note and helps freshen breath. They're soft enough to break into smaller pieces during training, yet sturdy enough to hold their shape in a treat pouch.
Whether you're working on a new trick or just want to reward a calm sit, these bites are a reliable high-value option.
Ingredients
- 1 pound beef liver, trimmed and cut into chunks
- 1 cup oat flour (or whole wheat flour if your dog tolerates it)
- 1 large egg
- 1/4 cup fresh parsley, finely chopped
- 1/4 cup water (or as needed)
Instructions
- Preheat your oven to 350°F (175°C) and line a baking sheet with parchment paper.
- In a food processor, blend the beef liver until smooth, scraping down the sides as needed.
- Add the oat flour, egg, and parsley to the liver puree, then pulse until a soft dough forms. If the dough seems too dry, add water a tablespoon at a time until it comes together.
- Turn the dough out onto a lightly floured surface and roll it to about 1/4-inch thickness.
- Cut into small, bite-sized squares or use a small cookie cutter. Place them on the prepared baking sheet.
- Bake for 15–18 minutes, or until the bites are firm and slightly browned on the edges. Let them cool completely before serving.
Serving Tip
Store these bites in an airtight container in the refrigerator for up to a week, or freeze them for up to three months. For training, break them into pea-sized pieces to keep the reward small and prevent overfeeding. Because liver is rich, start with a few bites and adjust based on your dog's size and dietary needs.
8. Carrot & Apple Soft Training Cubes
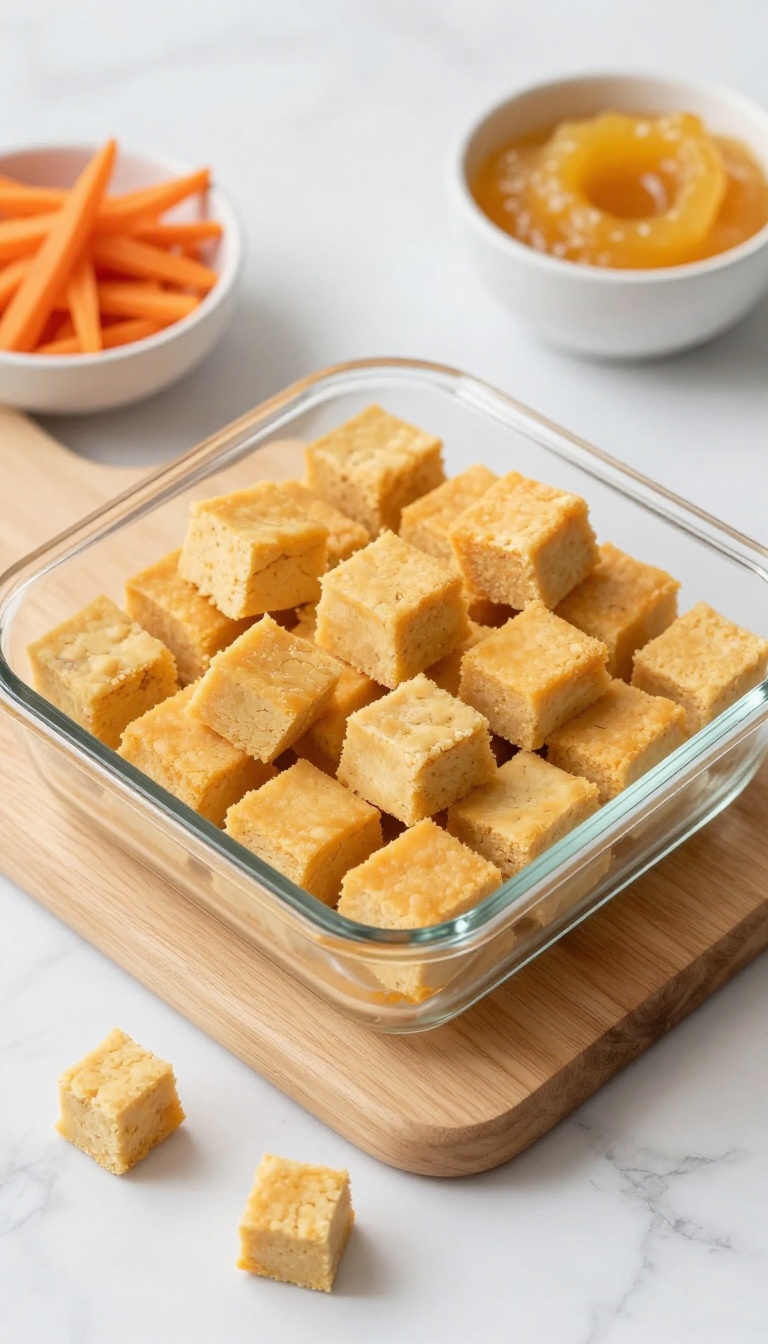
These little cubes are a soft, chewy way to keep your pup engaged during training sessions. The natural sweetness from apple and carrot makes them a hit, while the gentle texture is perfect for puppies or older dogs with sensitive teeth. They're quick to mix and bake, so you can have a fresh batch ready in under half an hour.
Ingredients
- 1 cup finely grated carrot
- 1 cup unsweetened applesauce
- 1/4 cup plain Greek yogurt (or dairy-free alternative)
- 1 large egg
- 1 1/2 cups oat flour (or whole wheat flour)
- 1/2 teaspoon ground cinnamon (optional)
Instructions
- Preheat your oven to 350°F (175°C) and lightly grease a small baking dish or line it with parchment paper.
- In a mixing bowl, combine the grated carrot, applesauce, yogurt, and egg. Stir until well blended.
- Add the oat flour and cinnamon, then mix into a thick, spreadable batter. If it's too stiff, add a tablespoon of water to loosen.
- Pour the mixture into the prepared dish and spread it evenly to about 1/2-inch thickness.
- Bake for 20–25 minutes, until the edges are set and a toothpick comes out clean. Let cool completely.
- Cut into small, bite-sized cubes (about 1/2 inch) and store in an airtight container in the fridge for up to a week.
Serving Tip
Because these cubes are soft and moist, they're perfect for breaking into tiny pieces during training. Use them as a high-value reward for new tricks or as a gentle treat for puppies learning basic commands. Keep them refrigerated to maintain freshness, and freeze extras in a zip-top bag for up to three months.
9. Cheese & Chive Training Crackers
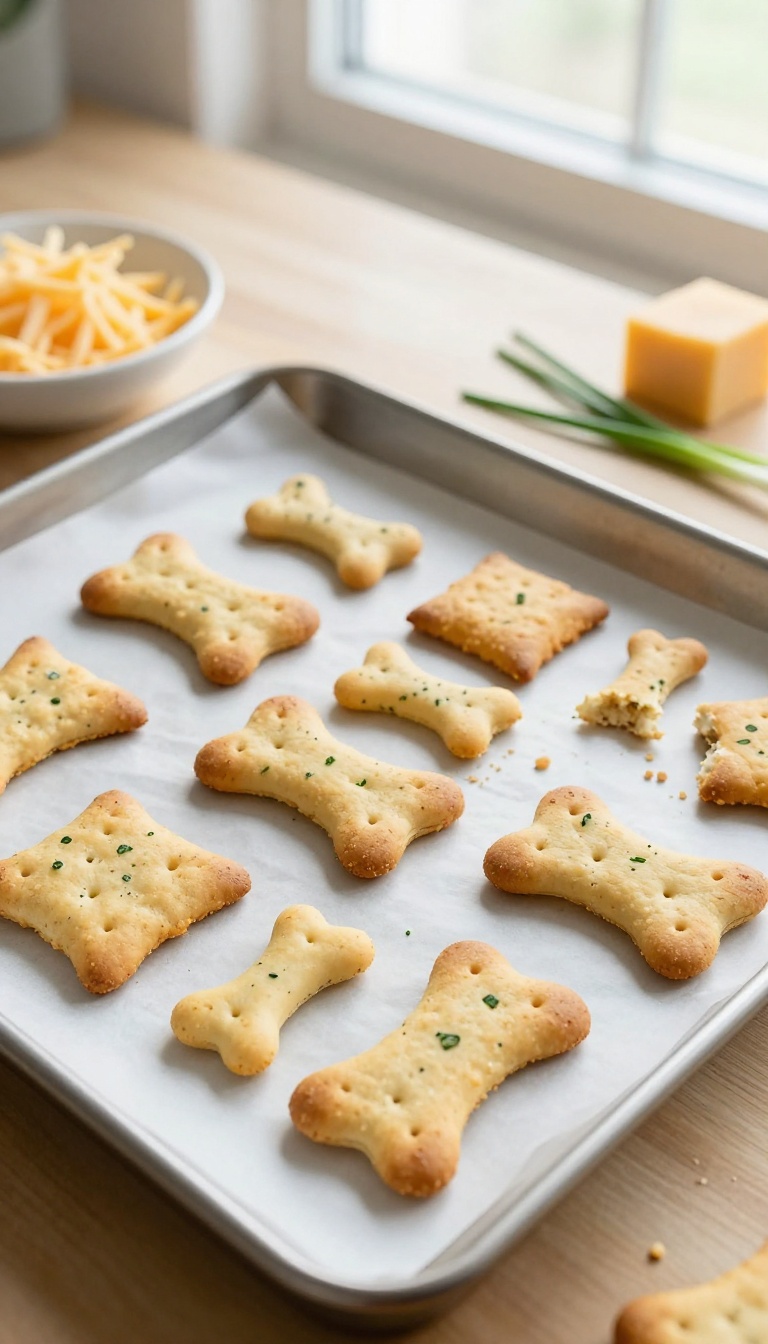
These savory crackers bring a punch of cheese flavor that grabs your dog's attention fast, making them a smart pick for training sessions. The chive adds a subtle freshness, but it's the crispy texture that keeps pups coming back for more. They're quick to bake and easy to break into tiny pieces, so you can reward those perfect sits without overdoing the calories.
Ingredients
- 1 cup whole wheat flour
- 1/2 cup shredded cheddar cheese
- 1/4 cup finely chopped fresh chives
- 1/4 cup plain Greek yogurt
- 1/4 cup water (plus more if needed)
Instructions
- Preheat your oven to 350°F (175°C) and line a baking sheet with parchment paper.
- In a bowl, mix the flour, cheese, and chives. Add the yogurt and water, then stir until a dough forms. If it's too dry, add water a teaspoon at a time.
- Roll the dough out to about 1/4-inch thickness on a lightly floured surface. Cut into small cracker shapes using a cookie cutter or a knife.
- Place the crackers on the baking sheet and bake for 15–18 minutes, until golden and crisp. Let them cool completely before serving.
Serving Tip
For training, break these crackers into pea-sized pieces so they're easy to reward without filling your pup up. Store in an airtight container for up to a week, or freeze for longer freshness—just thaw before giving them out.
10. Coconut & Turmeric Training Balls
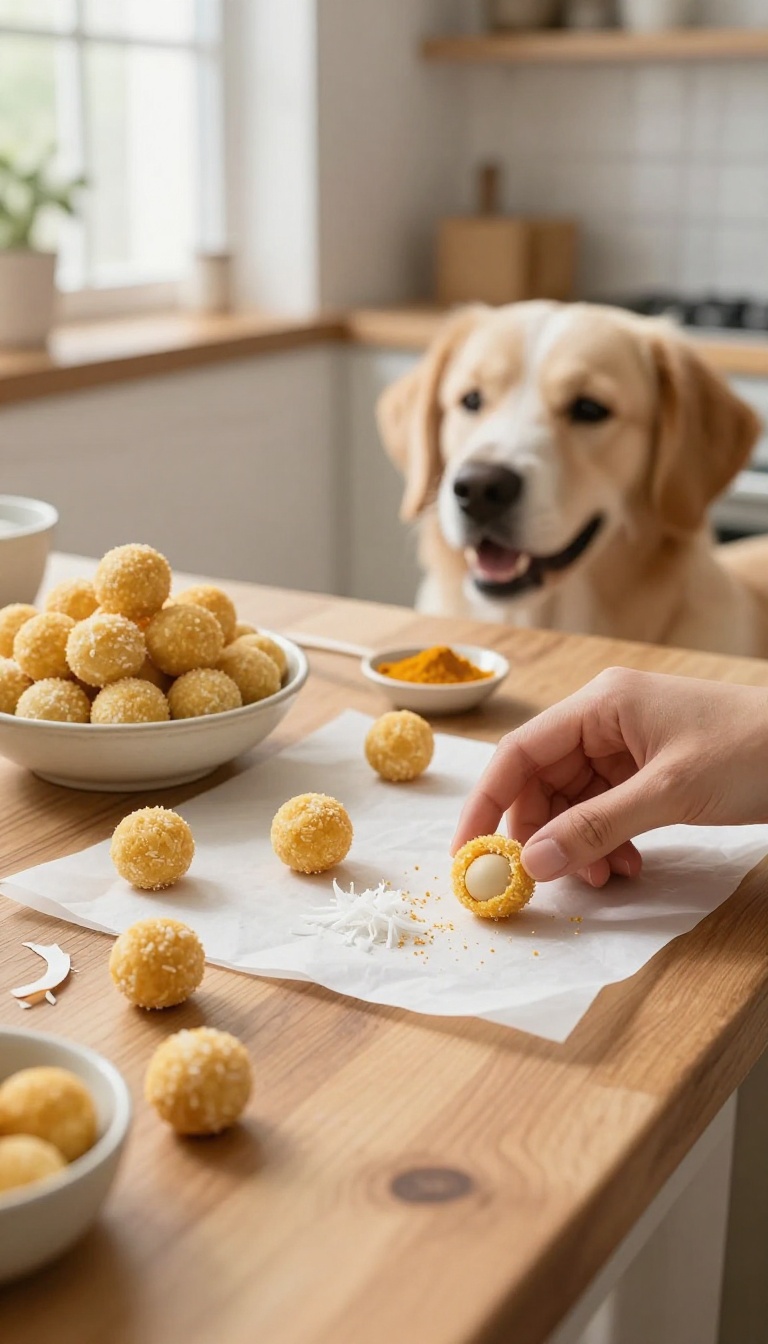
These no-bake training balls are a breeze to whip up, and they pack a gentle anti-inflammatory punch thanks to turmeric. Coconut adds a tropical hint that most dogs find irresistible, while the soft, rollable texture makes them perfect for breaking into tiny rewards during training sessions. Whether you're working on a new trick or just want a quick, healthy snack, these little balls are a practical addition to your treat rotation.
Ingredients
- 1 cup unsweetened shredded coconut
- 1/2 cup coconut flour
- 1/4 cup melted coconut oil
- 1/2 teaspoon ground turmeric
- 1/4 cup water (or more as needed)
Instructions
- In a medium bowl, combine the shredded coconut, coconut flour, and turmeric. Stir well to distribute the turmeric evenly.
- Add the melted coconut oil and water, then mix until a dough forms. If it's too dry, add a little more water a teaspoon at a time.
- Roll the dough into small, pea-sized balls (about 1/2 inch in diameter) to keep them training-friendly.
- Place the balls on a parchment-lined tray and refrigerate for at least 30 minutes to firm up before serving.
Serving Tip
Store these balls in an airtight container in the fridge for up to a week, or freeze them for up to three months. Because they're small, you can easily adjust portions during training—just count each ball as one treat. If your dog has a sensitive stomach, start with a tiny piece to ensure turmeric agrees with them.
FAQ
How small should training treats be?
Training treats should be about the size of a pea or a small blueberry. This keeps the calorie count low and allows you to give multiple rewards without overfeeding your dog.
Can I use these treats for dogs with allergies?
Many of these recipes are easily customizable. For example, if your dog is allergic to chicken, you can substitute with turkey or beef. Always check with your vet if you're unsure about specific ingredients.
How long do homemade training treats last?
Most homemade treats last about 1-2 weeks in an airtight container in the refrigerator. For longer storage, freeze them for up to 3 months. Just thaw a small batch as needed.
Are these treats suitable for puppies?
Yes, most of these treats are suitable for puppies, but be sure to adjust the size and texture. Soft treats are easier for puppies to chew, and always supervise your puppy when giving treats.
Can I use these treats for dogs on a diet?
Absolutely. Many of these recipes are low in calories and use healthy ingredients. Just be mindful of portion sizes and factor the treats into your dog's daily calorie intake.
Conclusion
Homemade training treats are a wonderful way to bond with your dog while reinforcing positive behavior. With these 10 recipes, you can provide healthy, tasty rewards that keep your pup motivated and focused. Plus, you'll have the peace of mind knowing exactly what's in every bite.
So, pick a recipe that suits your dog's taste and dietary needs, and start baking. Your dog will love the effort, and you'll enjoy the results. Happy training!

I’m Pallab Kishore, the owner of Little Pets Realm — an animal lover and pet care enthusiast sharing easy tips, healthy recipes, and honest advice to help every small pet live a happy, healthy, tail-wagging life.