Last updated on March 6th, 2026 at 05:21 pm
Store-bought dog cookies are overpriced, full of mystery ingredients, and somehow still manage to smell like cardboard. So yeah… making your own at home just makes more sense.
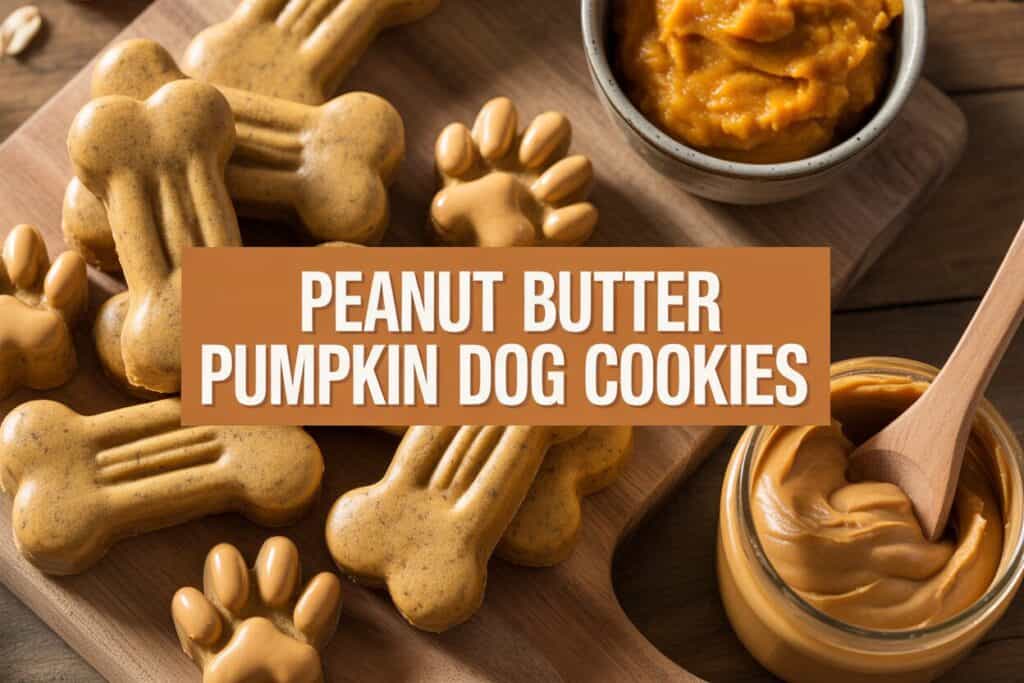
These peanut butter pumpkin dog cookies are a simple 3-ingredient recipe that’s easy to mix, easy to bake, and honestly hard to mess up. They come out crunchy, smell way better than most packaged treats, and dogs act like they’re gourmet snacks.
If you’ve got a jar of peanut butter and a can of pumpkin sitting around, you’re basically already halfway done.
What Makes This Recipe Shine
This recipe works because it’s simple, clean, and built around ingredients dogs already love. Peanut butter brings the flavor and healthy fats, pumpkin helps with digestion, and the egg binds everything so you don’t end up with crumbly cookie chaos. The texture comes out firm and crunchy, which is perfect for dogs who like something they can actually chew on.
Pumpkin is one of those ingredients I keep around for dog stuff because it’s ridiculously useful. It helps with digestion, it’s gentle on the stomach, and it adds natural moisture so you don’t need a bunch of oils or extra ingredients. It also has fiber and nutrients without being heavy, which makes these cookies feel like a “real treat” without being junk food.
Peanut butter is the part that makes dogs go full detective mode in the kitchen. The smell alone gets their attention fast, and it adds protein plus healthy fats that help keep their coat looking good. Just make sure it’s xylitol-free, because xylitol is toxic to dogs and that’s not a risk worth taking.
The egg is the quiet hero here. It holds everything together and helps the cookies bake evenly without needing flour-heavy recipes that can feel too dense. I like recipes like this because they’re fast, they don’t require weird ingredients, and they don’t leave you washing ten bowls afterward.
Another reason I love this recipe is how flexible it is. You can roll them thin for crunchy training treats or keep them thicker for a longer chew. And if you’re someone who likes baking in batches, these freeze beautifully and hold their texture really well.
While this homemade cake is great for special occasions, I like having an easy everyday training treat on hand too.

- BIG MOTIVATION IN EACH MINI BITE. Each of these 3 calorie treats are packed with flavor from pork liver, real bacon, and…
- TRAIN. ENRICH. TREAT. These low calorie training rewards are great for training sessions, enrichment activities such as …
- GREAT FOR DOGS OF ALL SIZES. These bite-sized treats are the perfect size for training and every day treating for dogs o…
Ingredients You’ll Need
- Natural peanut butter (xylitol-free)
Choose unsweetened if possible, and always check the label for xylitol since it’s dangerous for dogs. - Pure pumpkin puree (not pumpkin pie filling)
Pumpkin pie filling has sugar and spices that dogs don’t need, so stick to plain canned pumpkin. - 1 large egg
This binds the dough and gives the cookies structure so they bake into solid little treats.

- 100% PURE PUMPKIN Our all-natural LIBBY’S 100% Pure Pumpkin is made from homegrown pumpkins harvested in Illinois. With …
- SMOOTH AND CREAMY TEXTURE Taste the always smooth and creamy texture that has made LIBBY’S 100% pure pumpkin a baking fa…
- SUSTAINABLY GROWN Focused on nurturing both pumpkins and the planet, our LIBBY’S 100% pure pumpkin is grown with care us…

- Proudly made in the USA using only grown peanuts
- Non-GMO, Gluten Free, Vegan Friendly
- No preservatives or sugars added
Get the Free Healthy Dog Treat Starter Pack
Easy homemade dog treat recipes, simple safety tips, and helpful printable pages for dog parents who want to make treat time more fun.
Step-by-Step Instructions
Step 1: Preheat and Set Up Your Baking Sheet
Preheat your oven to 350°F (175°C) and line a baking sheet with parchment paper. This keeps the cookies from sticking and saves you from scraping baked peanut butter off a pan later.
I always recommend parchment because these treats can cling to metal like they’re emotionally attached. Plus, cleanup becomes almost too easy.
Step 2: Mix the Dough
In a medium bowl, add the pumpkin puree, peanut butter, and egg. Stir everything together until it becomes a thick, smooth dough that holds its shape.
If the mixture looks too wet, don’t panic right away because it firms up as you stir. Pumpkin varies a lot by brand, so sometimes you just need an extra minute of mixing.
Step 3: Check the Dough Texture
Scoop a little dough with a spoon and see if it holds together without dripping. You want something soft but moldable, kind of like thick cookie dough.
If it feels overly sticky, chill it in the fridge for 10–15 minutes. That little break makes shaping the cookies way easier.
Step 4: Shape the Cookies
Roll the dough out on a lightly floured surface (you can use a little oat flour or whole wheat flour if needed). Roll it to about ¼ inch thickness if you want crunchy cookies.
Cut into shapes using a small cookie cutter or just slice into squares with a knife. Dogs do not care about aesthetics, even though we humans weirdly do.
Step 5: Place on Baking Sheet
Transfer the cut cookies onto the parchment-lined baking sheet. Leave a small amount of space between them, but they won’t spread much during baking.
If the dough sticks while transferring, use a thin spatula. I’ve learned the hard way that fingers just make it messier.
Step 6: Bake Until Firm
Bake for 20–25 minutes, depending on how thick your cookies are. The edges should look slightly darker and the tops should feel set.
If you want extra crunch, leave them in for an additional 5 minutes. Just keep an eye on them because peanut butter can go from “perfect” to “burnt” pretty fast.
Step 7: Cool Completely (This Part Matters)
Remove the cookies from the oven and let them cool on the baking sheet for 10 minutes. Then move them to a wire rack and let them cool fully.
Do not serve them warm, even if your dog is giving you the most dramatic stare of their life. Hot treats can burn mouths and the texture isn’t fully set until they cool.
Step 8: Optional Crunch Boost (For Serious Chewers)
If your dog loves crunchy treats, turn the oven off and leave the cookies inside with the door slightly cracked for 20 minutes. This dries them out slowly without burning them.
This is my favorite trick when I want that “store-bought biscuit crunch” without adding extra ingredients. It works like magic.
Step 9: Store the Cookies Properly
Once cooled, store the cookies in an airtight container. They’ll last about 5–7 days at room temperature, but longer if refrigerated.
If you made a big batch, freezing is the best option. They thaw quickly and still keep their crunch.
Common Mistakes to Avoid
One of the biggest mistakes people make is grabbing the wrong pumpkin. Pumpkin pie filling looks similar, but it contains added sugar and spices like nutmeg, which dogs absolutely don’t need. Always double-check the label and make sure it says 100% pumpkin puree.
Another common problem is using peanut butter without reading the ingredients. Some brands sneak in xylitol, and that stuff is extremely toxic to dogs. If you’re ever unsure, don’t gamble with it, because no treat is worth that kind of risk.
Overbaking is also a classic mistake, especially if your cookies are rolled thin. Peanut butter-based dough browns fast, and the line between “golden” and “burnt” is annoyingly short. I usually start checking around the 18-minute mark just to stay safe.
On the flip side, underbaking makes cookies soft and too moist, which can cause them to spoil faster. They should feel firm and dry on the outside when you take them out. If they feel squishy, they need more oven time.
Another sneaky issue is making the cookies too thick. Thick treats can stay doughy inside even if the outside looks baked, which isn’t ideal for storage or digestion. If you want thicker treats, bake longer at a slightly lower temperature like 325°F.
Lastly, people sometimes add extra “human flavor boosters” like salt, cinnamon, or sweeteners. Dogs don’t need those extras, and too much salt is especially not great for them. Keep it simple, and your dog will still act like you just served a five-star meal.
Alternatives & Substitutions
If your dog has a peanut allergy or you just want to switch things up, you can use sunflower seed butter instead. It has a similar creamy texture and works almost the same in baking. Just make sure it’s unsweetened and doesn’t have weird additives.
For dogs who do well with other nut butters, almond butter can work too, but I personally find it a little richer and oilier. If you use almond butter, you may want to reduce the amount slightly so the dough doesn’t turn greasy. Peanut butter gives the best “cookie-style” texture, but almond butter still gets the job done.
If you want a grain-free option, you’re already in luck because this recipe doesn’t rely on flour. That said, if the dough feels too sticky, you can dust your surface with coconut flour or oat flour instead of wheat flour. Coconut flour soaks up moisture fast, so use it lightly unless you want dry little bricks.
For dogs that need extra protein, you can mix in a tablespoon of collagen powder or dog-safe protein powder. I’ve tried it a few times, and it makes the cookies slightly firmer. Just don’t go crazy with it, because you still want the treats to stay digestible.
If eggs don’t work for your dog, you can try using a “flax egg” (1 tablespoon ground flaxseed mixed with 2.5 tablespoons water). It won’t bake exactly the same, but it still binds the dough surprisingly well. The texture ends up slightly softer, but most dogs won’t complain.
You can also add a small amount of mashed banana for sweetness, but I only do that occasionally. Banana changes the moisture level, so you may need to bake longer, and it makes the cookies a bit more chewy than crunchy.
FAQ
Can I give these peanut butter pumpkin cookies to puppies?
Yes, most puppies can eat these as long as they’re already eating solid food comfortably. I’d keep the portions small since puppy stomachs can be a little dramatic sometimes.
For younger puppies, I recommend baking them a little softer so they’re easier to chew. You can also break them into tiny pieces for training treats.
How many cookies can my dog eat per day?
That depends on your dog’s size, activity level, and overall diet. For a small dog, 1–2 cookies a day is usually plenty, while medium and large dogs can handle a few more.
Even though these are healthier than store-bought treats, they’re still treats. If your dog starts acting like they deserve twelve in one sitting, don’t fall for the performance.
Do these cookies need to be refrigerated?
They don’t have to be, but refrigeration helps them last longer. If your kitchen is warm or humid, I’d store them in the fridge just to avoid spoilage.
At room temperature, they’re usually good for about a week. In the fridge, you can stretch that closer to two weeks.
Can I freeze peanut butter pumpkin dog cookies?
Absolutely, and freezing is honestly the best move if you bake big batches. Let the cookies cool completely, then store them in a freezer-safe bag or container.
They thaw quickly on the counter, and you can even give them slightly frozen if your dog likes a crunchy snack. Some dogs treat that like a deluxe experience.
What kind of peanut butter is safest for dogs?
The safest peanut butter is natural, unsweetened, and has minimal ingredients. Ideally, the label should only list peanuts (and maybe a little salt).
Avoid anything with xylitol, artificial sweeteners, or extra sugar. If the ingredient list looks like a chemistry project, skip it.
Why is pumpkin good for dogs?
Pumpkin is great because it’s gentle, high in fiber, and supports digestion. It can help with both mild constipation and loose stool, which is kind of impressive for one ingredient.
It also adds vitamins like A and C without being heavy or fatty. That makes it a solid everyday ingredient for dog treats.
Can I make these treats crunchy instead of soft?
Yes, and it’s pretty easy. Roll the dough thinner and bake a few extra minutes until the cookies feel firm and dry.
If you want maximum crunch, leave them in the turned-off oven afterward with the door cracked. That drying step gives them that classic biscuit snap.
Final Thoughts
These peanut butter pumpkin dog cookies are one of those recipes that feels almost too easy, but the results are honestly solid. They’re simple, dog-safe, and smell way better than most treats you’ll find in a bag.
I love making these in batches and freezing them because it saves money and makes treat time effortless. If your dog loves peanut butter (and let’s be real, most do), this recipe is going to be a repeat in your kitchen.

I’m Pallab Kishore, the owner of Little Pets Realm — an animal lover and pet care enthusiast sharing easy tips, healthy recipes, and honest advice to help every small pet live a happy, healthy, tail-wagging life.
Get the Free Healthy Dog Treat Starter Pack
Easy homemade dog treat recipes, simple safety tips, and helpful printable pages for dog parents who want to make treat time more fun.