
Last updated on September 1st, 2026 at 04:43 pm
If your dog can destroy a store-bought chew in minutes, you know the struggle. Heavy chewers need treats that can take a beating, and homemade options are a great way to save money and control ingredients.
Plus, making a big batch on the weekend means you always have a tough snack ready when your pup needs it. These recipes are designed with durability in mind, using ingredients like sweet potato, pumpkin, and oats that bake up firm and satisfying.
Many can be frozen for extra chew time, and all are simple to prepare with basic kitchen tools. Whether you have a power chewer or just want to spoil your dog with something special, these treats are a win-win.
1. Frozen Peanut Butter and Banana Chews
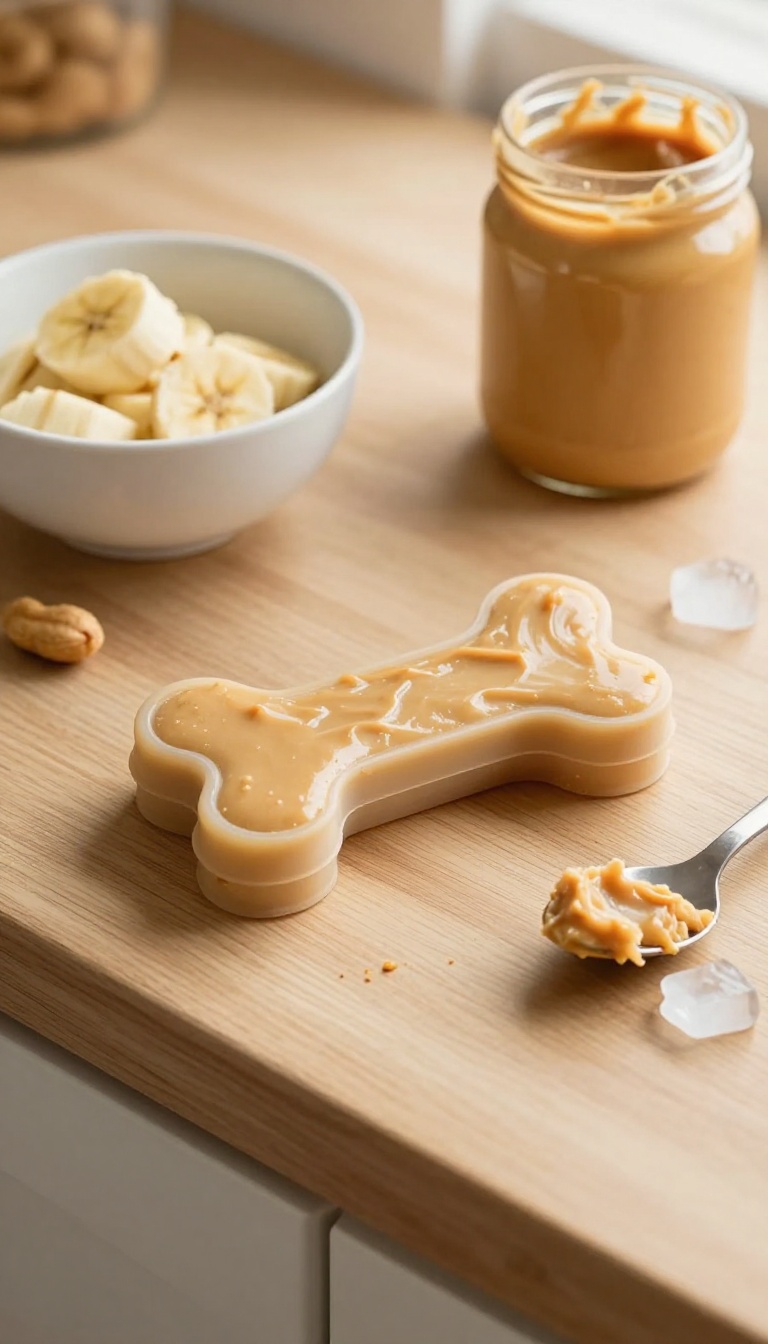
When the sun is blazing and your heavy chewer is looking for something to gnaw on, these frozen peanut butter and banana chews are a total game-changer. They're ridiculously easy to whip up, and the best part? You can make a big batch ahead of time and keep them stacked in the freezer for those moments when you need a quick, satisfying distraction.
The creamy peanut butter and sweet banana blend freeze into a firm, icy treat that keeps your pup busy and cool, making it a win-win for both of you.
Ingredients
- 2 ripe bananas, mashed
- 1/2 cup plain, unsweetened peanut butter (make sure it's xylitol-free)
- 1 cup plain Greek yogurt (or unsweetened applesauce for a dairy-free option)
Instructions
- In a medium bowl, mix the mashed bananas and peanut butter until smooth. Stir in the Greek yogurt until everything is well combined.
- Spoon the mixture into silicone molds or an ice cube tray. You can also drop spoonfuls onto a parchment-lined baking sheet if you don't have molds.
- Freeze for at least 4 hours, or until solid. Pop the chews out of the molds and store them in a freezer-safe bag or container.
Serving Tip
These frozen chews are best served straight from the freezer, but for puppies or senior dogs with sensitive teeth, let them sit at room temperature for 5 minutes to soften slightly. Start with one chew per session, and adjust based on your dog's size and chewing habits. They're perfect for hot days, teething relief, or as a long-lasting treat that keeps your pup entertained while you get things done.
2. Sweet Potato Jerky Strips
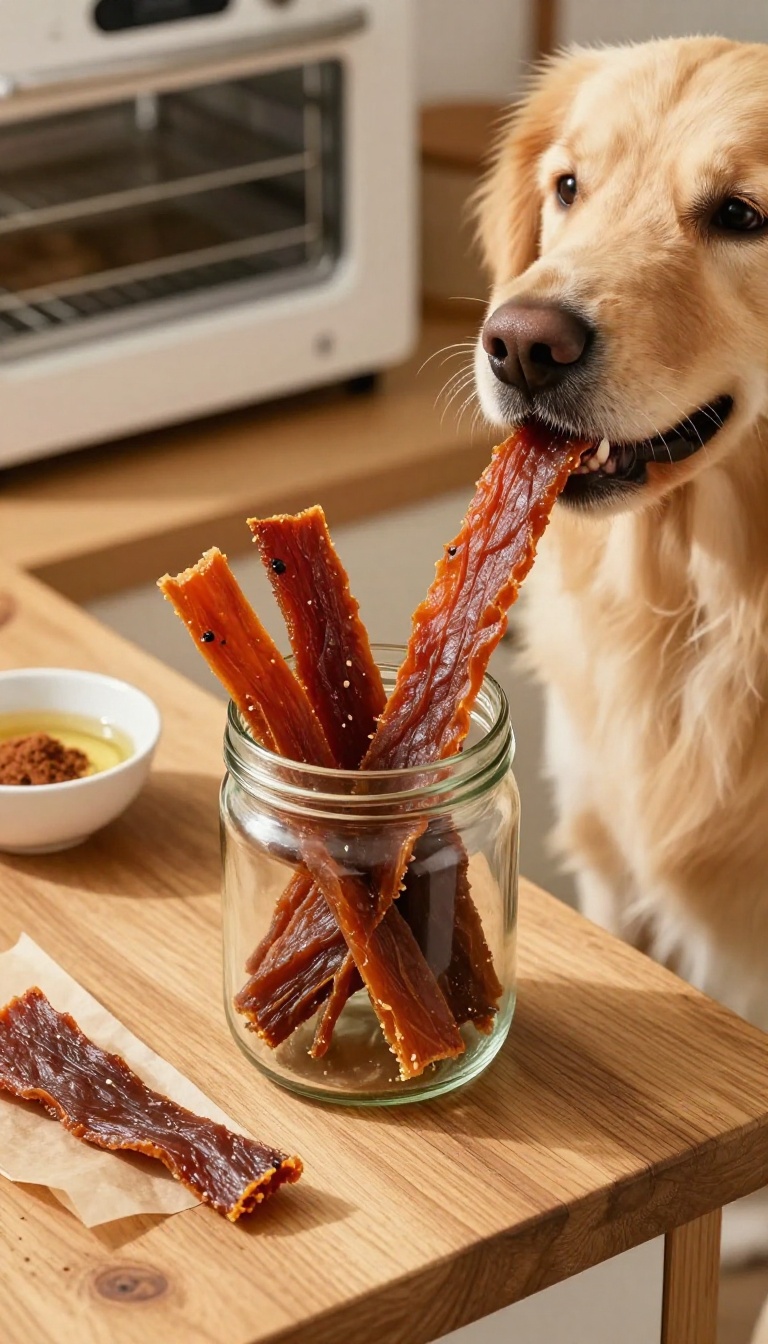
If your dog tears through soft treats in seconds, these sweet potato jerky strips are about to change snack time. They're chewy, tough, and take a while to work through, which makes them perfect for heavy chewers who need a satisfying project. Plus, they're incredibly easy to make in bulk, so you can keep a jar ready for busy weeks when you need a quick, healthy distraction for your pup.
Ingredients
- 2 large sweet potatoes, washed and peeled
- 1 tablespoon coconut oil, melted (optional, for extra shine)
- 1/2 teaspoon ground cinnamon (optional, for a hint of flavor)
Instructions
- Preheat your oven to 200°F (95°C) or set your dehydrator to 135°F (57°C). Line a baking sheet with parchment paper if using the oven.
- Slice the sweet potatoes lengthwise into thin strips, about 1/4-inch thick. For a chewier texture, keep them slightly thicker; for crunchier, slice thinner.
- In a large bowl, toss the strips with coconut oil and cinnamon (if using) until evenly coated.
- Arrange the strips in a single layer on the baking sheet or dehydrator trays, making sure they don't overlap.
- Bake for 3 to 4 hours, flipping halfway through, or dehydrate for 6 to 8 hours, until the strips are dry and leathery but still slightly pliable. They will harden more as they cool.
- Let the jerky cool completely before serving. Store in an airtight container for up to 2 weeks, or freeze for longer storage.
Serving Tip
Give your dog one strip as a rewarding chew, and adjust the size based on your dog's breed and chewing strength. For smaller dogs, cut the strips into shorter pieces to prevent choking. These jerky strips are perfect for stuffing into puzzle toys or using as a training reward when broken into bits.
3. Pumpkin and Oat Biscuits
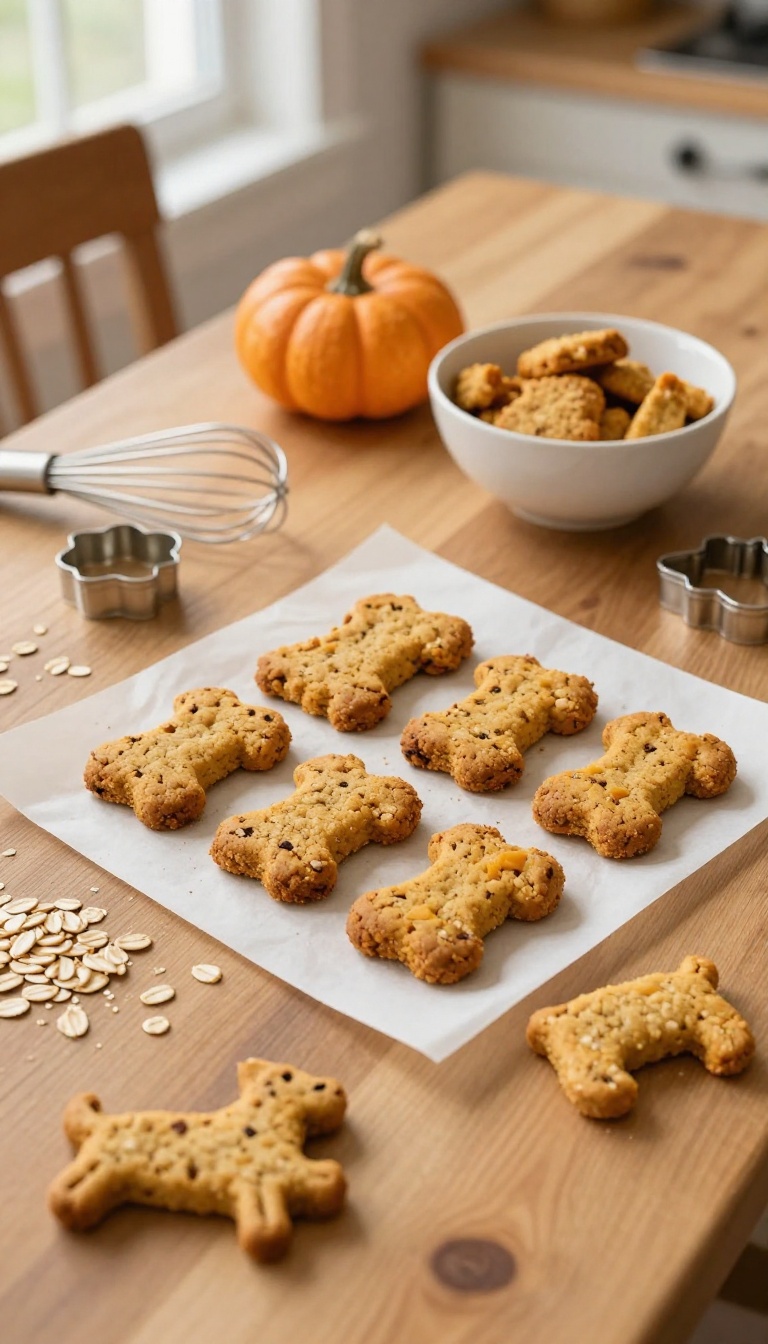
If your pup is a heavy chewer, you know the struggle of finding treats that last longer than a minute. These pumpkin and oat biscuits are baked until firm and crunchy, giving your dog something to really work for. Plus, the pumpkin adds a touch of natural sweetness that most dogs go crazy for, and oats bring a wholesome, hearty texture that holds up well.
They're perfect for meal-prep because you can make a big batch and store them for weeks—just what busy dog owners need.
Ingredients
- 2 cups rolled oats (plus extra for dusting)
- 1 cup canned pumpkin (unsweetened, not pumpkin pie filling)
- 1/2 cup water or low-sodium chicken broth
- 1 large egg
Instructions
- Preheat your oven to 350°F (175°C) and line a baking sheet with parchment paper.
- In a food processor, pulse the oats until they form a coarse flour. You can leave some texture for extra crunch.
- In a large bowl, mix the oat flour, pumpkin, water or broth, and egg until a stiff dough forms. If it's too sticky, add a bit more oat flour.
- Roll the dough out on a lightly floured surface to about 1/4-inch thickness. Use dog-shaped or round cookie cutters to cut out biscuits.
- Place the biscuits on the prepared baking sheet and bake for 40–45 minutes, or until they are golden and very firm. For extra crunch, turn off the oven and leave the biscuits inside for another hour to dry out.
- Let them cool completely before serving. Store in an airtight container for up to two weeks, or freeze for longer.
Serving Tip
These biscuits are dense and crunchy, so they're great for chewing, but keep an eye on portion sizes—one or two per day is plenty for most dogs. If your dog prefers a softer texture, reduce the baking time slightly, but for heavy chewers, the longer bake gives that satisfying snap. Store in a cool, dry place to maintain crunchiness.
4. Bully Stick Alternative: Beef Tendon Chews
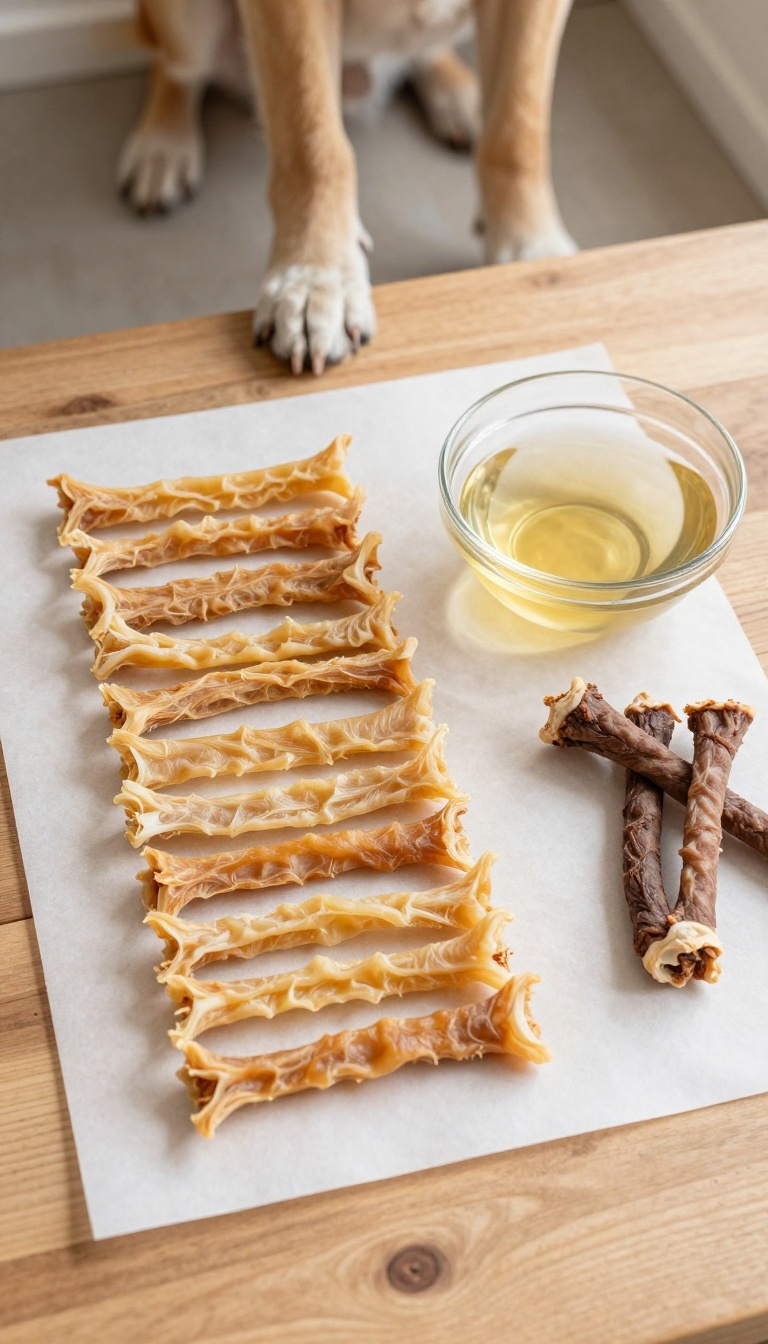
If your dog loves to chew but you're tired of buying expensive bully sticks, these homemade beef tendon chews are a fantastic swap. They're just as tough and satisfying, but you can make a big batch for a fraction of the cost. Plus, you control exactly what goes into them—no mystery ingredients or additives.
Your pup will love the meaty flavor, and you'll love how long they last, making them perfect for meal-prep sessions.
Ingredients
- 2 pounds beef tendons (from a butcher or online supplier)
- 1 tablespoon apple cider vinegar (optional, for cleaning)
- Water for soaking
Instructions
- Soak the beef tendons in cold water with the apple cider vinegar for about 30 minutes to help remove any impurities. Rinse them thoroughly and pat dry.
- Place the tendons in a dehydrator or on a baking sheet lined with parchment paper. If using an oven, set it to the lowest temperature (around 160°F or 70°C).
- Dehydrate for 12 to 24 hours, depending on thickness, until they are completely dried and hard. They should be tough with no soft spots.
- Let them cool completely before storing in an airtight container. They'll keep for weeks at room temperature, or longer in the fridge.
Serving Tip
These chews are meant for heavy chewers, so always supervise your dog the first few times. They can be hard on teeth, so if your dog is a gentle chewer, you might want to soak them in warm water for a few minutes to soften slightly. Store them in a cool, dry place, and they'll stay fresh for up to a month—perfect for grabbing on busy days.
5. Frozen Chicken Broth Popsicles
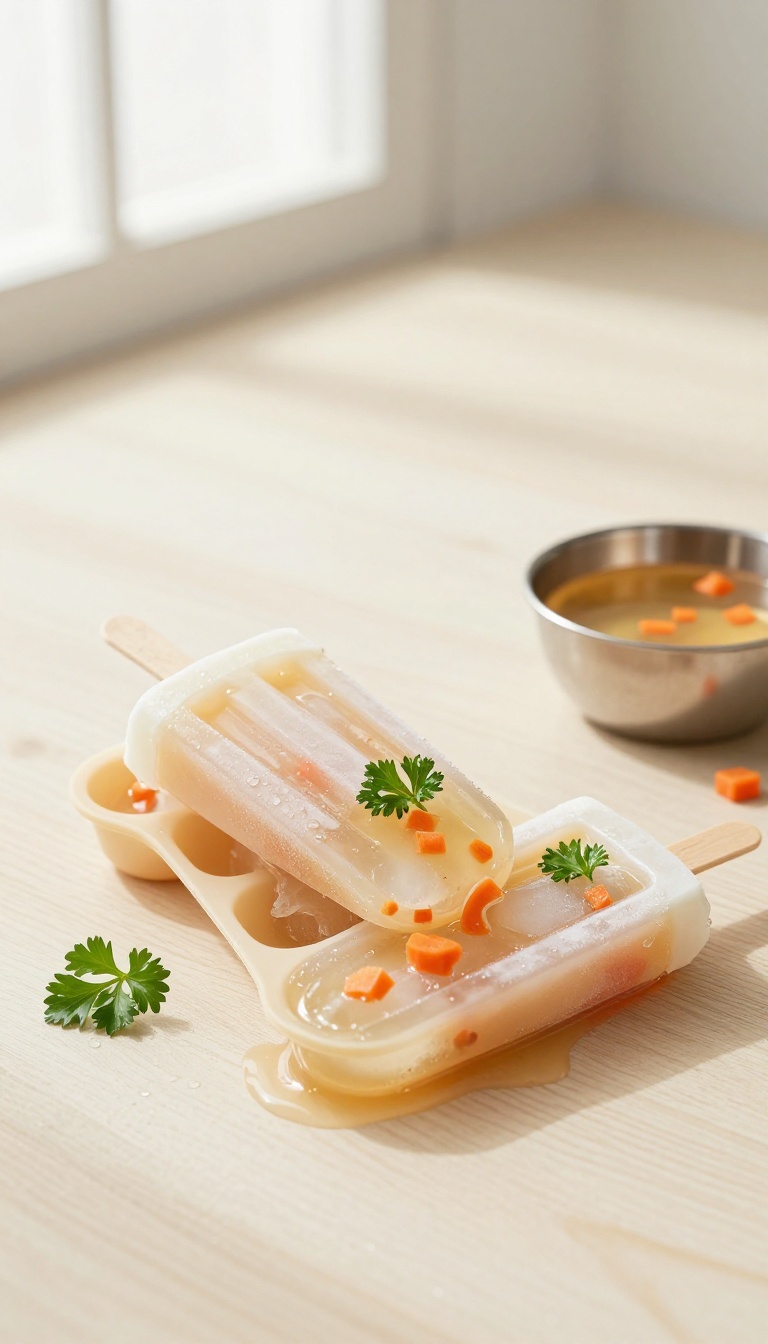
When the weather heats up, these frozen chicken broth popsicles are a total game-changer for keeping your dog busy and hydrated. They're incredibly simple to make—just pour, freeze, and serve—which makes them perfect for meal-prepping a whole batch ahead of time. Your pup will love the savory flavor and the cool, satisfying crunch, and you'll love how easy they are to customize with their favorite dog-safe add-ins.
Ingredients
- 4 cups low-sodium chicken broth (make sure it's onion- and garlic-free)
- 1/2 cup plain, unsweetened applesauce (optional, for a touch of sweetness)
- 1/4 cup finely chopped carrots (or other dog-safe veggies like green beans or peas)
- A few sprigs of fresh parsley (optional, for garnish)
Instructions
- In a large mixing bowl, stir together the chicken broth and applesauce (if using) until well combined.
- Place a few pieces of chopped carrot and a small parsley sprig (if using) into each compartment of your silicone mold.
- Carefully pour the broth mixture into the molds, filling each one almost to the top.
- Transfer the molds to a flat surface in your freezer and freeze for at least 4 hours, or until completely solid.
- Once frozen, pop the popsicles out of the molds and store them in a freezer-safe bag or container.
Serving Tip
These popsicles are best served outdoors or on a washable floor since they can get a bit drippy as they melt. For a longer-lasting treat, you can make them in larger ice cube trays or even in a small bowl. Always supervise your dog while they enjoy a frozen treat, and if your dog is a gulper, consider crushing the popsicle into smaller pieces to prevent choking.
6. Peanut Butter and Carob Bark
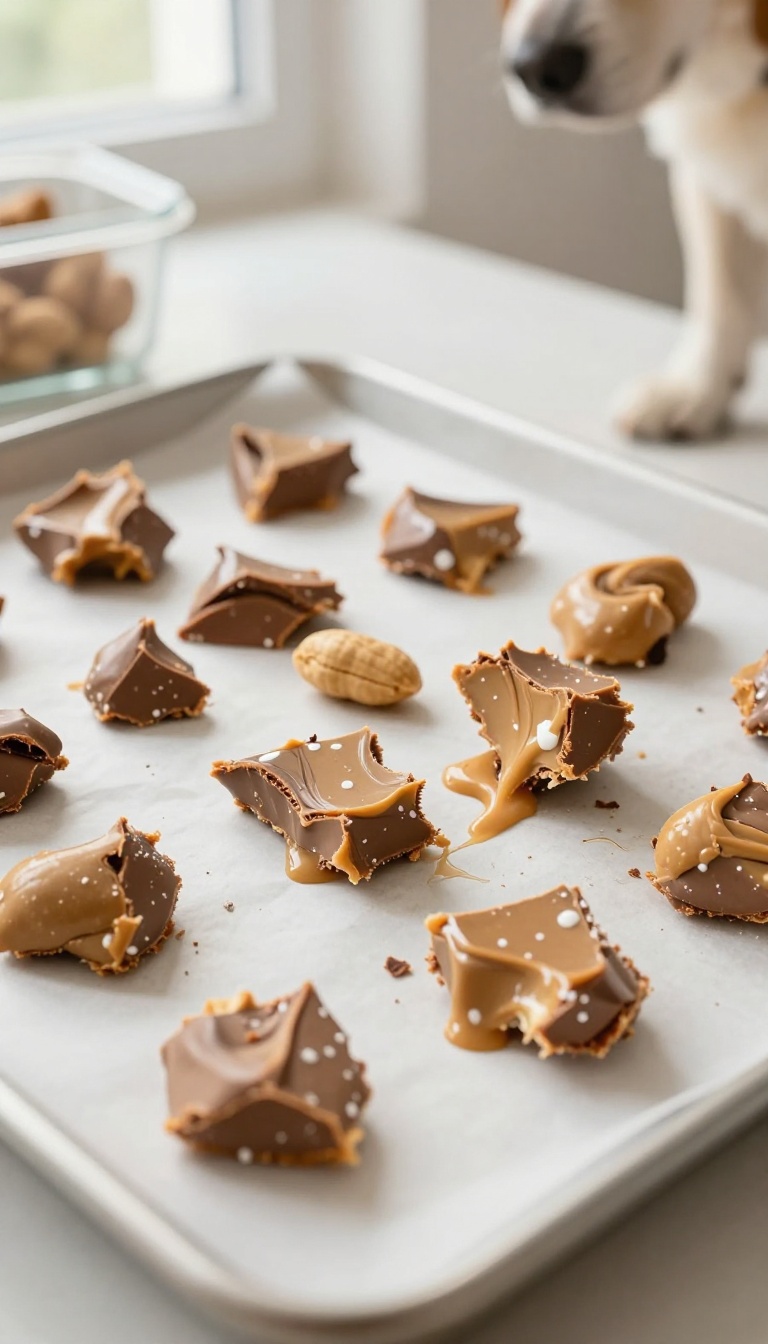
When the heat hits, this frozen bark is a game-changer for heavy chewers. It’s a simple blend of peanut butter and carob that you can freeze in a sheet, then crack into pieces. The best part?
You can make a big batch ahead of time and keep it in the freezer for those extra-long afternoons when your pup needs something to gnaw on. Plus, it’s totally meal-prep friendly—just portion it out and grab a piece when you need it.
Ingredients
- 1 cup plain, unsweetened peanut butter (make sure it's xylitol-free)
- 1/2 cup plain Greek yogurt (optional, for extra creaminess)
- 1/4 cup carob powder (dog-safe alternative to chocolate)
- 1/2 cup water or unsweetened applesauce (to thin the mixture)
- 1 tablespoon coconut oil (melted)
Instructions
- In a mixing bowl, combine the peanut butter, Greek yogurt (if using), carob powder, water or applesauce, and melted coconut oil. Stir until you get a smooth, pourable consistency. If it's too thick, add a little more water.
- Line a baking sheet or shallow dish with parchment paper. Pour the mixture onto the sheet and spread it evenly to about 1/4-inch thickness.
- Place the sheet in the freezer for at least 2 hours, or until completely frozen. Once solid, break the bark into irregular pieces. Store the pieces in an airtight container or zip-top bag in the freezer.
Serving Tip
- Give your dog one or two pieces at a time, depending on their size. The bark softens as it sits, so it's best served straight from the freezer for maximum chew time. You can also break it into smaller bits for training treats.
- Keep it frozen for up to a month, and always supervise your dog while they enjoy this treat.
7. Apple and Cheddar Baked Chews
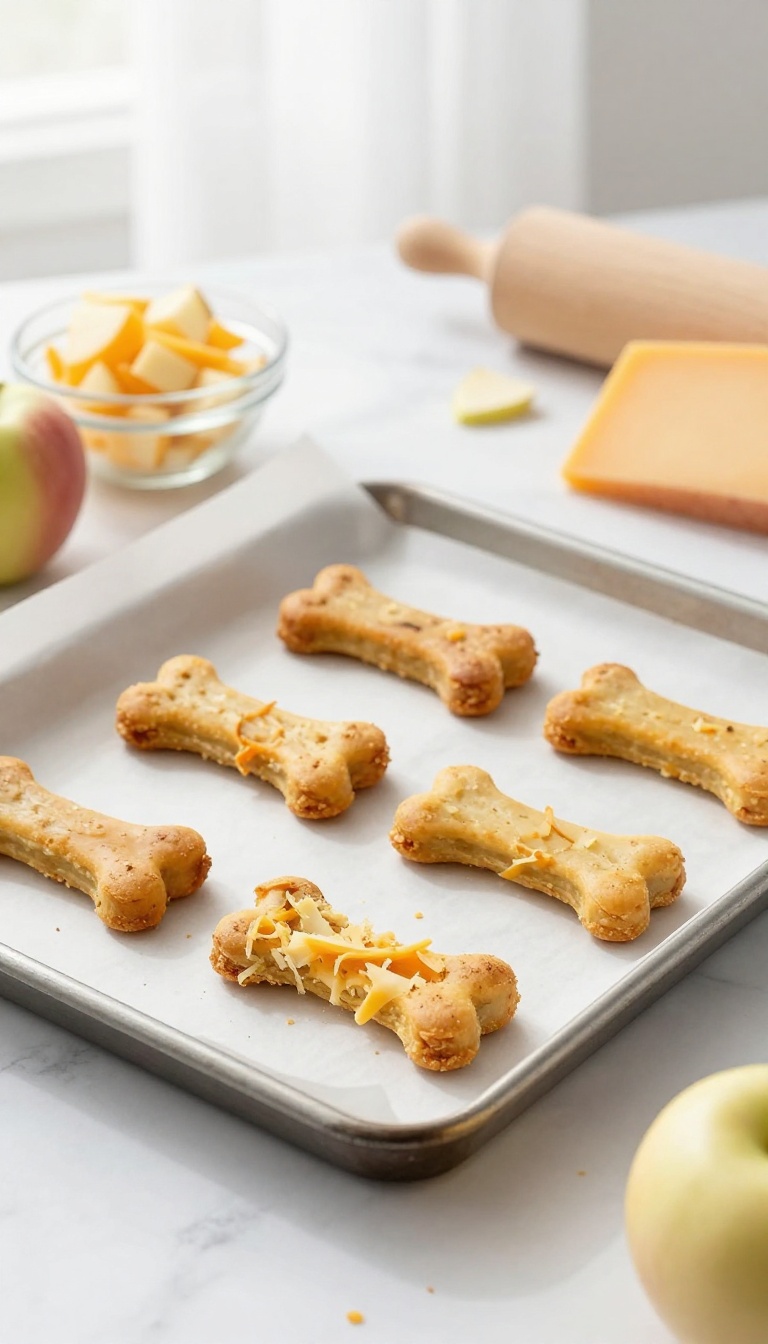
If your dog loves a good crunch and a cheesy kick, these baked chews are a winner. They come together fast, bake up firm, and are perfect for making ahead on a lazy Sunday. The apple adds a touch of sweetness, while the cheddar gives them that savory flavor dogs go nuts for.
Plus, they're sturdy enough to keep even heavy chewers busy for a while.
Ingredients
- 2 cups whole wheat flour (or oat flour for sensitive tummies)
- 1 cup shredded cheddar cheese
- 1 medium apple, grated (no seeds)
- 1/2 cup unsweetened applesauce
- 1/4 cup water (or as needed)
- 1 tablespoon olive oil
Instructions
- Preheat your oven to 350°F (175°C) and line a baking sheet with parchment paper.
- In a large bowl, mix the flour and shredded cheddar. Add the grated apple, applesauce, olive oil, and water. Stir until a dough forms—add a little more water if it's too dry.
- Knead the dough on a lightly floured surface for a minute, then roll it out to about 1/4-inch thickness.
- Cut into bone shapes or squares with a cookie cutter, and place them on the prepared baking sheet.
- Bake for 25–30 minutes, until golden and firm. Let them cool completely before serving—they'll harden as they cool.
Serving Tip
Store these chews in an airtight container in the fridge for up to two weeks, or freeze for longer. For extra-heavy chewers, bake them a bit longer to make them crunchier. Break into smaller pieces for smaller dogs, and always supervise your pup when giving any treat.
8. Coconut and Turmeric Frozen Cubes
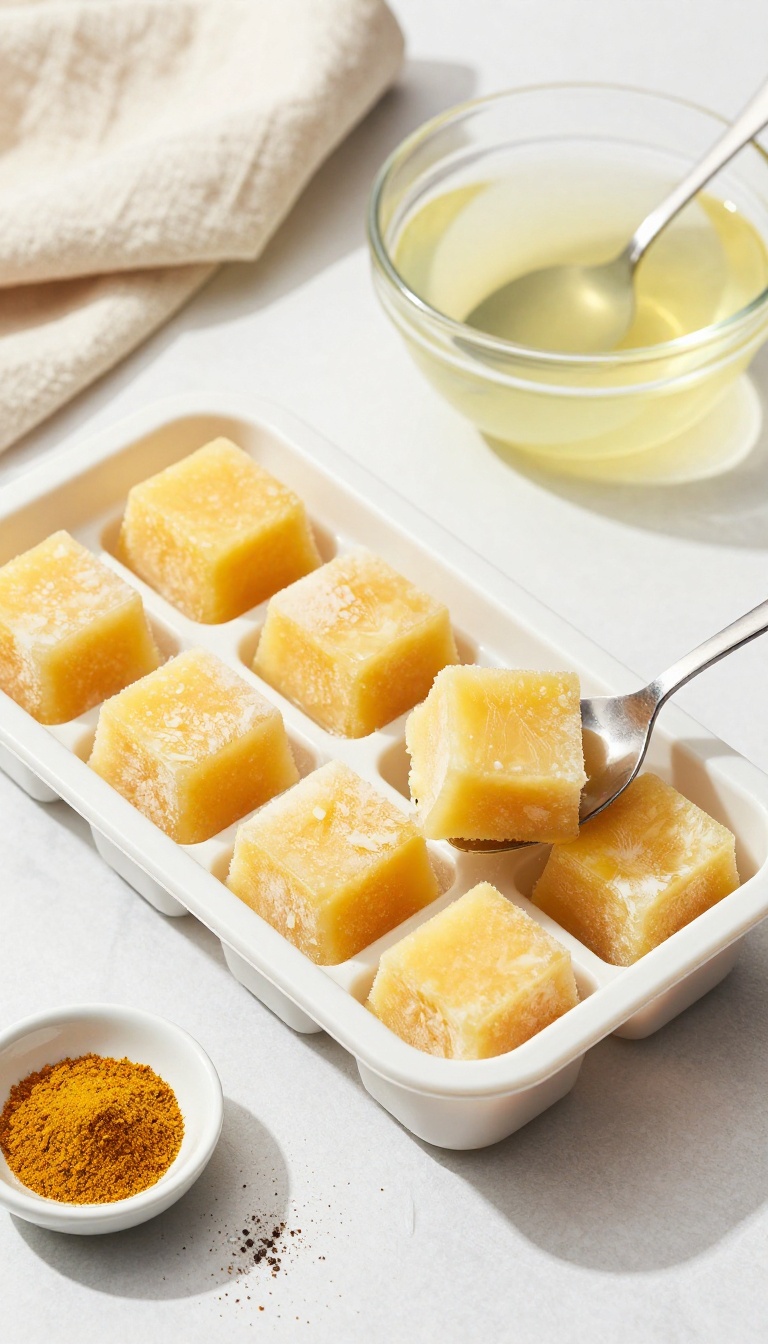
When the weather heats up, these frozen coconut and turmeric cubes are a fantastic way to help your dog cool down while sneaking in some anti-inflammatory goodness. They're incredibly easy to make ahead, which is perfect if you like to prep treats in batches during your weekly meal prep. The creamy coconut milk base is gentle on tummies, and the turmeric adds a warm, earthy note that most dogs don't mind at all – plus, it's great for joint health.
Ingredients
- 1 can (13.5 oz) full-fat coconut milk
- 1/2 teaspoon ground turmeric
- 1/4 teaspoon ground black pepper (optional, helps with turmeric absorption)
- 1/2 cup water or low-sodium chicken broth (for a thinner texture)
Instructions
- In a medium bowl, whisk together the coconut milk, turmeric, and black pepper (if using) until the turmeric is fully dissolved and no lumps remain.
- If you want a lighter texture, stir in the water or chicken broth until combined.
- Pour the mixture into silicone ice cube trays or small silicone molds, filling each cavity about three-quarters full.
- Place the trays in the freezer for at least 4 hours, or until completely solid.
- Pop the cubes out and store them in a zip-top bag or airtight container in the freezer.
Serving Tip
Give your dog one or two cubes as a refreshing treat on a hot day, or place a cube in their water bowl for a subtle flavor boost. These are best served frozen, but you can also let them soften for a minute if your dog prefers a softer texture. Keep them frozen and use within a month for the freshest taste.
9. Liver and Sweet Potato Training Bites
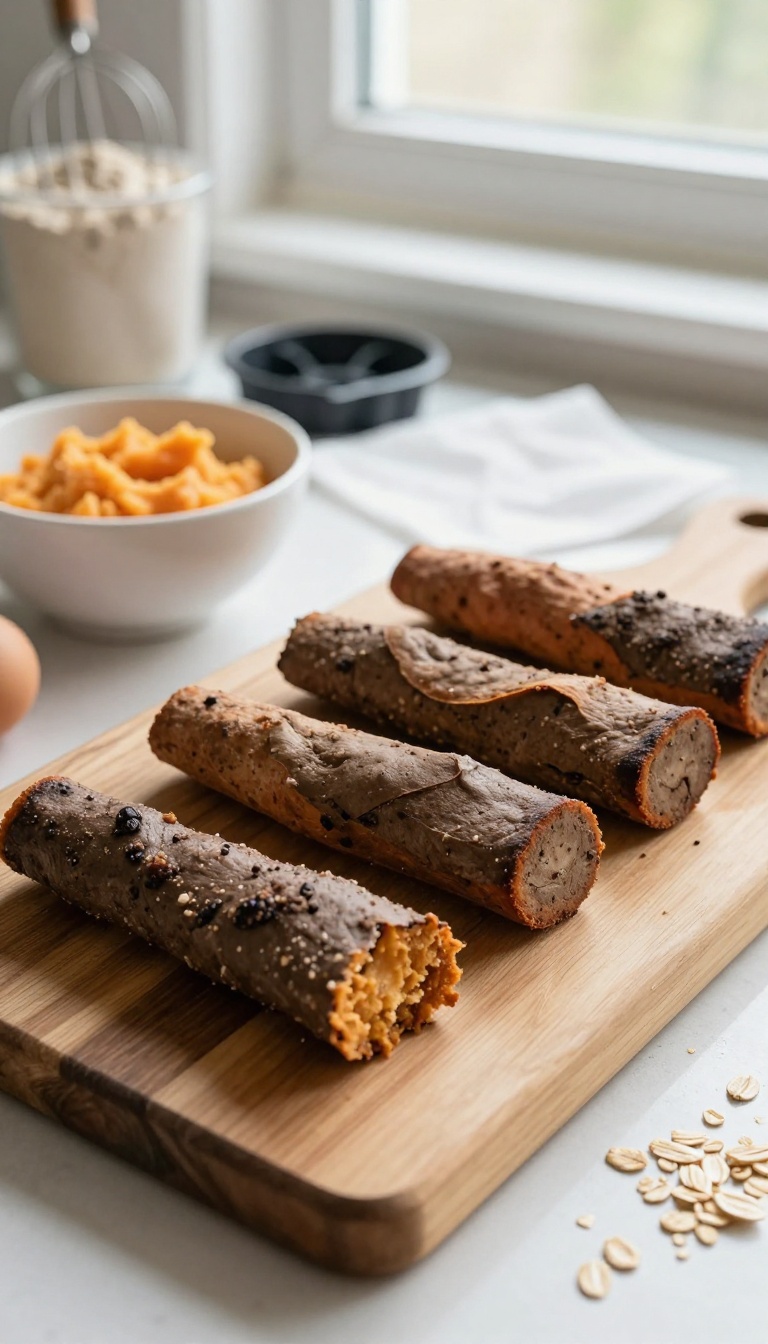
Training sessions deserve a reward that's both irresistible and practical. These liver and sweet potato bites are dense, chewy, and packed with flavor—exactly what you need to keep your pup focused. The sweet potato adds a touch of natural sweetness and a soft, chewy texture that makes these treats easy to break into smaller pieces.
Plus, they're simple to make in batches, so you can have a stash ready for those everyday training moments.
Ingredients
- 1/2 pound beef liver, chopped
- 1 medium sweet potato, cooked and mashed
- 1 large egg
- 1 cup oat flour (or whole wheat flour)
- 1/4 cup unsweetened applesauce
Instructions
- Preheat your oven to 350°F (175°C) and line a baking sheet with parchment paper.
- In a food processor, blend the liver until smooth. Add the mashed sweet potato, egg, and applesauce, and pulse until combined.
- Transfer the mixture to a bowl and stir in the flour gradually until a thick, sticky dough forms. If it's too wet, add a little more flour.
- Roll the dough into small, bite-sized logs or use a silicone mold. Place them on the prepared baking sheet.
- Bake for 20–25 minutes, until firm and slightly darkened on the edges. Let cool completely before serving.
Serving Tip
- These treats are dense, so a little goes a long way. For training, cut each bite into small pieces—about the size of a pea—to keep the reward high-value without overfeeding. Store them in an airtight container in the fridge for up to a week, or freeze for up to three months.
- Just thaw a few as needed.
10. Carrot and Peanut Butter Crunch Sticks
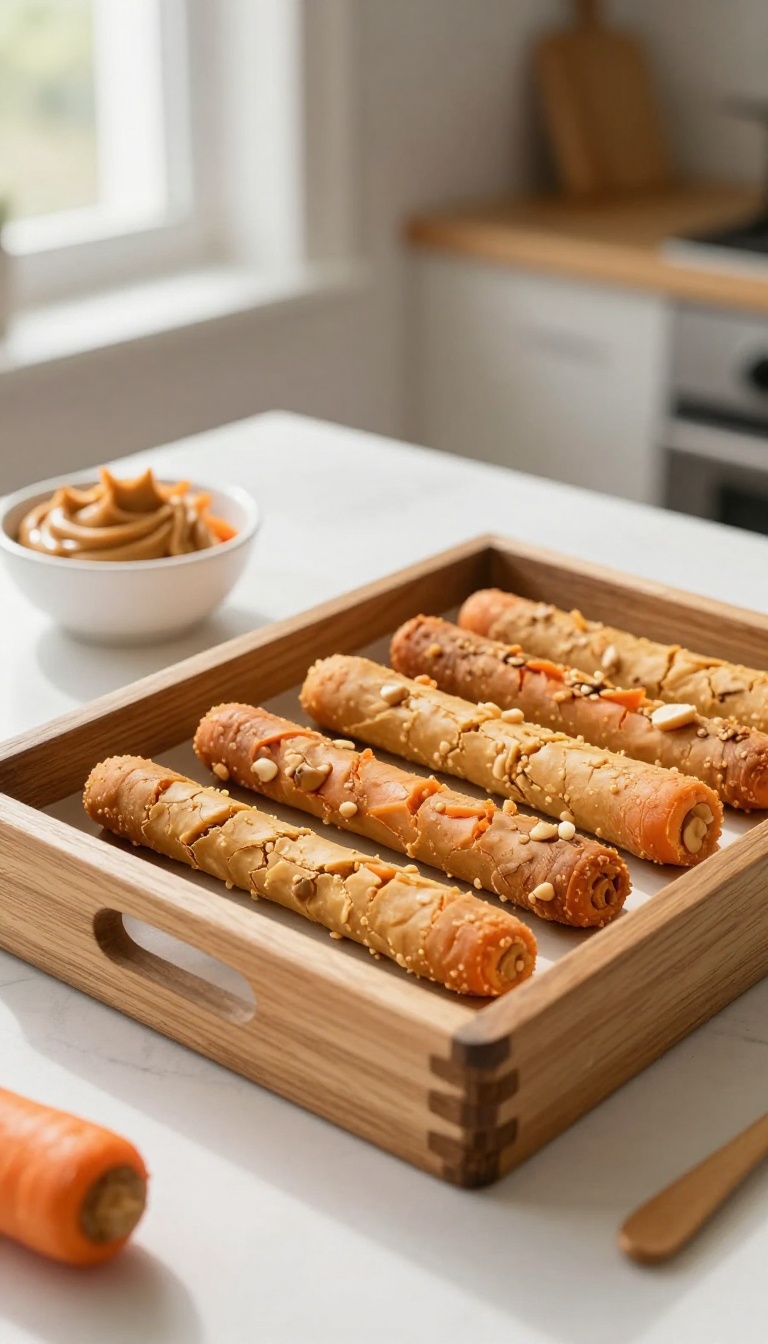
These crunchy sticks are a great way to use up extra carrots and give your dog a satisfying chew that lasts. The combination of sweet carrot and savory peanut butter is a classic favorite, and baking them until hard creates a texture that heavy chewers really enjoy. Plus, they're simple to make and perfect for prepping ahead for the week.
Ingredients
- 2 cups grated carrots
- 1/2 cup natural peanut butter (xylitol-free)
- 1 large egg
- 1 1/2 cups whole wheat flour (or oat flour for a grain-free option)
- 1/4 cup water (as needed)
Instructions
- Preheat your oven to 350°F (175°C) and line a baking sheet with parchment paper.
- In a large bowl, mix the grated carrots, peanut butter, and egg until well combined.
- Gradually add the flour, stirring until a dough forms. If it's too dry, add water a tablespoon at a time until it comes together.
- Roll the dough out on a floured surface to about 1/4-inch thickness, then cut into stick shapes (or roll into thin logs).
- Place the sticks on the prepared baking sheet and bake for 30–35 minutes, flipping halfway, until they are firm and lightly golden.
- Turn off the oven and leave the sticks inside for another 1–2 hours to dry out completely, making them extra crunchy.
Serving Tip
Store these sticks in an airtight container at room temperature for up to a week, or freeze them for up to three months. For a quick treat, give your dog one stick as a reward, but remember to adjust their daily food intake to account for the extra calories.
FAQ
How long do homemade dog treats last?
It depends on the recipe. Baked treats can last up to two weeks in an airtight container, while frozen treats can last for months. Always check for signs of spoilage.
Can I use regular peanut butter for dog treats?
Yes, but make sure it's xylitol-free. Xylitol is toxic to dogs. Look for natural peanut butter with no added sugar or salt.
Are these treats suitable for puppies?
Most are, but always supervise puppies and adjust size to prevent choking. Consult your vet if you have concerns.
Can I freeze these treats for longer storage?
Absolutely. Freezing extends shelf life and can make treats last longer for heavy chewers. Just thaw slightly before serving.
What if my dog has food allergies?
Always check with your vet. Many recipes can be adapted by swapping ingredients like peanut butter for sunflower seed butter or using different proteins.
Conclusion
These 10 long-lasting homemade dog treats are perfect for heavy chewers and easy to prep in advance. By making your own, you control the ingredients and save money, all while giving your pup a satisfying chew that keeps them busy. Whether you bake a batch on the weekend or freeze some for later, your dog will thank you.
Remember to always supervise your dog with any treat and adjust portion sizes based on their size and dietary needs. Happy treat-making, and enjoy watching your furry friend enjoy these homemade goodies!

I’m Pallab Kishore, the owner of Little Pets Realm — an animal lover and pet care enthusiast sharing easy tips, healthy recipes, and honest advice to help every small pet live a happy, healthy, tail-wagging life.