
Last updated on September 4th, 2026 at 02:30 pm
There's something special about watching your dog settle in for a good, long chew. It's a quiet moment of contentment, a chance for them to relax and for you to enjoy a peaceful pause together.
If your pup loves to savor their snacks, you know the value of a treat that lasts more than a few seconds. That's why we've put together this list of long-lasting dog treat ideas.
These aren't your average quick bites; they're designed to be chewed, gnawed, and enjoyed slowly. Each recipe uses simple, dog-safe ingredients and is easy to make at home, so you can feel good about every single bite.
1. Frozen Peanut Butter and Banana Chews
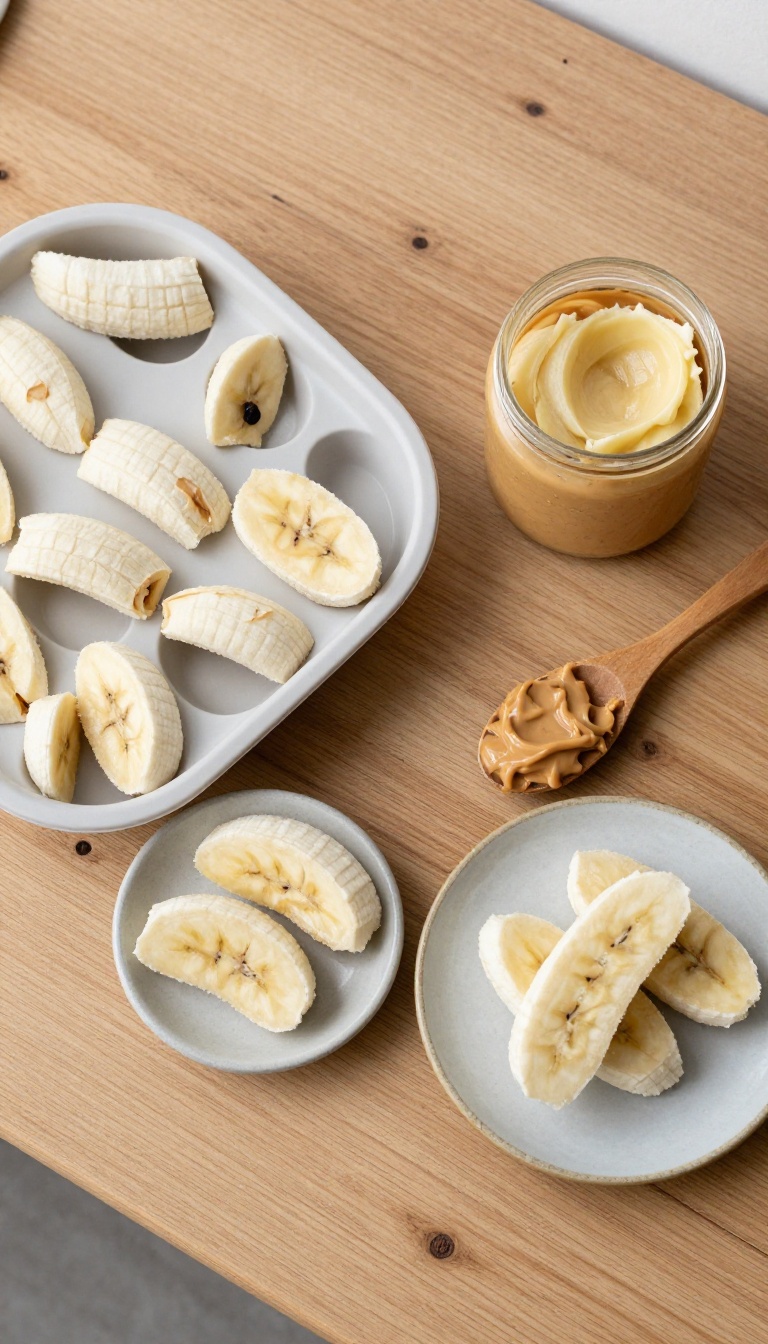
When the afternoon gets a little too warm or your pup just needs a quiet moment, these frozen chews are like a cozy hug in treat form. They’re soft, creamy, and take just a few minutes to put together—perfect for a slow snack session that keeps tails wagging. The best part?
You probably already have the two main ingredients in your kitchen, so there’s no last-minute trip to the store. Your dog will love the sweet banana and rich peanut butter combo, and you’ll love how easy they are to make and store.
Ingredients
- 2 ripe bananas, mashed
- 1/2 cup plain, unsweetened peanut butter (make sure it's xylitol-free)
- 1/4 cup plain Greek yogurt (optional, for extra creaminess)
- Silicone mold or ice cube tray
Instructions
- In a medium bowl, mash the bananas until smooth. Add the peanut butter and Greek yogurt (if using) and stir until fully combined.
- Spoon the mixture into a silicone mold or ice cube tray, filling each cavity almost to the top.
- Place the mold in the freezer for at least 3 hours, or until completely frozen.
- Pop the chews out of the mold and store them in a freezer-safe bag or container. Serve straight from the freezer.
Serving Tip
These frozen chews are perfect for hot days or teething puppies, but they're also great for slowing down a fast eater. Give one to your dog as a special treat, and keep the rest frozen for up to 2 months. If your dog is small or a senior, you can cut each chew into smaller pieces to make them easier to handle.
2. Sweet Potato Jerky Strips
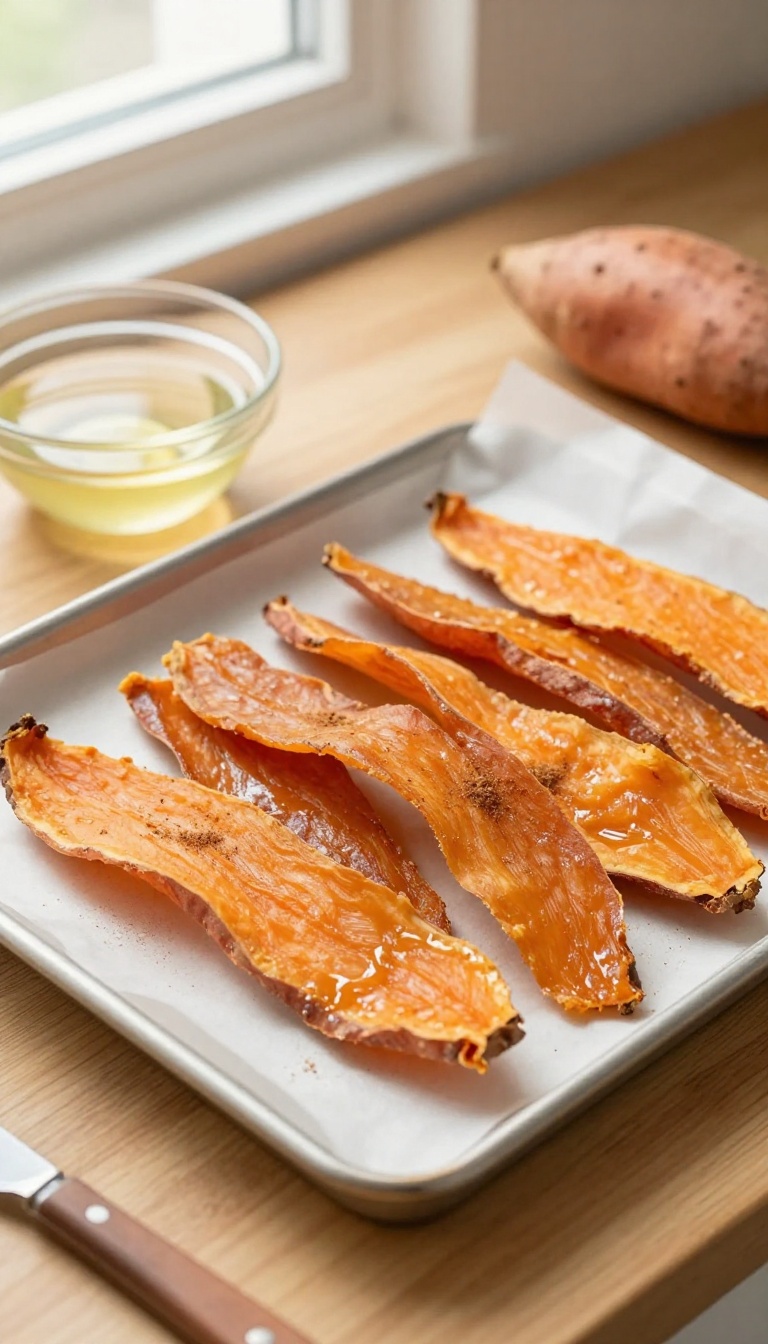
There's something deeply satisfying about watching your dog take their time with a chewy treat, and these sweet potato jerky strips are perfect for that. They're naturally sweet, packed with fiber, and have a texture that encourages slow, happy munching. Plus, making them at home means you know exactly what's going into your pup's snack, which feels good for both of you.
Whether it's a rainy afternoon or a quiet evening on the couch, these strips bring a little cozy comfort to your dog's day.
Ingredients
- 2 large sweet potatoes, washed and peeled (optional, but recommended for smoother strips)
- 1 tablespoon coconut oil, melted (optional, for a slight sheen and extra flavor)
- A pinch of ground cinnamon (optional, for a warm, dog-safe aroma)
Instructions
- Preheat your oven to 200°F (95°C) and line a baking sheet with parchment paper.
- Slice the sweet potatoes into thin, even strips about 1/4-inch thick. You can use a mandoline for uniform strips or just a sharp knife.
- In a large bowl, toss the strips with the melted coconut oil and cinnamon (if using) until well coated.
- Arrange the strips in a single layer on the prepared baking sheet, making sure they don't overlap.
- Bake for 2 to 3 hours, flipping the strips halfway through, until they are dried and chewy but not brittle. The exact time will depend on your oven and the thickness of the strips.
- Let the jerky cool completely on the baking sheet before serving. They will continue to firm up as they cool.
Serving Tip
Store these jerky strips in an airtight container in the refrigerator for up to two weeks, or freeze them for longer storage. Because they're chewy, they're great for slow snack sessions—just break them into smaller pieces for smaller dogs, and always supervise your pup while they enjoy their treat.
3. Bully Stick Alternative: Beef Tendon Twists
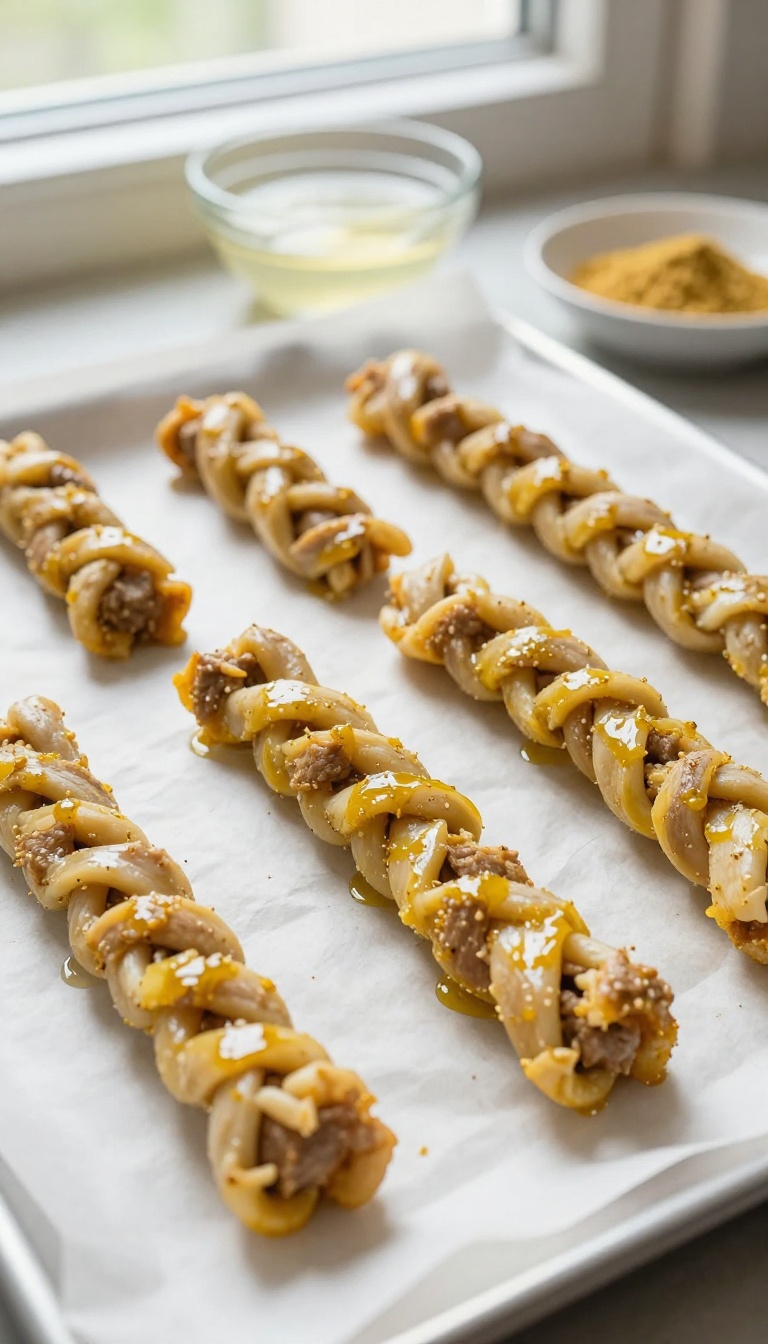
If your dog loves to chew but you're looking for something a little different from the usual bully sticks, these beef tendon twists are a fantastic homemade option. They're surprisingly simple to make, and the process fills your kitchen with a cozy, savory aroma that feels like a warm hug on a slow afternoon. Plus, knowing exactly what goes into your dog's treats brings a comforting sense of control and care.
Ingredients
- 1 pound beef tendons, cleaned and sliced into 1/4-inch thick strips
- 1 tablespoon coconut oil, melted
- 1/2 teaspoon turmeric (optional, for color and joint support)
Instructions
- Preheat your oven to 170°F (or the lowest setting your oven allows) and line a baking sheet with parchment paper.
- In a bowl, toss the beef tendon strips with the melted coconut oil and turmeric until evenly coated.
- Twist each strip into a spiral shape and place them on the prepared baking sheet, leaving a little space between each.
- Bake for 3 to 4 hours, or until the tendons are dried and firm to the touch but still slightly pliable. They will harden more as they cool.
- Let them cool completely on the baking sheet before serving to your dog.
Serving Tip
Store the beef tendon twists in an airtight container in the refrigerator for up to 2 weeks, or freeze them in a zip-top bag for up to 3 months. They're perfect for keeping your pup happily occupied during a cozy movie night or while you're working from home. Always supervise your dog while chewing, and remove any small, sharp pieces that might break off.
4. Frozen Pumpkin and Yogurt Pops
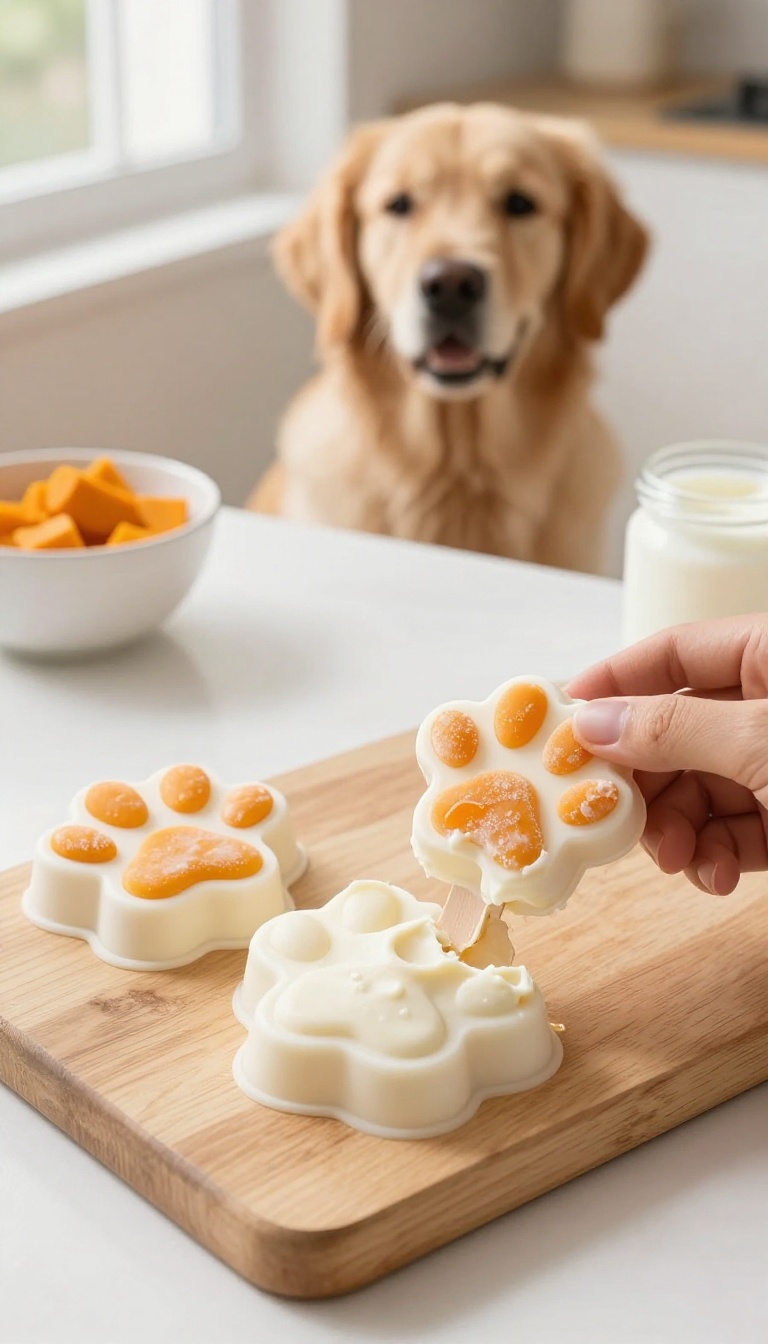
When the sun is blazing and your pup is looking for a cool way to unwind, these frozen pops are like a little hug in a bowl. The creamy yogurt and smooth pumpkin blend together into a soothing, chilly snack that’s perfect for warm afternoons or after a long walk. They’re also gentle on sensitive gums, making them a comforting choice for older dogs or pups who just need a break.
Plus, they’re so simple to whip up—you’ll feel like a treat-making hero every time you pull one out of the freezer.
Ingredients
- 1 cup plain, unsweetened yogurt (check it doesn’t contain xylitol)
- 1/2 cup canned pumpkin (100% pure pumpkin, not pie filling)
- 1 tablespoon honey (optional, for a touch of sweetness)
- 1/4 cup water (to thin the mixture if needed)
Instructions
- In a medium bowl, whisk together the yogurt, pumpkin, and honey (if using) until smooth. If the mixture seems too thick, add the water a little at a time until it reaches a pourable consistency.
- Pour the mixture into silicone molds, ice cube trays, or small paper cups. If using cups, you can add a small dog-safe stick or just freeze them as is.
- Place the molds in the freezer for at least 4 hours, or until completely solid. Once frozen, pop the treats out and store them in a zip-top bag or airtight container in the freezer.
Serving Tip
These pops are best served straight from the freezer on a hot day, but you can also let them sit for a minute or two to soften slightly if your dog prefers a less icy texture. Start with one pop to see how your pup handles it, and always supervise during treat time. They’ll keep well in the freezer for up to two months—just make sure to label the bag so you don’t mistake them for your own smoothie pops!
5. Baked Oat and Apple Chews
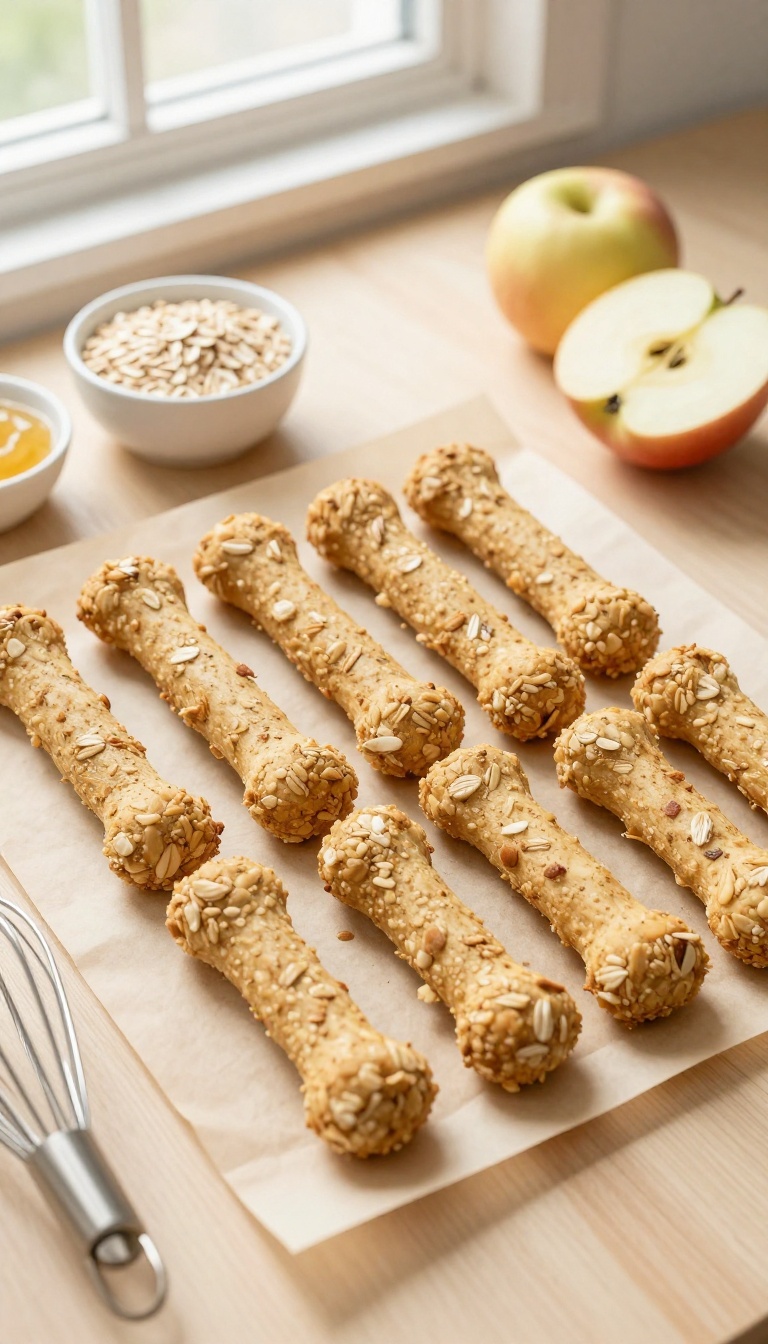
There’s something about a chewy treat that makes a dog slow down and really savor the moment. These Baked Oat and Apple Chews are perfect for that—they’re hearty, slightly sweet, and have a texture that keeps pups busy. Plus, they’re simple to make with pantry staples, so you can whip up a batch without a trip to the store.
The oats give them a satisfying chew, while the apple adds a natural sweetness your dog will love.
Ingredients
- 1 cup rolled oats (not instant)
- 1/2 cup unsweetened applesauce
- 1/4 cup finely grated apple (peeled and cored)
- 1 large egg
- 2 tablespoons coconut oil, melted
- 1/2 cup oat flour (or more, as needed)
Instructions
- Preheat your oven to 350°F (175°C) and line a baking sheet with parchment paper.
- In a medium bowl, mix the rolled oats, applesauce, grated apple, egg, and melted coconut oil until well combined.
- Gradually add the oat flour, stirring until a soft dough forms. If the dough is too sticky, add a little more oat flour.
- Roll the dough out on a lightly floured surface to about 1/4-inch thickness. Use a cookie cutter or a knife to cut into chew-sized shapes.
- Place the shapes on the prepared baking sheet and bake for 20–25 minutes, until the edges are golden and the centers feel firm.
- Let them cool completely on a wire rack before serving. They will firm up as they cool.
Serving Tip
These chews are best stored in an airtight container in the refrigerator for up to a week, or you can freeze them for up to three months. For a longer-lasting chew, bake them a few extra minutes to dry them out more. Give one to your dog as a rewarding snack, and adjust the size based on your dog's breed and chewing habits.
6. Dehydrated Chicken Feet
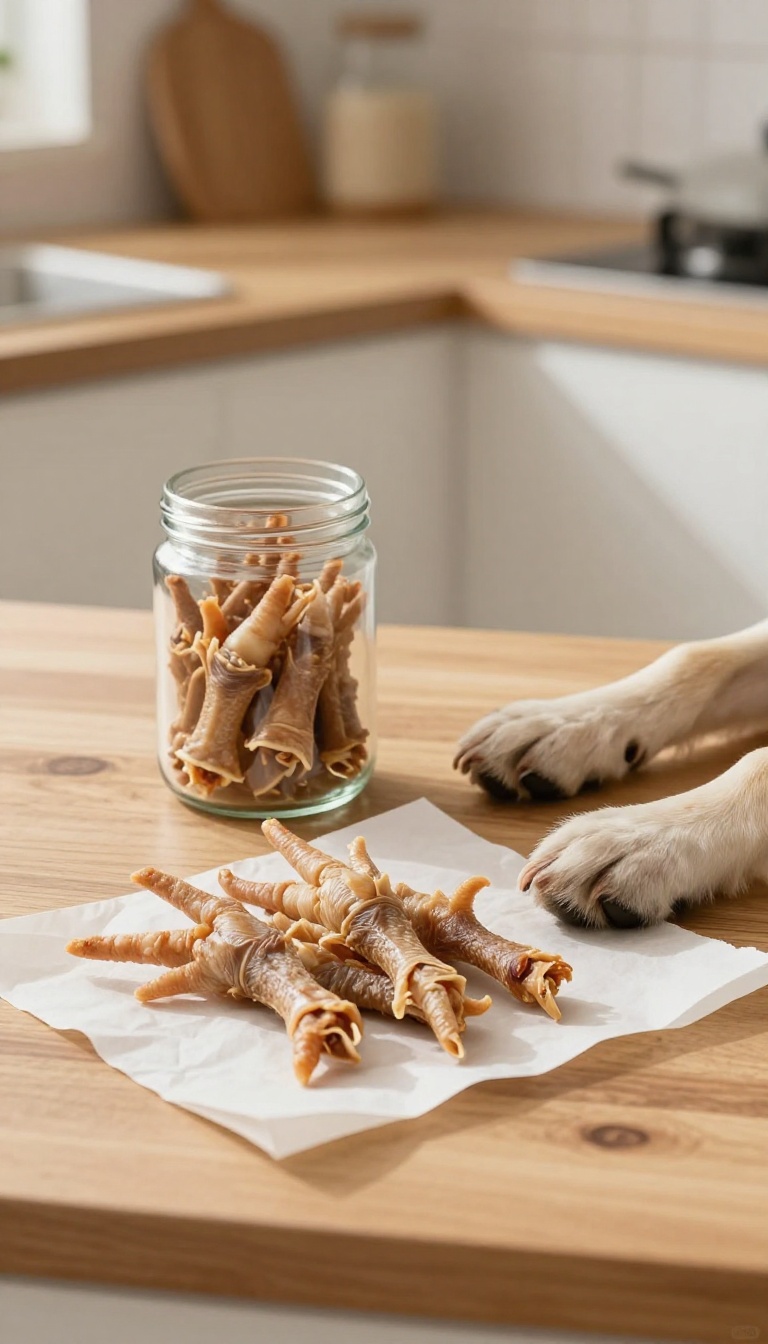
If your dog loves to chew, dehydrated chicken feet are a wonderfully natural choice that keeps them busy for a while. They’re packed with glucosamine, which is great for joint health, and the crunchy texture satisfies even the most dedicated chewers. Plus, making them at home means you know exactly what’s in your pup’s treat—no mystery ingredients, just pure, simple goodness.
Ingredients
- 10 raw chicken feet (fresh or frozen, thawed)
- 1 tablespoon apple cider vinegar (optional, for cleaning)
- Water (for soaking)
Instructions
- Rinse the chicken feet thoroughly under cold water. If using apple cider vinegar, soak them in a bowl of water with the vinegar for about 10 minutes, then rinse again. Pat dry with paper towels.
- Preheat your dehydrator to 160°F (70°C) or your oven to its lowest setting (usually around 170°F/75°C). Arrange the chicken feet in a single layer on dehydrator trays or a baking sheet lined with parchment paper.
- Dehydrate for 24 to 48 hours, or until the feet are completely dry, hard, and brittle. In the oven, this may take 4 to 6 hours, but keep an eye on them and flip halfway through. Let them cool completely before serving.
Serving Tip
Give your dog one chicken foot as a supervised treat, especially the first time. Because they’re quite hard, they’re best for medium to large dogs who are enthusiastic chewers. Store any leftovers in an airtight container at room temperature for up to two weeks, or freeze them for longer storage—just let them thaw before giving to your pup.
7. Frozen Broth and Blueberry Cubes
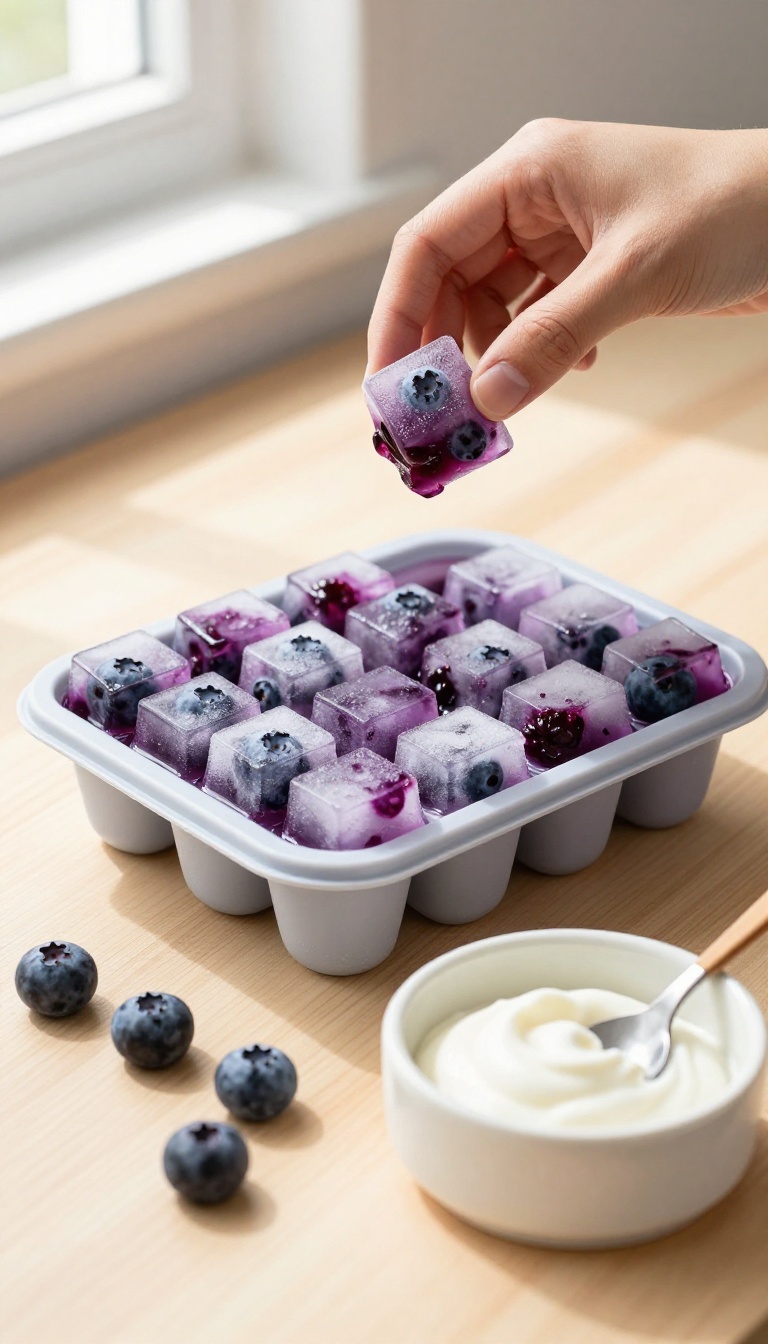
There’s something about a frozen treat that turns an ordinary afternoon into a cozy, tail-wagging moment. These little cubes are like tiny popsicles for your pup—cool, soothing, and packed with flavor. They’re perfect for slow snacking because they take a while to lick and chew, giving your dog a fun activity that also helps keep them hydrated, especially on warm days or after a lively play session.
Plus, they’re incredibly easy to make, so you can whip up a batch in minutes and have a comforting, ready-to-serve reward waiting in the freezer.
Ingredients
- 2 cups low-sodium chicken or beef broth (make sure it’s onion- and garlic-free)
- 1/2 cup fresh or frozen blueberries, slightly mashed
- 1 tablespoon plain, unsweetened yogurt (optional, for extra creaminess)
Instructions
- In a mixing bowl, stir together the broth, mashed blueberries, and yogurt (if using) until well combined.
- Pour the mixture into ice cube trays or silicone molds, filling each compartment about three-quarters full.
- Place the trays in the freezer and freeze for at least 4 hours, or until completely solid.
- Once frozen, pop the cubes out and store them in a zip-top bag or airtight container in the freezer.
Serving Tip
- Serve one or two cubes at a time, depending on your dog’s size, as a refreshing snack or a slow-licking activity. For smaller dogs, you can break a cube in half. These cubes are best enjoyed within a month, and they’re a great way to cool down your pup on a hot day or after exercise.
- Always supervise your dog while they enjoy a frozen treat to make sure they’re licking, not trying to gulp it down whole.
8. Peanut Butter and Carob Bark
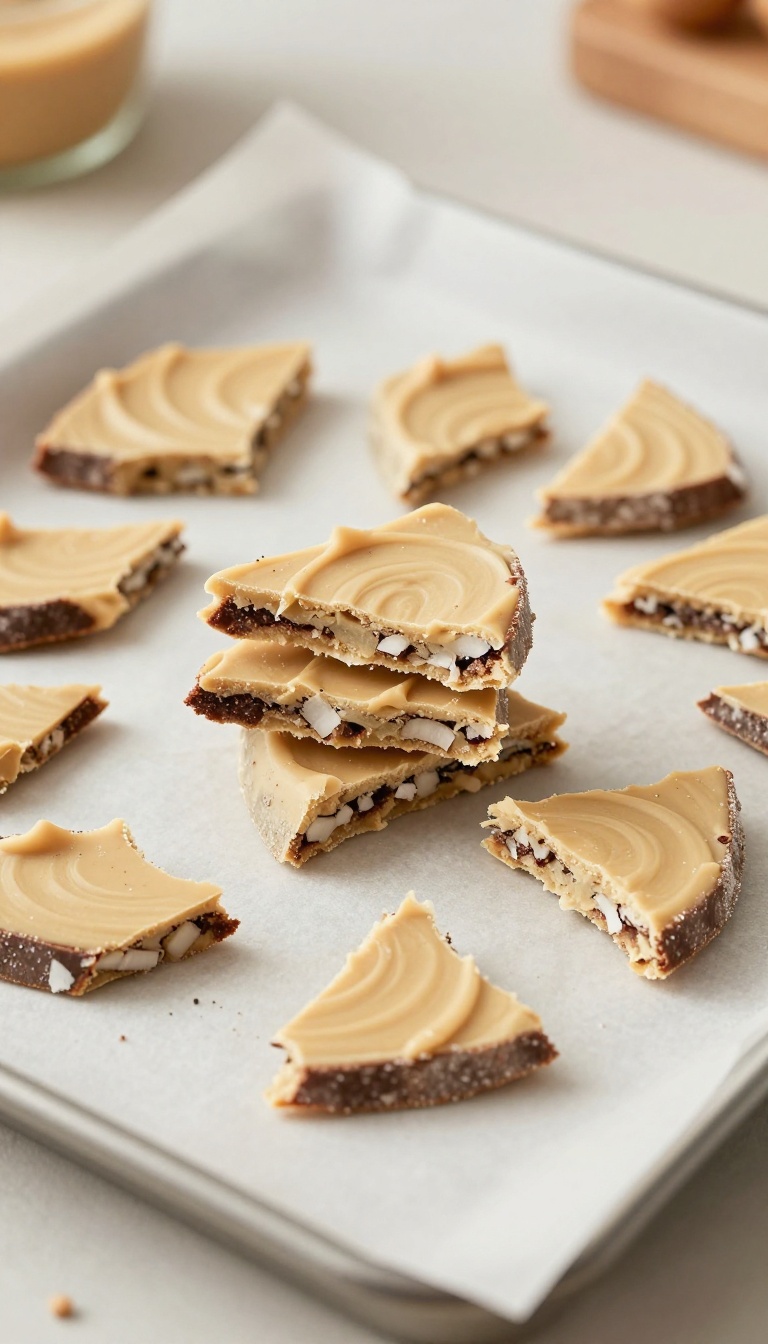
There's something so satisfying about breaking a big bark into pieces, and this version is made just for dogs. It's a frozen treat that combines the creamy richness of peanut butter with the gentle, slightly sweet taste of carob—a dog-safe alternative to chocolate. The best part?
It takes just a few minutes to stir together, and then the freezer does the work. Once it's set, you've got a stash of crunchy, long-lasting snacks that are perfect for slow nibbling sessions or a rewarding after-walk treat.
Ingredients
- 1 cup plain, unsweetened peanut butter (no xylitol)
- 1/2 cup plain Greek yogurt or unsweetened applesauce
- 3 tablespoons carob powder
- 1/4 cup unsweetened shredded coconut (optional, for texture)
- 1 tablespoon coconut oil (melted)
Instructions
- Line a small baking sheet or shallow dish with parchment paper. In a medium bowl, stir together the peanut butter, Greek yogurt (or applesauce), carob powder, shredded coconut (if using), and melted coconut oil until smooth and well combined.
- Spread the mixture evenly onto the prepared baking sheet, about 1/4-inch thick. Tap the sheet gently to level it out. Freeze for at least 2 hours, or until completely firm.
- Once frozen, remove the bark from the freezer and let it sit for a minute or two. Then, break it into irregular pieces with your hands or a butter knife. Store the bark pieces in an airtight container in the freezer.
Serving Tip
- Because this bark is frozen, it's perfect for warm days or as a slow-licking treat. Give your dog a piece that's appropriate for their size—small dogs might need just a shard, while larger breeds can handle a bigger chunk. Keep the bark stored in the freezer to maintain its crunch, and let it soften for a minute before serving to avoid any sudden cold shock.
- Always supervise your dog while they enjoy this treat, and adjust the portion to their daily calorie needs.
9. Stuffed Kong with Freezer-Friendly Fillings
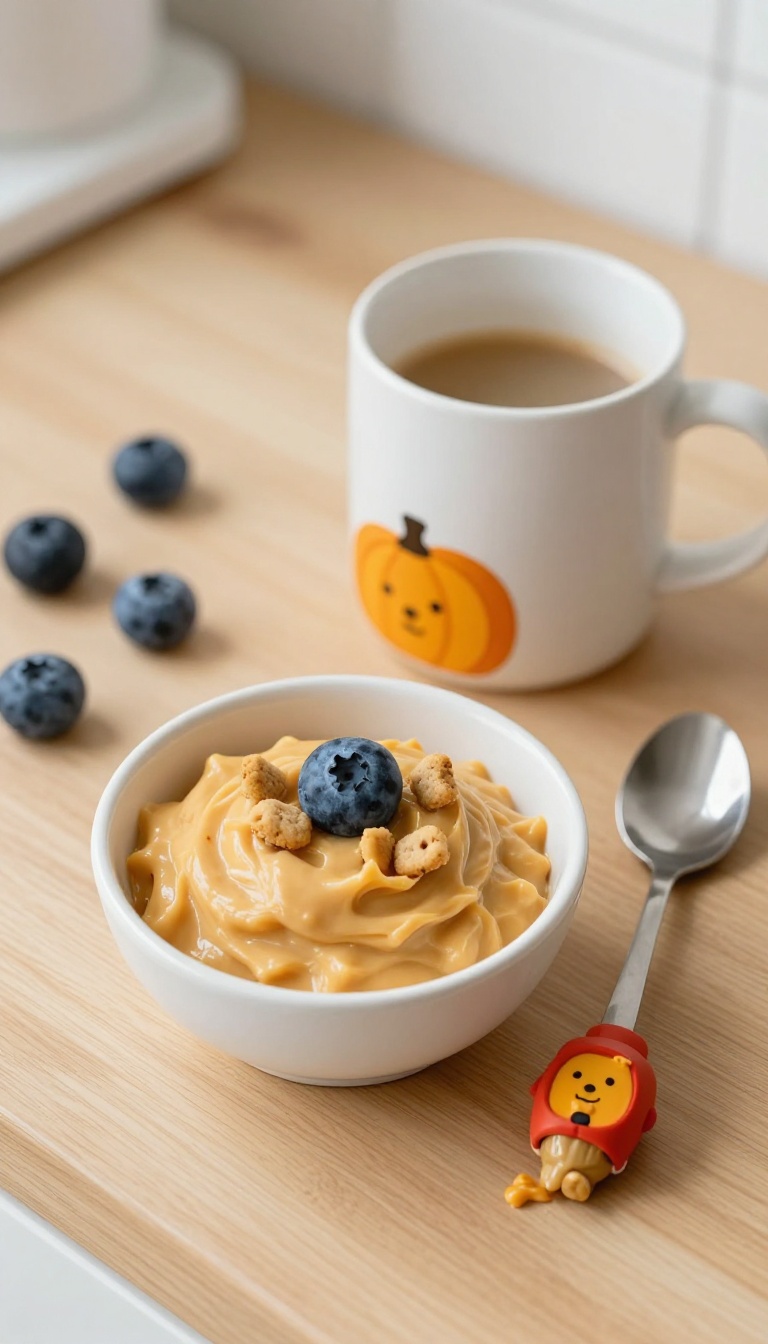
When the day calls for a little quiet time, a stuffed Kong is like a cozy blanket for your dog's brain. It's not a recipe in the traditional sense—more of a method that turns a few simple ingredients into a long-lasting, soothing activity. You get to mix and match what you have on hand, and the freezer does most of the work.
It's perfect for rainy afternoons, post-walk wind-downs, or any moment your pup deserves a slow, satisfying snack.
Ingredients
- 1 large Kong or similar durable stuffing toy
- 1/2 cup plain canned pumpkin (not pie filling)
- 1/4 cup plain unsweetened yogurt (or dairy-free alternative)
- 2 tablespoons natural peanut butter (xylitol-free)
- A handful of small dog-safe treats or kibble
- Optional: sliced banana, blueberries, or shredded carrots
Instructions
- Start by softening the peanut butter slightly in the microwave for about 10 seconds so it's easier to spread. Then, mix the pumpkin, yogurt, and peanut butter together in a small bowl until smooth.
- Spoon a layer of the mixture into the bottom of the Kong, then add a few treats or kibble. Continue layering the mixture and treats until the Kong is filled, leaving a little room at the top. You can also press in some banana slices or blueberries for extra texture.
- Seal the top with a smear of peanut butter or a dollop of the mixture, then place the stuffed Kong upright in a mug or on a plate. Freeze for at least 3 hours, or overnight for a longer-lasting challenge.
- Once frozen solid, give it to your dog on a towel or mat. Supervise the first few times to see how your dog handles it, and adjust the filling density based on their chewing style.
Serving Tip
- For a gentler treat, skip the freezer and serve right away—it'll last about 10-15 minutes. For a marathon session, freeze overnight. Always check the Kong for cracks or wear, and choose a size that's appropriate for your dog.
- Store any leftover filling in the fridge for up to 3 days, and clean the Kong thoroughly after each use.
FAQ
How long do these homemade dog treats last?
It depends on the treat. Frozen treats typically last a few months in the freezer, while dehydrated or baked treats can last up to two weeks in an airtight container at room temperature. Always check for signs of spoilage before giving them to your dog.
Can I use natural peanut butter for these recipes?
Yes, but make sure it's xylitol-free. Xylitol is toxic to dogs. Always check the label and choose a natural peanut butter with no added sugar or salt.
Are these treats suitable for puppies?
Most of these treats are fine for puppies, but always supervise them when they're chewing. Some treats, like chicken feet, may be too hard for very young puppies. Consult your vet if you're unsure.
How should I store these long-lasting treats?
Frozen treats should be stored in the freezer in a sealed container or bag. Baked and dehydrated treats can be kept in an airtight container in a cool, dry place. For longer shelf life, you can refrigerate them.
Can I adjust the ingredients to suit my dog's dietary needs?
Absolutely. Many of these recipes are flexible. For example, you can swap peanut butter for other dog-safe nut butters, or use different fruits and vegetables.
Just avoid ingredients that are toxic to dogs, like grapes, raisins, onions, and garlic.
Conclusion
These long-lasting dog treat ideas are all about giving your pup something to savor and enjoy. Whether you choose to freeze, bake, or dehydrate, you're providing a comforting and engaging snack that supports their natural chewing instincts. Plus, making them at home means you know exactly what's in every bite.
We hope these recipes bring you and your furry friend many happy, slow snack sessions. Remember to always supervise your dog while they're enjoying a treat, and adjust portion sizes based on their size and dietary needs. Happy snacking!

I’m Pallab Kishore, the owner of Little Pets Realm — an animal lover and pet care enthusiast sharing easy tips, healthy recipes, and honest advice to help every small pet live a happy, healthy, tail-wagging life.