
Last updated on September 1st, 2026 at 04:38 pm
If your dog is anything like mine, they love a good chew that takes a while to finish. But store-bought long-lasting treats can be pricey, and sometimes you want to know exactly what's going into them. That's where homemade comes in.
With a few simple ingredients and a little time, you can make treats that keep your pup entertained and happy. These 13 ideas are all about practicality.
They use everyday dog-safe ingredients, take minimal effort, and are designed to last longer than a quick snack. Whether you need something for a busy afternoon, a rainy day, or just to give yourself a break, there's a recipe here for you.
1. Frozen Peanut Butter and Banana Pupsicles
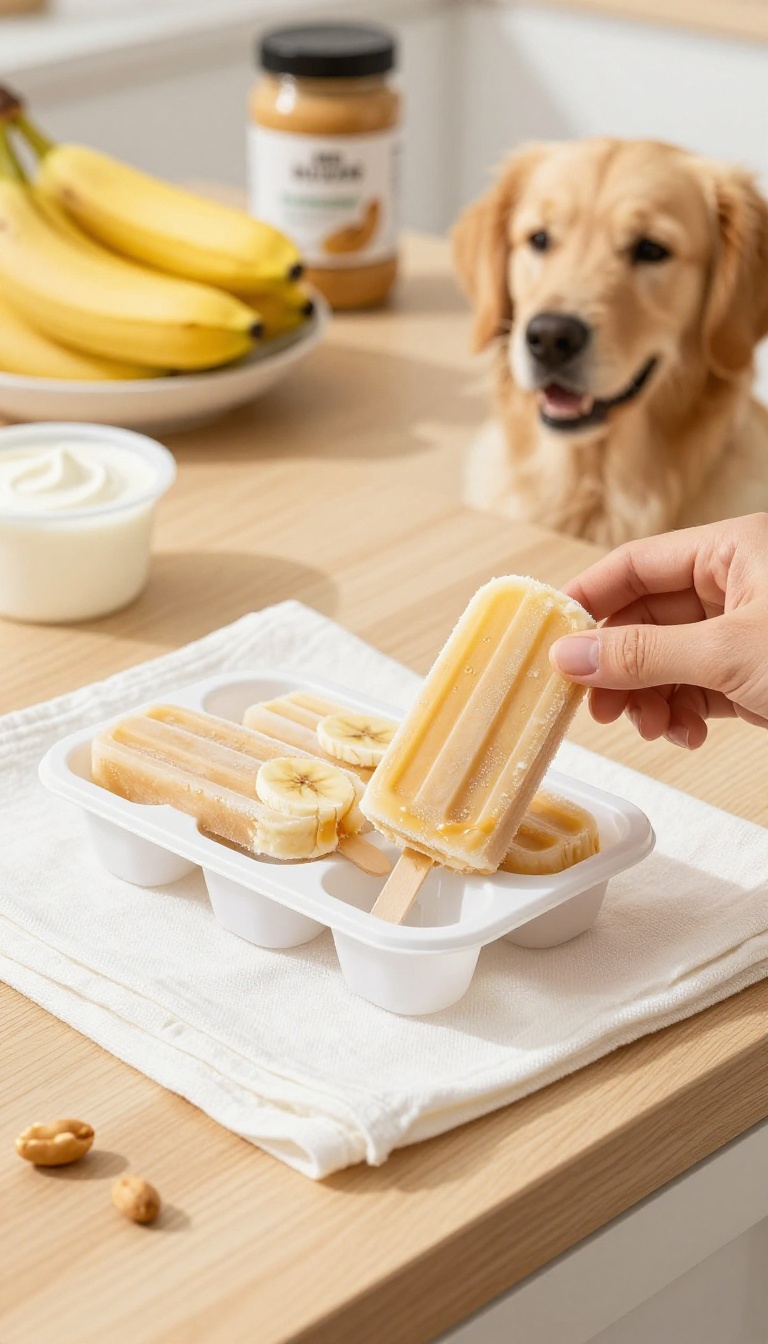
When the sun is blazing and your pup is looking for a way to cool down, these frozen pupsicles are a simple win. They take just a few minutes to stir together, and the freezer does the rest of the work. The combination of ripe banana and peanut butter is a classic dog favorite, and the yogurt adds a creamy texture that dogs love to lick and chew.
Plus, because they're frozen, they last longer than most treats, giving your dog a satisfying activity on a hot afternoon.
Ingredients
- 2 ripe bananas, peeled and mashed
- 1/2 cup plain, unsweetened yogurt (Greek or regular)
- 1/4 cup natural peanut butter (xylitol-free, no added sugar or salt)
- 1/4 cup water (optional, to thin the mixture if needed)
Instructions
- In a medium bowl, mash the bananas until smooth. Add the yogurt and peanut butter, and stir until well combined. If the mixture is too thick, add water a little at a time until it reaches a pourable consistency.
- Spoon or pour the mixture into ice cube trays or silicone molds, filling each cavity almost to the top. You can also use small paper cups for larger pupsicles.
- Place the trays in the freezer for at least 4 hours, or until completely frozen. Pop the pupsicles out of the molds and store them in a freezer-safe bag or container.
Serving Tip
Give your dog one pupsicle as a special treat on a warm day, and supervise them while they enjoy it. For smaller dogs, consider using mini ice cube trays to make bite-sized pieces. These pupsicles can be stored in the freezer for up to 3 months, so you can always have a cool treat ready.
2. Sweet Potato Chews
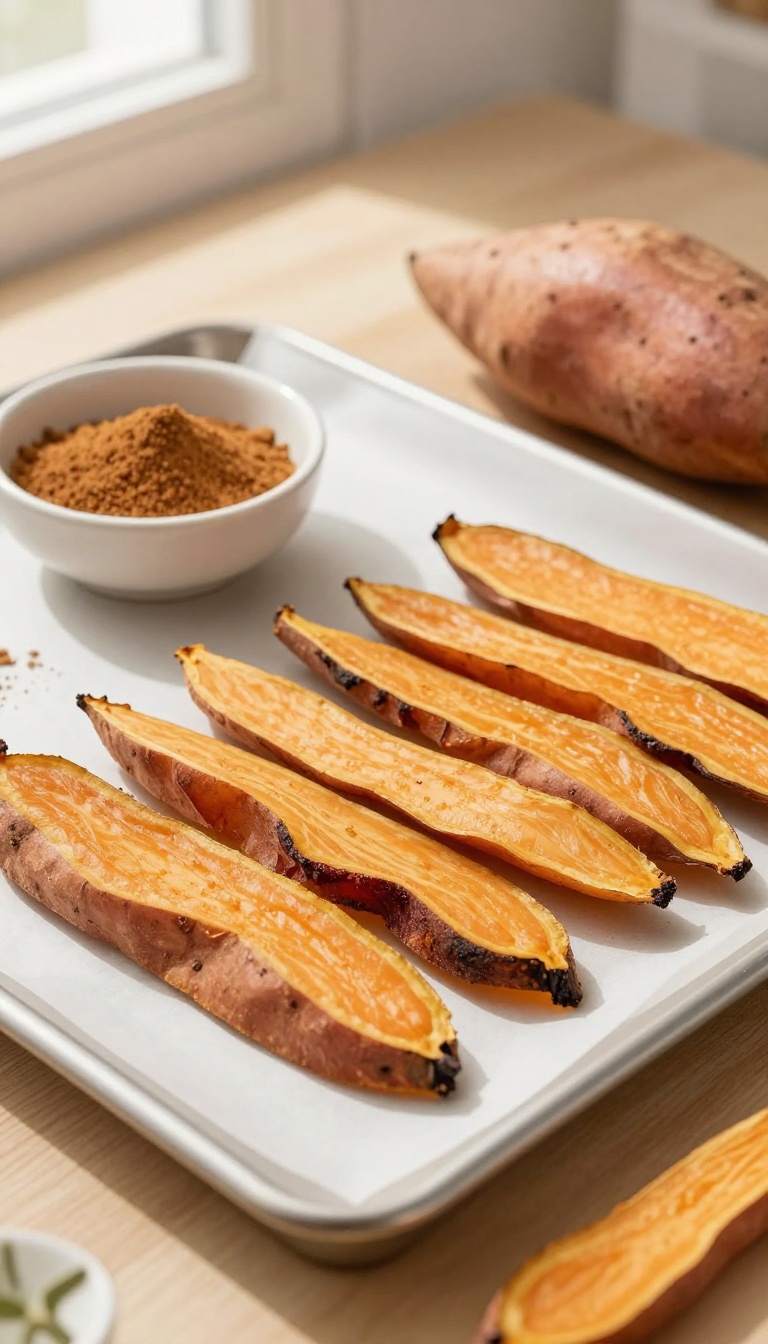
Sweet potatoes are a fantastic, budget-friendly snack that many dogs already love. When you slice them thin and dry them out slowly, they turn into chewy strips that keep pups busy without the worry of choking hazards. This simple method uses just one ingredient and a low oven, so you can whip up a big batch in an afternoon.
The natural sweetness and fiber make them a satisfying, wholesome choice for everyday munching.
Ingredients
- 2 large sweet potatoes, scrubbed clean
- Optional: a light sprinkle of cinnamon (dog-safe, but skip if your pup is sensitive)
- 1 cup prepared cooked sweet potato in small dog-safe pieces
- 1 cup oat flour or finely ground oats
- 1 egg or 2 tablespoons unsweetened applesauce for binding
Instructions
- Preheat your oven to 200°F (95°C) and line a baking sheet with parchment paper.
- Slice the sweet potatoes into thin strips, about 1/4-inch thick. You can leave the skin on for extra texture, but peel if you prefer.
- Arrange the strips in a single layer on the baking sheet, making sure they don't overlap.
- Bake for 2 to 3 hours, flipping halfway, until the strips are dry and chewy but not brittle. They should bend without snapping.
- Let them cool completely before serving. Store in an airtight container for up to a week, or freeze for longer storage.
- Mix the prepared cooked sweet potato with the oat flour and binder until a soft dough or spoonable mixture forms.
- Shape into small treat portions, bake on a lined tray at 325°F until firm, then cool completely before serving.
Serving Tip
Start with one or two chews for a small dog, and adjust based on your pup's size and chewing habits. These are great for teething puppies or as a low-calorie training reward. Keep an eye on your dog the first time you offer them to ensure they chew properly, and always provide fresh water nearby.
3. Bully Stick Alternative: Beef Tendon Twists
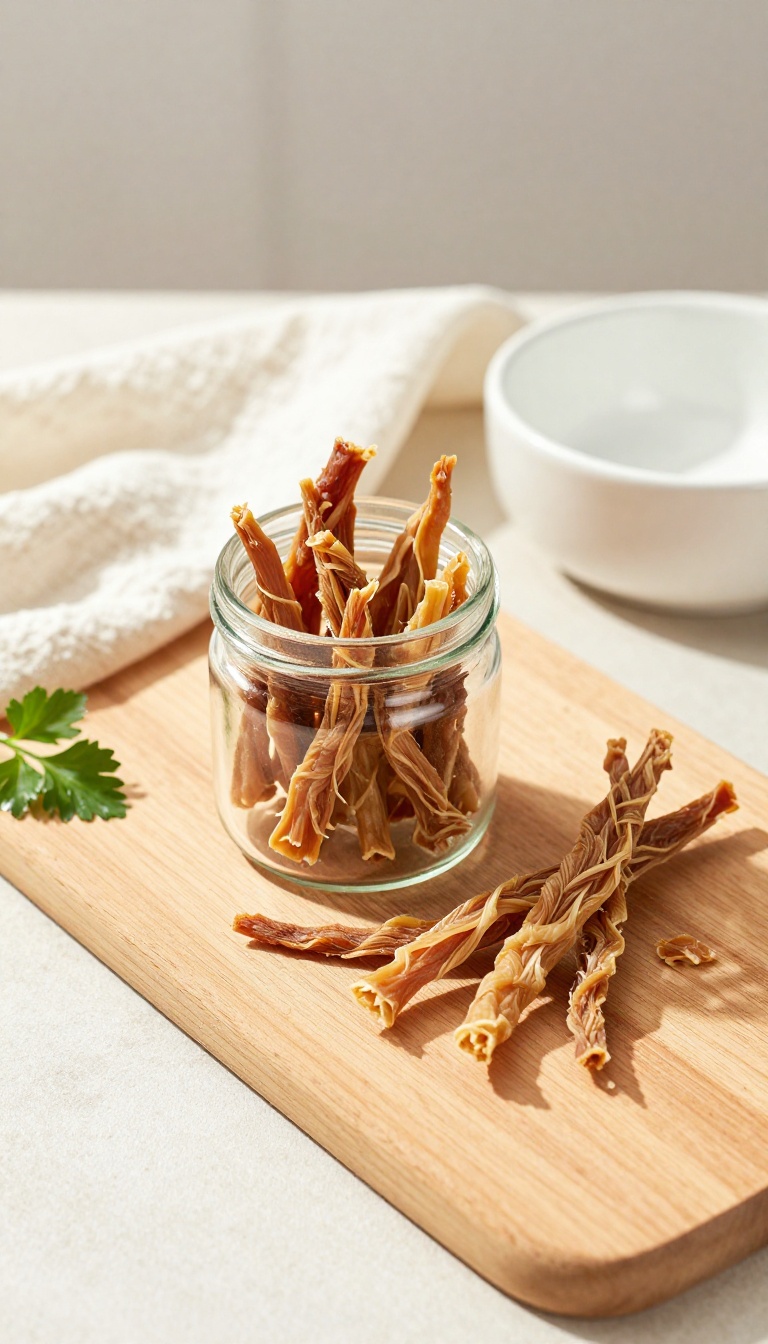
If your pup loves to chew but you're tired of the lingering aroma of bully sticks, beef tendon twists are a fantastic swap. They offer the same long-lasting satisfaction without that strong smell. You can buy beef tendons raw from many butcher shops or online, then dehydrate them at home for a chewy, flavorful treat that keeps dogs busy for a good while.
It's a simple, practical way to give your dog a natural chew that's both economical and easy to prepare.
Ingredients
- 1 pound raw beef tendons (ask your butcher for beef tendon, often sold as soup bones or shank slices)
- Optional: a splash of beef broth or water to help with slicing
- No other ingredients needed—keep it simple and dog-safe
Instructions
- If the tendons are very thick, slice them into twistable strips about 1/2 inch wide and 6-8 inches long. If they're already twist-shaped, you can skip this step.
- For a twist shape, take two strips and twist them together like a braid, or simply leave them as straight strips if you prefer.
- Place the tendons on a dehydrator tray or a baking sheet lined with parchment paper.
- Dehydrate at 160°F (71°C) for 8-12 hours, or until they are completely dry and hard. If using an oven, set it to the lowest temperature (usually around 170°F) and leave the door slightly ajar to let moisture escape. Check firmness—they should be rock hard.
- Let them cool completely before giving one to your dog. Store any extras in an airtight container at room temperature for up to 2 weeks, or refrigerate for longer storage.
Serving Tip
- Give your dog one tendon twist as a supervised chew session. These are tough, so they're great for moderate to heavy chewers, but always watch your pup to ensure they don't break off large chunks. For smaller dogs, you can cut the twists into shorter pieces.
- They last for days, making them a cost-effective alternative to bully sticks.
4. Frozen Chicken Broth Ice Cubes
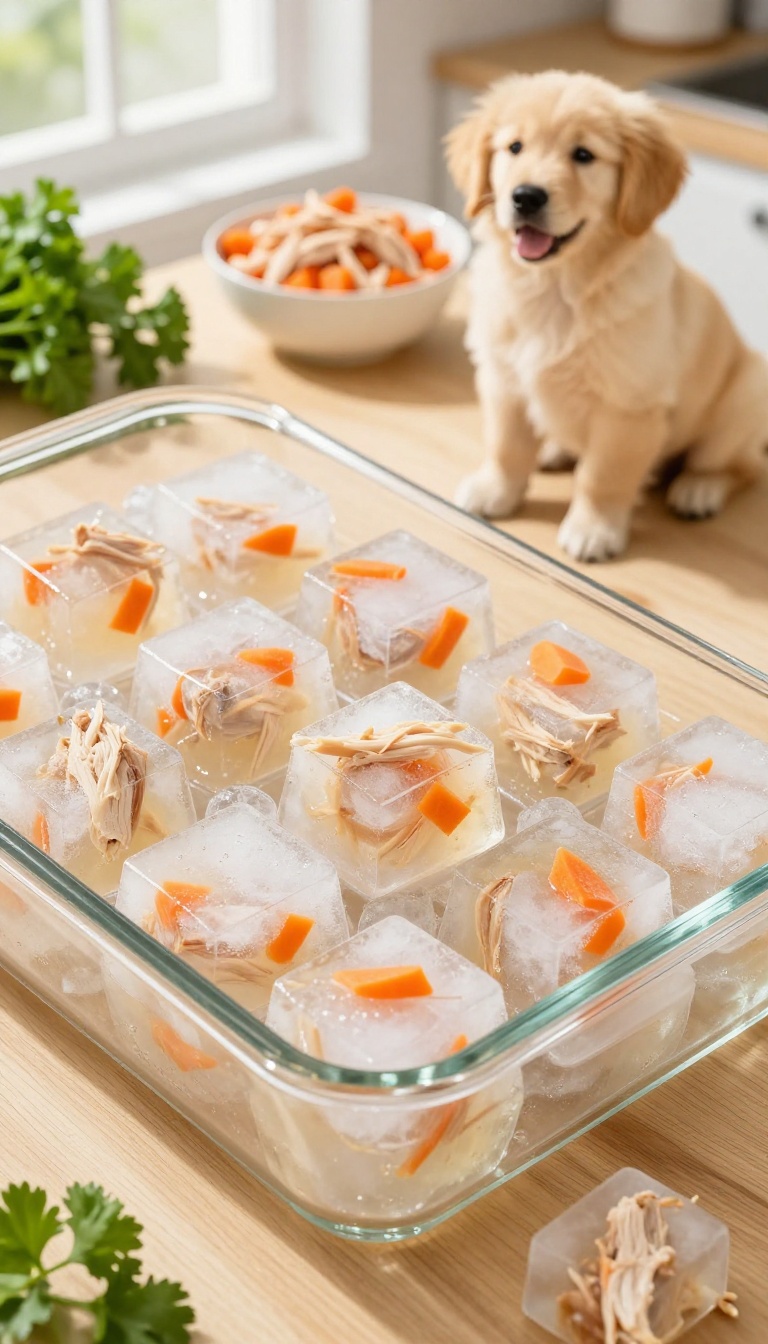
When the sun is blazing and your pup needs a cool-down, these frozen chicken broth cubes are a simple, hydrating snack. They're perfect for hot days or for dogs who love a little crunch without much chewing. Since they melt slowly, they keep your dog entertained and refreshed, making them a go-to for busy pet parents.
Ingredients
- 2 cups low-sodium chicken broth (no onions, no garlic)
- 1/2 cup cooked chicken, shredded into small pieces
- 1/4 cup carrots, finely diced and cooked until soft
Instructions
- In a mixing bowl, combine the chicken broth, cooked chicken, and carrots. Stir well so the bits are evenly distributed.
- Pour the mixture into ice cube trays, filling each compartment about three-quarters full.
- Place the trays in the freezer for at least 4 hours or until completely solid.
- Once frozen, pop the cubes out and store them in a freezer-safe bag or container.
Serving Tip
Give your dog one or two cubes at a time, depending on their size, and supervise them while they enjoy it. These are great for teething puppies or as a refreshing reward after a long walk. Keep them in the freezer and use within a month for best freshness.
5. Pumpkin and Oat Biscuits
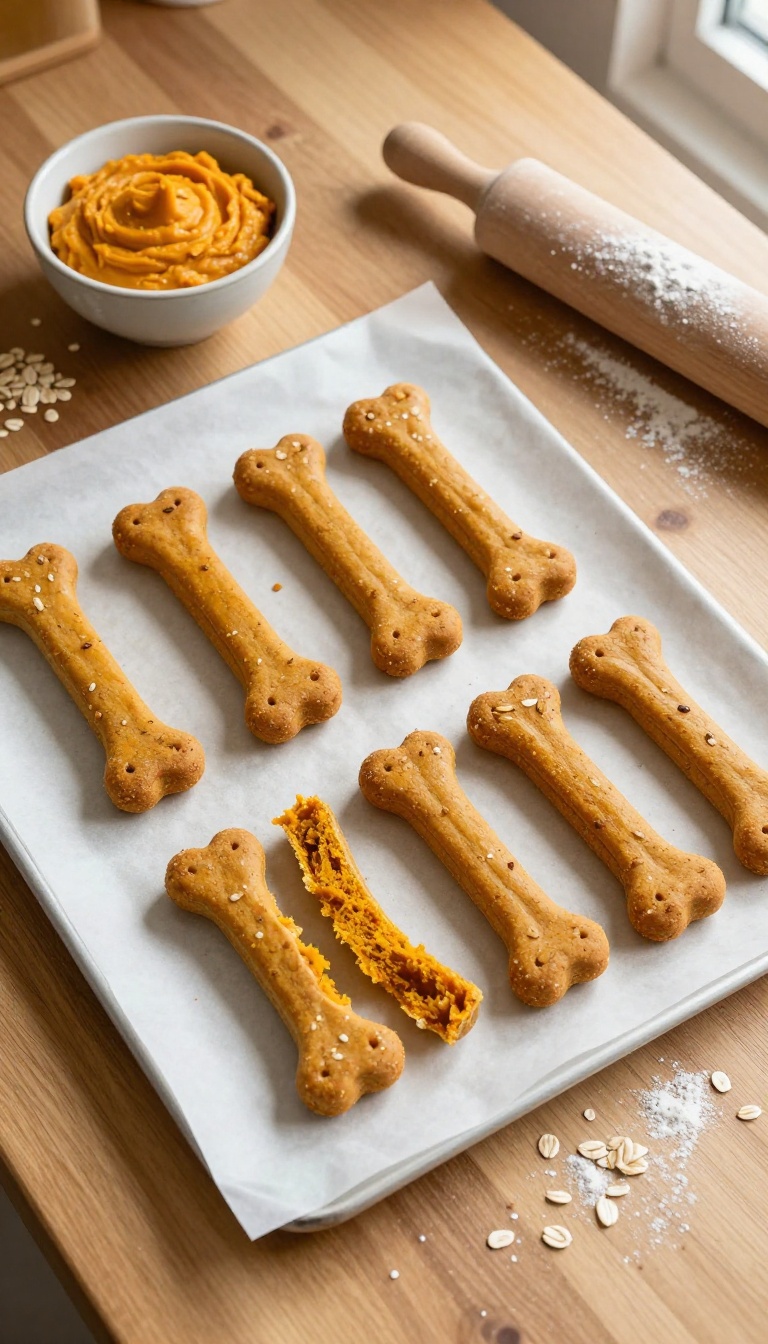
If your pup loves a good crunch, these pumpkin and oat biscuits are a simple way to deliver it. They use just a few pantry staples, so you can whip up a batch without a special trip to the store. The oats give them a hearty texture that holds up well, and pumpkin is a gentle choice for sensitive stomachs.
Ingredients
- 1 cup canned pumpkin (unsweetened)
- 2 cups rolled oats
- 1/2 cup whole wheat flour (or oat flour for a gluten-free option)
- 1/4 cup water (if needed)
Instructions
- Preheat your oven to 350°F (175°C) and line a baking sheet with parchment paper.
- In a large bowl, mix the pumpkin and oats together. Add the flour and stir until a dough forms. If it feels too dry, add water a tablespoon at a time.
- Roll the dough out on a lightly floured surface to about 1/4-inch thickness. Use a cookie cutter or a knife to cut into bone shapes or squares.
- Place the biscuits on the prepared baking sheet and bake for 25–30 minutes, until they are golden and firm. Let them cool completely before serving.
Serving Tip
These biscuits are crunchy, so they’re perfect for dogs who like to chew. Store them in an airtight container at room temperature for up to a week, or pop them in the fridge for a bit longer. For smaller pups, break them into bite-sized pieces to avoid overdoing it.
6. Dehydrated Liver Bites
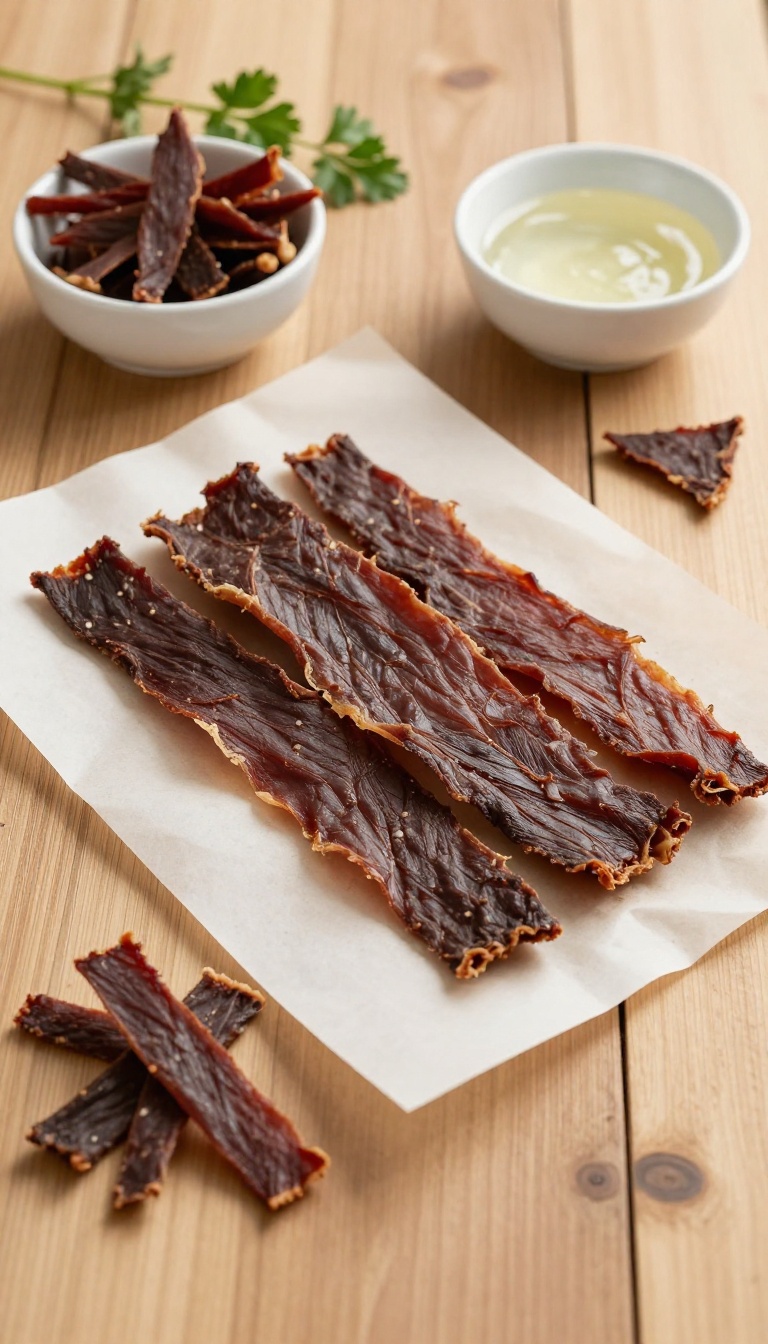
These chewy, jerky-like bites are a fantastic way to give your dog a long-lasting chew that feels like a special reward. Made from simple beef or chicken liver, they’re packed with flavor and nutrients, and the dehydrating process creates a texture that keeps dogs busy and satisfied. Perfect for training sessions, quiet time, or just because, these homemade treats are a practical, budget-friendly alternative to store-bought jerky.
Ingredients
- 1 pound beef or chicken liver, sliced into thin strips (about 1/4 inch thick)
- Optional: 1 tablespoon coconut oil (for brushing, if desired)
- Optional: 1/2 teaspoon dried parsley or turmeric (for extra appeal)
Instructions
- Preheat your oven to its lowest setting (around 170°F or 75°C) or set up a food dehydrator according to the manufacturer's instructions.
- Rinse the liver slices and pat them dry with paper towels. If using, lightly brush each strip with coconut oil and sprinkle with optional herbs.
- Arrange the liver strips in a single layer on a baking sheet lined with parchment paper or on dehydrator trays, making sure they don't overlap.
- Dehydrate in the oven for 3-4 hours, or in the dehydrator for 4-6 hours, until the strips are dry, firm, and no longer moist in the center. They should bend slightly without breaking.
- Let the liver bites cool completely before serving. Store in an airtight container in the refrigerator for up to 2 weeks, or freeze for longer storage.
Serving Tip
- These liver bites are potent, so a little goes a long way. For medium-sized dogs, one or two strips per day is plenty. Break them into smaller pieces for training rewards or for small breeds.
- Always supervise your dog when giving any chew treat, and adjust portion sizes based on your dog's size and dietary needs.
7. Frozen Yogurt and Berry Swirls
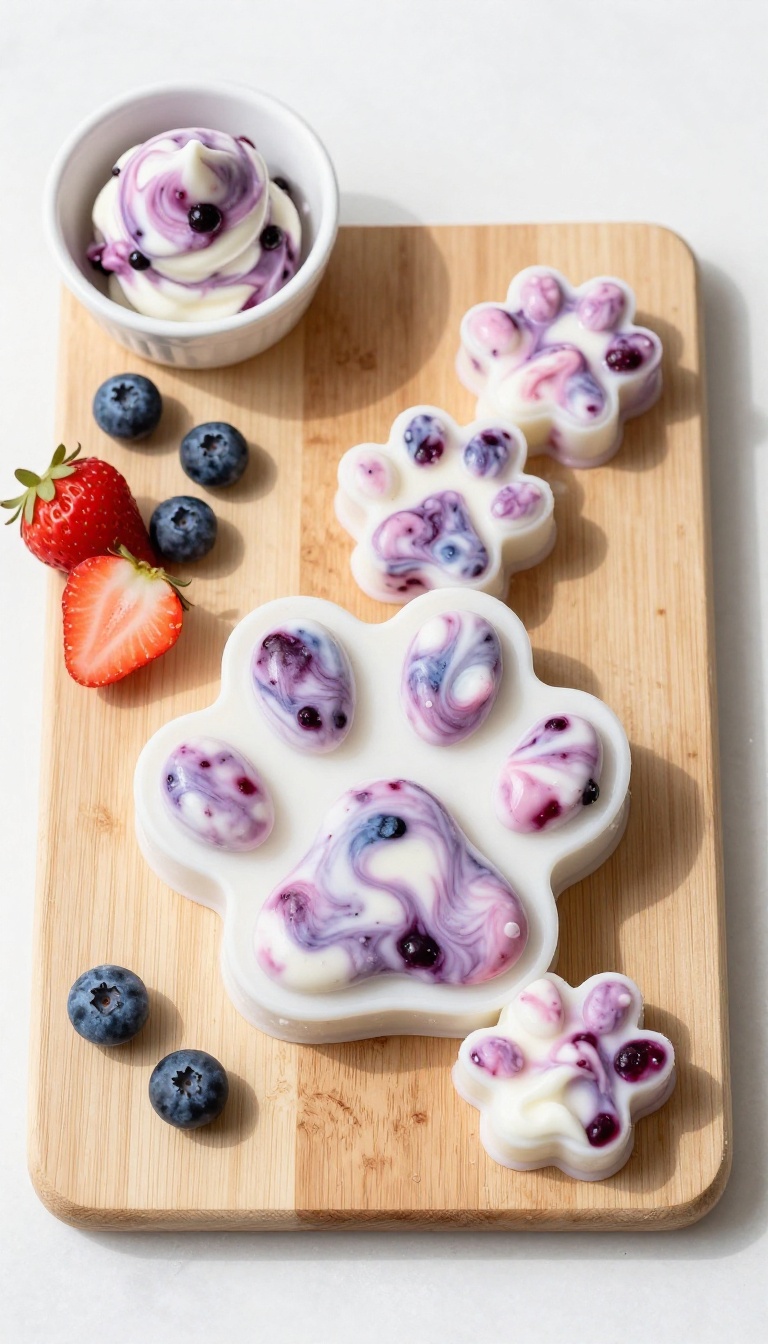
When the sun is blazing and your pup is looking for a way to cool off, these frozen yogurt and berry swirls are a simple win. They take just a few minutes to mix up, and the freezer does the rest of the work. The creamy yogurt pairs with juicy berries to create a treat that’s both refreshing and engaging.
Dogs love the cold sensation and the challenge of licking every last bit from the mold, which keeps them busy for a good while.
Ingredients
- 1 cup plain, unsweetened yogurt (no xylitol)
- 1/2 cup fresh or frozen blueberries
- 1/2 cup fresh or frozen strawberries, hulled and chopped
Instructions
- In a blender or food processor, puree the blueberries and strawberries until smooth. If using frozen berries, let them thaw slightly for easier blending.
- In a bowl, stir the yogurt until smooth, then gently fold in the berry puree to create a swirl effect. Do not overmix.
- Spoon the mixture into silicone molds or an ice cube tray. If using an ice cube tray, fill each compartment about three-quarters full.
- Place the molds in the freezer for at least 3 hours, or until completely solid. Pop the treats out and store them in a freezer-safe bag or container.
Serving Tip
- Give your dog one swirl at a time, especially on warm days. These frozen treats are perfect for supervised chewing, and they’re gentle on teeth. Store leftovers in the freezer for up to two months.
- For smaller pups, use mini molds to keep portions bite-sized.
8. Carrot and Apple Crunch Sticks
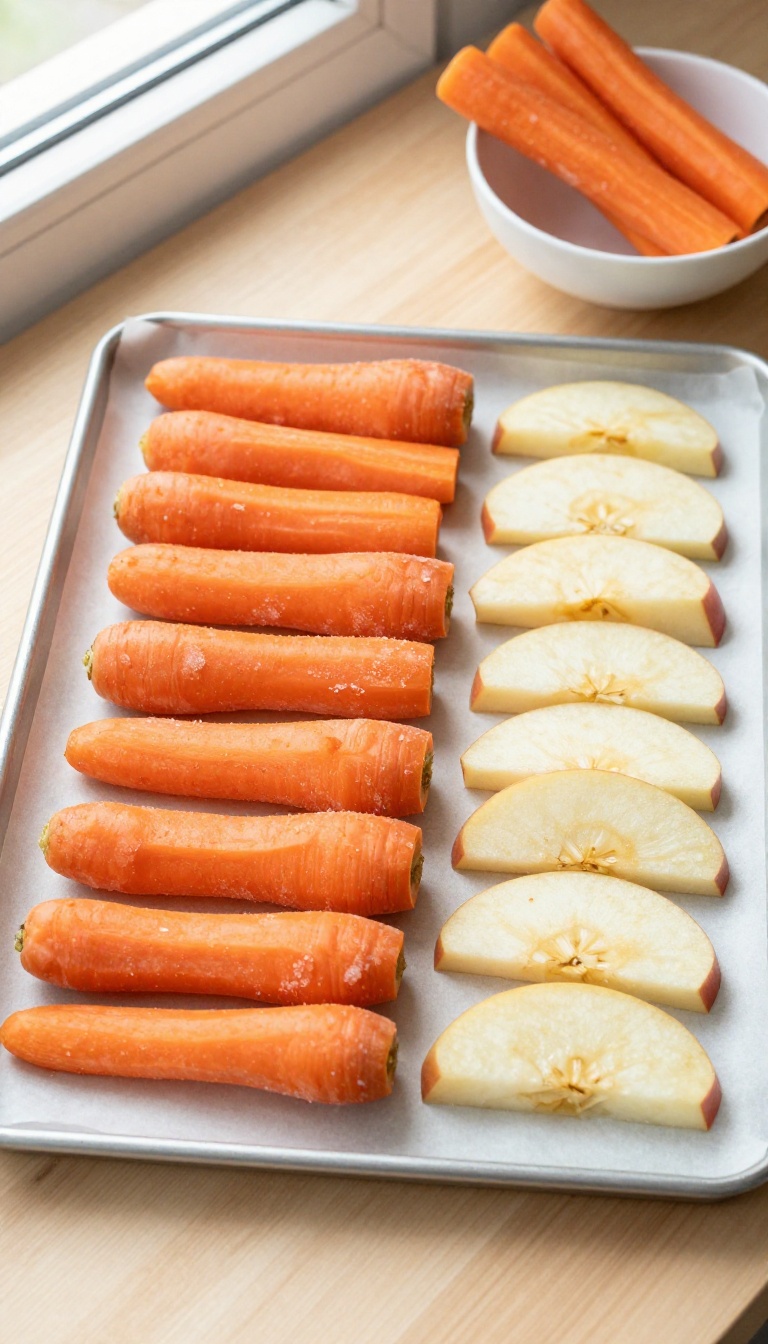
When the afternoon sun makes your pup extra lazy, a cold, crunchy snack can be just the pick-me-up they need. These carrot and apple sticks are a simple, family-style treat you can prep in minutes with stuff you probably already have. The natural sweetness of the apple pairs with the satisfying crunch of carrot, and the freezing step adds a refreshing chill that keeps dogs munching longer.
Plus, the firm texture helps scrub away plaque as they chew, so it's a win for their teeth and their taste buds.
Ingredients
- 2 large carrots, peeled and cut into thick sticks (about 3 inches long)
- 1 large apple, cored and cut into thick sticks (about 3 inches long)
- 2 cups water (for freezing, optional)
Instructions
- Wash the carrots and apple thoroughly. Peel the carrots if you prefer a softer texture, but leaving the skin on adds extra crunch.
- Cut the carrots and apple into stick shapes about 3 inches long and 1/2 inch thick. Make sure the pieces are big enough that your dog can't swallow them whole.
- Place the sticks in a single layer on a baking sheet lined with parchment paper. If you want them to freeze separately, space them out so they don't touch.
- Freeze for at least 2 hours, or until completely solid. Once frozen, transfer to a zip-top bag or airtight container and store in the freezer.
- Give one or two frozen sticks to your dog as a refreshing snack, and supervise them while they chew.
Serving Tip
- These frozen sticks are best served straight from the freezer, especially on warm days. For smaller dogs or puppies, cut the sticks thinner or into smaller pieces to avoid any choking risk. Always supervise your dog when giving any chew treat, and store leftovers in the freezer for up to a month.
- If your dog is older or has sensitive teeth, you can skip the freezing step and serve them chilled instead.
9. Peanut Butter Stuffed Kongs (Frozen)
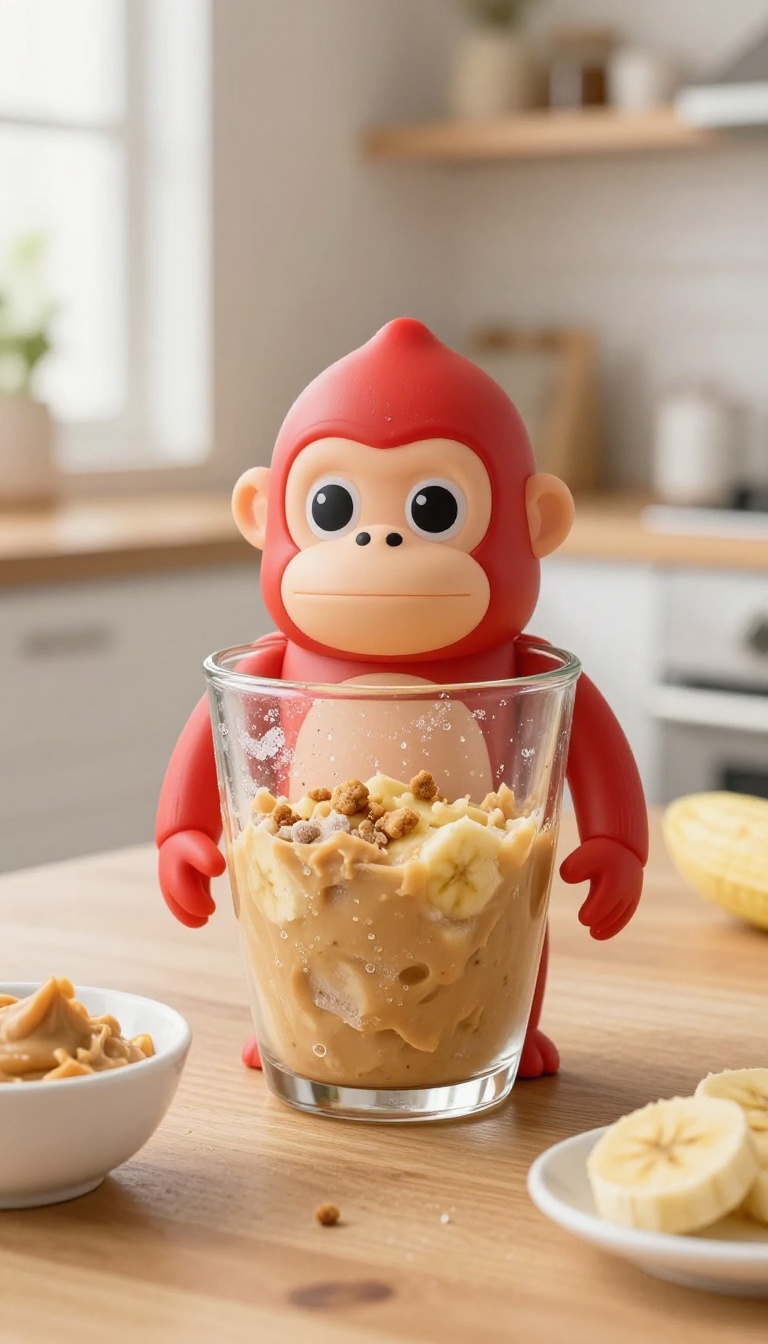
When your dog needs a long-lasting distraction, a frozen stuffed Kong is a go-to. This version combines peanut butter, banana, and kibble for a tasty, satisfying fill that takes time to work through. Freezing it overnight adds an extra challenge and keeps your pup busy on hot days or during quiet time.
It’s a simple, efficient way to turn an ordinary toy into a rewarding activity.
Ingredients
- 1 large Kong toy
- 1/2 cup plain, unsweetened peanut butter (check that it contains no xylitol)
- 1 ripe banana, mashed
- 1/4 cup your dog's regular kibble, crushed slightly
Instructions
- In a small bowl, mix the peanut butter and mashed banana until well combined.
- Stir in the crushed kibble until evenly distributed.
- Spoon the mixture into the Kong, packing it down firmly. You can use a spoon or a small spatula to push it in.
- Place the filled Kong upright in a mug or on a plate and freeze for at least 4 hours or overnight.
- Once frozen, give it to your dog as a rewarding, long-lasting treat.
Serving Tip
For a less intense challenge, you can skip the freezing and serve the stuffed Kong right away. For extra-determined chewers, try layering the filling with a little plain yogurt or pumpkin puree. Always supervise your dog with a stuffed Kong, and wash the toy after each use.
10. Coconut Oil and Blueberry Frozen Treats
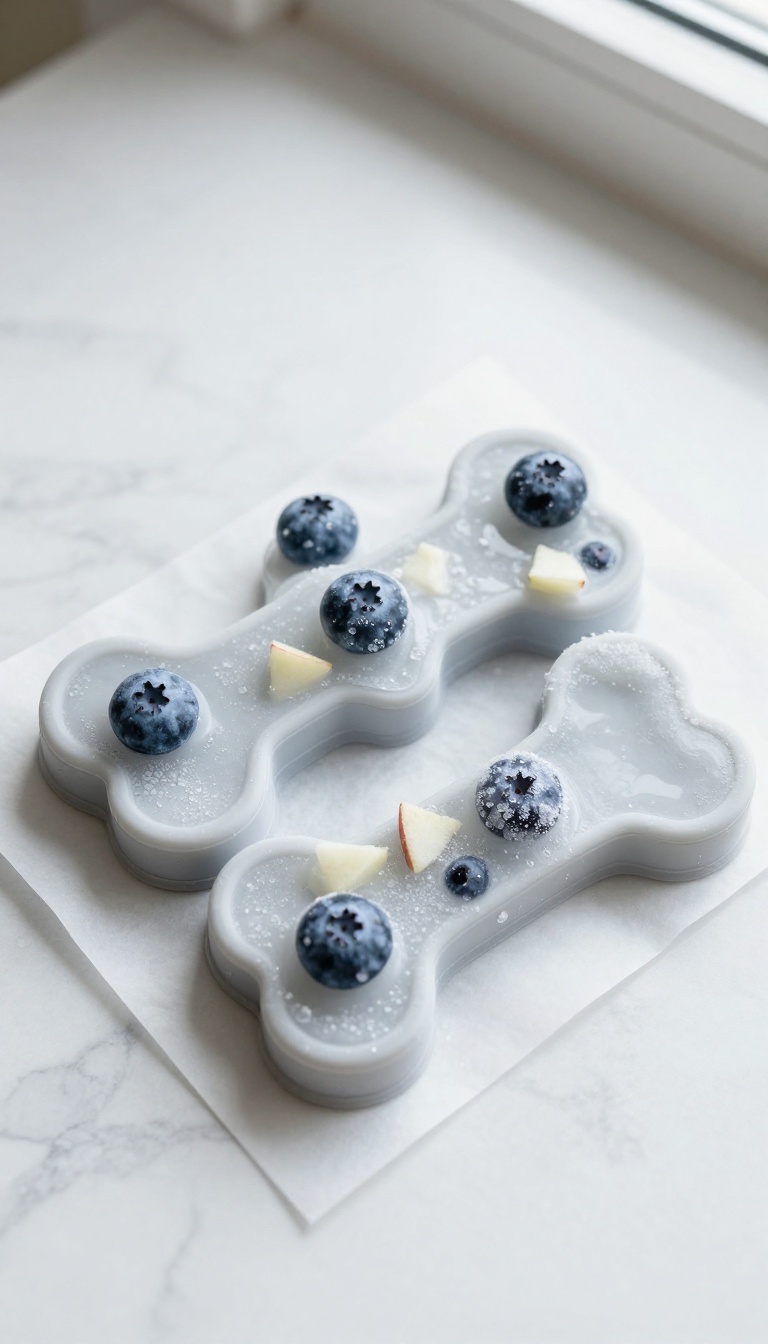
When the sun is beating down and your pup is looking for something cool, these frozen bites are a simple win. Coconut oil gives a healthy dose of good fats, while blueberries add a pop of natural sweetness and antioxidants. They’re easy to make ahead, and the cold, firm texture means they take a while to enjoy—perfect for keeping a busy chewer occupied.
Ingredients
- 1/2 cup unrefined coconut oil, melted
- 1/4 cup fresh or frozen blueberries
- 1/4 cup plain unsweetened applesauce (optional, for extra moisture)
Instructions
- Line a small baking sheet or tray with parchment paper, or get a silicone mold ready.
- In a small bowl, stir the melted coconut oil and applesauce together if using.
- Drop a few blueberries into each mold or onto the tray in small clusters.
- Pour the coconut oil mixture over the blueberries, filling each mold about three-quarters full.
- Place the tray or mold in the freezer for 2 to 3 hours, until completely solid.
- Pop the treats out of the mold and store them in an airtight container in the freezer.
Serving Tip
Give your dog one frozen treat at a time, especially on a warm day. They’re great for crate time or as a post-walk refresher. Because coconut oil melts quickly, keep them frozen until serving and watch your pup enjoy the long-lasting chill.
11. Baked Sweet Potato and Chicken Jerky
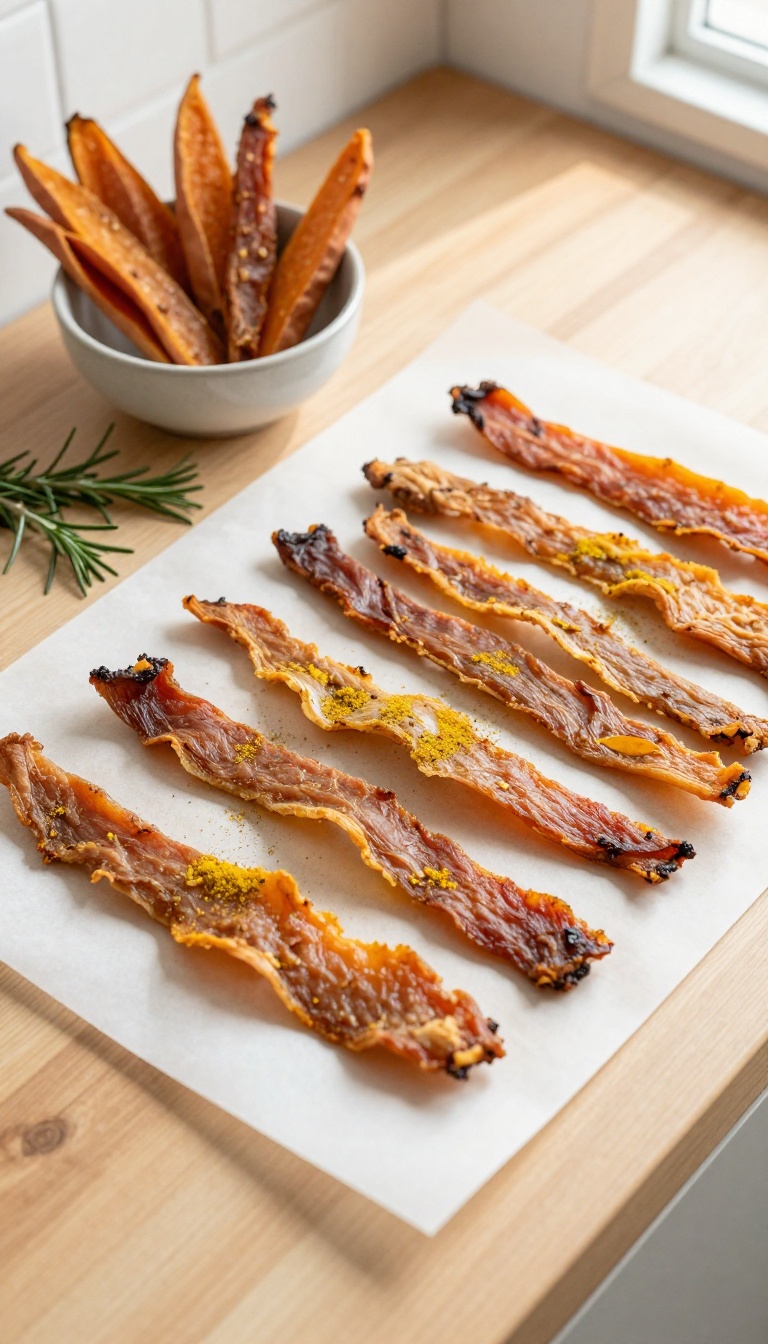
Some pups love a good chew, and store-bought jerky can be pricey or loaded with preservatives. This homemade version is simple, budget-friendly, and uses just two main ingredients you probably already have. The low-and-slow baking method dries the strips into a chewy texture that keeps dogs busy and satisfied.
Ingredients
- 1 large sweet potato, peeled and sliced into 1/4-inch thick strips
- 1 large boneless, skinless chicken breast, sliced into thin strips
- Optional: a light sprinkle of turmeric (safe for dogs in small amounts)
Instructions
- Preheat your oven to 170°F (or the lowest setting your oven allows, ideally below 200°F). Line a baking sheet with parchment paper.
- Arrange the sweet potato strips and chicken strips in a single layer on the baking sheet, making sure they don't overlap.
- Bake for 2 to 3 hours, flipping halfway through, until the strips are dry and chewy but not brittle. The exact time depends on thickness and your oven.
- Let the jerky cool completely before serving. Store in an airtight container in the fridge for up to a week, or freeze for longer storage.
Serving Tip
For most dogs, one or two strips is plenty as a treat. Because this jerky is chewy, it's great for dogs who like to gnaw, but always supervise to prevent choking, especially with smaller pieces. You can cut the strips into smaller bits for training or smaller breeds.
12. Frozen Green Bean and Peanut Butter Pops
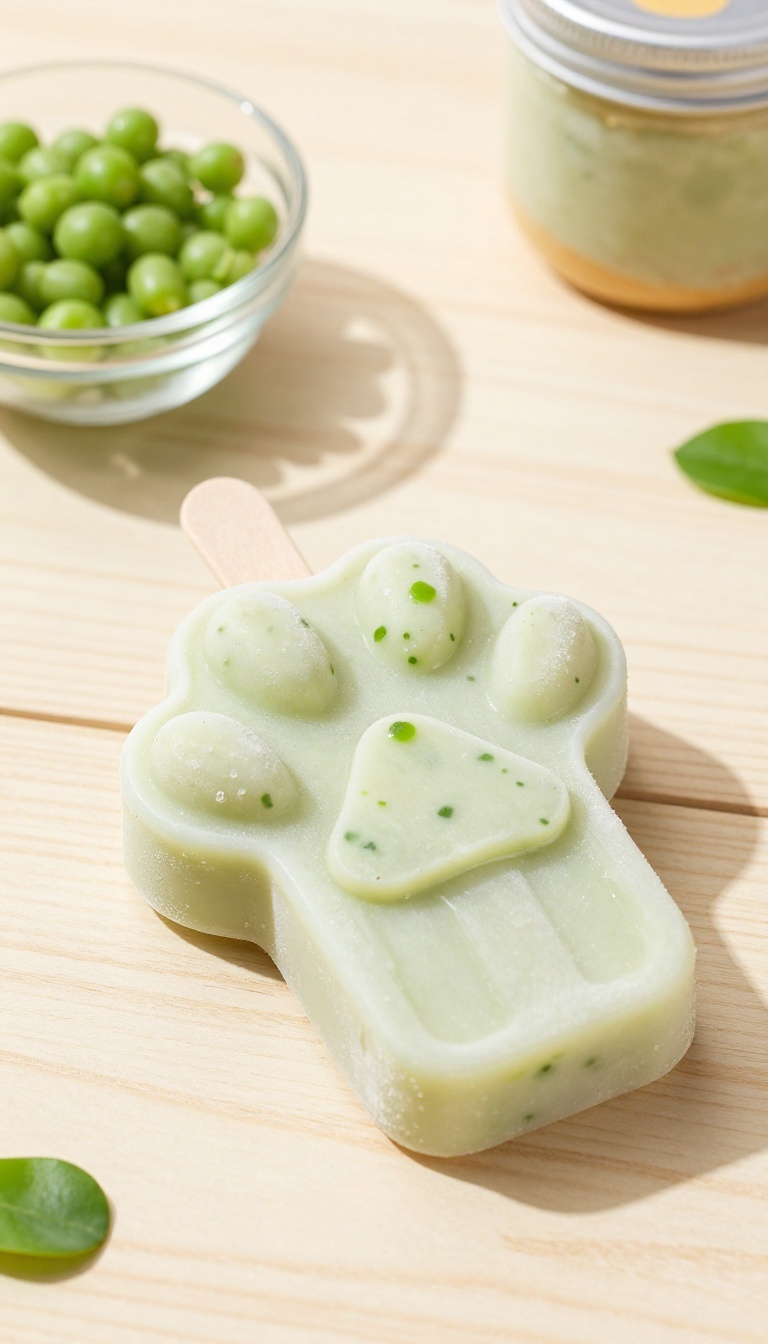
When the weather heats up, these frozen pops are a great way to cool your pup down while keeping them busy. The green beans add fiber and crunch, while peanut butter brings the flavor dogs love. They're simple to make and perfect for hot days or as a refreshing reward after a long walk.
Ingredients
- 2 cups fresh or frozen green beans, thawed if frozen
- 1/2 cup unsalted peanut butter (xylitol-free)
- 1/4 cup water (or more as needed)
- 1 tablespoon plain, unsweetened yogurt (optional, for extra creaminess)
Instructions
- Add the green beans, peanut butter, and water to a blender or food processor. Blend until smooth, adding more water a tablespoon at a time if the mixture is too thick.
- If using yogurt, stir it in after blending for a creamier texture.
- Pour the mixture into silicone popsicle molds or small paper cups. If using cups, insert a dog-safe stick or a small bone-shaped treat as a handle.
- Freeze for at least 4 hours or until solid. Pop out of the molds and serve.
Serving Tip
These pops are best served outdoors or on a washable surface, as they can get a bit messy as they melt. For smaller dogs, consider using mini molds or ice cube trays to make bite-sized portions. Store any leftovers in a zip-top bag in the freezer for up to two weeks—just let them sit for a minute or two before serving to soften slightly.
13. Hard-Baked Whole Wheat Pretzels
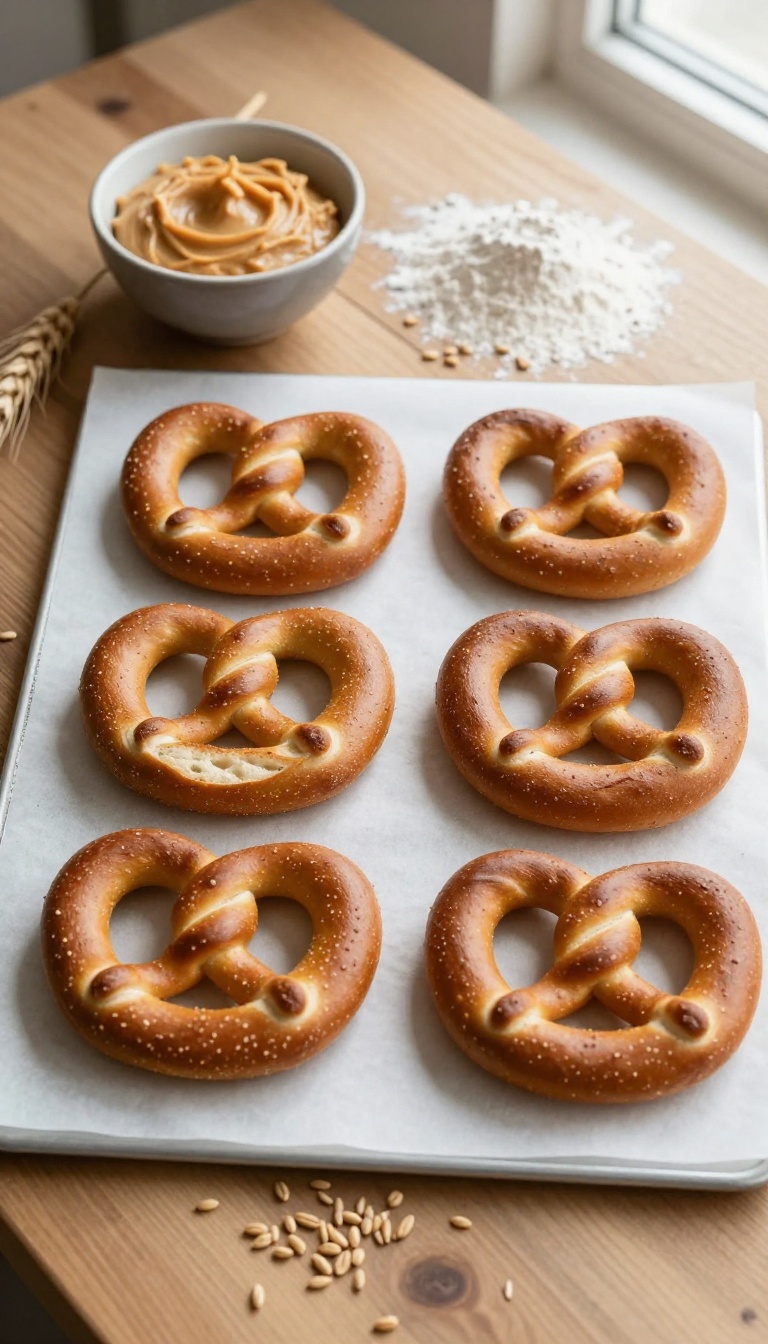
When you need a treat that keeps your pup busy for a while, these hard-baked pretzels are a solid choice. They’re simple to make with just a few pantry staples, and the long baking time gives them a crunchy texture that dogs love to gnaw on. Plus, the classic pretzel shape makes them fun to hand out, whether you’re rewarding good behavior or just want to give your furry friend something to do.
Ingredients
- 2 cups whole wheat flour
- 1/2 cup natural peanut butter (xylitol-free)
- 1 cup water, plus extra if needed
- 1 tablespoon honey (optional, for a touch of sweetness)
Instructions
- Preheat your oven to 350°F (175°C) and line a baking sheet with parchment paper.
- In a large bowl, mix the whole wheat flour and peanut butter until crumbly. Add the water (and honey, if using) and stir until a stiff dough forms. If it’s too dry, add a little more water; if too sticky, add a bit more flour.
- Turn the dough out onto a floured surface and knead for a minute or two until smooth. Roll the dough into a log and cut it into 8 equal pieces.
- Roll each piece into a long rope about 12 inches long. Shape each rope into a pretzel twist by forming a U, crossing the ends, and pressing them down to the bottom of the U.
- Place the pretzels on the prepared baking sheet. Bake for 30 minutes, then flip them over and bake for another 30 minutes. Turn off the oven and leave the pretzels inside for 1 to 2 hours to dry out completely, making them extra hard.
- Let the pretzels cool completely before giving one to your dog. Store in an airtight container for up to two weeks.
Serving Tip
These pretzels are meant to be a long-lasting chew, so give your dog one as a special treat and supervise them, especially if they’re an aggressive chewer. The hard texture is great for dental health, but if your dog prefers a softer chew, you can reduce the final oven-drying time. Keep them in a cool, dry place and they’ll stay crunchy for days.
FAQ
How long do homemade dog treats last?
It depends on the type. Frozen treats last a few months in the freezer, while dehydrated or baked treats can last up to two weeks in an airtight container at room temperature. Always check for signs of spoilage.
Can I use any peanut butter for dog treats?
Make sure the peanut butter is xylitol-free, as xylitol is toxic to dogs. Also, choose natural peanut butter without added sugar or salt.
Are these treats suitable for all dog breeds?
Yes, but adjust portion sizes based on your dog's size and chewing ability. Always supervise your dog with any treat, especially those that are hard or long-lasting.
Can I substitute ingredients in the recipes?
Absolutely. Swap fruits or veggies based on what your dog likes and what's safe. Just avoid toxic foods like grapes, onions, and chocolate.
How do I store homemade dog treats?
Store baked treats in an airtight container in the fridge for up to two weeks. Frozen treats should be kept in the freezer in a sealed bag or container. Dehydrated treats can be kept in a cool, dry place.
Conclusion
Making long-lasting dog treats at home is easier than you think, and your pup will appreciate the effort. These recipes are designed to keep them busy, whether you're working, relaxing, or just need a moment of peace. Plus, you control the ingredients, so you know exactly what your dog is eating.
Try a few of these ideas and see which ones become your dog's favorites. With a little prep, you can always have a stash of busy treats ready.

I’m Pallab Kishore, the owner of Little Pets Realm — an animal lover and pet care enthusiast sharing easy tips, healthy recipes, and honest advice to help every small pet live a happy, healthy, tail-wagging life.