
If your dog loves a good chew but you're tired of treats that vanish in seconds, you're in the right place. These eight long-lasting dog treats are perfect for training breaks, crate time, or just a quiet afternoon. They're simple to make, use dog-friendly ingredients, and are designed to keep your pup engaged and satisfied.
Each recipe focuses on texture and durability, so you can reward good behavior without the treat disappearing before the lesson sinks in. From baked biscuits to frozen chews, there's something here for every dog's taste and chewing style.
Plus, they're all homemade, which means you control exactly what goes into your dog's snack. No mystery ingredients, just wholesome goodness that your furry friend will love.
1. Peanut Butter & Pumpkin Baked Chews
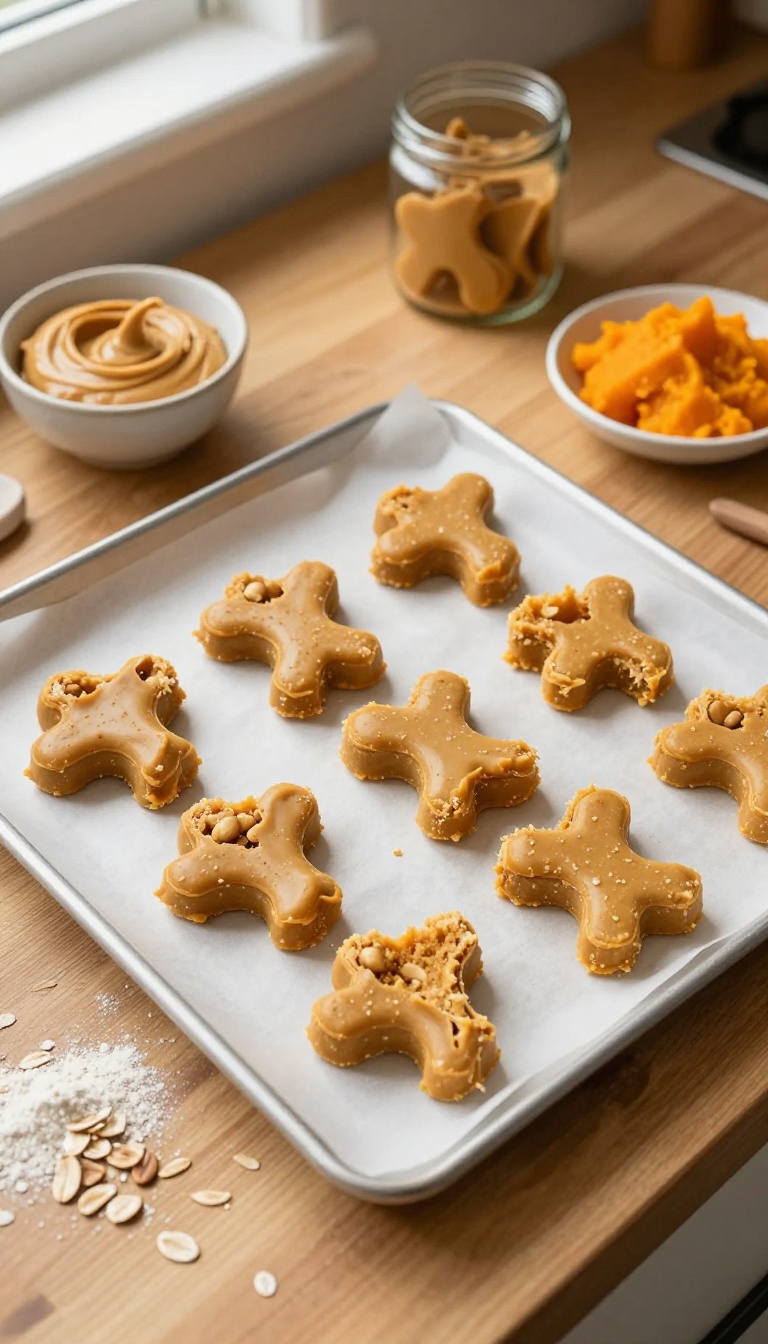
These dense, baked chews are a fantastic way to keep your dog busy during training breaks or while you're getting things done around the house. The combination of creamy peanut butter and earthy pumpkin creates a flavor that most dogs find irresistible, and the firm texture means they last longer than your average biscuit. Plus, they're simple to make with pantry staples, so you can whip up a fresh batch whenever you need a reliable, long-lasting reward.
Ingredients
- 1 cup unsweetened pumpkin puree
- 1/2 cup natural peanut butter (xylitol-free)
- 2 large eggs
- 2 1/2 cups whole wheat flour (or oat flour for a grain-free option)
- 1/2 cup rolled oats
Instructions
- Preheat your oven to 350°F (175°C) and line a baking sheet with parchment paper.
- In a large bowl, mix the pumpkin puree, peanut butter, and eggs until smooth. Gradually add the flour and oats, stirring until a stiff dough forms. If the dough is too sticky, add a little more flour.
- Roll the dough out to about 1/4-inch thickness on a floured surface. Use a dog-bone cookie cutter or a knife to cut out shapes, then place them on the prepared baking sheet.
- Bake for 35-40 minutes, until the chews are firm and lightly browned. Turn off the oven and let them cool inside for an hour to dry out further, which gives them that extra crunch and longer-lasting chew.
Serving Tip
These chews are quite dense, so they're perfect for training sessions or crate time. For small dogs, break them into smaller pieces to avoid overfeeding. Store in an airtight container in the refrigerator for up to two weeks, or freeze for up to three months—just thaw before giving to your pup.
2. Sweet Potato Jerky Strips
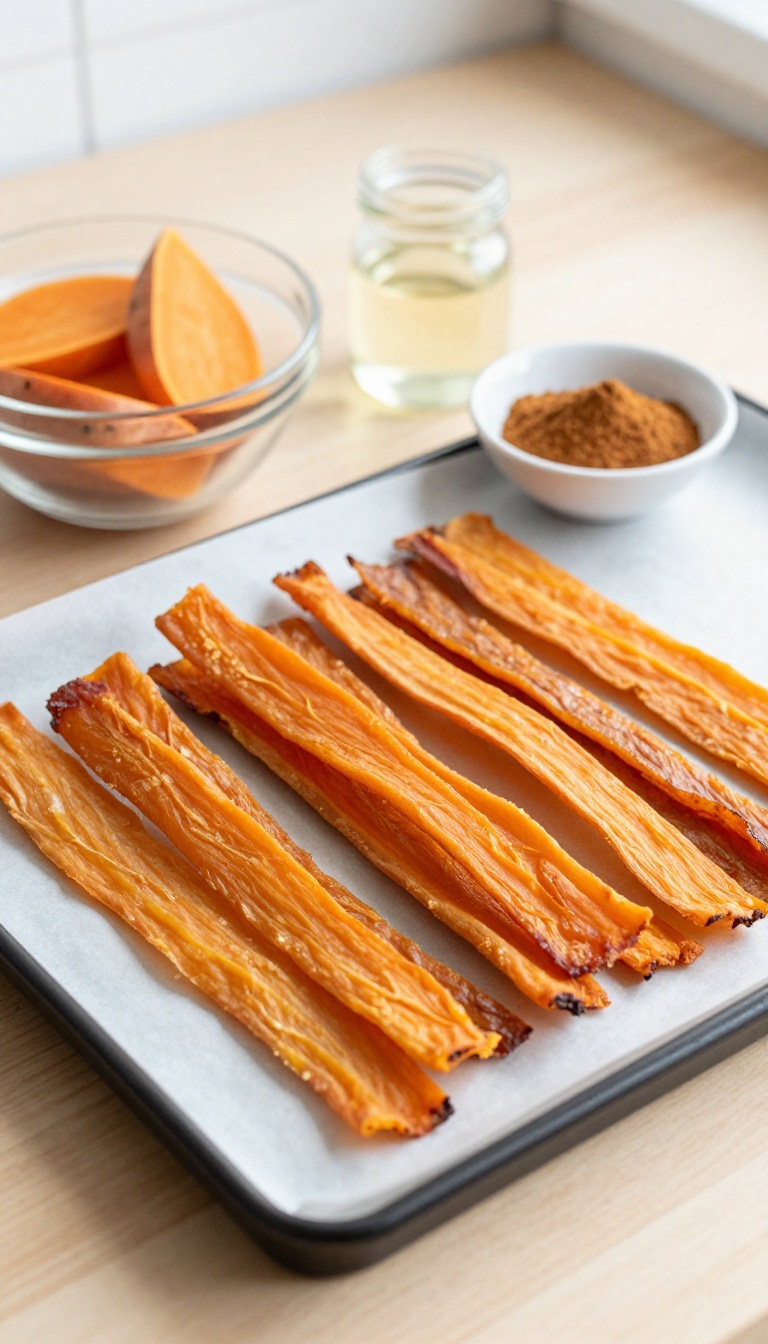
When you need a treat that keeps your pup happily occupied during crate time or a focused training session, these sweet potato jerky strips are a game-changer. They're chewy, naturally sweet, and take a while to work through, which is exactly what you want for a long-lasting reward. Plus, the simple ingredient list means you always know exactly what your dog is snacking on.
Ingredients
- 2 large sweet potatoes, washed and peeled
- 1 tablespoon coconut oil, melted (optional)
- 1/2 teaspoon ground cinnamon (optional)
Instructions
- Preheat your oven to 200°F (95°C) and line a baking sheet with parchment paper.
- Slice the sweet potatoes into thin, even strips about 1/4-inch thick. For chewier strips, cut them slightly thicker; for crunchier ones, go thinner.
- If using, toss the strips in a bowl with the melted coconut oil and cinnamon until evenly coated.
- Arrange the strips in a single layer on the prepared baking sheet, making sure they don't overlap.
- Bake for 2 to 3 hours, flipping the strips halfway through, until they are dried and chewy but not brittle. The exact time depends on your oven and the thickness of the strips.
- Let the jerky cool completely before serving. Store in an airtight container in the refrigerator for up to two weeks.
Serving Tip
For training, break the strips into smaller pieces so they last through multiple repetitions. For crate time, offer a whole strip as a special treat that will keep your dog engaged. You can also adjust the baking time to get the texture your dog prefers—just keep an eye on them so they don't become too hard.
3. Oat & Banana Biscuit Bones
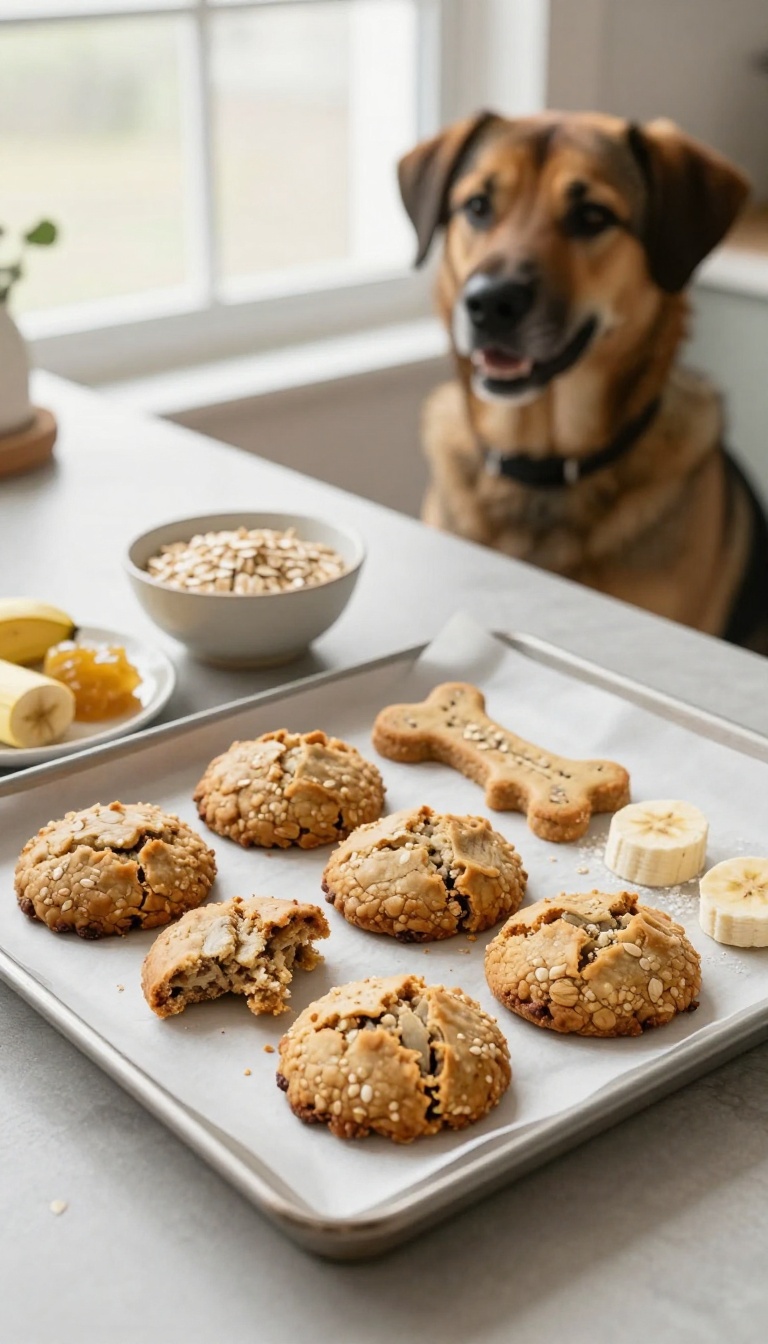
If your dog loves a good crunch and you're looking for a treat that keeps them busy during crate time or between training sessions, these oat and banana biscuit bones are a winner. They're simple to make with pantry staples, and the banana adds natural sweetness that most pups find irresistible. Plus, the sturdy texture means they hold up to enthusiastic chewing without crumbling into a mess on your floor.
Ingredients
- 2 ripe bananas, mashed
- 1 1/2 cups rolled oats
- 1/2 cup oat flour (or more rolled oats blended into flour)
- 1/4 cup unsweetened applesauce
- 1 egg (optional, for binding; omit for a vegan option)
Instructions
- Preheat your oven to 350°F (175°C) and line a baking sheet with parchment paper.
- In a large bowl, mix the mashed bananas, applesauce, and egg (if using) until well combined.
- Stir in the rolled oats and oat flour until a thick, slightly sticky dough forms. If it's too wet, add a little more oat flour.
- Roll the dough out on a lightly floured surface to about 1/4-inch thickness. Use a bone-shaped cookie cutter to cut out biscuits, or simply slice into rectangles.
- Place the biscuits on the prepared baking sheet and bake for 20-25 minutes, or until golden and firm to the touch. Let them cool completely before serving—they'll harden as they cool.
Serving Tip
- These biscuits are crunchy and satisfying, but they're still a treat, so keep portions in mind. For a small dog, one biscuit is plenty; larger breeds can enjoy two. Store them in an airtight container at room temperature for up to a week, or pop them in the fridge for extra crispness.
- They also freeze well for up to three months—just thaw before giving to your pup.
4. Frozen Blueberry & Yogurt Cubes
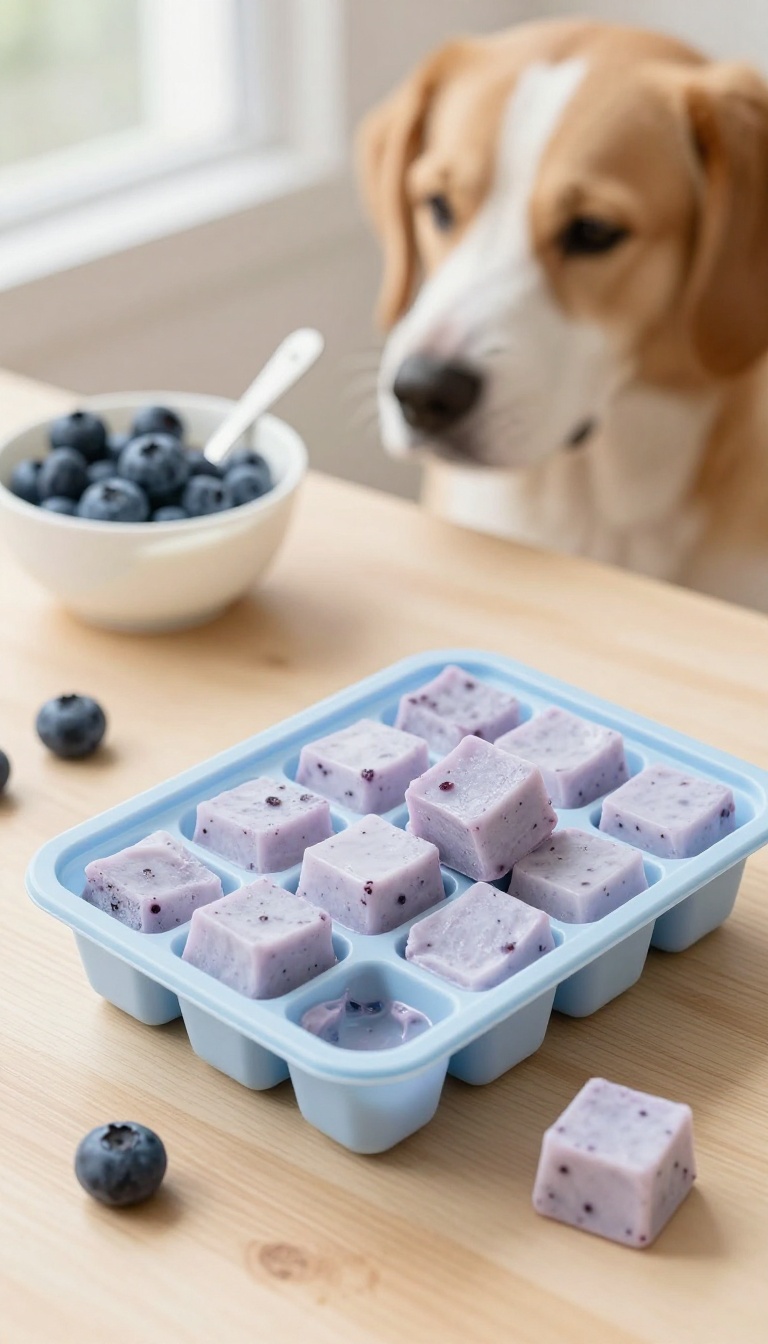
When the summer heat has your pup feeling sluggish, a frozen treat can be the perfect pick-me-up. These blueberry and yogurt cubes are a breeze to make and offer a satisfyingly cool crunch that keeps dogs entertained. The creamy yogurt blends with sweet blueberries to create a refreshing snack that feels like a special reward, but it's simple enough for everyday training breaks or quiet crate time.
Ingredients
- 1 cup plain, unsweetened yogurt (Greek or regular, no xylitol)
- 1/2 cup fresh or frozen blueberries (rinsed if fresh)
- 1 tablespoon honey (optional, for extra sweetness)
- 1/4 cup water (if needed to thin the mixture)
Instructions
- In a blender or food processor, combine the yogurt, blueberries, and honey (if using). Blend until smooth. If the mixture is too thick, add water a little at a time until it reaches a pourable consistency.
- Pour the mixture into silicone ice cube trays or small silicone molds. You can use fun shapes like bones or paws for extra appeal.
- Place the trays in the freezer for at least 3-4 hours, or until completely solid. Once frozen, pop the cubes out and store them in a zip-top bag or airtight container in the freezer.
Serving Tip
- These cubes are perfect for warm days, but you can also serve them indoors as a fun, messy-free snack. For smaller dogs, consider using mini ice cube trays to make bite-sized treats. Always supervise your dog when giving frozen treats, and limit to one or two cubes per day depending on your dog's size.
- They're great for keeping your pup busy during crate training or as a refreshing post-walk reward.
5. Carrot & Apple Crunchy Cookies
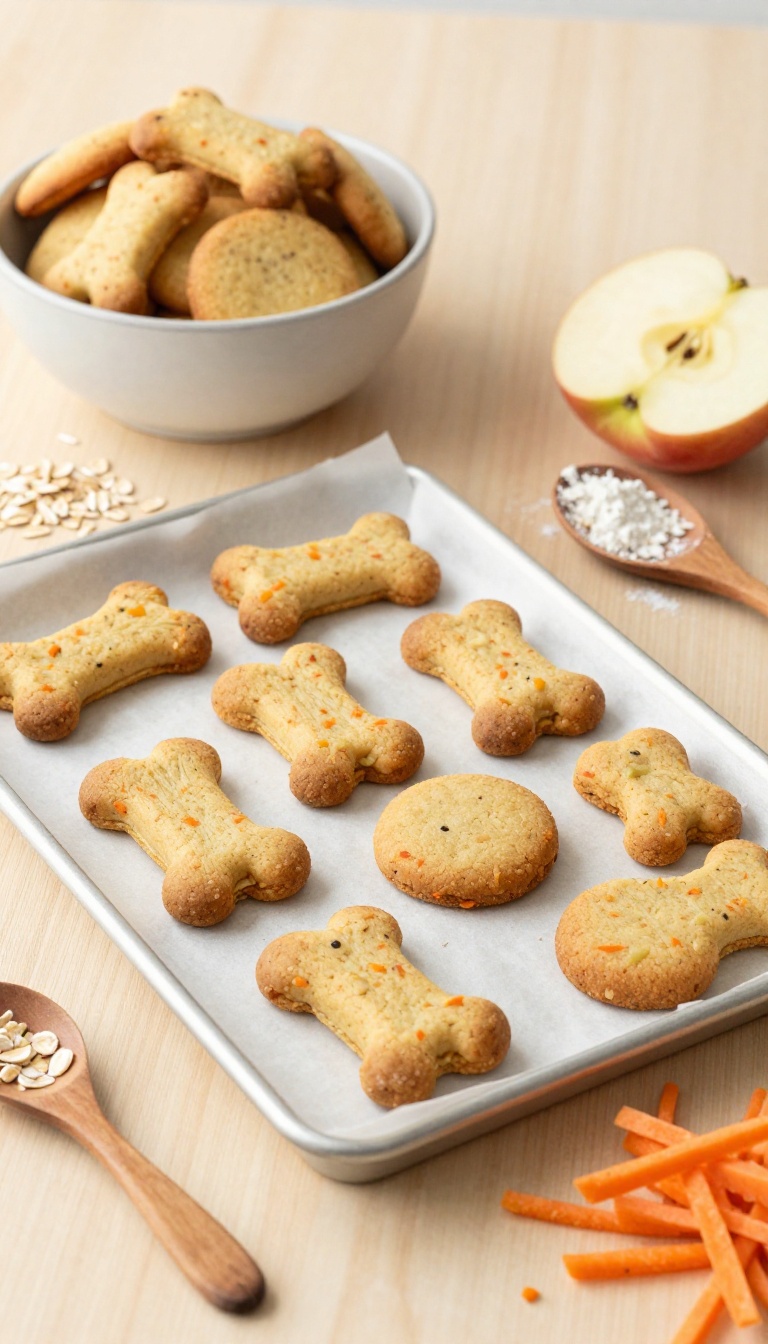
When your dog needs a satisfying crunch that lasts, these Carrot & Apple Crunchy Cookies are a fantastic choice. They’re baked until crisp and sturdy, so they hold up well during training sessions or quiet crate time. The natural sweetness of apples and the earthy flavor of carrots make them a crowd-pleaser for pups, while the oats and whole wheat flour give them a hearty texture that dogs love to chew.
Plus, they’re simple to make with ingredients you probably already have in your kitchen.
Ingredients
- 1 cup shredded carrots (about 2 medium carrots)
- 1 cup shredded apple (about 1 medium apple, peeled)
- 1/2 cup unsweetened applesauce
- 1 large egg
- 1 1/2 cups whole wheat flour (or oat flour for a grain-free option)
- 1/2 cup rolled oats
- 1/2 teaspoon ground cinnamon (optional, but dog-safe in small amounts)
Instructions
- Preheat your oven to 350°F (175°C) and line a baking sheet with parchment paper.
- In a large bowl, mix the shredded carrots, shredded apple, applesauce, and egg until well combined.
- Stir in the whole wheat flour, rolled oats, and cinnamon (if using) until a dough forms. If the dough is too sticky, add a little more flour.
- Roll the dough out on a lightly floured surface to about 1/4-inch thickness. Use cookie cutters or a knife to cut into fun shapes, or simply form small rounds.
- Place the cookies on the prepared baking sheet and bake for 25–30 minutes, or until they are golden brown and firm to the touch.
- Let them cool completely on a wire rack. They will harden as they cool, becoming crunchy and long-lasting.
Serving Tip
- These cookies are perfect for training breaks or crate time because they’re sturdy and don’t crumble easily. Store them in an airtight container at room temperature for up to two weeks, or freeze them for up to three months. For smaller dogs, break the cookies into smaller pieces to avoid overfeeding.
- Always supervise your dog with any treat, and adjust portion sizes based on your pup’s size and daily calorie needs.
6. Beef Liver Training Bites
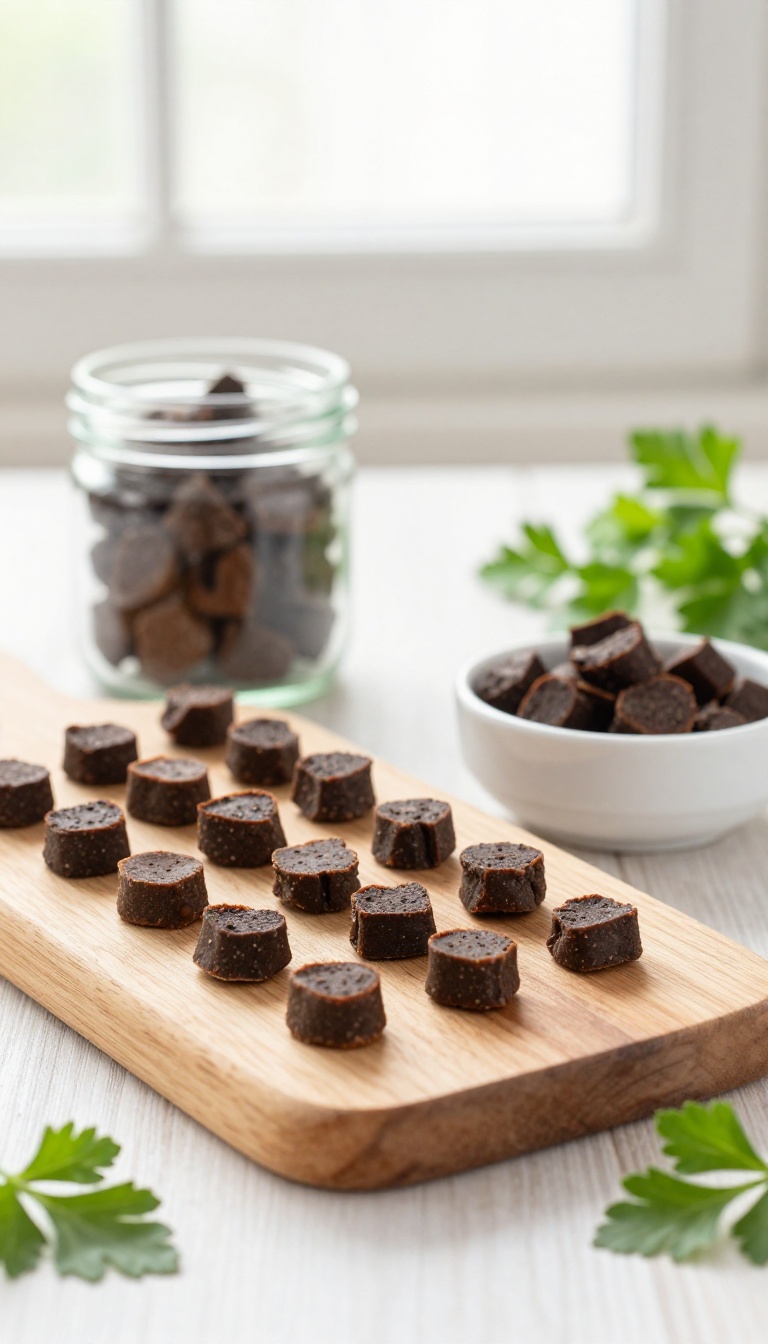
Beef liver is like the ultimate gold-star snack for dogs—it's rich, savory, and impossible for most pups to resist. These tiny, oven-dried bites are perfect for training sessions because they're small enough to hand over quickly without breaking your flow, yet they pack enough flavor to keep your dog's attention locked on you. Plus, they're easy to make in big batches, so you'll have a stash ready for crate time, puzzle toys, or just those moments when you need a little extra cooperation.
Ingredients
- 1 pound beef liver, sliced into 1/4-inch strips
- 1 tablespoon coconut oil (optional, for easier slicing)
- 1/4 teaspoon salt (optional, for flavor)
Instructions
- Preheat your oven to 200°F (or use a dehydrator). Line a baking sheet with parchment paper.
- If using coconut oil, lightly coat the liver strips to keep them from sticking. Arrange the strips in a single layer on the baking sheet.
- Bake for 2 to 3 hours, flipping halfway, until the liver is completely dried and leathery. Let cool completely.
- Cut the dried liver into small, pea-sized pieces for training bites. Store in an airtight container in the fridge for up to a week, or freeze for longer storage.
Serving Tip
- These bites are potent, so a little goes a long way. Start with a few tiny pieces per training session, and adjust based on your dog's size and treat drive. For crate time, you can stuff a few into a Kong or puzzle toy to make them last even longer.
- Keep them in the fridge to maintain their chewy texture, and always supervise your dog when giving treats.
7. Coconut & Honey Chewy Bars
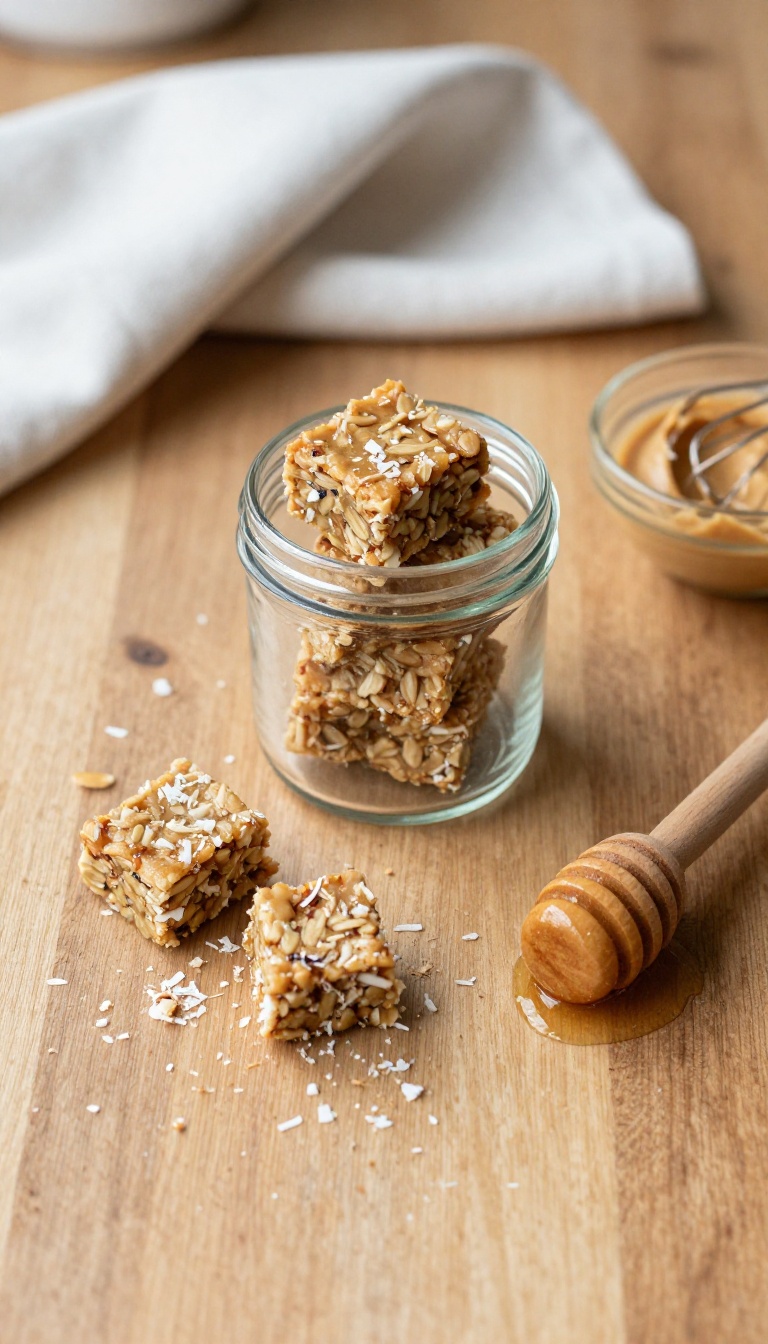
These bars are a little like a sunny vacation in treat form, but they're made with your dog's comfort in mind. The coconut brings a gentle tropical hint, while honey adds just enough sweetness to make these chewy bars feel special. They're soft enough to break into pieces for training, yet sturdy enough to hold up during a good chew session, making them perfect for crate time or a calm break.
Ingredients
- 1 ½ cups oat flour
- ½ cup unsweetened shredded coconut
- ?? cup natural peanut butter (unsalted, no xylitol)
- ¼ cup honey
- 1 large egg
- ¼ cup coconut oil, melted
Instructions
- Preheat your oven to 350°F (175°C) and line an 8×8-inch baking dish with parchment paper.
- In a large bowl, mix the oat flour and shredded coconut. Add the peanut butter, honey, egg, and melted coconut oil, and stir until a thick dough forms.
- Press the dough evenly into the prepared dish. Bake for 18–20 minutes, until the edges are lightly golden and the center feels set.
- Let cool completely, then cut into small bar shapes. Store in an airtight container in the fridge for up to a week.
Serving Tip
These bars are chewy but not hard, so they're great for dogs of all ages. For training, cut them into tiny bite-size pieces; for crate time, offer a whole bar as a rewarding chew. Keep them refrigerated to maintain their soft texture, and always supervise your dog while they enjoy any treat.
8. Spinach & Cheese Baked Sticks
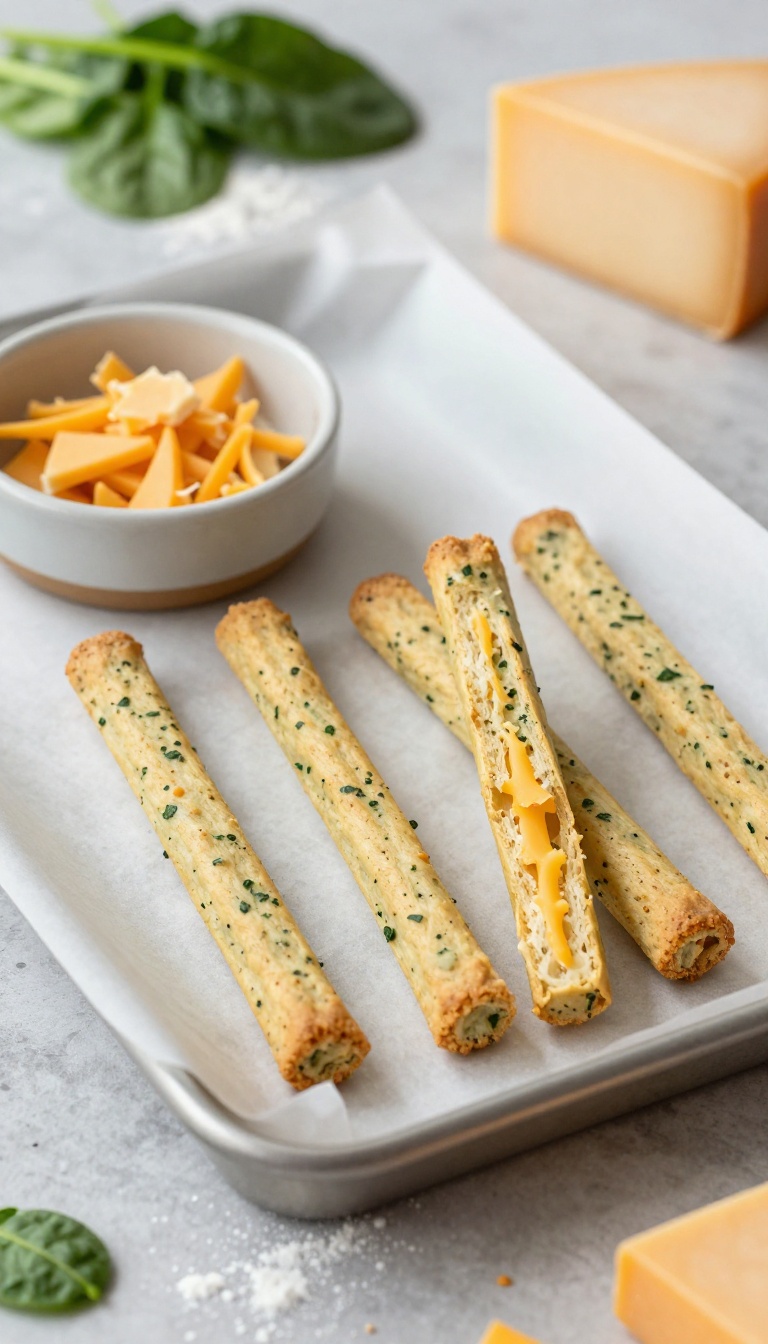
These green-speckled sticks are a fun way to sneak some leafy greens into your dog’s snack rotation. The combination of spinach and cheese creates a savory flavor that most pups find irresistible, while the baked texture gives them something satisfying to chew on. They’re perfect for keeping your dog busy during crate time or as a rewarding training break that lasts longer than a typical biscuit.
Ingredients
- 1 cup fresh spinach, finely chopped
- 1 cup shredded cheddar cheese
- 1 ½ cups whole wheat flour
- 1 large egg
- ?? cup plain Greek yogurt
- ¼ cup water (or as needed)
Instructions
- Preheat your oven to 350°F (175°C) and line a baking sheet with parchment paper.
- In a large bowl, mix the chopped spinach, shredded cheddar, and whole wheat flour until evenly combined.
- Add the egg and Greek yogurt, then stir until a dough begins to form. If it’s too dry, add water a tablespoon at a time until it comes together.
- Turn the dough out onto a lightly floured surface and knead gently for about a minute. Roll it into a rectangle about ½ inch thick.
- Cut the dough into sticks roughly 3 inches long and ½ inch wide, then place them on the prepared baking sheet.
- Bake for 25–30 minutes, until the sticks are firm and lightly golden. Let them cool completely before serving.
Serving Tip
Store these sticks in an airtight container in the refrigerator for up to a week, or freeze them for up to three months. For crate time, give your dog one stick to chew on; for training breaks, break them into smaller pieces to use as rewards. Always supervise your dog while they enjoy any chew treat, and adjust the size based on your pup’s breed and chewing habits.
FAQ
How long do these homemade dog treats last?
Most baked treats last 1-2 weeks in an airtight container at room temperature, while frozen treats can last up to 3 months in the freezer. Always check for freshness before serving.
Can I adjust the ingredients for my dog's dietary needs?
Absolutely! Many recipes are flexible. For example, you can swap peanut butter for sunflower seed butter if your dog has allergies, or use gluten-free oats if needed.
Always consult your vet for specific dietary concerns.
Are these treats suitable for puppies?
Yes, but always supervise puppies when giving them any treat, especially long-lasting ones. Some treats may be too hard for very young puppies, so consider softer options like frozen yogurt cubes.
How should I store these treats to keep them fresh?
Store baked treats in an airtight container in a cool, dry place. Frozen treats should be kept in freezer-safe bags or containers. For jerky, a paper bag in the fridge can help maintain texture.
Can I use these treats for training?
Yes! Many of these treats are perfect for training because they're small, easy to break, and long-lasting. Just cut them into tiny pieces for quick rewards during training sessions.
Conclusion
These eight long-lasting dog treats are a fantastic way to keep your pup entertained and rewarded, whether you're working on training or just need a quiet moment. Each recipe is simple, dog-safe, and designed to stand up to enthusiastic chewing. Try a few and see which ones become your dog's favorites.
Your furry friend will thank you, and you'll love knowing exactly what's in every bite. Happy treating!

I’m Pallab Kishore, the owner of Little Pets Realm — an animal lover and pet care enthusiast sharing easy tips, healthy recipes, and honest advice to help every small pet live a happy, healthy, tail-wagging life.