
If your dog gets through store-bought chews in record time, you know the struggle of constantly buying new treats. Homemade long-lasting treats are a game-changer: they’re budget-friendly, made with simple ingredients you trust, and perfect for keeping your pup busy while you work or relax.
Plus, batch prepping them on the weekend means you’ll have a ready supply all week long. These six recipes are designed to be durable, tasty, and easy to make in large batches.
They use dog-safe ingredients like sweet potatoes, oats, peanut butter, and pumpkin, and they’re all simple enough for even beginner home cooks.
1. Chewy Sweet Potato Chews
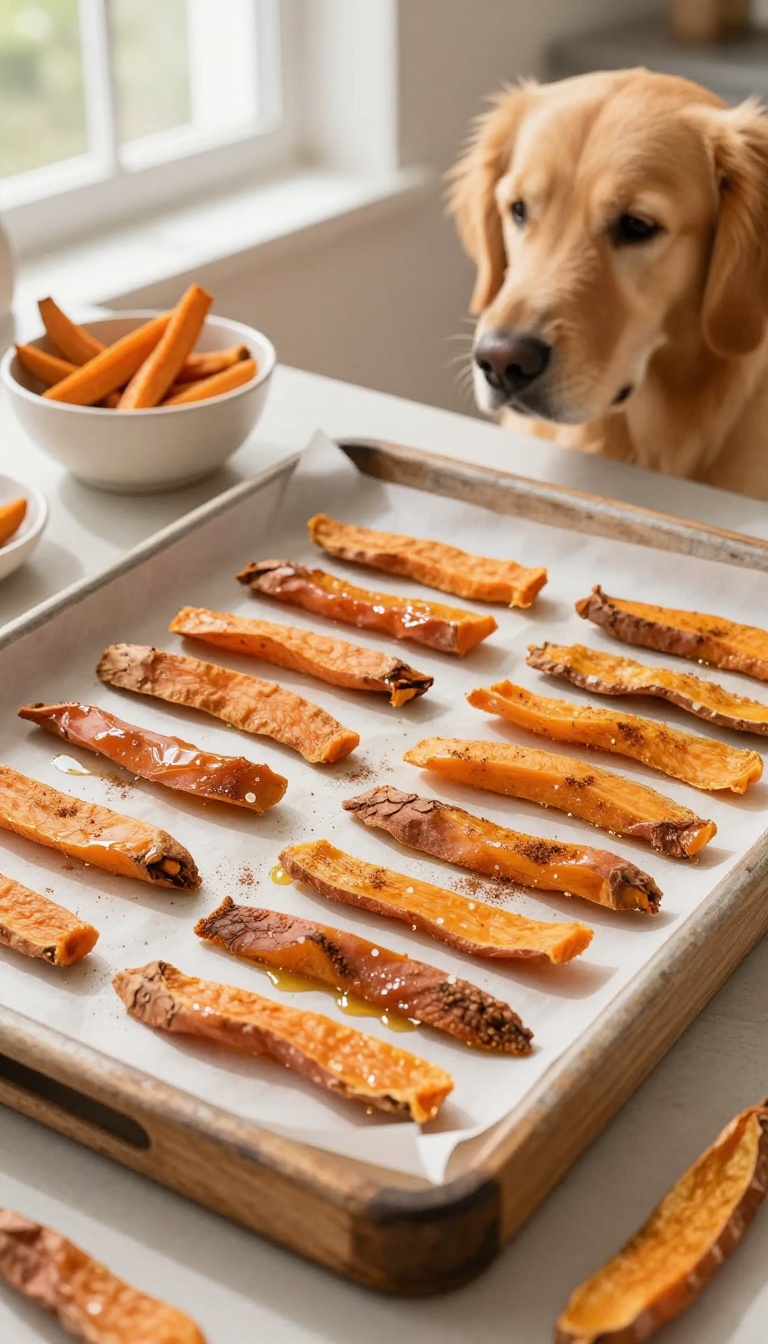
Sweet potatoes are a doggy superfood, and turning them into chewy strips gives your pup a satisfying, long-lasting snack that’s way better than store-bought treats full of preservatives. Dehydrating them concentrates their natural sweetness, so most dogs go wild for the flavor. Plus, the chewy texture helps clean teeth and keeps busy mouths occupied—perfect for rainy days or when you need a little quiet time.
Best of all, you can make a big batch in one afternoon and have treats ready for the whole week.
Ingredients
- 2 large sweet potatoes, washed and peeled (optional, but peeling gives a smoother chew)
- 1 tablespoon coconut oil (optional, for a slight sheen and extra flavor)
- A pinch of cinnamon (optional, for a dog-safe flavor boost)
Instructions
- Preheat your oven to 200°F (95°C) or set your dehydrator to 135°F (57°C). Line a baking sheet with parchment paper if using the oven.
- Slice the sweet potatoes lengthwise into 1/4-inch thick strips. For chewier treats, keep them thicker; for crispier ones, slice thinner.
- If using coconut oil, lightly brush the strips on both sides. Sprinkle with cinnamon if desired.
- Arrange the strips in a single layer on the baking sheet or dehydrator trays, making sure they don’t overlap.
- Bake or dehydrate for 3 to 4 hours, flipping halfway, until the strips are dry on the outside but still bendy. They will firm up more as they cool.
- Let cool completely before serving. Store in an airtight container in the fridge for up to two weeks, or freeze for longer storage.
Serving Tip
Give your dog one or two chews as a rewarding snack, depending on their size. Because they’re chewy, they’re great for mental stimulation—perfect for a rainy afternoon. Always supervise your dog while they enjoy this treat, and adjust the thickness based on your pup’s chewing style.
2. Frozen Peanut Butter & Banana Pops
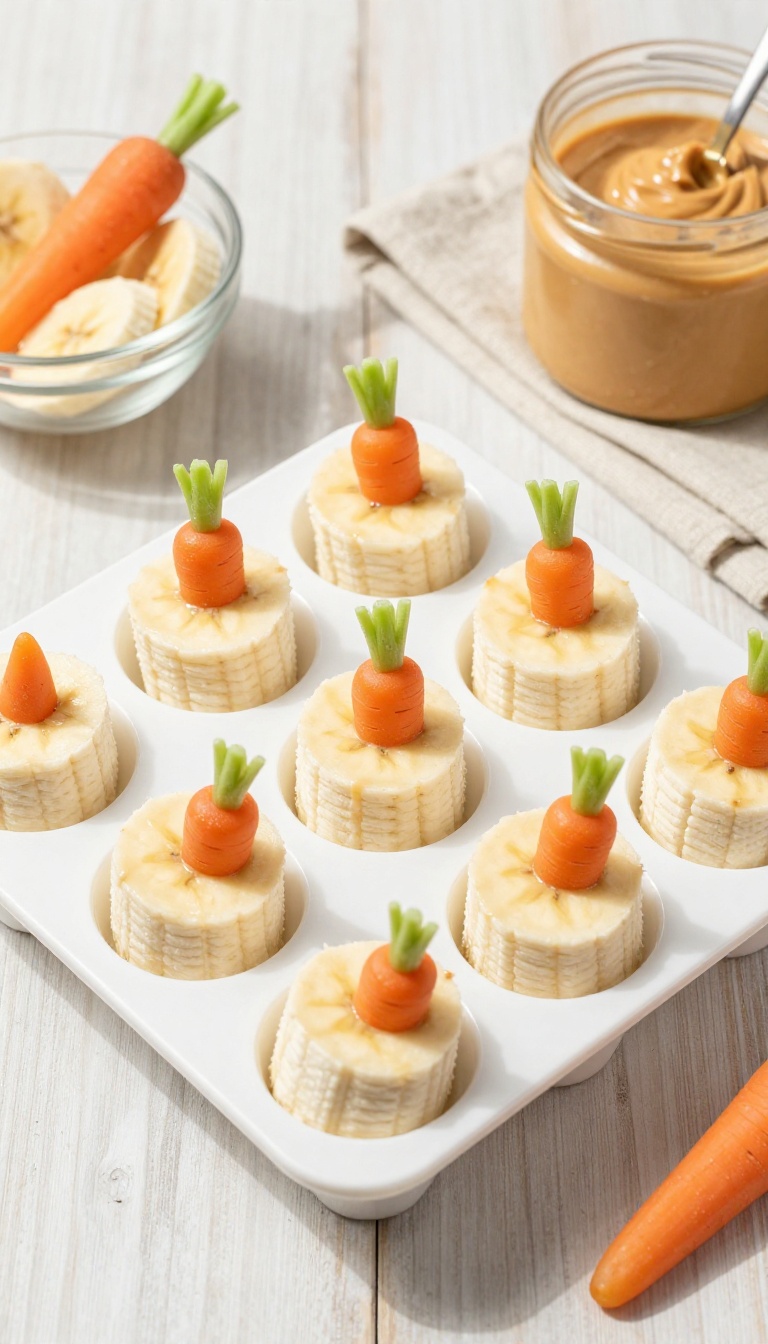
When the temperature climbs, these frozen pops are a simple way to help your pup cool down while enjoying a tasty, wholesome snack. They come together in minutes with just three dog-safe ingredients you likely already have in your kitchen. Perfect for hot afternoons, post-walk rewards, or soothing teething gums, these pops are a batch-prep favorite that keeps your dog happy and hydrated.
Ingredients
- 2 ripe bananas, mashed
- 1/2 cup plain unsweetened peanut butter (xylitol-free)
- 1 cup plain Greek yogurt (unsweetened)
Instructions
- In a medium bowl, mash the bananas until smooth. Add the peanut butter and yogurt, then stir until well combined.
- Spoon the mixture into silicone molds or ice cube trays, filling each cavity almost to the top.
- Insert a small dog-safe chew stick or a piece of carrot into each pop for a handle (optional).
- Freeze for at least 4 hours or until solid. Pop them out and store in a freezer-safe bag or container.
Serving Tip
Give your dog one pop at a time, especially on warm days. For smaller pups, cut the pops into halves or quarters after freezing. Keep them stored in the freezer for up to a month, and always supervise your dog while they enjoy a frozen treat.
3. Crunchy Oat & Pumpkin Biscuits
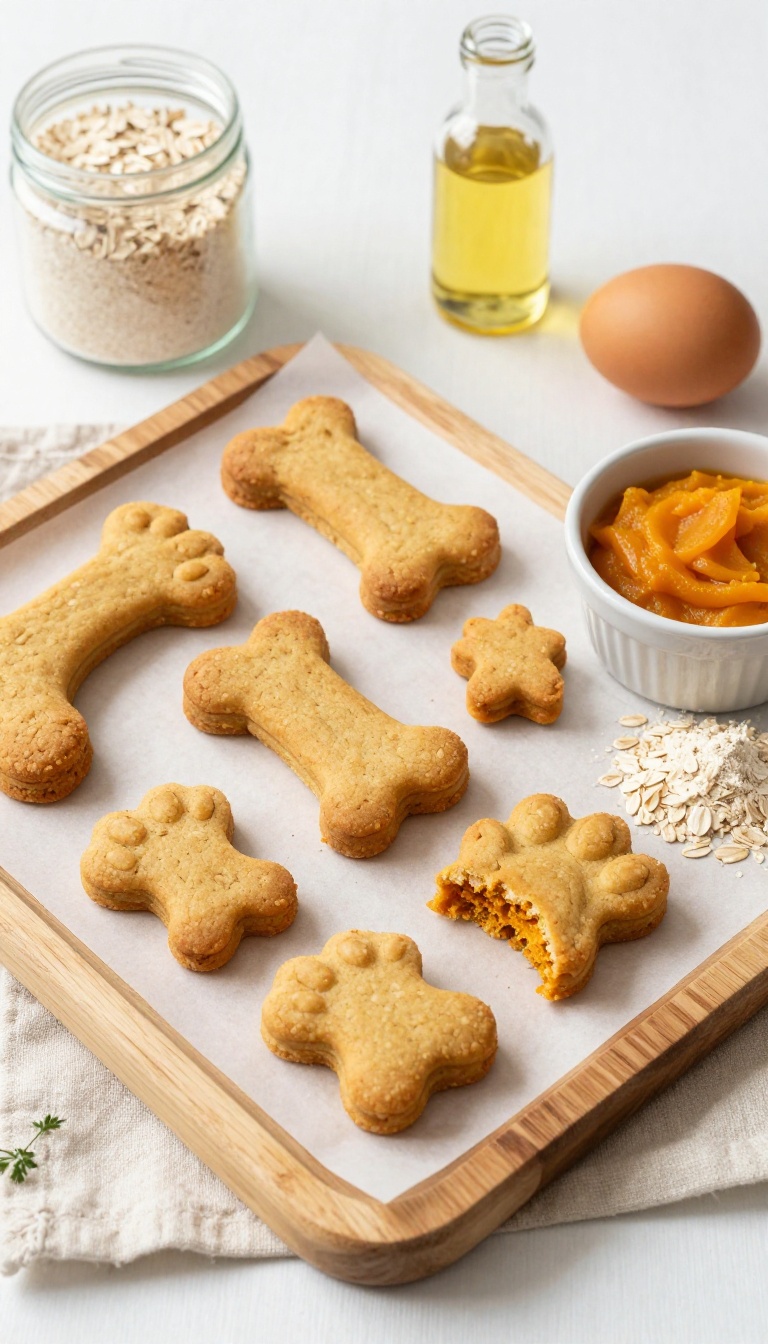
These biscuits bring the double joy of a satisfying crunch and a gentle clean for your pup's teeth. The oat flour gives them a sturdy texture that holds up to enthusiastic chewing, while the pumpkin puree adds a hint of natural sweetness dogs adore. Baking a batch on the weekend means you'll have a ready-to-grab snack that stays crisp for two weeks—perfect for training sessions or just because.
Ingredients
- 2 cups oat flour
- 1/2 cup canned pumpkin puree (unsweetened)
- 1 large egg
- 2 tablespoons coconut oil, melted
Instructions
- Preheat your oven to 350°F (175°C) and line a baking sheet with parchment paper.
- In a large bowl, mix the oat flour, pumpkin puree, egg, and coconut oil until a stiff dough forms. If it's too sticky, add a little more oat flour.
- Roll the dough out on a lightly floured surface to about 1/4-inch thickness.
- Cut into fun shapes with dog-friendly cookie cutters, then place on the prepared baking sheet.
- Bake for 25–30 minutes until golden and crisp. Let cool completely before serving or storing.
Serving Tip
Store these biscuits in an airtight container at room temperature for up to two weeks. For smaller dogs, break a biscuit into bite-sized pieces to avoid overfeeding. They also make a great training reward—just keep the daily treat count in mind to balance your pup's diet.
4. Dehydrated Chicken Breast Strips
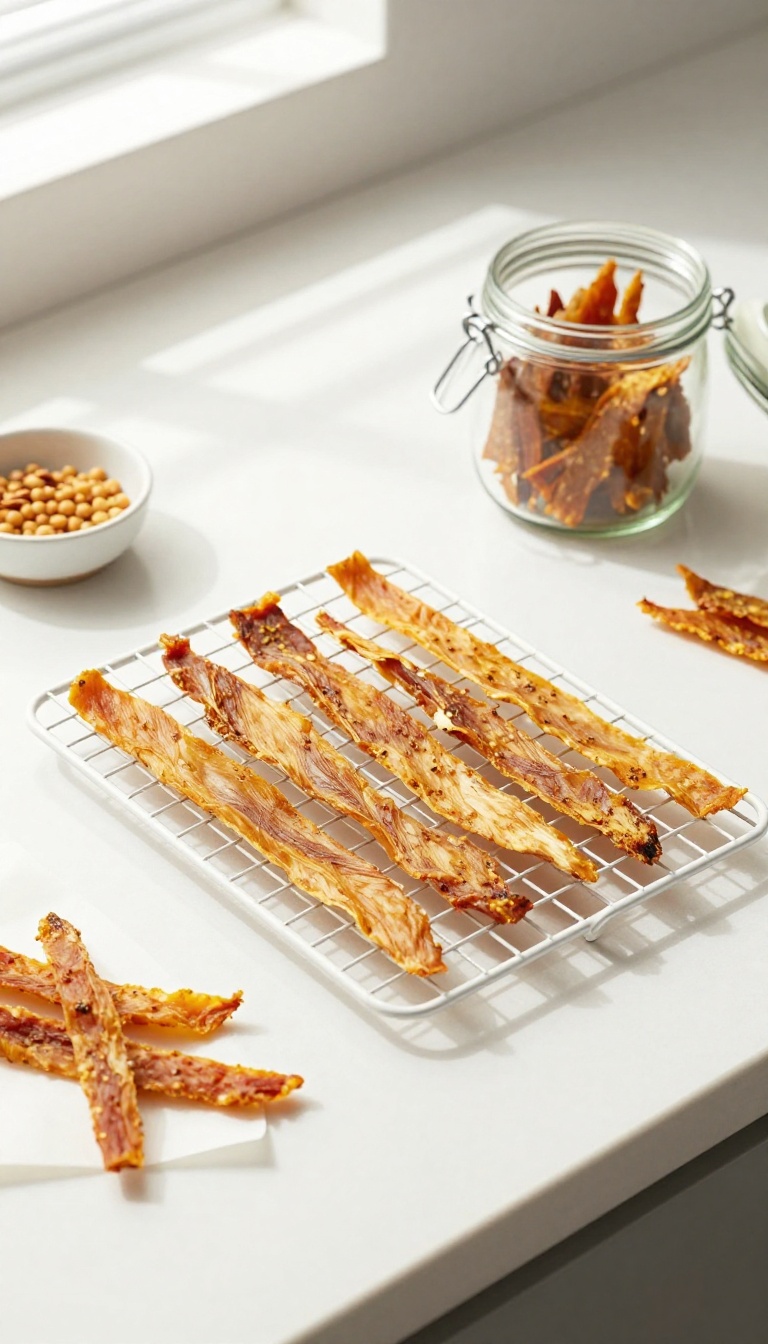
These chewy strips are a fantastic way to reward your dog without the mystery ingredients found in many store-bought jerky treats. By making them at home, you control exactly what goes into each bite—just pure, lean chicken. The dehydration process concentrates the flavor, making them incredibly appealing to dogs, while the chewy texture keeps them busy and satisfied.
Whether you're training or just want a wholesome snack, these strips are a batch-prep staple that your pup will absolutely love.
Ingredients
- 2 large boneless, skinless chicken breasts
- 1 tablespoon olive oil (optional, for easier slicing)
- 1/4 teaspoon turmeric (optional, for a touch of color and anti-inflammatory benefits)
Instructions
- Place the chicken breasts in the freezer for about 30 minutes to firm them up—this makes slicing thin strips much easier. Using a sharp knife, slice the chicken against the grain into strips about 1/4-inch thick.
- In a bowl, toss the strips with olive oil and turmeric if using, ensuring they are lightly coated. Arrange the strips in a single layer on the trays of your dehydrator, leaving space between each piece for air circulation.
- Dehydrate at 160°F (71°C) for 4 to 6 hours, or until the strips are dry and leathery but still slightly pliable. They should not snap like a cracker, but they should have a jerky-like texture.
- Once done, let the strips cool completely on a wire rack. They will continue to crisp up slightly as they cool.
Serving Tip
Store these strips in an airtight container in the refrigerator for up to 2 weeks, or freeze them in a zip-top bag for up to 3 months. For training, break into small pea-sized pieces. As a chew, give one strip to your dog and supervise to ensure they chew properly, especially for smaller dogs.
5. Carrot & Apple Crunch Bites
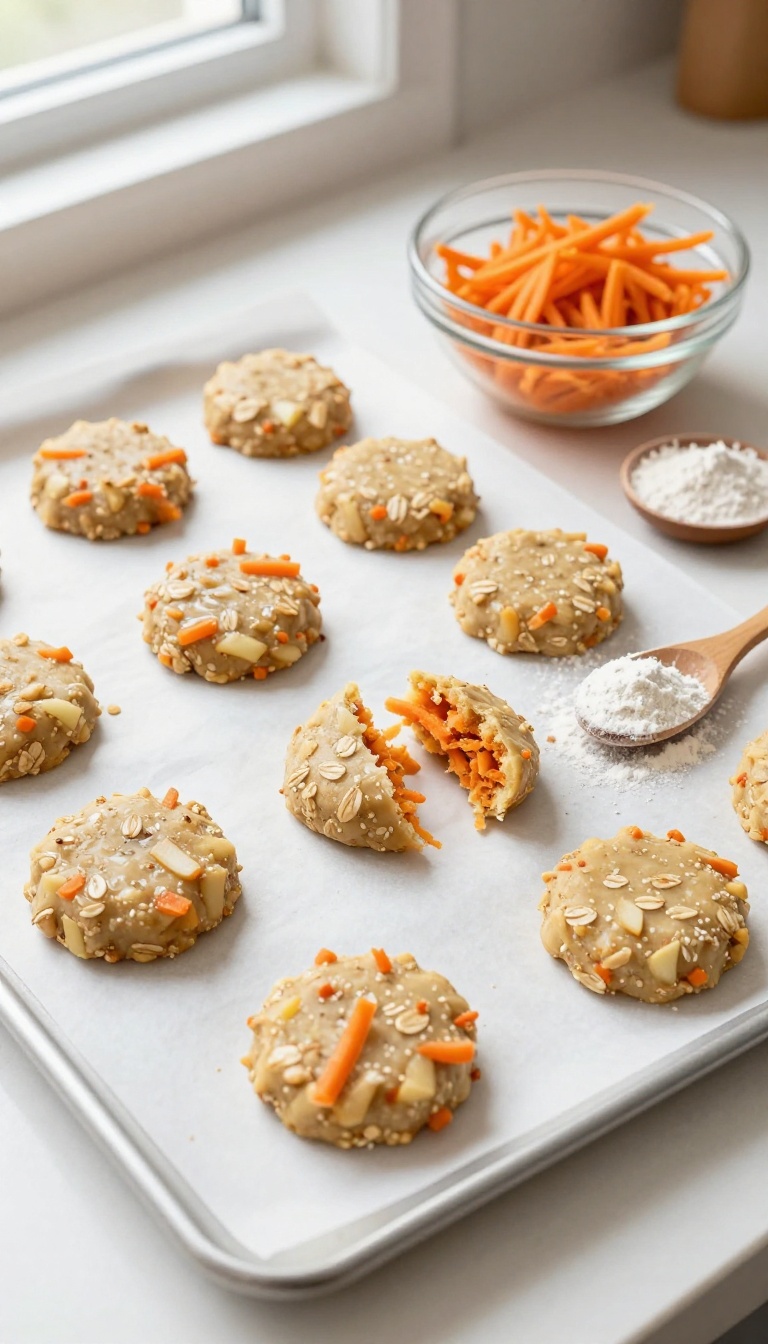
These no-bake bites bring together the natural sweetness of apples and the gentle crunch of carrots, all held together with a touch of coconut oil. They’re a breeze to whip up in a food processor and can live in your freezer for those moments when you need a quick, wholesome reward. Dogs love the satisfying texture, and you’ll love how simple they are to batch prep for the week ahead.
Ingredients
- 1 cup shredded carrots
- 1 cup shredded apple (peeled and cored)
- 1/4 cup coconut oil, melted
- 1 1/2 cups oat flour (or rolled oats blended into a powder)
Instructions
- In a large bowl, combine the shredded carrots, shredded apple, and melted coconut oil. Mix well.
- Gradually add the oat flour, stirring until a dough forms. If it feels too sticky, add a little more flour; if too dry, add a teaspoon of water.
- Roll the mixture into small, bite-sized balls (about 1 inch in diameter) and place them on a parchment-lined baking sheet.
- Freeze for at least 1 hour, or until firm. Transfer to an airtight container or zip-top bag and store in the freezer.
Serving Tip
- These bites are perfect for training or as a midday snack. Because they’re frozen, they also offer a soothing, crunchy texture that many dogs enjoy. Start with one or two bites per day, depending on your dog’s size, and always supervise when giving treats.
- They’ll keep in the freezer for up to three months—just let them thaw for a minute or two before serving if your dog prefers a softer bite.
6. Bully Stick Alternative: Sweet Potato & Peanut Butter Twists
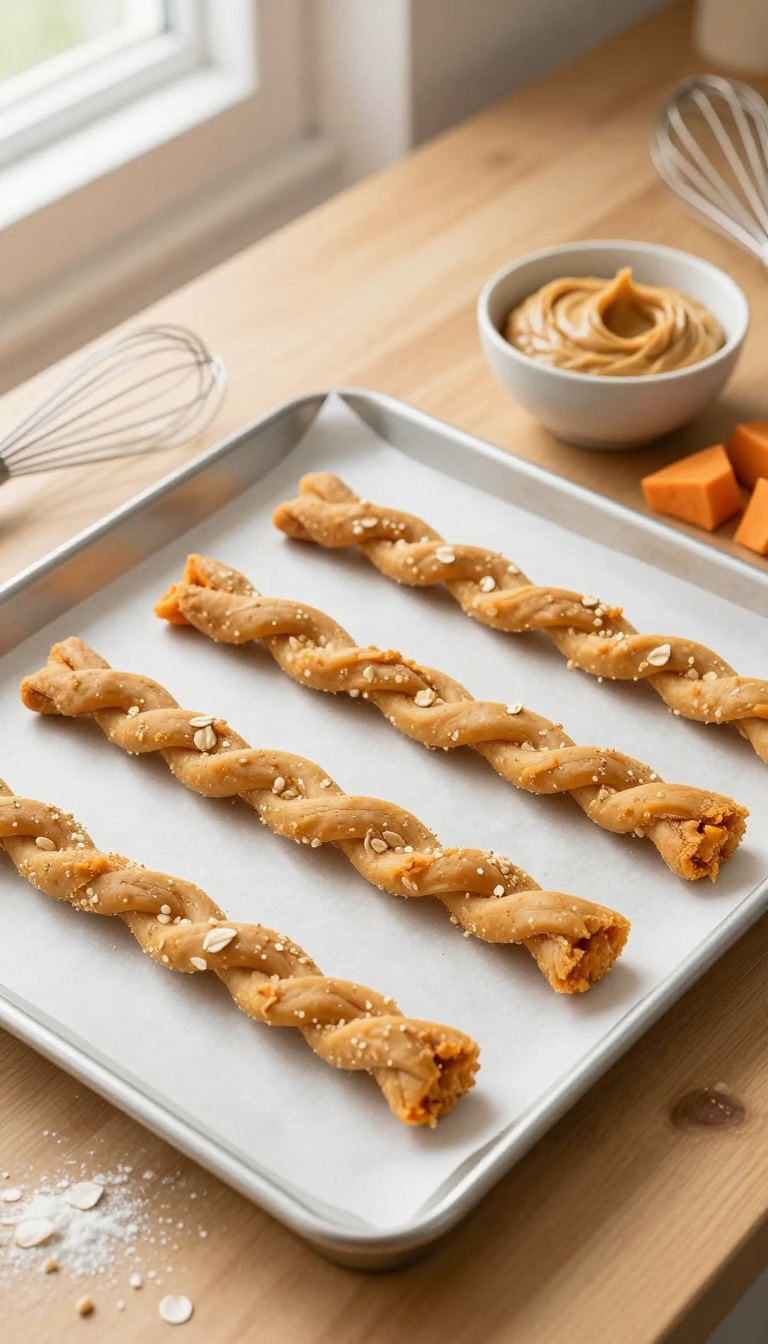
If your dog loves to chew but you're wary of the strong smell or potential splintering of bully sticks, these sweet potato and peanut butter twists are a fantastic homemade swap. They're baked until firm and chewy, giving your pup a satisfying, longer-lasting chew that's gentler on their teeth. Plus, they're simple to make in a big batch, so you can have a week's worth of treats ready to go.
Ingredients
- 2 medium sweet potatoes, peeled and cubed
- 1/2 cup natural, unsalted peanut butter (xylitol-free)
- 2 cups oat flour (or more as needed)
- 1 large egg, beaten
Instructions
- Steam or boil the sweet potato cubes until tender, then drain and mash well. Let cool completely.
- In a large bowl, combine the mashed sweet potato, peanut butter, beaten egg, and oat flour. Mix until a stiff dough forms, adding more oat flour if too sticky.
- Knead the dough on a lightly floured surface for a minute, then roll into a rectangle about 1/4-inch thick.
- Cut the dough into long strips (about 1 inch wide). Twist each strip into a spiral or rope shape and place on a parchment-lined baking sheet.
- Bake at 350°F (175°C) for 25–30 minutes, until firm and lightly golden. Let cool completely before serving.
Serving Tip
These twists are meant to be a chew, so they're a bit denser than typical biscuits. Store them in an airtight container in the fridge for up to a week, or freeze for longer storage. Give one twist to your dog as a supervised treat, and adjust the size based on your pup's chewing habits.
FAQ
How long do homemade dog treats last?
It depends on the type. Dehydrated treats like sweet potato chews and chicken jerky can last up to two weeks in an airtight container at room temperature, or up to a month in the fridge. Frozen treats should be kept in the freezer and used within three months for best freshness.
Can I adjust the recipes for dogs with allergies?
Absolutely. Many recipes are easily customizable. For example, if your dog is allergic to chicken, you can swap it for turkey or beef.
For peanut butter allergies, use sunflower seed butter or pumpkin puree as a substitute. Always check with your vet before introducing new ingredients.
Are these treats suitable for puppies?
Yes, but always supervise your puppy when giving any treat. Frozen treats can be soothing for teething puppies, and softer options like sweet potato chews are gentle on young teeth. Avoid very hard treats for puppies until they have their adult teeth.
How should I store batch-prepped treats?
Store baked or dehydrated treats in an airtight container in a cool, dry place. For longer shelf life, keep them in the refrigerator. Frozen treats should be stored in freezer-safe bags or containers, separated by parchment paper to prevent sticking.
Can I use these treats for training?
Yes, but consider the size and texture. For training, you might want to cut treats into smaller pieces. Soft, chewy treats like sweet potato chews can be torn into tiny bits, while crunchy biscuits can be broken into smaller chunks.
Always account for the extra calories in your dog’s daily diet.
Conclusion
Batch prepping long-lasting treats is a wonderful way to show your dog you care while saving time and money. With these six recipes, you can mix and match textures and flavors to keep your pup excited all week long. Whether you choose chewy, crunchy, or frozen, your dog will love the homemade goodness.
Remember to always introduce new treats gradually and consult your vet if you have any concerns about ingredients. Happy prepping, and enjoy those happy tail wags!