Last updated on March 24th, 2026 at 07:59 am
Store-bought dog biscuits often contain fillers and preservatives that don’t actually do much for your dog’s health. Most of them crunch loudly but dissolve fast, leaving you with crumbs and a dog who still wants something to chew.
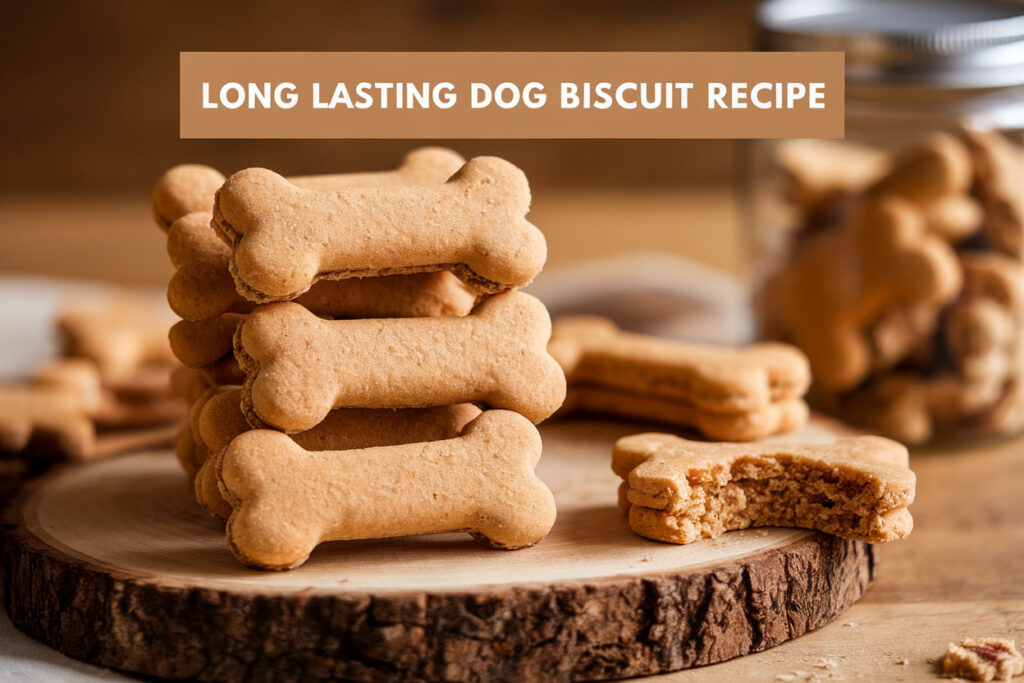
This extra crunchy long lasting dog biscuit recipe fixes that problem in the simplest way possible.
It uses real, dog-safe ingredients, creates a firm texture that holds up, and gives you full control over what actually goes into your dog’s body.
What Makes This Recipe Shine
These biscuits work because they’re built for structure first, flavor second, and nutrition all the way through. I don’t want a soft cookie pretending to be a chew; I want something that actually takes effort for a dog to break down. That’s exactly what this recipe delivers.
The combination of whole wheat flour and rolled oats creates a dense base that bakes up firm and sturdy. Add natural peanut butter and egg, and you get binding power plus protein without needing weird additives. When you bake them low and slow, the moisture cooks out gradually, which is the real secret behind that long-lasting crunch.
Dogs love the nutty smell of peanut butter, and the toasted oat scent that comes out of the oven doesn’t hurt either. Mine starts hovering around the kitchen once they cool, and he definitely knows the difference between these and the generic box stuff. They’re not flashy, but they hit that satisfying chew factor that keeps a dog focused.
I also like that these biscuits double as mild dental support. The hard texture encourages chewing, and that mechanical action helps scrape plaque in a natural way. It’s not a replacement for brushing, obviously, but it’s a small bonus I’ll happily take.
Another thing I appreciate is how customizable they are. You can adjust thickness, shape, and even ingredients to suit your dog’s size and dietary needs. That flexibility makes this recipe feel practical rather than fussy.
While this homemade cake is great for special occasions, I like having an everyday training treat on hand too.

- BIG MOTIVATION IN EACH MINI BITE. Each of these 3 calorie treats are packed with flavor from pork liver, real bacon, and…
- TRAIN. ENRICH. TREAT. These low calorie training rewards are great for training sessions, enrichment activities such as …
- GREAT FOR DOGS OF ALL SIZES. These bite-sized treats are the perfect size for training and every day treating for dogs o…
Ingredients You’ll Need
- 2 ½ cups whole wheat flour – Provides structure and fiber; safe for most dogs unless they’re grain-sensitive.
- 1 cup rolled oats – Adds texture and helps create that extra crunch once baked thoroughly.
- ½ cup natural peanut butter (xylitol-free) – Always check the label; xylitol is toxic to dogs.
- 1 large egg – Acts as a binder and adds protein.
- ¾ cup low-sodium chicken broth or water – Adds moisture and light flavor; keep sodium low.
- 1 tablespoon olive oil – Helps with texture and gives a slight richness.


All of these ingredients are commonly used in homemade dog treats and are considered safe when used in moderation. I stick to simple pantry staples because dogs don’t need fancy superfoods; they need balance and consistency.
Get the Free Healthy Dog Treat Starter Pack
Easy homemade dog treat recipes, simple safety tips, and helpful printable pages for dog parents who want to make treat time more fun.
Step-by-Step Instructions
Step 1: Preheat and Prep
Preheat your oven to 325°F and line a baking sheet with parchment paper. A lower temperature is key because we’re drying these biscuits out rather than rushing them.
Measure everything before you mix. It keeps the dough consistent, and consistency matters when you’re aiming for a firm chew instead of a crumbly mess.
Step 2: Mix the Dry Ingredients
In a large bowl, combine the whole wheat flour and rolled oats. Stir them together evenly so the oats distribute throughout the flour.
This mixture forms the backbone of your biscuit. If the oats clump in one area, you’ll get uneven texture, and some biscuits may crack more easily.
Step 3: Add the Wet Ingredients
Add the peanut butter, egg, olive oil, and broth to the dry mix. Stir with a sturdy spoon until a thick dough starts forming.
You might need to use your hands toward the end. The dough should feel firm but not sticky; if it’s too dry, add a tablespoon of broth at a time.
Step 4: Roll and Cut
Lightly flour your surface and roll the dough to about ½ inch thick. Thicker biscuits last longer, so don’t roll them too thin unless you’re making treats for a small dog.
Cut into bone shapes, rectangles, or simple squares. Shape doesn’t matter to your dog, but thickness absolutely does.
Step 5: Bake and Dry
Place the biscuits on your lined tray and bake for 35–40 minutes. They should feel firm on the outside when you press them lightly.
For extra crunch, turn off the oven and leave the biscuits inside with the door slightly open for another hour. That slow cooling process removes more moisture, which makes them harder and longer lasting.
Step 6: Cool Completely
Let the biscuits cool fully before offering one to your dog. Warm treats may seem fine, but the structure continues to set as they cool.
Store them in an airtight container once completely dry. If you notice any softness after a day, pop them back in a low oven for 10–15 minutes to re-crisp.
Common Mistakes to Avoid
One common mistake is using peanut butter without checking the label. Some brands contain xylitol, which is extremely dangerous for dogs, so this is non-negotiable.
Another issue is underbaking. If you pull them out too early, they’ll feel firm at first but soften within a day because moisture remains inside.
Rolling the dough too thin also defeats the purpose of a long-lasting biscuit. Thin pieces bake fast, but they crumble quickly and won’t give your dog that satisfying chew.
Using high-sodium broth can sneak in unnecessary salt. Dogs don’t need that much sodium, so stick with low-sodium or plain water if you’re unsure.
Finally, don’t skip the extended drying time. That extra oven rest is what takes these from “basic treat” to “seriously crunchy.”
Alternatives & Substitutions
If your dog is grain-sensitive, you can swap whole wheat flour for oat flour or brown rice flour. The texture changes slightly, but you can still achieve firmness by baking longer.
For a chicken-free option, use water instead of broth. You can also add a tablespoon of unsweetened pumpkin puree for subtle flavor and fiber.
If peanut butter isn’t ideal due to allergies, try sunflower seed butter as long as it’s unsalted and xylitol-free. I’ve tested it once, and while the flavor is milder, the structure holds up well.
For smaller dogs, roll the dough slightly thinner but extend the drying time. That way you maintain crunch without creating oversized bricks.
You can even add finely grated carrot for a hint of sweetness. Just reduce the broth slightly to balance the added moisture.
FAQ
How long do these biscuits last?
If stored in an airtight container at room temperature, they usually last up to two weeks. Make sure they’re completely dry before sealing them.
For longer storage, keep them in the refrigerator for up to a month. Just ensure no moisture builds up inside the container.
Can puppies eat these biscuits?
Puppies can have them, but you should make smaller, slightly thinner pieces. Always supervise young dogs when giving hard treats.
Very young puppies with tiny teeth might struggle, so wait until they’re comfortably chewing solid food.
Can I freeze these dog biscuits?
Yes, freezing works well. Place them in a freezer-safe bag and thaw at room temperature before serving.
Freezing doesn’t affect texture much if they were properly dried beforehand.
How many biscuits should I give my dog?
Treats should only make up about 10% of your dog’s daily calorie intake. For medium dogs, one biscuit per day is usually reasonable.
Smaller breeds may need half, while larger breeds might handle two depending on size and activity level.
Are these good for dental health?
They can support dental hygiene by encouraging chewing. The hard texture helps reduce mild plaque buildup.
They’re not a substitute for brushing or vet cleanings, but they do add a helpful mechanical benefit.
Can I make them even harder?
Yes, extend the baking time by 5–10 minutes and allow a longer drying period in the oven. Lower heat and longer drying creates the firmest texture.
Just avoid burning them; dark brown edges mean you’ve gone too far.
Final Thoughts
Making extra crunchy long lasting dog biscuits at home gives you control, simplicity, and peace of mind. You know exactly what your dog is chewing, and you skip the mystery ingredients.
Once you see how easy this recipe feels, it becomes part of your regular routine. A sturdy, wholesome biscuit just makes sense, and honestly, your dog will make that very clear.

I’m Pallab Kishore, the owner of Little Pets Realm — an animal lover and pet care enthusiast sharing easy tips, healthy recipes, and honest advice to help every small pet live a happy, healthy, tail-wagging life.
Get the Free Healthy Dog Treat Starter Pack
Easy homemade dog treat recipes, simple safety tips, and helpful printable pages for dog parents who want to make treat time more fun.